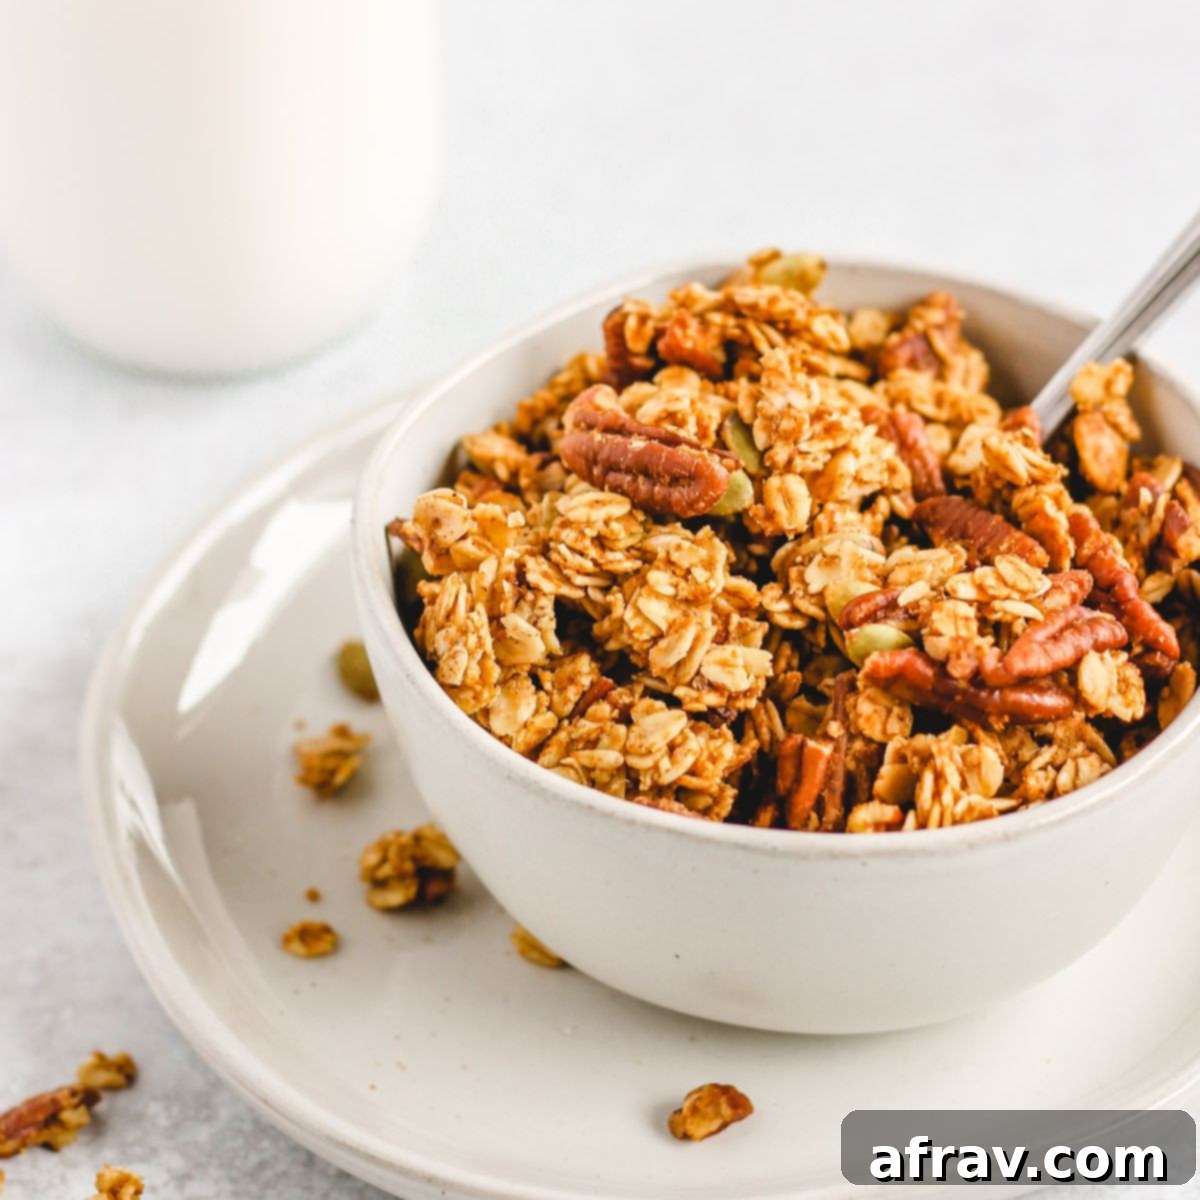
The Ultimate Healthy Homemade Pumpkin Granola Recipe: Your Fall Favorite (Gluten-Free & Vegan)
Embrace the cozy flavors of autumn with this incredibly delicious **homemade pumpkin granola**. Perfectly crafted for the fall season, this recipe is a wholesome treat that’s refined sugar-free, gluten-free, and vegan, made entirely with real, nourishing ingredients. With just 10 minutes of hands-on prep, you can easily create a batch of crunchy, flavorful granola that’s wonderful with milk, yogurt, or as a delightful snack on its own.
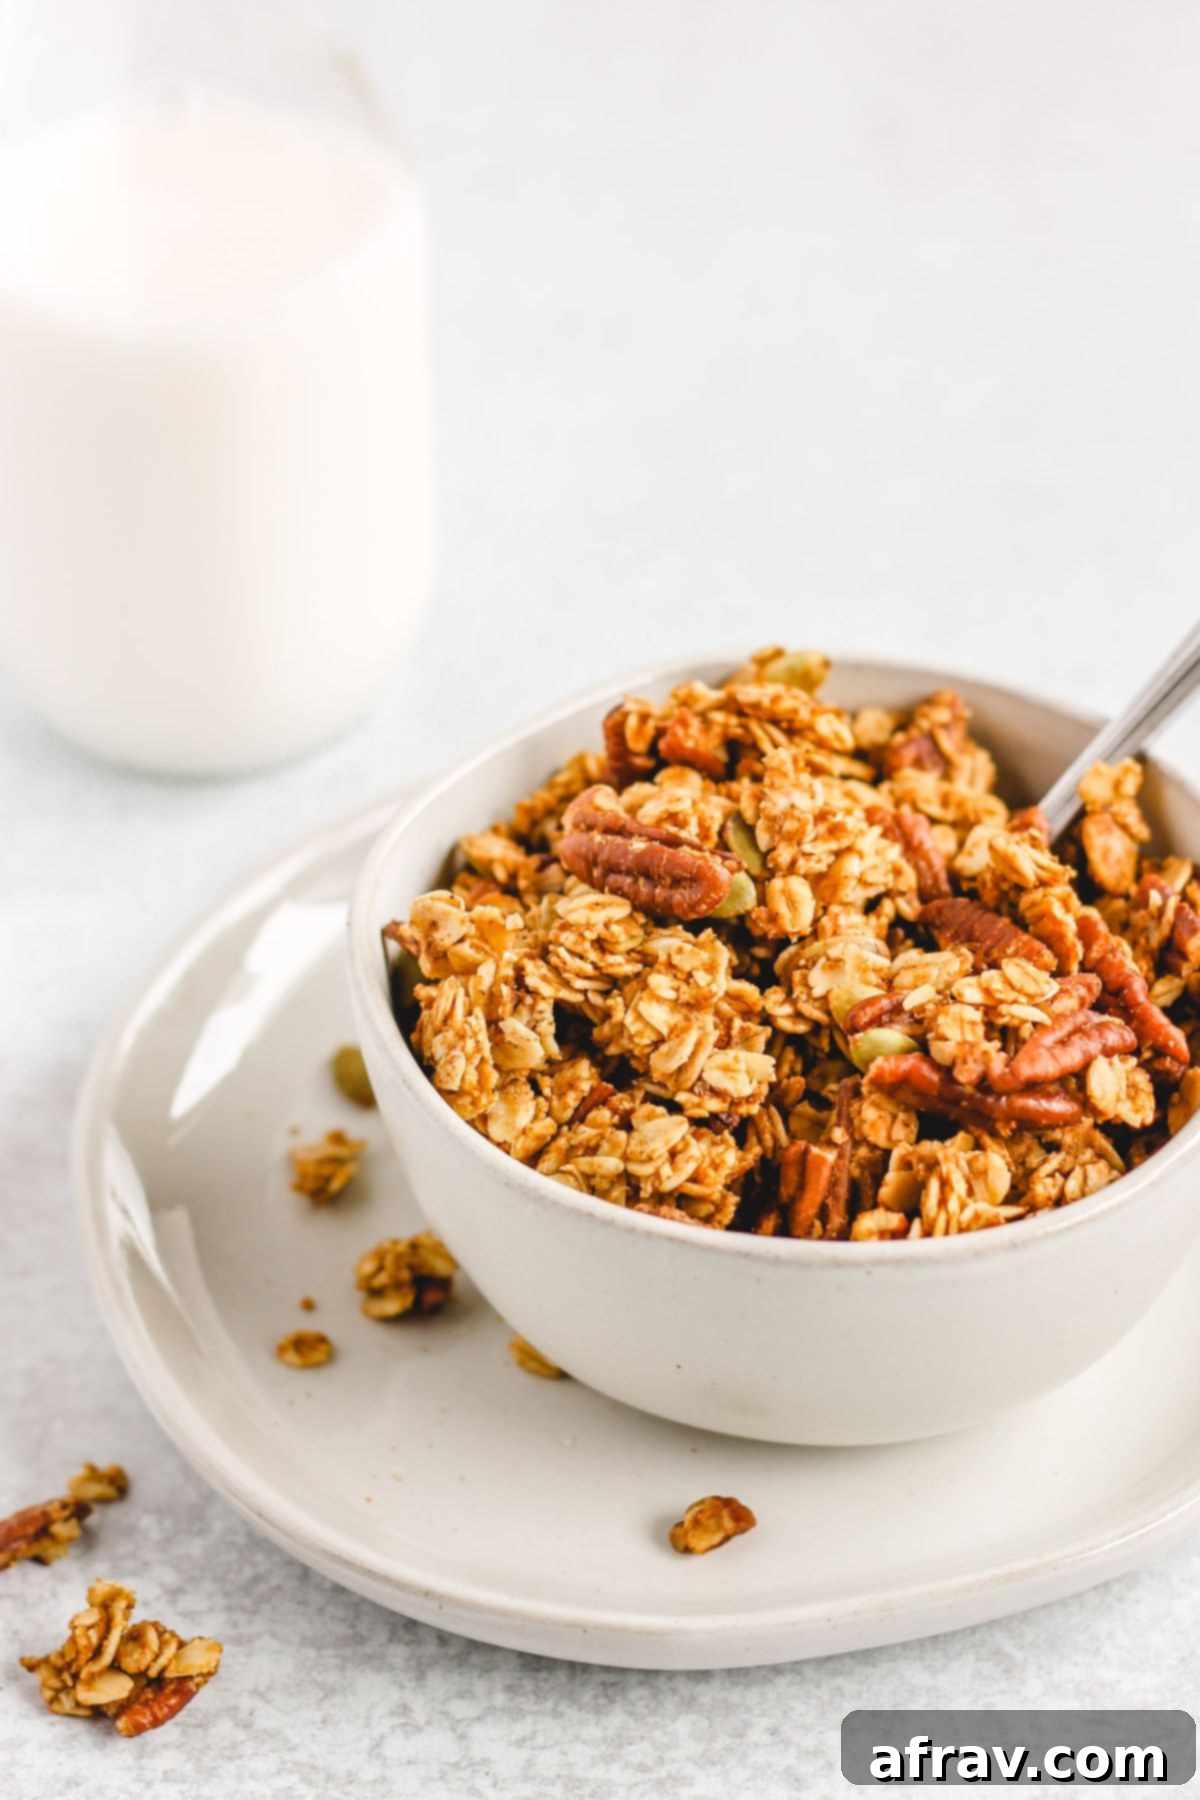
As the days grow shorter and a crisp chill fills the air, there’s nothing quite like the comforting embrace of pumpkin season. For me, that means diving headfirst into all things pumpkin, especially healthy, homemade recipes. While I adore pumpkin breakfast cookies (seriously, try them!), this homemade pumpkin granola holds a special place in my heart. The moment it starts baking, a warm, inviting aroma of pumpkin and spices fills every corner of your home, creating the most incredible atmosphere.
Why Choose Homemade Granola Over Store-Bought?
Making your own granola is not only incredibly simple but also significantly healthier than most varieties you’ll find in stores. Commercial granolas are often loaded with refined sugars, unhealthy processed oils, and a slew of unnecessary additives like artificial preservatives and flavorings. When you make granola from scratch, you have complete control over every ingredient, ensuring you’re nourishing your body with only the best. If you love homemade goodness, my oat and honey granola is another fantastic recipe worth trying.
This particular homemade pumpkin granola recipe is a celebration of autumn. It begins with a hearty blend of old-fashioned oats, crunchy pecans, nutrient-rich pumpkin seeds (also known as pepitas), and a warming mix of fall spices. These dry ingredients are then gently coated with a luscious combination of pure pumpkin puree, wholesome coconut oil, and natural pure maple syrup. The result? A perfectly chunky, incredibly flavorful, and truly healthy granola that’s naturally gluten-free, dairy-free, and vegan. It’s real food that tastes absolutely amazing!
Essential Ingredients for Your Pumpkin Granola
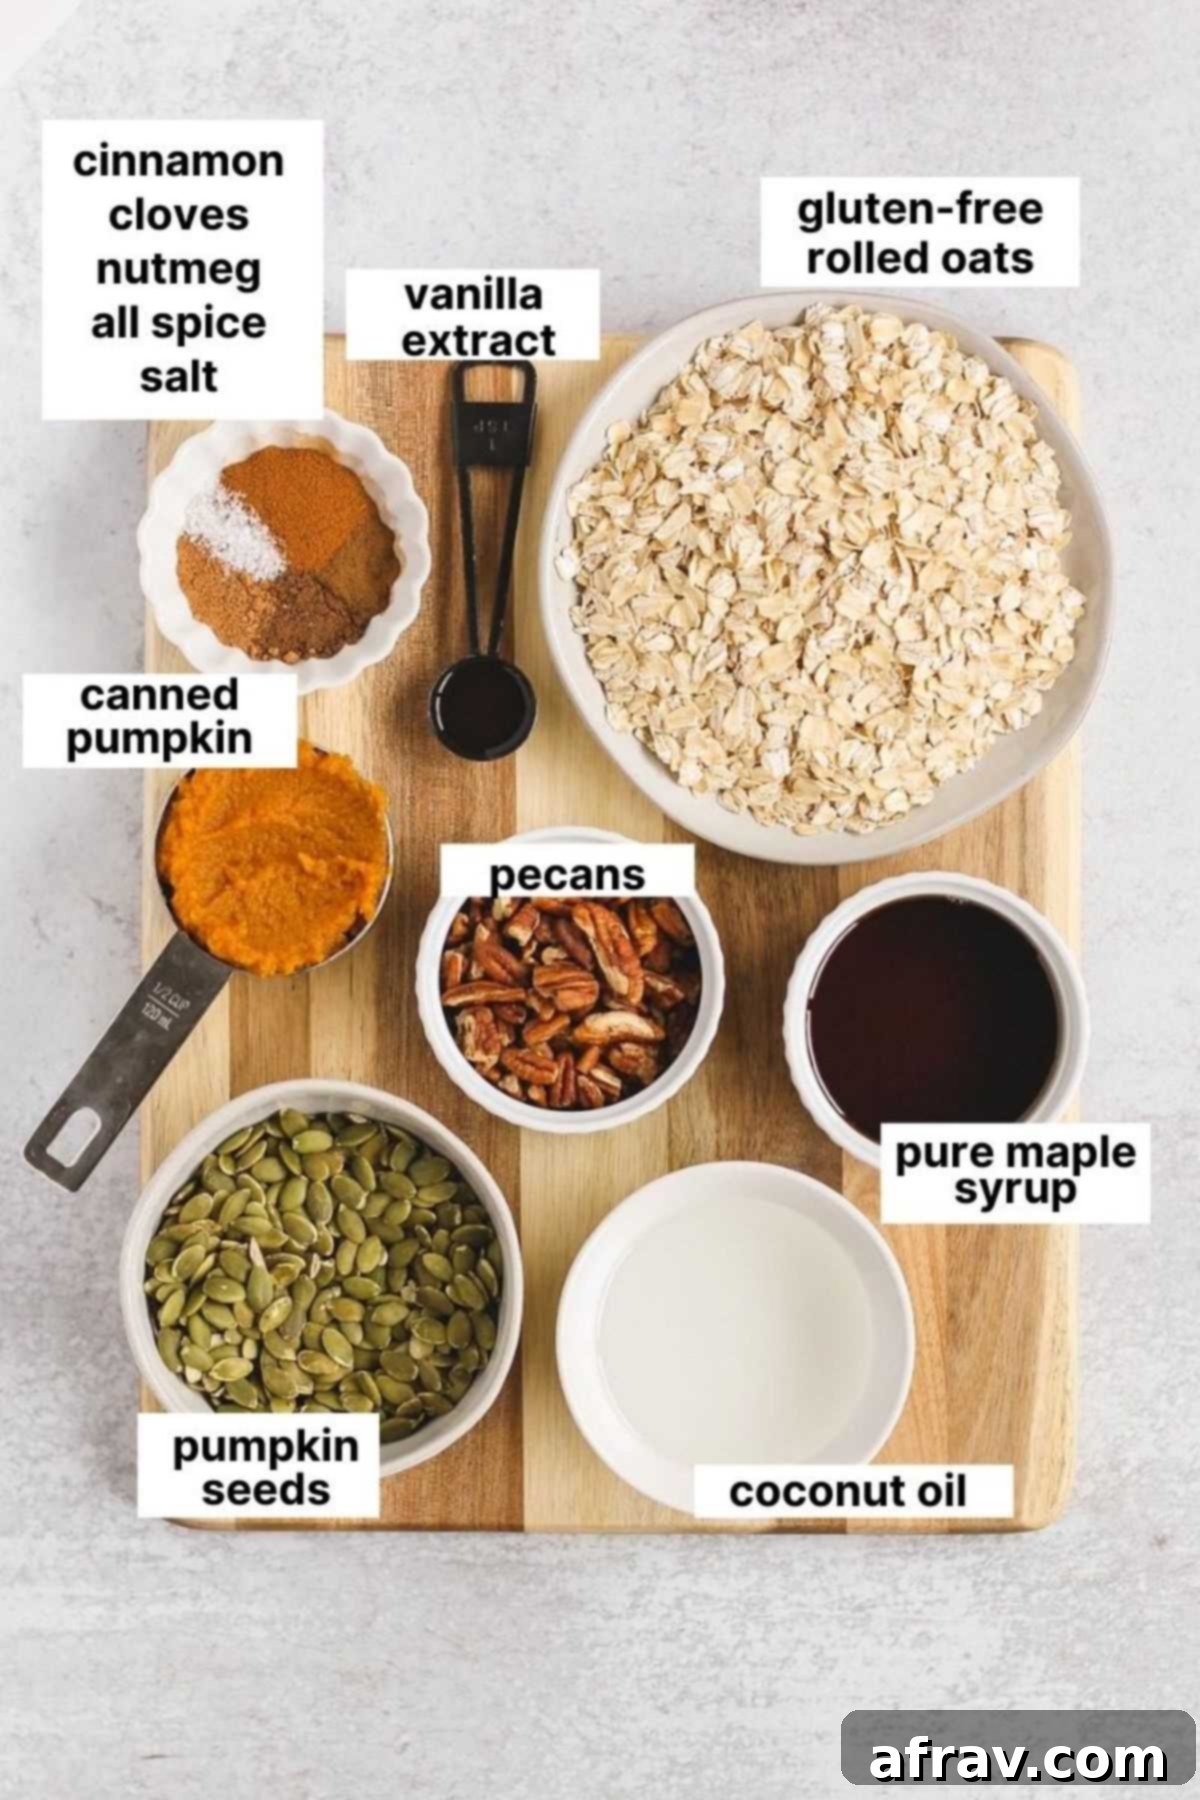
For a complete list of ingredients and precise measurements, please refer to the detailed recipe card located below. Below are some important notes and potential substitutions to help you achieve the best results.
Oats (Old-Fashioned / Rolled Oats)
It’s crucial to use **old-fashioned or rolled oats** for this recipe. Quick-cooking oats are too finely processed and will result in a mushy texture rather than the desired crispiness. If you have gluten sensitivities or celiac disease, always opt for certified gluten-free oats to prevent cross-contamination. Brands like One Degree, GF Harvest, and Bob’s Red Mill offer excellent certified gluten-free options. While oats are naturally gluten-free, they can often be processed on equipment that also handles wheat, barley, or rye, leading to gluten contamination.
Clean food tip: Like many grains, conventionally grown oats are often sprayed with glyphosate before harvest. Glyphosate is an herbicide linked to increased cancer risk. To avoid this chemical, it’s highly recommended to choose organic oats whenever possible. Organic certification ensures that such herbicides are not used in the growing process.
Canned Pumpkin (Pure Pumpkin)
When selecting your canned pumpkin, always ensure you’re grabbing **100% pure pumpkin puree**. It’s vital to avoid pumpkin pie filling or pumpkin pie mix, as these products come pre-sweetened and spiced, which will alter the flavor profile of your granola significantly and add unnecessary refined sugars.
Pumpkin Seeds (Pepitas)
Also known as pepitas, these are the inner green seeds that have been removed from their white fibrous shells. They add a wonderful crunch and a boost of healthy fats and nutrients to your granola. You’ll find them labeled as either “pumpkin seeds” or “pepitas” in stores.
Coconut Oil
You can use either refined or unrefined coconut oil for this recipe. I personally recommend unrefined coconut oil for its higher nutrient content. Many people worry about a strong coconut flavor, but rest assured, the rich pumpkin and spice notes in this granola will mask any subtle coconut taste, blending seamlessly into the overall flavor.
Fall Spices (Cinnamon, Nutmeg, Cloves, Allspice)
This recipe calls for a classic blend of fall spices, including ground cinnamon, nutmeg, cloves, and allspice. These spices are essential for achieving that signature warm, aromatic pumpkin flavor that makes this granola so irresistible. Adjust the amounts slightly to suit your personal preference for spice intensity.
Clean food tip: Whenever possible, opt for organic spices. The FDA doesn’t require conventional spice manufacturers to label added ingredients like sugar, salt, colors, or preservatives. This means you might be getting more than just spice in your blend. Certified organic spices adhere to stricter standards, ensuring no hidden additives and no chemical pesticides were used during their cultivation. This guarantees pure, high-quality flavor and a cleaner meal.
Easy Step-by-Step Directions for Perfect Pumpkin Granola
Making homemade granola is surprisingly simple, and this pumpkin spice version is no exception. Follow these straightforward steps to create a batch of delightful, crunchy granola!
- Preheat your oven to 325 degrees F (160°C). This ensures the oven is at the correct temperature for even baking as soon as your granola is ready to go in.
- Combine the dry ingredients and spices: In a large mixing bowl, add your rolled oats, chopped pecans, pumpkin seeds (pepitas), salt, ground cinnamon, nutmeg, cloves, and allspice. Stir them thoroughly until all the ingredients are well distributed. This ensures every bite of granola will be perfectly seasoned.
- Next, prepare the wet ingredients: In a separate, medium-sized bowl, whisk together the canned pumpkin puree, melted coconut oil, pure maple syrup (ensure it’s at room temperature to prevent the coconut oil from solidifying), and vanilla extract. Whisk until the mixture is smooth and fully combined.
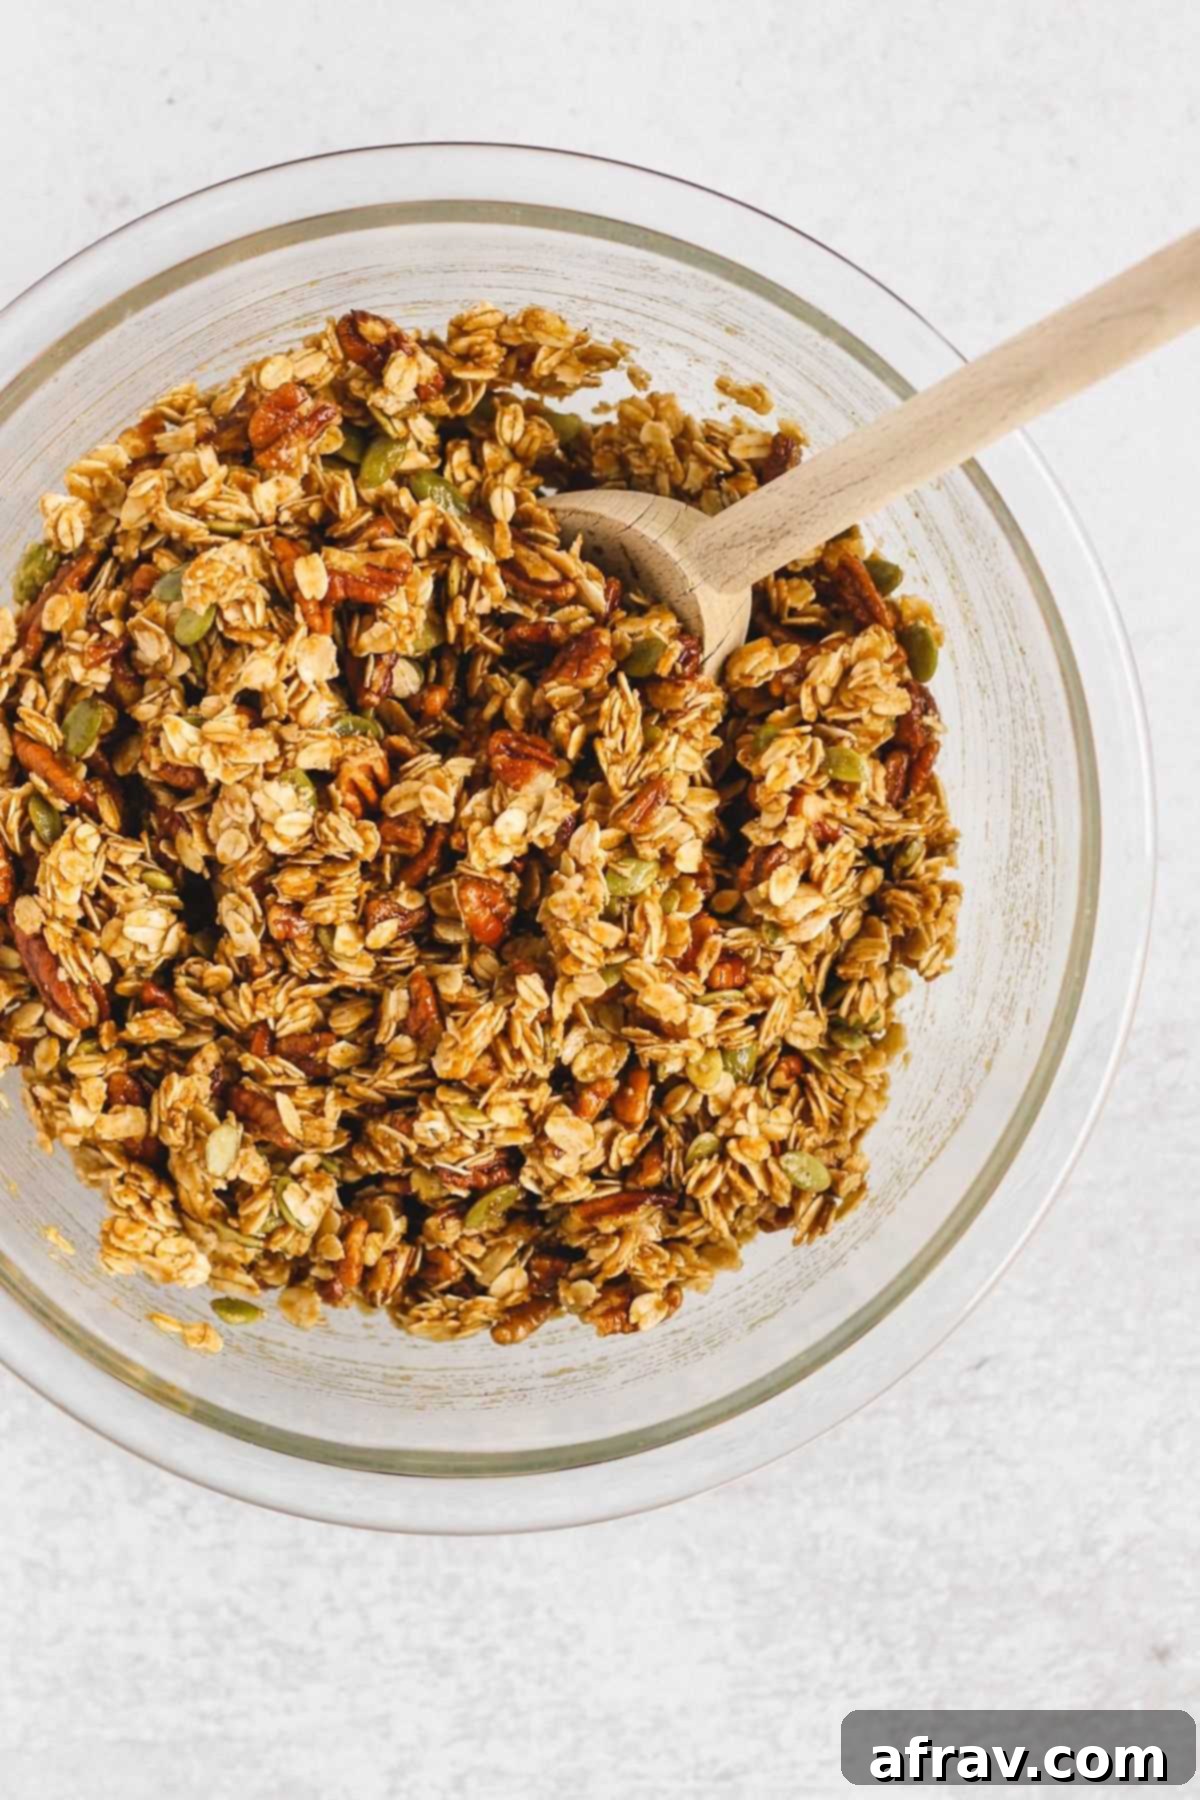
- Mix wet and dry ingredients: Pour the flavorful pumpkin mixture over the dry oat and nut blend. Using a sturdy spatula or your hands, mix vigorously until all the dry ingredients are completely coated with the pumpkin mixture. Make sure there are no dry spots left behind.
- Spread granola onto a lined baking sheet: Line a large baking sheet with parchment paper. This prevents sticking and makes cleanup a breeze. Pour the entire granola mixture onto the prepared sheet. Using the back of your spatula or your hands, spread the granola evenly across the pan. Gently press it down lightly. This crucial step helps to create those wonderful, desirable “clumpy” pieces of granola after baking.
- Bake to golden perfection: Place the baking sheet in your preheated oven and bake for 30-35 minutes. Halfway through the baking time (around 15-20 minutes), remove the pan from the oven, give the granola a good stir, and then press it down firmly again with your spatula. This ensures even browning and helps form more clusters.
- Allow to set after baking: Your granola is done when the edges begin to lightly brown and your kitchen is filled with an irresistible, warm, and spicy aroma (be careful not to burn it!). It might appear slightly soft or underdone when you first pull it out of the oven, but don’t worry – the granola will firm up and become perfectly crispy as it cools. Pro tip: Resist the urge to stir it immediately after baking! Letting the granola cool completely and undisturbed on the baking sheet is the secret to achieving those satisfyingly large, crunchy clumps.
- Enjoy your incredibly fragrant and delicious homemade pumpkin granola!
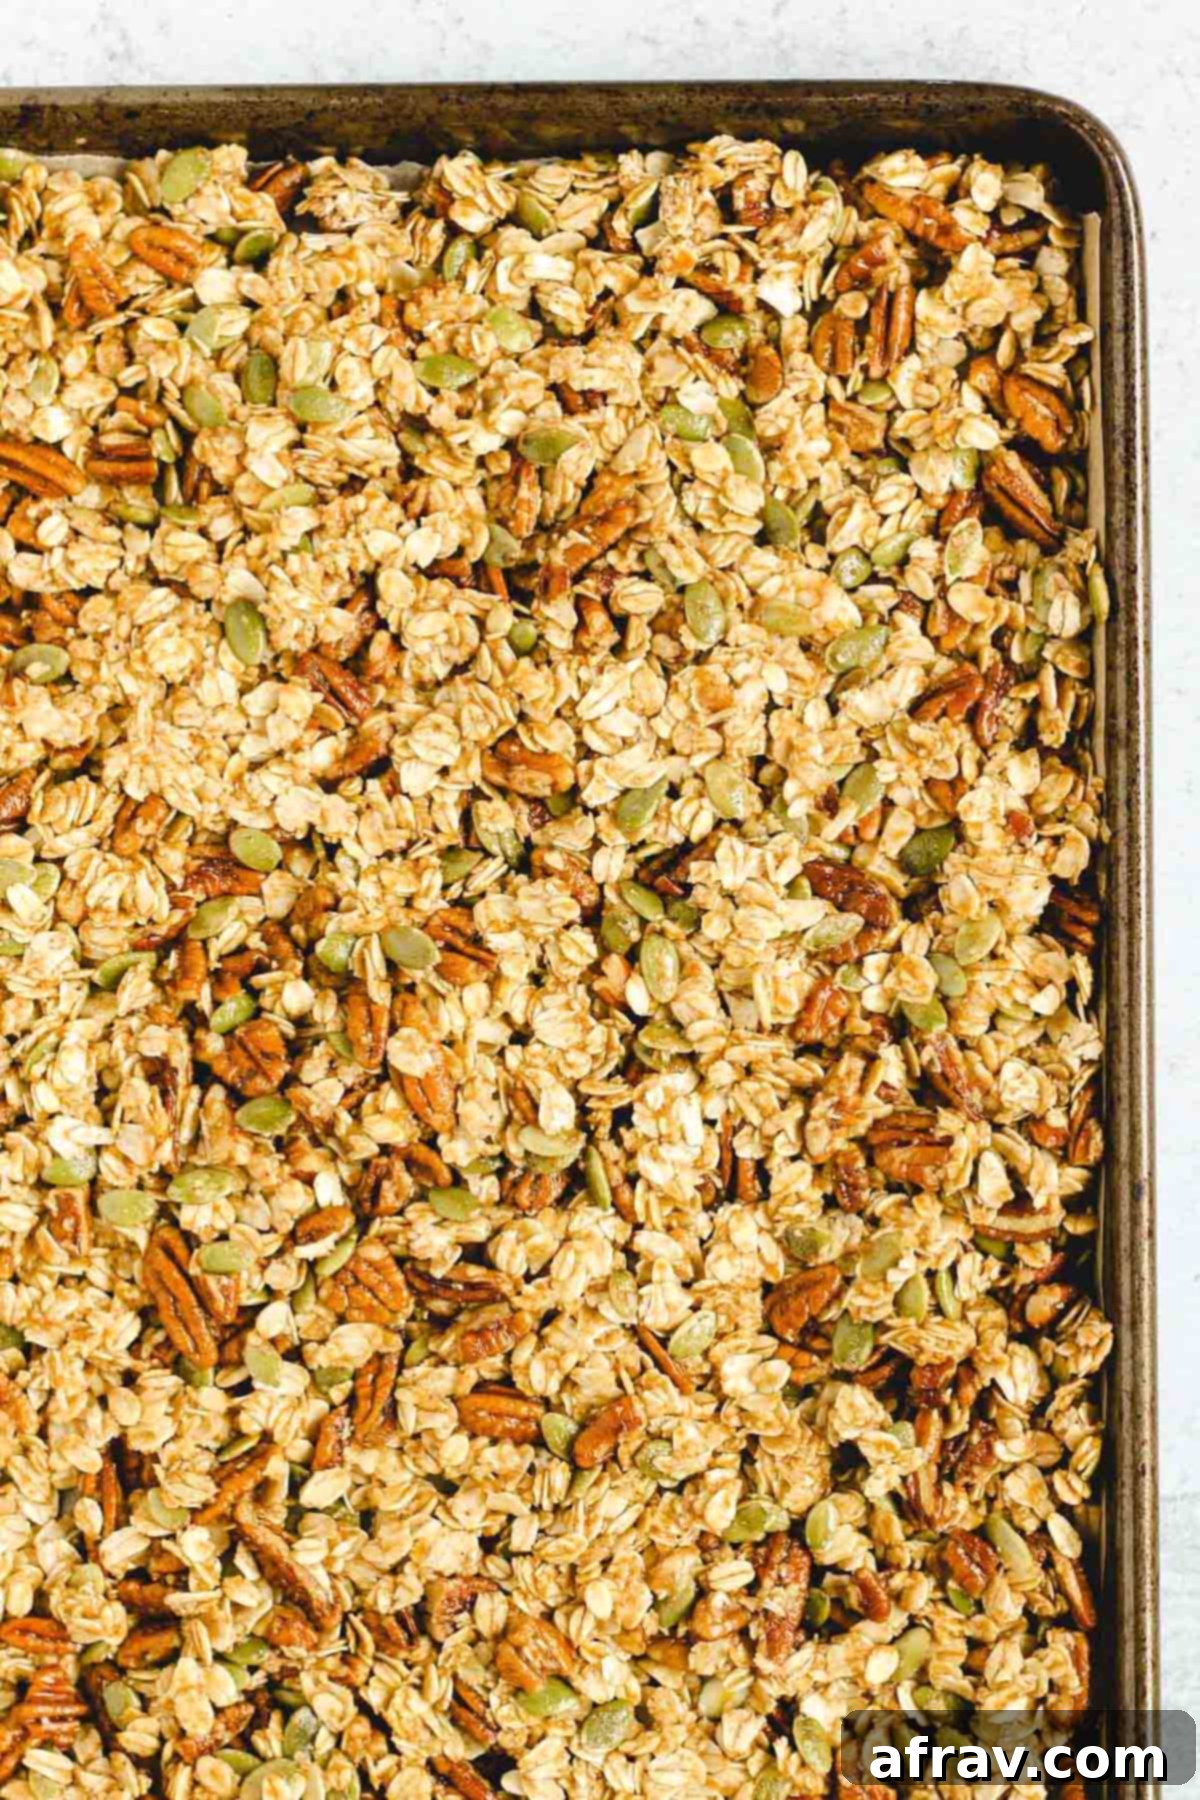
Expert Tips for Crafting Perfectly Chunky and Flavorful Granola
Achieving the perfect homemade granola is easy with a few simple tricks. Keep these tips in mind for a truly exceptional batch every time:
- **Thorough Mixing is Key:** Ensure you **fully mix** all the dry ingredients and then evenly coat them with the wet pumpkin mixture. Every oat flake and nut should be lightly glistening and coated. This step is crucial for an even distribution of flavor and for promoting proper clumping during baking. Don’t rush it!
- **Press for Clumps:** Before placing the granola in the oven, and again after stirring it midway through baking, use the back of a spatula or your hands to **firmly press the granola into the pan**. This action compacts the mixture, encouraging the formation of those delightful, satisfyingly large clusters that everyone loves in their granola.
- **Cool Completely for Crunch:** After baking, the granola will still be somewhat soft. It is absolutely essential to **allow it to fully cool** and harden on the baking sheet before you break it apart or transfer it to a storage container. This cooling process is where the granola becomes wonderfully crisp and helps to solidify those beautiful clumps you worked to create.
- **Avoid Overbaking:** Keep a close eye on your granola, especially towards the end of the baking time. Once you notice the edges of the oats are just starting to lightly brown and your kitchen is filled with a very fragrant, spicy aroma (not a burnt smell), your granola is likely done. Granola continues to cook and harden slightly as it cools outside the oven, so trust the process and **don’t overbake**! Burnt granola is a sad granola.
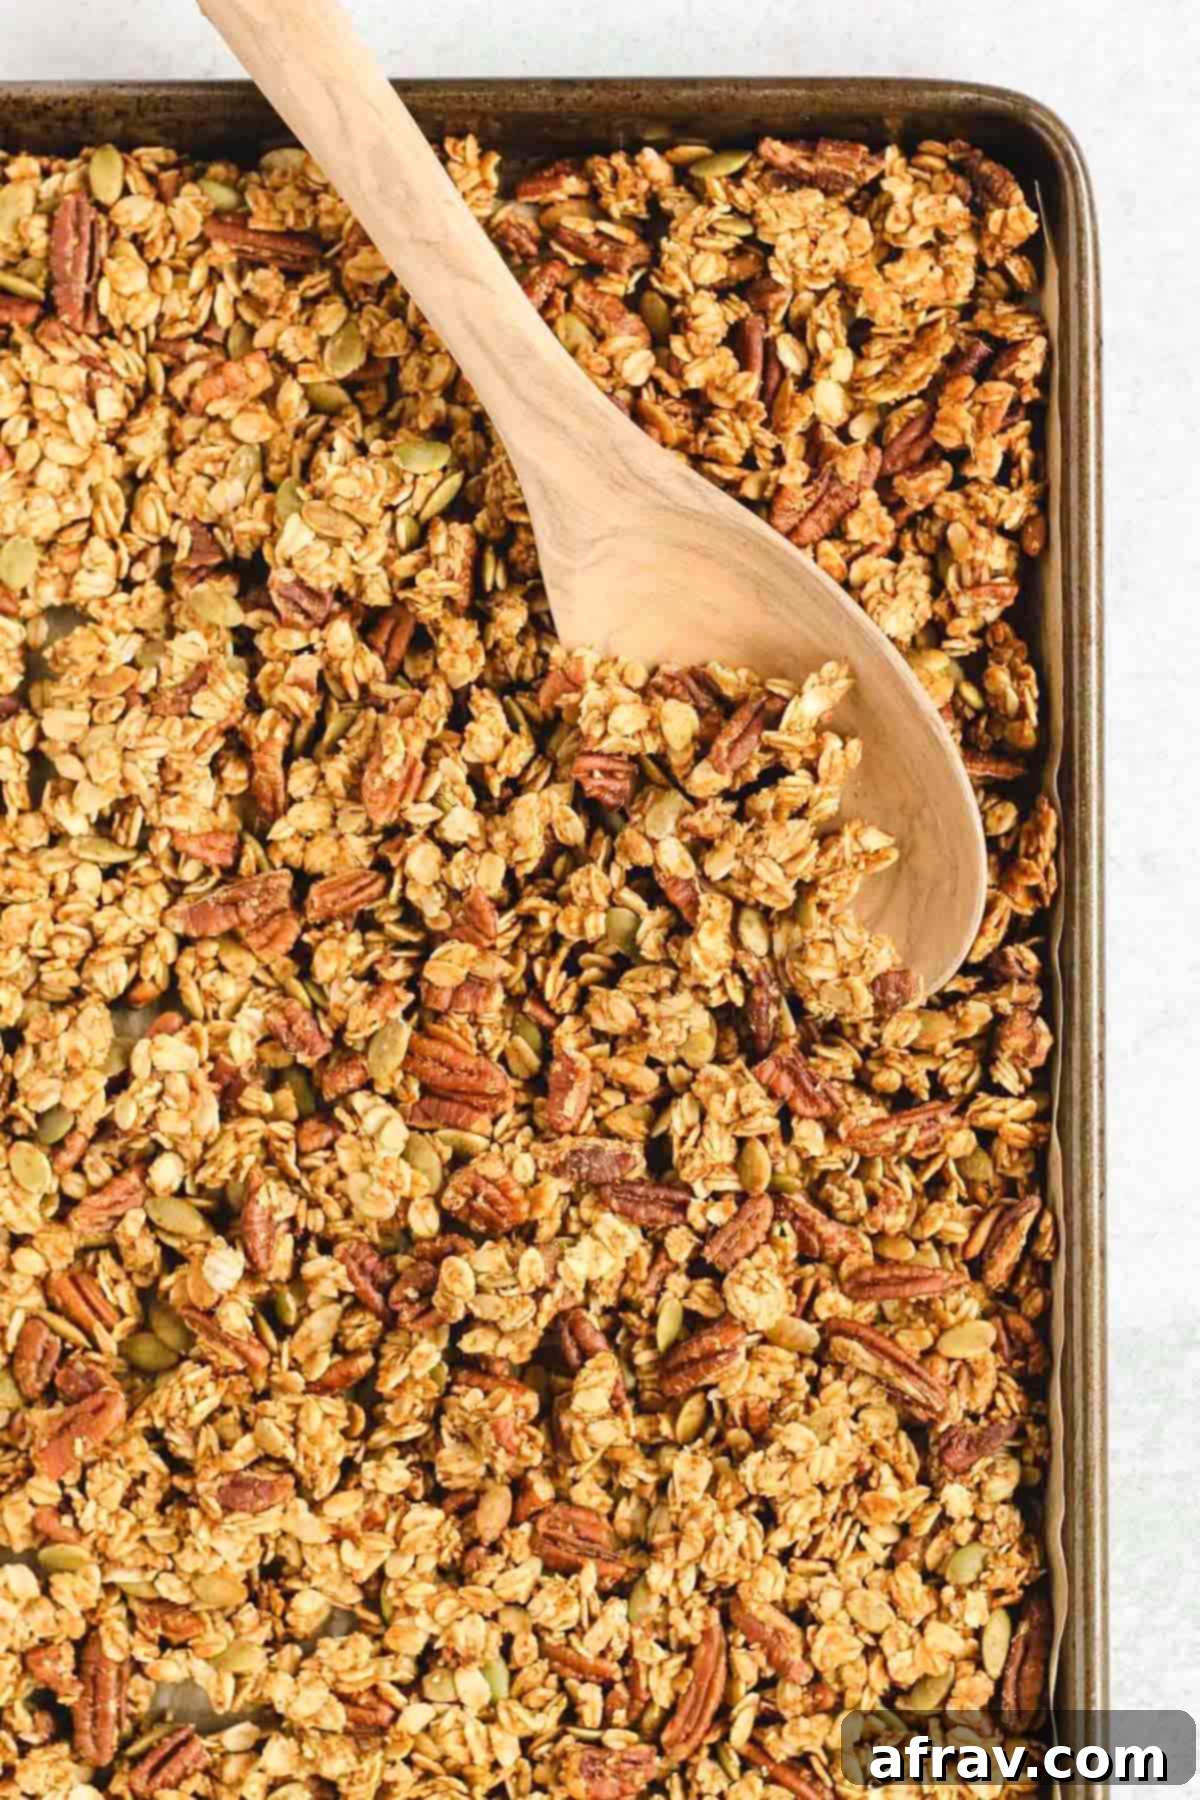
Delicious Ways to Enjoy Your Pumpkin Granola
This homemade pumpkin granola is incredibly versatile and can be enjoyed in so many ways beyond just breakfast. Here are some of my favorite serving suggestions:
- Classic Breakfast or Snack with Milk or Yogurt: Pour a generous serving into a bowl and enjoy it with your favorite plant-based milk (like almond or oat milk) or creamy Greek yogurt. Add some fresh berries or sliced bananas for a quick, satisfying, and wholesome start to your day or a refreshing midday snack.
- An Irresistible Ice Cream Topping: Elevate your dessert by sprinkling a handful of this crunchy granola over a scoop of your favorite ice cream. Vanilla, caramel swirl, or even a cinnamon-flavored ice cream would pair exquisitely with the warm spices of the granola.
- Creative Apple Nachos: For a fun and healthy twist, make some apple nachos! Slice crisp apples thinly, drizzle them with your favorite nut butter, and then generously scatter this pumpkin granola on top. You can even use air fryer apples for a warm, tender base.
- Enhance Your Pancakes or Waffles: Add extra texture and flavor to your breakfast staples. Prepare a batch of easy gluten-free waffles or fluffy oat flour pancakes, then sprinkle this pumpkin granola on top along with a drizzle of pure maple syrup. It’s a game-changer!
- Perfect as a Standalone Snack: Sometimes, the best way to enjoy this granola is simply by the handful! It makes a wonderfully delicious, energy-boosting, and healthy snack straight from the jar, perfect for curbing cravings anytime.
And remember, homemade granola makes an incredibly thoughtful and personal gift! It’s one of my go-to presents during the holiday season. Just scoop some into decorative mason jars, tie a festive ribbon around the lid, and voilà – you have a perfect, heartwarming gift for family, friends, and neighbors!
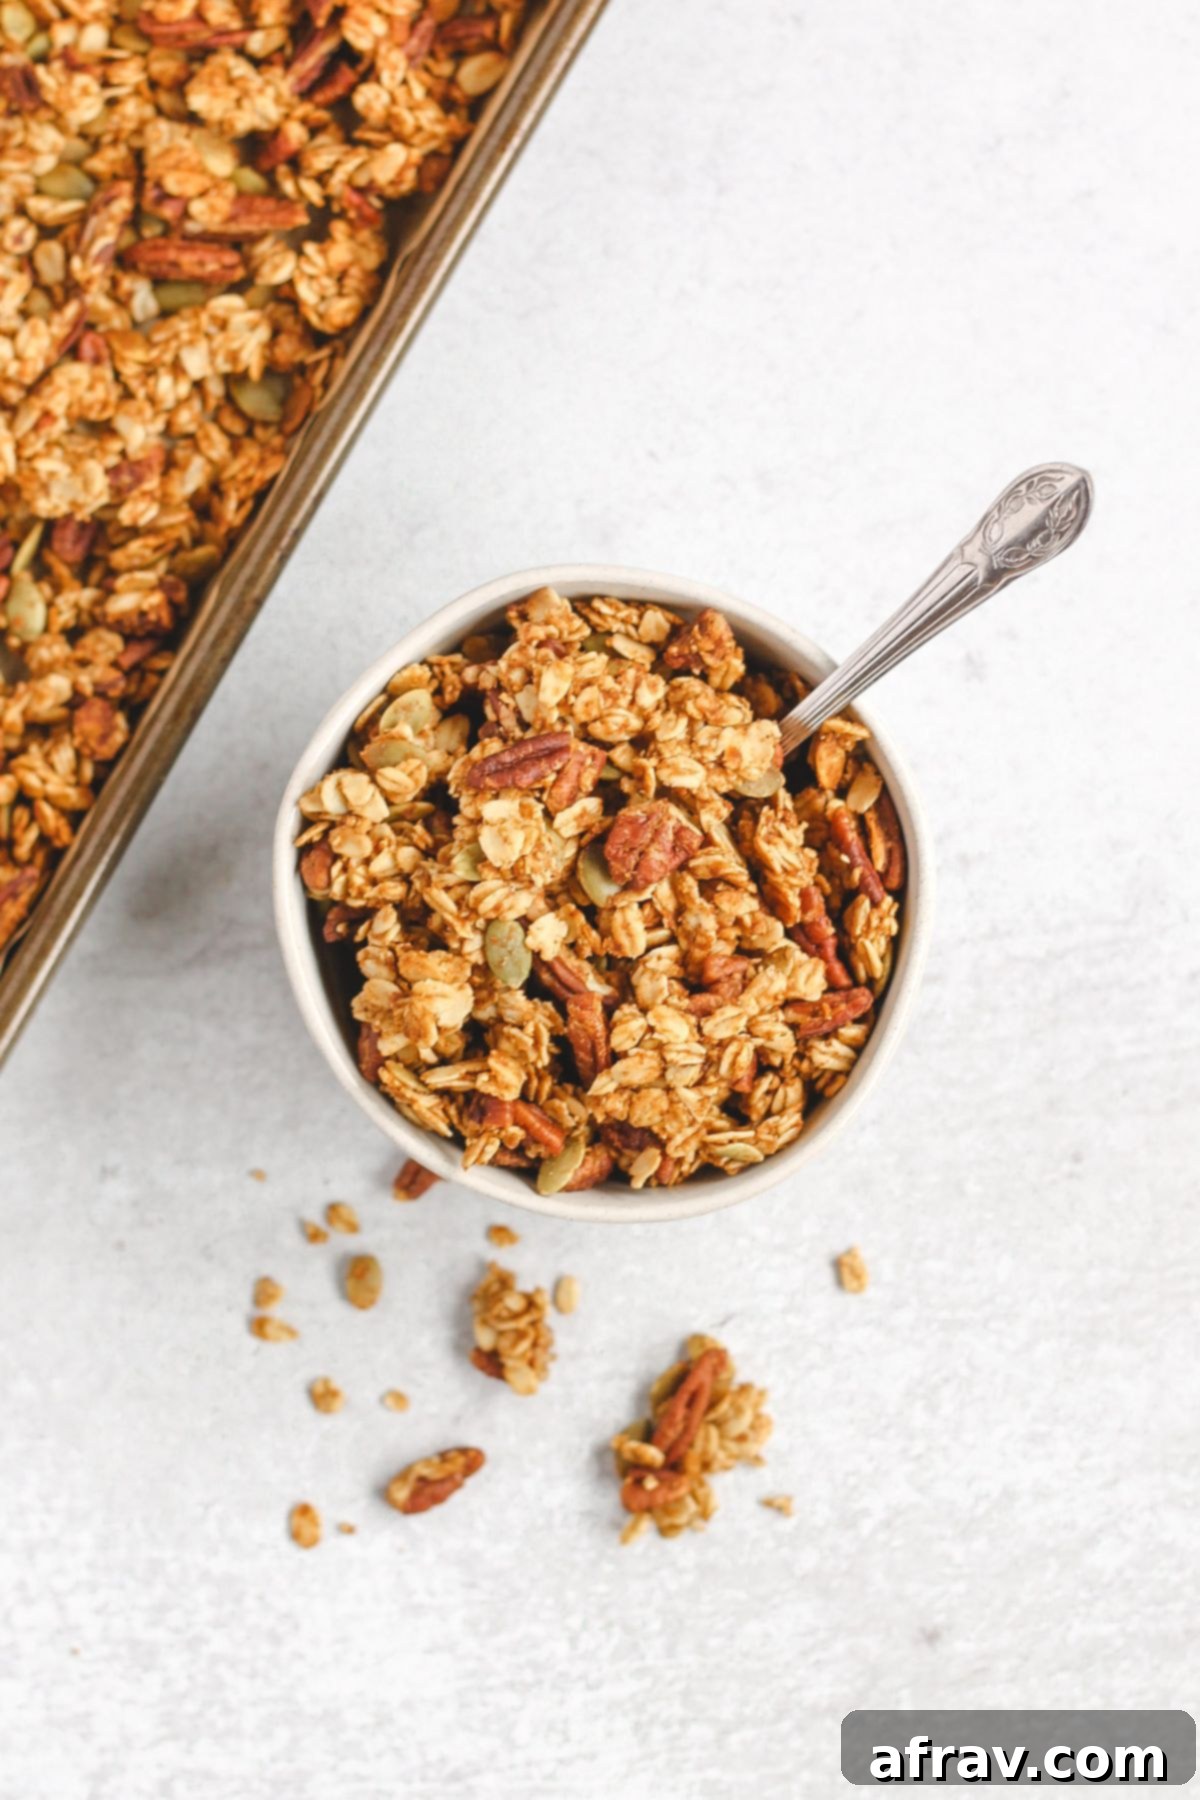
How to Store Your Homemade Pumpkin Granola for Maximum Freshness
Once your homemade granola has completely cooled, transfer it to an airtight container. Stored properly, it will remain fresh, crunchy, and delicious for up to two weeks at room temperature or in the refrigerator – if it lasts that long! The key to preventing soggy granola is ensuring it is **fully cooled** before sealing it away. Any residual warmth will create condensation inside the container, leading to a loss of crispness. Nobody wants soggy granola!
Explore More Delicious Fall Recipes
If you’re loving the flavors of fall, be sure to check out these other fantastic seasonal recipes from my kitchen:
- Apple Cinnamon Baked Oatmeal
- Gluten-free Chocolate Chip Pumpkin Bread
- Easy Healthy Apple Crisp (gluten-free)
- Gluten-free Pumpkin Scones
I genuinely hope you love this **homemade pumpkin granola** as much as my family and I do! It’s a simple pleasure that truly embodies the spirit of fall. If you whip up a batch, please let me know your thoughts! Leave a comment below with your feedback, and don’t forget to share a photo on Instagram – be sure to mention @CleanPlateMama so I can see your delicious creation!
Homemade Pumpkin Granola
Print
Pin
Rate
Save This Recipe For Later!
We’ll email this post to you, so you can come back to it later. Plus, enjoy weekly clean eating recipes as a bonus.
Equipment
-
2 mixing bowls
-
1 Baking sheet
Ingredients
- 3 cups gluten-free rolled oat/old fashioned oats (if not gluten-free, regular oats work)
- 1 ½ cups pecans
- ½ cup pumpkin seeds
- 1 tsp. salt
- 1 ½ tsp. ground cinnamon
- ½ tsp. ground nutmeg
- ½ tsp. ground cloves
- ¼ tsp. allspice
- ½ cup pumpkin puree (not pumpkin pie mix)
- ⅓ cup melted coconut oil
- ½ cup pure maple syrup (room temp)
- 1 tsp. vanilla extract
Instructions
-
Preheat oven to 325 degrees F (160°C).
-
In a large bowl, combine the oats, pecans, pumpkin seeds, salt, cinnamon, nutmeg, cloves, and allspice. Stir well.
-
In a separate bowl, whisk the pumpkin puree, melted coconut oil, pure maple syrup, and vanilla until smooth. Add this to the oat mixture and mix thoroughly until all ingredients are fully combined and coated.
-
Line a baking sheet with parchment paper and pour the finished granola mix onto the prepared sheet. Using the back of a spatula or your hands, spread it evenly and lightly push down the granola into the pan. This helps create delicious clumps.
-
Bake for 30-35 minutes, stirring at around the 20-minute mark. After stirring, press and lightly push down the granola into the pan again. Your granola is done when the edges begin to lightly brown and it’s very fragrant. Do not overcook – burnt granola is not tasty! Note: granola will continue to harden and crisp up as it cools.
-
Allow the granola to fully cool on the baking sheet before breaking it up, mixing, and transferring it to a storage container. Cooling completely helps ensure extra clumpy and crunchy granola.
-
Enjoy your wholesome and flavorful homemade pumpkin granola!
Notes
- **Oat Type Matters:** Always use rolled oats (also known as old-fashioned oats), not quick-cooking or instant oats. Rolled oats provide the best texture and prevent the granola from becoming mushy.
- **Maple Syrup Temperature:** When combining your wet ingredients, make sure your pure maple syrup is at room temperature. This is important to prevent the melted coconut oil from solidifying again into tiny solid pieces upon contact with a cold liquid, which can lead to an uneven coating.
- **Creating Granola Clumps:** For truly “clumpy” granola, ensure you press the granola down firmly into the baking pan before baking. Repeat this pressing action after you stir it halfway through the baking time. Using the back of a spatula works wonderfully for this. Additionally, allowing the granola to cool completely and undisturbed on the baking sheet is crucial for those desirable clumps to form and set.
- **Baking Sheet Choice:** I recommend using a commercial-sized baking sheet. Its larger surface area allows you to spread the granola thinly and evenly, which is ideal for consistent baking and promoting the formation of those lovely clumps.
Substitutions and Fun Add-ins
- **Nut Alternatives:** Feel free to substitute any nut for the pecans. Almonds, walnuts, or even cashews would be excellent choices, each adding its unique flavor and crunch.
- **Coconut Addition:** For an extra layer of flavor and texture, consider adding about ½ cup of unsweetened coconut flakes or shredded coconut to your dry ingredients mixture before coating with the wet ingredients.
- **Post-Bake Treats:** AFTER the granola has baked and cooled completely, you can mix in some chocolate chips (dark or semi-sweet) or your favorite dried fruits like cranberries, raisins, or chopped dried apricots for an extra special touch. Adding these after baking ensures they don’t burn or become overly hard.
