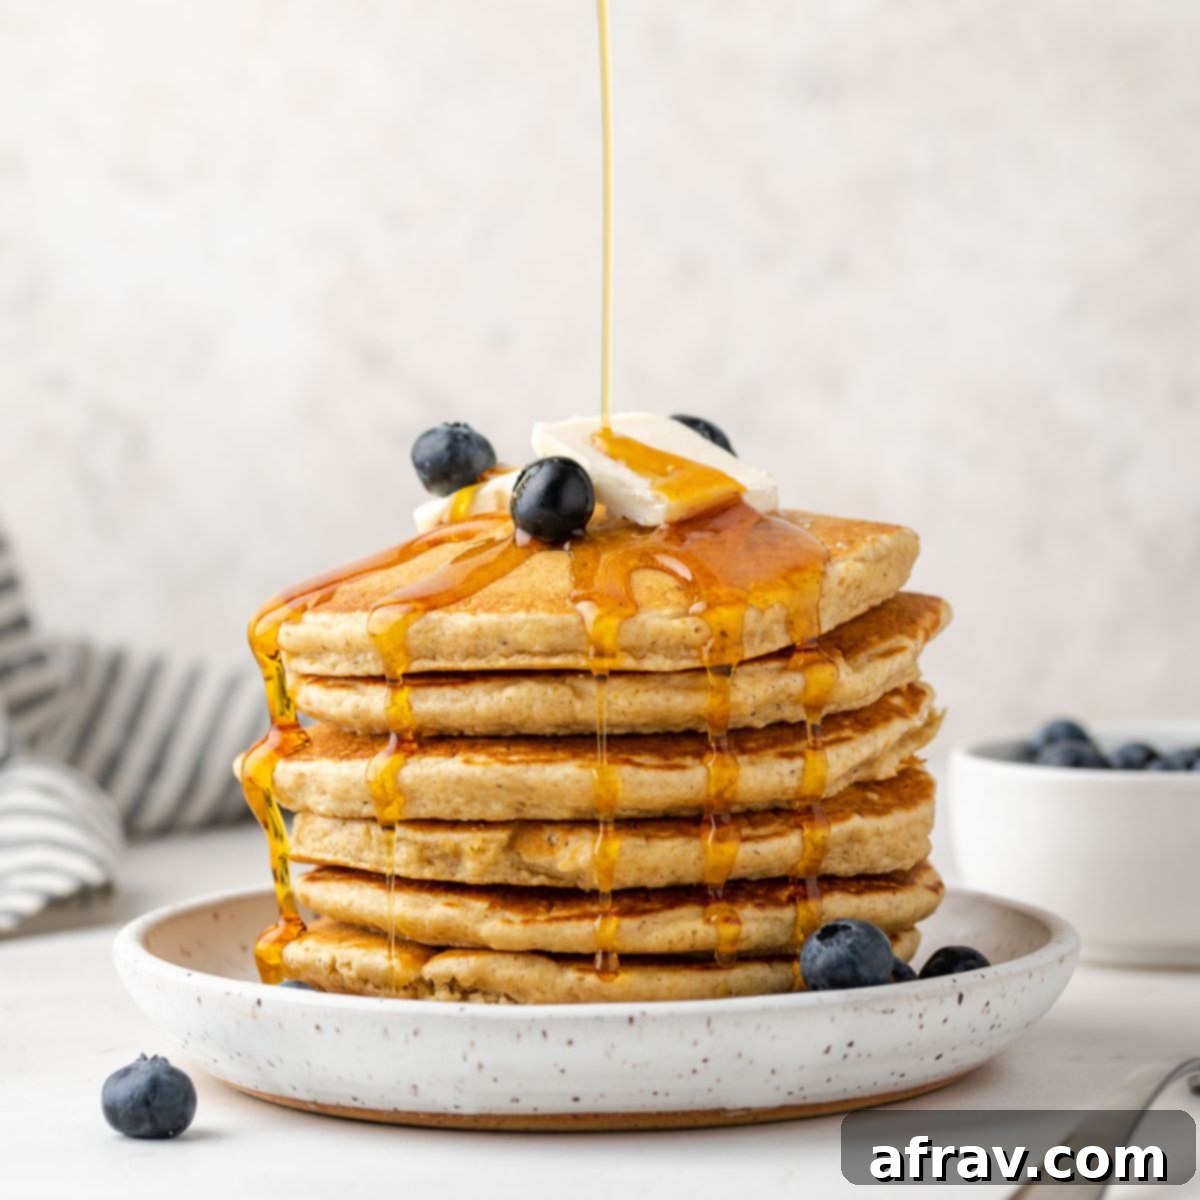
The Ultimate Guide to Fluffy Oat Flour Pancakes (Gluten-Free & Healthy!)
Discover how to make the most delicious, soft, and fluffy oat flour pancakes with this easy, healthy, and simple recipe. Perfect for any breakfast or a delightful weekend brunch, these pancakes are a game-changer for those seeking a wholesome start to their day.
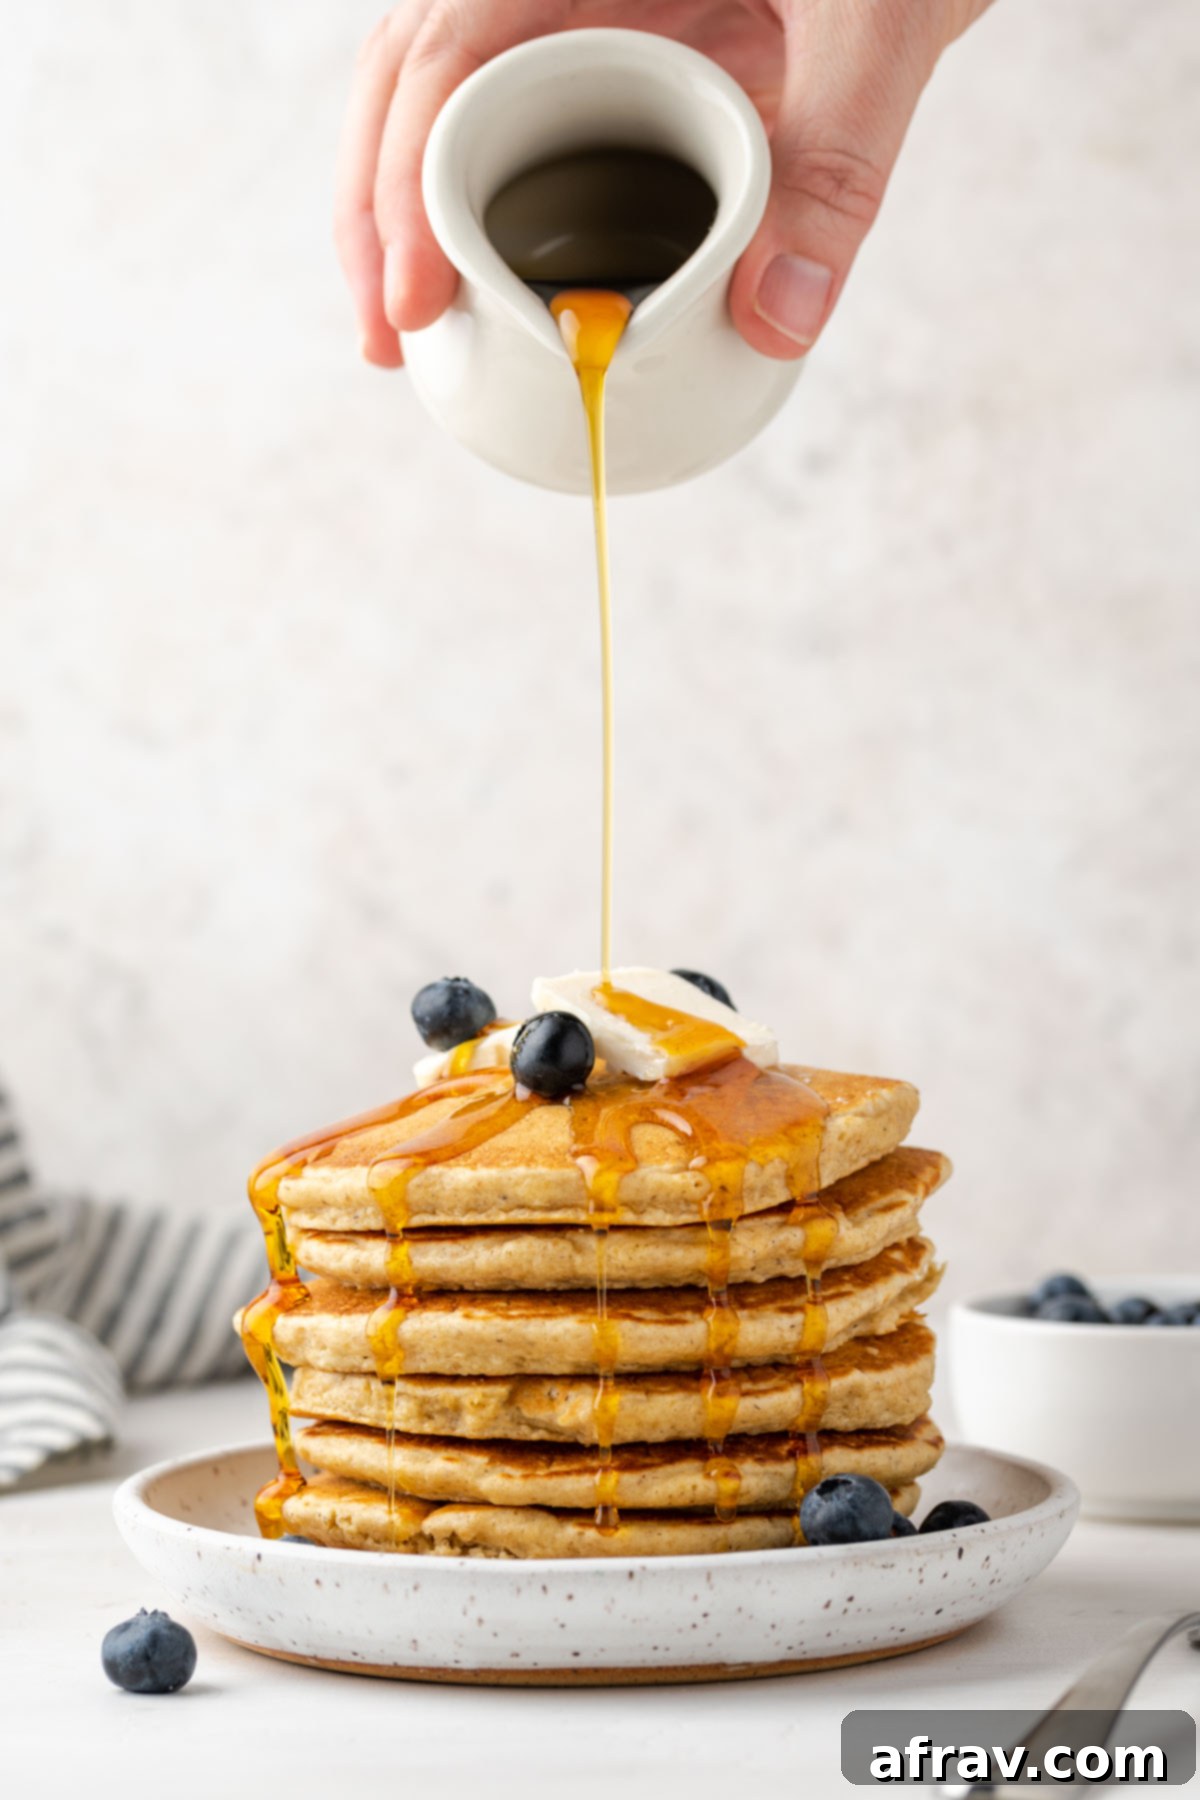
Get ready to fall in love with these oat flour pancakes! They boast an incredibly soft and fluffy texture, coupled with a rich whole-grain flavor and a subtle nutty undertone. What makes them even better? They’re minimally sweetened, packed with the goodness of whole grains, naturally gluten-free (when using certified GF oats), and easily made dairy-free. This is truly a pancake recipe you can feel fantastic about serving to your family or enjoying all by yourself. Even if you don’t follow a gluten-free diet, you absolutely need to give these a try – their taste and texture are simply superior!
If you’re as big a fan of oat flour as I am, you’ll be thrilled to explore more of my favorite oat-based creations. Don’t miss out on these other delightful recipes:
- Apple Cinnamon Oat Muffins
- Gluten-Free Dairy-Free Waffles
- Chocolate Protein Banana Bread
- Oat Flour Chocolate Chip Cookies
- Fudgy Oat Flour Brownies
- Gluten-Free Chocolate Chip Pumpkin Bread
[feast_advanced_jump_to]
Wholesome Ingredients for Your Oat Flour Pancakes
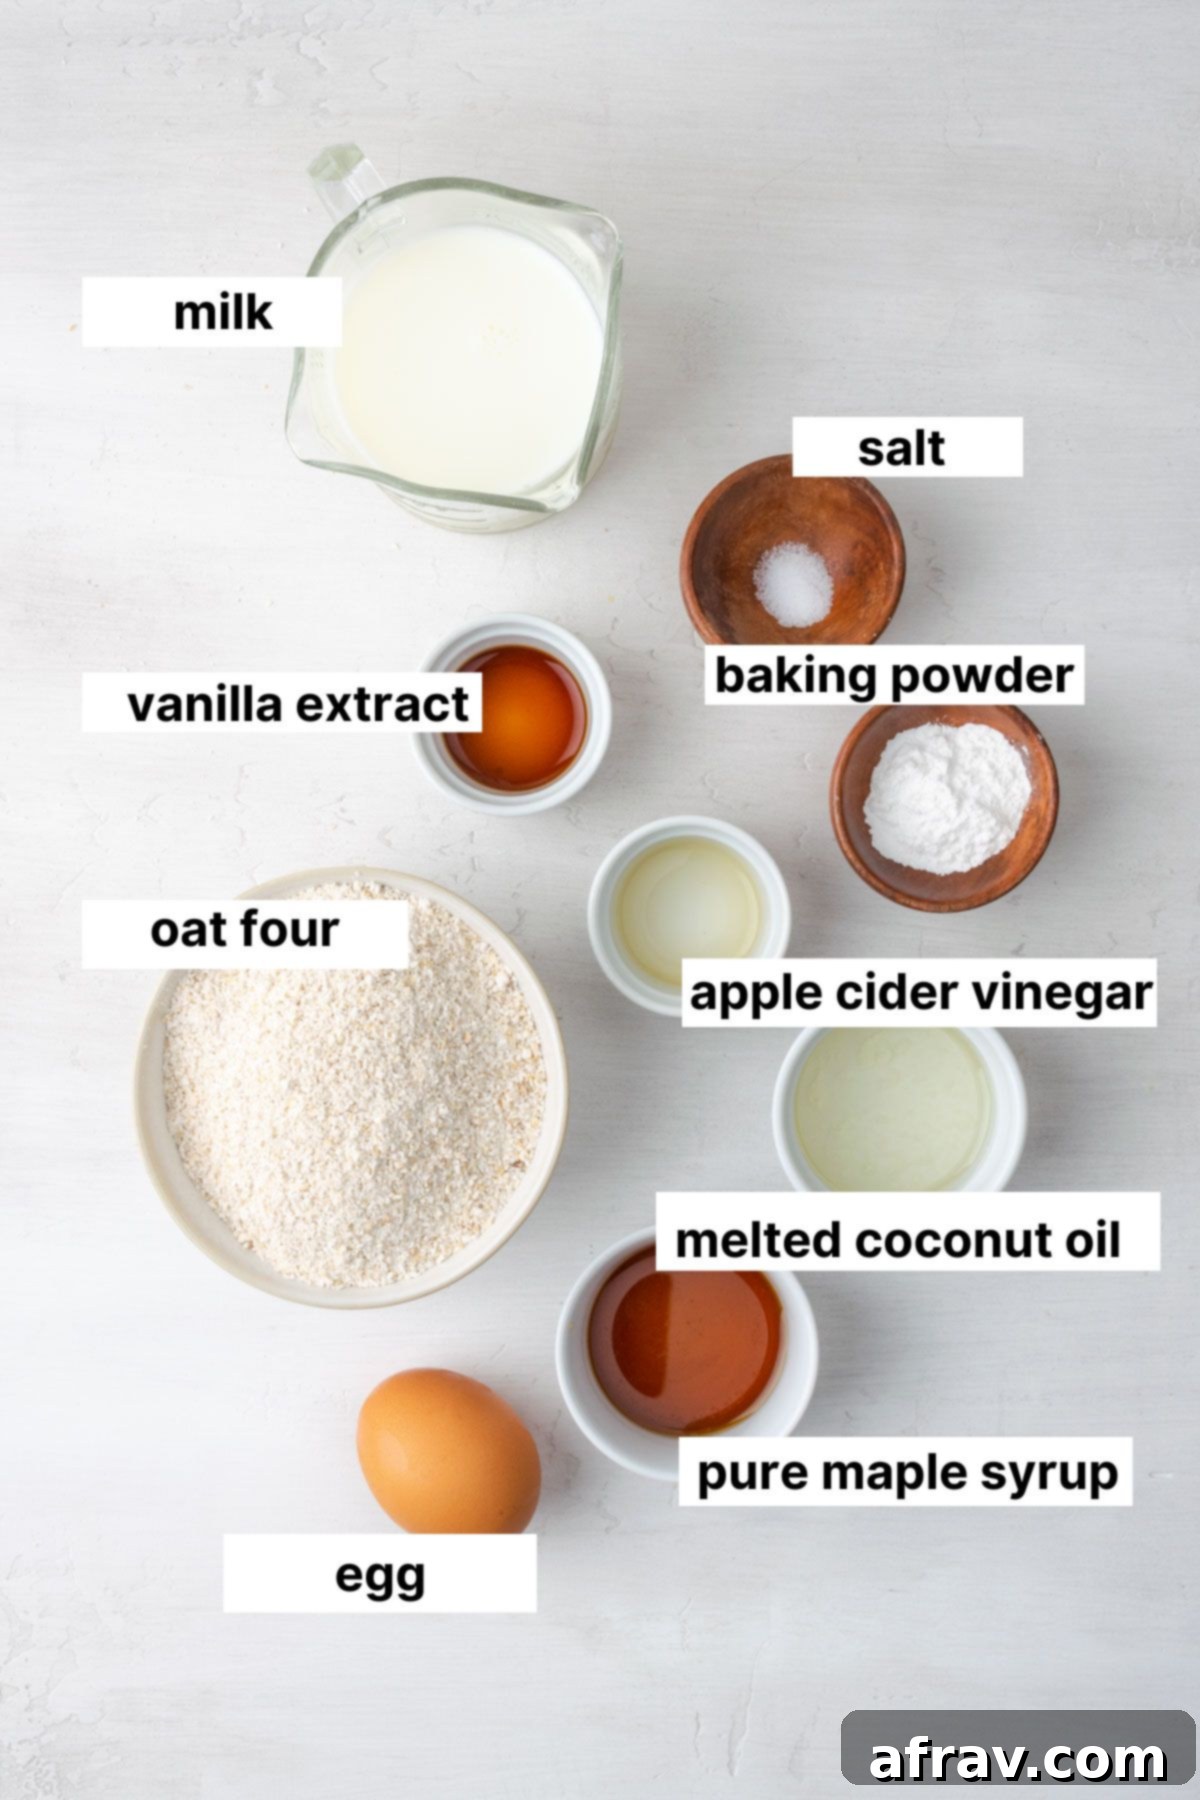
Crafting these delectable pancakes requires a handful of simple, wholesome ingredients you likely already have on hand. Below is a detailed look at each component, along with helpful notes and substitution ideas to fit your dietary needs and preferences. For a complete list of ingredients and precise amounts, please refer to the recipe card at the bottom of this post.
- OAT FLOUR – The star of our recipe! You have the option to either purchase high-quality oat flour or make your own oat flour from scratch. If your goal is to make these pancakes entirely gluten-free, it’s crucial to use certified gluten-free oat flour. While oats are naturally free of gluten, they can easily become contaminated during processing at facilities that also handle wheat, barley, or rye. Choosing certified gluten-free ensures purity.
- EGG – This ingredient acts as a vital binding agent, helping to hold the pancakes together and contributing to their structure. To make these pancakes vegan, you can easily substitute the egg with a flax egg (1 tablespoon ground flaxseed mixed with 3 tablespoons water, rested for 5 minutes) or half of a small mashed banana.
- MILK – Feel free to use any type of milk you prefer. Given my preference for dairy-free options, I typically opt for almond milk, which lends a lovely light texture. Other plant-based milks like soy, oat, or cashew milk work equally well. If dairy isn’t an issue for you, regular cow’s milk is also perfectly fine.
- APPLE CIDER VINEGAR – This ingredient might seem unusual, but it plays a crucial role! When combined with baking powder, the acidity from the apple cider vinegar creates a chemical reaction that produces carbon dioxide bubbles, which are essential for making these pancakes wonderfully light and fluffy. If apple cider vinegar isn’t available, an equal amount of fresh lemon juice will work as a suitable alternative.
- COCONUT OIL – For the fat component, melted coconut oil is my go-to, adding a subtle richness. However, you can also use avocado oil, extra-virgin olive oil, or melted unsalted butter, depending on your dietary needs and flavor preferences.
- BAKING POWDER & SALT – These are standard leavening agents and flavor enhancers that work in harmony with the apple cider vinegar to give the pancakes their perfect rise and balanced taste.
- MAPLE SYRUP & VANILLA EXTRACT – Pure maple syrup provides a natural sweetness, while vanilla extract adds a warm, aromatic depth that complements the wholesome oat flavor. Honey can be used as an alternative sweetener if desired.
Clean Food Tip: When sourcing your ingredients, I highly recommend choosing organic oat flour. Like many grains, conventional oats are often sprayed with glyphosate (a widely used herbicide linked to increased cancer risk) as a desiccant just before harvest. Opting for organic varieties significantly reduces your exposure to these chemicals, ensuring a cleaner meal.
Why Choose Oat Flour for Your Pancakes?
Beyond being a fantastic gluten-free alternative, oat flour brings a wealth of nutritional benefits and unique qualities to your pancakes. Unlike traditional all-purpose flour, oat flour is a whole grain, meaning it retains all parts of the oat kernel – the bran, germ, and endosperm. This results in a higher content of fiber, protein, and essential minerals such as manganese, phosphorus, magnesium, and zinc.
The soluble fiber in oats, particularly beta-glucan, is well-known for its heart-healthy properties, helping to lower cholesterol levels and stabilize blood sugar. This makes oat flour pancakes a more satisfying and sustained energy source, preventing the sugar crashes often associated with refined flour alternatives. Additionally, the slight nutty flavor of oat flour adds an extra layer of deliciousness that sets these pancakes apart.
How To Make Fluffy Oat Flour Pancakes
Making these oat flour pancakes is straightforward and quick, even for beginner cooks. Follow these simple steps to achieve perfect, fluffy results every time:
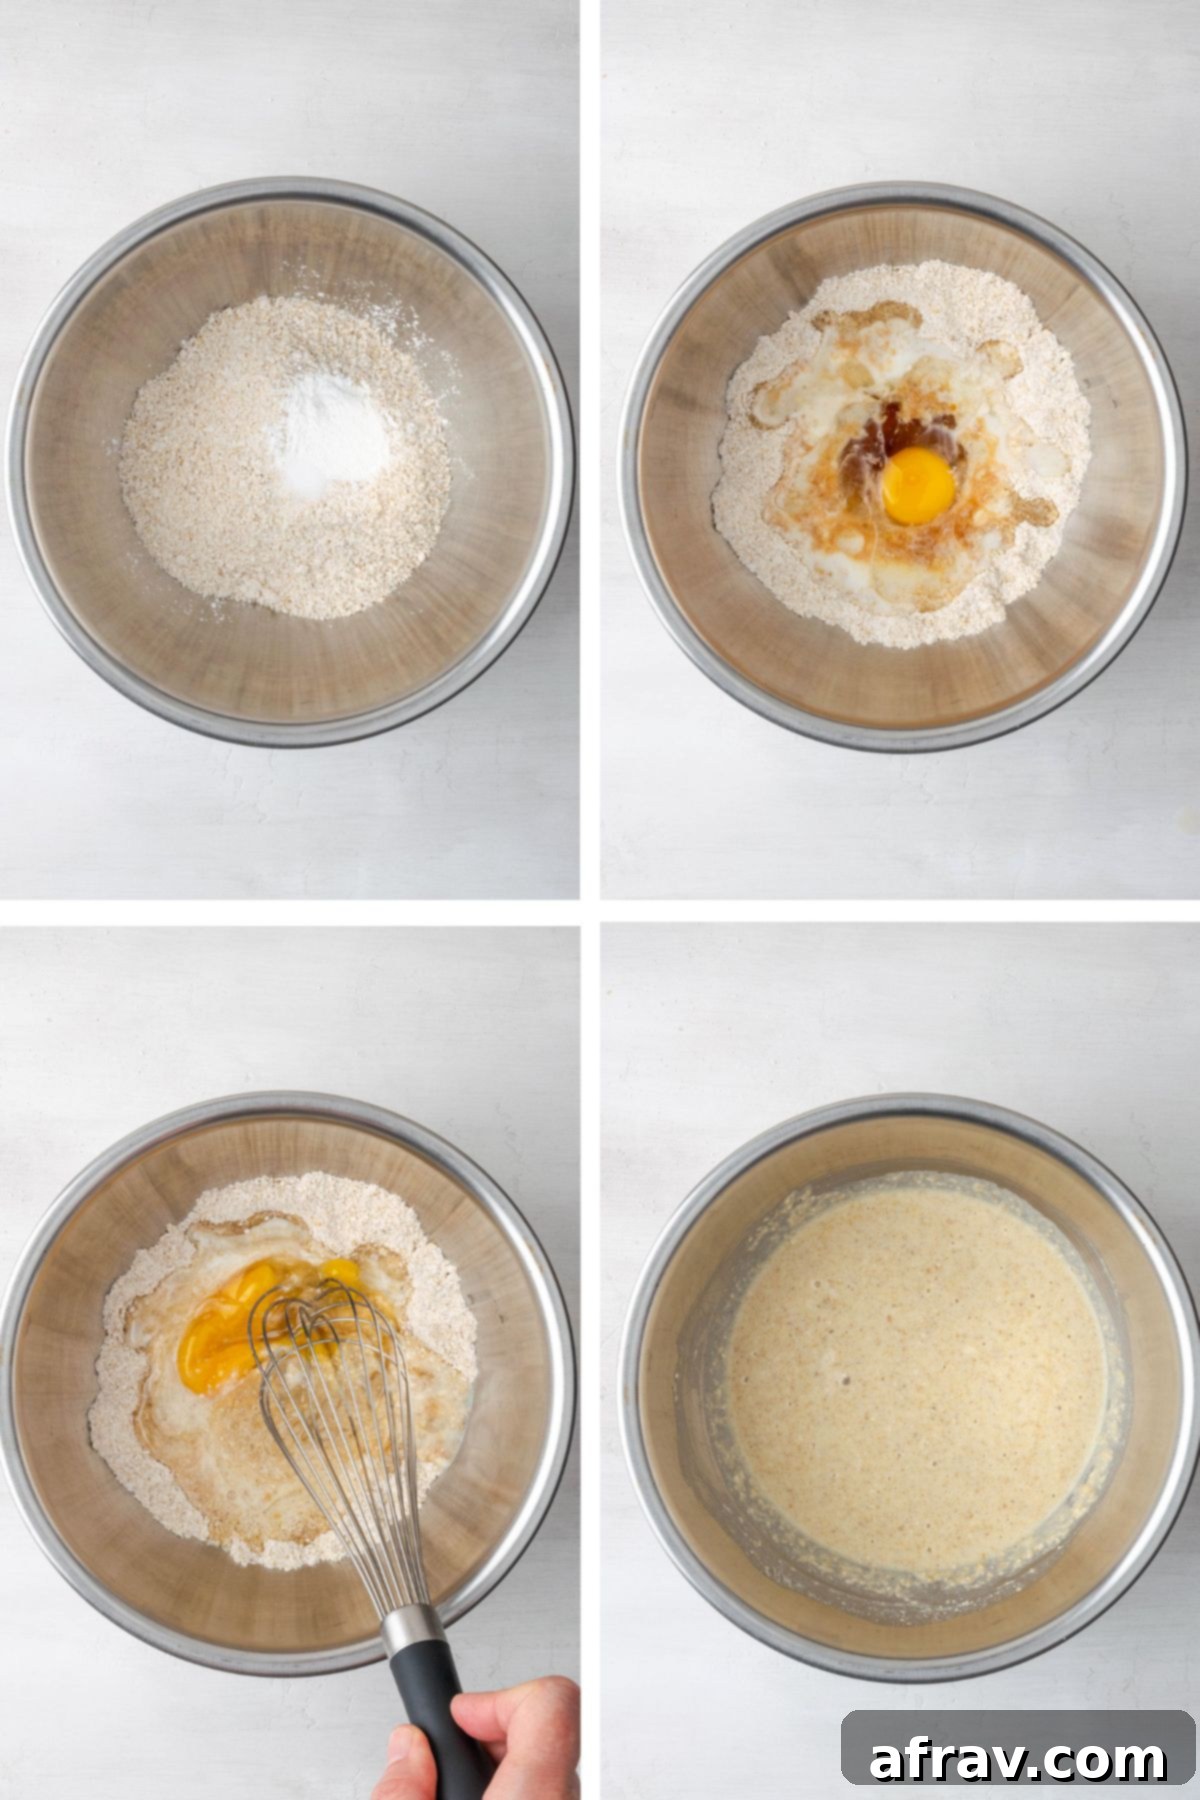
- Prepare the Batter: Begin by combining all your dry ingredients – oat flour, baking powder, and salt – in a large mixing bowl. Whisk them together thoroughly to ensure the leavening agents are evenly distributed. Next, create a small well in the center of the dry mixture. Into this well, pour the wet ingredients: milk, maple syrup, melted coconut oil, vanilla extract, the egg, and apple cider vinegar. It’s helpful to whisk the wet ingredients together briefly in the well first to break up the egg yolk, then gradually incorporate the dry ingredients until everything is just combined. Be careful not to overmix; a few lumps are perfectly fine.
Note: The batter will initially appear quite runny. This is completely normal for oat flour batters! It’s crucial to let the batter rest for at least 5 minutes. This allows the oat flour to properly hydrate and absorb the liquids, thickening the batter to the ideal consistency for cooking. This resting period is key to achieving that signature fluffy texture.
- Preheat Your Skillet: While the batter rests, place a large skillet or griddle over medium heat. Allow it to heat up for a few minutes. If your pan isn’t naturally non-stick, lightly grease it with a small amount of avocado oil, extra-virgin olive oil, or butter to prevent sticking and ensure even browning. A properly heated pan is essential for golden, perfectly cooked pancakes.
- Cook the Pancakes: Once your skillet is hot and the batter has rested, it’s time to cook! Use a ¼ cup measuring cup to scoop portions of the batter onto the heated skillet. Each scoop should form a pancake roughly 3-4 inches in diameter. Don’t overcrowd the pan; leave enough space between each pancake for easy flipping. Cook for about 2-3 minutes on the first side. You’ll know they’re ready to flip when bubbles start to form on the surface, and the edges appear set and slightly dry.
- Flip and Finish: Carefully flip the pancakes using a thin spatula. Cook for an additional 1-2 minutes on the second side, or until they are beautifully golden brown and cooked through. The exact cooking time may vary slightly depending on your stove and pan.
- Repeat & Serve: Remove the cooked pancakes from the skillet and transfer them to a plate. Repeat the process with the remaining batter, adding more oil to the pan if needed. This recipe typically yields 10-12 delicious pancakes. Serve them warm with your favorite toppings and savor every bite!
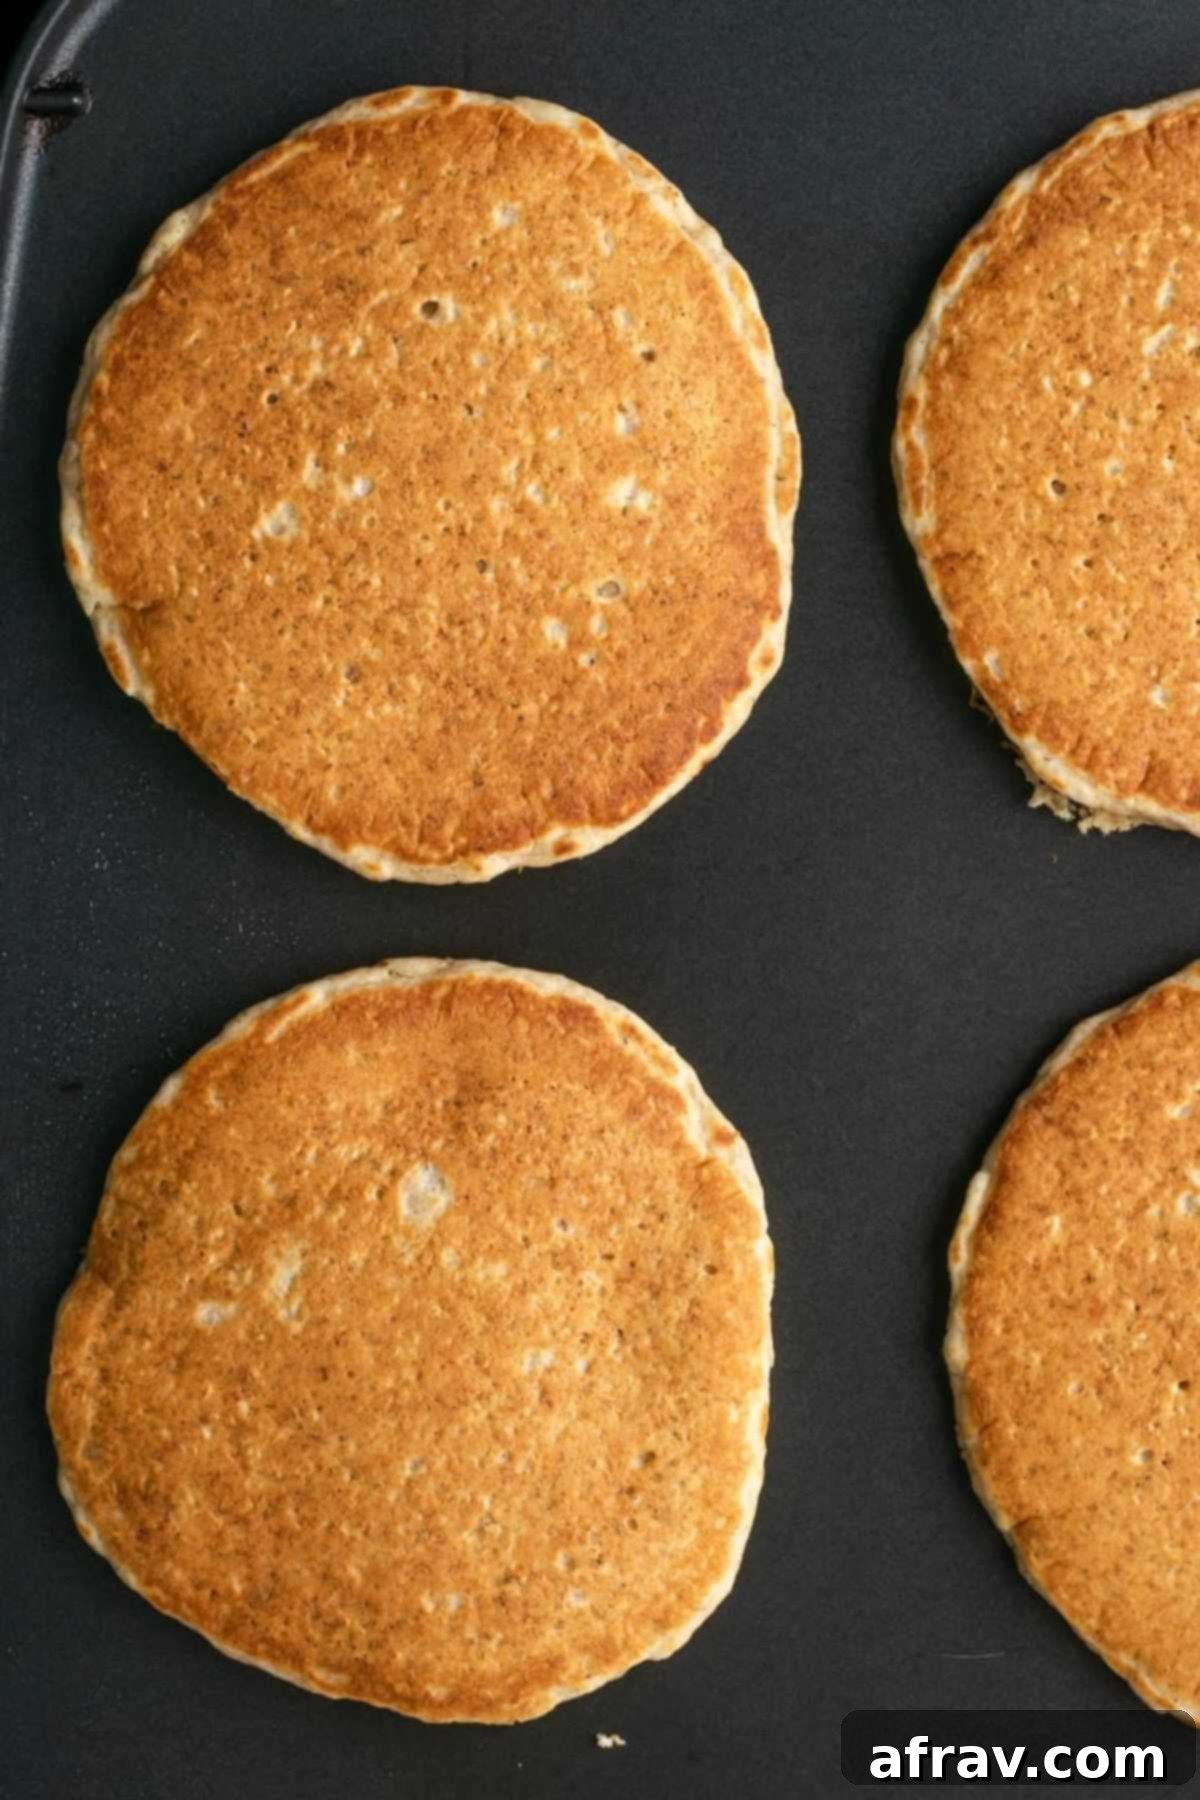
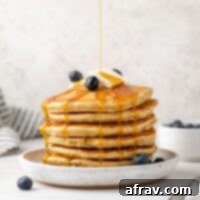
And just like that, you have a stack of warm, fluffy, and wholesome oat flour pancakes ready to be enjoyed!
Making Your Own Oat Flour: A Cost-Effective & Healthier Choice
While buying oat flour is convenient, I highly encourage you to make your own oat flour at home. It’s not only incredibly easy but also significantly more economical than purchasing pre-made flour. All you need are rolled oats (or quick oats) and a high-speed blender or food processor. Simply place the oats in your blender and process until you achieve a fine, powdery consistency, similar to wheat flour.
Beyond the cost savings, making your own oat flour gives you greater control over the quality of your ingredients. It can be challenging to find certified gluten-free oat flour that is also organic. As mentioned, oats are naturally gluten-free but can become cross-contaminated with gluten-containing grains during farming, harvesting, or processing. If you have celiac disease or a high sensitivity to gluten, using certified gluten-free oats for your homemade flour is essential to ensure a truly gluten-free product.
Clean Food Tip: It’s worth reiterating that most conventional oats are sprayed with glyphosate, an herbicide linked to potential health concerns, including an increased risk of cancer. To minimize your exposure to these chemicals, always opt for organic oats when making your own oat flour. This ensures a purer, cleaner ingredient for your healthy pancakes.
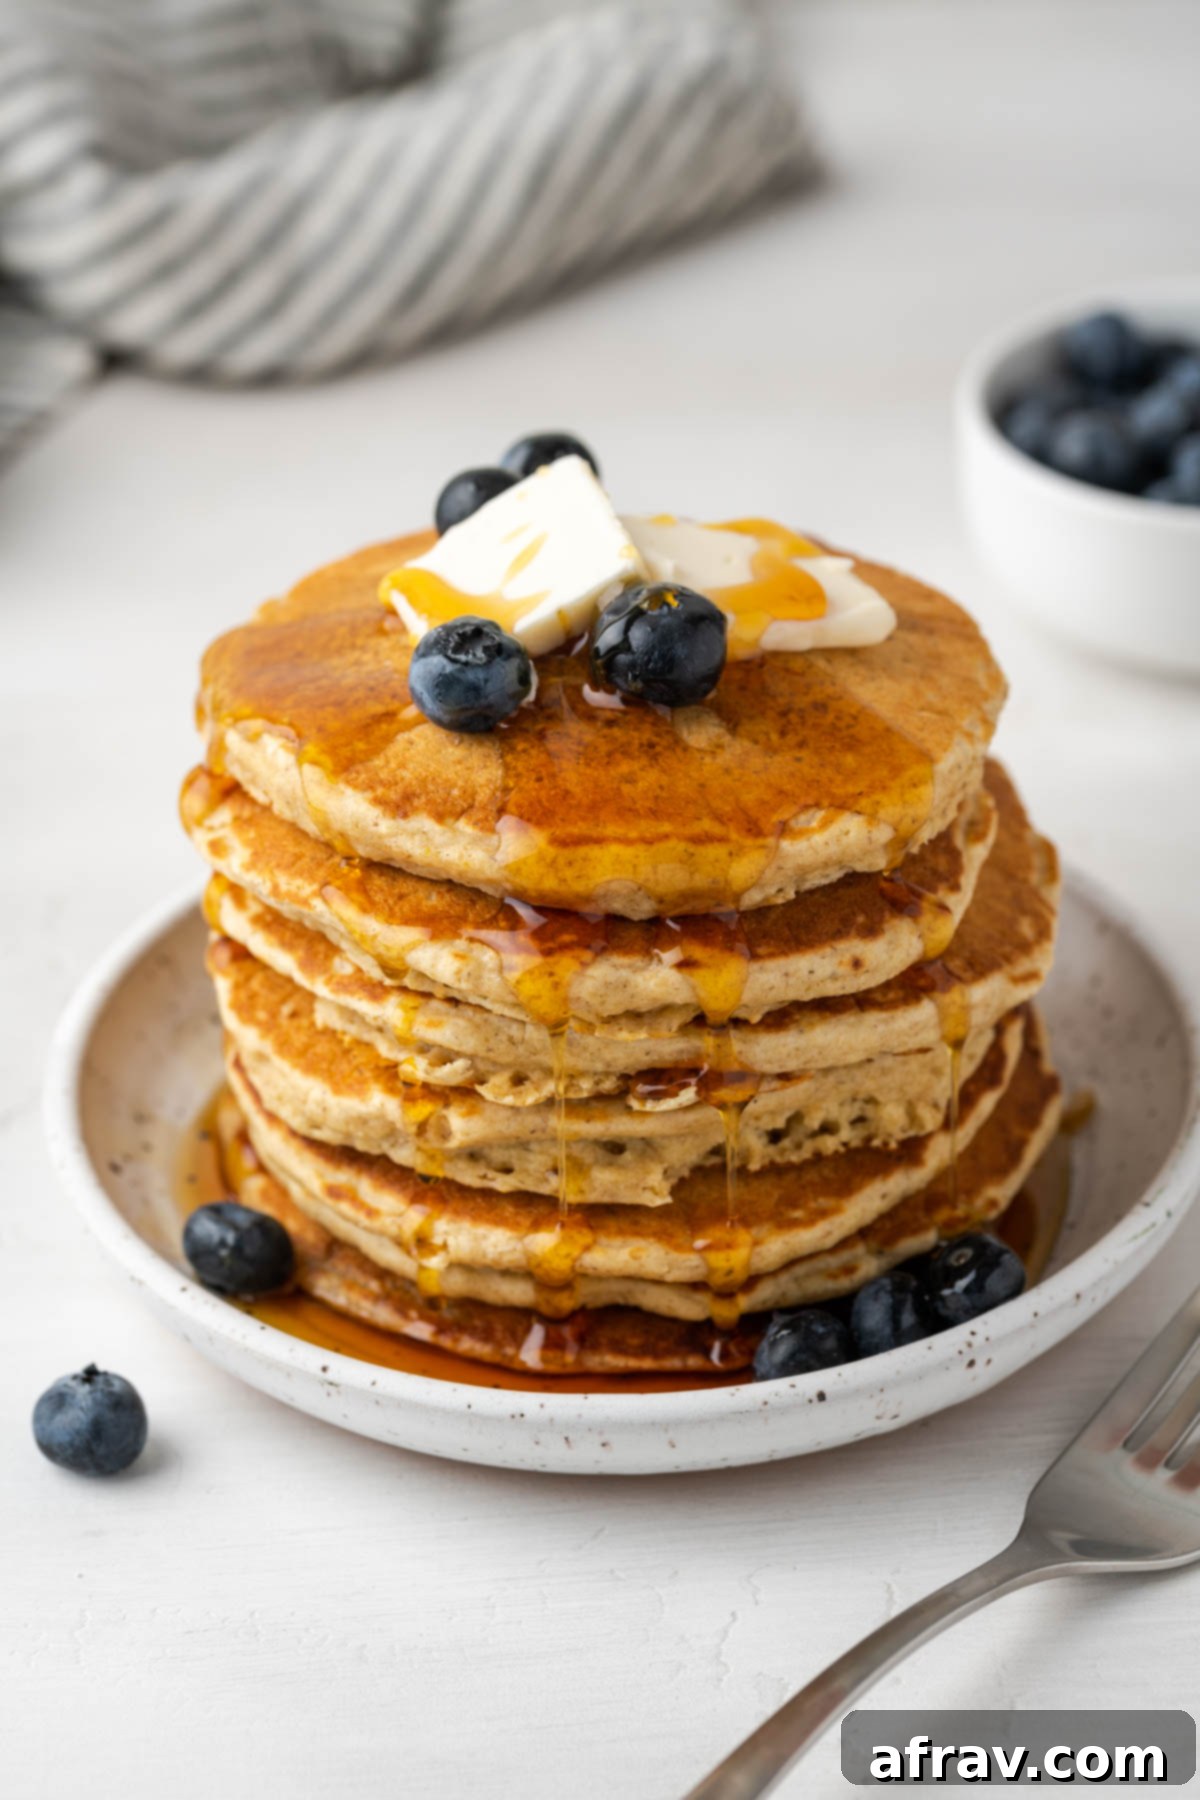
Expert Tips for Perfect Oat Flour Pancakes
Achieving the perfect stack of oat flour pancakes is easy with a few insider tips:
- Measure Oat Flour Correctly: Oat flour is very fine and can compact easily. When measuring, spoon the oat flour into your measuring cup and then level it off with the back of a knife. Do not pack it down, as this will result in too much flour, leading to a thick, dry batter and dense pancakes.
- Allow the Batter to Rest: This is a crucial step for oat flour pancakes! Let the batter sit for at least 5 minutes before cooking. This resting time allows the oat flour to fully absorb the liquid, thicken properly, and gives the ingredients a chance to meld. It’s the secret to achieving light, fluffy pancakes.
- Adjust Batter Consistency if Needed: Oat flour is incredibly absorbent. As the batter sits, especially if you’re making a large batch, it may continue to thicken. If you notice the batter becoming too thick to pour easily, simply whisk in an additional tablespoon or two of milk until it reaches a pourable, yet substantial consistency.
- Perfect Pan Temperature: Maintain medium heat on your skillet. If the heat is too high, the pancakes will brown too quickly on the outside and remain raw inside. If it’s too low, they won’t brown properly and can become tough. A great test is to drop a tiny bit of water on the pan; if it sizzles and evaporates quickly, it’s ready.
- Don’t Overcrowd the Pan: Cook pancakes in batches to ensure even cooking and easy flipping. Overcrowding can lower the pan temperature and steam the pancakes instead of frying them.
- Get Creative with Add-ins: Elevate your pancakes with delicious additions! Try stirring in fresh blueberries, raspberries, chocolate chips (dairy-free if preferred), sliced bananas, a pinch of cinnamon, or even colorful dye-free sprinkles for funfetti pancakes. For a stealthy veggie boost, finely shredded zucchini or carrots can also be incorporated.
- Keep Cooked Pancakes Warm: As you cook batches, place the finished pancakes on a plate loosely covered with foil in a warm oven (around 200°F / 95°C) to keep them warm until ready to serve.
Delicious Topping Suggestions for Your Oat Flour Pancakes
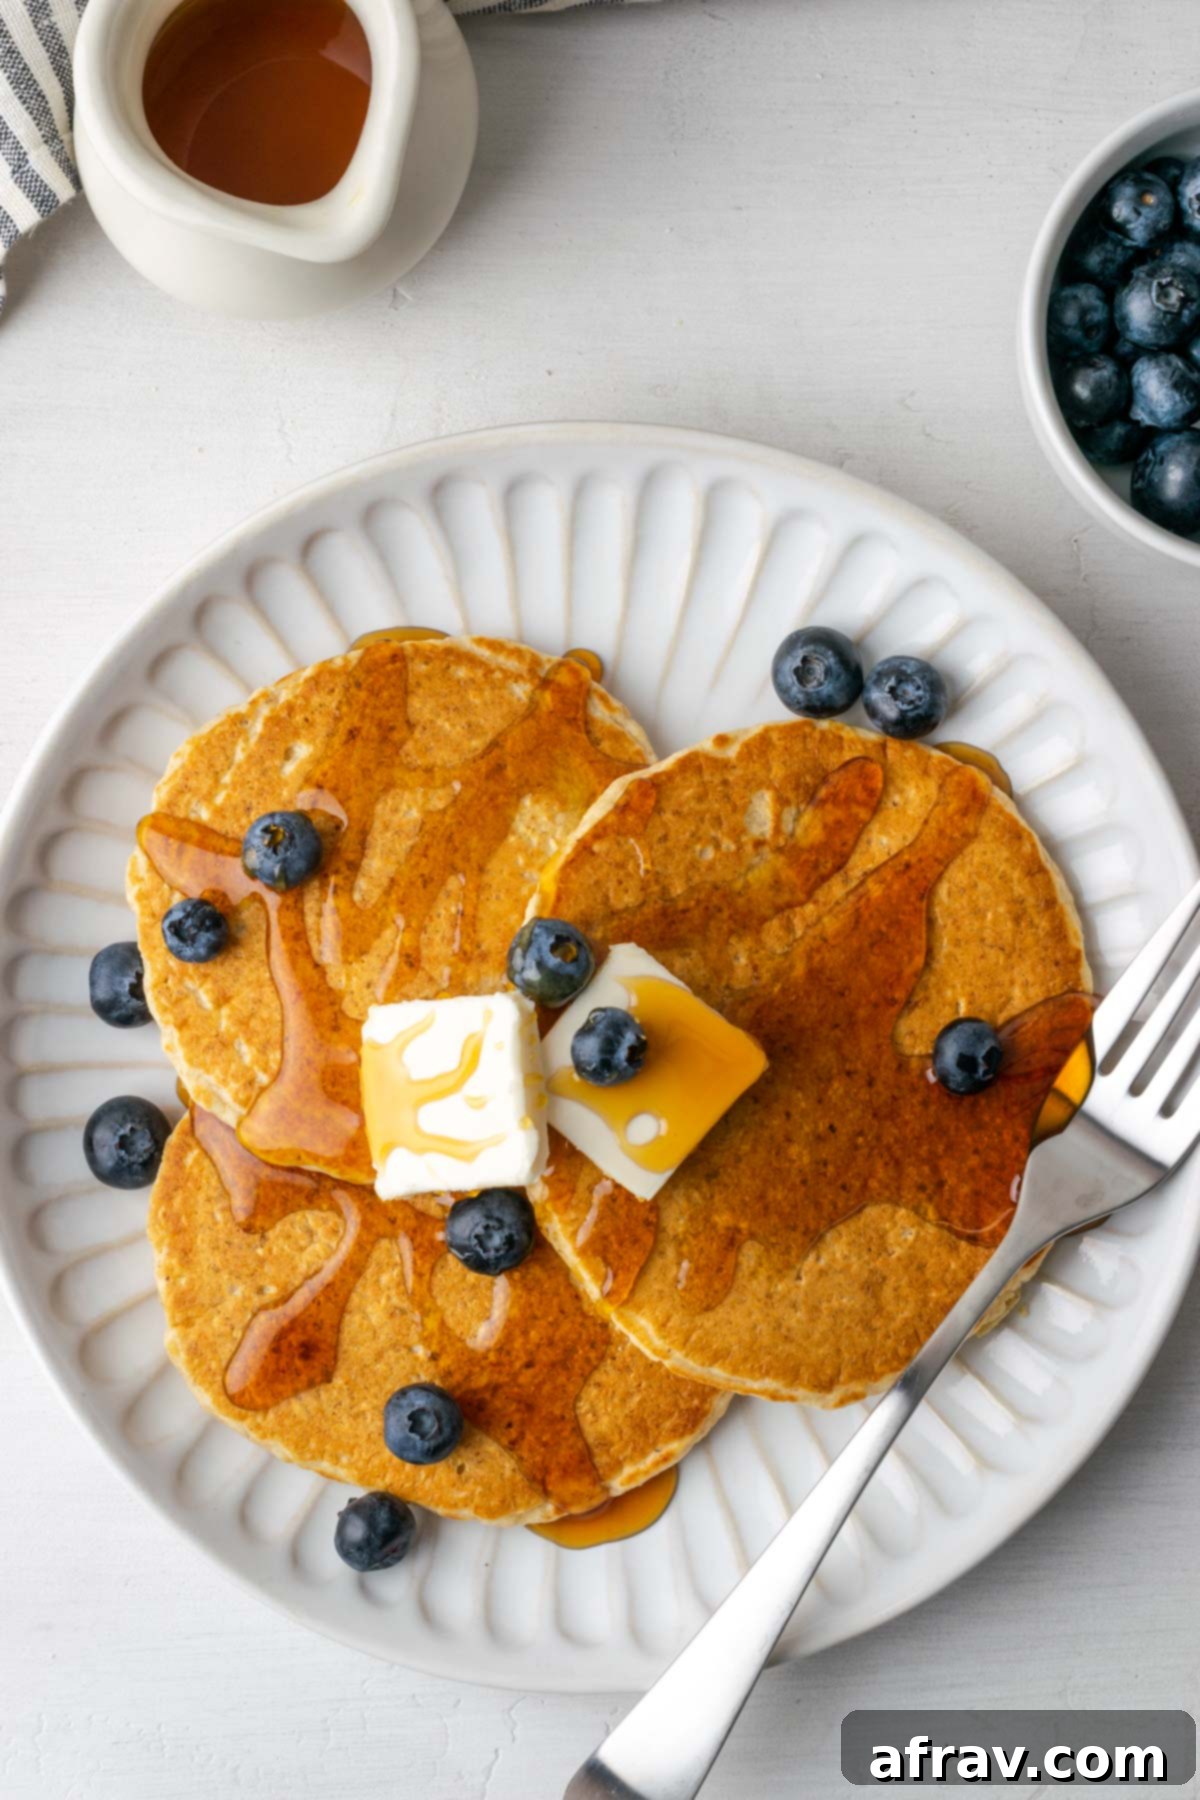
Pancakes are wonderfully versatile, and these oat flour beauties are no exception! While butter and pure maple syrup are classic, here are some creative and delicious topping ideas to elevate your breakfast:
- Fresh Fruit: Beyond blueberries, try sliced strawberries, raspberries, blackberries, or banana slices. A mix of seasonal fruits adds freshness and natural sweetness.
- Warm Fruit Compotes: Top with homemade or store-bought fruit compotes. My favorites include baked or air-fried apples with cinnamon, or a vibrant berry chia jam for a boost of antioxidants and fiber.
- Nut Butters: A generous drizzle of almond butter, peanut butter, cashew butter, or sunflower seed butter adds protein and healthy fats, making your meal even more satisfying.
- Whipped Cream Alternatives: For a dairy-free treat, a dollop of homemade coconut whipped cream is heavenly. Regular whipped cream works beautifully too.
- Crunchy Elements: Add texture with chopped walnuts, pecans, almonds, or even a sprinkle of homemade honey granola.
- Yogurt: A spoonful of plain Greek yogurt or dairy-free yogurt can add a tangy creaminess and a boost of probiotics.
- Chocolate Drizzle: A melted dark chocolate drizzle is always a welcome addition, especially with fruit.
Frequently Asked Questions About Oat Flour Pancakes
Absolutely! These pancakes are incredibly adaptable for a vegan diet. Simply use your preferred plant-based milk (such as almond, soy, or oat milk) and replace the egg with a flax egg (1 tablespoon ground flaxseed + 3 tablespoons water, let sit for 5 minutes) or half of a small mashed ripe banana for binding. Both options work wonderfully.
While this specific batter was formulated for pancakes, you might be able to adapt it for waffles. I haven’t personally tested it in a waffle iron, but a good starting point would be to add an additional 2 tablespoons of oil to the batter. This extra fat typically helps waffles crisp up nicely and prevents sticking. Keep an eye on the consistency – waffle batter generally needs to be a bit thicker than pancake batter.
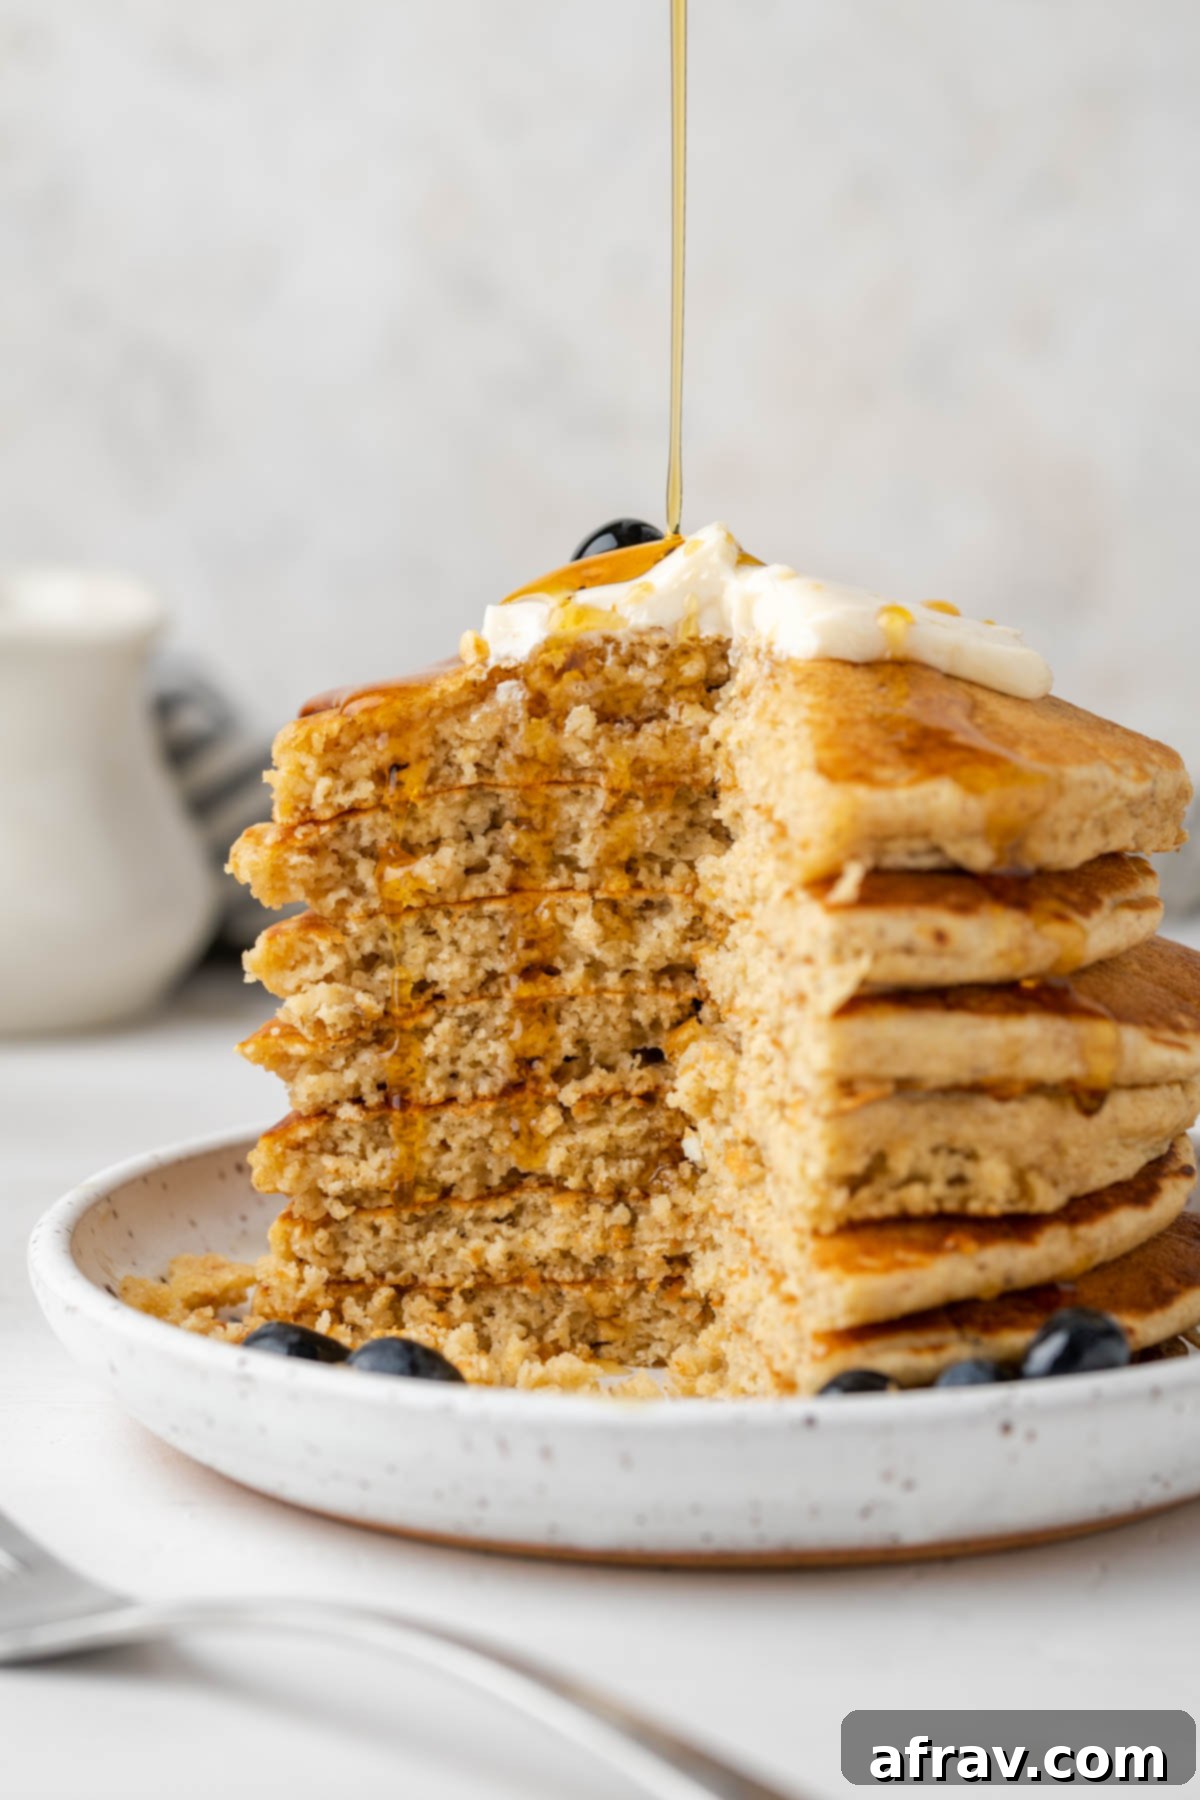
Yes, they are! Oat flour is a whole grain, which means it contains significantly more nutrients compared to highly refined all-purpose flour. It’s richer in fiber, protein, and various minerals, contributing to better satiety, more stable blood sugar levels, and improved digestive health. This makes oat flour pancakes a far more nutritious and wholesome breakfast choice.
Oats are naturally free of gluten. However, they are frequently processed in facilities that also handle gluten-containing grains like wheat, barley, and rye, leading to potential cross-contamination. If you require a strictly gluten-free diet due to celiac disease or gluten sensitivity, it is essential to ensure that your oats or oat flour are specifically certified gluten-free.
While you can mix the dry ingredients ahead of time, it’s best to combine the wet and dry ingredients just before cooking. If you mix the entire batter too far in advance, the oat flour will absorb too much liquid, leading to a very thick batter that might result in dense pancakes. If you absolutely must prep ahead, prepare the dry mix and wet mix separately, then combine them the morning of, letting it rest for 5 minutes before cooking.
Lack of fluffiness can often be attributed to a few factors: not letting the batter rest long enough (which prevents the oat flour from hydrating), overmixing the batter (which develops gluten and creates tough pancakes), or an inactive leavening agent (ensure your baking powder isn’t expired). Make sure to follow the resting period and mix just until combined.
Storing and Freezing Your Oat Flour Pancakes
These oat flour pancakes are fantastic for meal prep, making healthy breakfasts easy throughout the week. You can absolutely make a double batch to enjoy later!
Refrigerator: Any leftover pancakes can be stored in an airtight container in the fridge for up to 5 days. To reheat, simply place them in the microwave for 10-15 seconds per pancake, or warm them in a toaster or on a lightly greased skillet until heated through and slightly crispy.
Freezer: These pancakes freeze perfectly, offering a convenient grab-and-go breakfast option. To freeze, allow them to cool completely. Then, place a sheet of parchment paper between each pancake to prevent them from sticking together. Stack them in a freezer-safe bag or airtight container. They will stay fresh in the freezer for up to 3 months. When ready to enjoy, you can reheat them directly from frozen in a toaster, microwave, or on a griddle until warmed through.
More Wholesome Breakfast Recipes You’ll Love
If you enjoyed these oat flour pancakes, be sure to explore more delicious and healthy breakfast ideas to brighten your mornings:
- Chocolate Baked Oats (no banana)
- Overnight Oats with Protein Powder {5 ingredients!}
- Chocolate Protein Pancakes
- Healthy Oatmeal Breakfast Cookies
Oat Flour Pancakes
Print
Pin
Rate
Save This Recipe For Later!
We’ll email this post to you, so you can come back to it later. Plus, enjoy weekly clean eating recipes as a bonus.
Equipment
-
1 Mixing bowl
-
1 skillet or griddle
Ingredients
- 1 ⅓ cup oat flour
- 2 tsp. baking powder
- ⅛ tsp. fine sea salt
- ¾ cup milk of choice
- 2 tbsp. pure maple syrup (or honey)
- 1 tbsp. melted coconut oil
- 1 tsp. pure vanilla extract
- 1 egg (room temp)
- ½ tsp. apple cider vinegar (or lemon juice)
Instructions
-
In a large bowl, combine the oat flour, baking powder, and salt. Make a well in the center of the dry ingredients and add in the remaining wet ingredients. Whisk the wet ingredients together first and then fully mix the wet ingredients in with the dry ingredients.
-
Batter will be runny. Let batter rest for 5 minutes to allow the ingredients to meld and the oats to soak up some of the liquid. The batter should be thin enough that it spreads slowly when poured on the skillet.
-
Heat a large skillet (or griddle) over medium heat. If your pan is not non-stick, lightly grease with avocado oil, coconut oil, or butter. Using a ¼ cup measuring cup, scoop batter onto heated skillet forming roughly 3-4″ pancakes.
-
When batter starts to bubble and edges are set, flip pancakes, and cook for an additional 1-2 minutes, or until cooked through. Remove from skillet and set on a paper towel lined plate. Repeat until all batter has been used.
-
Serve immediately. Top with your favorite toppings such as fresh fruit, nut butters, and/or maple syrup. Enjoy!
Notes
- Scoop flour into measuring cup and level off with a knife or else you could end up with too much and your batter will be too thick.
- Oat flour is very absorbent, so letting the batter sit allows some of the liquid to get absorbed and to make the batter the right consistency. If batter does not thicken slightly (should be thin enough that it pours easily), you can add an additional tablespoon or two of oat flour.
- As batter continues to sit while you’re making the pancakes, it may get too thick – if this is the case, add an additional tablespoon of milk.
Nutrition
Carbohydrates: 11g |
Protein: 2g |
Fat: 3g |
Saturated Fat: 1g |
Polyunsaturated Fat: 1g |
Monounsaturated Fat: 1g |
Trans Fat: 0.002g |
Cholesterol: 14mg |
Sodium: 135mg |
Potassium: 61mg |
Fiber: 1g |
Sugar: 2g |
Vitamin A: 20IU |
Calcium: 79mg |
Iron: 1mg
Tried this Recipe? Tag me Today!Mention @CleanPlateMama or tag #CleanPlateMama!
