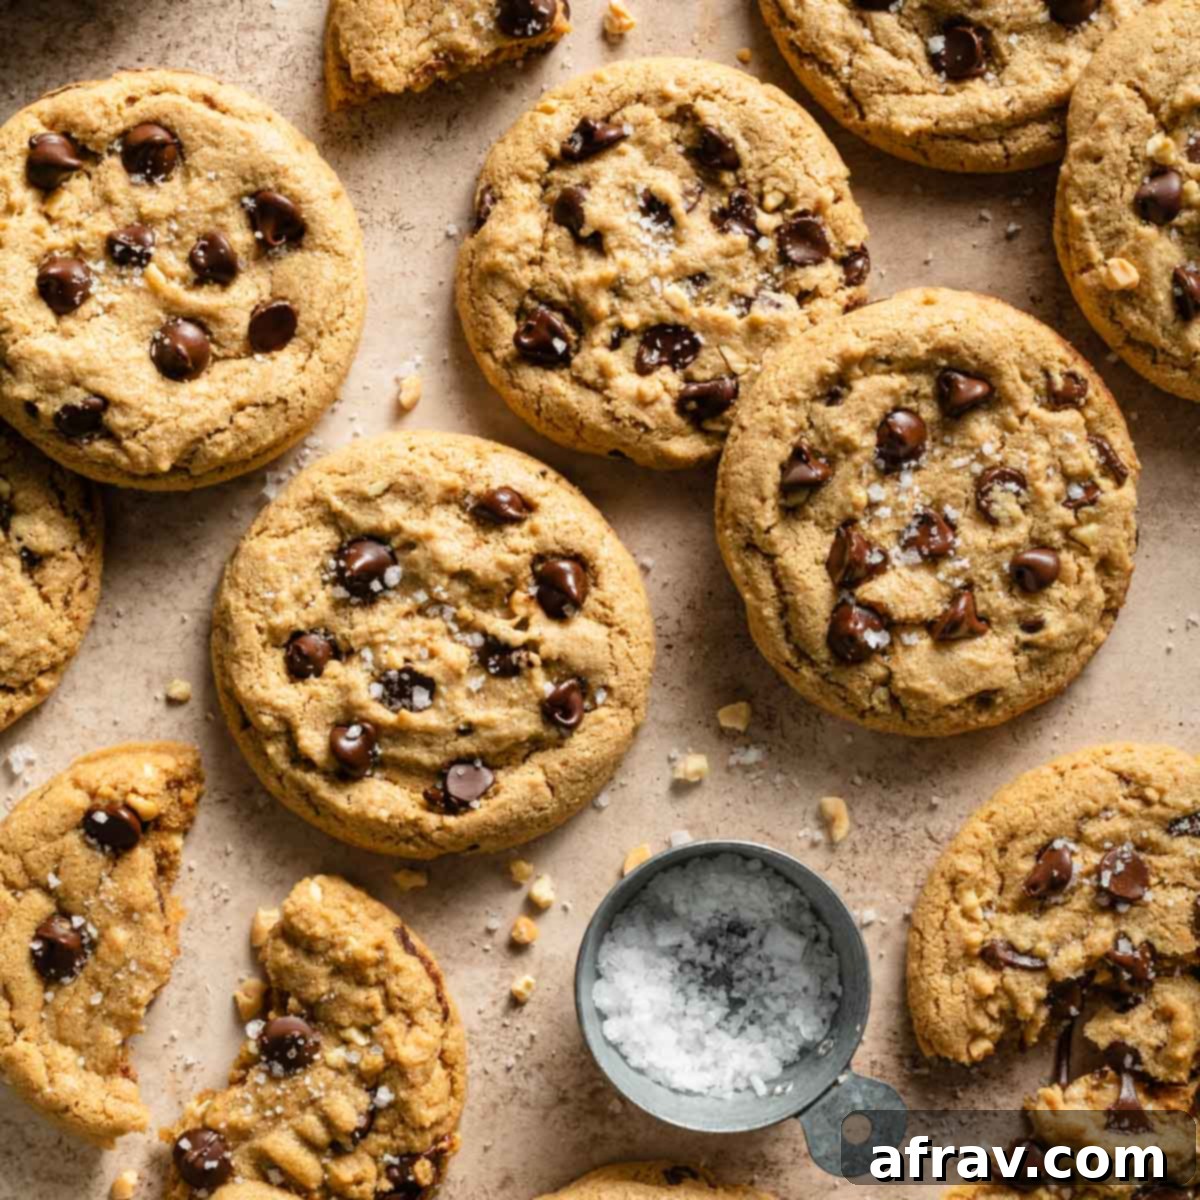
The Best Gluten-Free Oat Flour Chocolate Chip Cookies: Chewy, Dairy-Free & No Chill!
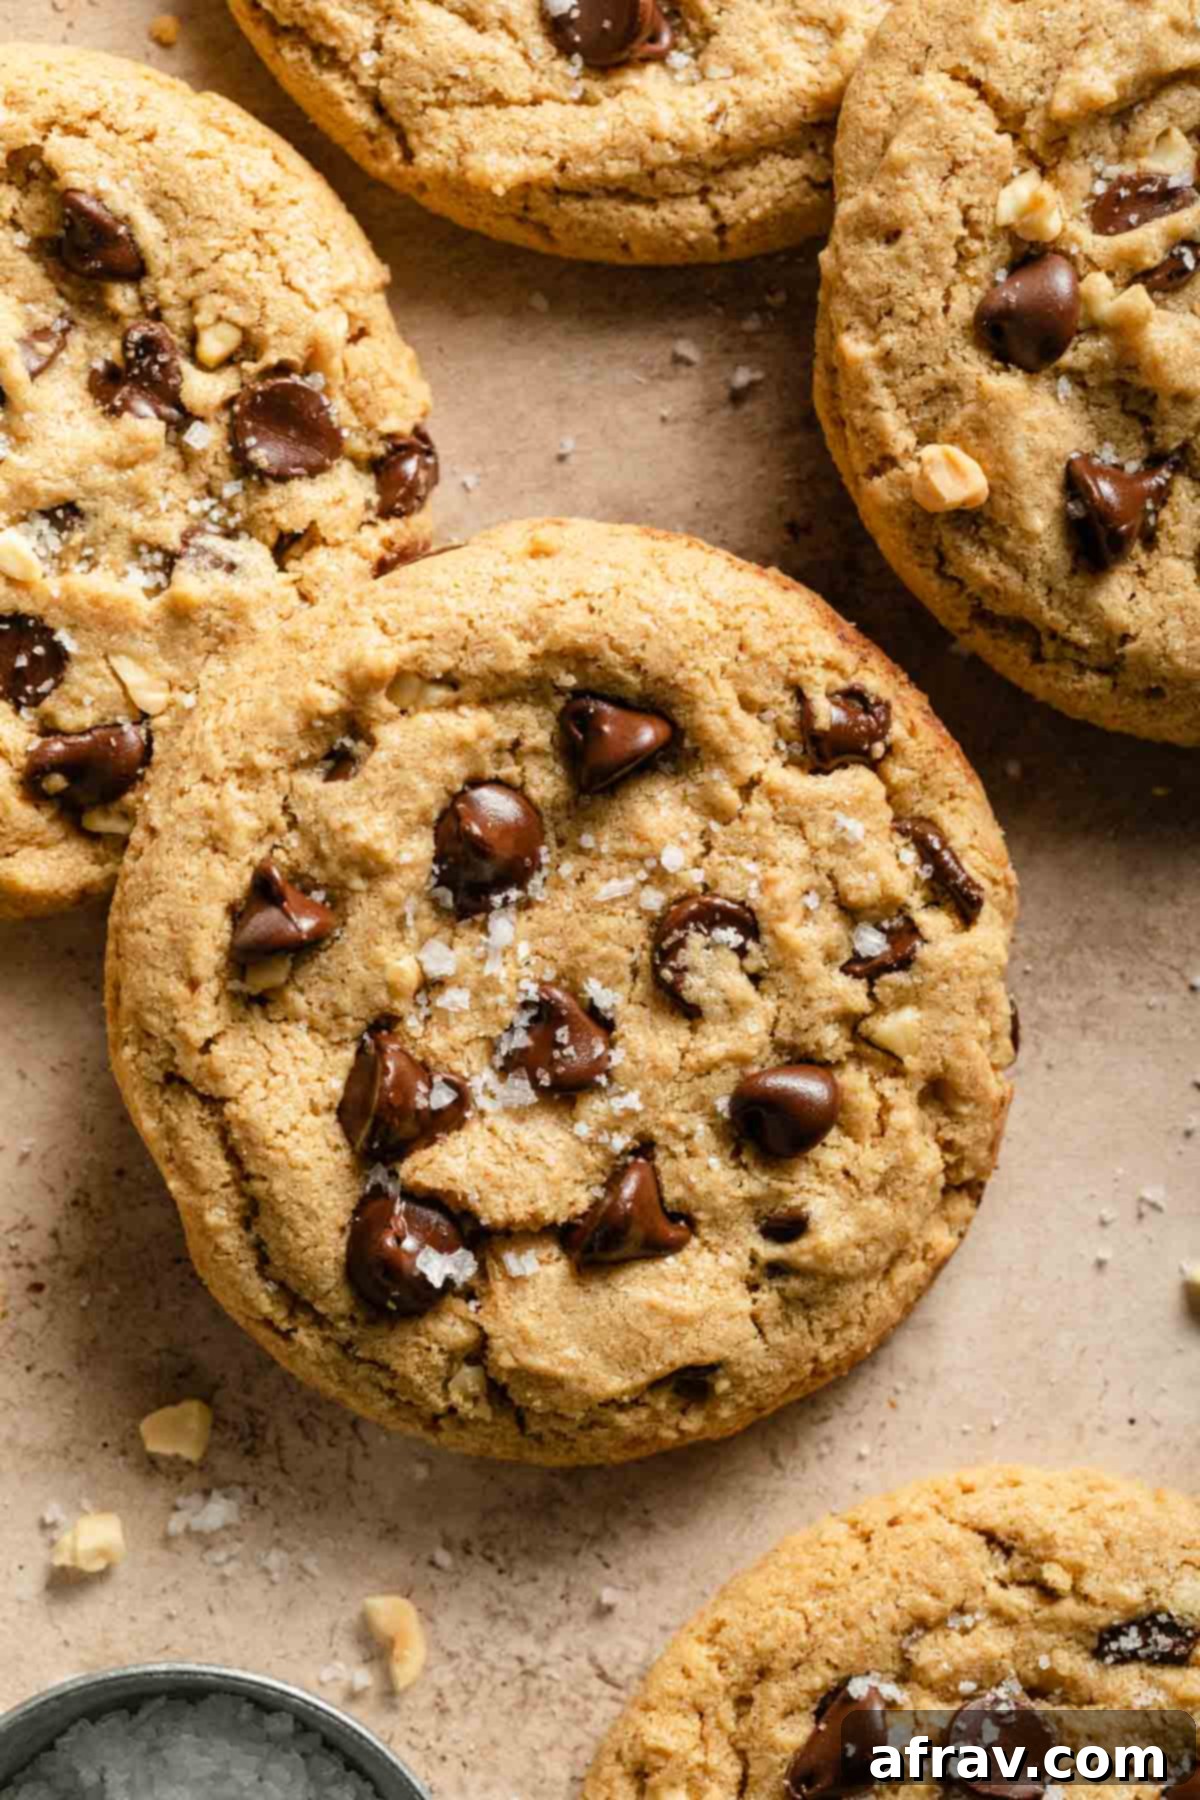
Prepare to fall in love with these incredibly delicious Oat Flour Chocolate Chip Cookies! They are everything you crave in a perfect cookie: wonderfully thick and delightfully chewy, with just the right amount of crispy edges. Each bite is a symphony of flavors, generously loaded with rich chocolate chips, crunchy peanuts, and creamy peanut butter. What makes them even better? They are completely gluten-free and dairy-free, making them accessible for various dietary needs, and best of all, they require absolutely no chilling time! You can go from mixing bowl to warm, gooey cookies in a flash.
After extensive testing and countless batches, I’m thrilled to finally share what I genuinely believe are the best oat flour cookies you’ll ever taste. My goal was to create a cookie that hits all the right notes: a soft, tender center, perfectly crisp edges, and an abundance of melty dark chocolate chips combined with the comforting richness of creamy peanut butter. This recipe delivers all that and more, proving that gluten-free and dairy-free baking doesn’t mean compromising on flavor or texture.
If you’re particularly fond of soft-batch peanut butter chocolate chip cookies, you might also enjoy these almond flour peanut butter cookies. They also offer a fantastic gluten-free and dairy-free option for a slightly different texture profile.
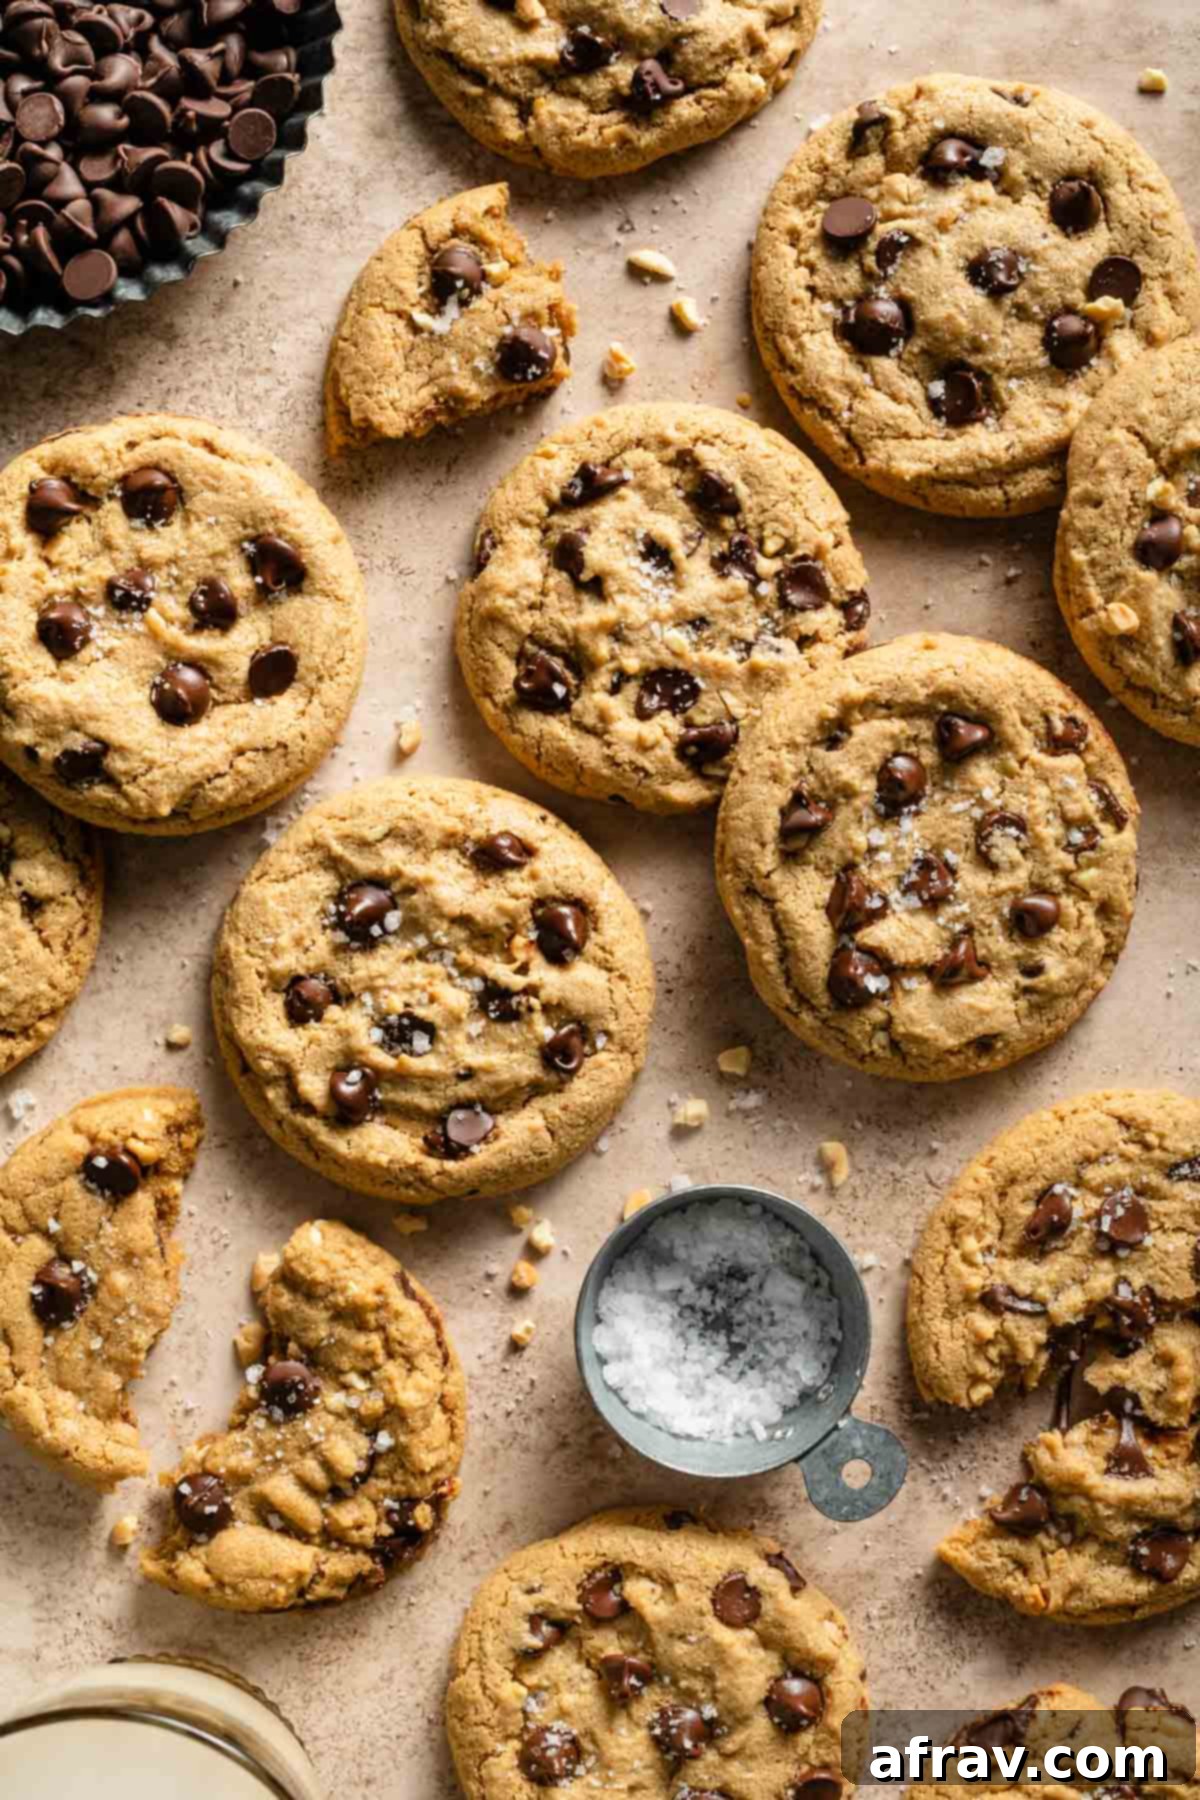
Developing this recipe was a labor of love, involving numerous trials and careful adjustments. I experimented with various types and quantities of oat flour and peanut butter, tinkered with different baking times, chilling durations, and even cookie sizes. Seriously, I must have baked and tasted about 10 different versions to achieve perfection. But the effort was absolutely worth it, as the final result is a truly exceptional cookie.
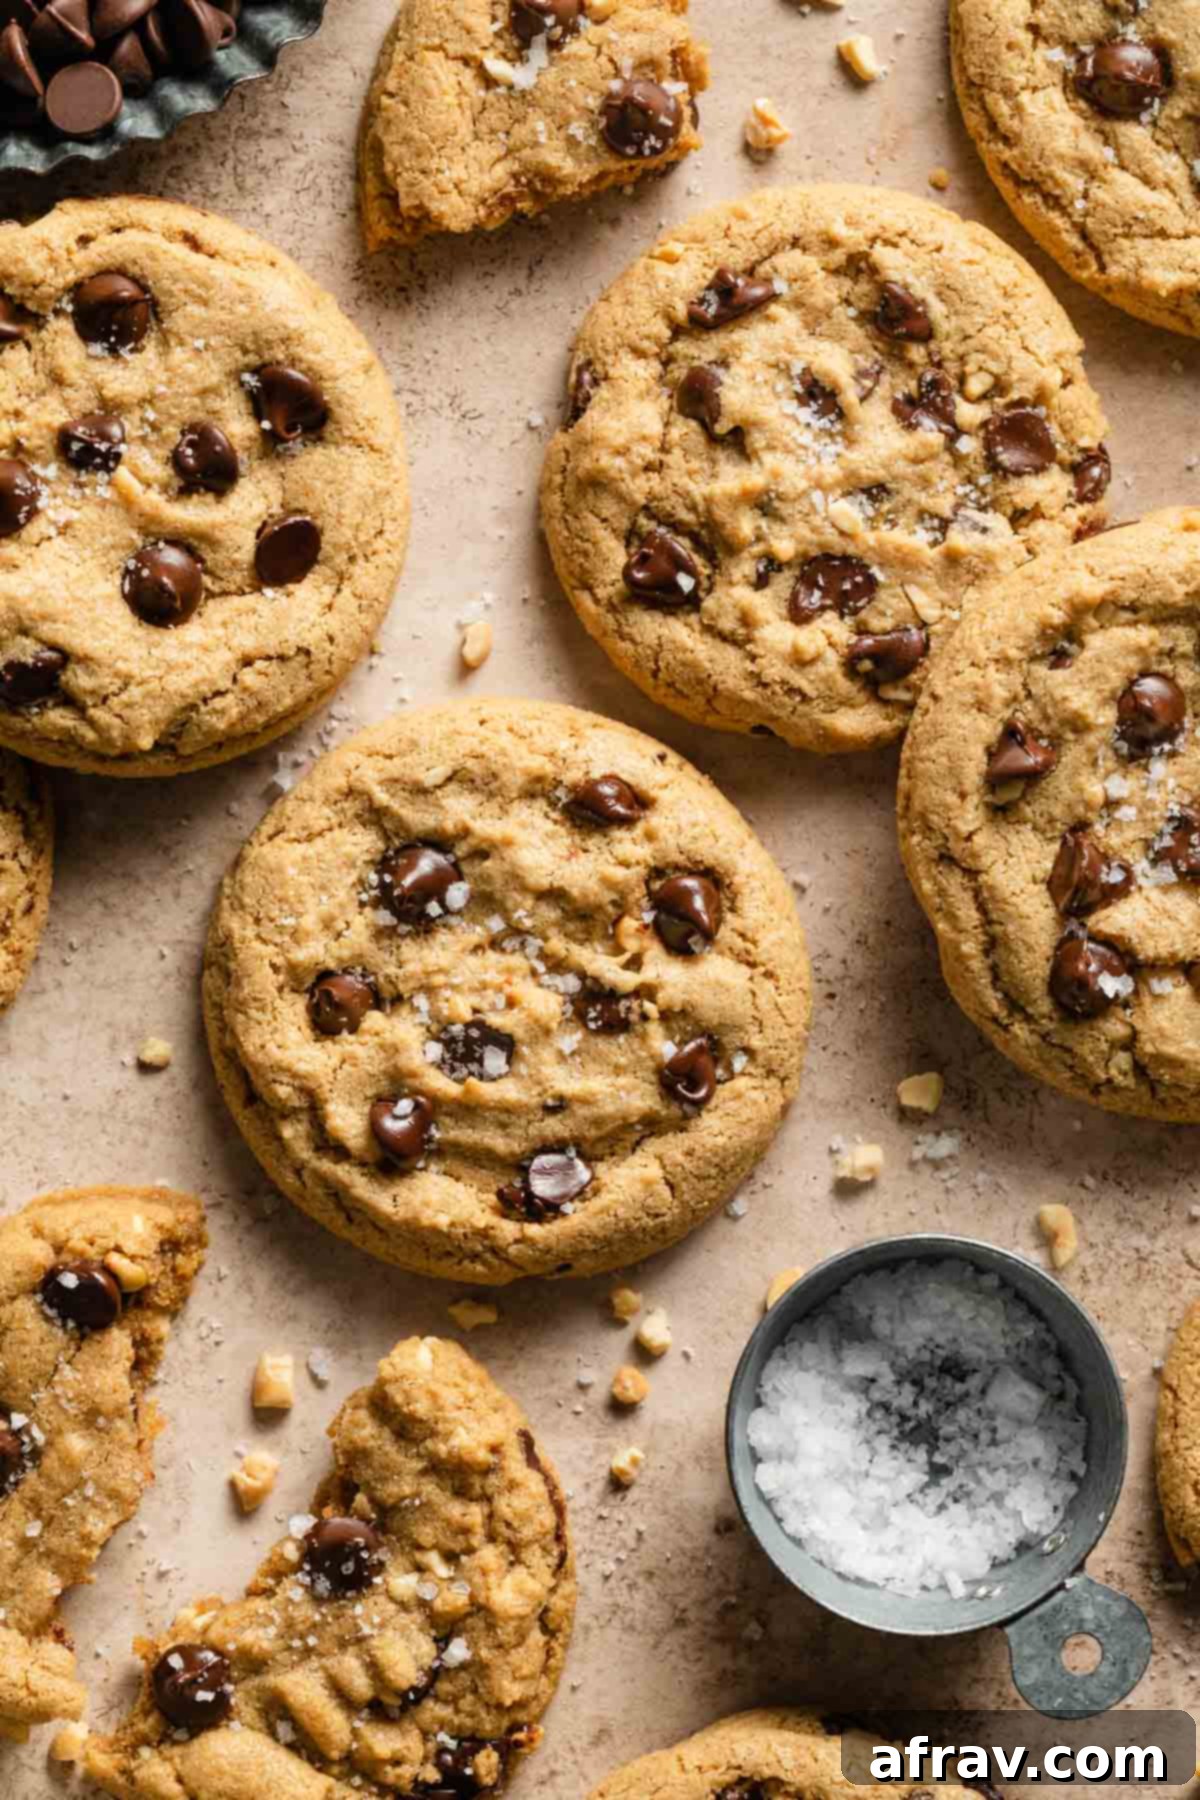
The outcome of all that dedicated testing is a cookie that boasts an ideal thick, perfectly chewy, and tender crumb. It strikes the perfect balance of peanut butter flavor, complemented by a generous amount of melty chocolate chips and a scattering of chopped peanuts for an extra textural dimension. And, as mentioned, one of its most celebrated features is that you don’t need to chill the dough before baking, saving you precious time and allowing you to enjoy fresh cookies almost instantly.
Why You’ll Absolutely Love This Recipe
These Oat Flour Chocolate Chip Cookies aren’t just a treat for your taste buds; they offer a host of benefits that make them a standout recipe. Here’s why they’re destined to become a staple in your baking repertoire:
- Naturally Gluten-Free: Made entirely with oat flour, these cookies are inherently gluten-free, making them a safe and delicious option for individuals with gluten sensitivities or celiac disease. Just ensure your oat flour is certified gluten-free to avoid cross-contamination.
- Rich in Fiber: Harnessing the goodness of whole-grain oat flour, these cookies are also a good source of dietary fiber. This means they’re not only satisfying but also contribute to a healthier digestive system, offering more nutritional value than traditional cookies made with refined flours.
- Completely Dairy-Free: By using dairy-free butter and chocolate chips, this recipe ensures that everyone can enjoy these delectable treats, including those with dairy allergies or who follow a vegan diet (see notes on egg substitution for full vegan adaptation).
- No Chilling Required: This is a game-changer for impatient bakers! Forget about waiting hours for your cookie dough to chill. With this recipe, you can mix the dough, scoop it onto your baking sheet, and pop it directly into the oven. Fresh, warm cookies are just minutes away, making them perfect for unexpected cravings or last-minute dessert needs.
- Perfect Texture & Flavor: Beyond their dietary benefits, these cookies simply taste amazing. They offer that coveted chewy center, crispy edges, and a harmonious blend of sweet, salty, and nutty flavors from the chocolate, peanut butter, and a touch of sea salt.
- Easy to Make: With straightforward instructions and readily available ingredients, even novice bakers can achieve perfect results with this recipe.
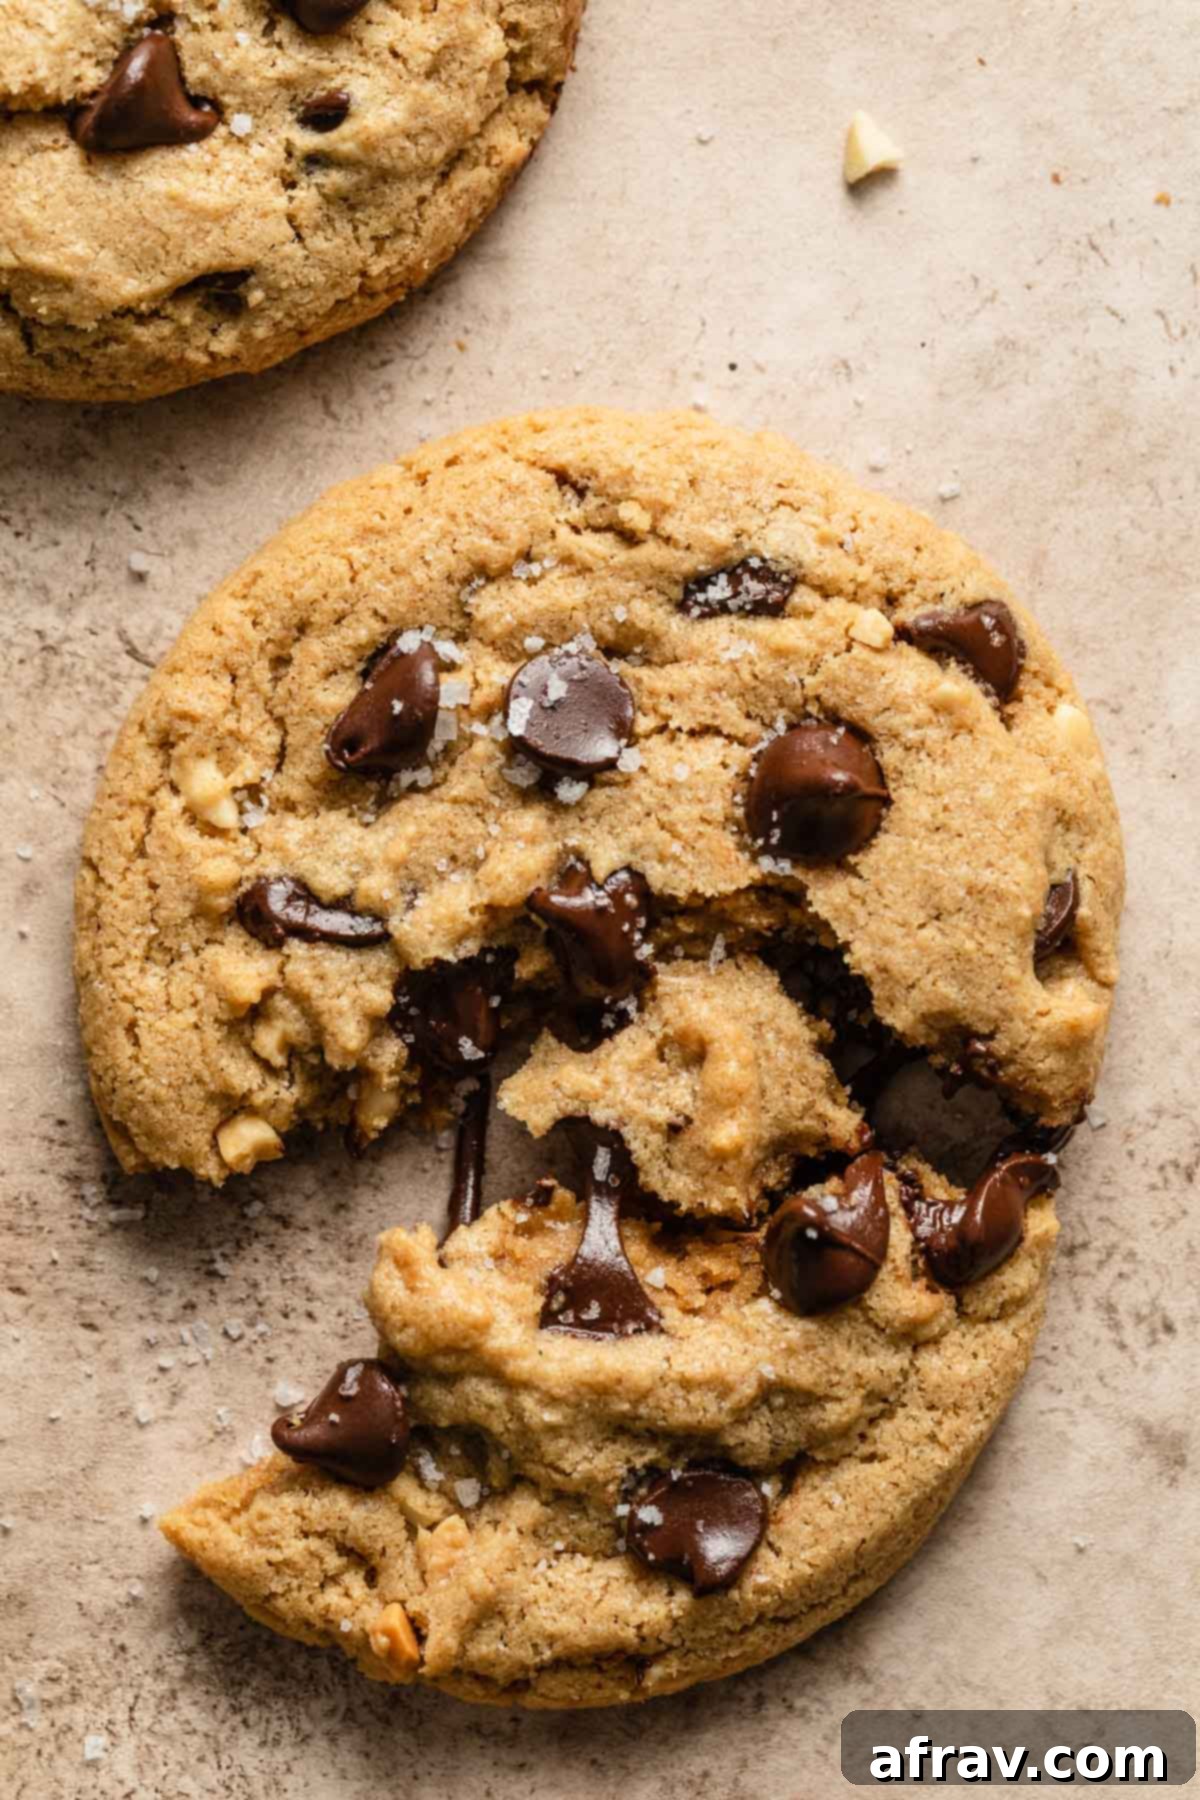
What is Oat Flour and Why Use It?
If you’re new to baking with oat flour, you’re in for a treat! Oat flour is a finely ground, whole-grain flour made from rolled oats. Unlike traditional wheat flour, it’s naturally gluten-free and brings a unique set of characteristics to your baked goods:
- Subtle Sweet and Nutty Flavor: Oat flour imparts a delicate, slightly sweet, and nutty flavor that complements chocolate and peanut butter beautifully. This natural sweetness can even allow you to use slightly less added sugar in some recipes.
- Moisture and Tenderness: It’s known for adding incredible moisture and a tender crumb to baked goods like these oat flour brownies. In cookies, it contributes to that desirable chewy texture we all love, preventing them from becoming dry or crumbly.
- Whole Grain Benefits: As a whole grain, oat flour is a healthier alternative, packed with fiber, protein, and essential nutrients like manganese, phosphorus, and magnesium. This makes your cookies not just a indulgence, but also a more wholesome snack.
- Excellent Gluten-Free Alternative: For those avoiding gluten, oat flour is a fantastic, readily available option that behaves well in many baking applications. Its mild flavor and binding properties make it a versatile choice.
When purchasing oat flour, always look for brands labeled “certified gluten-free” to ensure there’s no cross-contamination from processing facilities that also handle wheat. The fineness of the grind also matters, as a finer flour generally yields a smoother, more consistent texture in cookies.
Key Ingredients You’ll Need
Crafting the perfect Oat Flour Chocolate Chip Cookies starts with selecting the right ingredients. Here’s a closer look at what you’ll need and why each component is crucial:
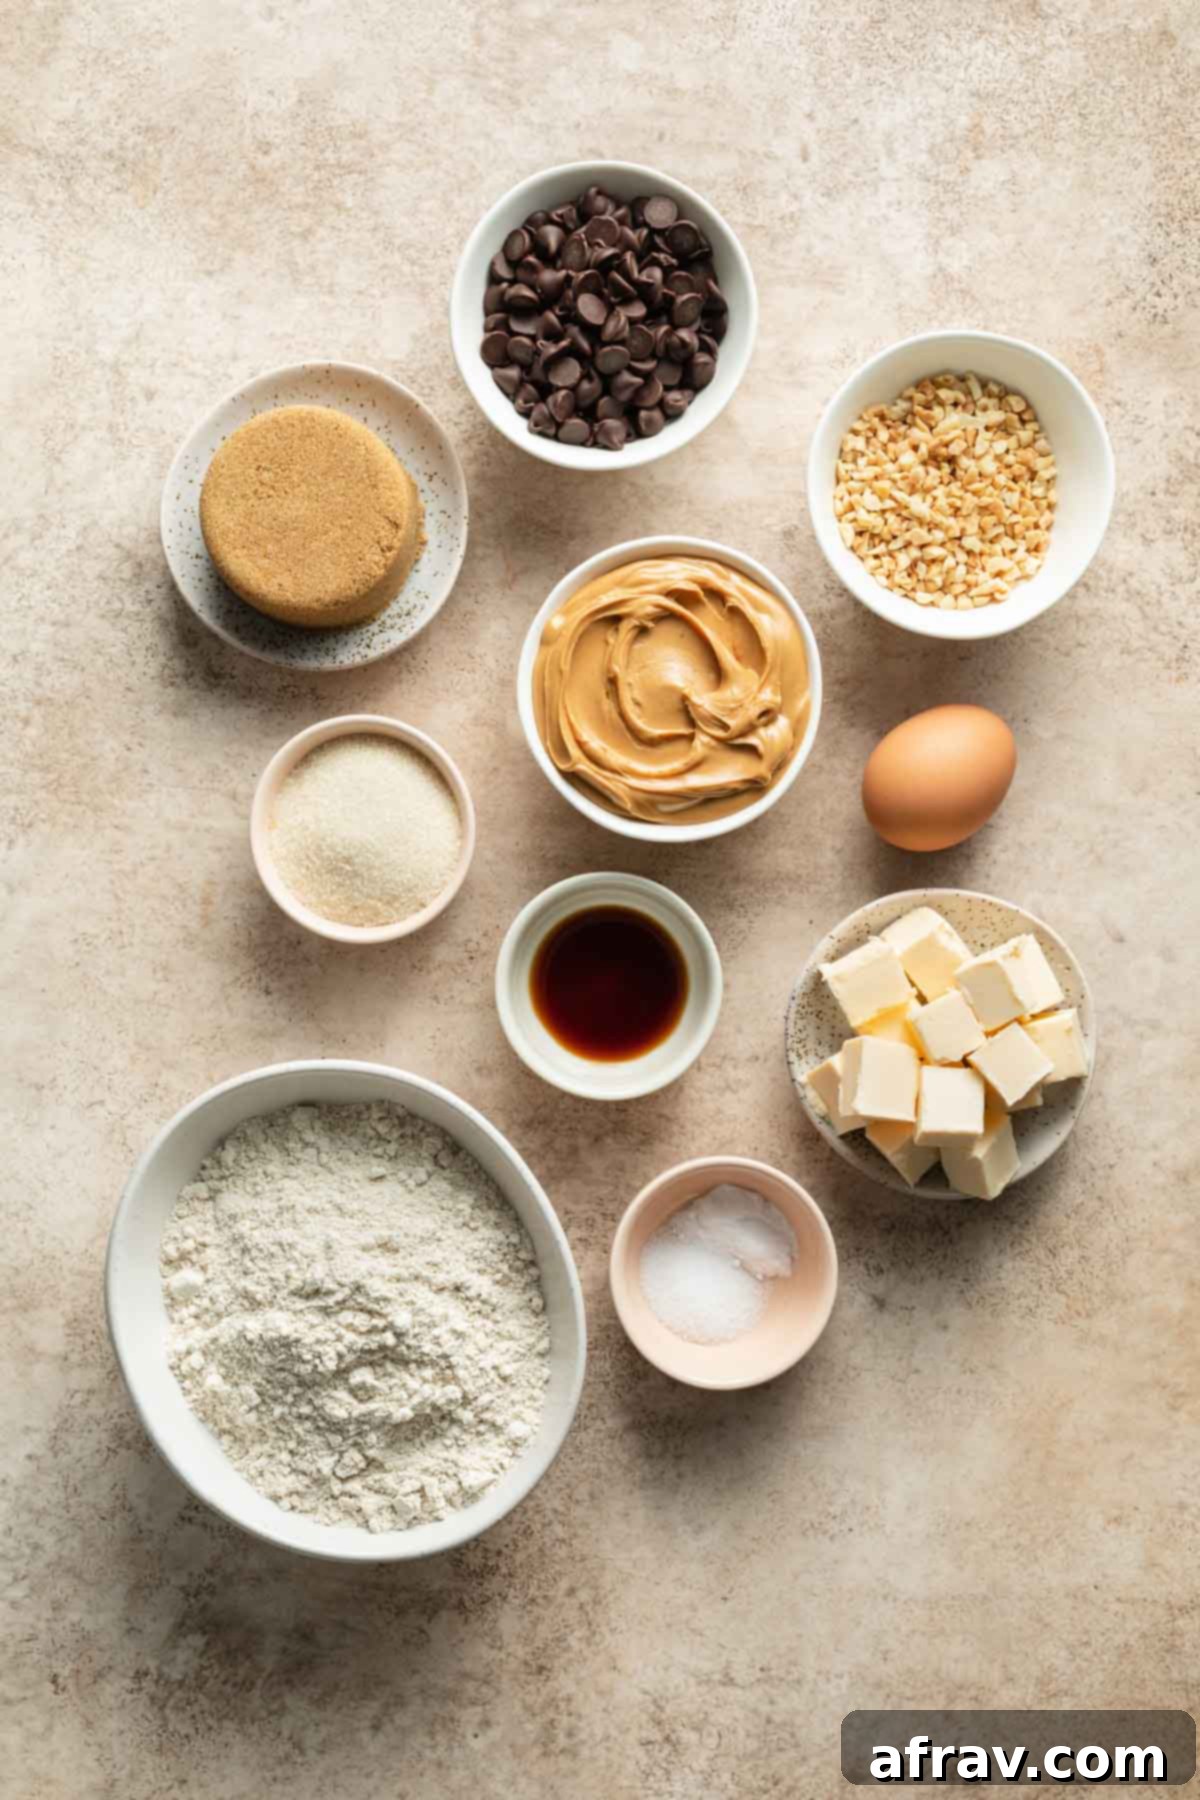
- Oat Flour: As discussed, this is the star of our gluten-free show. During my testing, I found that the best cookies resulted from using oat flour with a very fine texture. Coarsely ground oat flour can sometimes lead to a drier, more crumbly cookie. Ensure your chosen brand is finely milled and certified gluten-free for the best results and to meet dietary needs.
- Peanut Butter: This is where attention to detail really pays off. While I often bake with natural peanut butter, for these cookies, shelf-stable peanut butter (like Jif or Skippy) consistently yielded the best texture. Natural peanut butter, with its higher oil content and tendency to separate, made the dough too soft and prone to spreading excessively. Both smooth and chunky shelf-stable varieties work wonderfully, so choose based on your texture preference!
- Butter (Dairy-Free/Vegan): Butter is essential for creaming with the peanut butter and sugars, creating the rich, tender base of our cookies. To keep this recipe dairy-free, it’s crucial to use dairy-free or vegan butter sticks. Look for brands that come in block form (like Earth Balance vegan buttery sticks, my personal preference, not sponsored!) rather than the spreadable kind found in tubs, as these often have different fat compositions that can affect the cookie’s structure. Cold butter is actually preferred for this recipe to prevent excessive spreading.
- Cane Sugar: White sugar contributes to the desired crispy edges of a good cookie. This recipe uses a precise 1/4 cup of cane sugar to achieve that subtle crispness without making the cookies spread too much. Granulated sugar can be substituted if cane sugar isn’t available.
- Brown Sugar: The secret to a soft, chewy cookie lies largely in brown sugar. Its molasses content adds moisture and a rich, caramel-like flavor that white sugar simply can’t replicate. While coconut sugar is often a great alternative to brown sugar, I don’t recommend it for this particular recipe. My tests showed that coconut sugar caused the cookies to spread more than desired, affecting their thick, chewy texture.
- Egg: The egg acts as a crucial binding agent, bringing the dough together and contributing to its structure and richness. Unfortunately, I have not yet tested this recipe with egg replacements (such as a flax egg or commercial egg replacer), so I cannot guarantee results for a fully vegan version.
- Baking Soda: This leavening agent is vital for giving the cookies their lift and contributes to their soft, chewy interior. It reacts with the acidic components in the dough to create air pockets.
- Salt: We use two kinds of salt in this recipe for maximum flavor impact. Kosher or table salt is mixed into the dough to balance the sweetness and enhance all the other flavors. A sprinkle of flaky sea salt on top after baking provides a delightful textural contrast and a burst of savory goodness that truly elevates the cookie experience.
- Vanilla Extract: Pure vanilla extract is a must-have ingredient. It doesn’t just add its own flavor; it amplifies and rounds out the flavors of all the other ingredients, adding depth and warmth to the cookies.
- Chocolate Chips: The star attraction! I used dairy-free chocolate chips to keep the recipe suitable for those with dairy restrictions. However, if dairy isn’t an issue for you, feel free to use your favorite kind of chocolate chips—dark, semi-sweet, milk, or even white chocolate would be delicious. The more high-quality the chocolate, the better the melty pockets of goodness in your cookies.
- Peanuts: These are an optional but highly recommended addition. A 1/4 cup of chopped raw peanuts enhances the peanut butter flavor and adds a fantastic crunch. It’s important to use *raw* peanuts; roasted peanuts can release too much oil and potentially burn, while salted peanuts might make your cookies overly salty.
How to Make Irresistible Oat Flour Chocolate Chip Cookies
Making these delightful gluten-free and dairy-free cookies is a straightforward process. Follow these simple steps for perfect results every time:
- Prepare Your Workspace: Begin by preheating your oven to 350°F (175°C). Line two large baking sheets with parchment paper. Parchment paper is essential for preventing sticking and ensuring even baking, especially with gluten-free doughs.
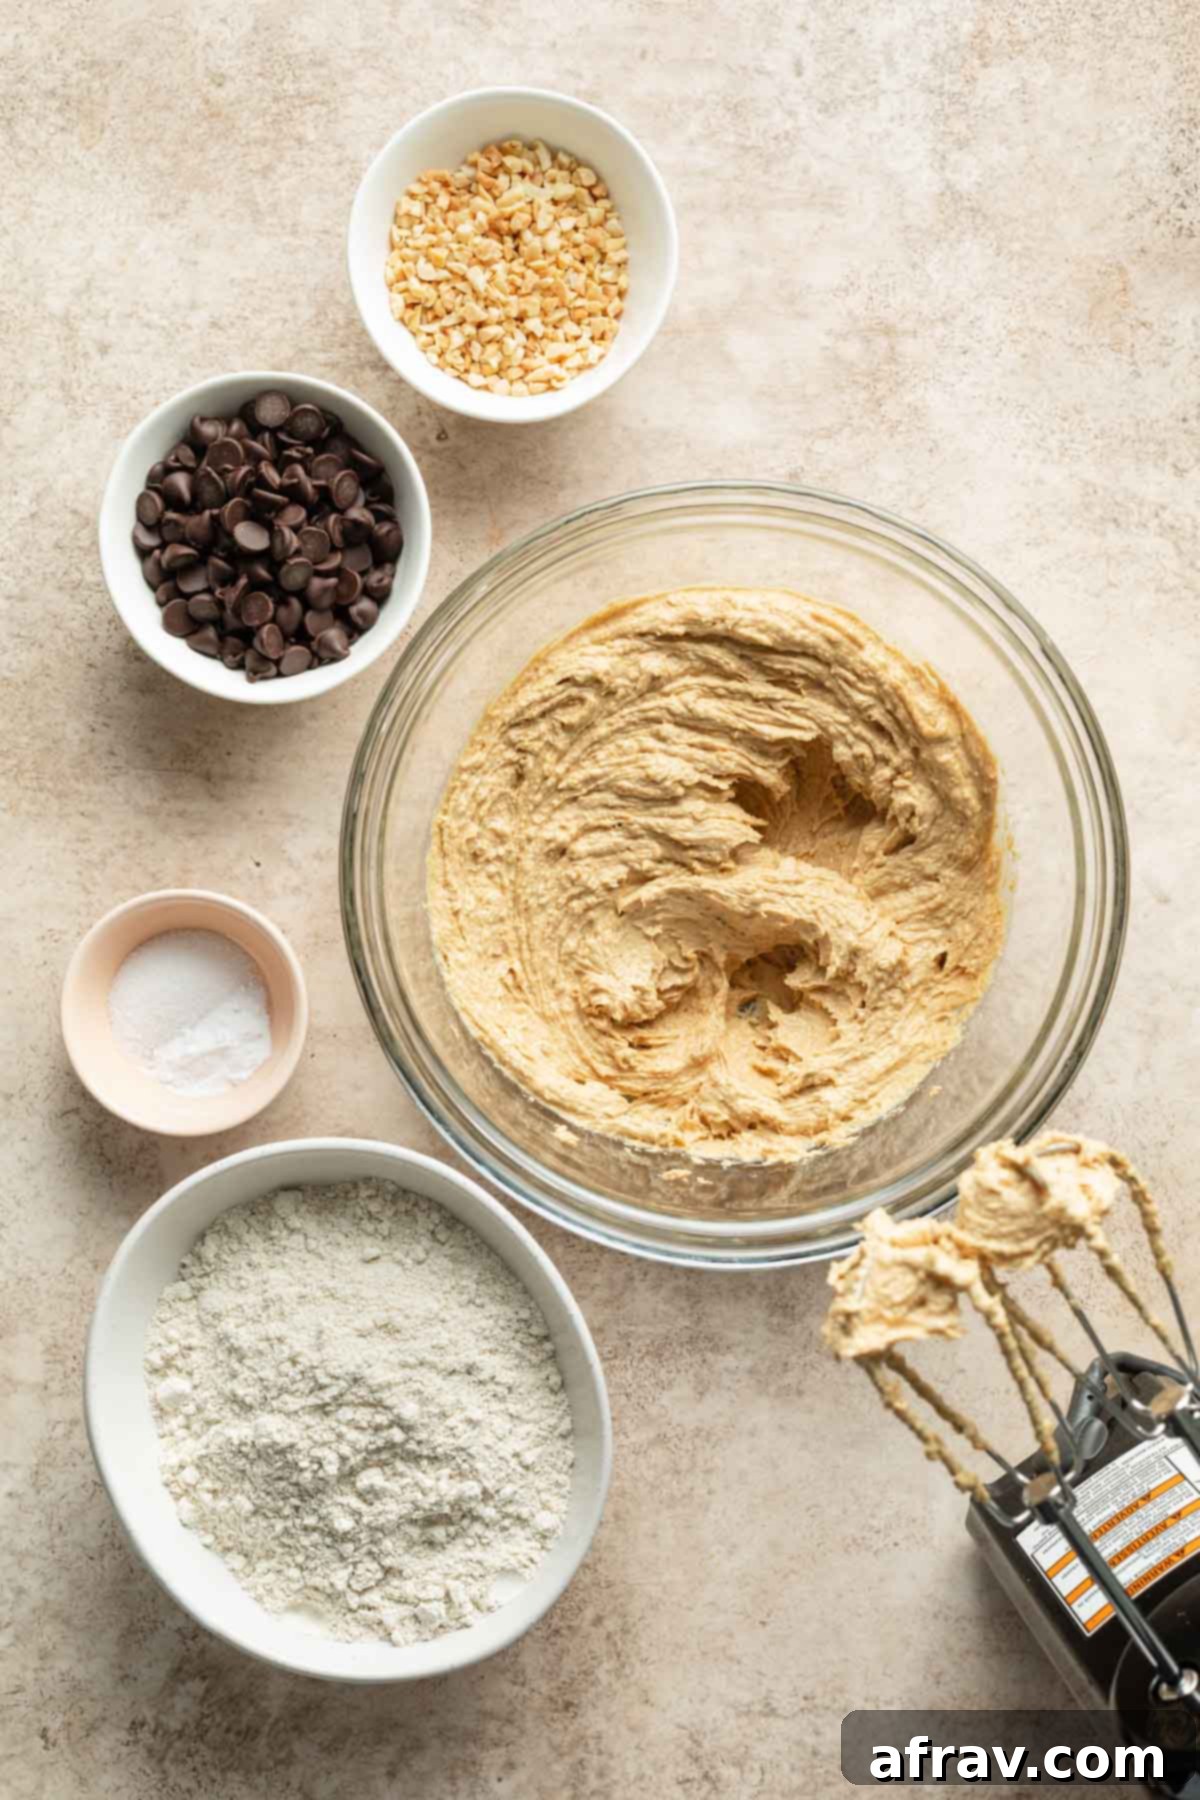
- Cream Wet Ingredients: In a large mixing bowl, combine the shelf-stable peanut butter, dairy-free butter, brown sugar, and cane sugar. Use an electric mixer to cream these ingredients together until the mixture is light in color and wonderfully creamy. This step incorporates air, contributing to the cookies’ soft texture.
- Incorporate Egg and Vanilla: Beat in the large egg until fully incorporated, then add the vanilla extract and mix until just combined. Be careful not to overmix at this stage.
- Combine Dry Ingredients: In a separate medium bowl, whisk together the oat flour, baking soda, and salt. Ensure these dry ingredients are well combined to ensure even leavening throughout the dough.
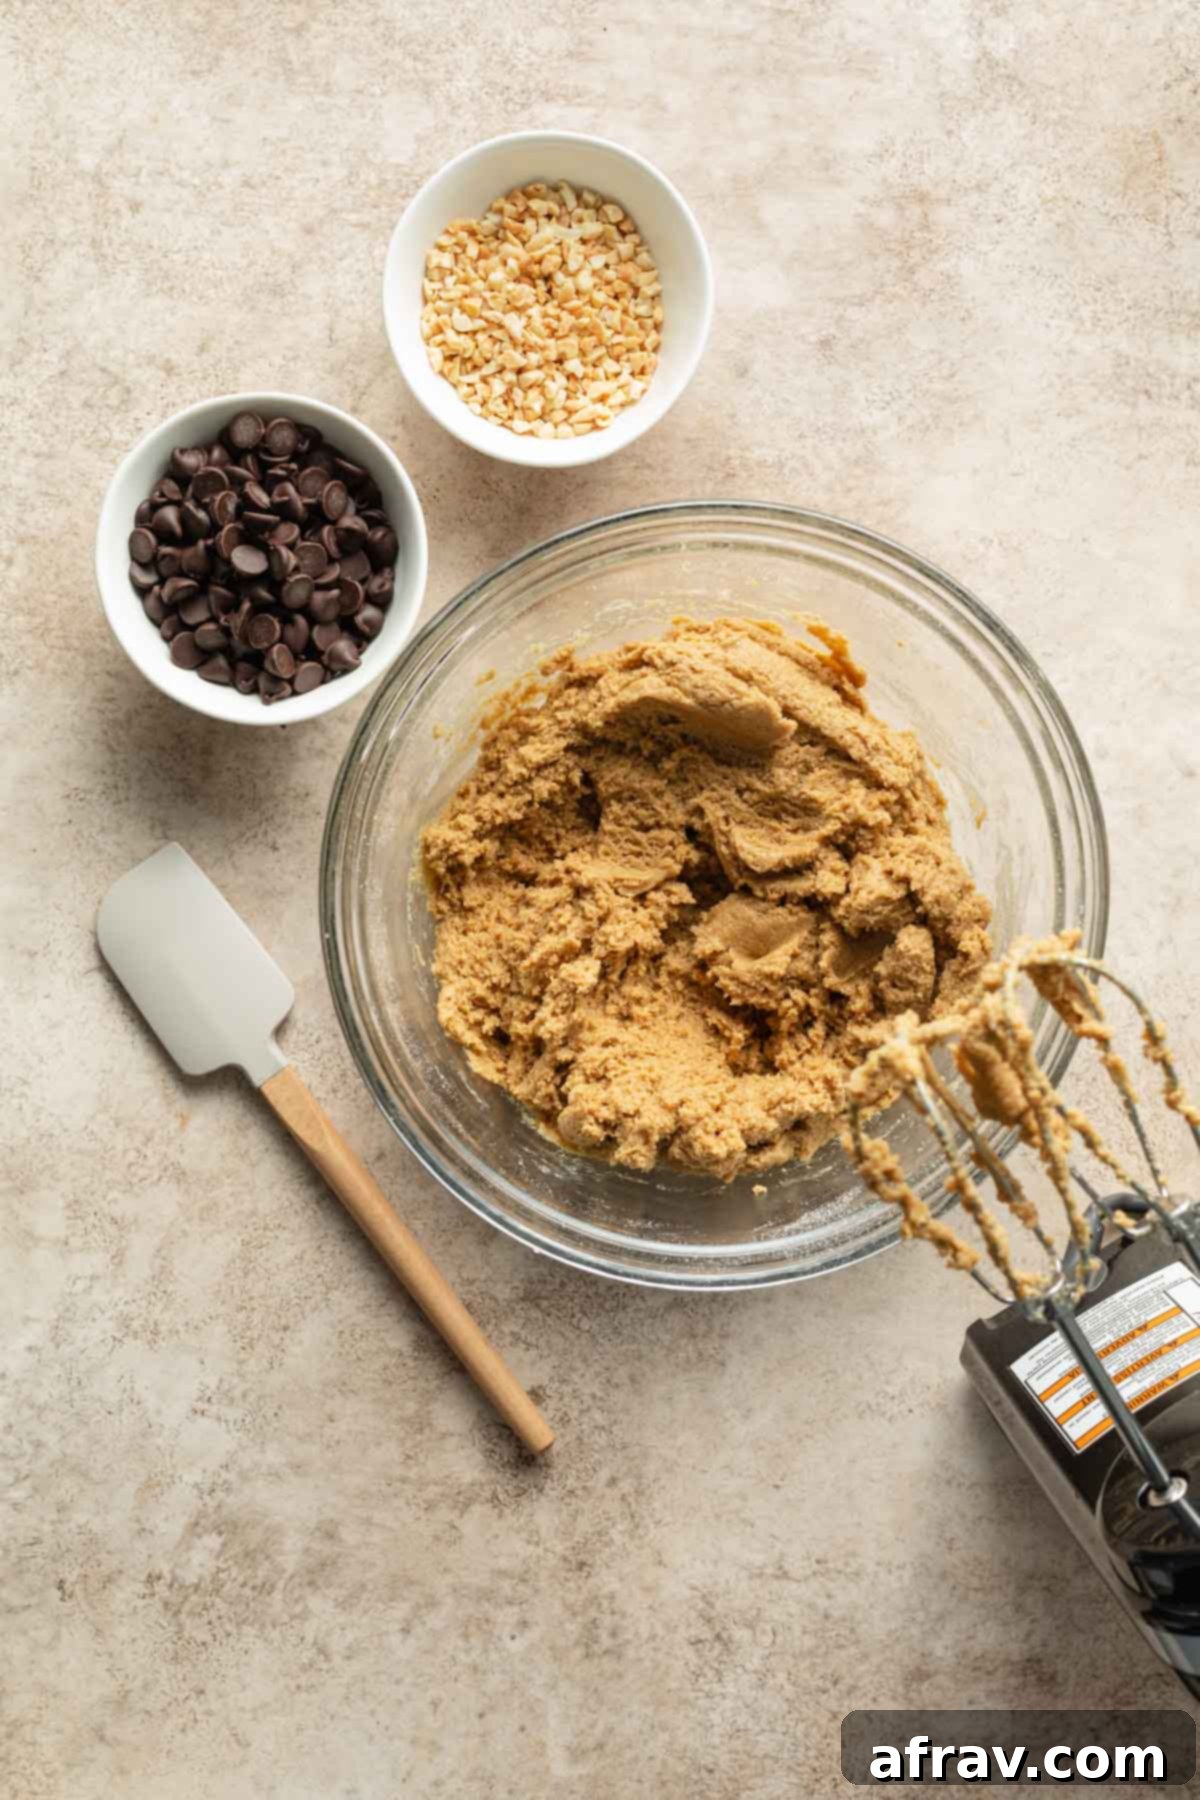
- Gradually Add Dry to Wet: Slowly add the dry flour mixture to the wet ingredients, beating on low speed with your electric mixer until just combined. It’s crucial not to overmix the dough once the flour is added, as this can lead to tough cookies. Mix only until no streaks of flour remain.
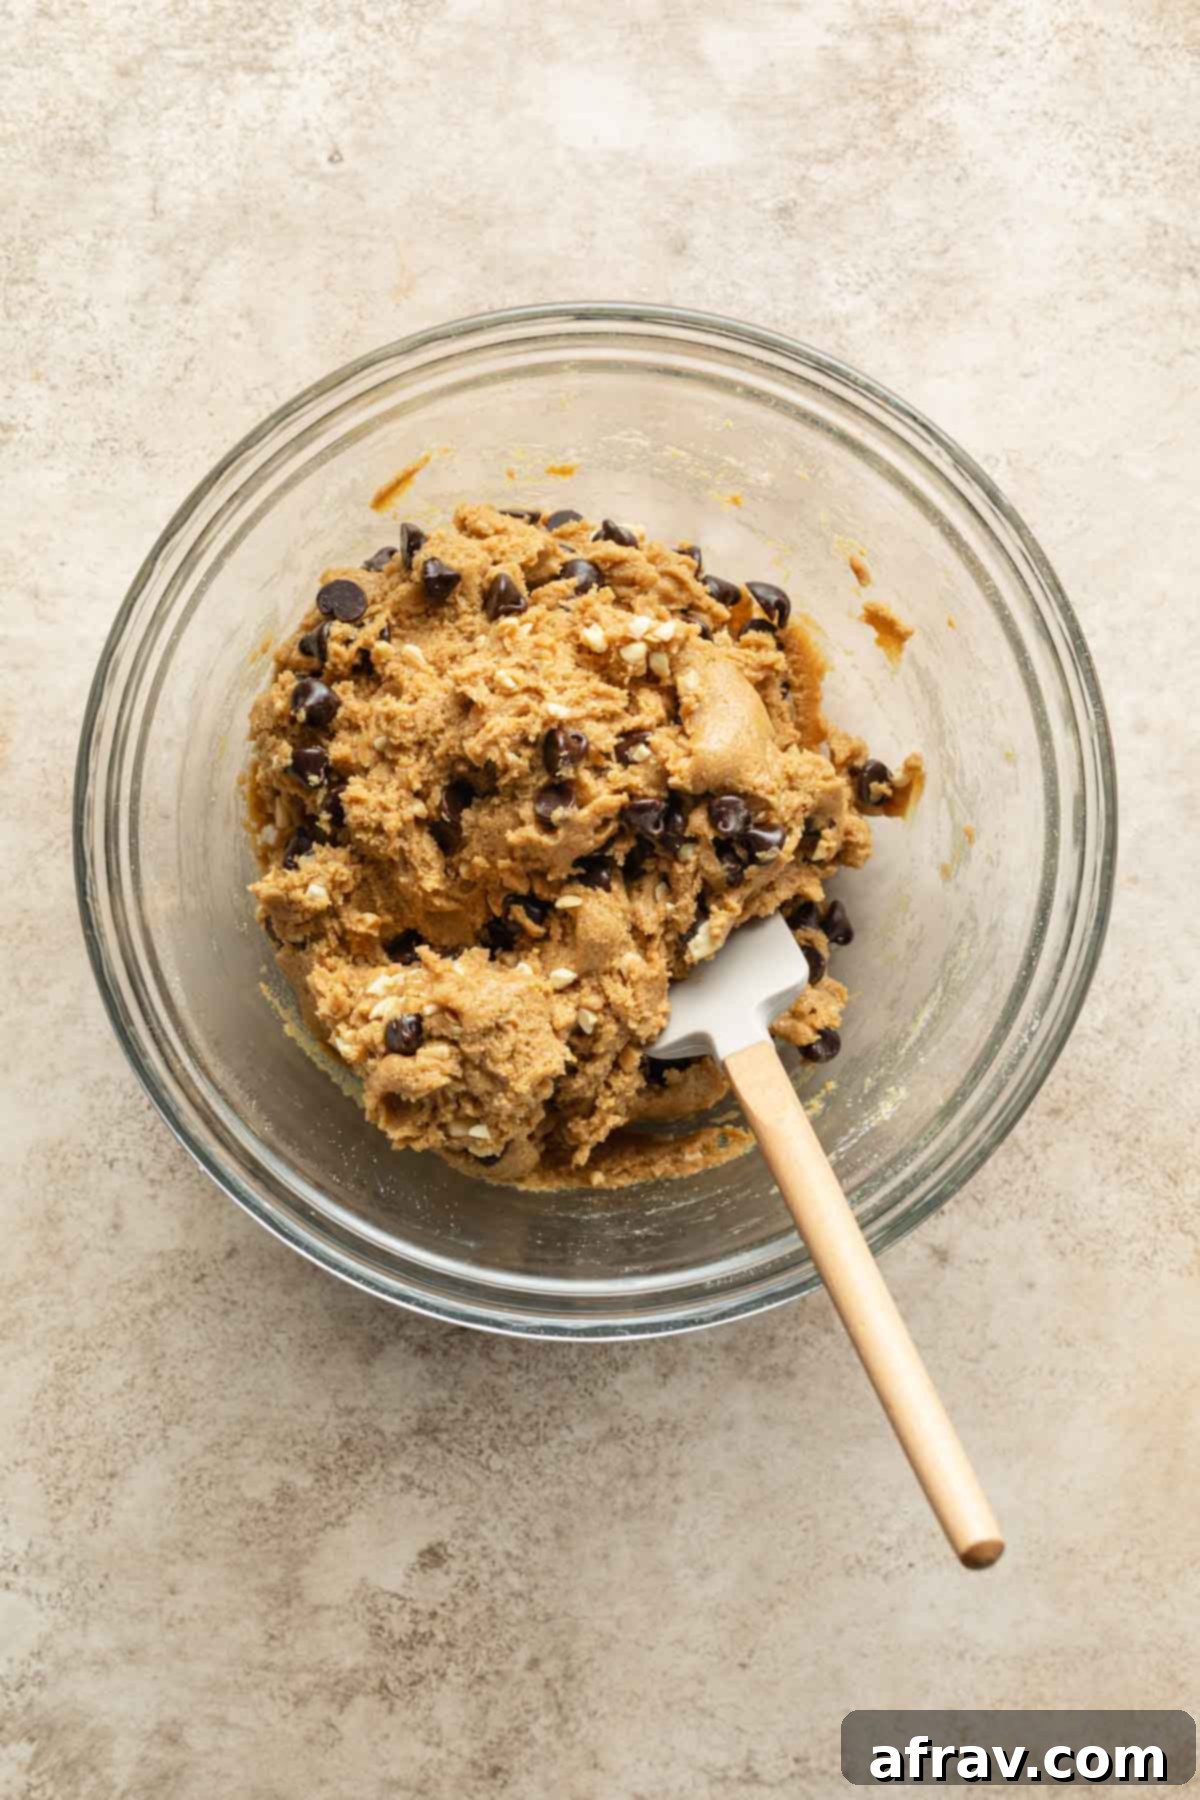
- Stir in Mix-ins: Fold in the dairy-free chocolate chips and chopped raw peanuts (if using) using a spatula or wooden spoon. Distribute them evenly throughout the dough.
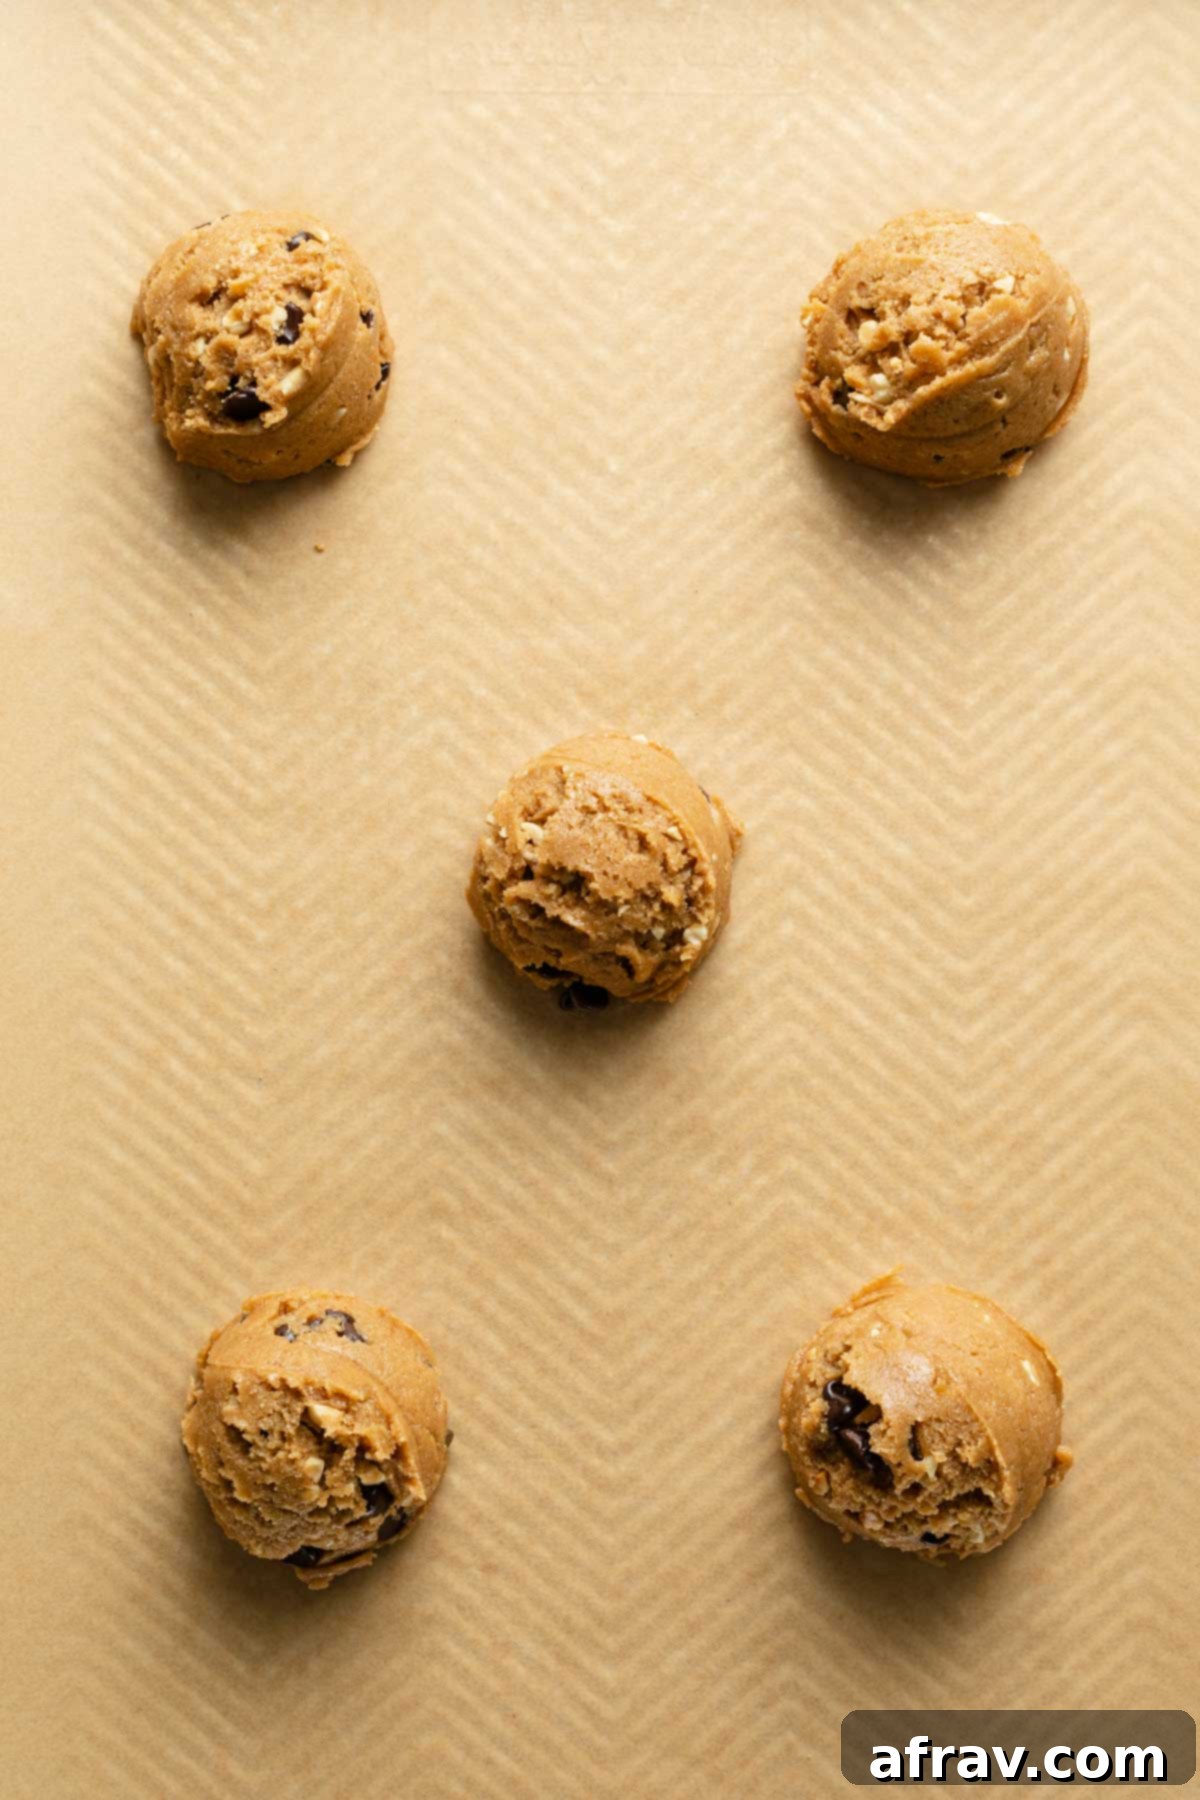
- Scoop and Space: Using a 3-tablespoon cookie scoop (or your preferred size), scoop rounded mounds of cookie dough onto the prepared baking sheets. Space them approximately 3 inches apart, as these cookies will spread as they bake. For an extra touch, gently press a few additional chocolate chips onto the tops of each dough mound before baking.
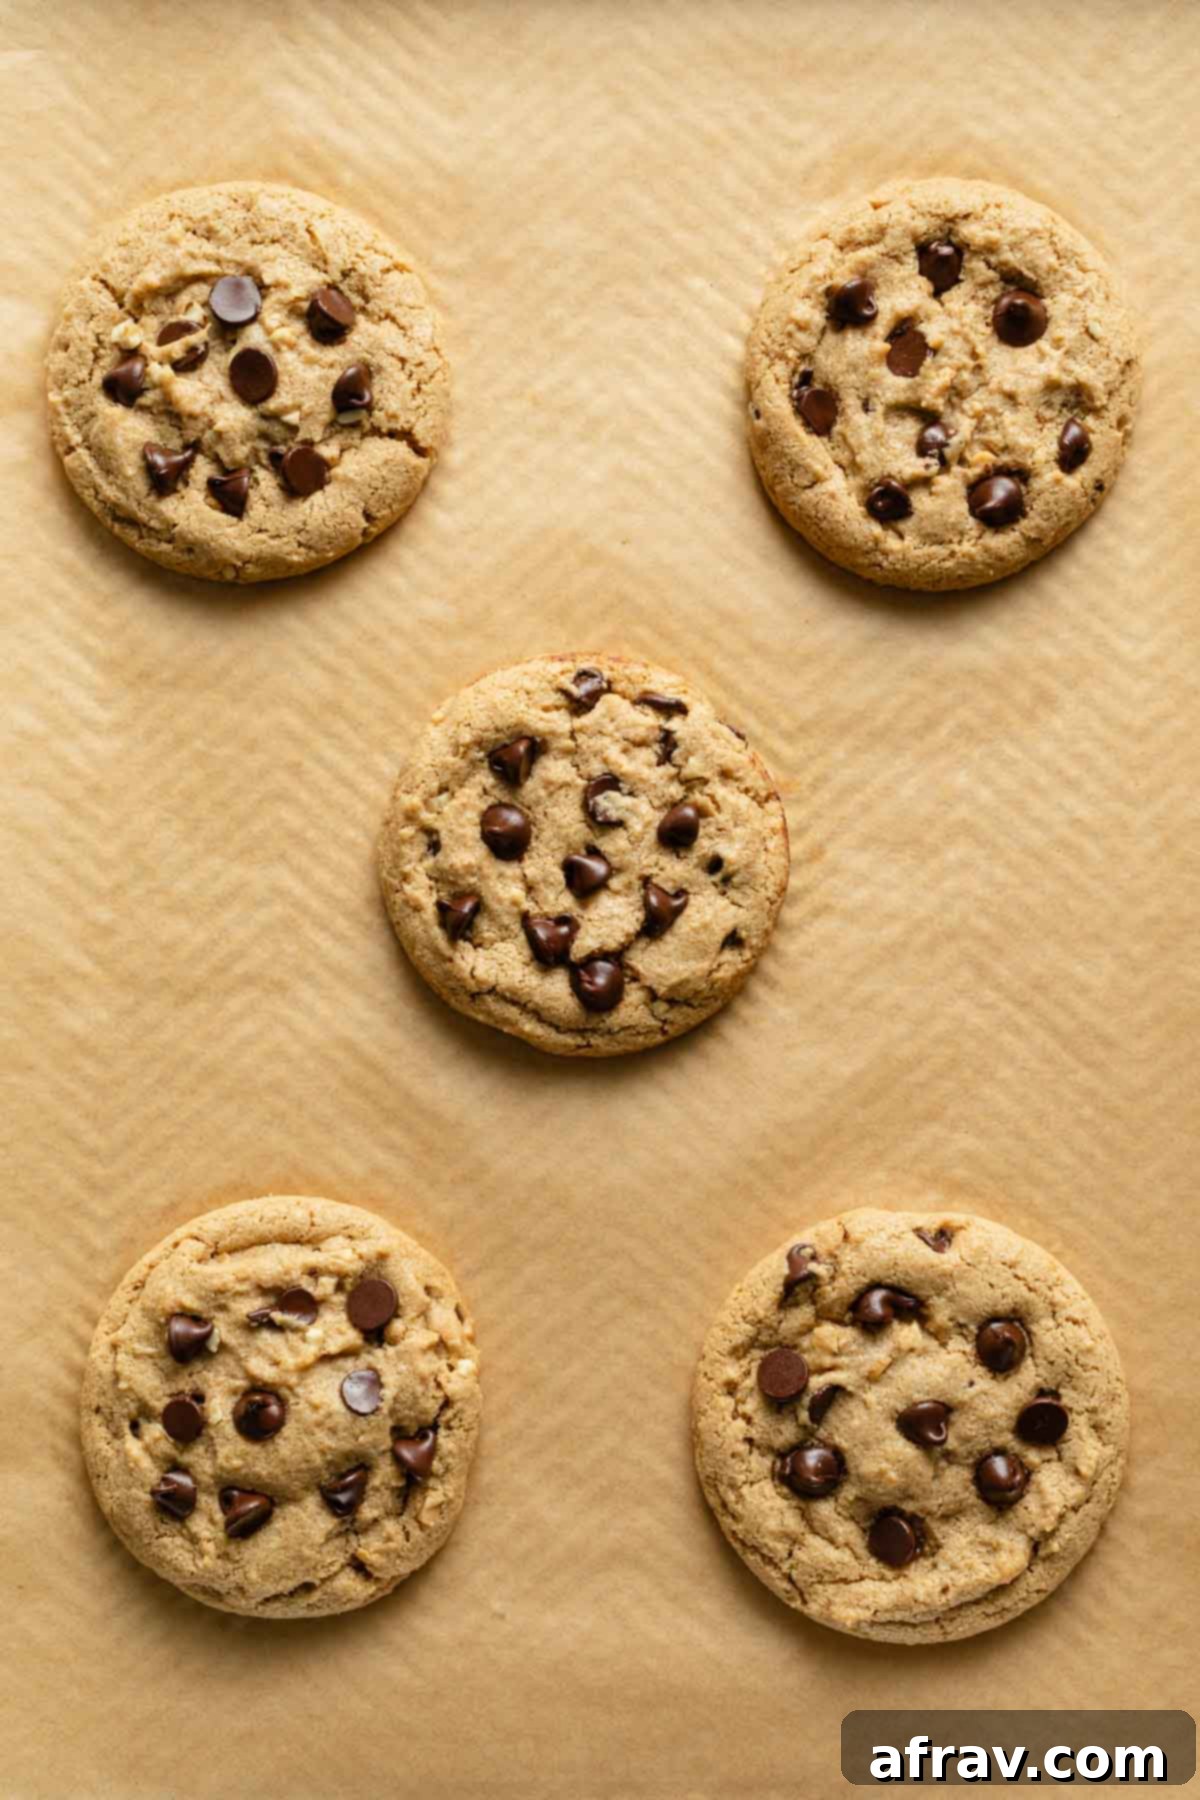
- Bake to Perfection: Bake for 11-13 minutes. You’ll know they’re done when the edges are set and lightly golden, but the centers still look slightly soft and the tops are no longer glossy. Remember, cookies continue to firm up as they cool.
- Finishing Touch: Immediately after removing them from the oven, sprinkle a little flaky sea salt over the warm cookies (if desired). This enhances the flavors beautifully.
- Cool Completely: Let the cookies cool on the baking sheet for about 10 minutes before carefully transferring them to a wire rack to cool completely. This resting period allows them to firm up without breaking.
Frequently Asked Questions About Oat Flour Cookies
Yes, oat flour is naturally gluten-free. However, oats are often processed in facilities that also handle wheat, barley, and rye, leading to potential cross-contamination. To ensure your cookies are truly gluten-free, it is crucial to use oat flour that is specifically labeled “certified gluten-free.” This certification guarantees that the product has met strict standards for gluten content.
This recipe was specifically developed and tested with oat flour to achieve its unique texture and flavor. Oat flour has a distinct absorbency and lightness compared to other flours like all-purpose wheat flour or even other gluten-free flours. Substituting other flours will likely alter the texture significantly, potentially resulting in cookies that are too dry, too crumbly, or spread too much. If you need these cookies to be gluten-free, I strongly recommend sticking with certified gluten-free oat flour for the best results.
While it’s easy to make homemade oat flour by blending rolled oats in a blender or food processor, I generally don’t recommend it for this particular recipe. My testing showed that store-bought oat flour, especially those with a very fine grind, produced the best results. It’s challenging to achieve the same level of fineness with a home blender, and coarser homemade flour can lead to a less tender cookie and a noticeable difference in texture.
No, I do not recommend fully substituting brown sugar with cane or granulated sugar. Brown sugar is essential for the soft, chewy texture and added moisture in these cookies due to its molasses content. While a small amount of cane sugar is used to provide crispy edges, increasing it would cause the cookies to spread excessively thin and become too crisp, losing their desired chewiness.
This recipe is already dairy-free, which is a great start for a vegan version! However, it has not been tested with an egg replacement. Eggs play a crucial role in binding and leavening. While flax eggs or commercial egg replacers might work, I cannot guarantee the same texture or structure without specific testing. If you try a vegan egg substitute, please share your results in the comments!
No, one of the best features of this recipe is that the cookie dough does NOT need to be chilled before baking! This means you can enjoy fresh-baked cookies much faster. While chilling dough can sometimes lead to slightly thicker cookies and might extend baking time by 1-2 minutes, it is completely optional here. I often bake one batch immediately and store the rest of the dough in the fridge for later, for even thicker cookies when I’m not in a rush.
Essential Recipe Tips for Perfect Cookies
Achieving bakery-quality cookies at home is easy with a few key tips. Keep these in mind to ensure your oat flour chocolate chip cookies turn out perfectly every time:
- Cookie Scoop Size Matters: I used a 3-tablespoon cookie scoop to make generous, large cookies. If you opt for a smaller scoop, remember to significantly reduce your baking time to prevent them from becoming dry and overcooked. Adjust accordingly based on how large or small your cookies are.
- Don’t Flatten the Dough: For those coveted thick, chewy cookies, resist the urge to press the scooped cookie dough balls down. Simply leave them as rounded mounds from the cookie scoop. They will naturally spread and flatten slightly during baking.
- Avoid Over-Baking: This is perhaps the most crucial tip! Cookies continue to bake and firm up as they cool. If you wait until they look fully “done” in the oven, they will likely be dry and hard once cooled. For soft and chewy cookies, aim to pull them out when the edges are set and lightly golden, but the centers still look slightly underdone and just lost their glossy sheen.
- Cold Dairy-Free Butter is Best: If you’re using vegan or dairy-free butter sticks, there’s no need to let them come to room temperature. In fact, cold butter is preferable for this recipe. Room temperature dairy-free butter tends to be much softer than dairy butter and can cause the cookies to spread too much, resulting in thin, crispy cookies instead of thick, chewy ones.
- Proper Spacing is Key: Ensure you space the cookie dough mounds generously on the baking sheet—at least 3 inches apart. These cookies spread as they bake, and proper spacing prevents them from merging into one giant cookie blob.
- Choose Raw, Chopped Peanuts: If you’re adding peanuts for extra flavor and crunch, make sure they are raw and finely chopped. This ensures they disperse evenly throughout the dough and prevents them from burning during baking. Roasted peanuts can release too much oil and might lead to an oily texture or burning, while salted peanuts can make the cookies too salty, especially if you’re also adding flaky sea salt on top.
- Consider Your Baking Sheets: The color of your baking sheets can affect how cookies bake. Lighter-colored sheet pans are generally recommended for cookies as they reflect heat, preventing the bottoms of the cookies from browning too quickly or burning. Darker pans absorb more heat and can lead to over-browning on the bottom.
- Monitor Your Oven: Oven temperatures can vary. It’s always a good idea to know your oven. If you find your cookies are baking too fast or too slow, you might consider investing in an oven thermometer to ensure accuracy.
Storage Tips for Freshness
To enjoy your delicious oat flour chocolate chip cookies at their best, proper storage is essential. Here’s how to keep them fresh:
- Room Temperature Storage: Once your cookies have completely cooled to room temperature, store them in an airtight container. They will stay wonderfully fresh, soft, and chewy for 1-2 days on your countertop. For optimal texture, you can even place a slice of bread in the container to help them retain moisture.
- Freezing Baked Cookies: These cookies freeze beautifully! Arrange them in a single layer on a baking sheet and flash-freeze them for about 30 minutes until solid. Then, transfer them to a freezer-safe container or a large zip-top bag, separating layers with wax or parchment paper to prevent sticking. They will last in the freezer for up to 3 months.
- Thawing Frozen Cookies: To enjoy frozen cookies, simply remove them from the freezer and let them defrost at room temperature for an hour or two. For a “fresh out of the oven” experience, you can gently warm them in a microwave for 10-15 seconds or in a preheated oven at 300°F (150°C) for 5-7 minutes.
- Freezing Cookie Dough: You can also freeze portions of unbaked cookie dough! Scoop the dough into balls and arrange them on a parchment-lined baking sheet. Flash-freeze until solid, then transfer to a freezer-safe bag. When ready to bake, place frozen dough balls on a baking sheet and bake for an additional 2-4 minutes compared to the recipe’s recommended baking time, without thawing.
More Delicious Cookie Recipes to Explore
If you loved these oat flour cookies, you’ll definitely want to check out these other fantastic cookie creations:
- Chocolate Chip Pecan Cookies
- Air Fryer Chocolate Chip Cookies
- Cookie Butter Chocolate Chip Cookies
- Ginger Molasses Cookies
- Avocado Banana Oatmeal Breakfast Cookies
Explore More Oat Flour Recipes
Oat flour is a versatile ingredient, and its benefits extend far beyond cookies. Here are a couple more recipes where oat flour shines:
- Baked Pumpkin Protein Donuts
- Carrot Cake Protein Donuts
I genuinely hope you enjoy making and devouring these Oat Flour Chocolate Chip Cookies as much as I do. If you try this recipe, I’d absolutely love to hear what you think in the comments below! Your feedback helps me improve and inspires new creations.
HUNGRY FOR MORE? Follow Crumb Top Baking on Instagram, Pinterest and Facebook!
Print

Oat Flour Chocolate Chip Cookies
5 Stars 4 Stars 3 Stars 2 Stars 1 Star
No reviews
- Author: Leanne
Prep Time: 10 minutes
Cooling Time: 1 hour
Cook Time: 26 minutes
Total Time: 1 hour 36 minutes
Yield: 12 large cookies
Category: Dessert
Method: Bake
Cuisine: American
Diet: Gluten Free
Description
These Oat Flour Chocolate Chip Cookies are thick and chewy with crispy edges and loaded with chocolate chips, peanuts and peanut butter! They’re gluten-free and dairy-free and require no chilling time!
Ingredients
- 1 1/2 cups oat flour, spooned and levelled (certified gluten-free)
- 1/2 teaspoon baking soda
- 1/2 teaspoon salt (kosher or table)
- 3/4 cup peanut butter (shelf stable, smooth or chunky, such as Jif or Skippy)
- 1/2 cup cold vegan or dairy-free butter (use baking sticks from blocks, not spreadable tubs)
- 1/2 cup brown sugar, packed
- 1/4 cup cane sugar (or granulated sugar)
- 1 large egg
- 1 teaspoon pure vanilla extract
- 1/2 cup dairy-free chocolate chips (plus more for topping, optional)
- 1/4 cup raw chopped peanuts (optional)
- Flaky sea salt for topping (optional)
Instructions
- Preheat oven to 350F (175°C) and line two large baking sheets with parchment paper.
- In a medium bowl, whisk together the oat flour, baking soda, and salt. Set aside.
- In a large mixing bowl, use an electric mixer to cream together the peanut butter, cold dairy-free butter, brown sugar, and cane sugar until the mixture is light in color and creamy (about 2-3 minutes).
- Beat in the egg, then add the vanilla extract and mix until just combined.
- Gradually beat the whisked flour mixture into the wet ingredients until just combined. Be careful not to overmix.
- Stir in the chocolate chips and chopped raw peanuts (if using) using a spatula or wooden spoon.
- Using a 3-tablespoon cookie scoop, scoop out the cookie dough and place the rounded mounds on the prepared cookie sheets about 3 inches apart (these cookies will spread as they bake). For a professional look, place a few extra chocolate chips on the tops of each cookie.
- Bake for 11-13 minutes, or until the edges are set and lightly golden, and the tops of the cookies are no longer glossy but still look slightly soft in the center.
- Remove from the oven and immediately sprinkle on some flaky sea salt (optional), if desired.
- Let the cookies cool on the baking pan for 10 minutes to allow them to set before carefully transferring them to a wire rack to cool completely.
Notes
- For truly gluten-free cookies, always ensure your oat flour is explicitly labeled “certified gluten-free” to avoid any potential cross-contamination.
- This recipe uses a 3-tablespoon cookie scoop to create large cookies. If you prefer smaller cookies or use a different scoop size, you will need to adjust the baking time accordingly; smaller cookies will bake faster.
- To achieve thick, perfectly chewy cookies, do not press down the scooped cookie dough balls. Leave them as rounded mounds, and they will naturally spread to the ideal thickness during baking.
- Be mindful not to overbake your cookies. They continue to set and firm up significantly as they cool. Overbaking will result in dry and hard cookies. For maximum softness and chewiness, it’s better to slightly underbake them (remove when edges are set but centers are still slightly soft).
- When using vegan/dairy-free butter for these cookies, it’s actually best to use it cold, directly from the refrigerator. Room temperature dairy-free butter is often much softer than its dairy counterpart and can cause the cookies to spread excessively during baking.
- If you’re incorporating peanuts, it is highly recommended to use raw, chopped peanuts. Roasted peanuts can add too much oil to the dough and are prone to burning, while salted peanuts can make the finished cookies overly salty.
- For even baking and to prevent the bottoms of your cookies from browning too quickly, consider using lighter-colored sheet pans. Darker pans tend to absorb more heat and can lead to uneven baking.
- The total cooking time indicated in the recipe card accounts for baking two batches of cookies.
- For more detailed advice, troubleshooting tips, and ingredient explanations, please refer to the sections above the recipe card.
