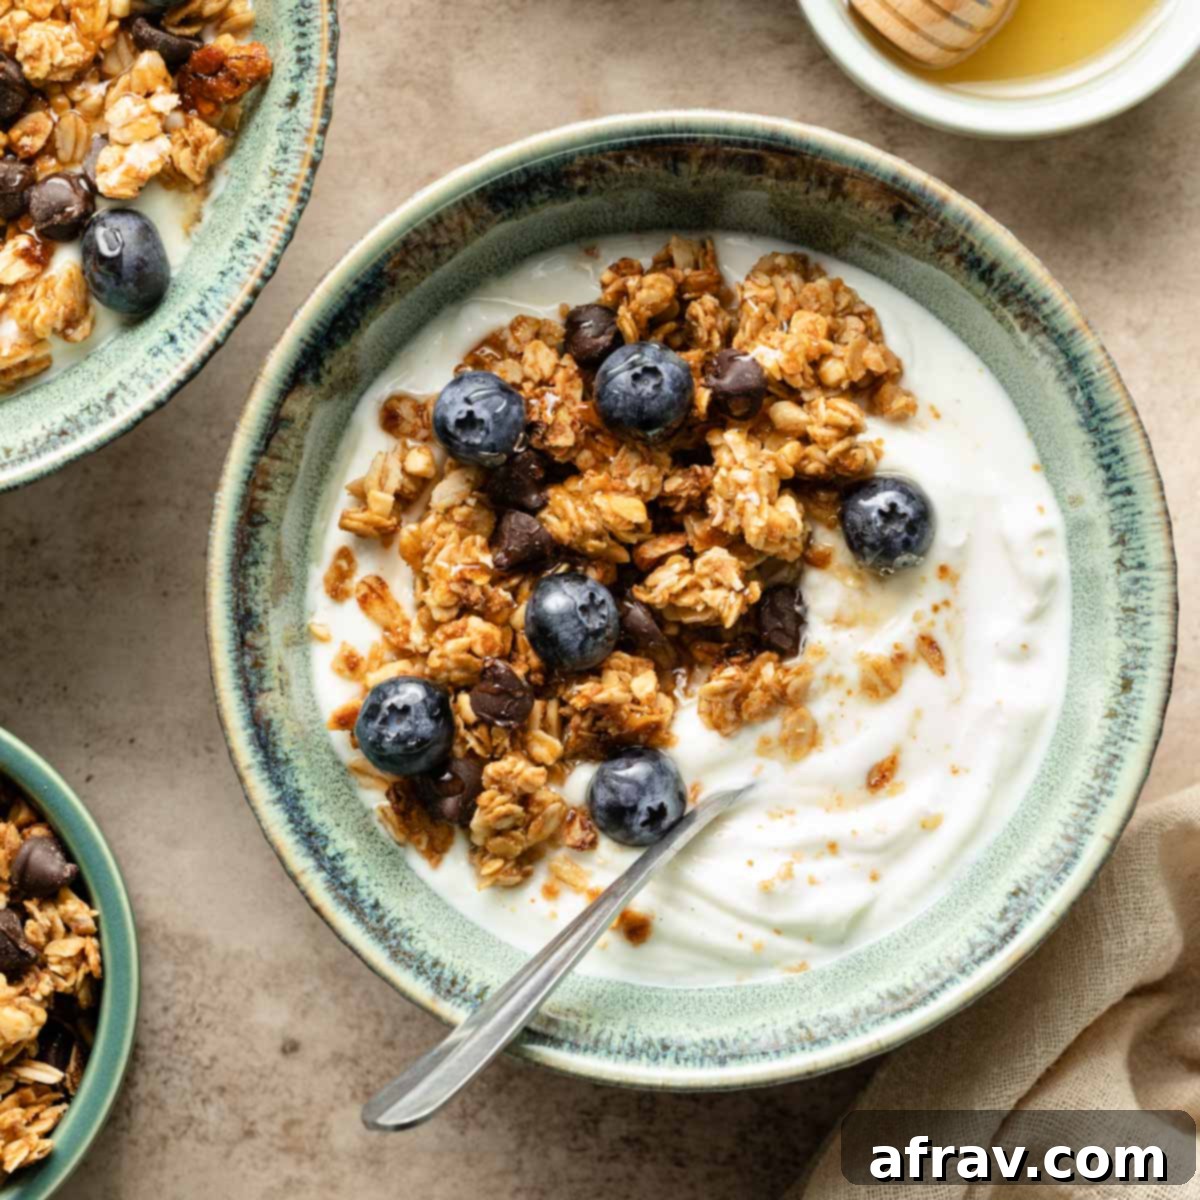
Homemade Peanut Butter Granola: Your Ultimate Gluten-Free & Dairy-Free Snack
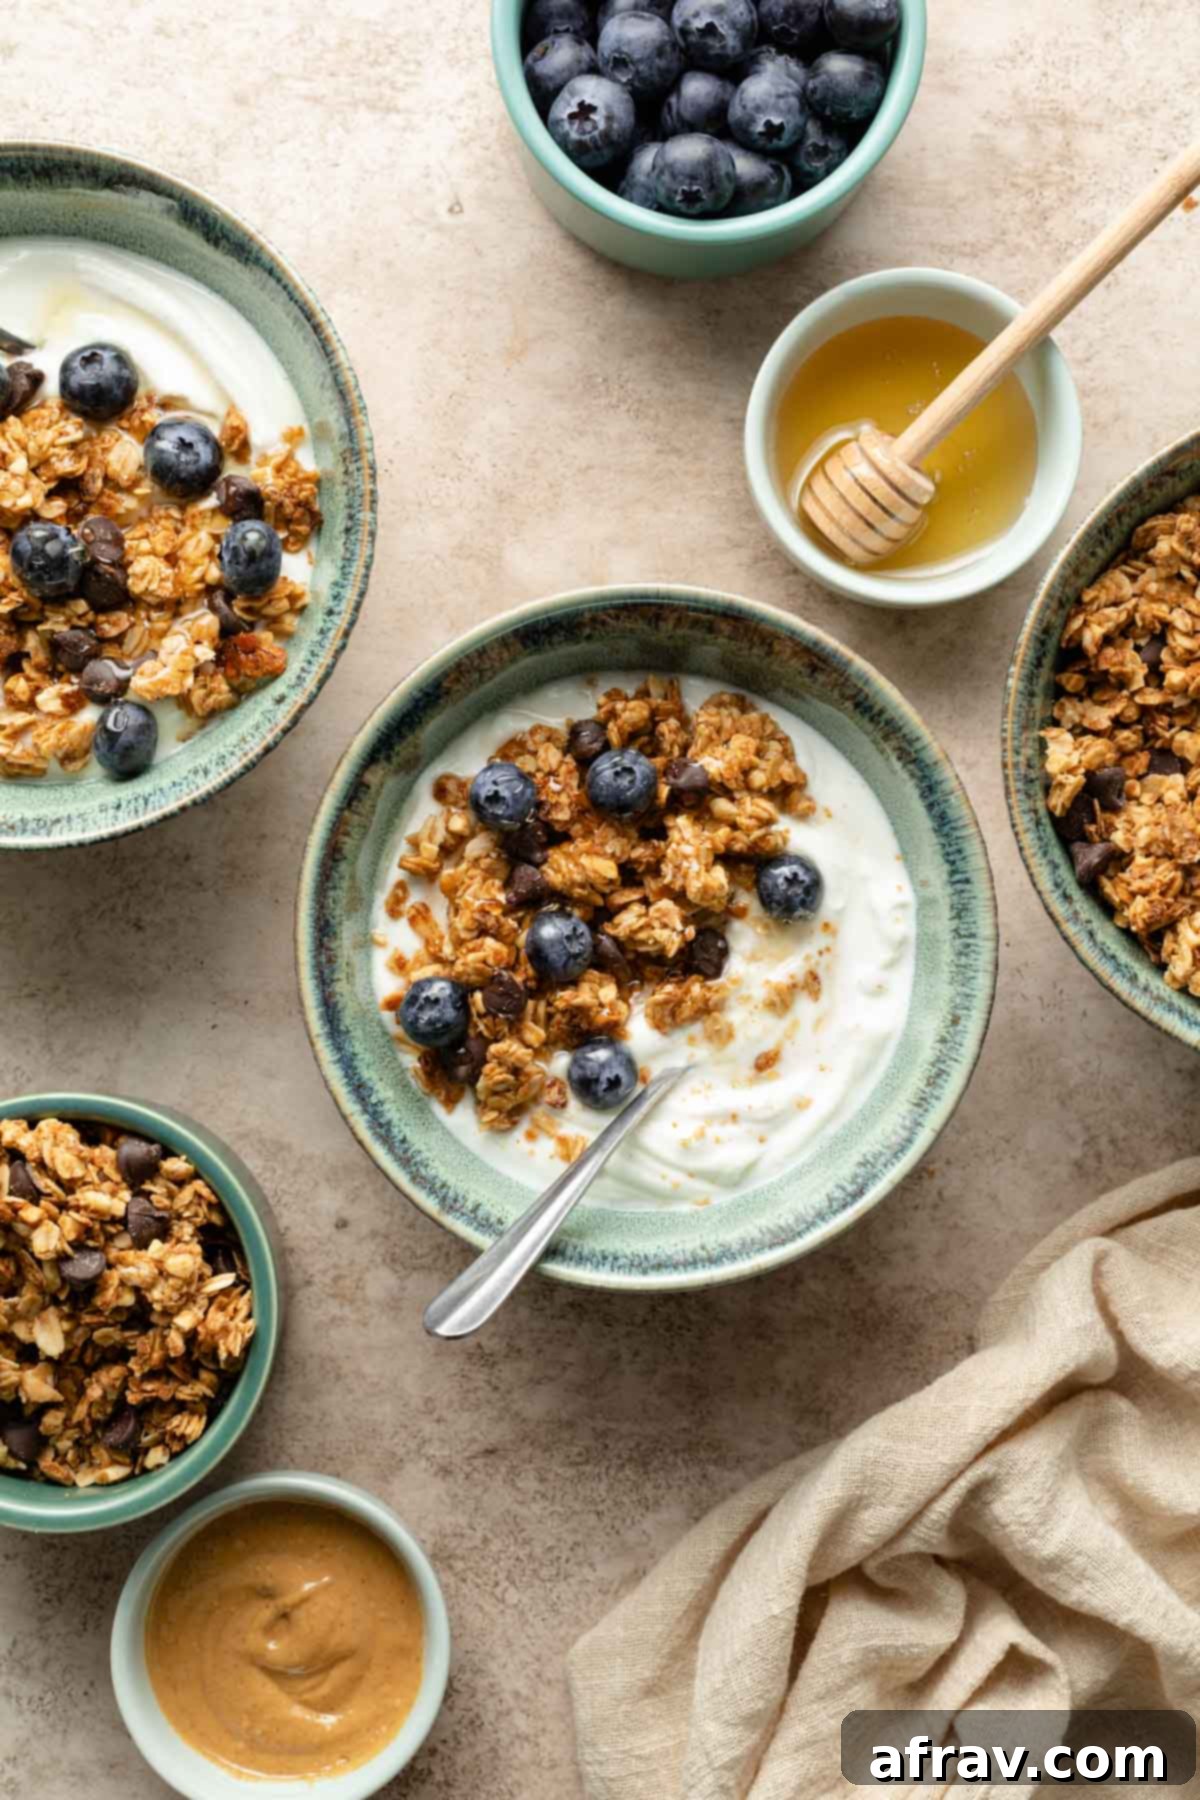
Craving a delightful crunch to kickstart your morning or an energizing snack to power through your day? Look no further than this incredible homemade Peanut Butter Granola! This recipe is a game-changer, offering a delicious, satisfying, and remarkably easy way to enjoy granola that’s not only gluten-free and dairy-free but also packed with flavor. Imagine perfectly crunchy peanut butter oat clusters, subtly sweetened with honey, and studded with irresistible dark chocolate chips. The best part? You only need 8 simple ingredients to bring this wholesome goodness to life!
If there’s one item I consistently keep stocked in my kitchen through meal prep, it’s homemade granola. It’s an absolute staple in our household, serving as a versatile base for breakfast cereals, a delightful topping for creamy yogurt parfaits, or a textural addition to vibrant smoothie bowls. Its convenience and customizable nature make it an unbeatable choice for busy lifestyles.
While store-bought granola might seem convenient, the truth is, homemade granola is simply superior in every way. When you make it yourself, you gain complete control over the ingredients, allowing you to adjust the amount of sugar, choose high-quality components, and avoid unwanted additives. Plus, it’s often significantly more economical, making it a win-win for both your taste buds and your wallet.
Beyond this sensational peanut butter version, I often whip up other favorites, like this refined sugar-free maple granola with walnuts for a classic flavor profile. And for those with nut allergies or just a love for seasonal spices, this nut-free pumpkin spice granola is a delicious option that transcends the autumn months.
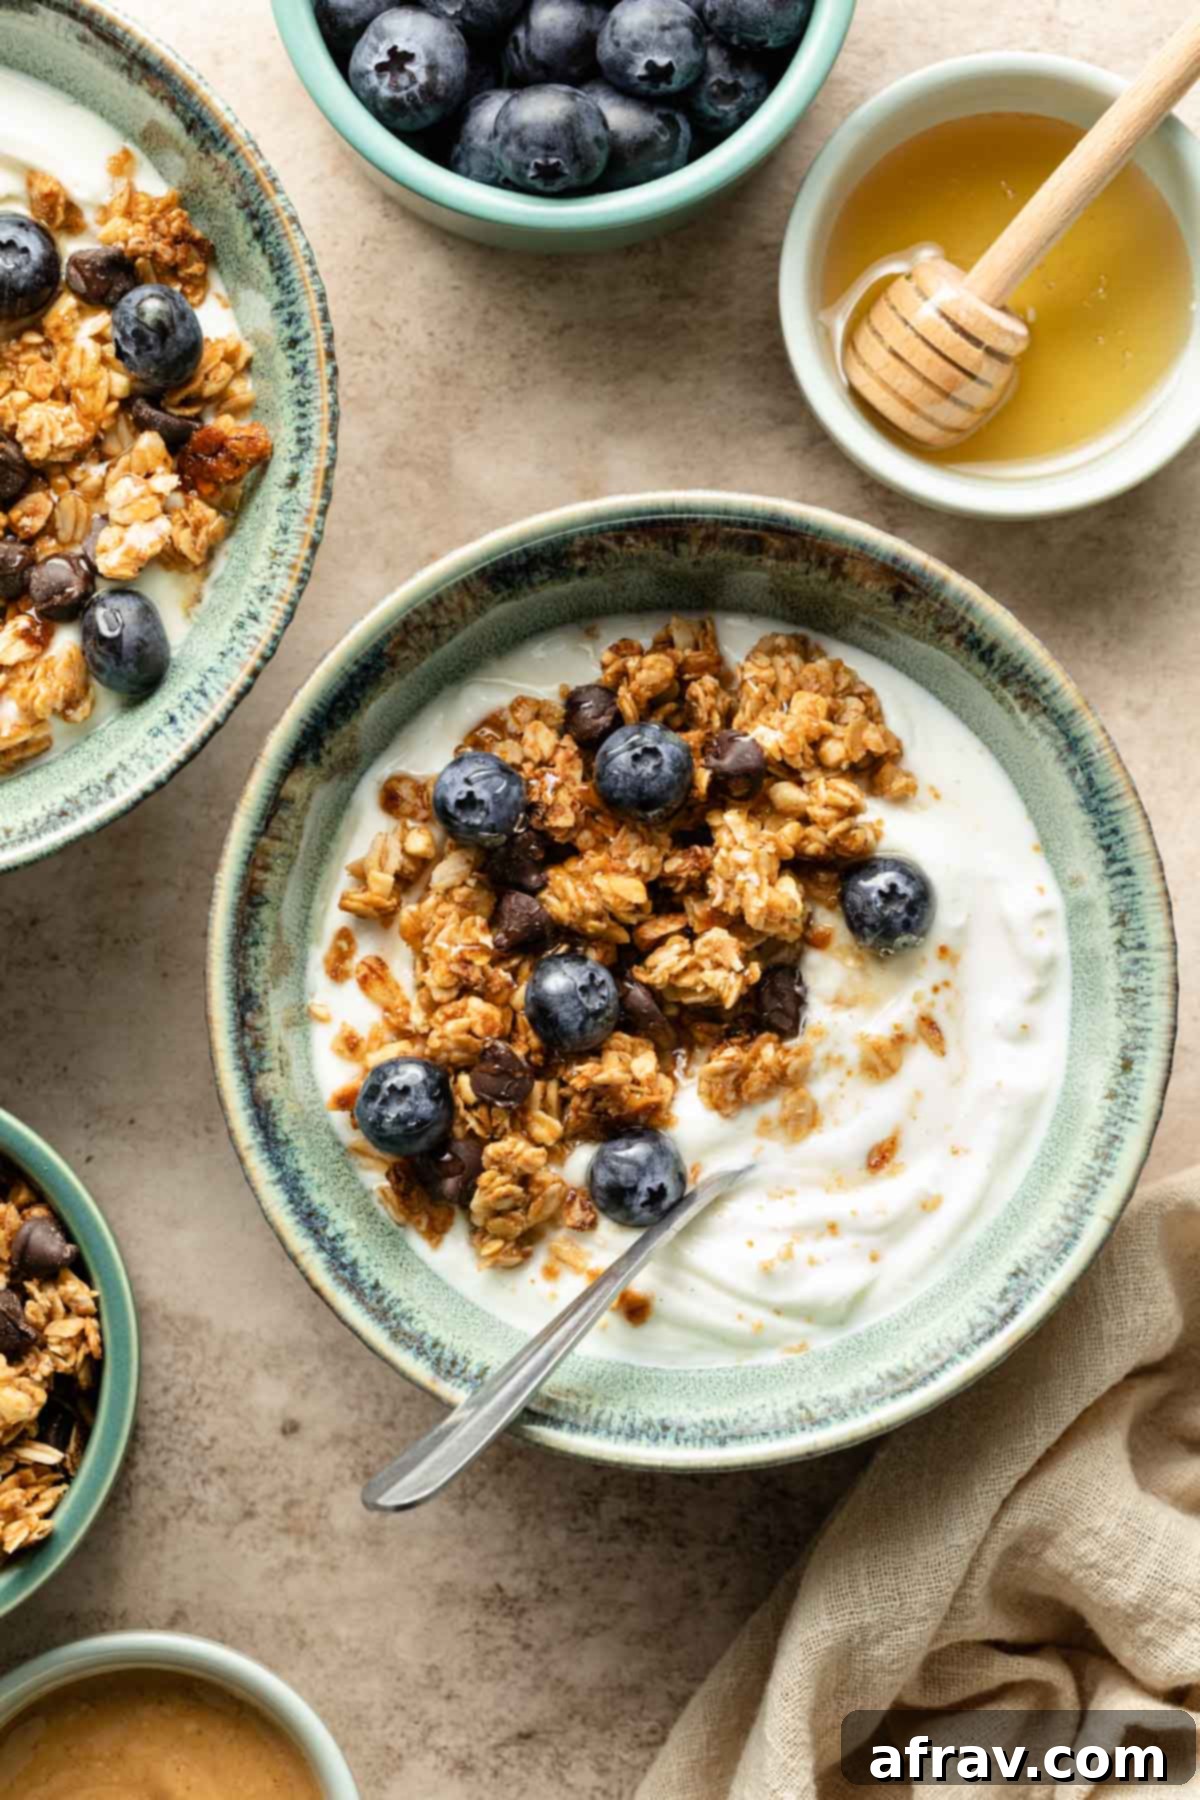
This post was originally published in March 2018. It has been thoroughly updated with new photos, expanded text, and enhanced SEO optimization to provide you with the most comprehensive guide to making this delicious peanut butter granola. The core recipe, however, remains the same beloved classic.
Why This Peanut Butter Granola Will Become Your New Favorite
There are countless reasons to fall in love with this particular peanut butter granola recipe. It’s not just a snack; it’s a lifestyle upgrade!
- Diet-Friendly & Inclusive: This recipe is naturally dairy-free and gluten-free, making it suitable for a wide range of dietary needs and preferences. With a simple substitution (maple syrup for honey, and vegan chocolate chips), it can easily be made completely vegan, ensuring everyone can enjoy its deliciousness.
- Unbeatable Flavor Trio: The combination of creamy peanut butter, golden honey, and rich dark chocolate is an iconic flavor pairing that never disappoints. Each bite delivers a harmonious blend of sweet, salty, and decadent notes, creating an irresistible treat.
- Perfect for Meal Prep: One of the biggest advantages of this homemade granola is how incredibly well it stores. Prepared in advance, it becomes your go-to breakfast or snack for days to come. Keep it in an airtight container in your pantry for up to 10 days, or freeze it for even longer-lasting convenience.
- Quick & Simple: With just 8 core ingredients and a total hands-on time of only about 30 minutes (plus cooling), this recipe fits easily into even the busiest schedules. It’s a rewarding cooking project that yields impressive results without demanding hours in the kitchen.
- Versatile & Convenient: Whether you enjoy it as a speedy grab-and-go breakfast, sprinkled over your favorite yogurt or smoothie bowl, or simply by the handful as a satisfying snack, this granola offers endless possibilities. Add a splash of milk for a classic cereal experience, or pair it with fresh fruit for a wholesome meal.
Essential Ingredients for Your Perfect Peanut Butter Granola
Achieving the perfect crunchy, flavorful granola starts with understanding each ingredient and its role. Here’s a closer look at the simple components that make this recipe shine:
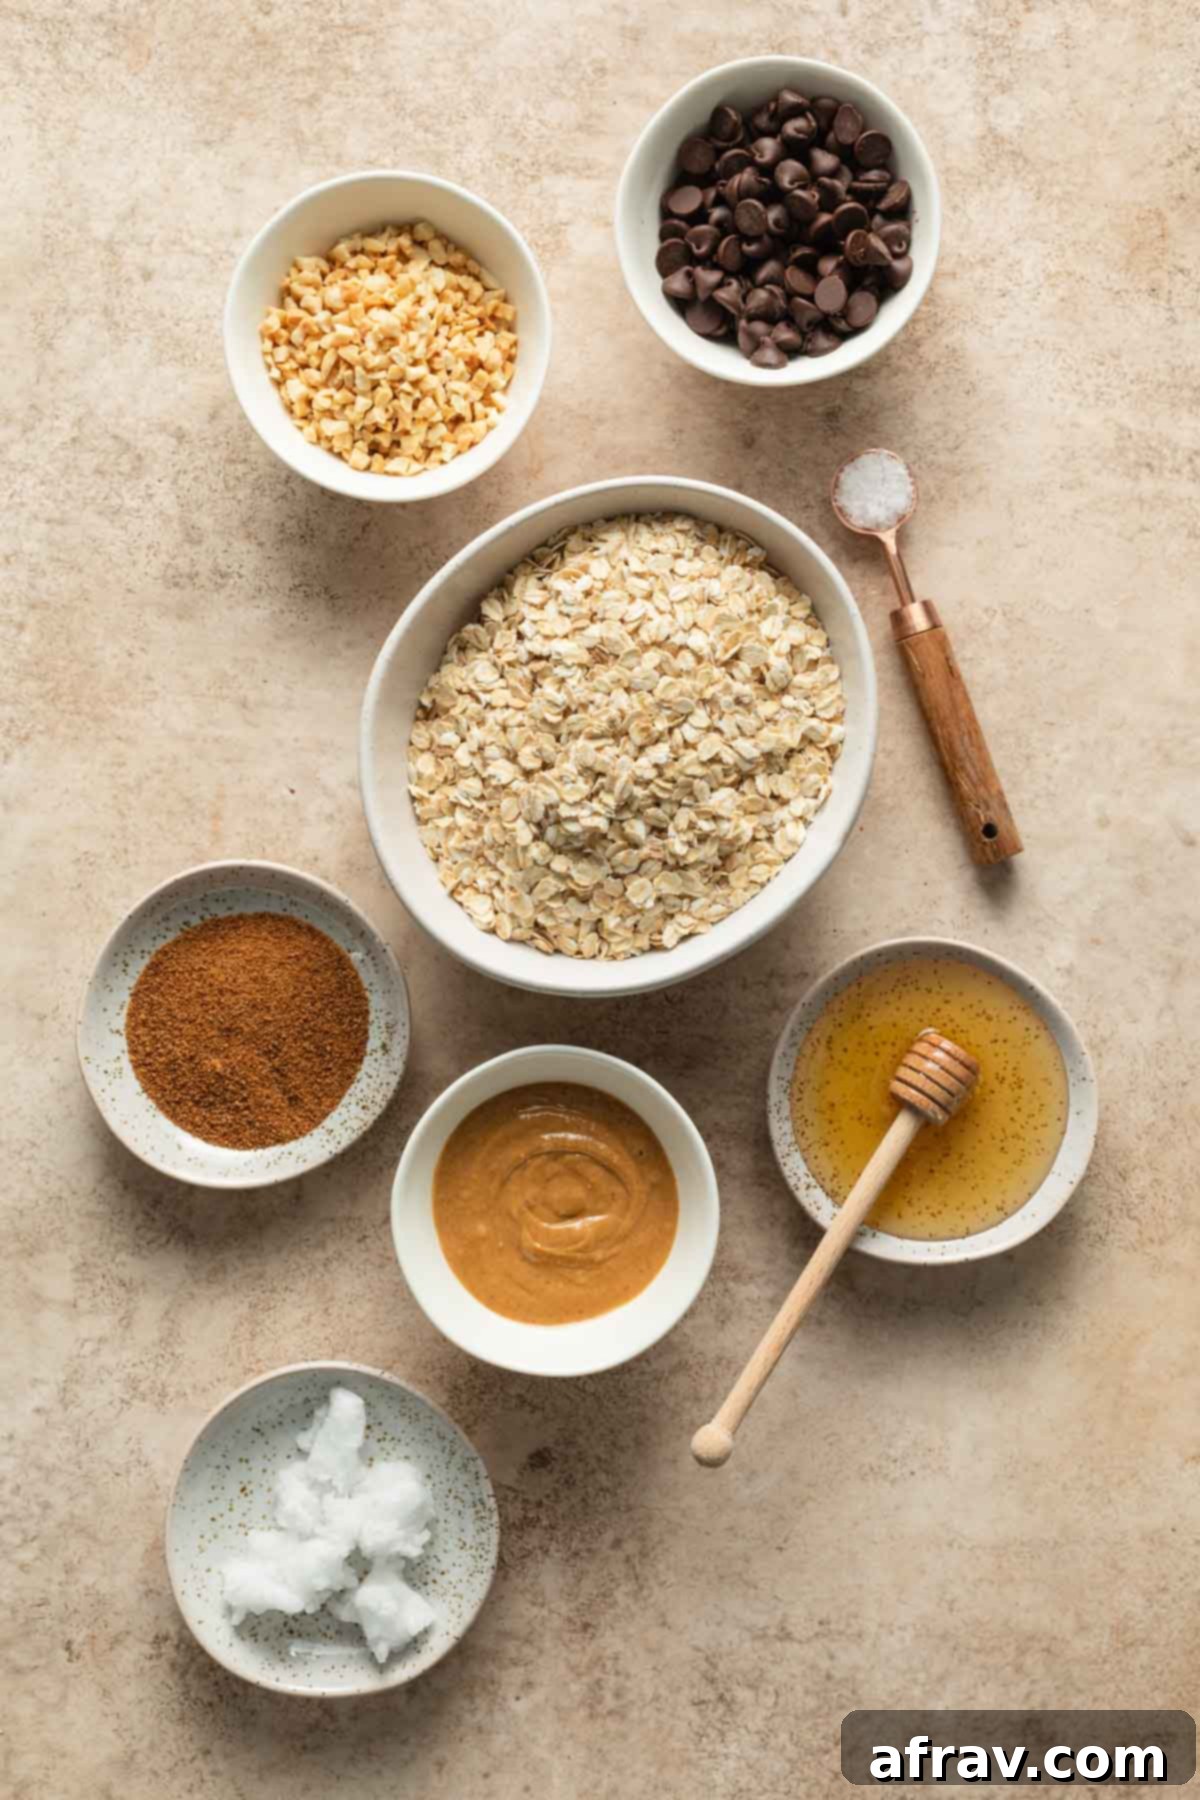
Rolled Oats: We recommend using old-fashioned rolled oats for this recipe. Their larger, flatter flakes are crucial for creating those coveted granola clusters that are so satisfying to bite into. While quick-cooking rolled oats can be used in a pinch, they tend to result in smaller, less defined clusters. For those requiring a gluten-free diet, always ensure your oats are certified gluten-free, as oats can be cross-contaminated during processing.
Peanut Butter: The heart of this granola! It’s essential to use natural peanut butter, which typically contains only peanuts and a touch of salt. Avoid shelf-stable peanut butter varieties that often contain added sugars and oils, as these can affect the texture and baking time of the granola. I personally prefer smooth natural peanut butter for a uniform coating, but if you enjoy extra texture, chunky natural peanut butter works wonderfully too.
Peanuts: To amplify the crunch and nutty flavor, raw chopped peanuts are incorporated into the mixture. These provide an extra layer of texture that truly elevates the granola. You can purchase pre-chopped raw peanuts, or if you have whole raw peanuts on hand, simply chop them roughly with a knife, or pulse them briefly in a food processor. A rolling pin can also be used to crush them in a sealed bag for a more rustic chop.
Coconut Sugar: Just a tablespoon of coconut sugar is added to provide a subtle, caramel-like sweetness without being overly sugary. Coconut sugar is a less refined alternative to white sugar. If you don’t have coconut sugar, an equal amount of brown sugar can be substituted, though it may alter the flavor profile slightly.
Honey: Beyond its natural sweetness, honey plays a critical role as a binder in this recipe. The 3 tablespoons of honey help the oats and peanuts stick together, forming those delightful clusters we all love in granola. For a vegan version, simply substitute an equal amount of maple syrup.
Coconut Oil: Virgin, cold-pressed coconut oil is included to contribute to the overall crunch and texture of the baked granola. You’ll need 2 tablespoons. While I haven’t tested this recipe with other oils, melted butter could potentially work for a non-dairy-free version, adding a rich, buttery flavor.
Salt: A mere ½ teaspoon of kosher salt makes a significant difference, enhancing all the other flavors and balancing the sweetness. If your chosen natural peanut butter is unsalted, consider adding another small pinch of salt to ensure the flavors pop. Fine sea salt can also be used as a substitute for kosher salt.
Chocolate: The final touch of indulgence! You’ll need ¼ cup of dark chocolate chips or chunks. To maintain the dairy-free status of this granola, be sure to select chocolate that is specifically labeled as dairy-free. Adding the chocolate after the granola has cooled is key to prevent it from melting.
Step-by-Step Guide: Crafting Your Homemade Peanut Butter Granola
Making this granola is a straightforward process that yields incredibly delicious results. Follow these simple steps for perfect crunchy clusters every time:
- Prepare Your Oven and Baking Sheet: Begin by preheating your oven to 350°F (175°C). Line a standard baking sheet with parchment paper. This crucial step prevents sticking and makes cleanup a breeze, ensuring your granola lifts off easily once cooled.
- Combine Dry Ingredients: In a large mixing bowl, combine the rolled oats, chopped raw peanuts, coconut sugar, and salt. Stir these ingredients thoroughly until they are evenly distributed.
- Melt Wet Ingredients: In a small microwave-safe bowl, add the natural peanut butter, coconut oil, and 2 tablespoons of the honey (the remaining 1 tablespoon will be drizzled later). Microwave this mixture for about 30 seconds, or until the coconut oil has fully melted and the ingredients can be easily stirred together into a smooth, cohesive liquid.
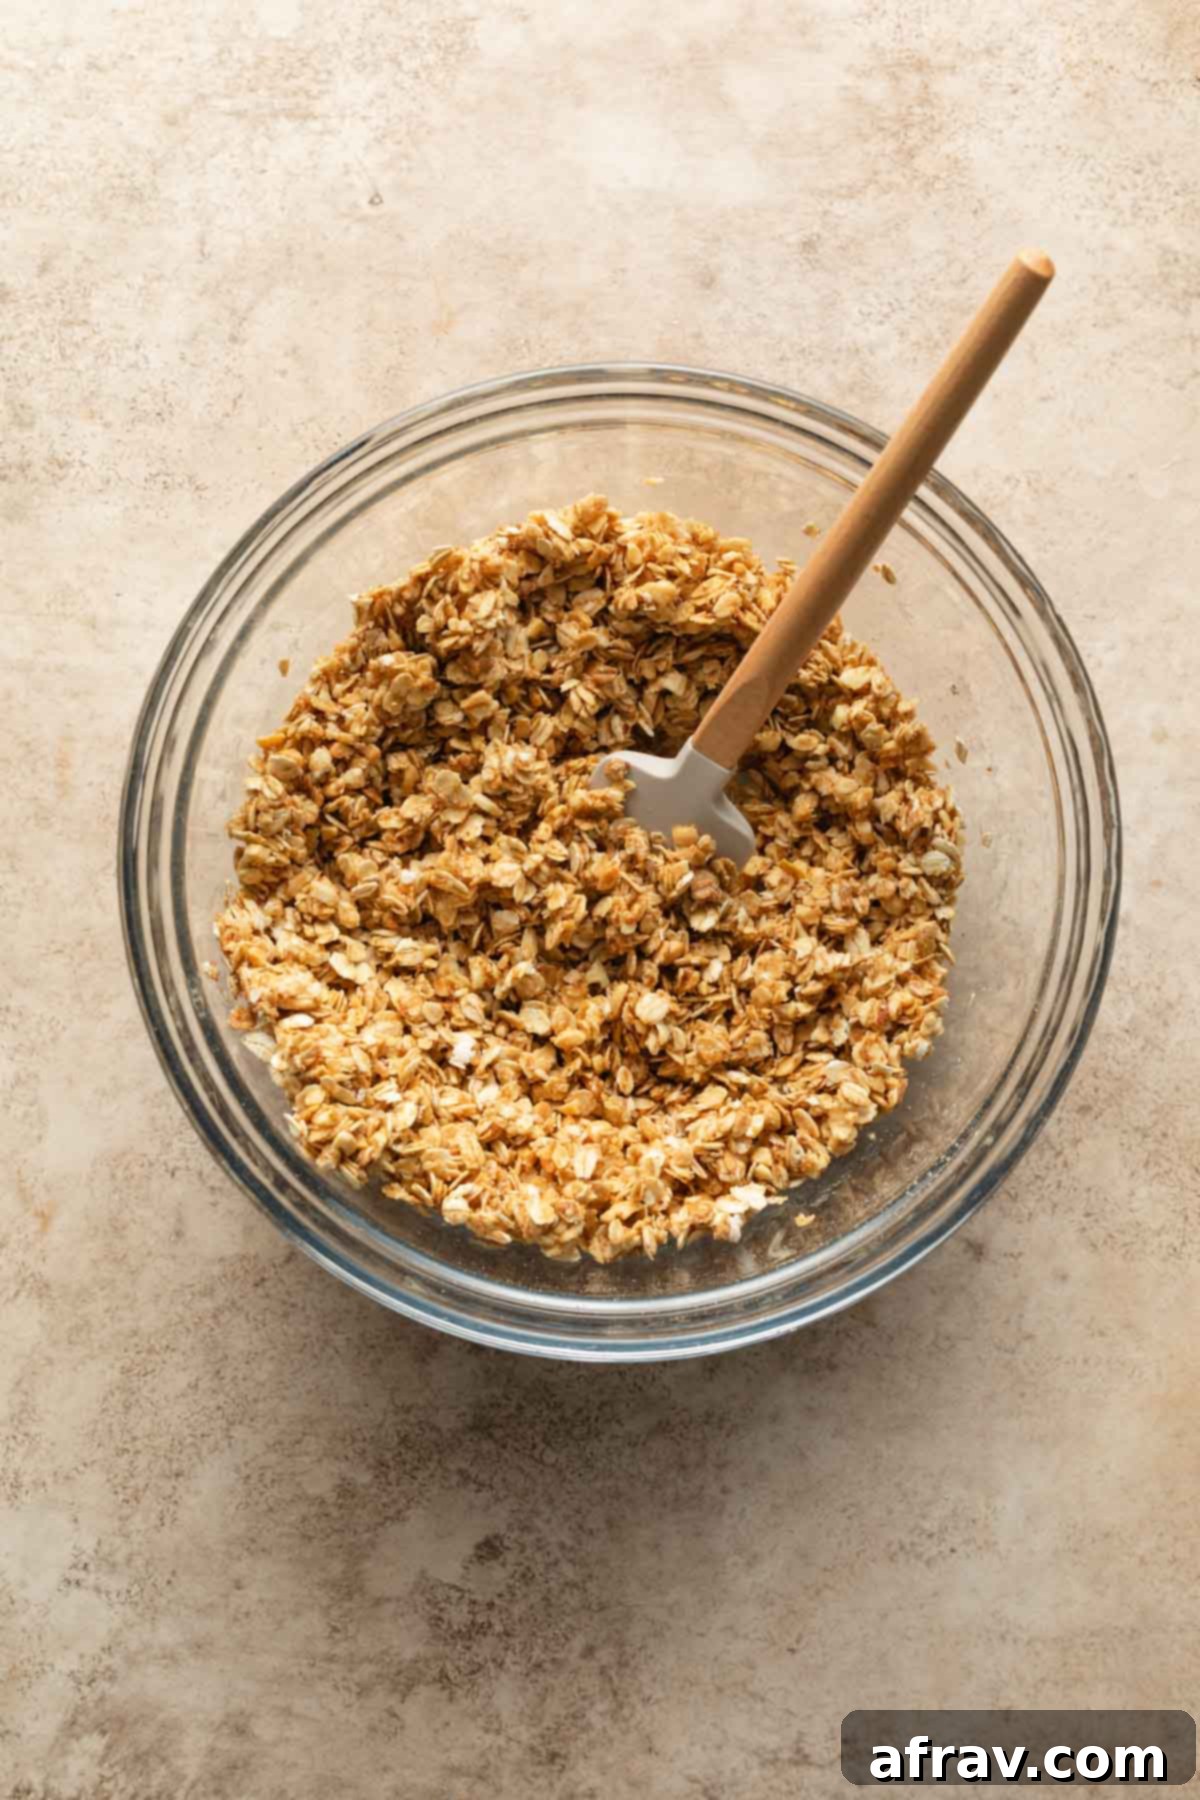
- Combine Wet and Dry: Pour the melted peanut butter mixture over the oat mixture in the large bowl. Stir diligently until all the dry ingredients are thoroughly coated. The mixture should appear uniformly wet, with no dry oat flakes remaining. This ensures proper binding and even baking.
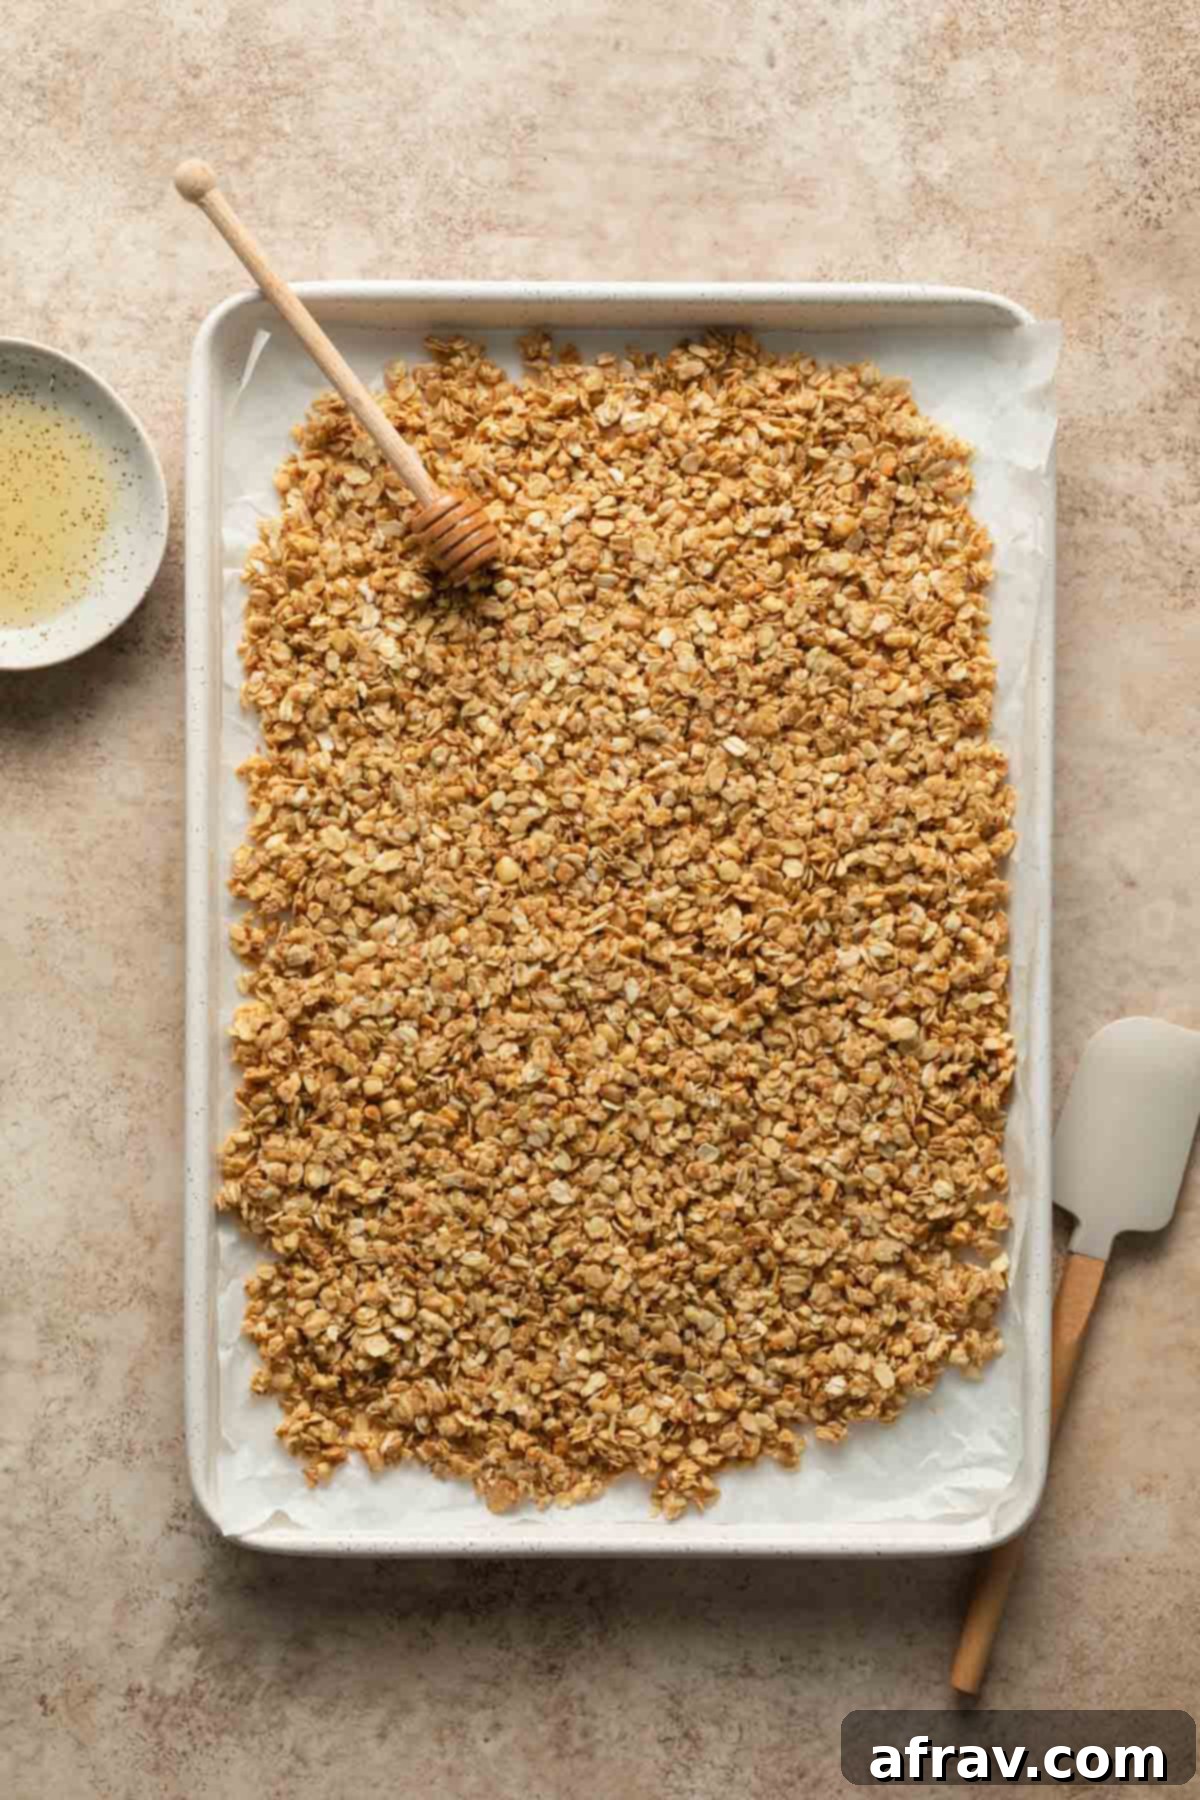
- Spread and Press: Transfer the granola mixture onto the prepared baking sheet. Using the back of a spatula or your hands, spread the mixture evenly and press it down firmly into a compact layer. This compression is vital for creating those wonderful crunchy clusters. Drizzle the remaining 1 tablespoon of honey evenly over the surface of the pressed granola.
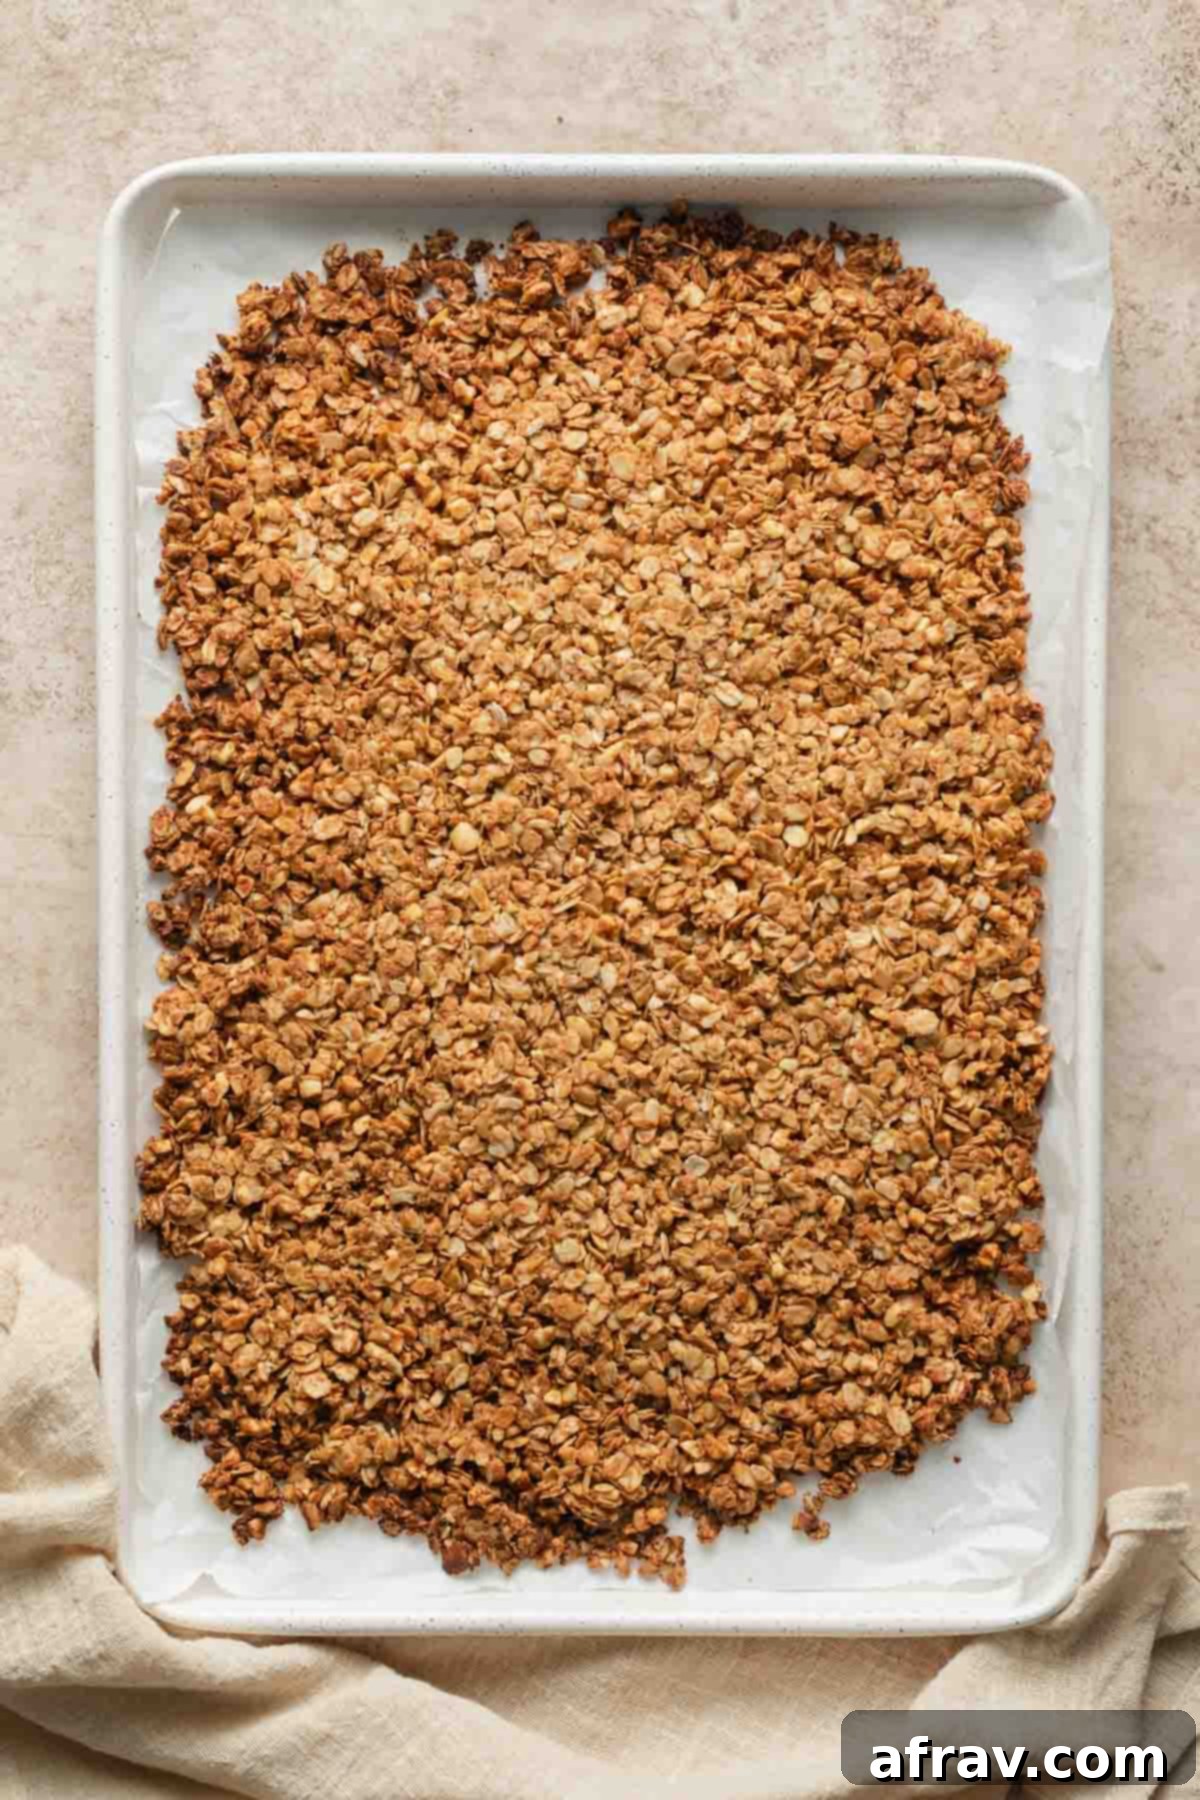
- Bake to Perfection: Bake for 18-20 minutes. It’s crucial not to stir the granola during baking, as this can disrupt cluster formation. Keep a close eye on it, especially after 15 minutes, as granola can brown quickly around the edges. You’re looking for a light golden-brown color.
- Cool Completely: Remove the baking sheet from the oven and allow the granola to cool completely on the pan. This step is non-negotiable for achieving maximum crunch; the granola will crisp up significantly as it cools.
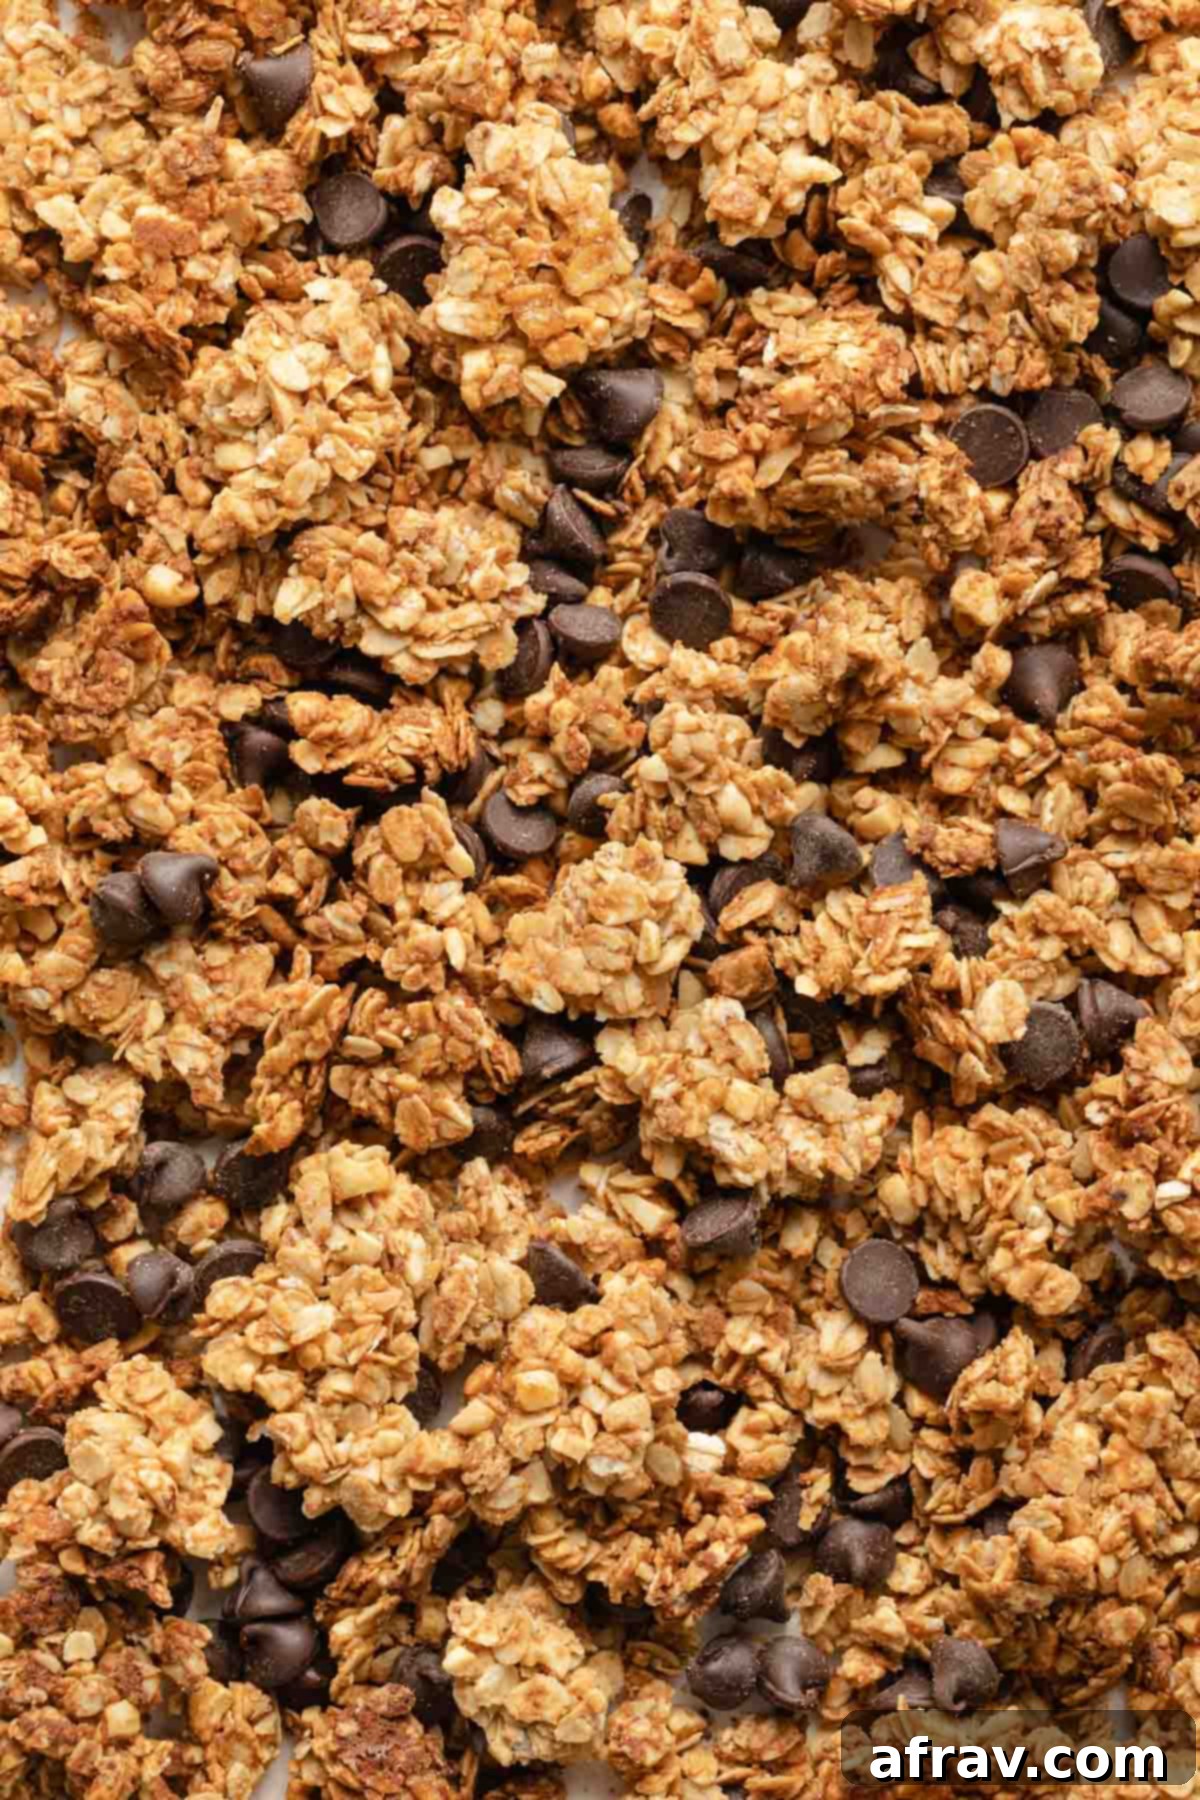
- Break into Clusters and Add Chocolate: Once the granola is entirely cool (this can take 1-2 hours), gently break it into your desired cluster sizes. Now is the time to stir in the dairy-free dark chocolate chips. If the granola were still warm, the chocolate would melt, resulting in a different texture.
Storing Your Homemade Peanut Butter Granola for Freshness
Proper storage is key to maintaining the irresistible crunch and flavor of your homemade granola. Here’s how to keep it fresh:
This delicious peanut butter granola is best stored in an airtight container or a resealable bag at room temperature in your pantry. When stored correctly, it will remain fresh and delightfully crunchy for 7-10 days. In our house, it rarely lasts that long, but rest assured, it’s designed for extended enjoyment!
For even longer storage, this granola freezes exceptionally well. Simply transfer the cooled clusters to a freezer-safe bag or container and freeze for up to 2-3 months. When you’re ready to enjoy it, thaw at room temperature for a few hours before serving.
A Pro Tip: Avoid refrigerating your granola. The moisture in the refrigerator can cause the clusters to lose their crispness and become chewy, which diminishes the delightful texture.
Frequently Asked Questions About Peanut Butter Granola
The secret to those coveted crunchy clusters lies in a few key steps: First, press the granola mixture firmly onto the baking sheet before baking. This compaction helps the ingredients bind together. Second, resist the urge to stir the granola while it bakes. Allowing it to bake undisturbed helps the clusters solidify. Finally, and most importantly, let the granola cool completely on the baking sheet after removing it from the oven. As it cools, it will harden and become wonderfully crisp.
I strongly recommend using natural peanut butter for this recipe. Natural peanut butter typically contains only peanuts and sometimes salt, making it smoother and more fluid when heated, which helps bind the granola effectively. Shelf-stable varieties often contain added sugars, hydrogenated oils, and stabilizers that can significantly alter the texture of the granola, potentially leading to a less desirable outcome or even burning. I have not tested this recipe with shelf-stable peanut butter, so I cannot guarantee the results.
Absolutely! To make this granola entirely vegan, you’ll need to make two simple substitutions: replace the honey with an equal amount of maple syrup, and ensure that the dark chocolate chips you choose are certified vegan and dairy-free. With these easy changes, you’ll have a delicious vegan peanut butter granola!
Granola can burn quickly, especially towards the end of the baking time. This can happen for several reasons: using dark-colored baking sheets (which absorb more heat), ovens running hotter than set temperature, or simply baking for too long. Always start checking your granola at 15 minutes, and if the edges are browning rapidly, remove it. Using raw peanuts (not roasted) is also crucial, as roasted peanuts already contain oils and can burn faster.
Expert Tips for the Best Peanut Butter Granola
Follow these essential tips to ensure your homemade peanut butter granola turns out perfectly crunchy and delicious every single time:
- Parchment Paper is Your Friend: Always line your baking sheet with parchment paper. This prevents the granola from sticking to the pan and makes for incredibly easy cleanup. Without it, you risk a sticky mess and broken clusters.
- Choose the Right Baking Sheet: For optimal baking and to prevent over-browning, I highly recommend using lighter-colored sheet pans when making granola (and cookies!). Darker pans tend to absorb more heat, which can cause the granola to brown (or even burn) too quickly around the edges before the center is fully crisp.
- Watch It Closely: Granola can go from perfectly golden to burnt in a matter of minutes. Be vigilant, especially during the last few minutes of baking. I typically start checking on it around the 15-minute mark to assess its color and doneness. Trust your nose and your eyes!
- Cool Completely Before Adding Chocolate: This is a critical step for preventing melted chocolate chips. Ensure the granola is entirely cool to the touch before you stir in the chocolate. Warm granola will melt the chocolate, turning it into a gooey (though still tasty!) mess rather than distinct chips.
- Use Raw Peanuts: Stick to raw peanuts for this recipe. Roasted peanuts often contain added oils and can burn much faster during baking, leading to an unpleasant bitter taste and potentially ruining your batch. I’ve tested with roasted peanuts, and they consistently resulted in burnt granola.
- Don’t Stir While Baking: As mentioned in the instructions, resist the urge to stir the granola during baking. This is paramount for allowing the ingredients to bind together and form solid, satisfying clusters.
Creative Substitutions and Variations for Your Granola
One of the joys of homemade granola is the ability to customize it to your taste or dietary needs. Here are some ideas for substitutions and variations:
- Grain-Free Option: To make this recipe completely grain-free, you can successfully substitute buckwheat flakes for the rolled oats. This will provide a similar texture with a slightly different nutritional profile.
- Chocolate Choices: If you don’t need this granola to be dairy-free, feel free to use any type of chocolate chips you prefer – milk chocolate, white chocolate, or even butterscotch chips could add an interesting twist!
- Alternative Sweeteners: While coconut sugar is used for its subtle sweetness, brown sugar is an excellent 1:1 substitute if that’s what you have on hand.
- Nut Butter Variety: Not a fan of peanut butter, or looking for something different? You can easily swap natural peanut butter for another type of natural nut or seed butter, such as almond butter, cashew butter, or even sunflower seed butter for a nut-free option. For inspiration, try this honey almond granola!
- Vegan Friendly: As noted earlier, simply swap the honey for an equal amount of maple syrup, and ensure your chocolate chips are dairy-free to make this a delicious vegan treat.
- Add Dried Fruit: After the granola has cooled and the chocolate chips are mixed in, you can stir in about 1/4 cup of your favorite dried fruit, such as raisins, dried cranberries, or chopped dried apricots for an extra chewiness and flavor.
Delicious Ways to Serve Your Homemade Granola
This peanut butter granola is incredibly versatile and can be enjoyed in many delightful ways. Here are some of our favorite serving suggestions:
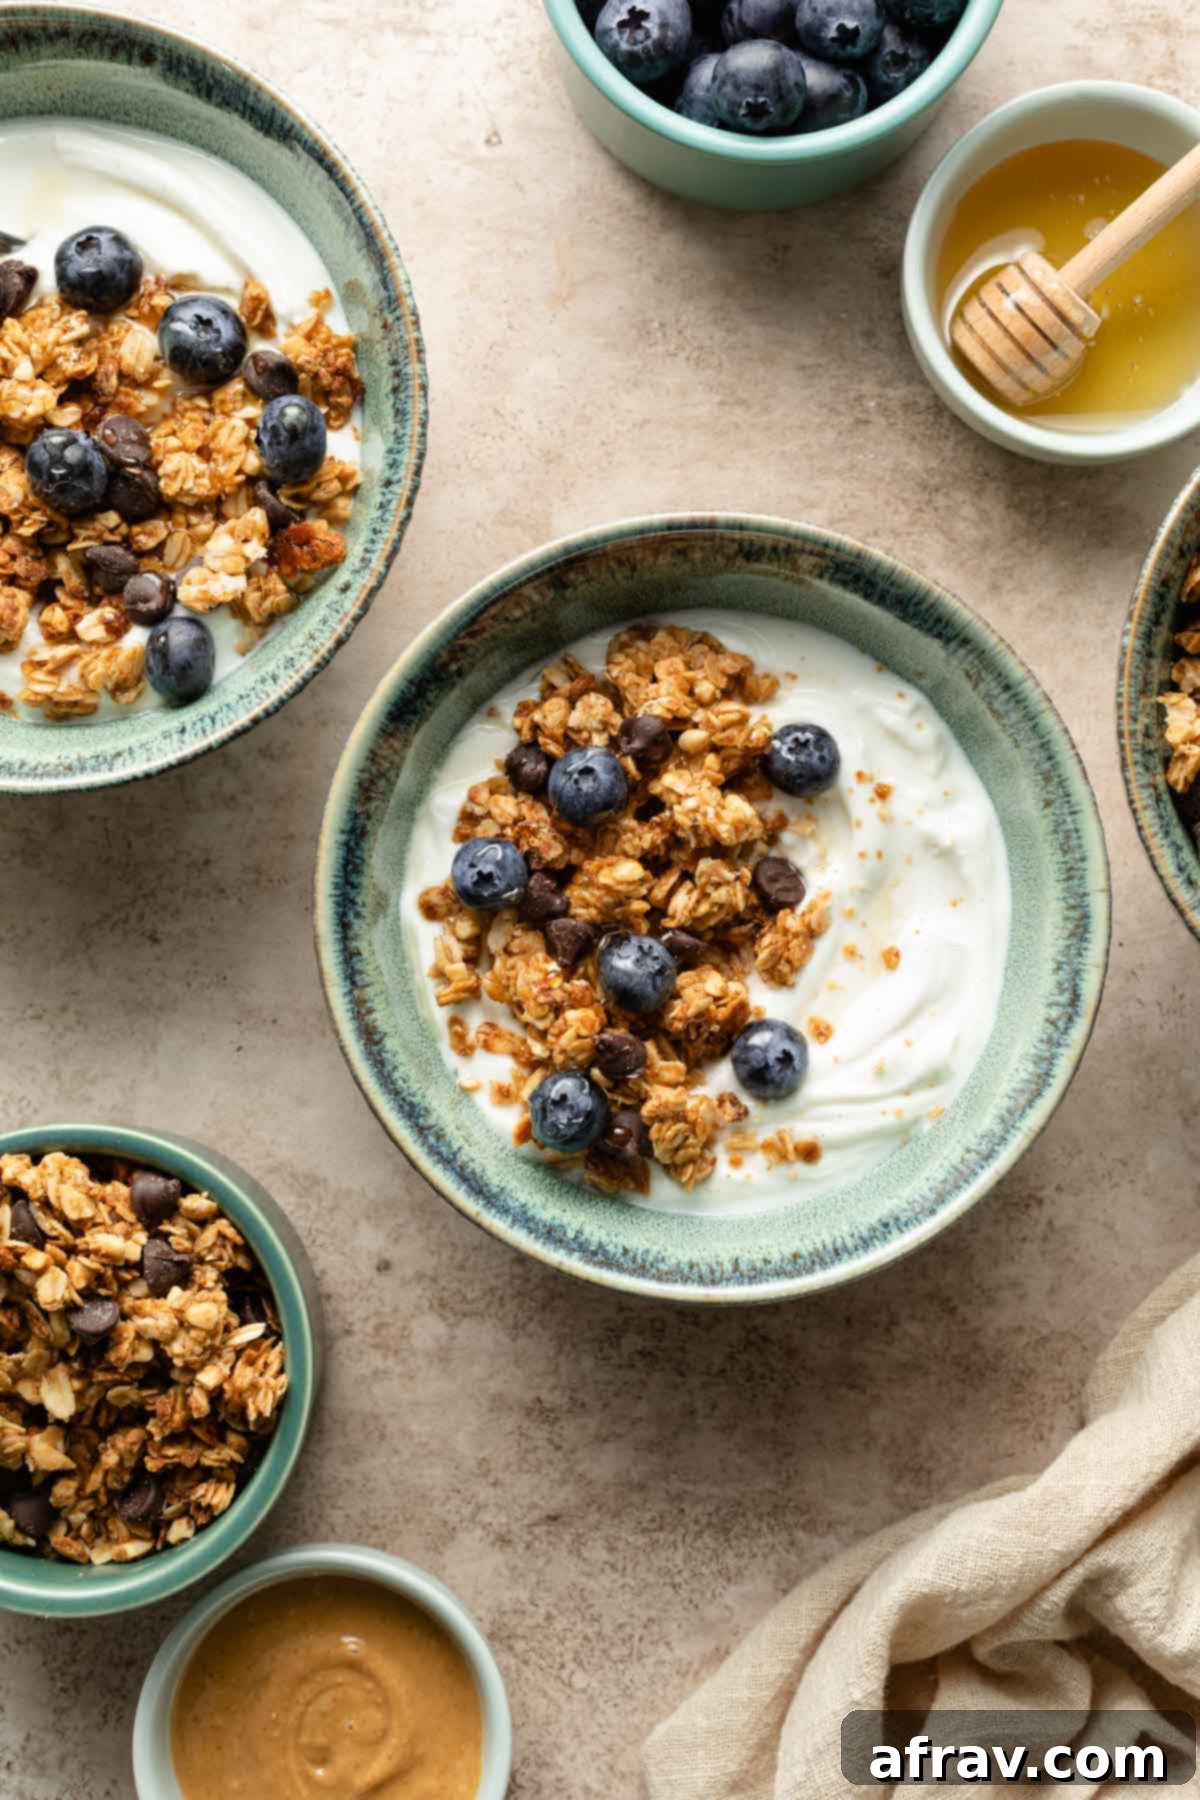
- With Fruit and Yogurt: A classic combination! Spoon your granola over a bowl of creamy Greek yogurt or a dairy-free alternative, and top with fresh fruit like sliced bananas, juicy blueberries, or even tender air fryer pears for a warm, comforting twist.
- Mixed into Smoothie Bowls: Elevate your morning smoothie bowl by sprinkling a generous handful of this crunchy granola on top. It adds fantastic texture and a burst of flavor that complements any blend.
- As a Cereal: For a simple and satisfying breakfast, pour a generous amount of granola into a bowl and add your favorite milk (almond milk is a perfect dairy-free pairing). Add some fresh berries for a complete meal.
- Topping for Chia Pudding: Add an amazing texture and nutty flavor to your chia puddings. It pairs exceptionally well with this rich chocolate peanut butter chia pudding or a lighter oat milk chia pudding.
- Straight from the Bag: Let’s be honest, sometimes the best way to enjoy homemade granola is simply by the handful. It’s a perfect on-the-go snack for school, work, or post-workout fuel.
Explore More Granola Recipes
If you’ve fallen in love with making your own granola, you’ll be thrilled to discover these other fantastic recipes from our collection:
- Grain-Free Coconut Cashew Granola
- Savory Pecan Granola
- Chocolate Fig Granola
We truly hope you enjoy making and savoring this incredible homemade peanut butter granola. If you whip up a batch, we’d absolutely love to hear what you think! Please share your feedback and experience in the comments section below.
HUNGRY FOR MORE? Follow Crumb Top Baking on Instagram, Pinterest and Facebook for more delicious recipes and baking inspiration!
Print Recipe
Peanut Butter Granola
5 Stars
4 Stars
3 Stars
2 Stars
1 Star
5 from 5 reviews
Author: Leanne
Prep Time: 10 minutes
Cooling Time: 2 hours
Cook Time: 20 minutes
Total Time: 2 hours 30 minutes
Yield: 3 1/2 cups
Category: Breakfast
Method: Bake
Cuisine: American
Diet: Gluten Free
Description
This 8-ingredient Peanut Butter Granola is gluten-free and dairy-free with crunchy peanut butter oat clusters, golden honey, and rich dark chocolate chips, making it an ideal wholesome breakfast or snack.
Ingredients
- 2 cups old-fashioned rolled oats (certified gluten-free for GF diet)
- 1/2 cup chopped raw peanuts
- 1 tablespoon coconut sugar (or brown sugar)
- 1/2 teaspoon kosher salt (or fine sea salt, add a pinch more if using unsalted peanut butter)
- 1/4 cup natural peanut butter (smooth or chunky, ensure it’s just peanuts and salt)
- 2 tablespoons virgin, cold pressed coconut oil
- 2 + 1 tablespoons honey, divided (use maple syrup for vegan)
- 1/4 cup dairy-free dark chocolate chips (or chunks, ensure vegan for vegan option)
Instructions
- Preheat oven to 350F (175°C) and line a baking sheet with parchment paper for easy cleanup and to prevent sticking.
- In a large bowl, combine the rolled oats, chopped raw peanuts, coconut sugar, and salt. Stir these dry ingredients together until well mixed.
- In a small microwave-safe bowl, add the natural peanut butter, coconut oil, and 2 tablespoons of honey. Microwave for 30 seconds, or until the mixture is warm enough to stir easily into a smooth consistency.
- Pour the melted peanut butter mixture into the large bowl with the oat mixture. Stir until all the oats and peanuts are thoroughly coated and the mixture is uniformly wet, with no dry spots remaining.
- Spread the coated mixture out evenly onto the prepared baking sheet. Press down firmly with a spatula or your hands to compact the granola – this is crucial for forming clusters. Drizzle the remaining 1 tablespoon of honey over the top surface.
- Bake for 18-20 minutes, or until the edges of the granola begin to turn a golden brown. Do not stir the granola while it bakes to ensure clusters form properly. Start checking at 15 minutes, as granola can brown quickly.
- Remove the baking sheet from the oven and let the granola cool completely on the pan. It will become much crunchier as it cools, so patience is key here.
- Once the granola is fully cooled, gently break it into your desired clusters. Then, stir in the dairy-free dark chocolate chips. Make sure the granola is cool to prevent the chocolate from melting.
- Store your delicious homemade granola in an airtight container or a resealable bag at room temperature for 7-10 days, or freeze for longer enjoyment.
Notes
- If you are using unsalted natural peanut butter, you might want to add an additional pinch of salt (about 1/8 teaspoon) to the granola mixture to really bring out the flavors.
- It’s essential to use raw peanuts, not roasted. Roasted peanuts often contain added oils and can burn rapidly during the baking process, affecting the overall taste and texture of your granola.
- For consistent baking and to prevent uneven browning, I find that lighter-colored sheet pans work best when making granola. Darker pans tend to retain and transfer heat more aggressively.
- Keep a close eye on your granola towards the end of the baking cycle. It can transition from perfectly golden to slightly burnt very quickly. Begin checking its doneness and color around the 15-minute mark.
- To ensure your chocolate chips remain distinct and don’t melt into the granola, wait until the granola has completely cooled down before stirring them in.
- For more detailed advice on ingredients, substitutions, and serving suggestions, be sure to review the expanded sections above the recipe card.
