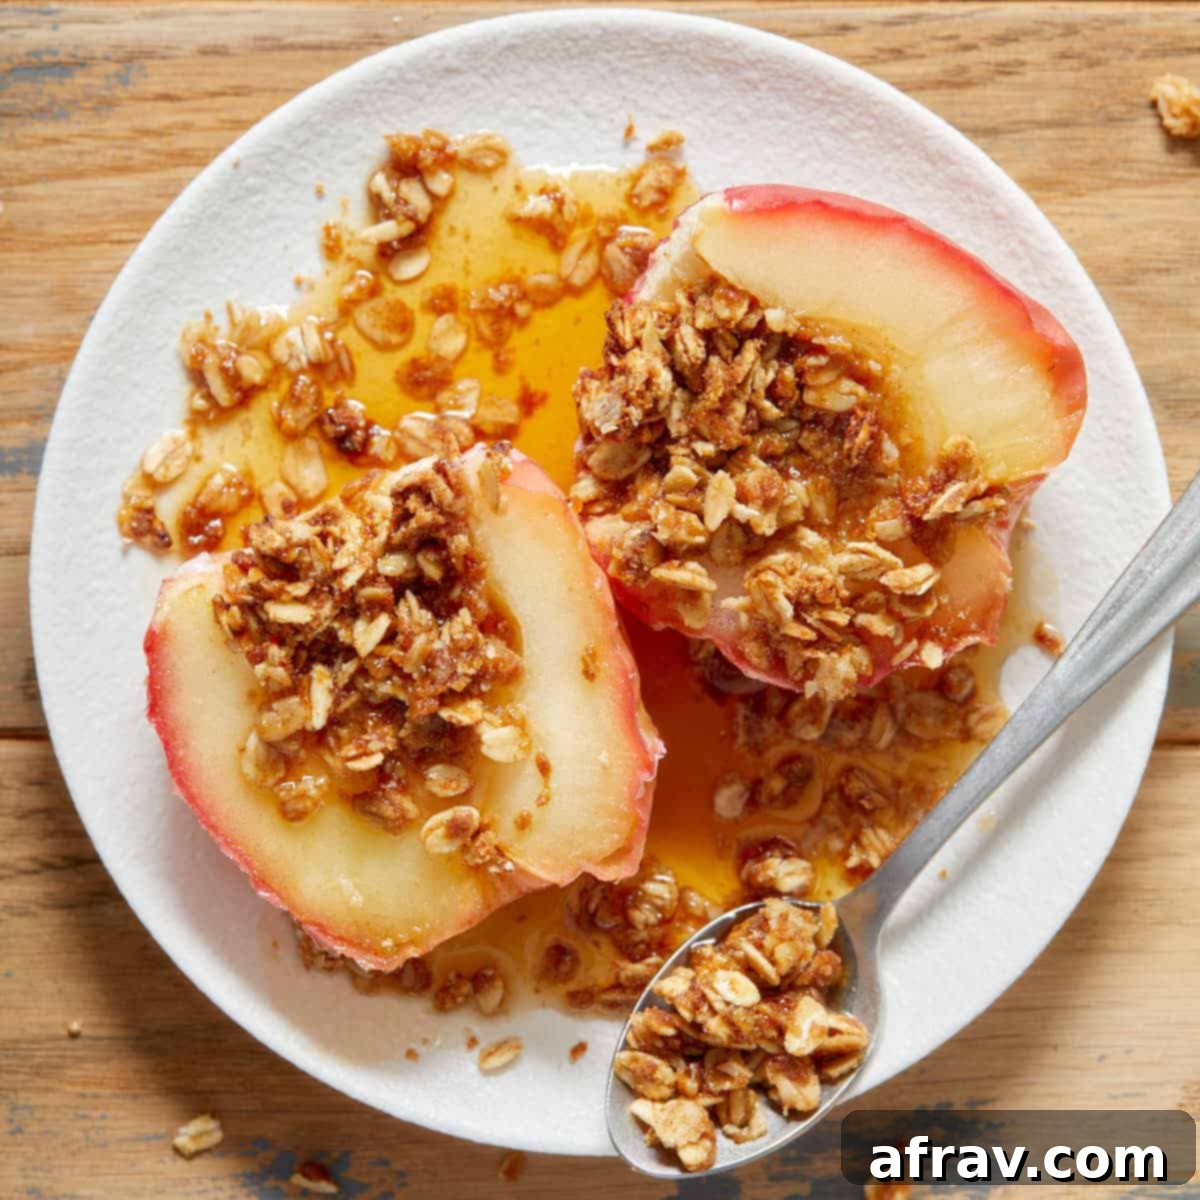
Delicious Air Fryer Baked Apples: Quick, Easy & Healthy Stuffed Apples with Cinnamon Oat Filling
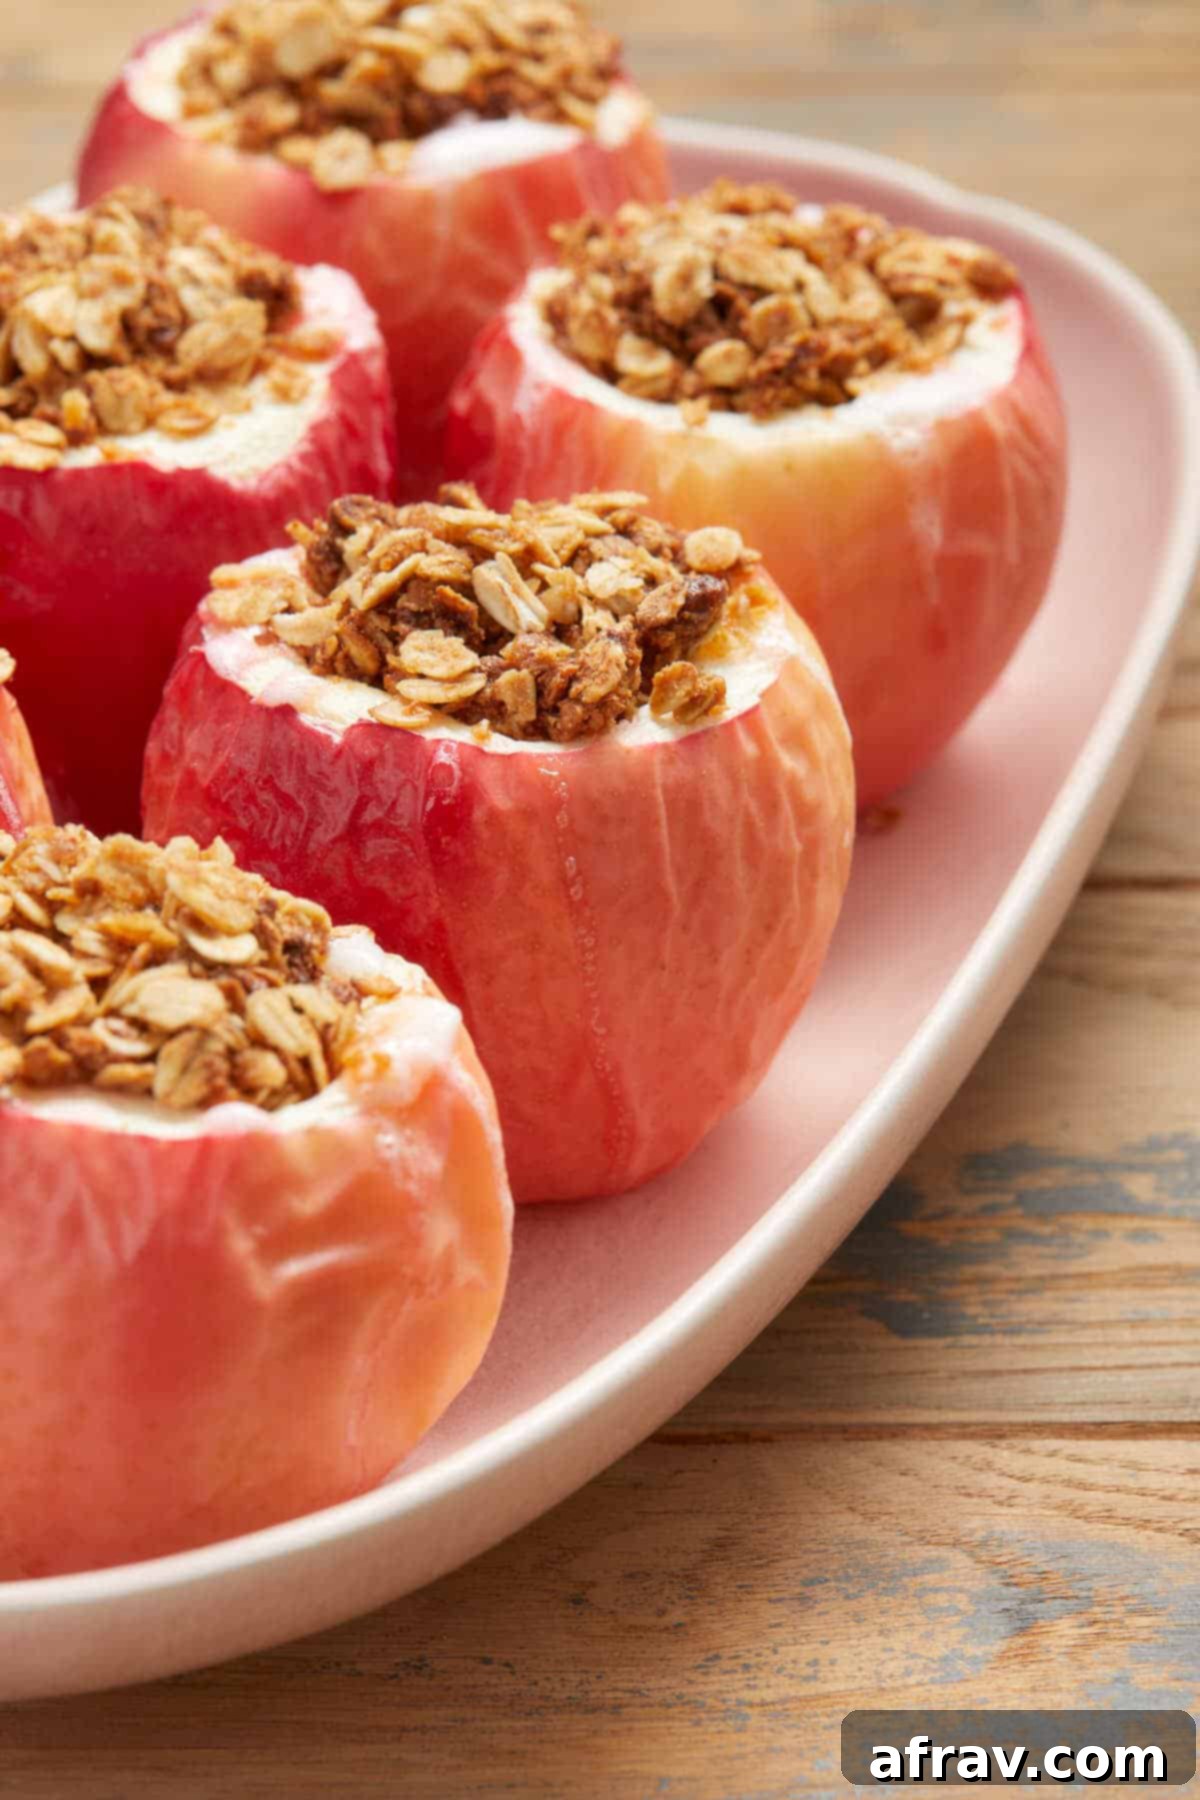
Imagine a dessert that’s sweet, tender, juicy, and ready in a flash – that’s exactly what you get with these incredible Air Fryer Baked Apples! These wholesome stuffed apples feature a warm, comforting cinnamon oat filling, making them a fuss-free treat perfect for any occasion. Forget the long baking times of traditional oven-baked apples or complicated apple crisp recipes; with your air fryer, this delightful dessert is ready in just 15 minutes, offering an easy and healthier alternative.
Much like our popular air fryer pears, these air fryer apples are designed for speed and simplicity without compromising on flavor. The beautiful blend of sweet, softened apples and aromatic cinnamon spice creates the perfect cozy combination, especially as cooler fall days begin to set in. They’re not just for dessert; these versatile baked apples can also be a delightful and nutritious breakfast option or a satisfying snack.
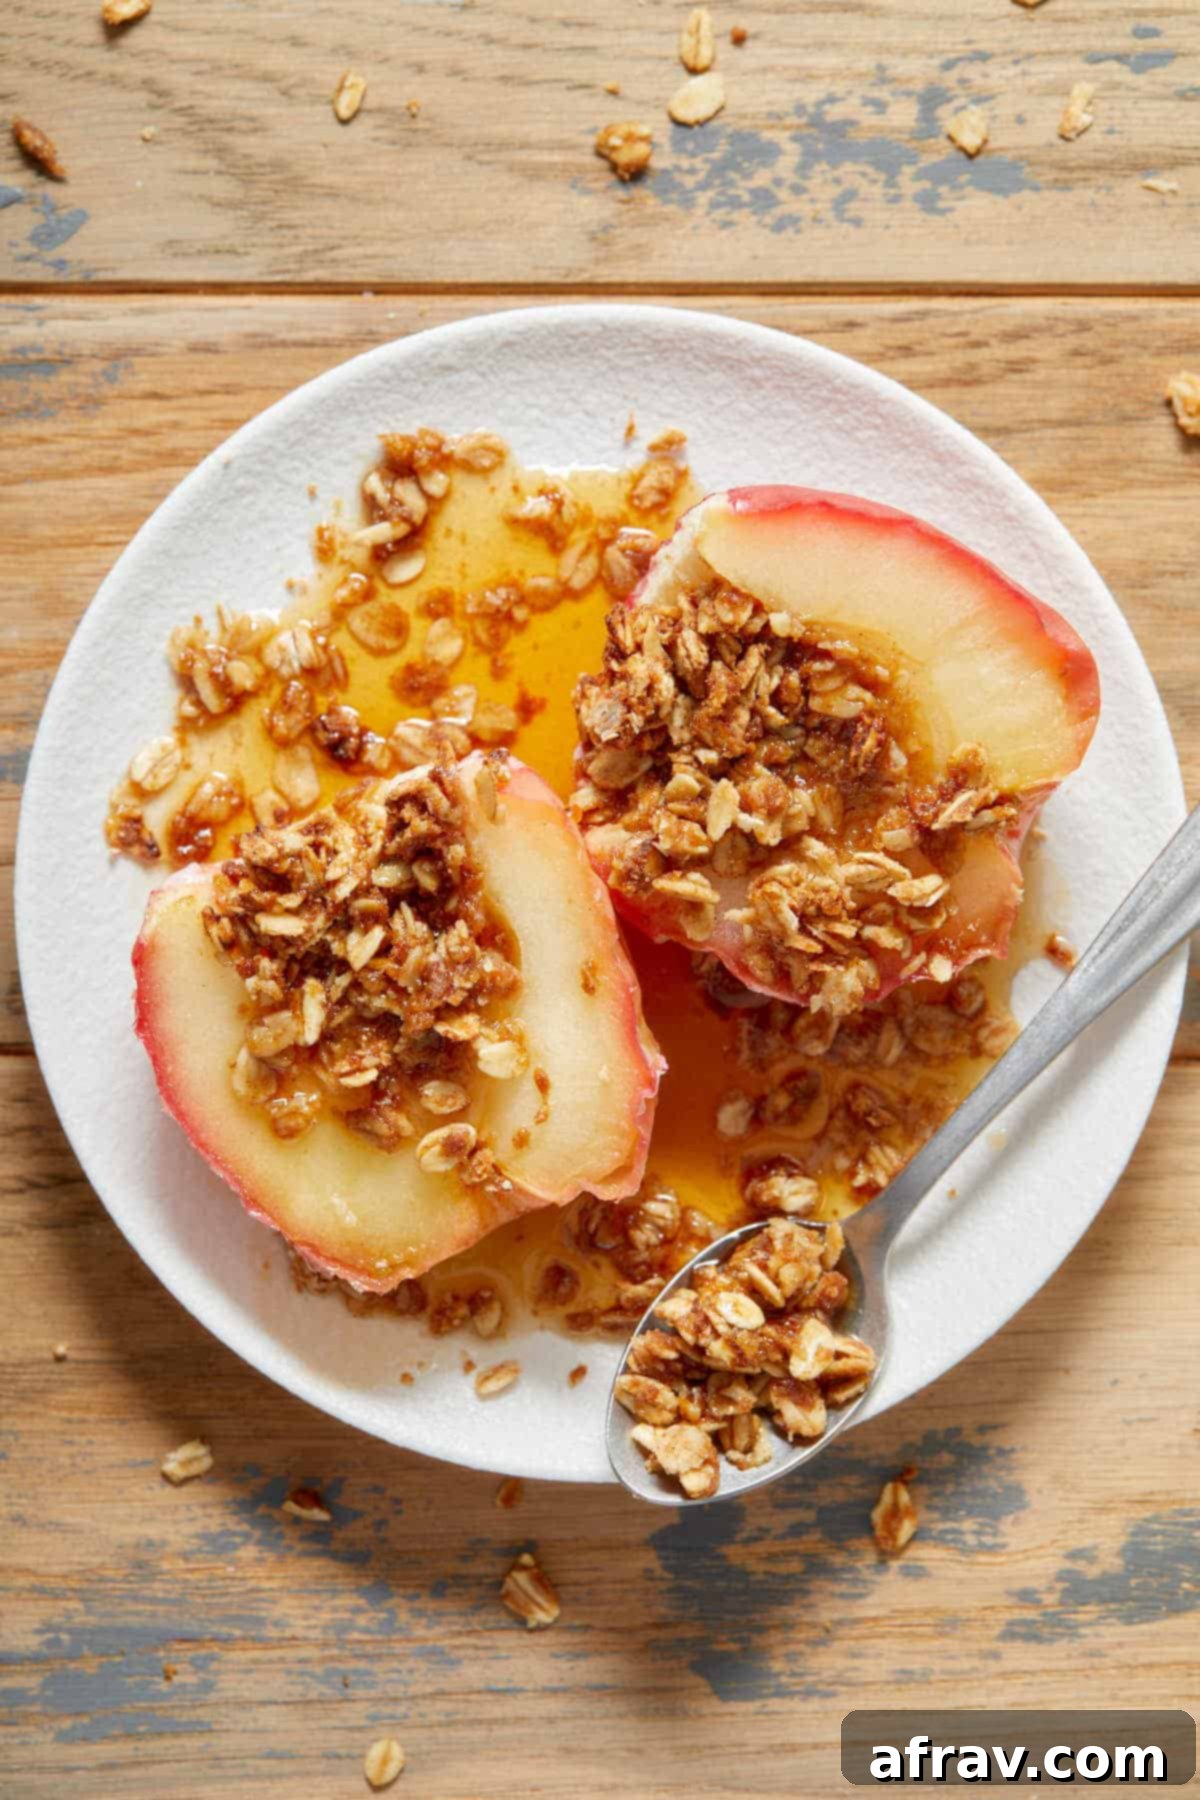
If you’re a fan of classic apple crisp or apple crumble but are looking for a quicker, less fuss solution, then these easy baked apples are an absolute must-try. The ingredient list is wonderfully short and simple, and with a minimal prep time of about 15 minutes, you can have these warm, fragrant apples on your table, ready for dessert, in just 30 minutes from start to finish. This recipe truly brings the joy of homemade apple desserts to your kitchen with unparalleled ease.
Why You’ll Fall in Love with These Air Fryer Baked Apples
- Lightning-Fast Baking: Traditional oven-baked apples can take anywhere from 30-45 minutes to cook through. The air fryer, however, transforms fresh apples into fork-tender, warm delights in a mere 13-15 minutes, saving you precious time and energy.
- Minimal Ingredients, Maximum Flavor: You only need 8 simple ingredients to create this show-stopping dessert. Most of these are pantry staples, meaning you can whip up this treat anytime a craving strikes with very little fuss or a special trip to the grocery store.
- Diet-Friendly Options: This recipe is inherently dairy-free and vegan, making it suitable for a wide range of dietary needs. Plus, with simple substitutions, it can easily be made gluten-free, ensuring everyone can enjoy a bite of this deliciousness.
- A Healthier Dessert Choice: Packed with natural sweetness from apples and wholesome oats, these baked apples offer a more nutritious alternative to many sugary desserts. You can indulge guilt-free, or even enjoy them as a delightful and balanced breakfast.
- Perfectly Portioned Individual Desserts: Whole baked apples are naturally individual-sized, making them incredibly easy to serve and enjoy. This makes them an ideal dessert for fall gatherings, holiday meals like Thanksgiving, or simply a cozy weeknight treat. No slicing or messy serving required!
- Effortless Cleanup: Baking in the air fryer often means less mess than traditional baking. With just a bowl for the filling and the air fryer basket, cleanup is a breeze, letting you enjoy your dessert without the aftermath of a big kitchen mess.
- Versatile for Any Season: While often associated with fall, these air fryer baked apples are a wonderful treat year-round. Enjoy them plain, with a scoop of ice cream on a warm day, or alongside a warm drink by the fire during colder months.
Essential Ingredients for Your Air Fryer Baked Apples
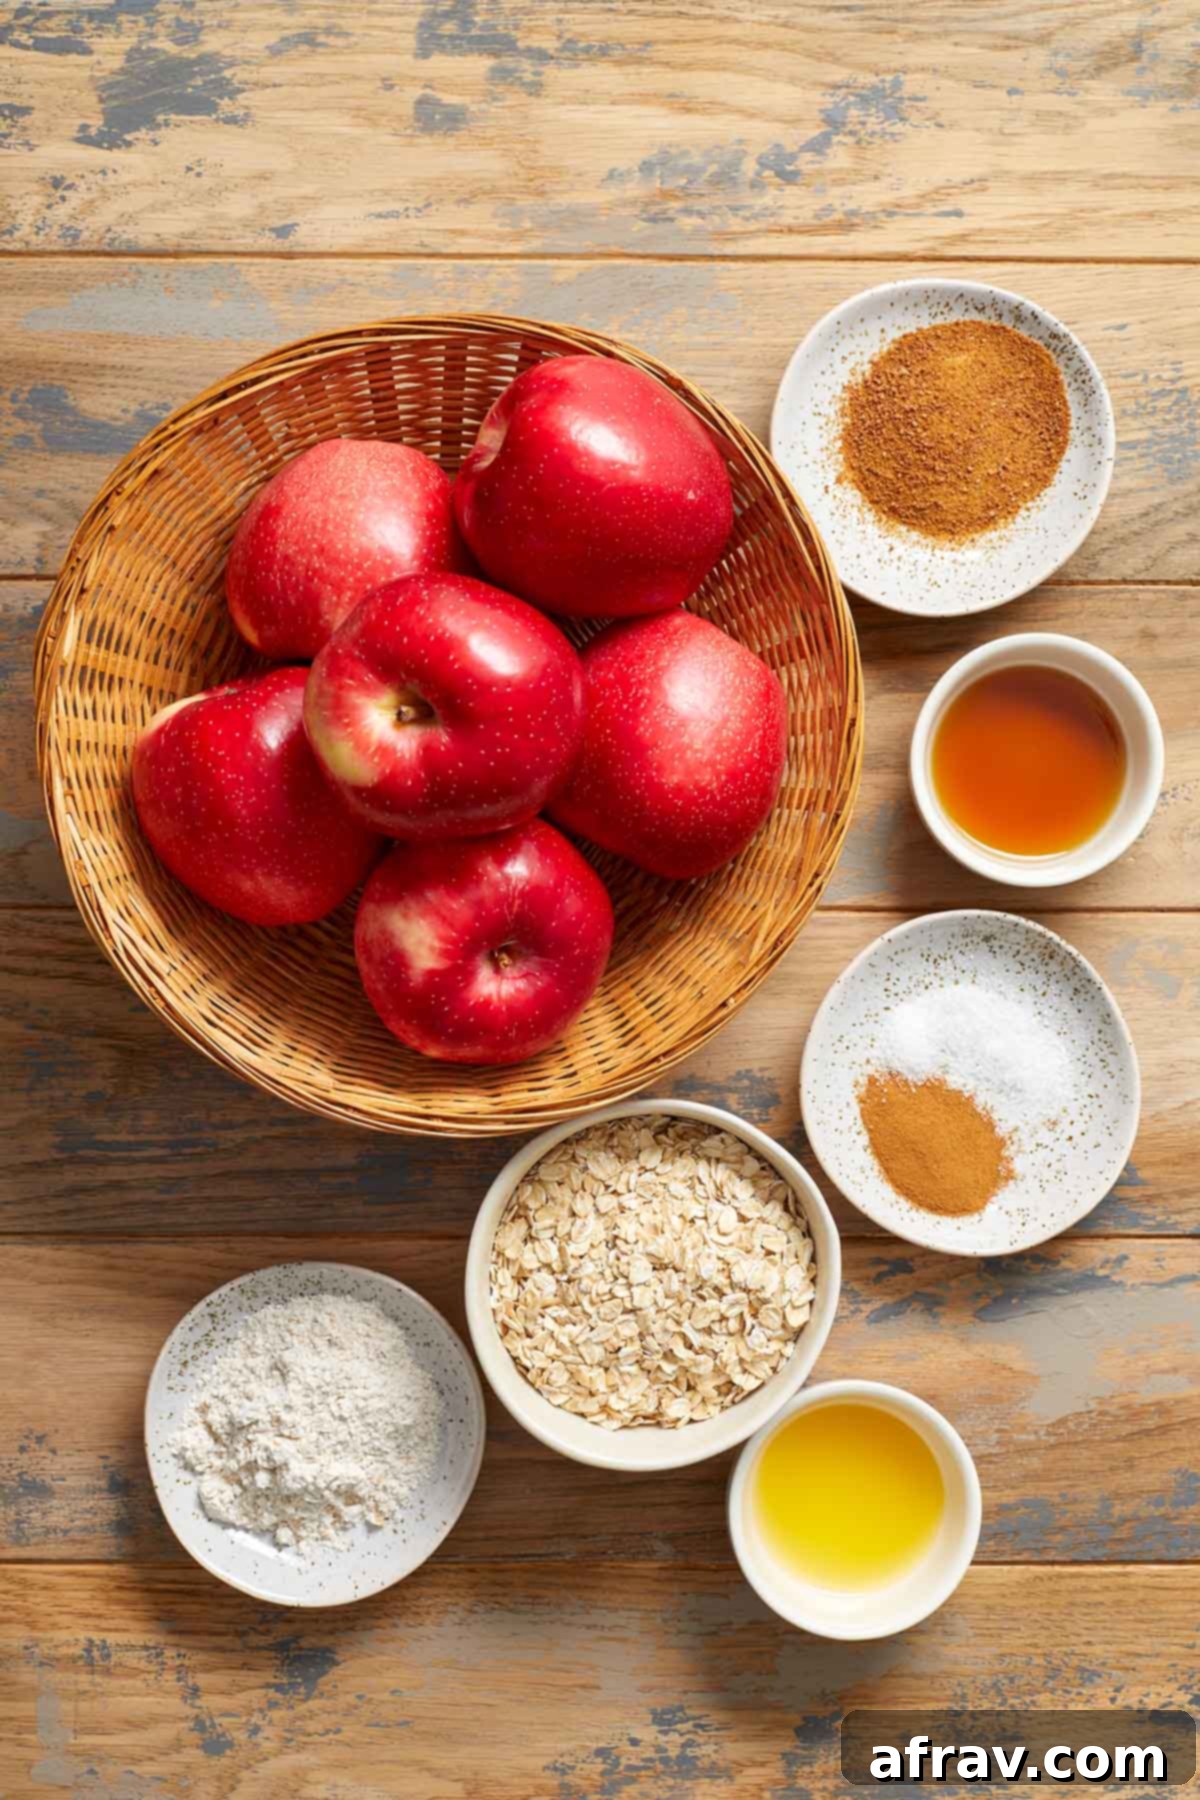
Apples – For this recipe, you’ll need 6 medium-sized apples, with their cores carefully removed. I personally love using SweeTango apples for their perfect balance of sweetness and tartness, and their crisp texture, which is similar to Honeycrisp. However, a wide range of apple varieties will work beautifully. The key is to select apples that are firm and crisp, ensuring they hold their shape and don’t turn mushy when baked. Excellent choices include Honeycrisp, Golden Delicious, Cortland, Fuji, Gala, or even a slightly tart Granny Smith for a contrasting flavor profile. Avoid overly soft varieties like Red Delicious.
Oats – The heart of our warm, comforting filling is 1/2 cup of oats. I typically reach for old-fashioned or large-flake rolled oats because they provide a lovely chewy texture that holds up well during baking. If you’re short on time or prefer a softer filling, quick oats can be used as a substitute. To ensure this recipe is gluten-free, always opt for oats that are certified gluten-free, as conventional oats can sometimes be processed in facilities that also handle gluten-containing grains.
Flour – Just two tablespoons of flour are incorporated into the oat filling. This small amount helps to bind the mixture and create that delicious, slightly crumbly texture. I prefer using whole wheat flour for an added nutritional boost and a subtle nutty flavor, but all-purpose white flour works perfectly fine. For a gluten-free version, a 1:1 gluten-free baking flour blend is an excellent choice and will maintain the desired consistency.
Butter – A little melted butter is essential for bringing the crumble filling together, giving it that rich taste and helping it achieve a golden crispness. To keep this recipe entirely vegan and dairy-free, I use plant-based butter (such as Miyoko’s Kitchen or Earth Balance). If dietary restrictions aren’t a concern, traditional dairy butter can be used, or even melted coconut oil for a slightly different flavor and still dairy-free option.
Maple Syrup – This natural sweetener not only adds a wonderful depth of flavor but also helps the oat mixture stick together, creating a cohesive filling. Pure maple syrup is preferred for its distinct taste and liquid consistency, which contributes to the moistness of the filling.
Coconut Sugar – Just a tablespoon of coconut sugar works in harmony with the maple syrup to add an extra layer of sweetness to the oat filling. Coconut sugar has a slightly caramel-like flavor and a lower glycemic index compared to refined sugars. Brown sugar is a fantastic and readily available substitute if you don’t have coconut sugar on hand, providing a similar moist texture and flavor profile.
Cinnamon – This classic spice is what gives our baked apples their signature warm, cozy, and inviting aroma and flavor. Don’t be shy with it! If you happen to have a blend like apple pie spice or pumpkin spice, feel free to substitute it for an even more complex and autumnal flavor experience.
Salt – A small pinch of salt, though seemingly insignificant, plays a crucial role. It beautifully balances and enhances the sweetness of both the apples and the oat filling, bringing out all the other flavors and preventing the dessert from tasting overly sweet.
How to Bake Delicious Stuffed Apples in Your Air Fryer
Creating these delightful Air Fryer Baked Apples is surprisingly straightforward. Follow these steps for a perfect outcome every time:
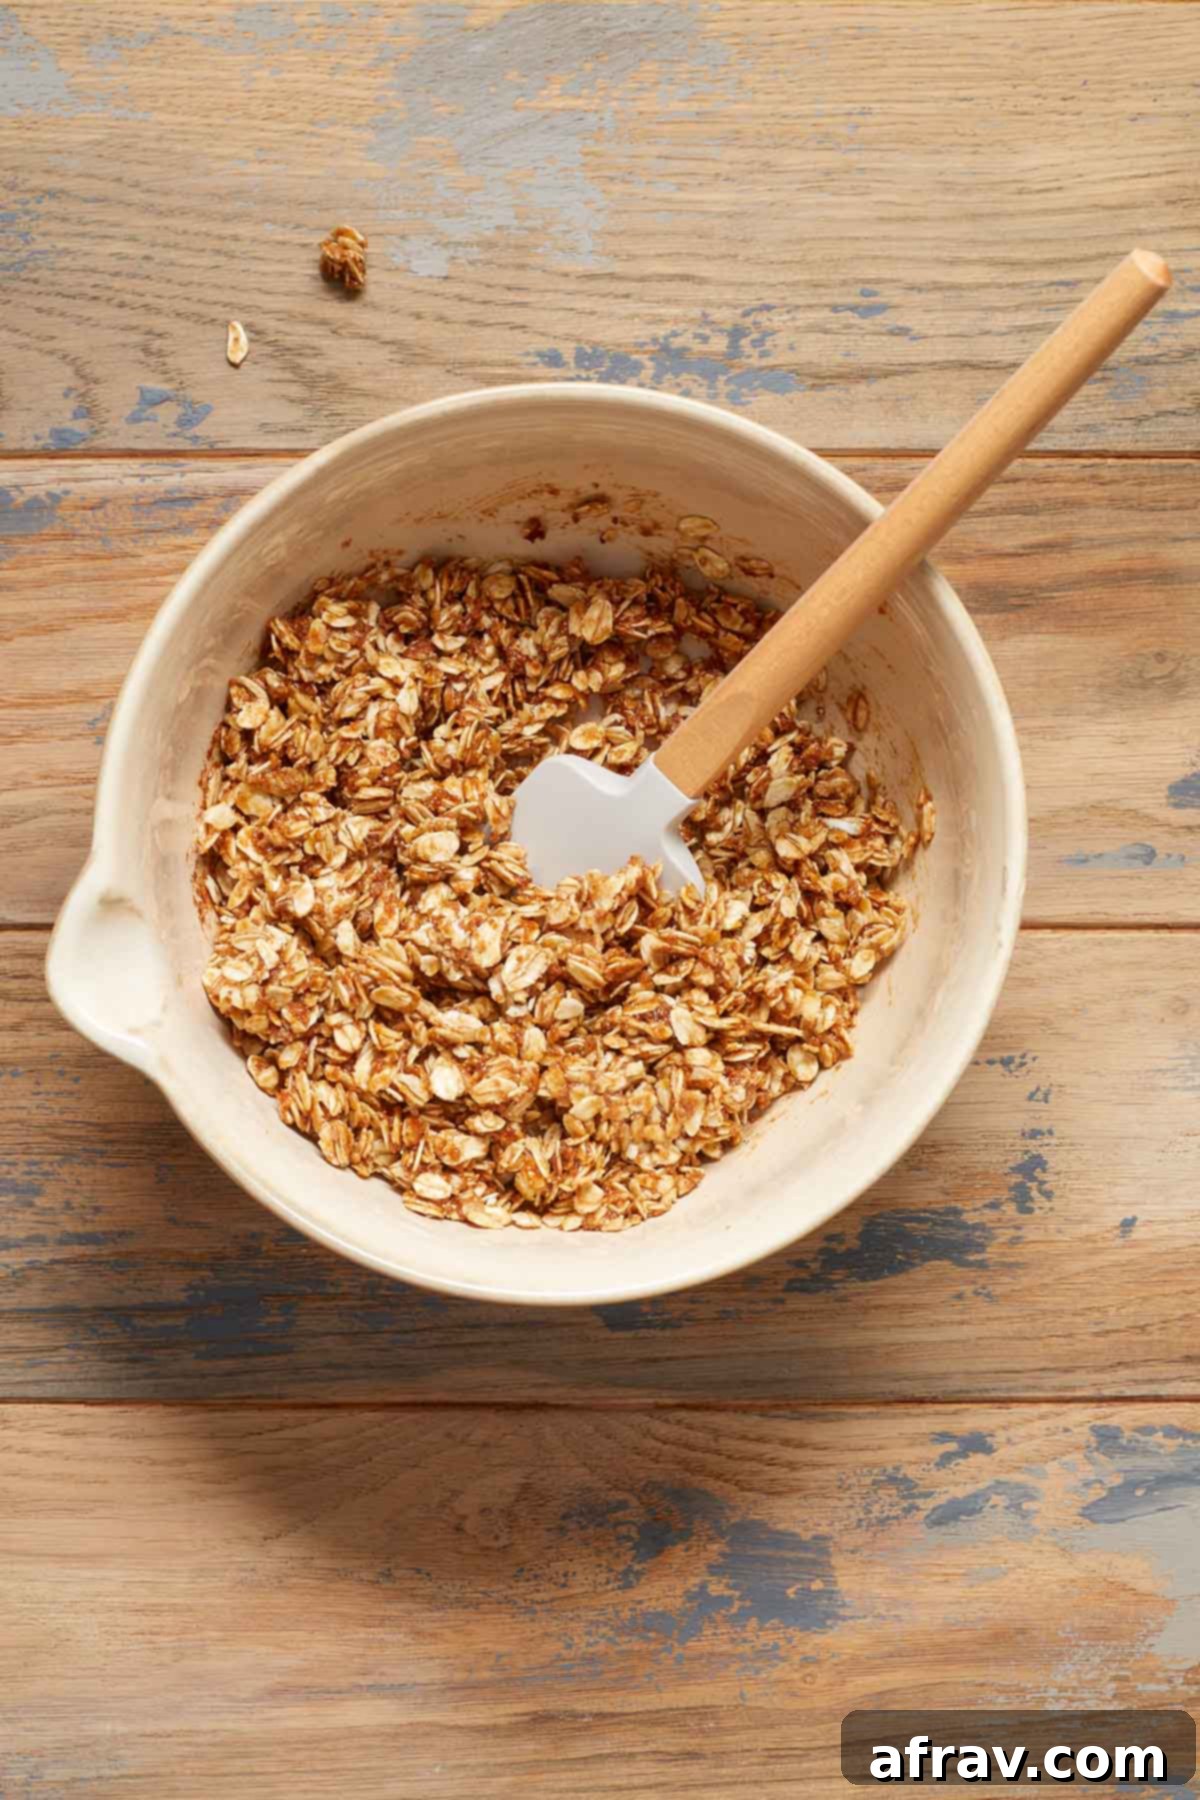
- Prepare the Oat Filling: In a medium-sized mixing bowl, combine all the ingredients for the oat filling: rolled oats, flour, coconut sugar, maple syrup, melted plant-based butter, ground cinnamon, and a pinch of salt. Mix thoroughly with a spoon or spatula until all ingredients are well combined and the mixture is crumbly but holds together when pressed. Set this flavorful mixture aside while you prepare your apples.
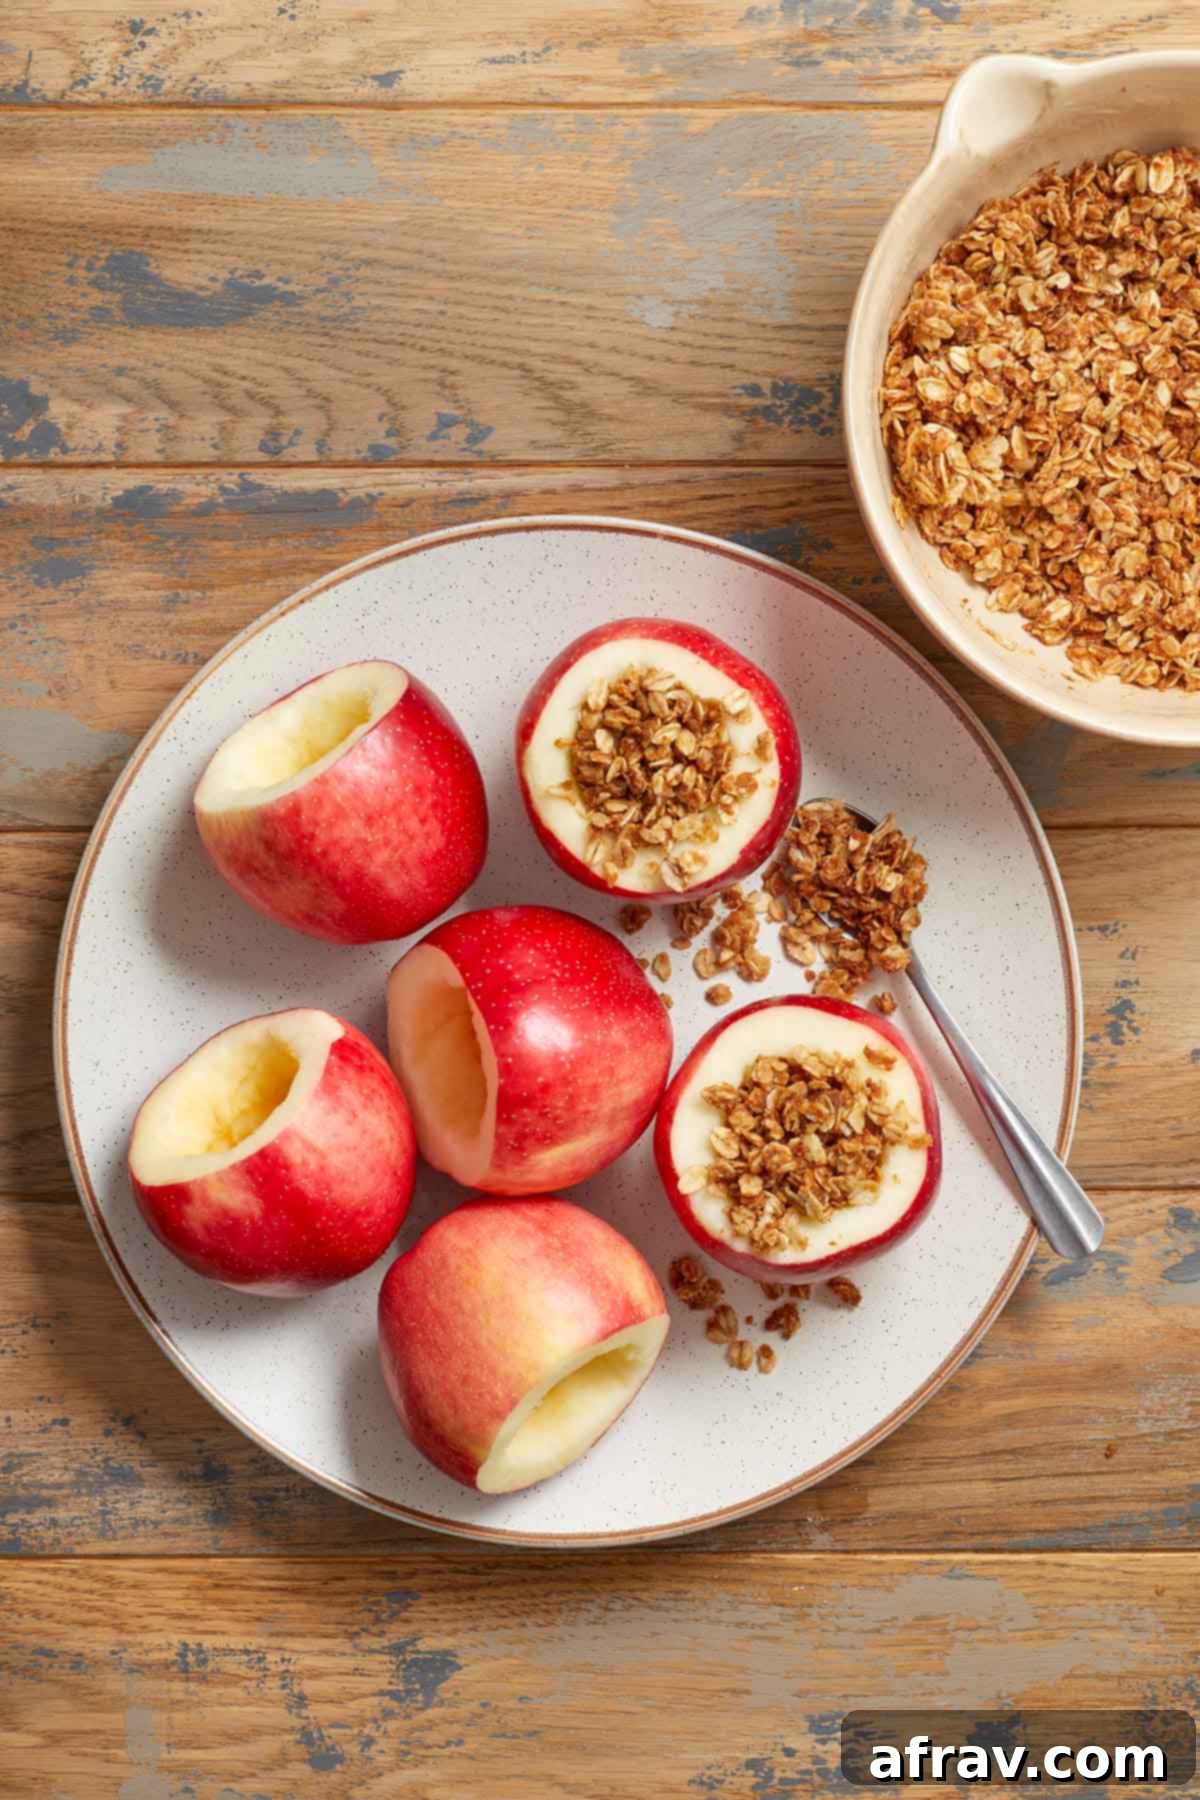
- Prepare the Apples: First, wash and thoroughly dry your 6 apples. Next, carefully slice about 1/4 to 1/2 inch off the very top of each apple. This creates a stable base for the filling and helps the apples sit flat.
- Core the Apples: Using a small paring knife, carefully remove the cores from each apple. I find that a combination of a paring knife to cut around the core and a small spoon to scoop out the seeds and any tough bits works best for a clean removal. Alternatively, an apple corer tool can make this step even easier. Ensure you remove enough of the core to create a good cavity for the filling, but be careful not to cut all the way through the bottom or too thin around the sides, which could cause the apple to break during baking.
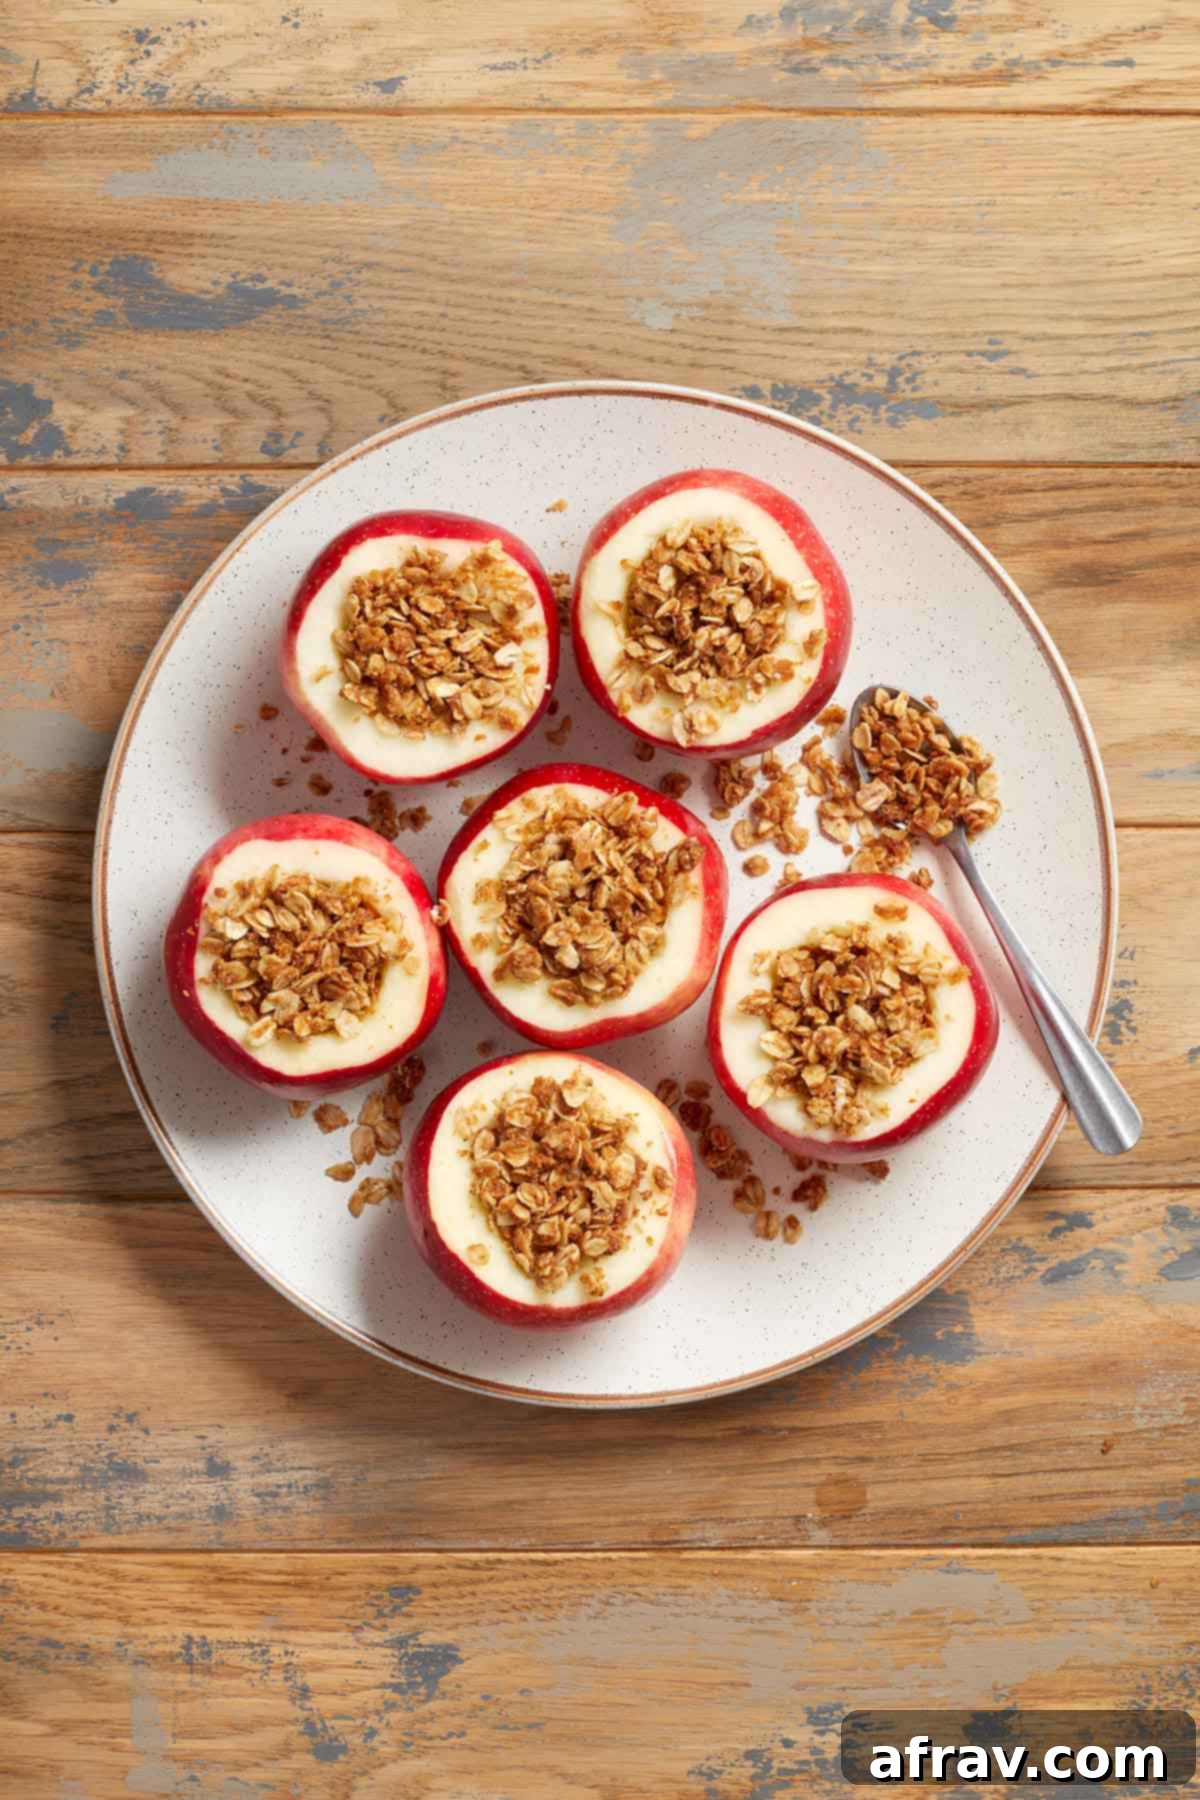
- Stuff the Apples: Evenly divide the prepared oat filling among the cored apples. Gently press the filling into the cavities, mounding it slightly on top. You want a good amount of filling, but avoid packing it in too tightly.
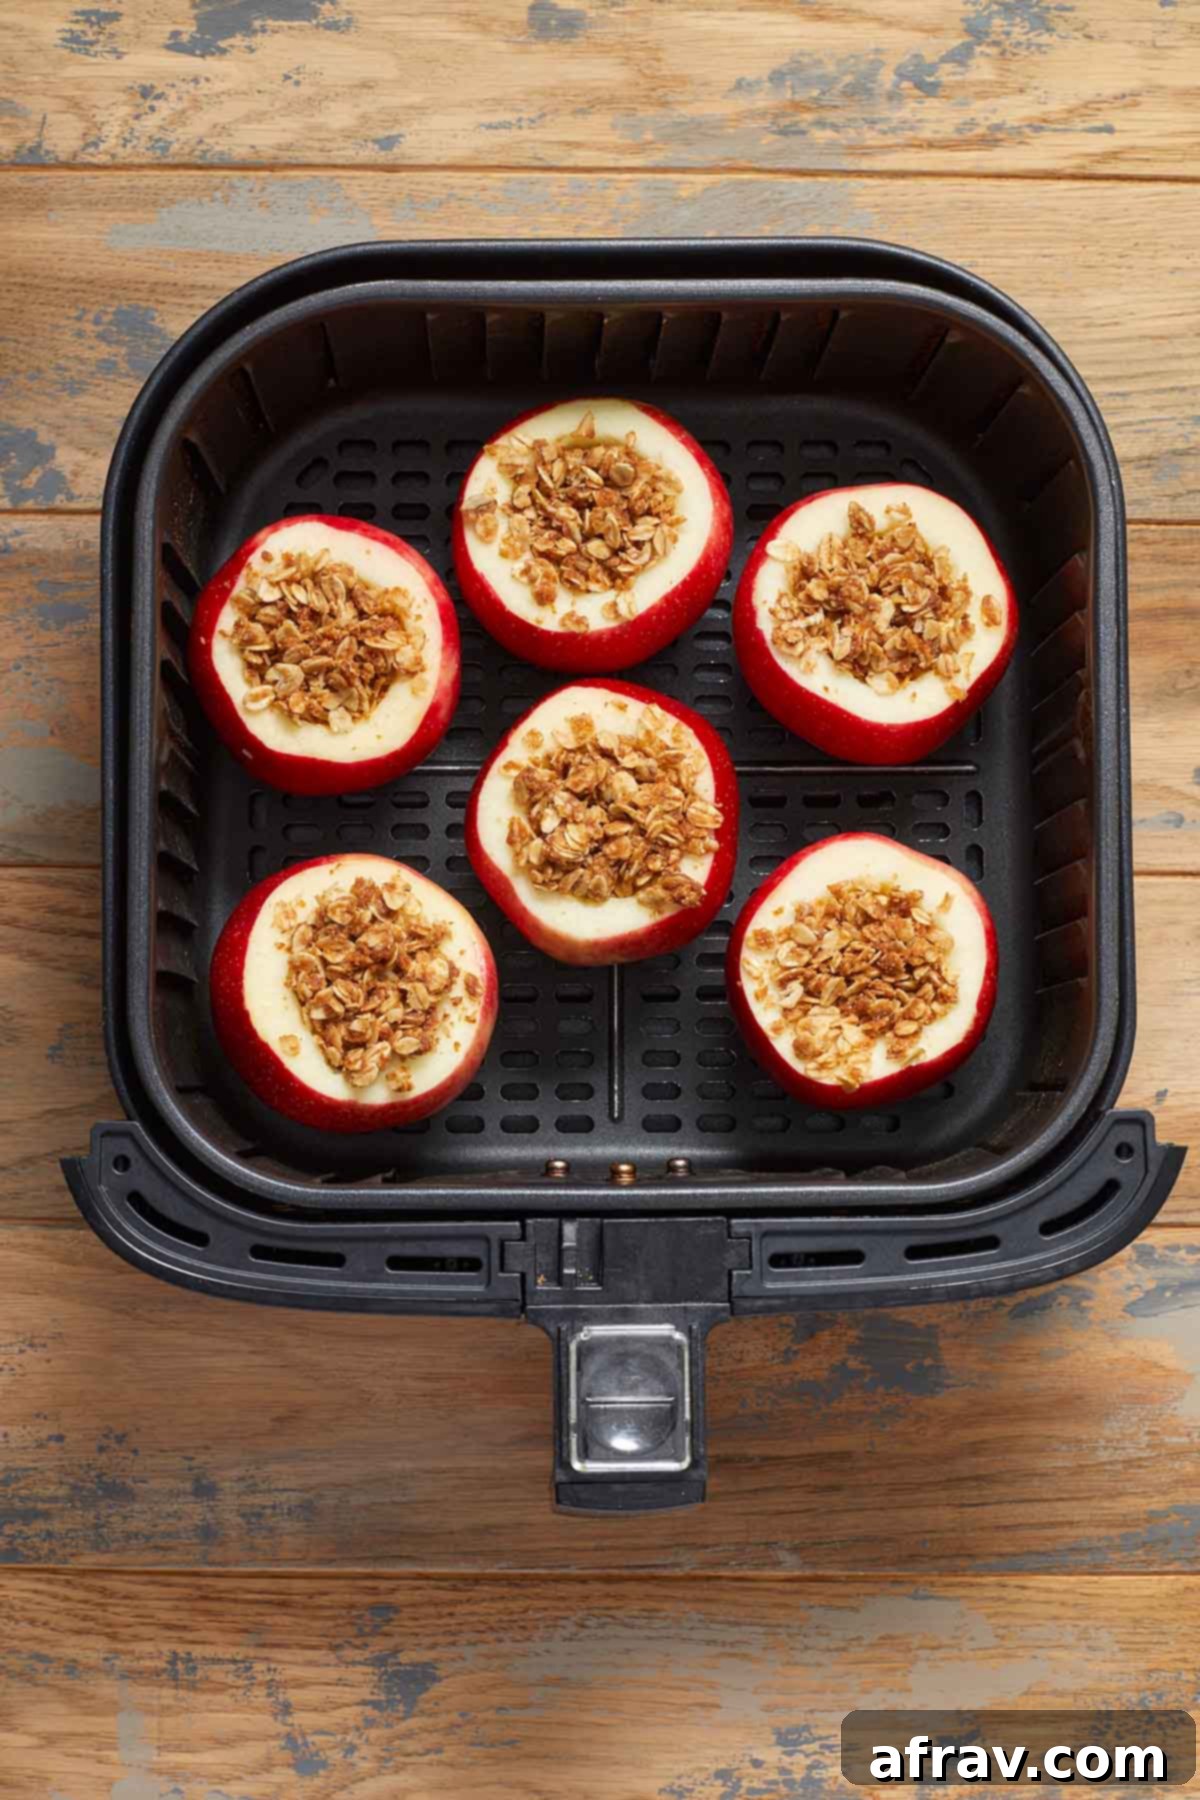
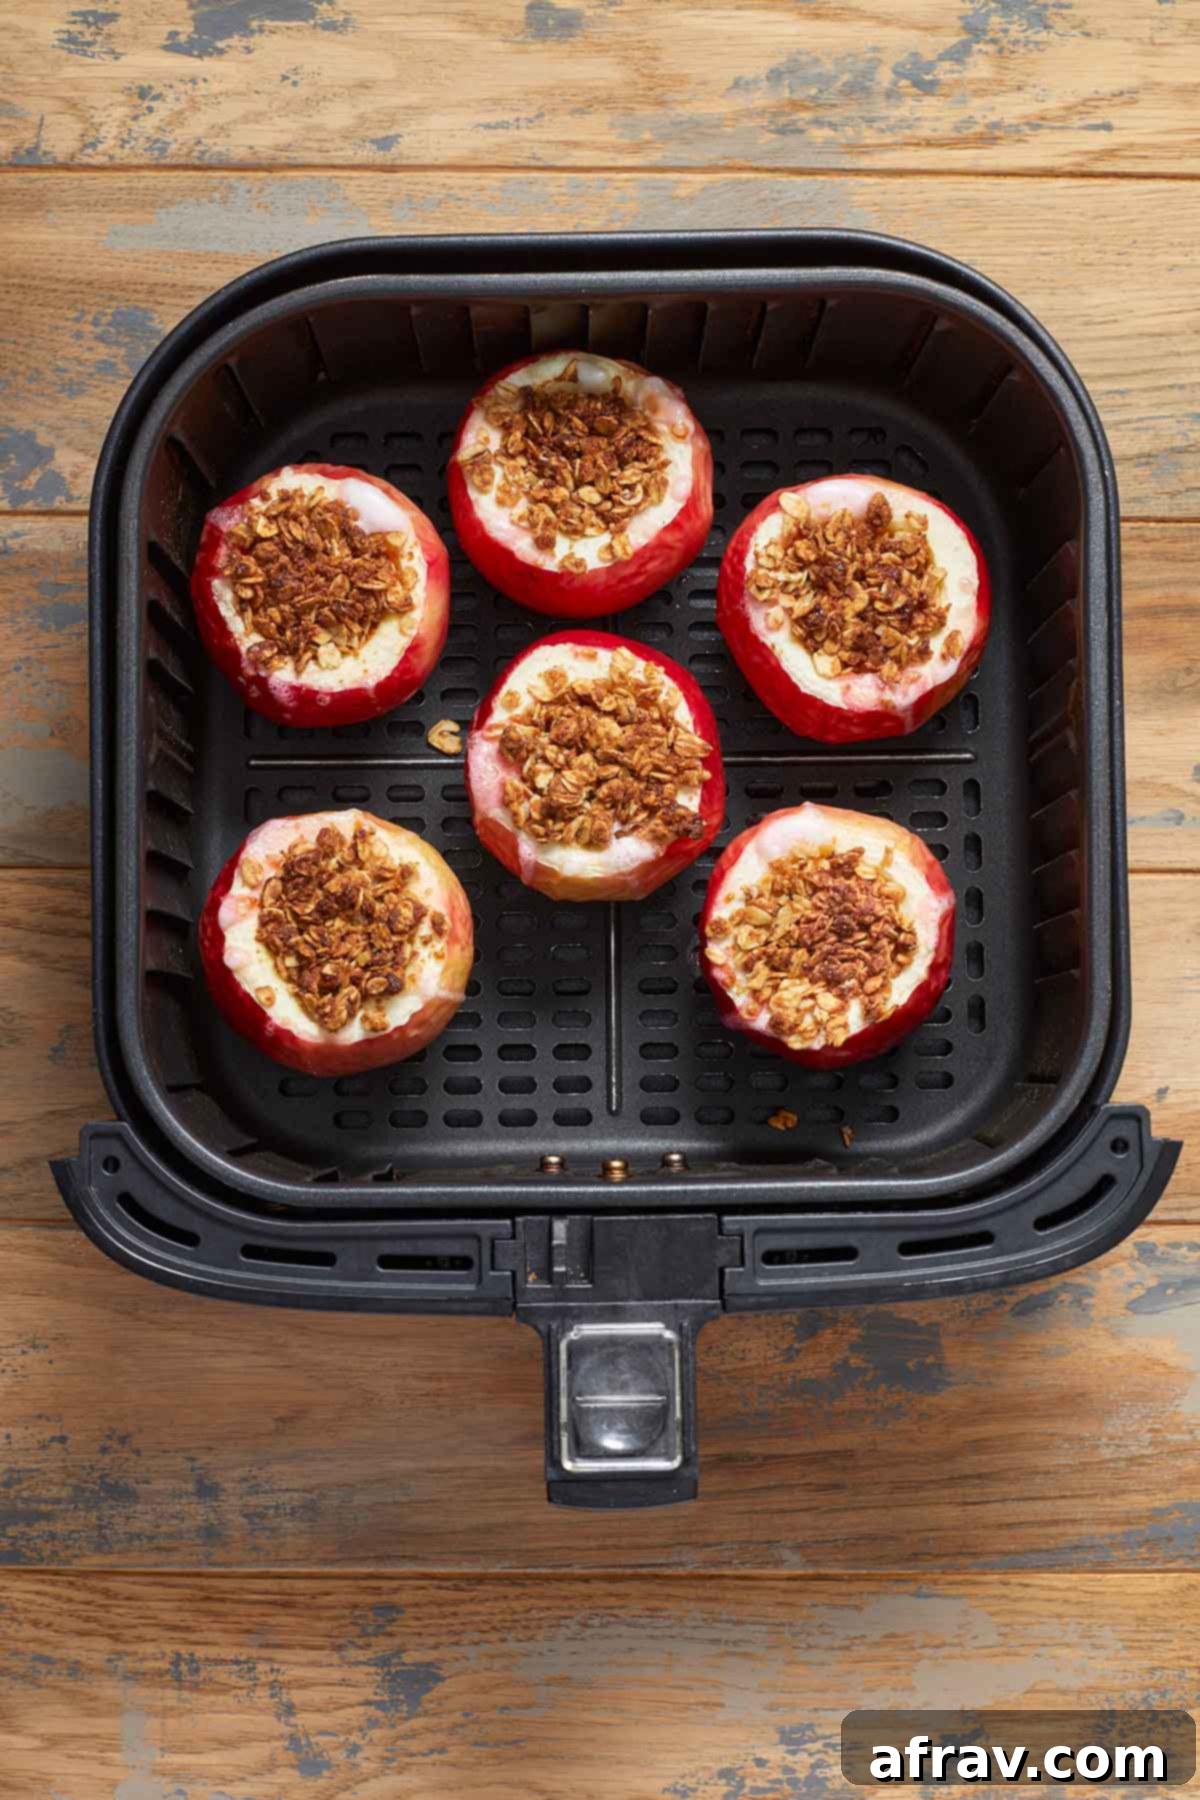
- Air Fry to Perfection: Carefully place the stuffed apples into your air fryer basket. Arrange them in a single layer, ensuring they are not overcrowded, which can hinder even cooking. If your air fryer is small, you may need to cook them in batches. Set your air fryer to 330°F (165°C) and air fry for 13-15 minutes. The exact time may vary slightly depending on the size and variety of your apples, and your preferred tenderness. The apples are ready when they are fork-tender and the oat filling on top is golden brown and slightly crispy.
- Serve Immediately: Once baked, use tongs or a spatula to carefully remove the hot apples from the air fryer basket. Serve them immediately while they are warm, perhaps with an extra drizzle of maple syrup, a generous scoop of vanilla ice cream (dairy-free for a vegan option!), or a dollop of yogurt for a wholesome breakfast.
Creative Recipe Substitutions to Customize Your Baked Apples
This recipe is incredibly versatile, allowing for easy adjustments to suit your dietary needs or flavor preferences. Feel free to experiment with these substitutions:
- Butter Alternatives: If you’re not strictly vegan or dairy-free, feel free to use traditional dairy butter instead of plant-based butter. For another plant-based option, melted coconut oil can also be used, which will impart a subtle coconut flavor that pairs wonderfully with apples and cinnamon.
- Spice it Up: Enhance the warm, cozy flavor by adding a tiny pinch of ground nutmeg, allspice, or cloves to the cinnamon oat filling. As mentioned, apple pie spice or pumpkin spice blends are fantastic pre-mixed options for an autumnal touch.
- Sweetener Swaps: While coconut sugar offers a lovely caramel note, brown sugar is an excellent 1:1 substitute, providing a similar moist texture to the filling. I generally don’t recommend using granulated white sugar as it can result in a drier, less flavorful crumble.
- Non-Vegan Sweeteners: If you don’t need the recipe to be vegan, high-quality honey can be a delicious alternative to maple syrup, adding its own unique floral sweetness.
- Add-ins for Texture and Flavor: To introduce more crunch and richness, mix some finely chopped pecans, walnuts, or almonds into the oat filling. For a burst of fruity tang and chewiness, dried cranberries, golden raisins, or chopped dried apricots are excellent additions.
- Gluten-Free Flour: To ensure the recipe remains gluten-free, substitute the whole wheat flour with a 1:1 gluten-free all-purpose flour blend. Always check that your oats are certified gluten-free as well.
Storage and Reheating Tips for Air Fryer Baked Apples
Air fryer baked apples are undoubtedly at their absolute best when served freshly baked and warm, with their tender fruit and crispy topping. However, if you happen to have any delicious leftovers, they can be stored quite easily.
To store, allow the baked apples to cool completely to room temperature. Then, place them in an airtight container and refrigerate for up to 3 days. While they remain tasty, the filling might lose some of its crispness and the apples will soften further. I do not recommend freezing them, as the texture of the apples can become mushy upon thawing and reheating.
To reheat your leftover baked apples, the air fryer is still your best friend! Simply place them back in the air fryer basket and warm them at 330°F (165°C) for about 8-10 minutes, or until they are heated through and the topping has regained some of its crispiness. Keep an eye on them to prevent over-browning. You can also quickly reheat them in the microwave for 1-2 minutes until warm, though the topping won’t be as crispy as with the air fryer method.
Frequently Asked Questions About Air Fryer Baked Apples
For the best-baked apples, you absolutely want an apple variety that is firm, crisp, and robust enough to maintain its shape and texture once baked. This prevents them from becoming a soft, mushy mess. Excellent choices include Honeycrisp, Golden Delicious, Cortland, Fuji, Gala, or even Granny Smith if you prefer a more tart flavor profile. I used SweeTango in this recipe, which is a fantastic cross between Honeycrisp and Zestar apples, offering a delightful balance of crispness and sweetness. Avoid varieties that are known to break down quickly when heated, such as Red Delicious. Consider your flavor preference too; Granny Smith will offer a sharp, tangy contrast to the sweet filling, while Honeycrisp or Fuji will provide a sweeter base.
You can certainly get a head start by preparing the cinnamon oat filling in advance. Store it covered in an airtight container in the fridge for 2-3 days, making assembly on baking day much quicker. However, I generally do not recommend prepping the apples themselves more than a few hours in advance, as cored apples tend to brown quickly due to oxidation. If you must prep them a few hours ahead, here’s a tip to minimize browning: once you’ve cored your apples, place them in a bowl of cold water mixed with a pinch of salt (the salt helps prevent browning without affecting flavor). Let them soak for a few minutes, then rinse thoroughly and pat them completely dry before filling and baking. This method can significantly reduce discoloration.
One of the greatest advantages of using an air fryer for this recipe is the speed! At a temperature of 330°F (165°C), it typically takes only 13-15 minutes to bake whole, stuffed apples until they are beautifully tender. Please note that the exact cooking time can vary slightly based on several factors: the specific size and variety of apples you’re using (larger or denser apples might need an extra minute or two), and the particular brand and model of your air fryer. Furthermore, your personal texture preference plays a role; if you enjoy your baked apples with a slightly firmer bite, aim for the 13-minute mark. For those who prefer a softer, melt-in-your-mouth consistency, air fry them for a few minutes longer, up to 17 minutes, checking for fork-tenderness along the way.
You’ll know your air fryer baked apples are perfectly cooked when they achieve a lovely fork-tender texture throughout. To test this, gently insert a fork into the side of an apple; it should slide in with minimal resistance. Additionally, the cinnamon oat filling on top should be beautifully golden brown and have developed a slightly crispy, caramelized crust, indicating it’s cooked through and delicious.
These warm air fryer apples are incredibly versatile and can be served in many delicious ways! I believe they are best enjoyed with a generous drizzle of pure maple syrup or rich caramel sauce cascading over the top, complemented by a scoop of creamy vanilla ice cream. For a dairy-free option, be sure to use a plant-based ice cream or try pairing them with this homemade s’mores ice cream for an extra decadent twist! Beyond dessert, they also make a wonderful and wholesome breakfast or brunch item when served with a dollop of Greek yogurt (dairy or non-dairy), a sprinkle of granola, or even a side of cottage cheese for added protein. They can also be enjoyed simply on their own, letting the natural flavors shine.
Key Recipe Tips for Perfect Air Fryer Baked Apples
Achieving perfectly baked apples in your air fryer is simple with a few helpful tips:
- Choose Stable Apples: When selecting your apples, prioritize those that have a flat bottom or can stand upright on their own without wobbling. Apples that are unstable will likely tip over in the air fryer basket, potentially spilling the delicious filling. Rounder apples often work best for this reason.
- Consider Apple Size: Try to use apples of a similar, moderate size. Avoid apples that are excessively tall, as the oat topping on taller apples tends to brown much quicker than the apple itself cooks through in the air fryer. If your apples are particularly tall, you might need to slice a bit more off the top to ensure even cooking and prevent the topping from burning.
- Precise Coring: When removing the apple core, aim to create a cavity large enough to hold approximately 2 tablespoons of filling. Be careful not to scoop out too much flesh from the sides or bottom of the apple, as this can weaken its structure and cause it to break apart or leak the filling during the baking process. A clean core with sufficient apple wall thickness is ideal.
- Don’t Overstuff: While it’s tempting to pack in as much of that delicious filling as possible, avoid overstuffing the apples too tightly. Leave a little room at the top for the filling to expand slightly and crisp up beautifully without overflowing. Gently mounding the filling is perfect.
- Adjust Air Frying Time for Texture: Your desired apple texture dictates the cooking time. If you prefer your baked apples to have a firmer, slightly crisp bite, remove them from the air fryer at the 13-minute mark. For those who love a softer, more tender, melt-in-your-mouth apple, continue baking for 15-17 minutes, checking for fork-tenderness.
- Air Fry in Batches: If you have a smaller air fryer model, it’s crucial not to overcrowd the basket. Cook the apples in batches, ensuring there’s enough space around each apple for the hot air to circulate freely. This promotes even cooking and browning. Alternatively, if you’re cooking for one or two, simply halve the recipe.
- Know Your Air Fryer: Air fryer models can vary significantly in their power and heating elements. You may need to slightly adjust the air frying time and temperature based on your specific brand and model. This recipe was meticulously tested in a 5.8-quart Cosori air fryer, so use that as a general guideline and adapt as necessary for your appliance.
Explore More Easy Air Fryer Recipes
The air fryer is a fantastic kitchen appliance for quick, healthy, and delicious meals and treats. If you loved these baked apples, you’ll definitely want to check out these other effortless air fryer recipes:
- Air Fryer Egg Bites: Perfect for a quick, high-protein breakfast or snack.
- Air Fryer Gnocchi: Crispy on the outside, soft on the inside – a delightful twist on pasta.
- Air Fryer Pita Chips: Homemade, crunchy chips perfect for dips.
- Air Fryer Tortilla Chips: Another easy way to make healthier, crispy chips at home.
- Air Fryer Butternut Squash: A simple and delicious side dish for any meal.
Discover More Apple-Inspired Recipes
If you’re an apple enthusiast, we have even more recipes that celebrate the crisp, sweet, and versatile fruit:
- Apple Cranberry Crisp: A classic dessert with a festive twist.
- Apple Spice Cake: A moist and flavorful cake perfect for fall.
- Apple Spice Muffins: Ideal for breakfast or a comforting snack.
We truly hope you enjoy making and savoring these Air Fryer Baked Apples as much as we do! If you try out this recipe, we’d absolutely love to hear what you think and how it turned out in the comments section below!
HUNGRY FOR MORE? Follow Crumb Top Baking on Instagram, Pinterest and Facebook to stay updated with our latest delicious creations!
Print Recipe Card

Air Fryer Baked Apples
5 Stars 4 Stars 3 Stars 2 Stars 1 Star
No reviews
Author: Leanne
Prep Time: 15 minutes
Cook Time: 15 minutes
Total Time: 30 minutes
Yield: 6 servings
Category: Dessert
Method: Air Fry
Cuisine: American, Canadian
Diet: Vegan
Description
Air Fryer Baked Apples are a deliciously easy and quick dessert alternative to traditional apple crisp, featuring a warm cinnamon oat filling and requiring only 15 minutes of air frying!
Ingredients
- 1/2 cup large flake rolled oats (or quick oats for a softer texture)
- 2 tablespoons whole wheat flour (all-purpose white flour or 1:1 gluten-free flour are good substitutes)
- 1 tablespoon coconut sugar (brown sugar can be used as a substitute)
- 1 tablespoon maple syrup (or honey if not strictly vegan)
- 1 tablespoon plant-based butter, melted (melted coconut oil or dairy butter can be used)
- 1/2 teaspoon ground cinnamon (add a pinch of nutmeg or use apple pie spice for variation)
- Pinch of salt
- 6 apples (firm, crisp varieties like Honeycrisp, SweeTango, Golden Delicious, Cortland or Granny Smith recommended)
Instructions
- In a medium-sized bowl, mix together all the ingredients for the oat filling (everything except the apples) until well combined and crumbly. Set aside.
- Wash and dry your apples thoroughly. Carefully slice about 1/4 – 1/2 inch off the tops of each apple to create a flat, stable base.
- Using a paring knife and a spoon (or an apple corer), remove the apple cores, ensuring you create a cavity large enough for the filling but don’t cut through the bottom or thin the sides too much.
- Evenly divide the prepared oat filling among the cored apples, gently pressing and mounding it into each cavity.
- Place the filled apples in the air fryer basket in a single layer (cook in batches if necessary). Air fry at 330°F (165°C) for 13-15 minutes, or until the apples are fork-tender and the topping is golden and crispy.
- Using tongs, carefully remove the hot baked apples from the air fryer basket.
- Serve immediately while warm, with a drizzle of maple syrup, a scoop of ice cream, or a dollop of yogurt for a delicious finish.
Notes
- For the best results, use apple varieties that are firm and crisp and will not become mushy when baked, such as SweeTango, Honeycrisp, Golden Delicious, Cortland, Fuji, Gala, or Granny Smith.
- Ensure the apples you choose are sturdy and can stand upright on their own. Wobbly apples may tip over in the air fryer, spilling the filling. Rounder apples are often more stable.
- Avoid using apples that are excessively tall. The oat topping on taller apples may brown and crisp up quicker than the apple flesh cooks, leading to an uneven result. Slightly shorter, wider apples are ideal.
- To ensure this recipe is gluten-free, always use certified gluten-free oats and substitute regular flour with a 1:1 gluten-free all-purpose flour blend.
- Adjust the air frying time to achieve your preferred apple texture. For firmer baked apples, aim for 13 minutes. For a softer, more tender result, bake for 15-17 minutes.
- If you are using a smaller air fryer, it is best to air fry the apples in batches to allow for proper air circulation and even cooking. Alternatively, you can halve the recipe to fit.
- Air fryer performance can vary between brands and models. You might need to slightly adjust the cooking time and temperature for your specific appliance. This recipe was developed and tested using a 5.8-quart Cosori air fryer.
- For more detailed advice, serving suggestions, and substitution ideas, please refer to the comprehensive sections above the recipe card.
