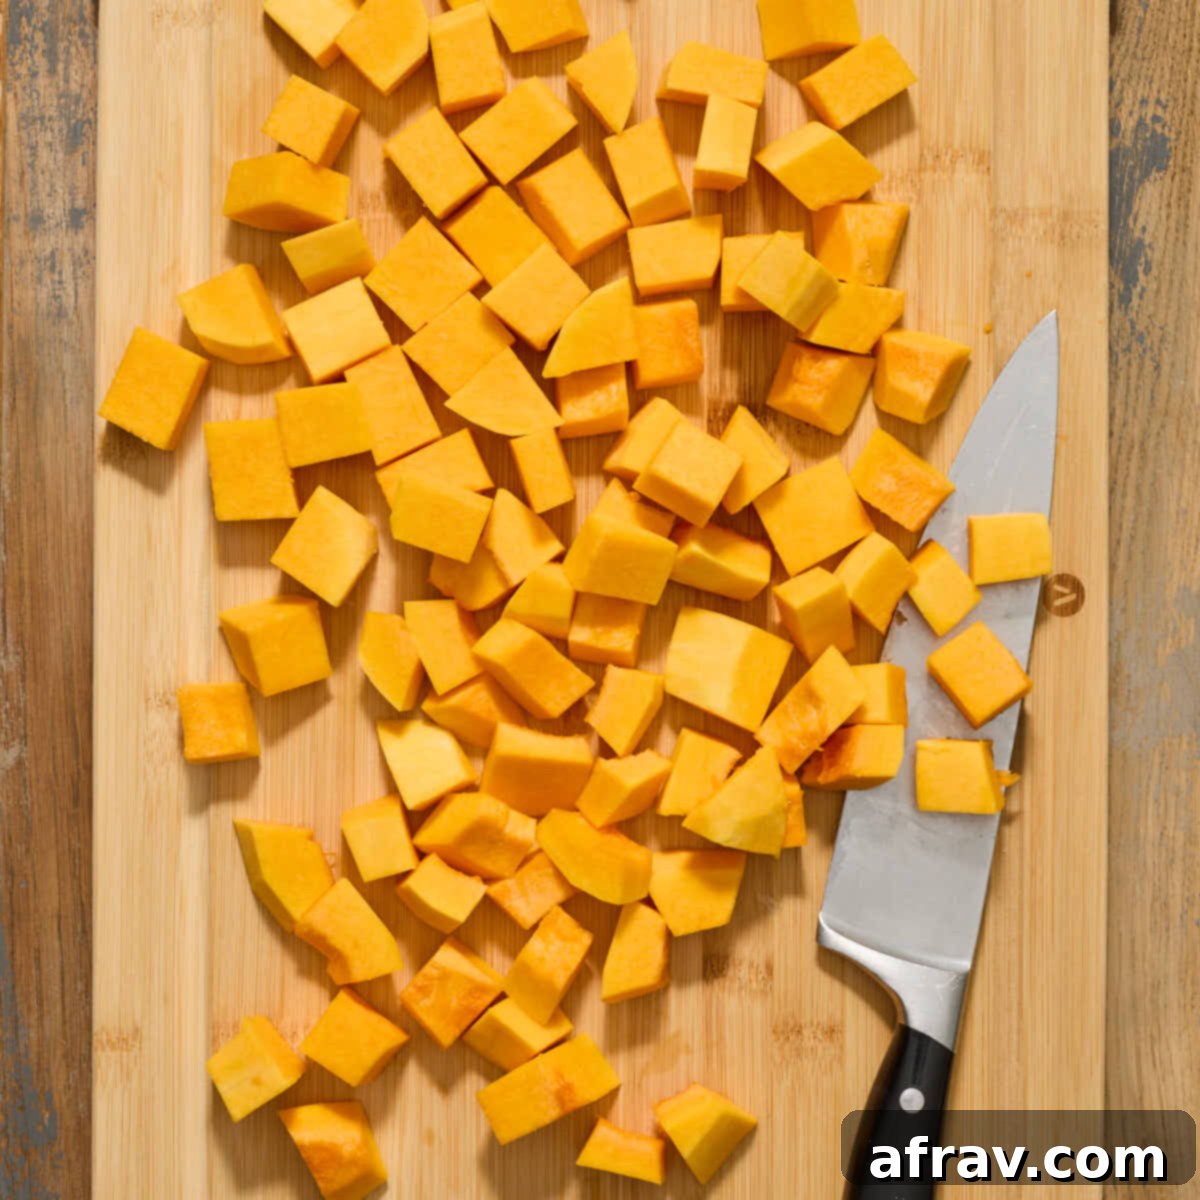
The Ultimate Guide to Peeling and Cutting Butternut Squash: Easy Steps for Delicious Meals
Butternut squash, with its distinctive sweet, nutty flavor and vibrant orange flesh, is a true culinary star of the colder months. Highly versatile, it’s a fantastic ingredient for everything from warming soups and creamy purees to hearty roasts, comforting quiches, and delicious stuffings. Despite its deliciousness and nutritional benefits – being rich in vitamins A and C, fiber, and potassium – its unique shape, substantial weight, and notoriously tough skin can often be a source of frustration for home cooks. The task of peeling and cutting a whole butternut squash is often perceived as tricky and time-consuming, leading many to opt for convenience by purchasing pre-cut squash cubes.
However, relying on pre-cut squash often means compromising on freshness, flavor, and budget. Pre-cut options tend to lose moisture and vibrancy quickly, and they invariably cost more than buying a whole squash. The good news is that learning how to efficiently and safely peel and cut a fresh butternut squash yourself is a skill that’s far less challenging than you might think! Mastering this technique will not only save you money but also ensure you’re always working with the freshest, most flavorful ingredients for your dishes. This guide aims to demystify the process, making butternut squash preparation a breeze so you can confidently incorporate this healthy and delicious vegetable into all your favorite recipes.
I used to be one of those cooks who always reached for the bag of pre-cut butternut squash. The thick, unyielding skin and the squash’s awkward shape made peeling and chopping seem like an insurmountable kitchen challenge. But after experiencing the difference in taste and texture that fresh squash offers, and realizing the unnecessary expense of the pre-cut versions, I committed to learning the proper technique. It turns out, with the right tools and a few simple steps, preparing a whole butternut squash is entirely manageable and even enjoyable! The superior flavor and texture of freshly prepared squash are simply incomparable, and the feeling of accomplishment is an added bonus.
Below, you’ll discover a comprehensive, step-by-step guide, complete with clear photos and invaluable tips, designed to walk you through the entire process of peeling, deseeding, and cubing a butternut squash. This tutorial is crafted to help you confidently overcome any past hesitation and transform this robust winter vegetable into perfectly prepped pieces for your culinary creations.
Once you’ve confidently mastered this essential skill, you’ll open up a world of delicious possibilities. Why not start by trying this incredibly easy and flavorful air fryer butternut squash recipe, or perhaps indulge in a bowl of this comforting and creamy roasted red pepper and butternut squash soup? Get ready to make fresh butternut squash a regular, cherished ingredient in your kitchen!
How to Pick the Best Butternut Squash for Easy Prep
The success of your butternut squash dish starts long before you pick up a knife; it begins with selecting the perfect squash. A well-chosen, ripe butternut squash will not only guarantee superior flavor and sweetness but will also be significantly easier to handle, peel, and cut. Pay close attention to these key indicators when you’re at the grocery store or farmer’s market:
- Uniform Color: Look for a butternut squash that boasts a consistent, deep tan or beige color all over. Any noticeable green patches indicate that the squash is unripe, which means it will be starchier, less sweet, and potentially harder to cut. A uniform color is a sign of full maturity.
- Firm and Hard Skin: Gently tap or press on the squash’s skin. It should feel notably hard and firm, not soft or pliable. This firmness is a hallmark of ripeness and proper curing, which helps the squash store well. Avoid any squash with soft spots, deep blemishes, cuts, or mold, as these are signs of spoilage or damage that can affect the inner flesh.
- Heavy for its Size: Pick up a few squashes. A ripe butternut squash should feel surprisingly heavy for its size. This density indicates that it’s packed with flesh and has a good moisture content, translating to more flavor and a better yield.
- Hollow Sound: Give the squash a gentle knock with your knuckles. A ripe squash will typically produce a hollow sound, much like a ripe watermelon. This is another good indicator of its internal maturity.
- Manageable Size: While large squashes can be tempting for their yield, smaller to medium-sized butternut squashes (roughly 2-3 pounds) are generally easier and safer to handle and maneuver during the peeling and cutting process, especially if you’re still building your confidence.
- Intact Stem: Check the stem. It should be dry, firm, and securely attached. A broken or soft stem can be an entry point for bacteria, leading to premature spoilage.
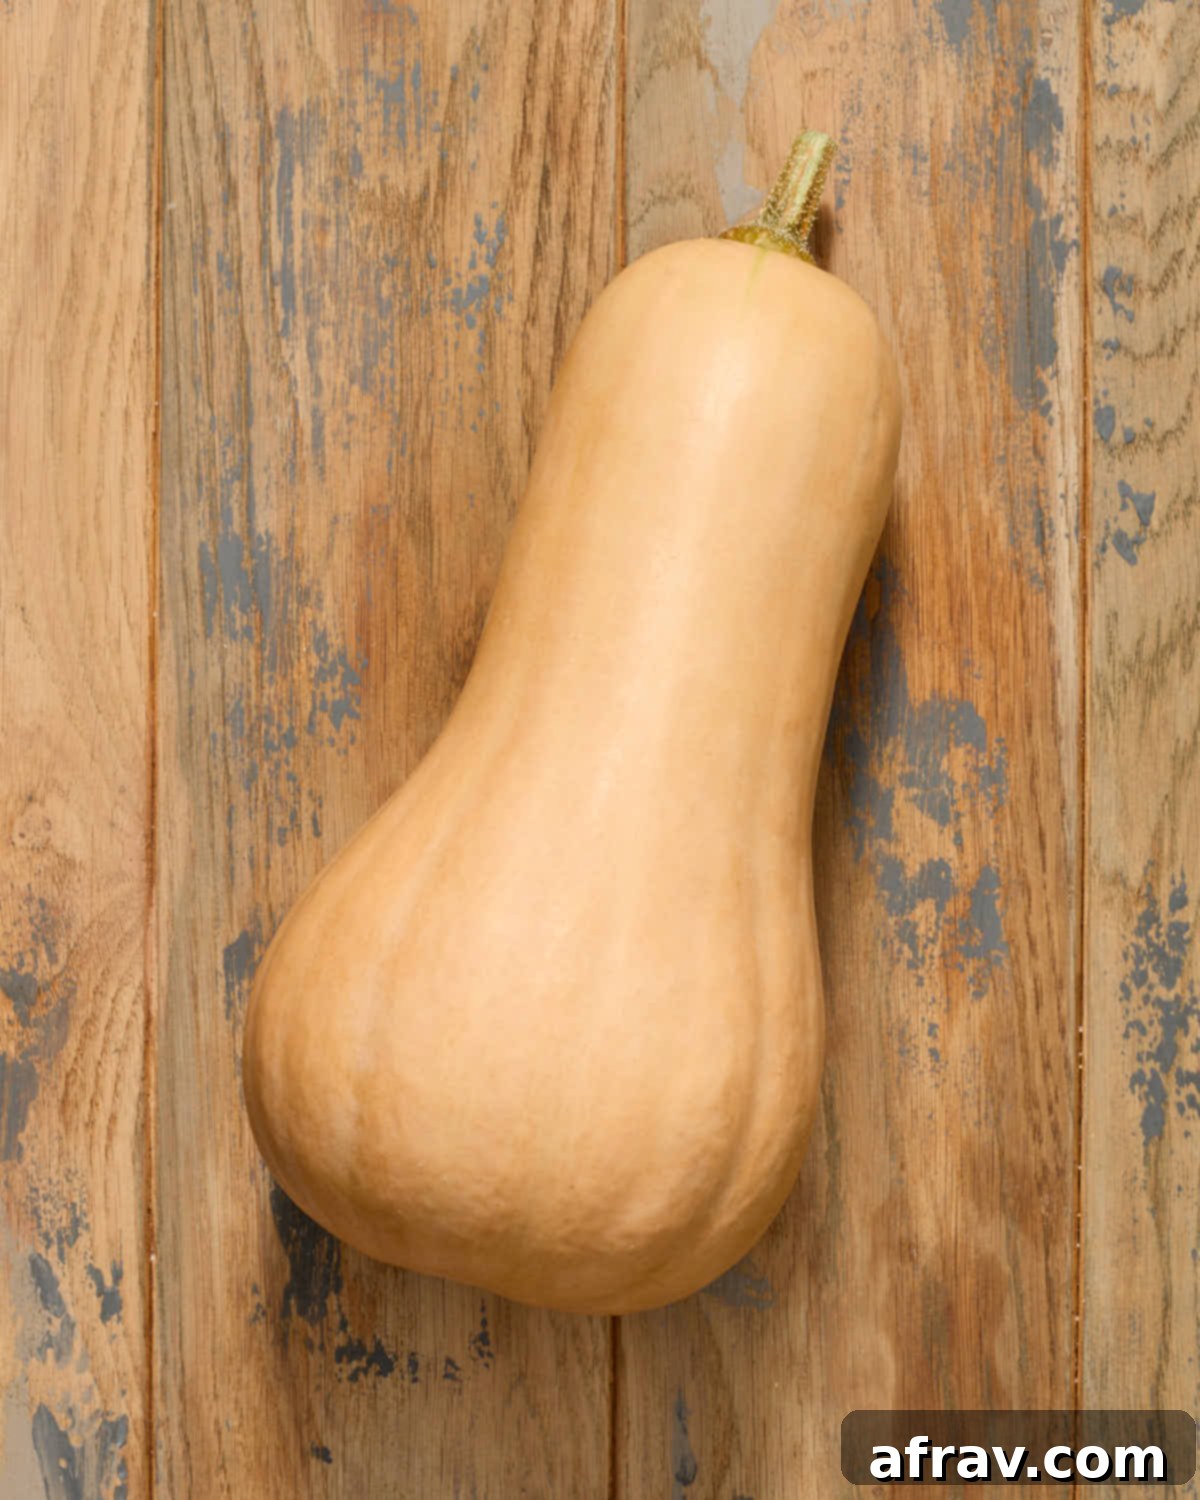
Once you’ve brought your perfect butternut squash home, store it in a cool, dark, and dry place, such as a pantry or countertop away from direct sunlight. Unlike many other vegetables, whole, uncut butternut squash can last for several weeks, or even up to two to three months, under ideal storage conditions, making it an excellent ingredient to have on hand.
Essential Tips and Tools Before You Begin Prep
Before you dive into peeling and cutting your butternut squash, a few simple preparatory steps and considerations can dramatically enhance your safety, efficiency, and overall experience. These expert tips are designed to make the process as smooth and risk-free as possible:
- Prioritize a Stable Cutting Surface: This is arguably the most crucial safety tip. Always work on a cutting board that is absolutely stable and will not slide. I strongly recommend using a heavy, solid wood or durable composite cutting board, ideally one equipped with rubberized grips. If your board tends to slip, a simple yet highly effective solution is to place a damp kitchen towel or a non-slip mat directly underneath it. This creates essential friction, preventing any movement during the cutting process and significantly reducing the risk of accidental cuts.
- Employ a Razor-Sharp Chef’s Knife: A sharp knife is not only more effective at slicing through tough squash but is also much safer than a dull one. A sharp blade requires less force to cut, meaning you have more control and less chance of the knife slipping. Ensure your chef’s knife is sharpened before you start; it will make cutting through the squash’s dense flesh much easier and more precise.
- Thoroughly Clean the Squash: Before any peeling or cutting, give your butternut squash a good scrub. Use a wet cloth or a stiff vegetable brush to remove any dirt, soil, or lingering debris from its exterior. This prevents any unwanted particles from transferring to the clean, edible flesh during preparation.
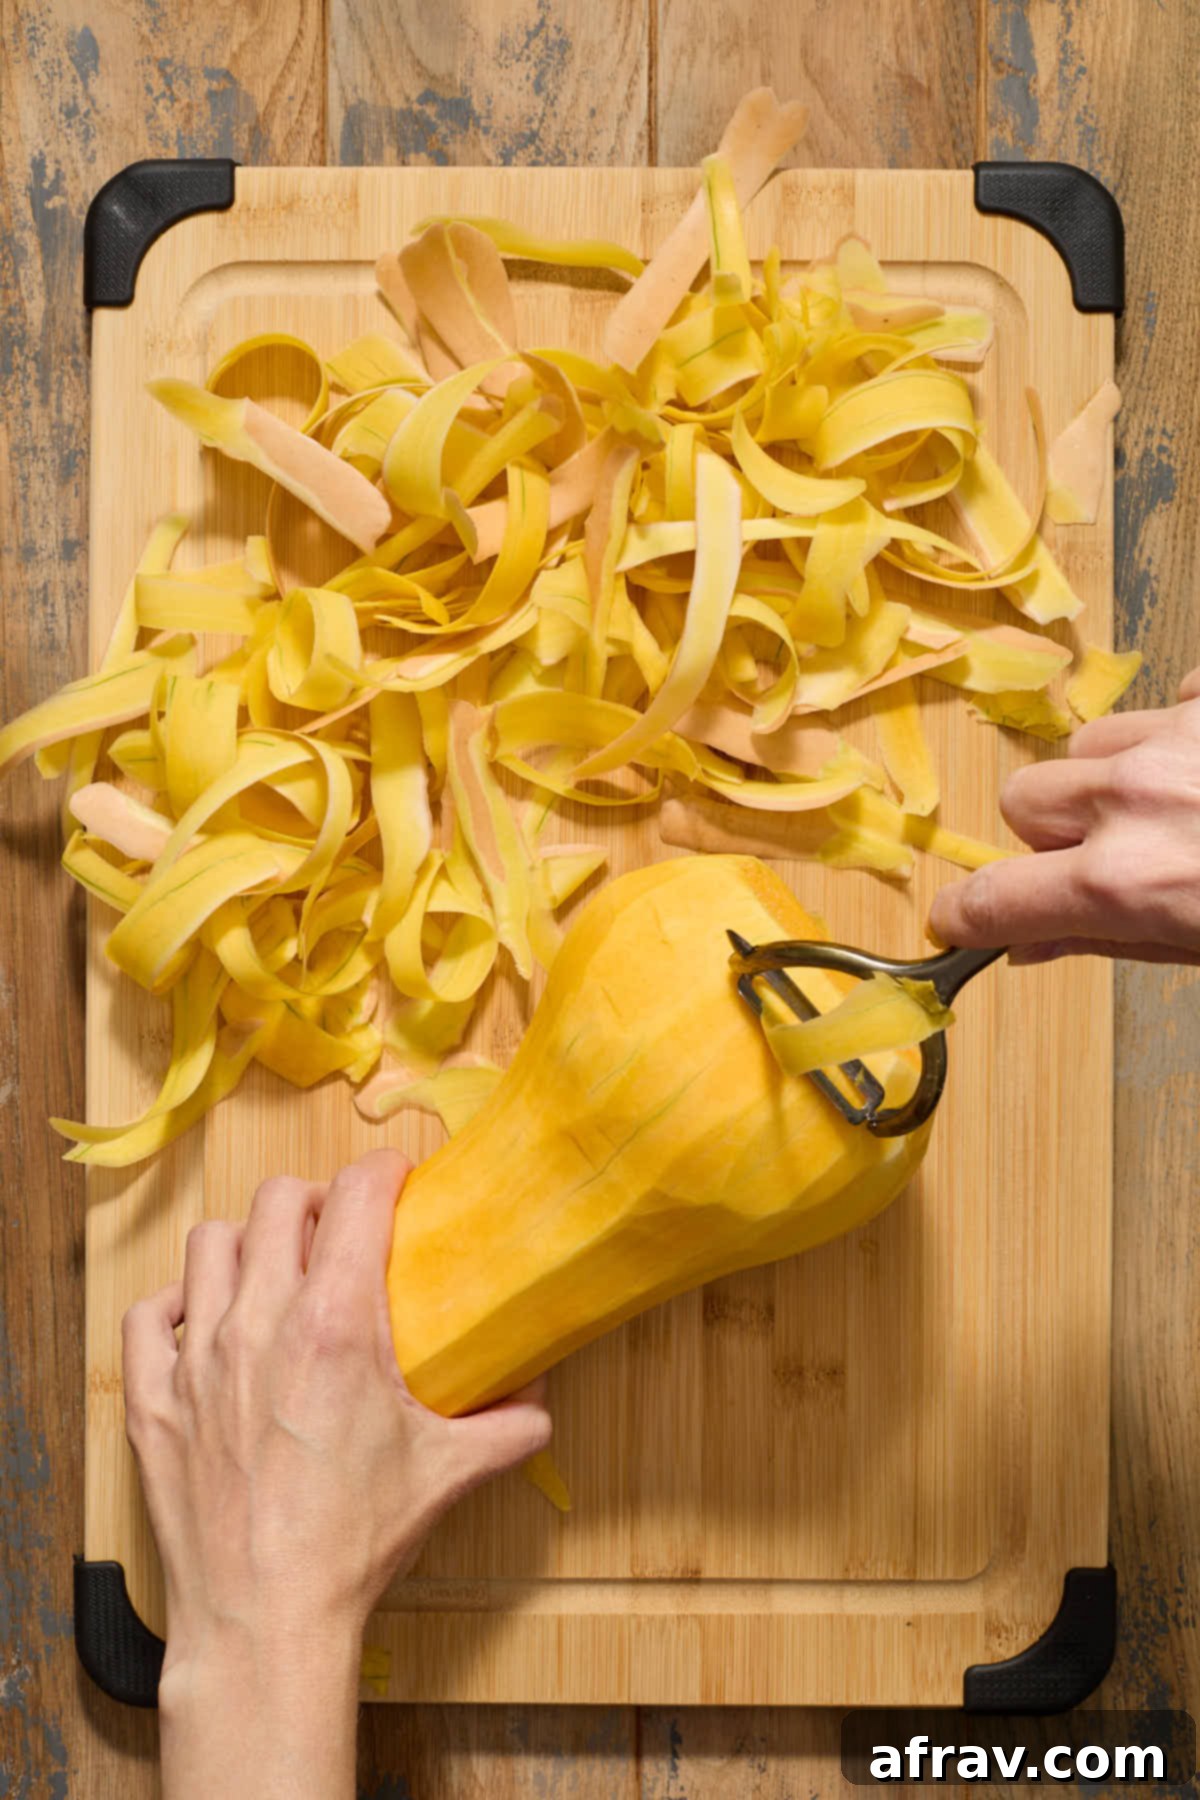
- Choose a Vegetable Peeler Over a Knife for Peeling: While it might seem tempting to use a knife, trust me – a good quality vegetable peeler is your best friend for peeling butternut squash. Attempting to peel its thick, hard skin with a knife is not only more dangerous due to potential slips but also tends to remove too much of the precious flesh, leading to unnecessary waste. A peeler allows for thin, controlled strokes.
- Y-Peeler vs. Swivel Peeler: When it comes to peelers, I find that a “Y-peeler” (sometimes called a Swiss peeler) offers superior ergonomics and control for the unique contours of a butternut squash. Its handle allows for a more natural, powerful grip and downward strokes. However, a standard swivel peeler will also get the job done effectively if that’s what you have on hand.
- Pre-soften Tough Squashes: If you’ve got an unusually large, dense, or particularly hard butternut squash, don’t hesitate to pre-soften it. This simple trick can make peeling and cutting dramatically easier and safer. Pierce the squash several times all over with a fork or the tip of a knife. Place it in a microwave-safe dish and microwave on high for 2-3 minutes. This quick burst of heat will soften the skin and flesh just enough without cooking it through. Always allow it to cool sufficiently to handle safely before proceeding with peeling and cutting. Alternatively, you can roast the whole, pierced squash in a 375°F (190°C) oven for 15-20 minutes, then cool.
- Save and Roast the Seeds! Don’t let the delicious and nutritious butternut squash seeds go to waste! Much like pumpkin seeds, they can be transformed into a fantastic, crunchy snack. Simply scoop them out, clean off any stringy pulp, toss them with a little olive oil, salt, and your favorite spices (like paprika, garlic powder, or chili powder), then roast them in the oven or an air fryer until golden and crispy. They’re a perfect topping for salads, soups, or enjoyed on their own. This recipe for air fryer pumpkin seeds can be easily adapted for butternut squash seeds.
- Consider Wearing Gloves: Some individuals experience skin irritation or a sticky residue from the sap released by butternut squash when cut. If you have sensitive skin or prefer to avoid the sticky sensation, wearing a pair of kitchen gloves can prevent any discomfort.
How to Peel and Cut a Butternut Squash: A Visual Step-by-Step Tutorial
With your chosen squash and tools ready, it’s time to tackle the preparation process. This detailed, step-by-step tutorial will guide you through each cut and peel, ensuring you transform your whole butternut squash into perfectly prepared cubes with confidence and ease. Follow along with the accompanying photos for a seamless experience.
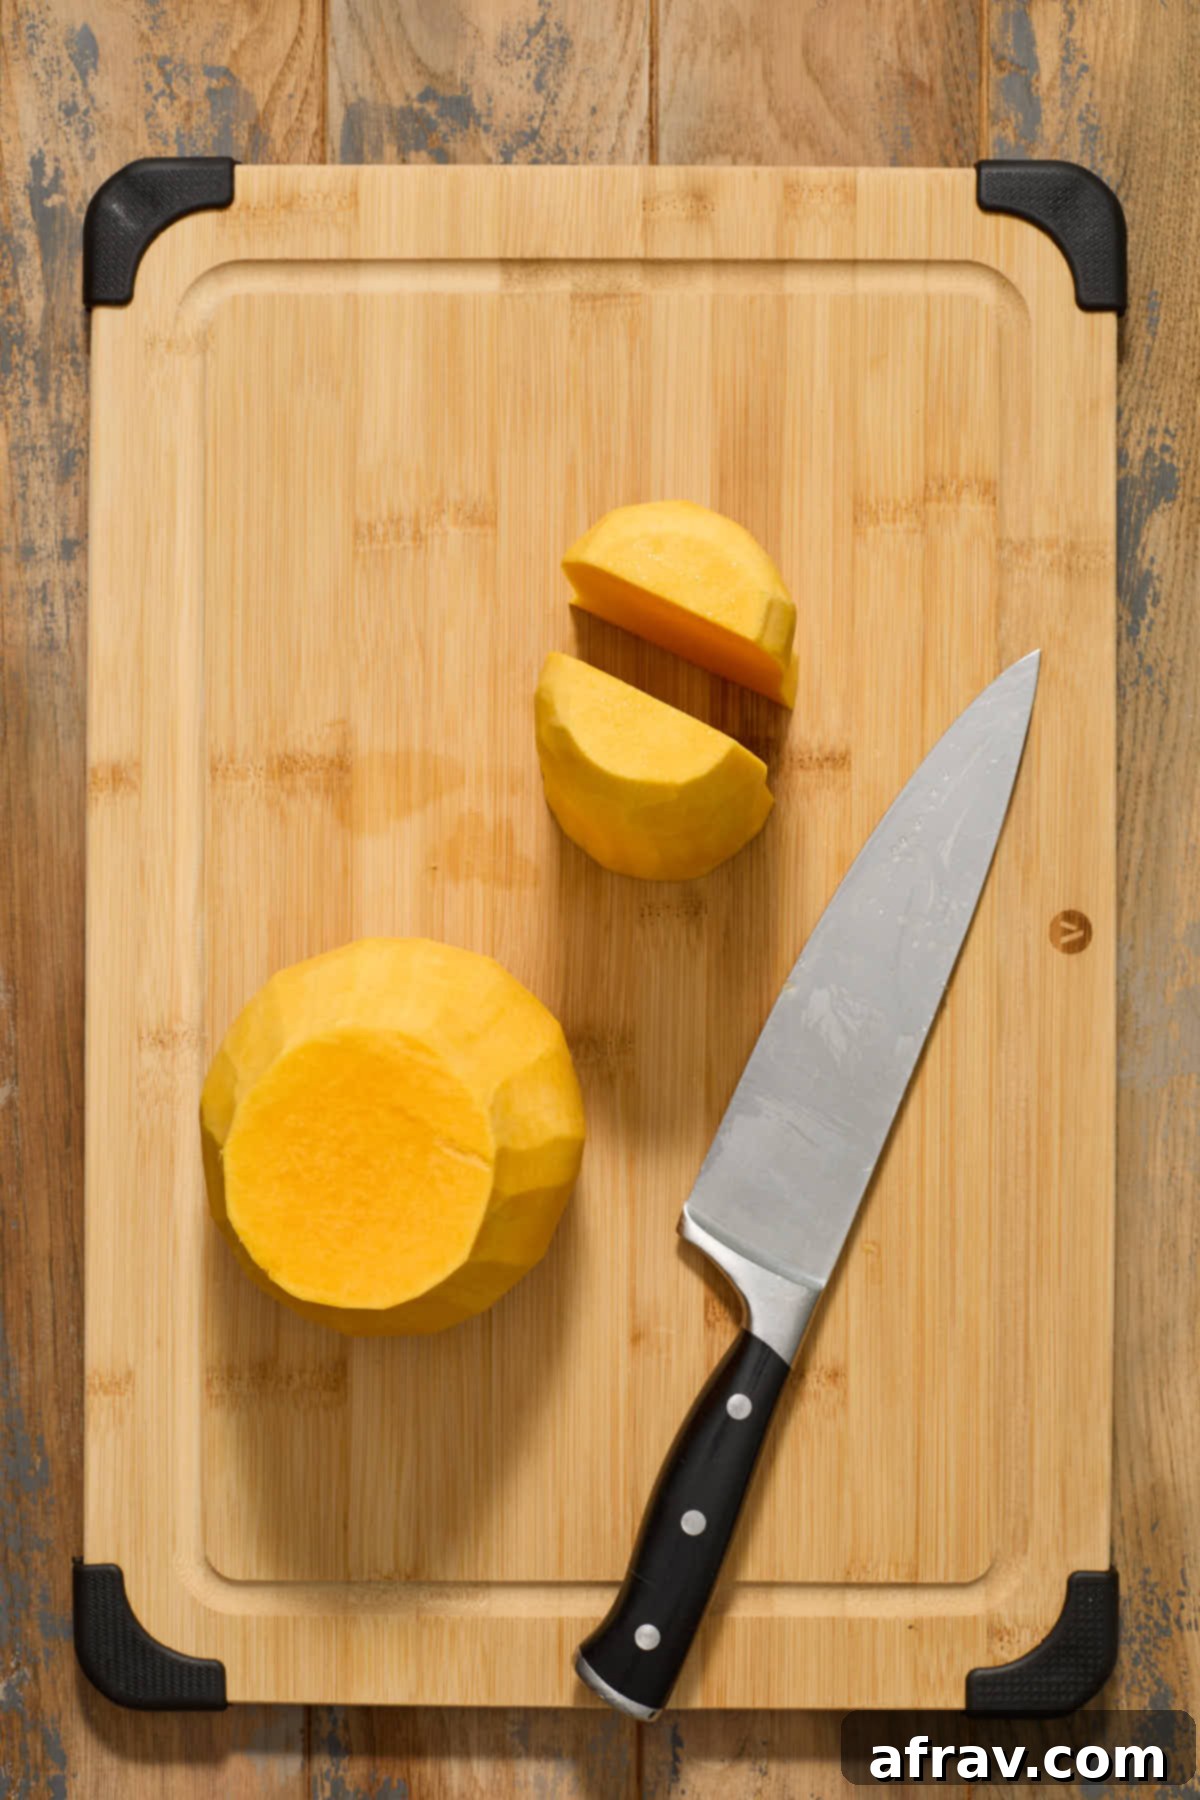
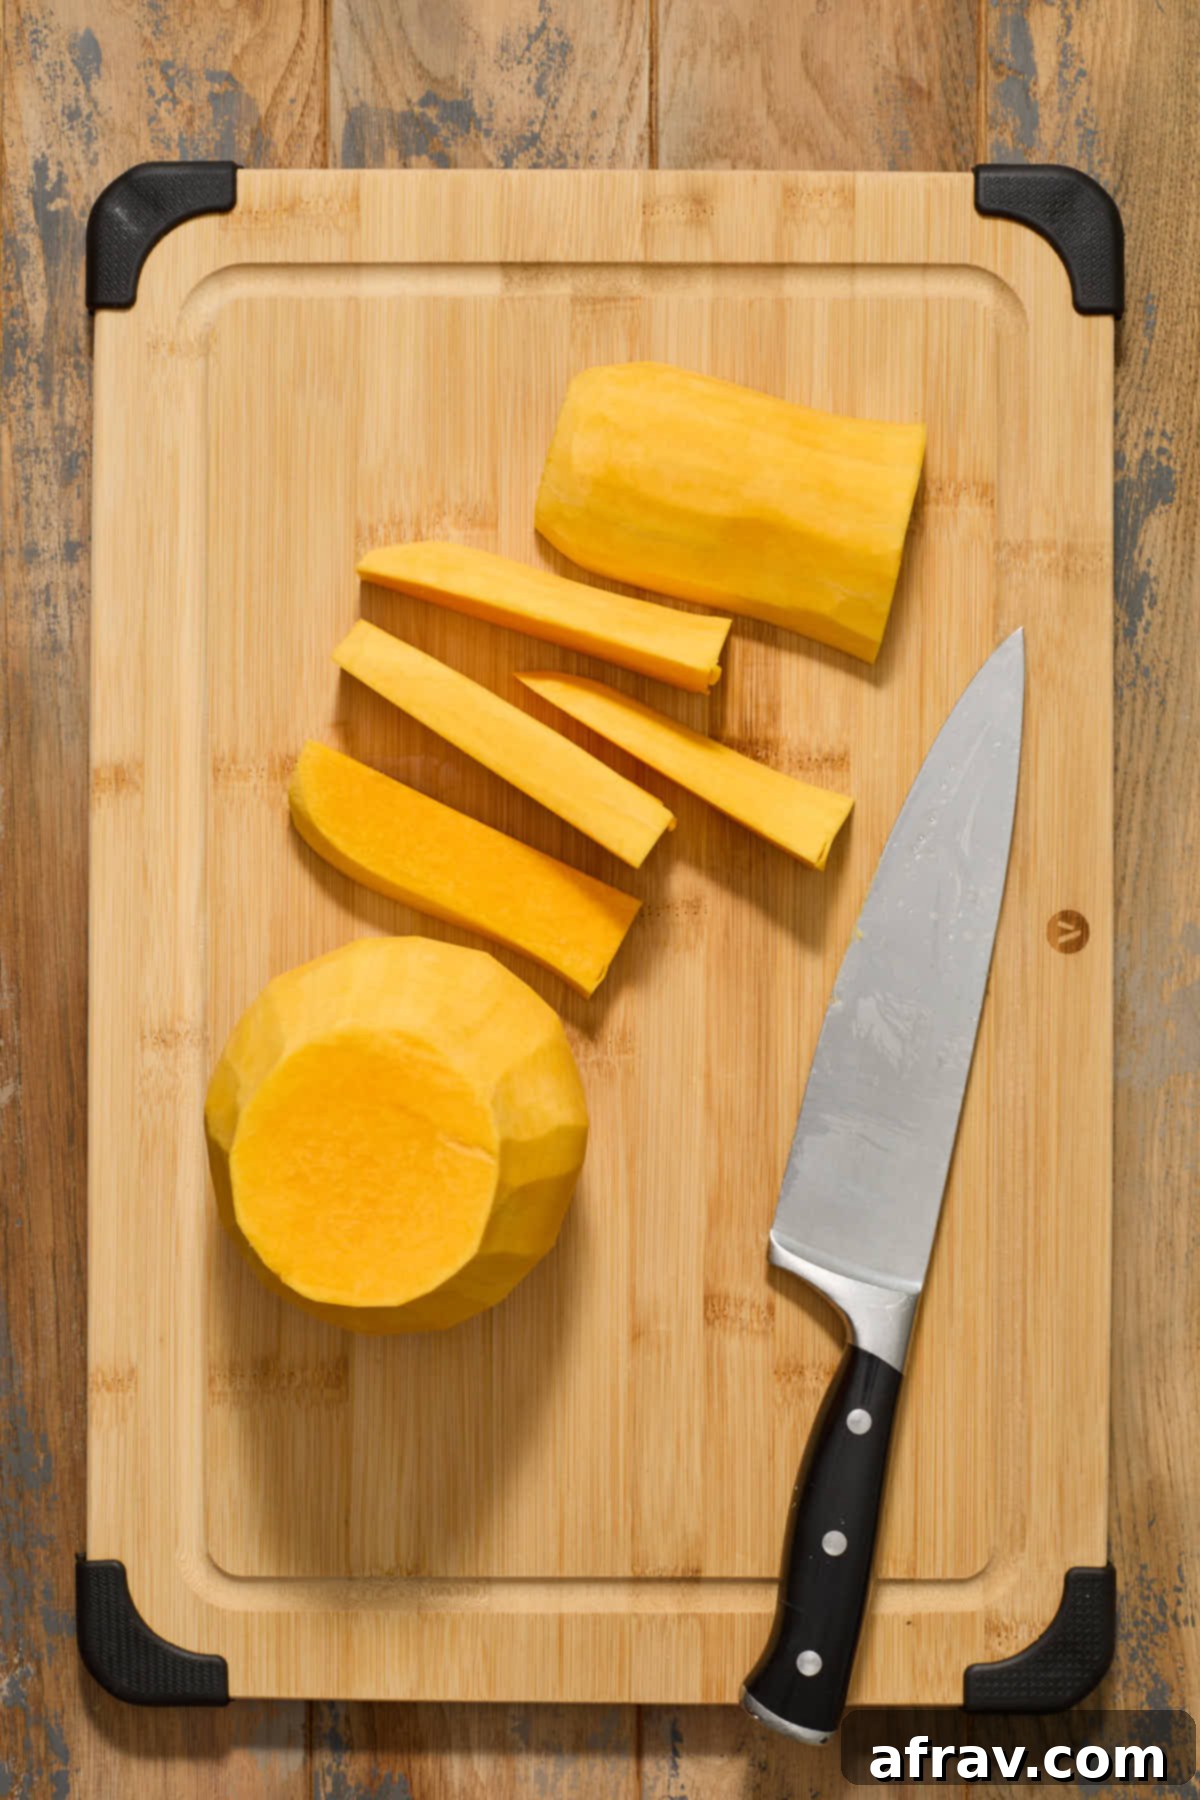
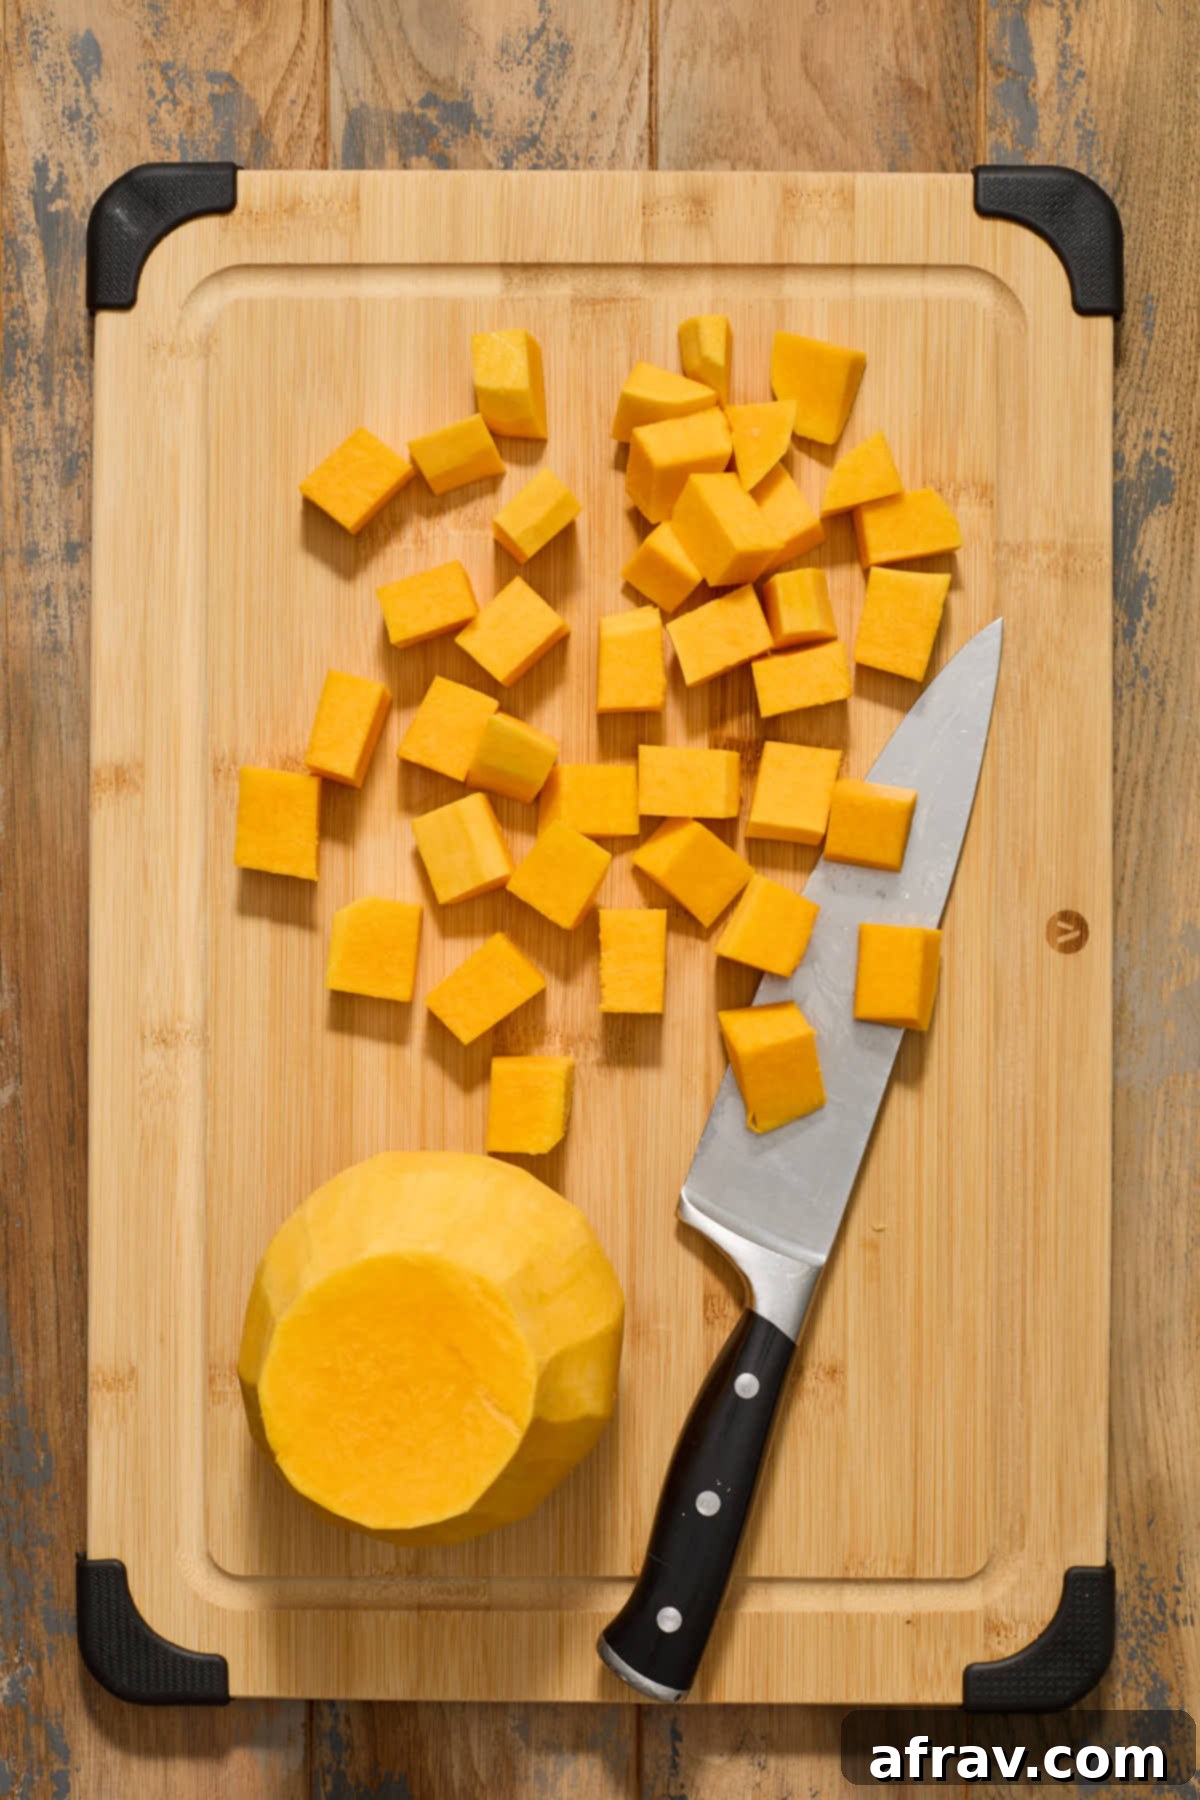
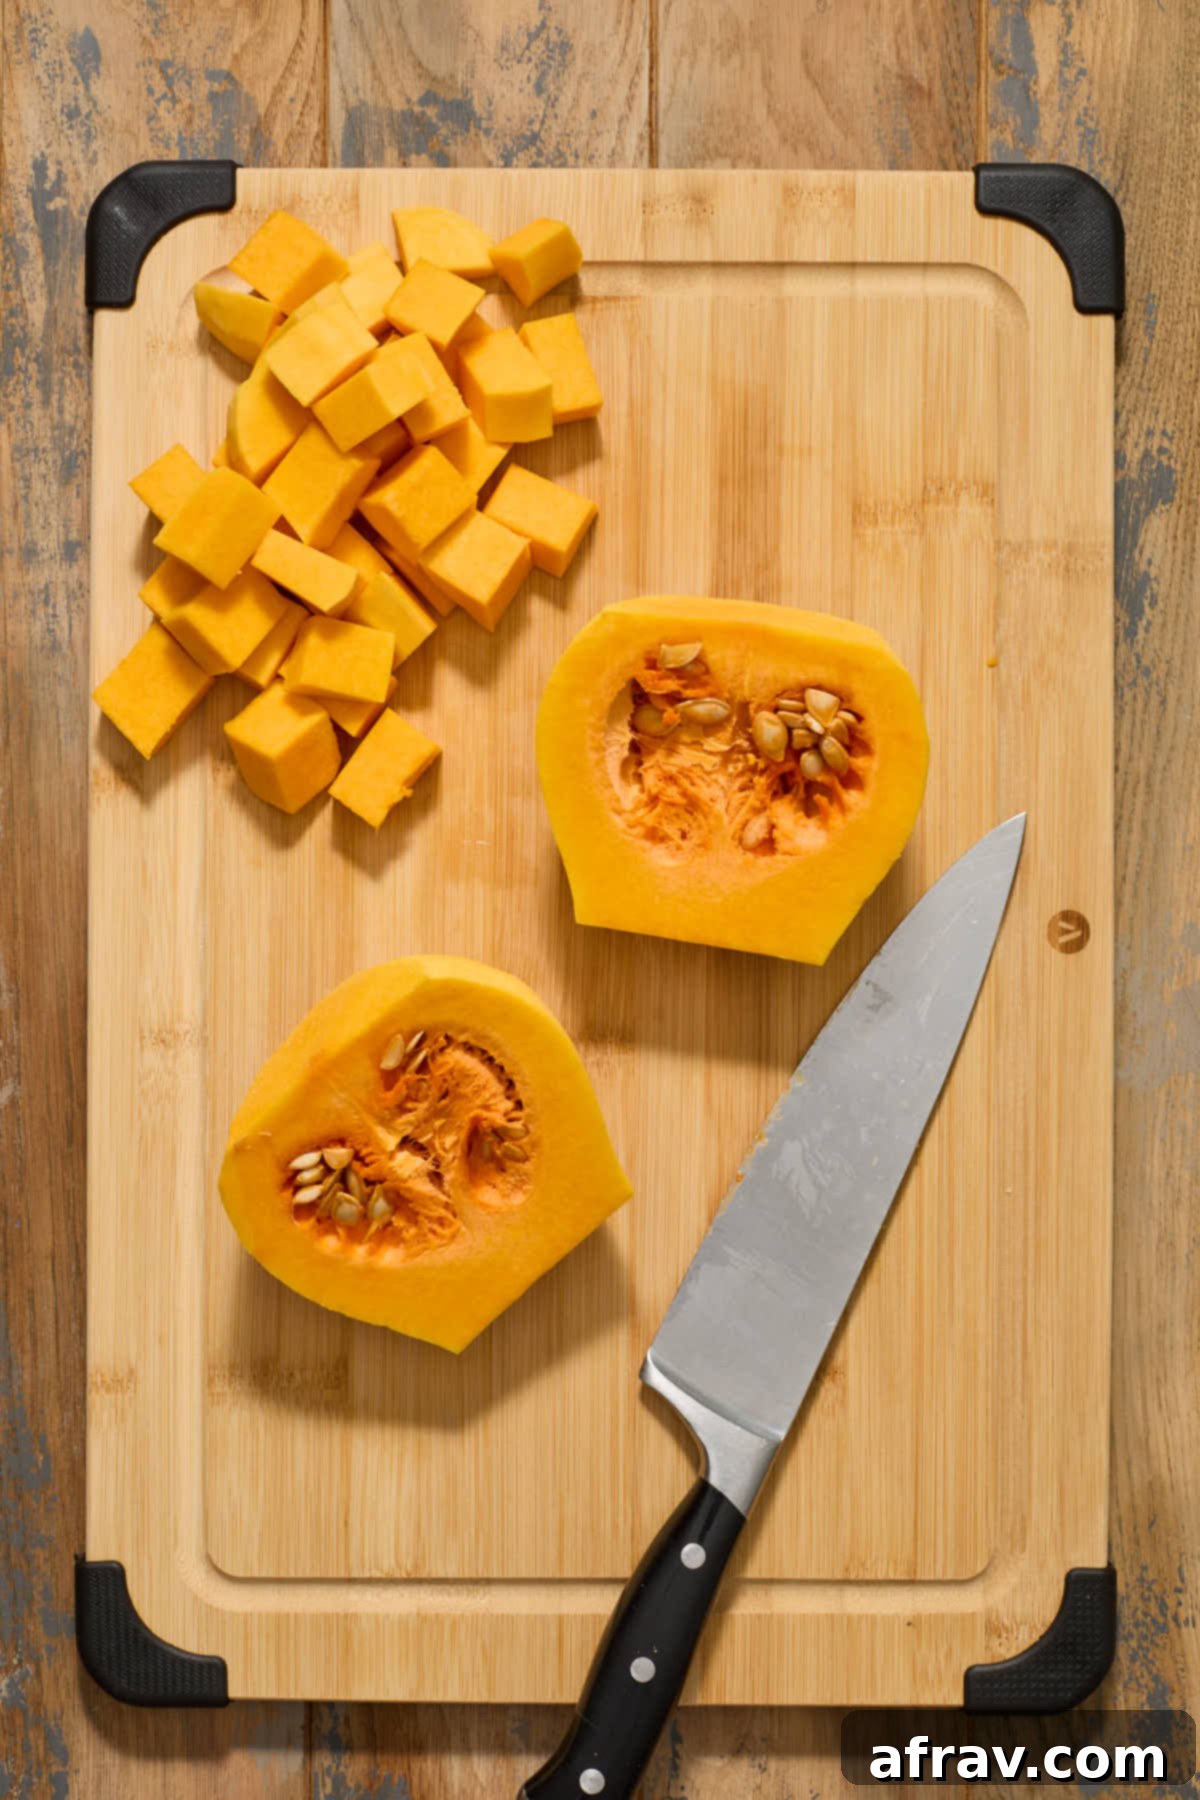
Congratulations! You’ve successfully navigated the seemingly daunting task of peeling and cutting a whole butternut squash. With these detailed steps, you’ll find that preparing this delicious winter vegetable is no longer a chore but a simple and satisfying part of your cooking routine. Enjoy the freshness and flavor!
More Delicious Butternut Squash Recipes to Try
Now that you’re an expert at peeling and cutting butternut squash, the culinary possibilities are truly endless! This incredibly versatile vegetable shines in a multitude of dishes, offering its distinctive sweet and earthy flavor that beautifully complements both sweet and savory preparations. Don’t let your newly acquired skills go to waste – explore these delightful recipes to put your freshly prepared squash to fantastic use and impress your taste buds:
- Hearty Butternut Squash Bread: A wonderfully moist and richly flavored quick bread, perfect for a cozy breakfast, a wholesome snack, or even a light dessert. It’s a comforting bake that celebrates the squash’s natural sweetness.
- Savory Butternut Squash Quiche: An elegant and satisfying quiche, ideal for a leisurely brunch, a light lunch, or a comforting dinner. This recipe beautifully showcases the creamy texture of butternut squash amidst a savory filling.
- Creamy Carrot and Butternut Squash Soup: A velvety smooth and incredibly nourishing soup that’s perfect for warming up on a chilly evening. The combination of carrots and butternut squash creates a naturally sweet and vibrant bowl of goodness.
We truly hope this comprehensive guide has empowered you to confidently prepare butternut squash for all your cooking needs. There’s immense satisfaction in transforming a whole vegetable into a delicious ingredient, and now you have the skills to do just that! If you try out these peeling and cutting steps or make any of our delicious butternut squash recipes, we’d absolutely love to hear what you think and see your culinary creations! Please share your thoughts, tips, and photos in the comments section below!
HUNGRY FOR MORE? Follow Crumb Top Baking on Instagram, Pinterest and Facebook to stay updated with our latest delicious recipes, helpful kitchen tips, and inspiring baking ideas!
Print
How to Peel and Cut Butternut Squash
5 Stars 4 Stars 3 Stars 2 Stars 1 Star
No reviews
Author: Leanne
Prep Time: 10 minutes
Total Time: 10 minutes
Yield: 4-6 cups of cubed squash
Category: Side Dish, Vegetable Prep
Method: Peel & Chop
Cuisine: American, Canadian
Diet: Vegetarian, Vegan (naturally)
Description
Unlock the secrets to effortlessly peeling and cutting butternut squash with this comprehensive, step-by-step tutorial. Perfect for preparing this versatile winter squash for all your favorite seasonal recipes, from comforting soups to hearty roasts. Learn safe and efficient techniques to enjoy fresh, delicious squash every time, saving both time and money!
Ingredients
- 1 medium to large butternut squash (yielding approximately 4-6 cups cubed flesh)
Instructions
- Thoroughly wash the outer skin of the butternut squash under running water or wipe it down with a damp cloth to remove any dirt.
- Prepare your workspace: Ensure your cutting surface is stable (place a damp cloth underneath if needed) and that you are using a sharp chef’s knife for safe and efficient cutting.
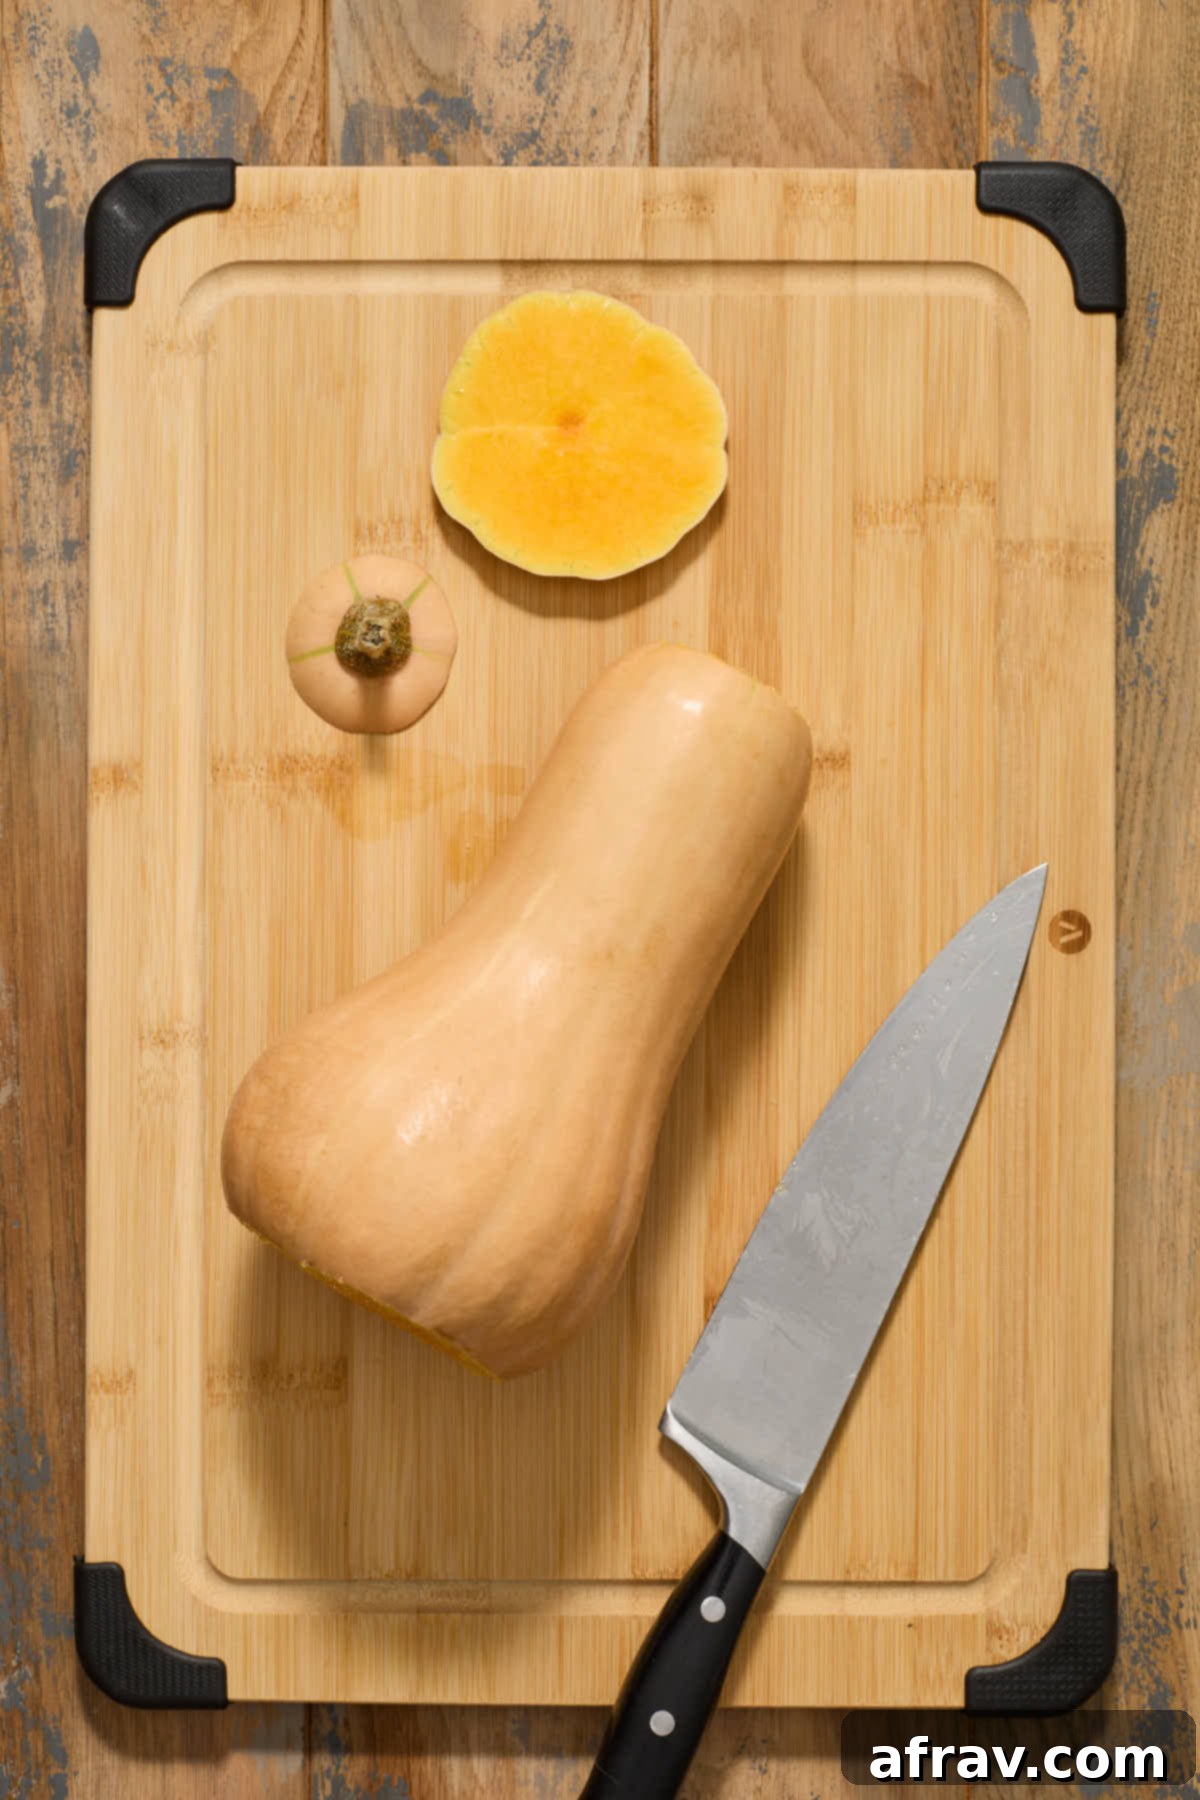
- Lay the squash horizontally on the cutting board. Carefully cut off about 1/4 to 1/2 inch from both the top (stem end) and bottom (blossom end) to create flat, stable bases.
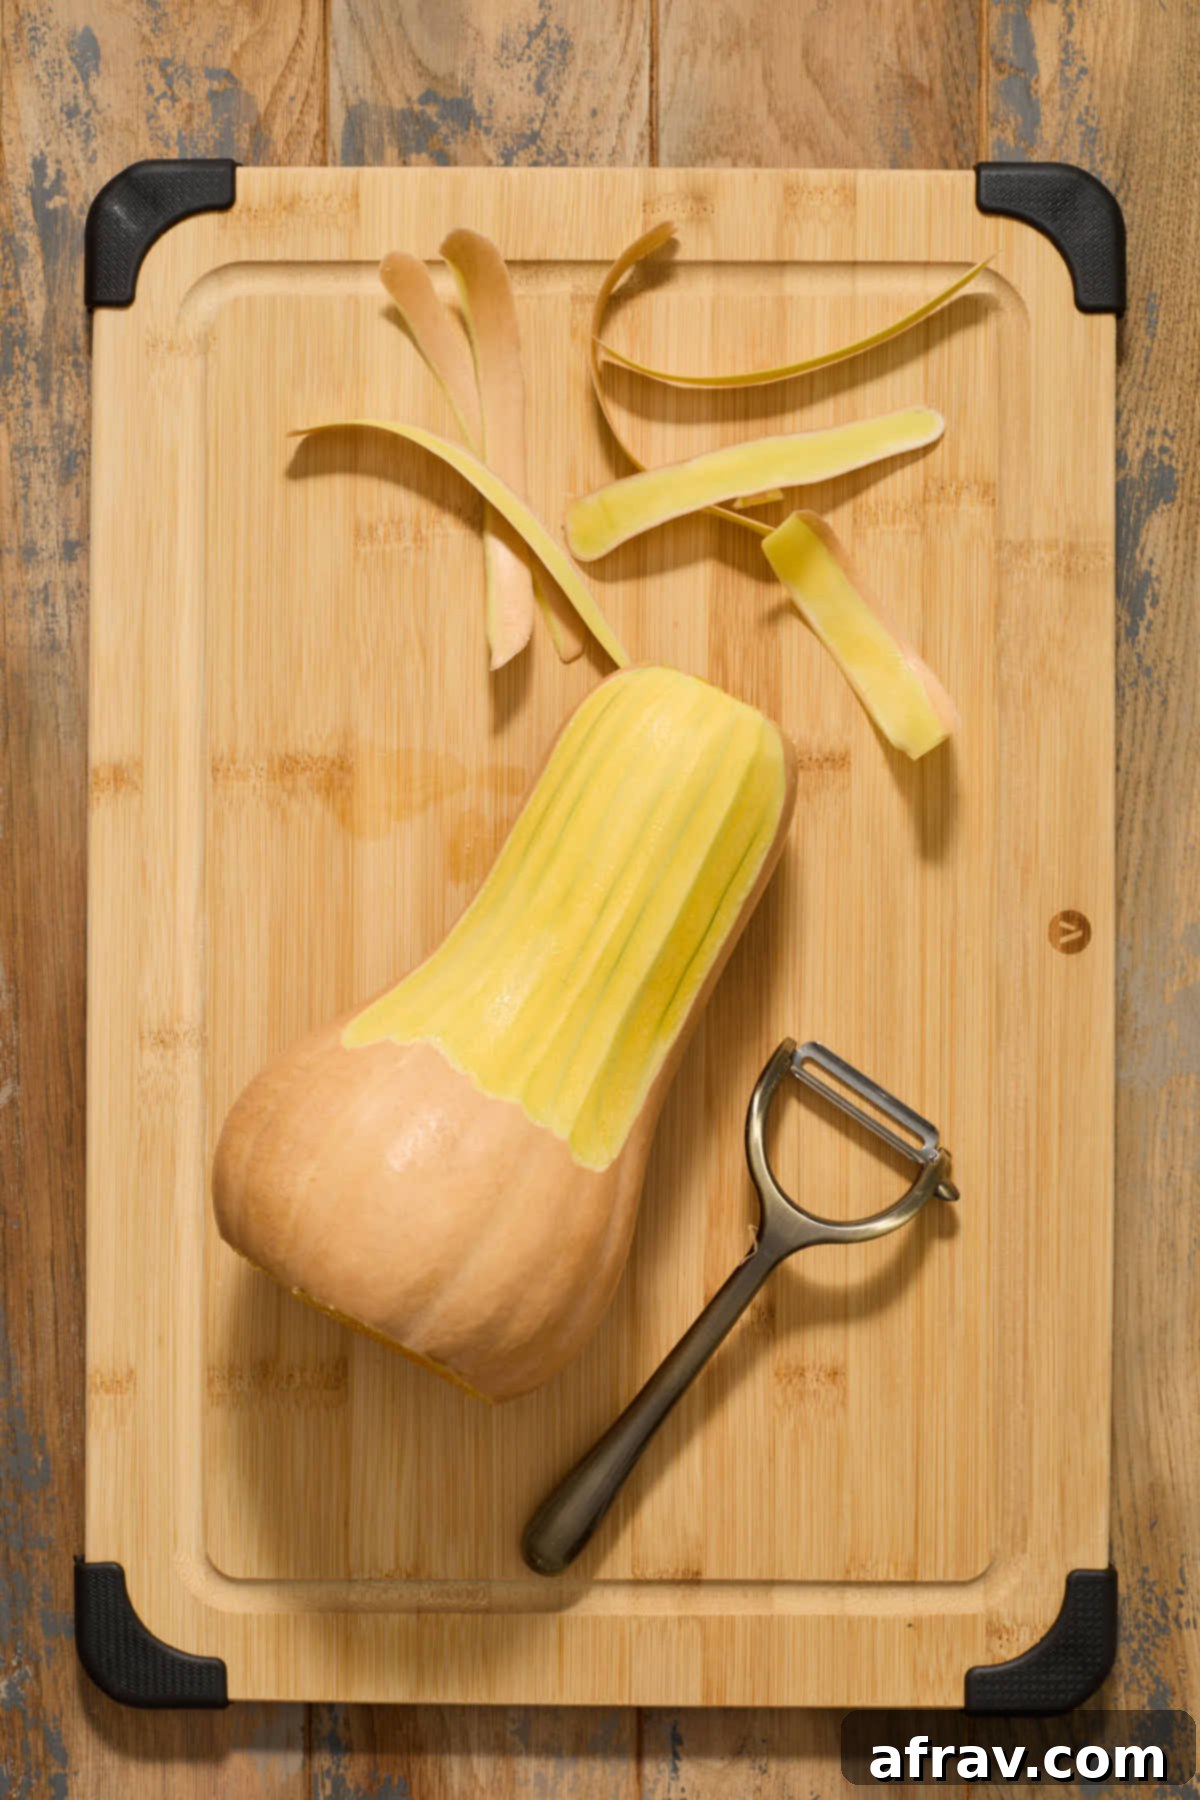
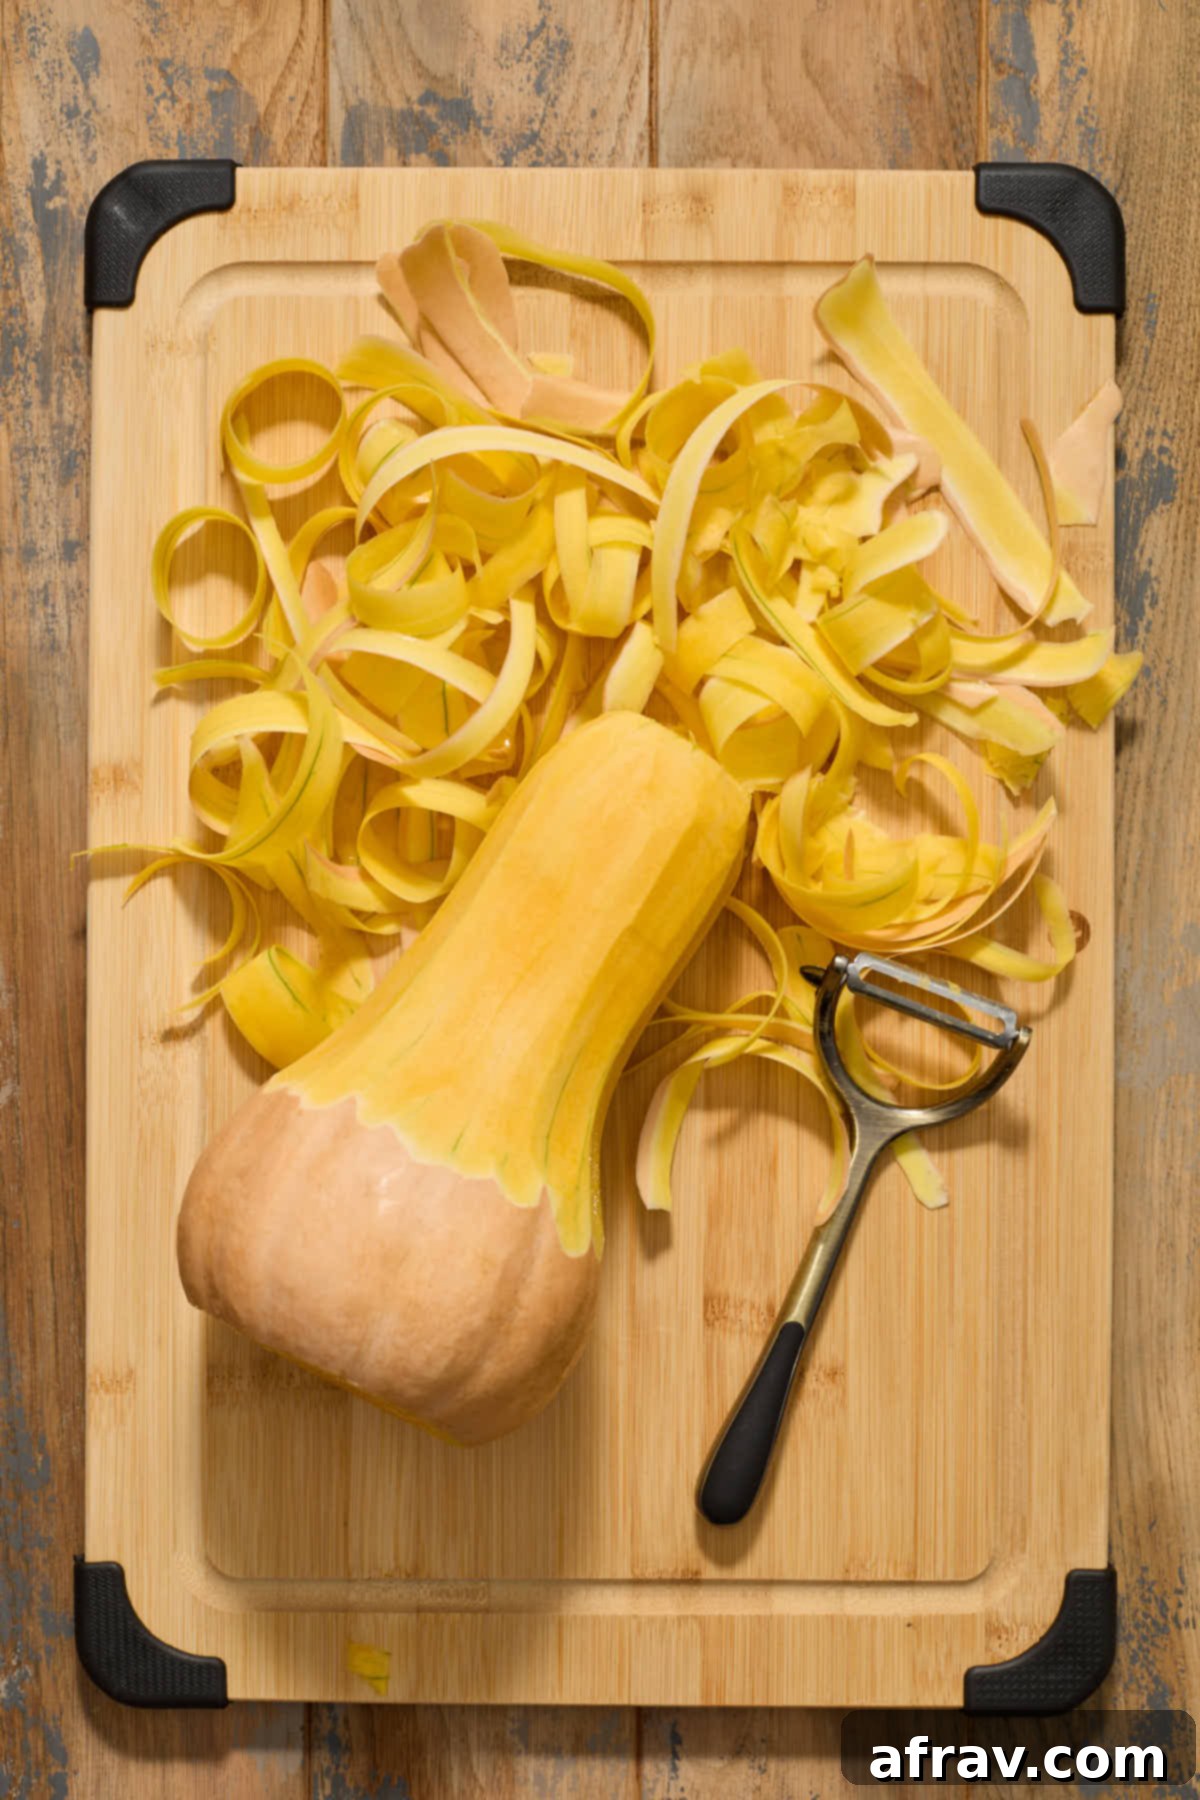
- Stand the squash upright. Using a vegetable peeler (a Y-peeler is often easiest), peel the entire squash. Ensure you remove the tough outer skin along with any pale white or greenish fibrous layer beneath it, exposing the vibrant orange flesh.
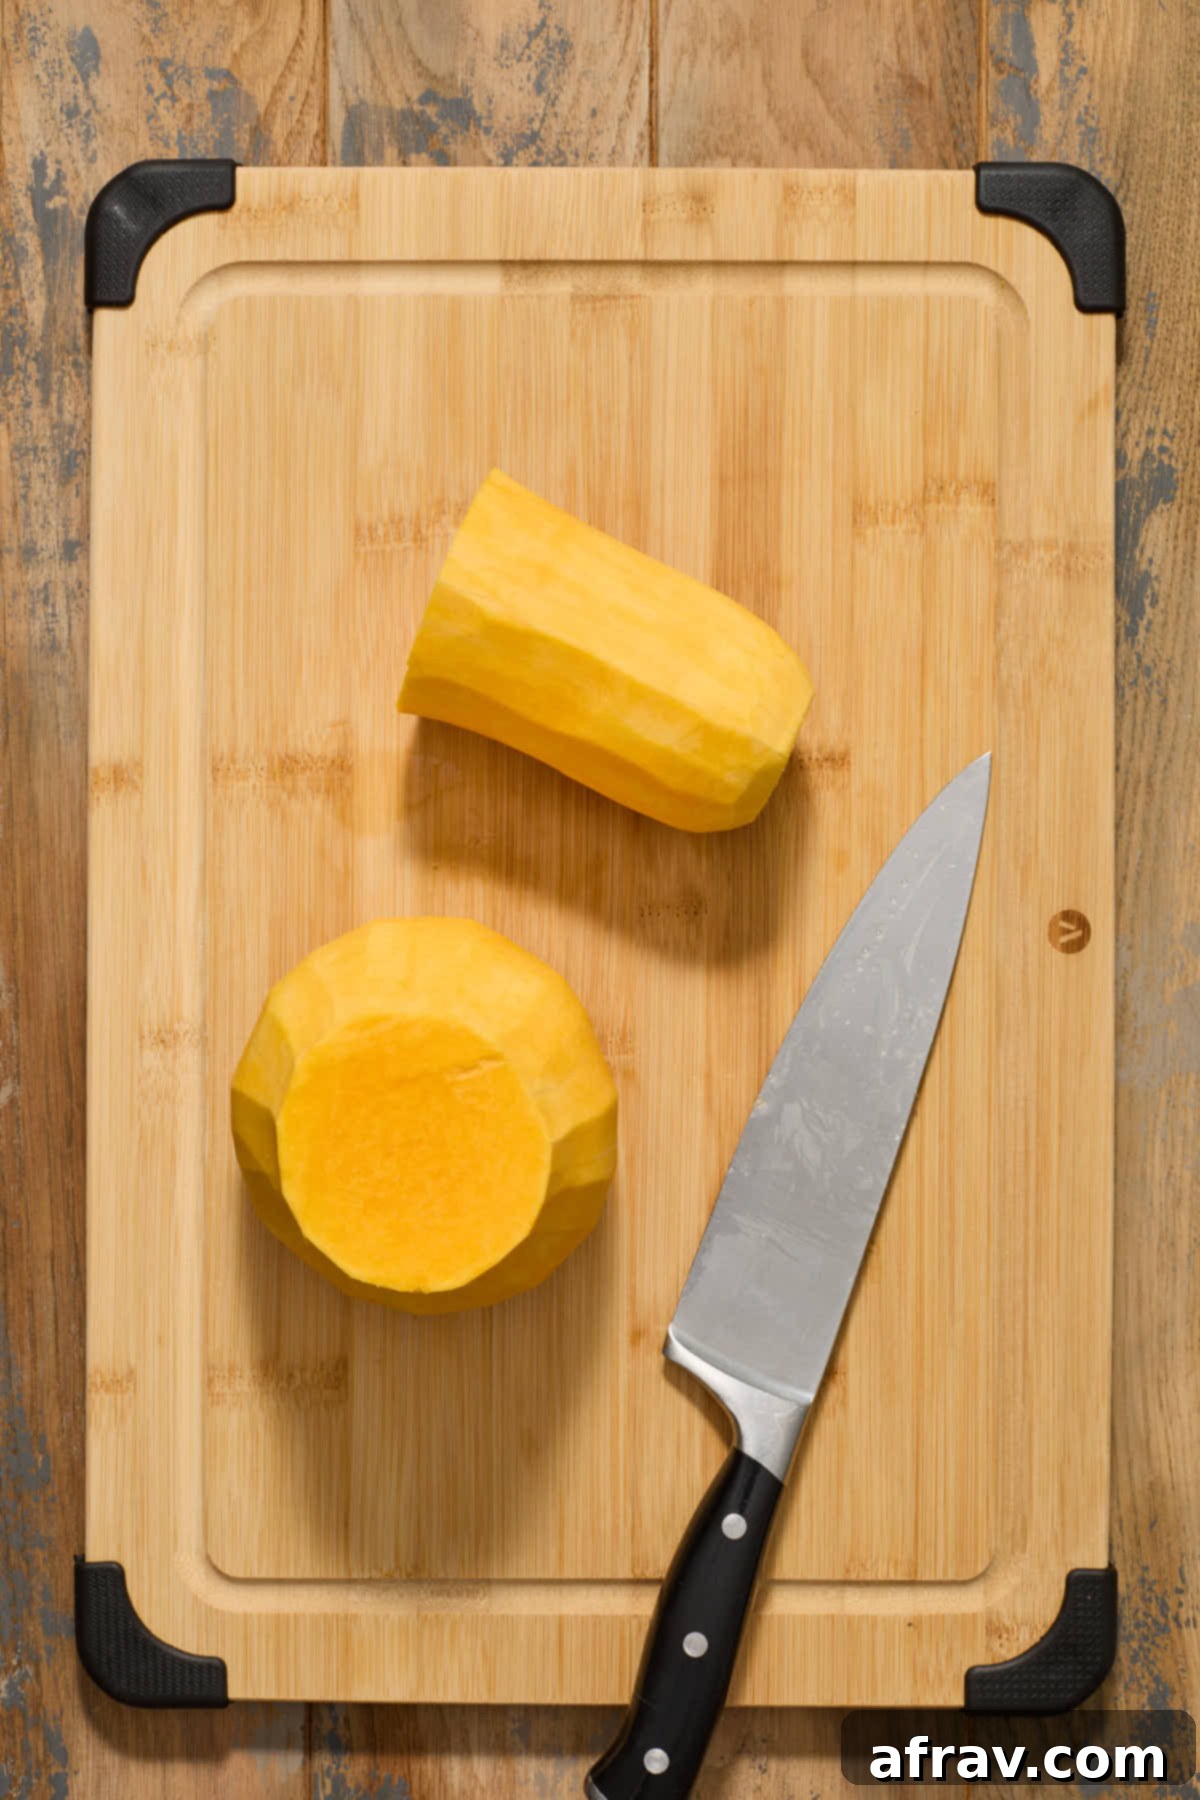
- Once completely peeled, lay the squash on its side and carefully cut it in half crosswise at the natural point where the slender neck meets the round, bulbous body.
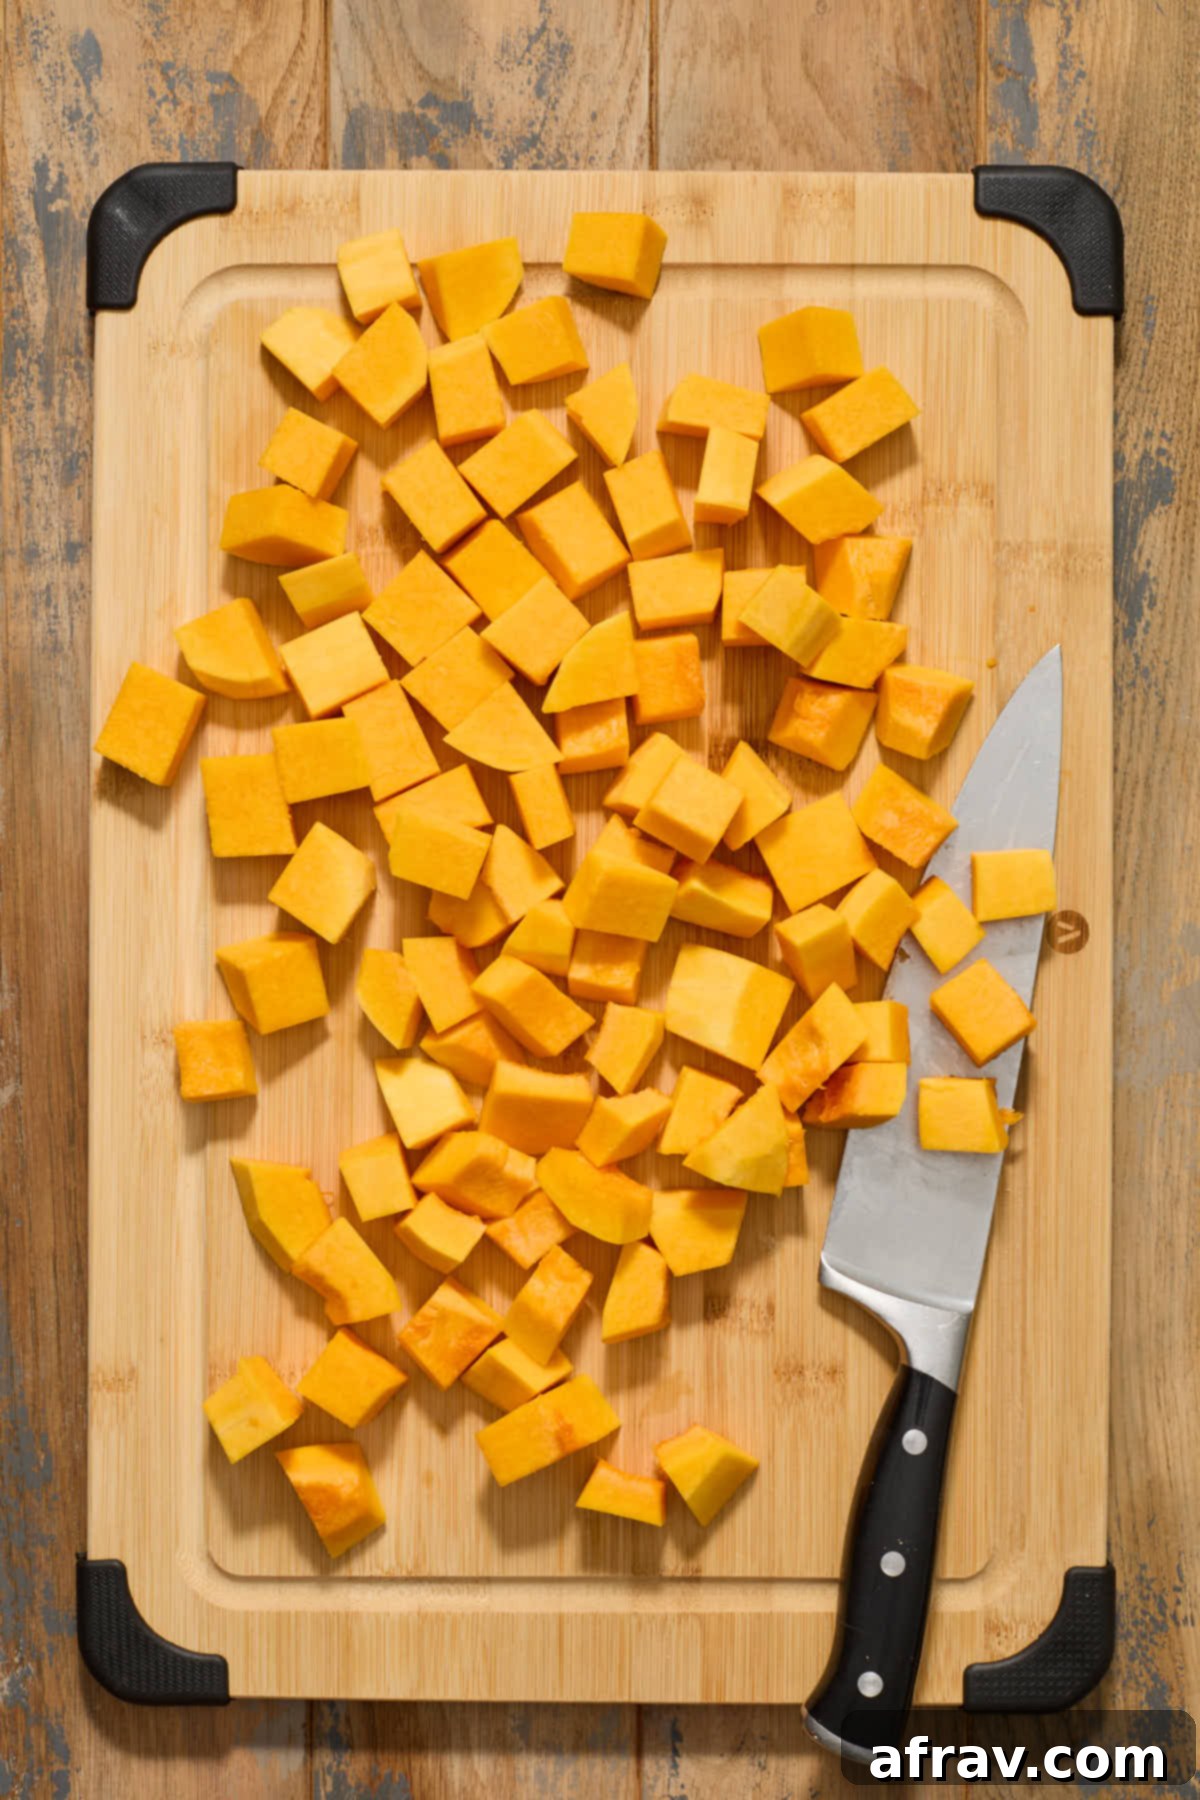
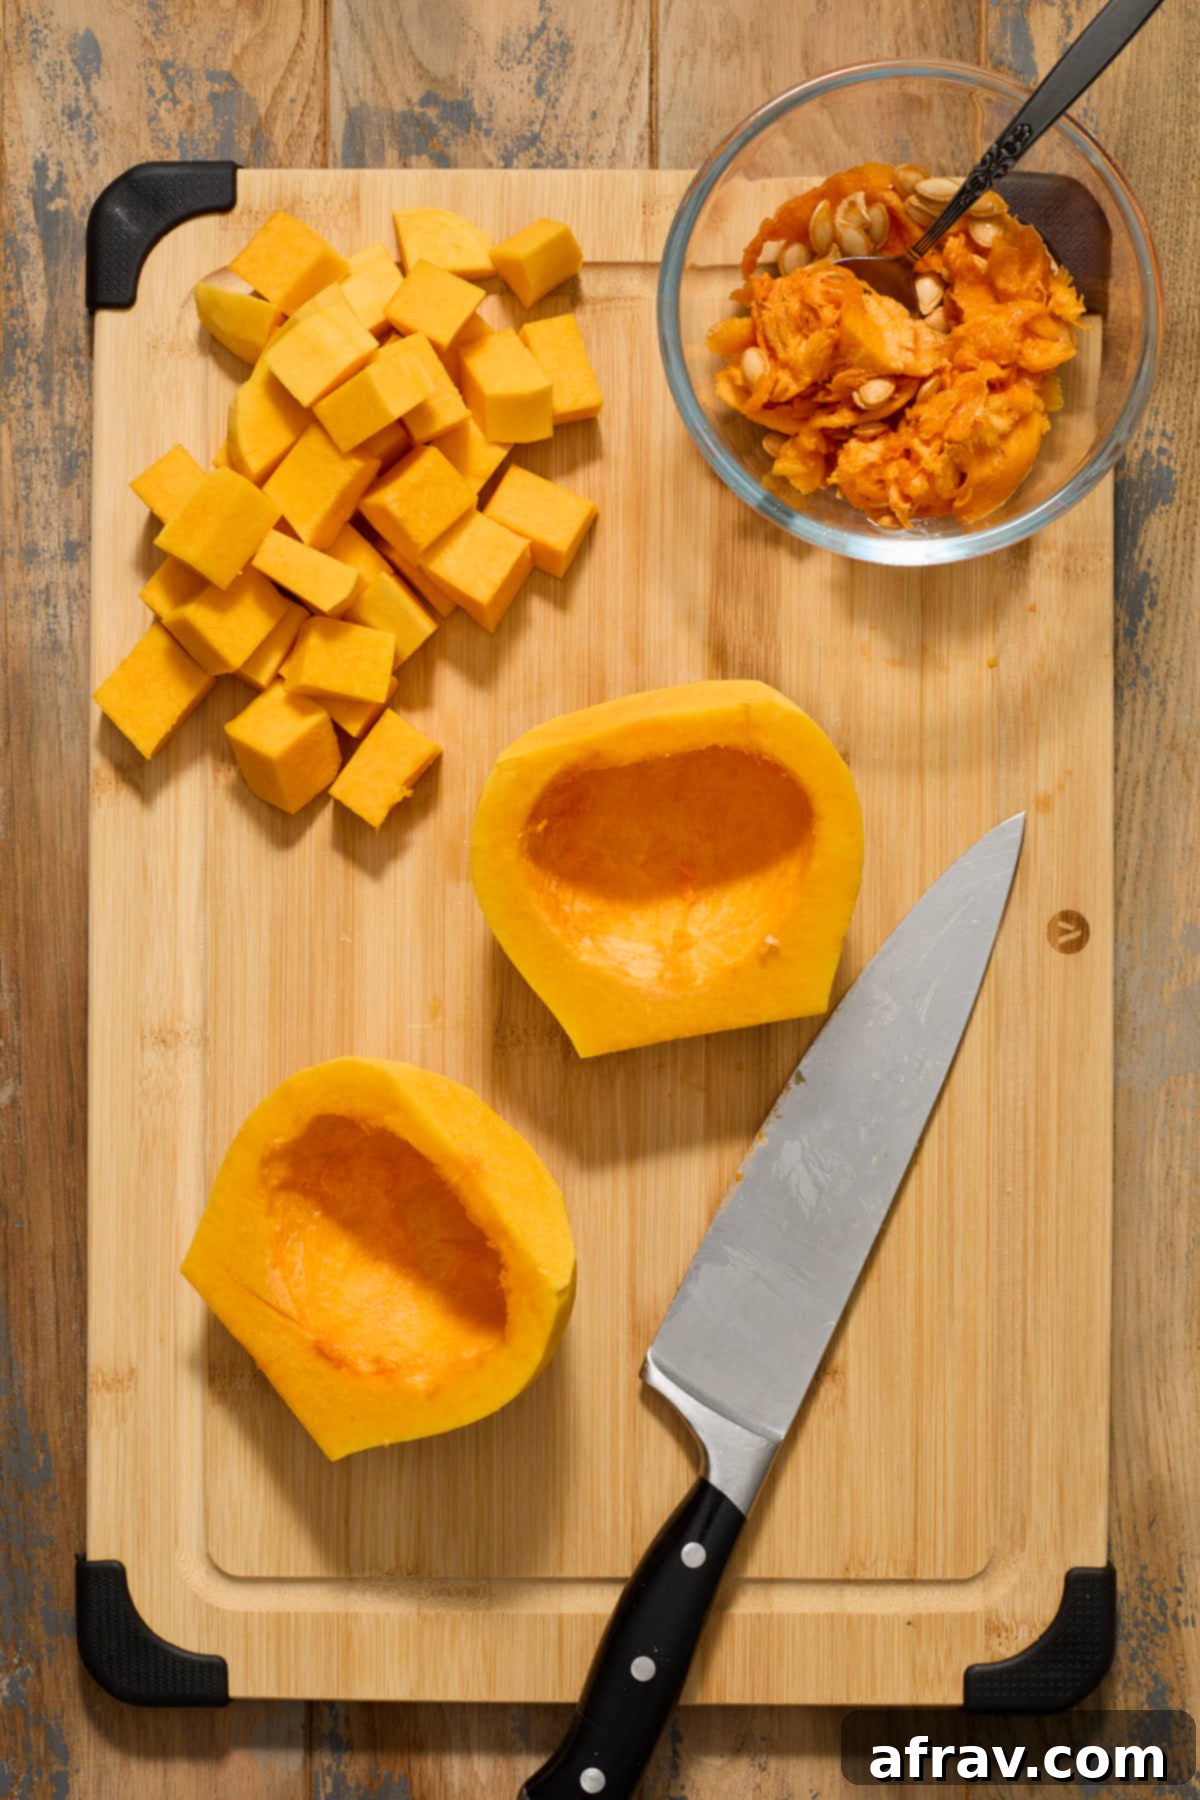
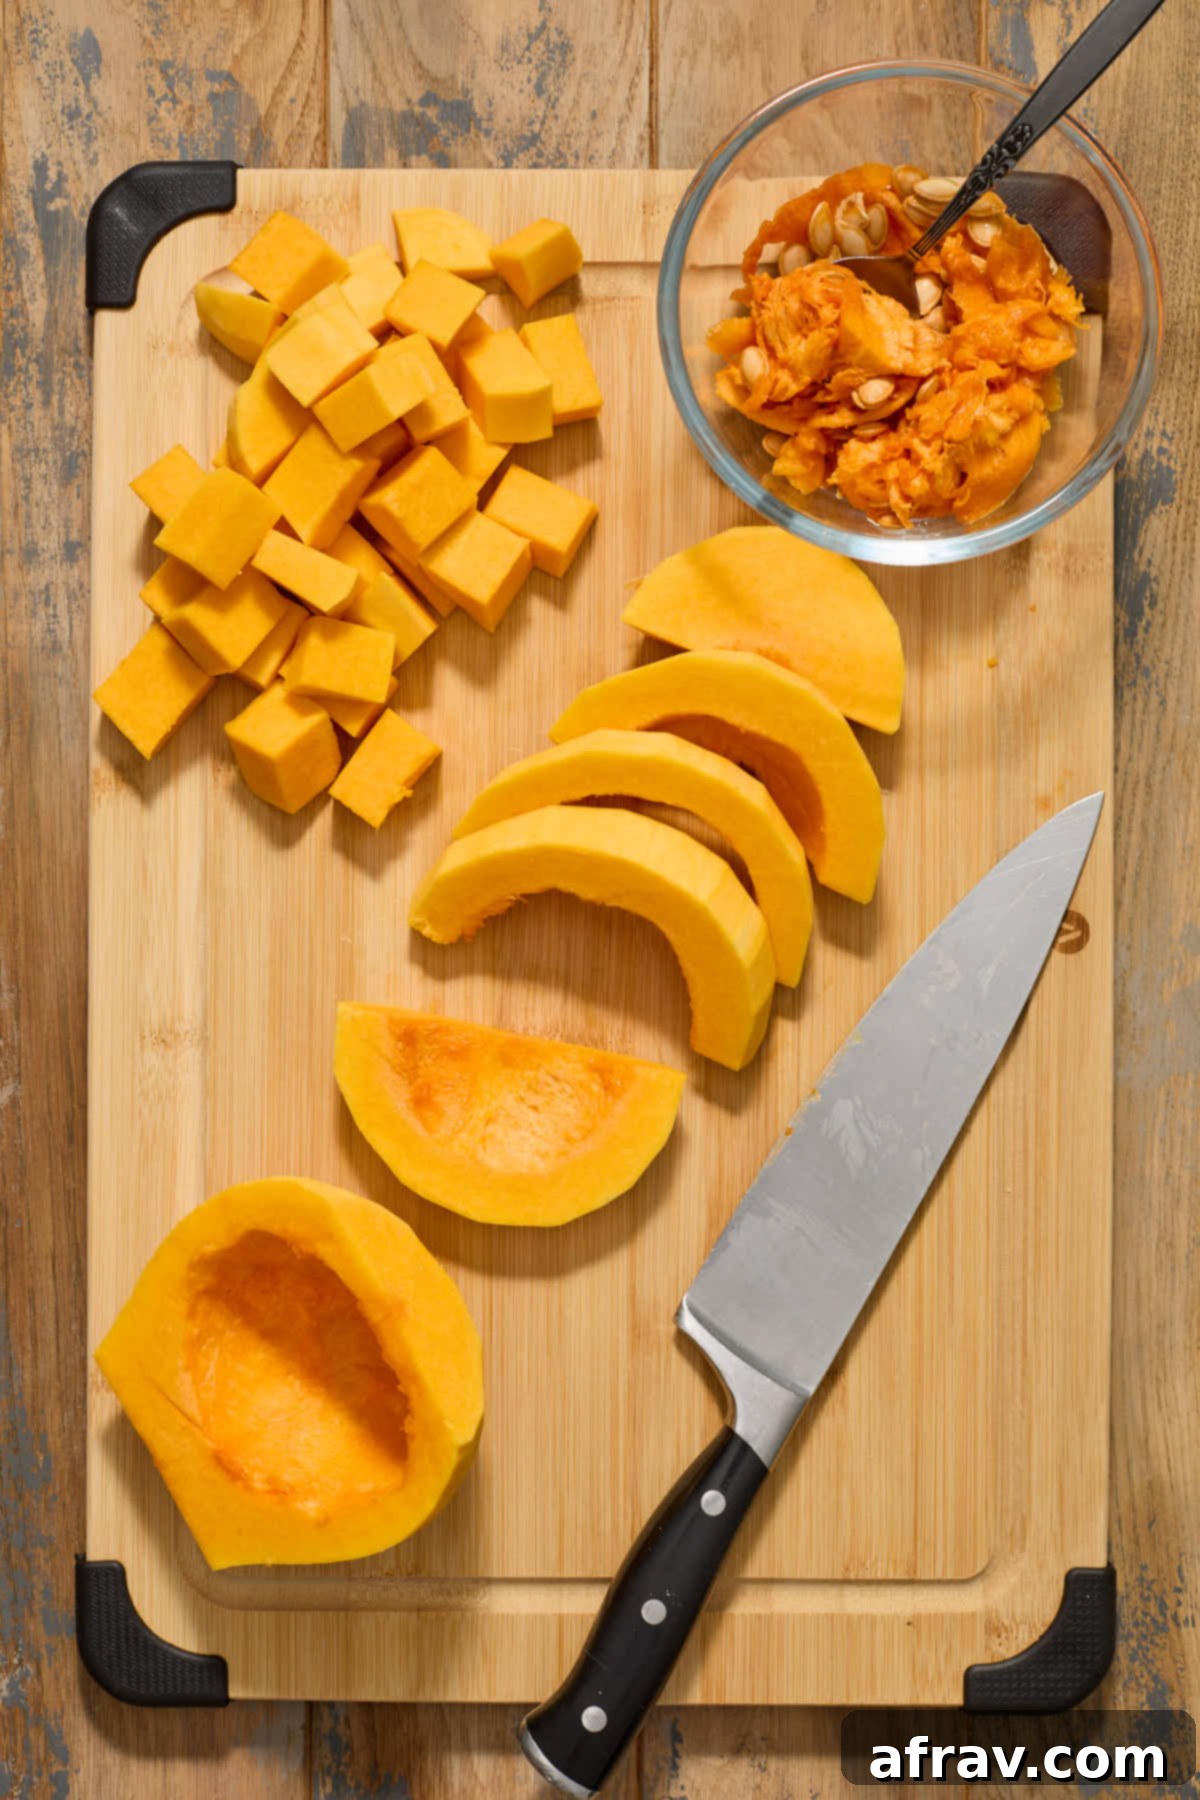
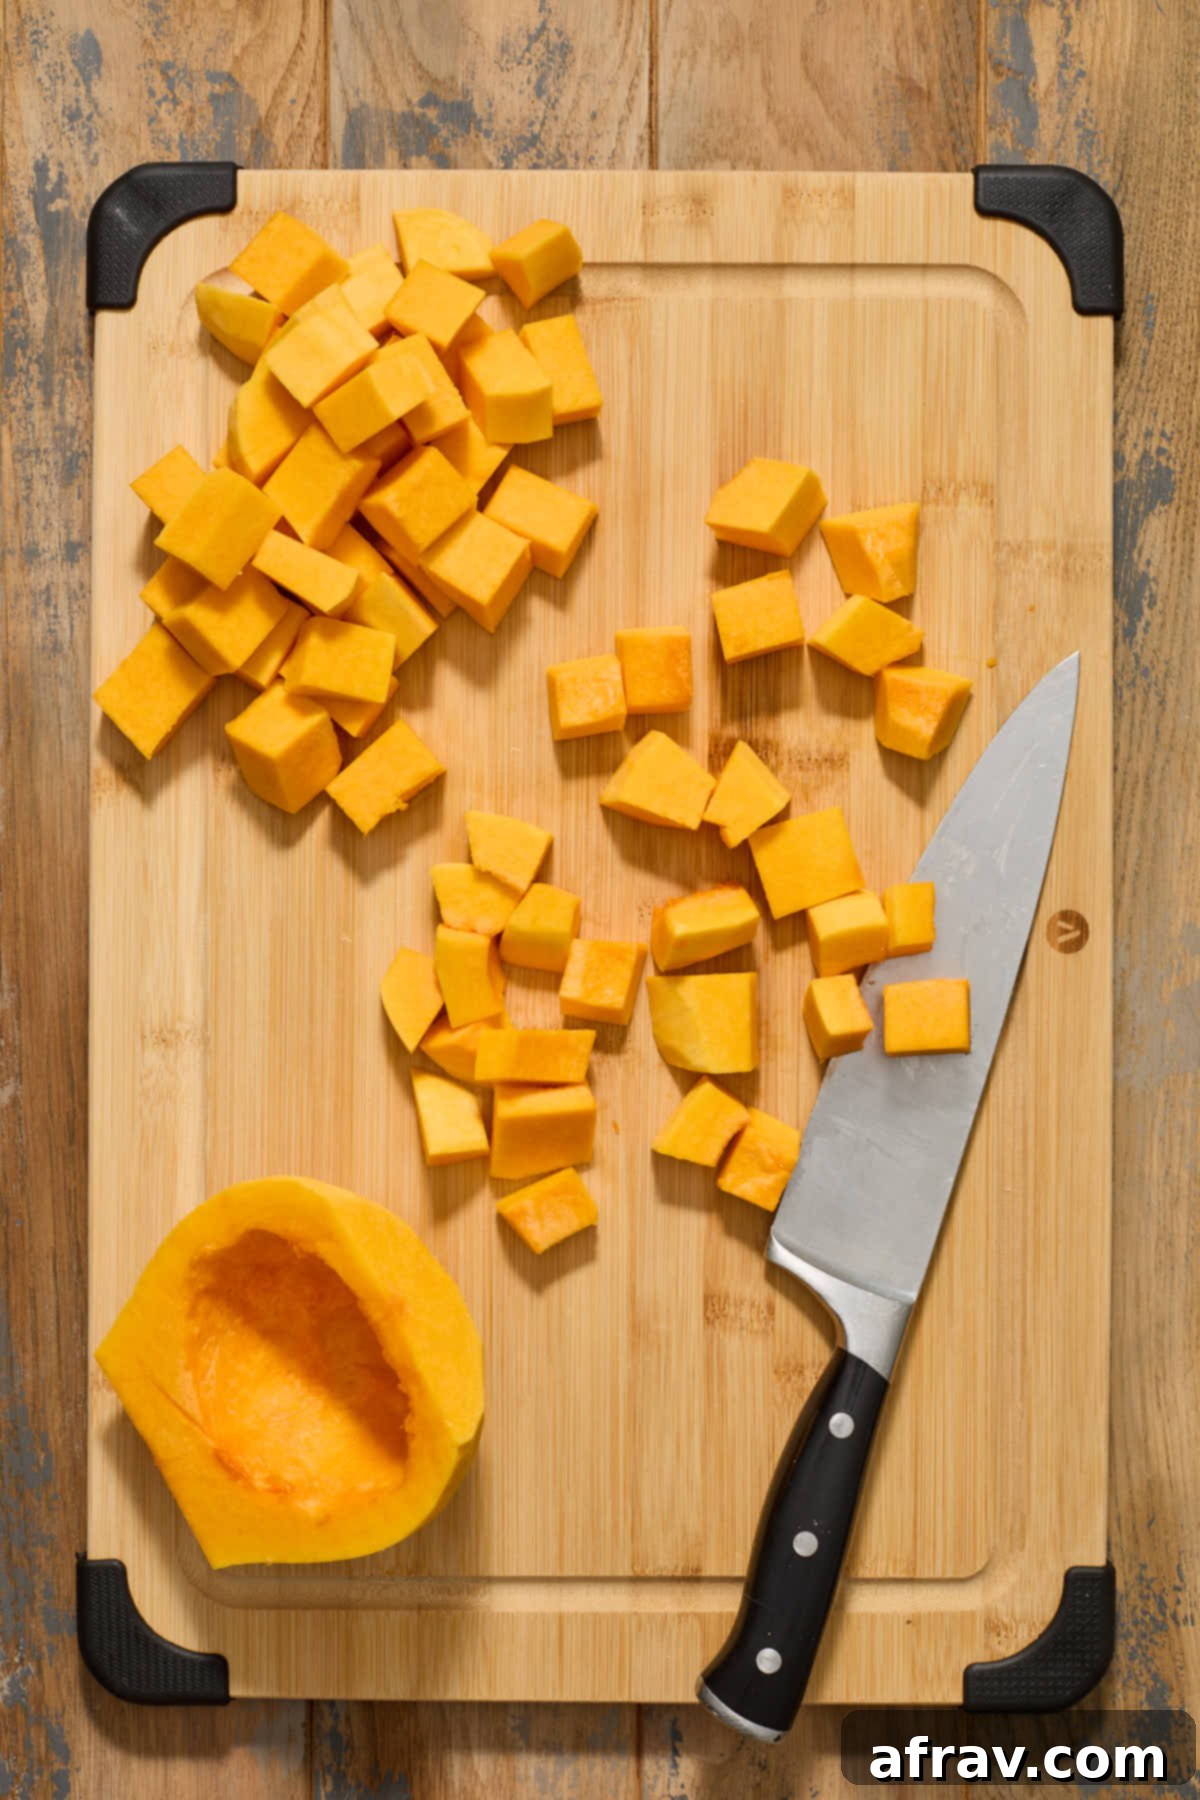
- For the neck section: Stand it upright and cut it in half lengthwise. Lay both halves cut-side down on the board, slice into uniform strips, and then cut these strips into your desired size of cubes.
- For the body section: Stand it upright and cut it in half lengthwise. Use a sturdy spoon to scoop out all the seeds and stringy pulp from the cavity. Lay each deseeded half cut-side down, slice into crescent (“half-moon”) shapes, and then cut these slices into your desired size of cubes.
- Your freshly peeled and cubed butternut squash is now ready to use in your recipes. Store any unused portions in an airtight container in the refrigerator for up to 3-4 days.
Notes
- Cutting Board Stability: Always use a solid, stable cutting board. If your board tends to slide, place a damp kitchen towel or a non-slip mat underneath it to keep it secure and prevent accidents.
- Peeler Preference: For safety and efficiency, it’s highly recommended to use a vegetable peeler (rather than a knife) for removing the squash’s tough outer skin. A “Y-peeler” often provides better control and leverage for the unique shape of butternut squash, but a swivel peeler will also work effectively.
- Softening Hard Squash: If you find your squash particularly hard to cut or peel, you can pre-soften it. Pierce the squash several times with a fork, place it in a microwave-safe dish, and microwave on high for 2-3 minutes. Let it cool slightly before handling.
- Don’t Waste the Seeds: Butternut squash seeds are edible and make a delicious, crunchy snack! Clean them thoroughly, toss them with a little olive oil and salt (and optional spices), then roast them in the oven or air fryer until golden.
- Consider Wearing Gloves: The sap from butternut squash can sometimes cause mild skin irritation or leave a sticky residue. If you have sensitive skin, wearing kitchen gloves during preparation can prevent discomfort.
