Irresistible Almond Flour Monster Cookies: Thick, Chewy & Gluten-Free (No Chilling Required!)
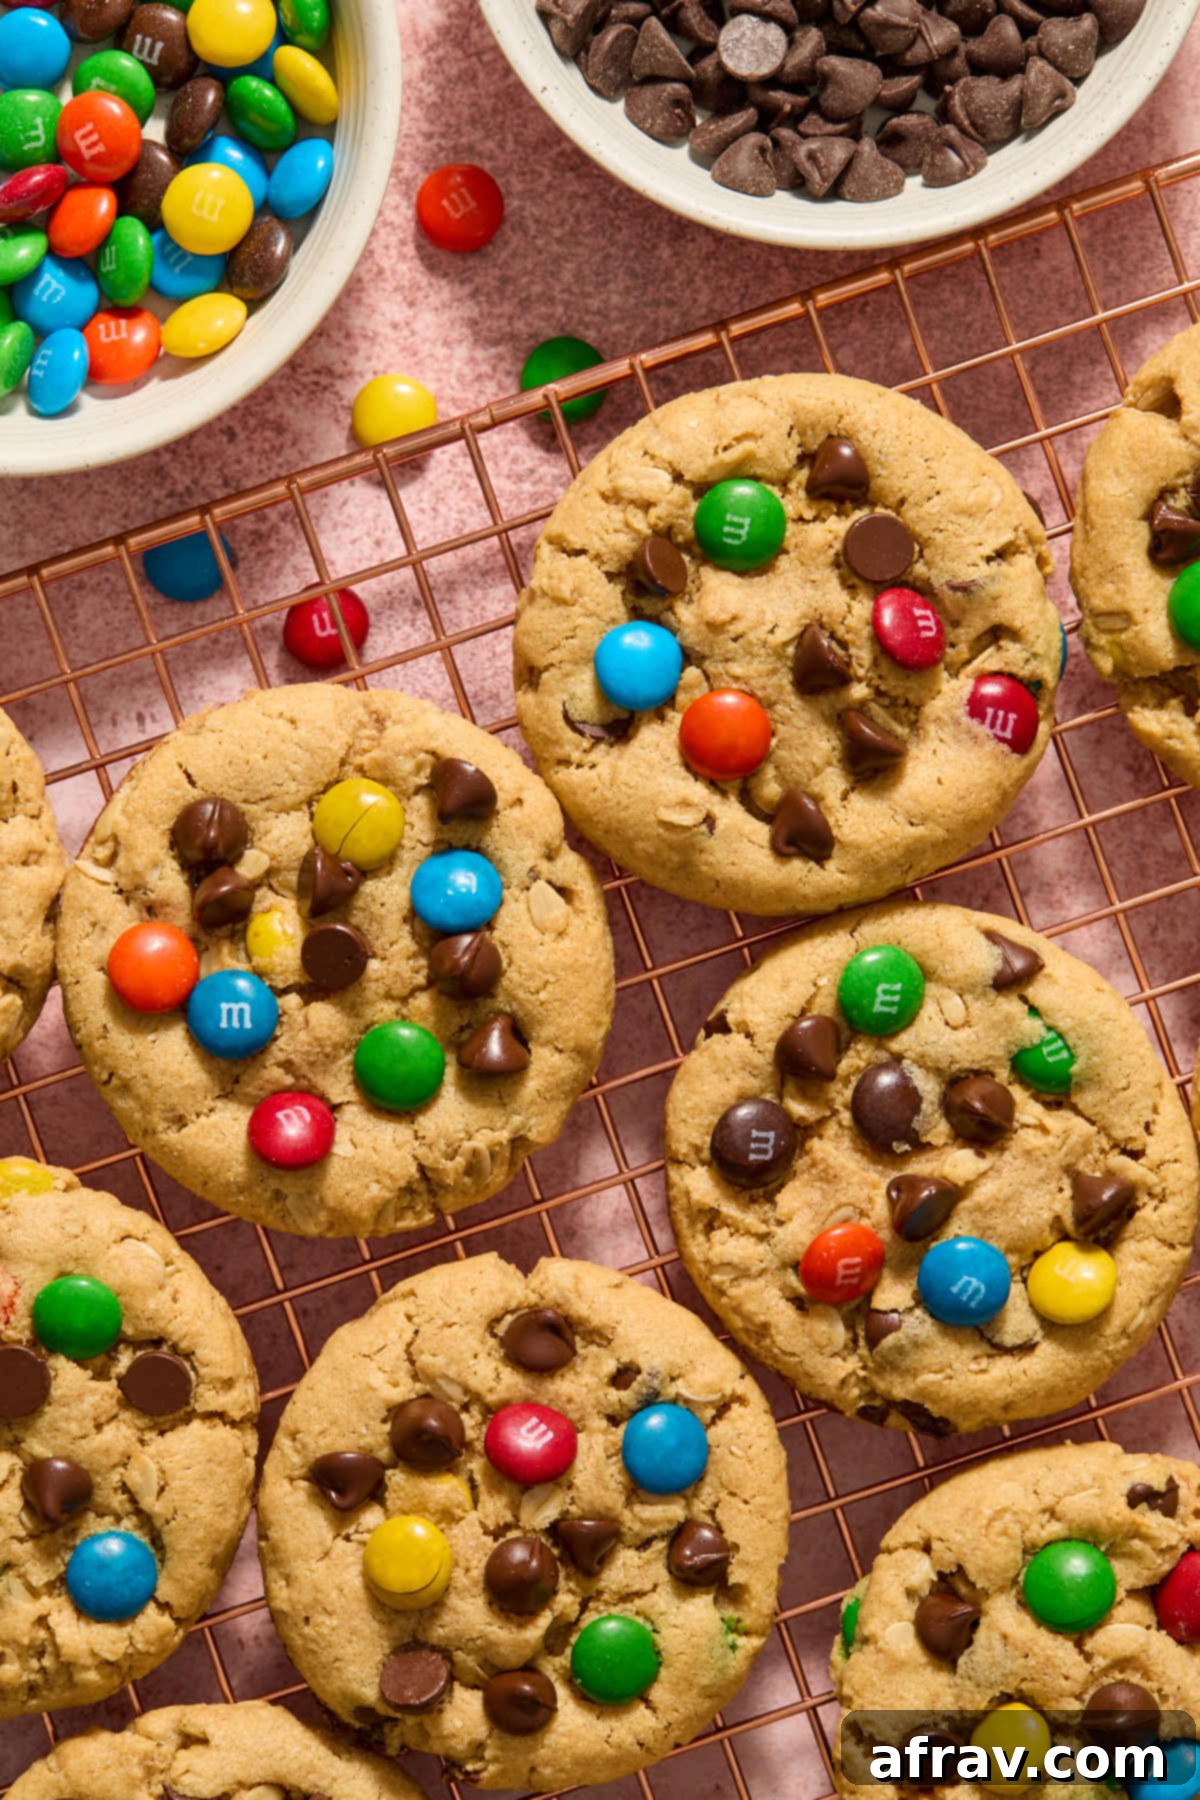
Get ready to bake a batch of the most incredible Almond Flour Monster Cookies you’ve ever tasted! These cookies are everything you love about a classic monster cookie – thick, oversized, and bursting with flavor – but with a delightful twist. Made with a perfect blend of rich peanut butter and hearty oats, they’re generously packed with gooey chocolate chips and crunchy M&Ms. The result is a cookie with wonderfully chewy edges and a soft, tender middle that truly melts in your mouth. The best part? This amazing recipe requires absolutely zero chilling time and bakes up in just 10 minutes, making it perfect for those last-minute cravings!

Table of contents
- Why You’ll Love These Almond Flour Monster Cookies
- Essential Ingredients and Smart Substitutions
- Step-by-Step Guide to Making Almond Flour Monster Cookies
- The Importance of Accurate Ingredient Measurement
- Storage and Freezing for Freshness
- Expert Baking Tips for Perfect Monster Cookies
- Almond Flour Monster Cookie FAQs
- Explore More Almond Flour Cookie Recipes
Monster cookies are renowned for their impressive size and a delightful combination of textures and flavors. Traditionally, they feature four key ingredients: creamy peanut butter, wholesome oats, classic chocolate chips, and colorful M&Ms. This recipe takes that beloved concept and elevates it by incorporating almond flour, offering a fantastic gluten-free option without compromising on taste or texture.
Our almond flour version masterfully combines the best attributes of several cookie favorites into one extraordinary treat. Imagine the rich, nutty flavor of a peanut butter cookie, the comforting chewiness of an oatmeal cookie, and the indulgent sweetness of a chocolate chip cookie – all rolled into an extra-large, satisfying monster cookie. The addition of crunchy M&Ms provides a playful pop of color and an irresistible textural contrast that makes each bite an adventure. It’s truly a cookie that has it all!
If you’re a fan of the nutty goodness that peanut butter brings to baked goods, you’ll also adore these Almond Flour Peanut Butter Blossoms. While that recipe does require an hour of chilling time, the wait is absolutely worth it for those beautifully soft-baked cookies crowned with a classic milk chocolate kiss. But for instant gratification, these Monster Cookies are your go-to!
Why You’ll Love These Almond Flour Monster Cookies
These monster cookies aren’t just a treat; they’re an experience. Here’s what makes them truly exceptional:
- Impressive Size and Texture: They’re generously larger than your average cookie, offering a substantial bite with beautifully chewy edges and an incredibly soft, moist center. This perfect balance of textures is what makes them so addictive.
- A Symphony of Flavors and Textures: The combination of wholesome oats provides a delightful chewiness, while the vibrant M&Ms add a satisfying crunch and a burst of color. Each ingredient plays a crucial role in creating a multi-faceted sensory experience.
- Moist and Chewy with Almond Flour: Using fine blanched almond flour is a game-changer. It not only makes these cookies naturally gluten-free but also contributes to their wonderfully moist, tender, and chewy texture, distinguishing them from traditional flour-based cookies.
- No Chilling Time Required: Say goodbye to waiting! This recipe is designed for immediate gratification. Simply mix your dough, scoop it onto the baking sheet, and pop it directly into the oven. Perfect for impromptu baking sessions or when a cookie craving strikes suddenly.
- Packed with Delicious Mix-ins: From rich peanut butter to melty chocolate chips and candy-coated M&Ms, these cookies are loaded with flavorful additions that ensure every single bite is packed with goodness.
- Easy to Make: Despite their “monster” appeal, these cookies are surprisingly simple to whip up, even for novice bakers. The straightforward steps and quick baking time mean you’ll have warm, fresh cookies in no time.
Essential Ingredients and Smart Substitutions
Crafting the perfect monster cookie starts with understanding your ingredients. Below is a detailed look at the key components and recommended substitutions to ensure your cookies turn out perfectly. The complete list of ingredients and precise quantities can be found in the recipe card at the end of this post.
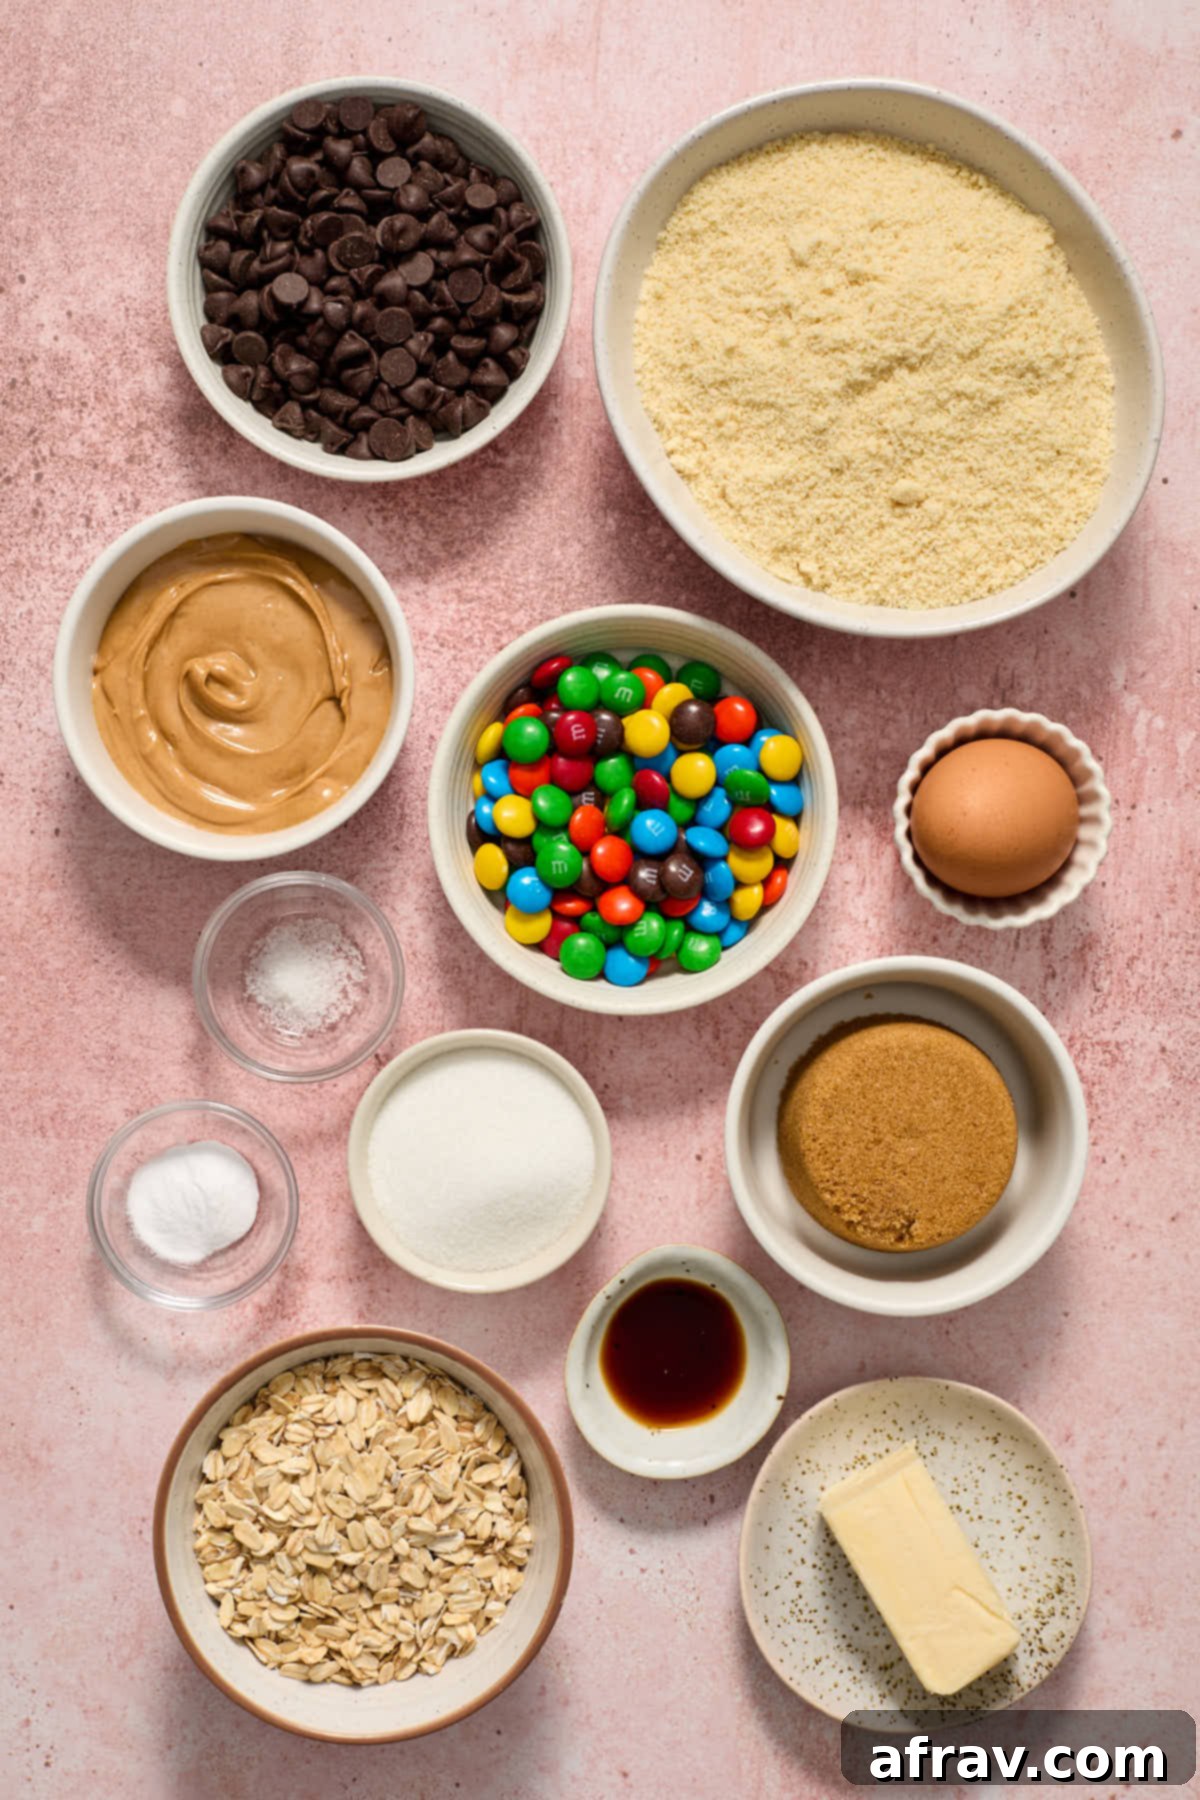
- Peanut Butter: For the ideal texture and to prevent excessive spreading, it’s crucial to use a smooth, shelf-stable peanut butter (like Jif or Skippy). Natural peanut butter, which often separates and needs stirring, tends to have too much oil, leading to flatter, greasier cookies. The stable emulsification in traditional peanut butter helps hold the cookie structure.
- Almond Flour: I consistently use fine, blanched almond flour in my baking, preferring it over almond meal. Blanched almond flour is made from almonds that have had their skins removed before grinding, resulting in a finer, lighter texture and a more delicate crumb. Almond meal, made from unblanched almonds, is coarser and can make your cookies denser. This fine texture is key to the soft, chewy interior of these monster cookies.
- Oats: Old-fashioned rolled oats are the best choice for this recipe. Their thicker, heartier flakes provide that characteristic chewy texture and absorb moisture perfectly. While you might be tempted to use quick oats, be aware that their finer cut means they absorb moisture more rapidly, which could make your cookies drier and more prone to crumbling. If you must substitute, consider slightly reducing the flour or liquid, but rolled oats are highly recommended for optimal results.
- Chocolate Chips: My personal preference is dark chocolate chips for their rich, intense flavor that balances the sweetness of the other ingredients. However, you can easily use semi-sweet chocolate chips for a classic taste, or milk chocolate chips if you prefer a sweeter, creamier profile. Feel free to mix and match different types of chocolate for added complexity!
- M&Ms: The iconic colorful candy-coated chocolates are essential for a true monster cookie. While the brand name M&Ms are fantastic, you can certainly use other similar candy-coated chocolates. Don’t hesitate to get creative! Mini M&Ms add a different visual and textural element, and seasonal M&Ms are a wonderful way to adapt these cookies for various holidays and celebrations.
- Sugars: This recipe calls for a blend of dark brown sugar and granulated sugar. Dark brown sugar is vital for moisture and chewiness, thanks to its molasses content, which also adds a depth of flavor. Granulated sugar contributes to crisp edges and overall sweetness. You can substitute with light brown sugar for a slightly less intense molasses flavor, and cane sugar can be used in place of granulated sugar if preferred.
- Butter: Always opt for unsalted butter to maintain precise control over the salt content in your baked goods. The most important tip here is to ensure your butter is at room temperature. Softened butter creams beautifully with the peanut butter and sugars, incorporating air to create a light, fluffy, and creamy base for your cookie dough. This step is fundamental for achieving the perfect cookie texture.
- Egg: A large egg, also at room temperature, acts as a binder, providing structure and moisture to the cookies.
- Vanilla Extract: Pure vanilla extract enhances all the other flavors, adding a warm, aromatic note that rounds out the cookie’s taste profile.
Step-by-Step Guide to Making Almond Flour Monster Cookies
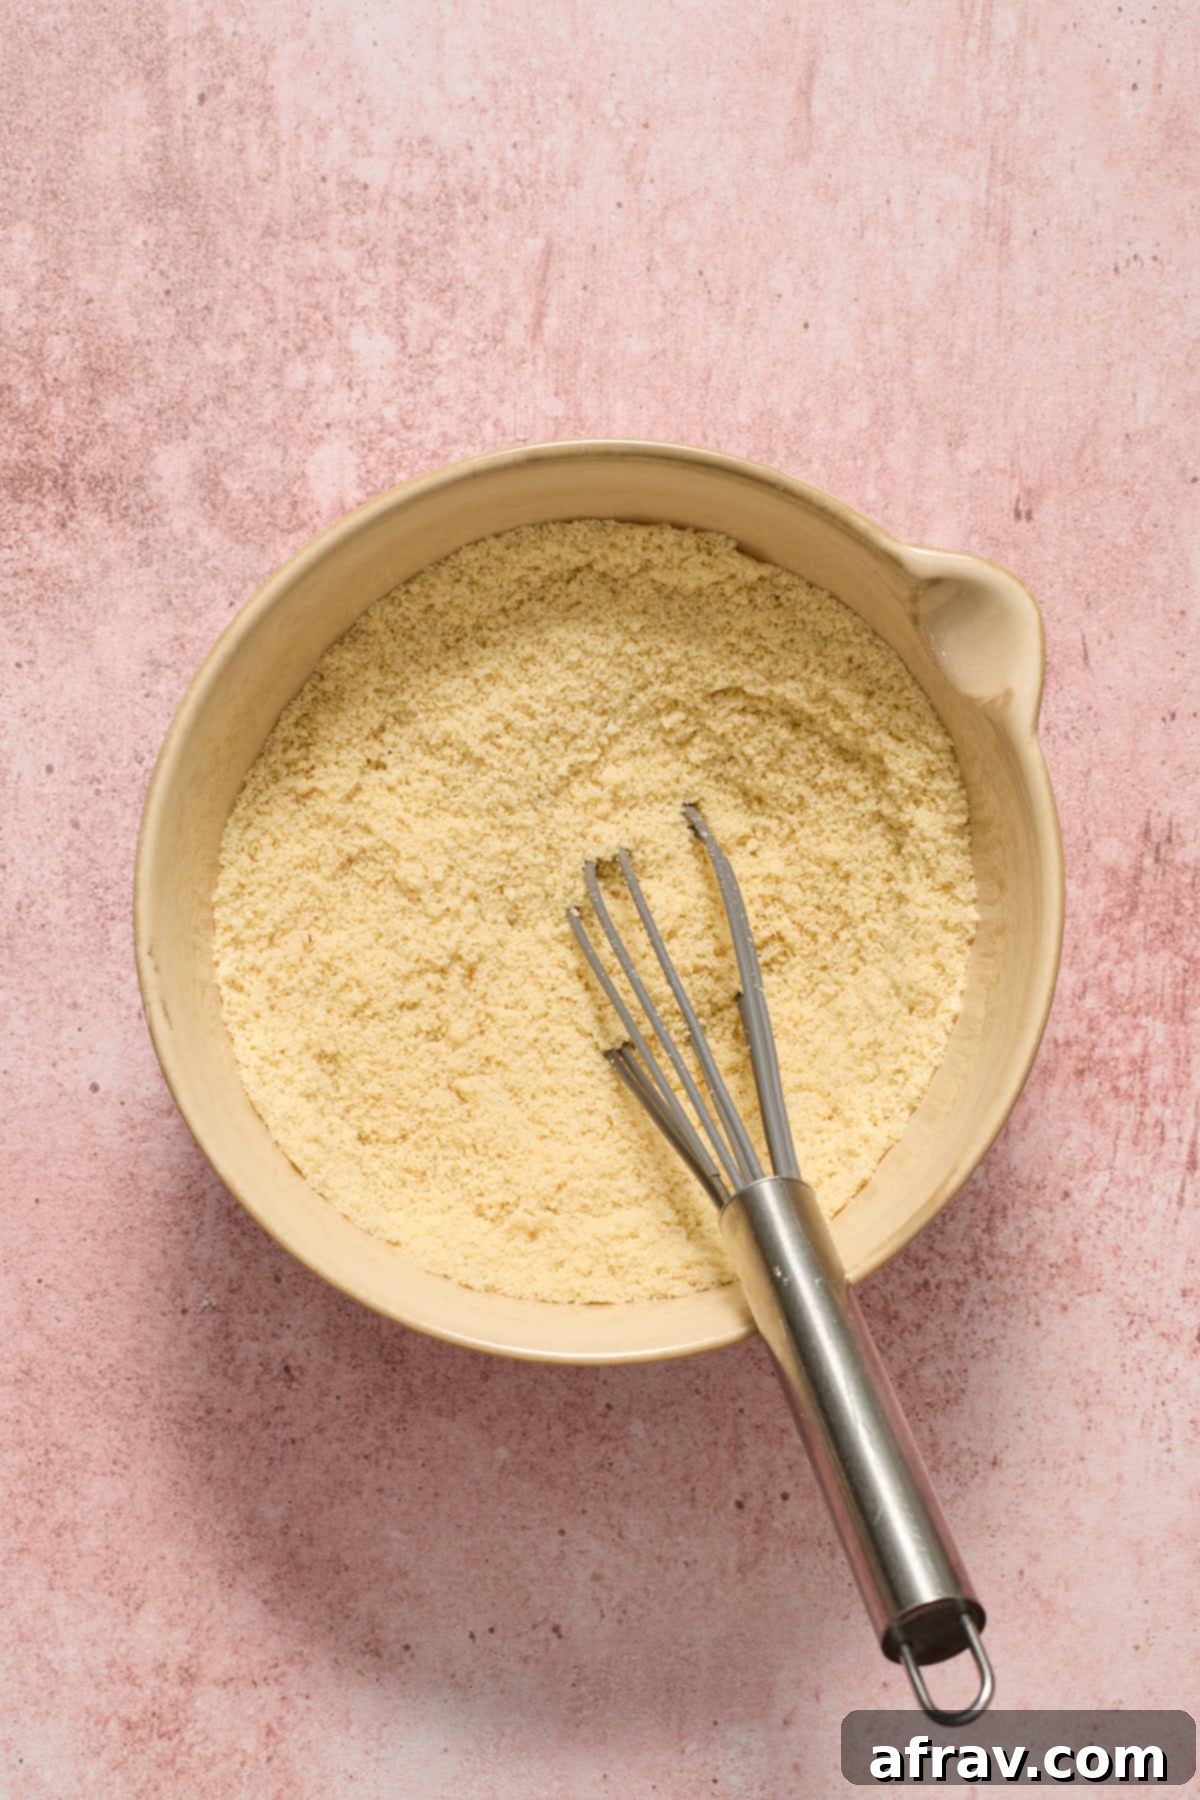
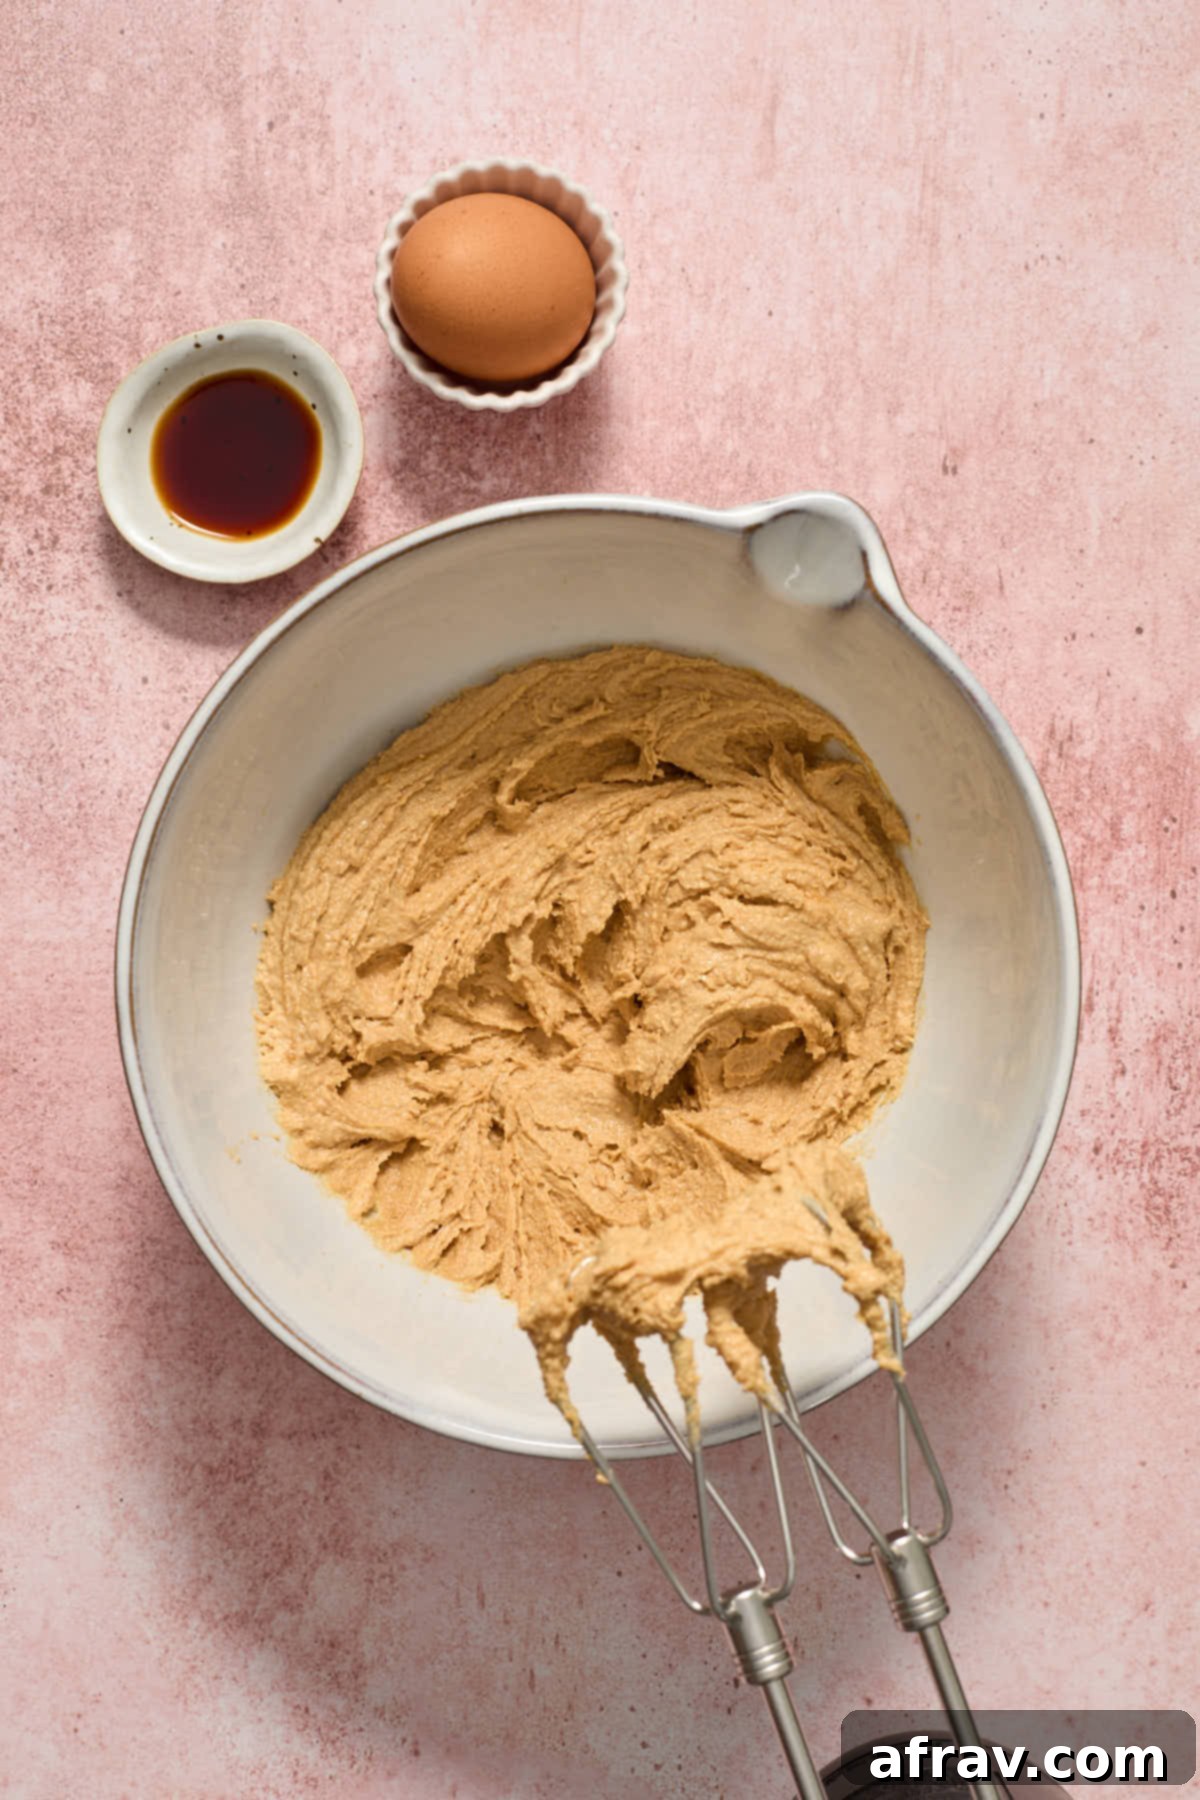
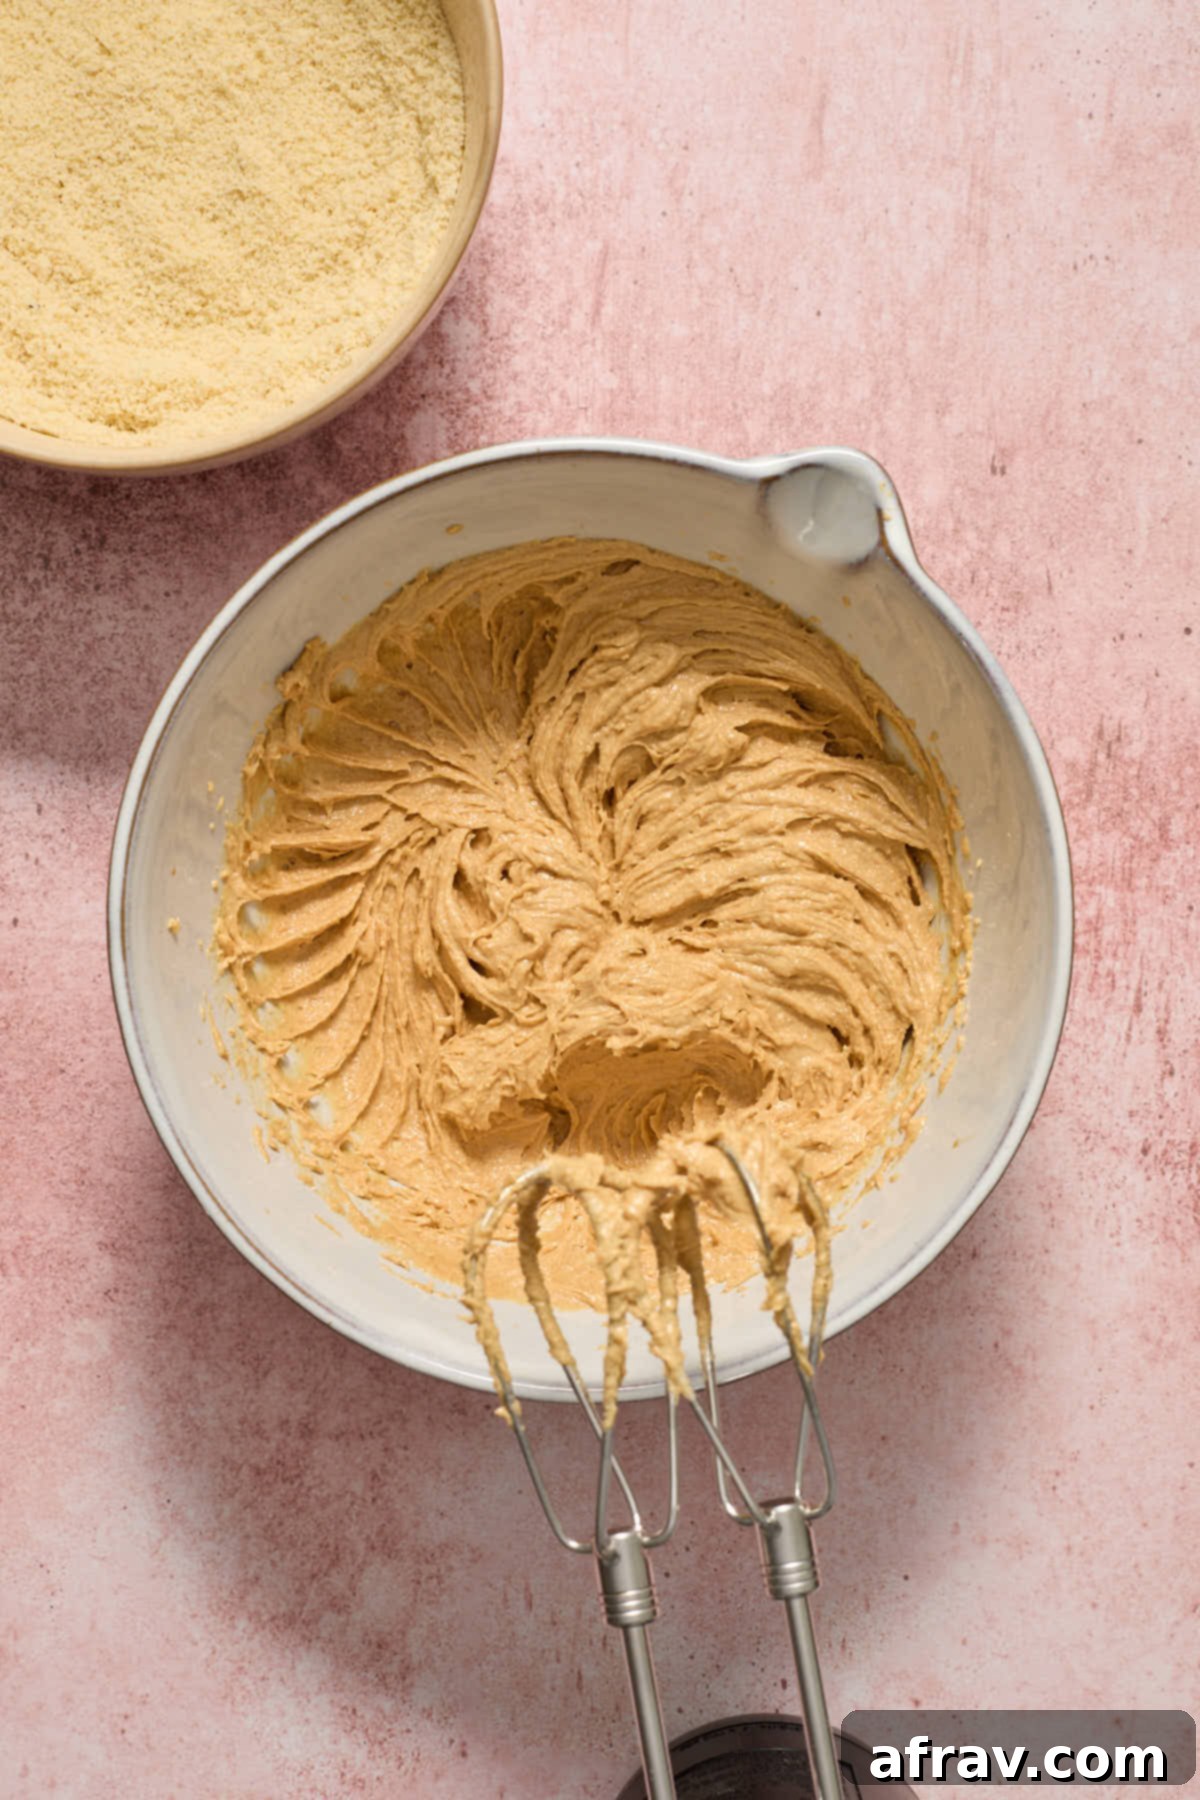
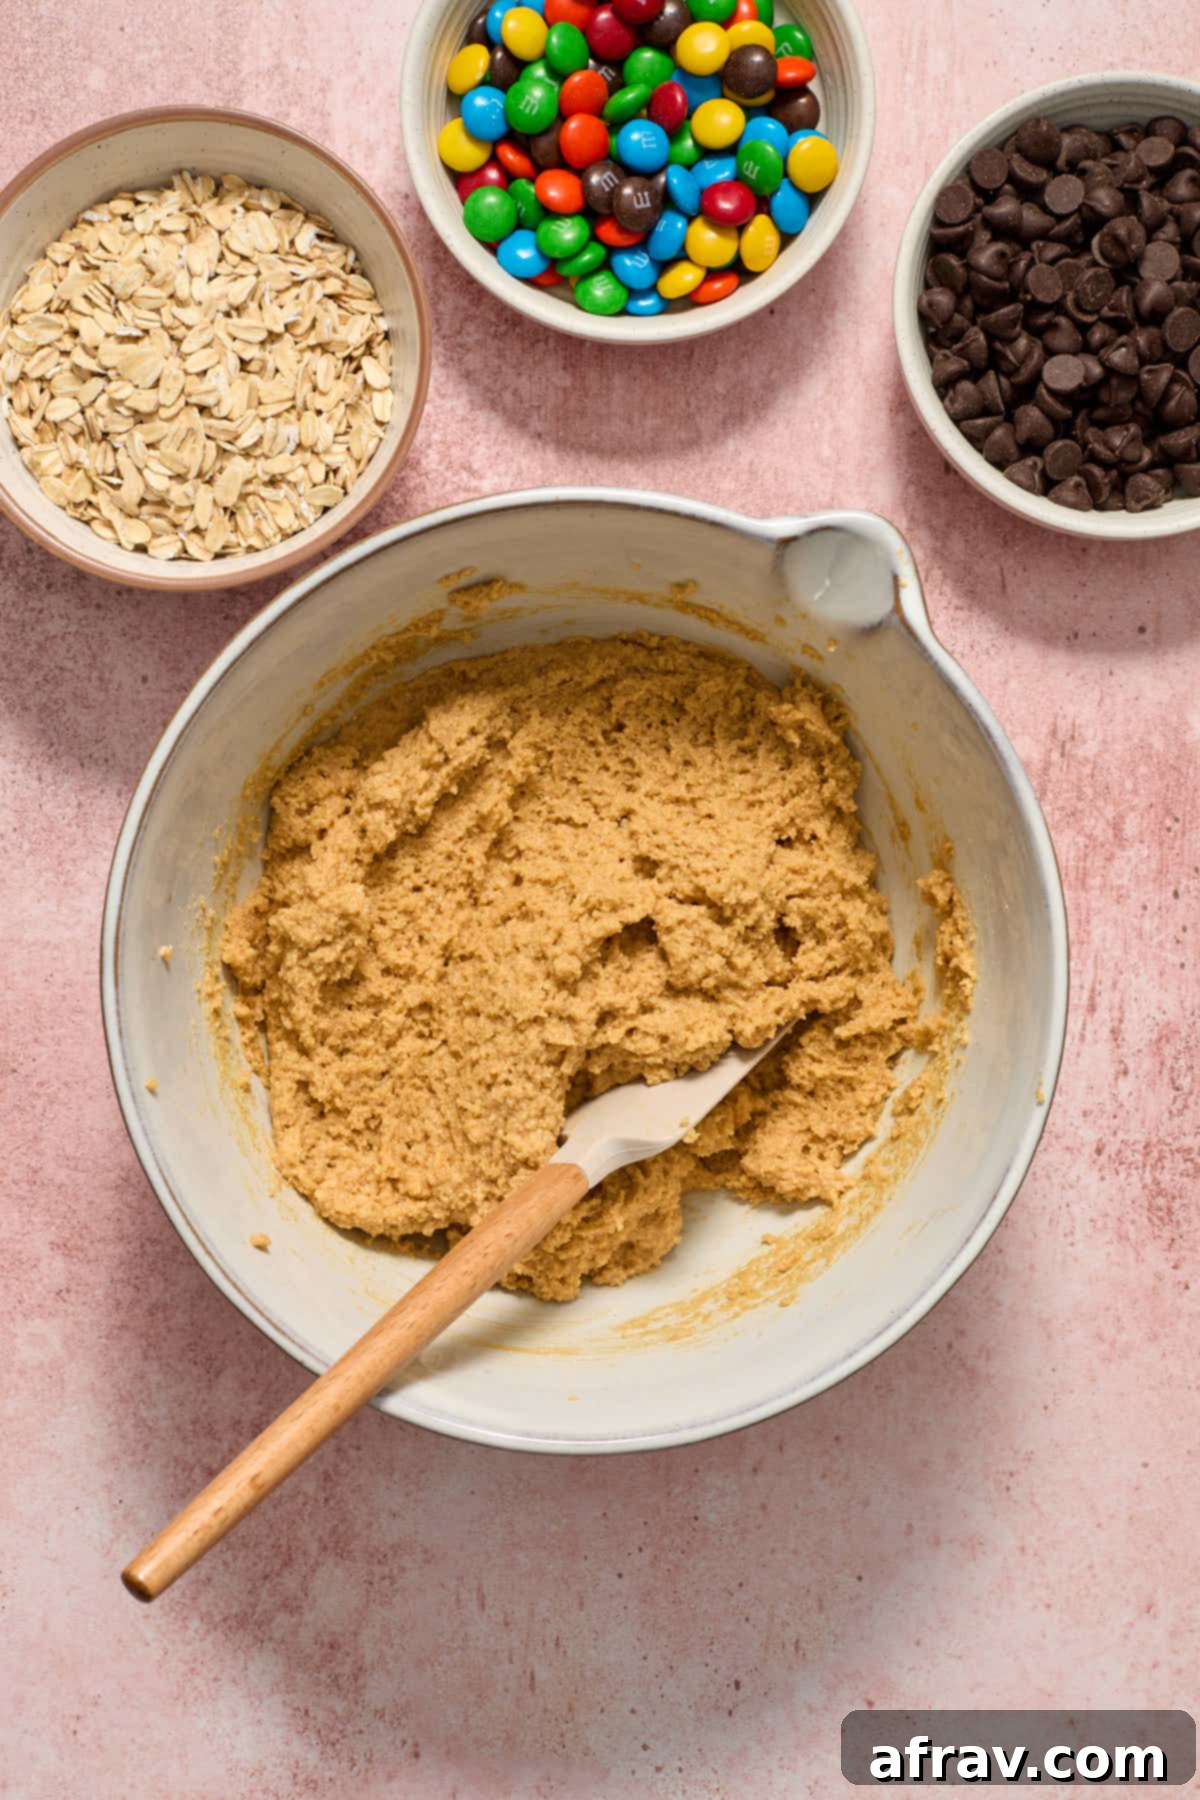
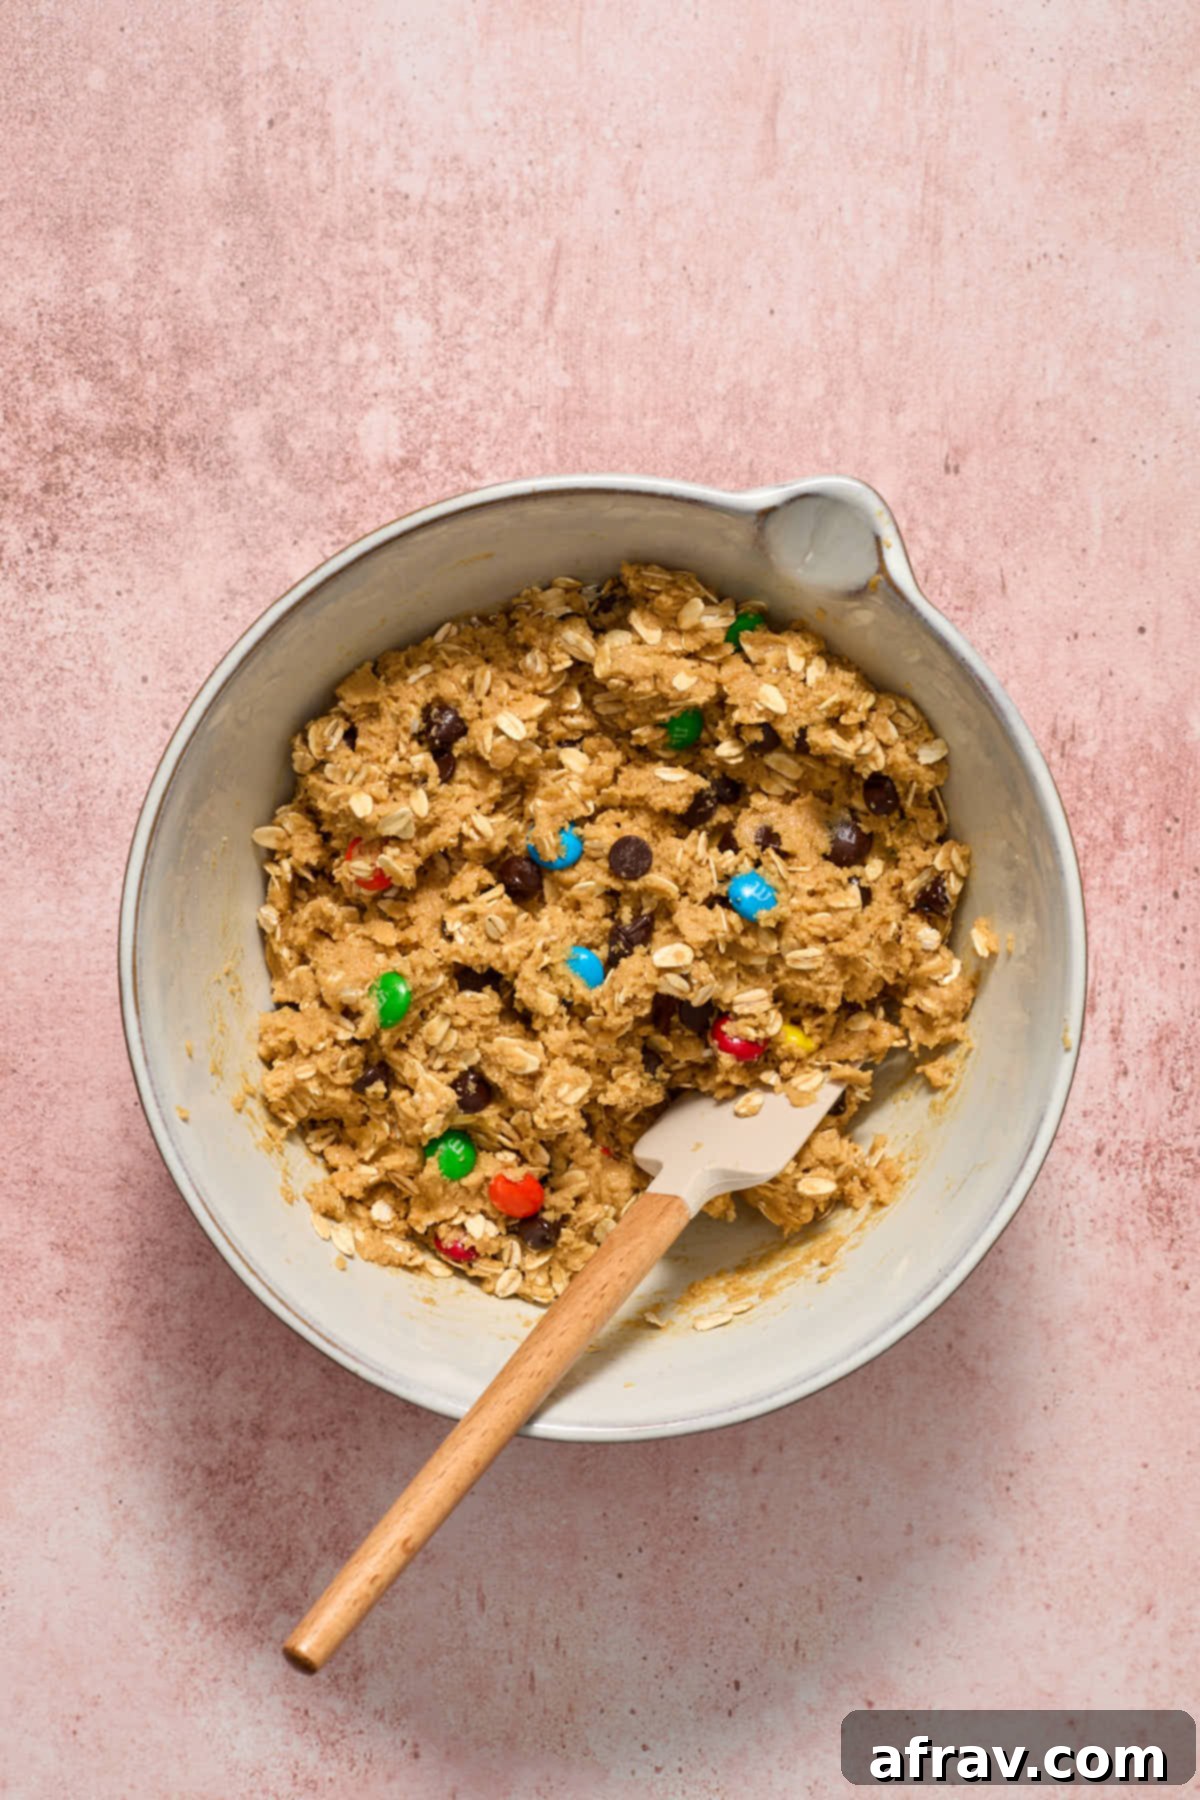
Making these monster cookies is a straightforward process that yields impressive results. Below is a brief overview of each step, accompanied by photos to guide you. For the full, detailed recipe, please refer to the recipe card at the end of this post.



The Importance of Accurate Ingredient Measurement
Baking is a science, and precise measurements are key to consistent, delicious results. While US cup measurements are provided in the recipe card for convenience, using a kitchen scale for dry ingredients like flours and sugars is always recommended for superior accuracy. Weight measurements (grams for solids, milliliters for liquids) eliminate inconsistencies that can arise from how ingredients are scooped or packed into measuring cups. For smaller quantities of ingredients like leavening agents or extracts, standard teaspoons and tablespoons are appropriate. If you don’t own a kitchen scale, make sure to use the “spoon and level” method for dry ingredients: spoon the flour into your measuring cup until it’s overflowing, then use the back of a knife or a straight edge to level it off without packing it down.
Storage and Freezing for Freshness
These monster cookies are best enjoyed fresh, but they also store beautifully, allowing you to savor them over time or prepare them in advance.
Storage: Once completely cooled, place your Almond Flour Monster Cookies in an airtight container. Store them at room temperature on your kitchen counter. They will maintain their delicious soft and chewy texture for 4-5 days. For optimal freshness, you can also place a slice of bread in the container to help absorb excess moisture and keep them soft.
Freezing Baked Cookies: For longer storage, cooled cookies can be frozen. Arrange them in a single layer on a baking sheet and freeze until solid (about 1-2 hours). Then, transfer the frozen cookies to a freezer-safe container or a large resealable freezer bag, ensuring as much air as possible is removed. They will keep well in the freezer for up to 3 months. When you’re ready to enjoy, simply thaw them at room temperature for an hour or two, or gently warm them in the microwave for a few seconds for that freshly baked feel.
Freezing Cookie Dough: You can also prepare the dough ahead of time and freeze it. Roll the dough into balls, flatten them slightly, and press in the extra chocolate chips and M&Ms. Place them on a parchment-lined baking sheet and freeze until firm. Once frozen, transfer the dough balls to a freezer-safe bag or container. They can be stored for up to a month. To bake from frozen, place the dough balls on a prepared baking sheet and let them sit at room temperature for about 20-30 minutes to thaw slightly (this helps with spreading). Bake as instructed, adding an extra 2-4 minutes to the baking time.
Expert Baking Tips for Perfect Monster Cookies
Achieve bakery-quality monster cookies every time with these essential tips:
- Weigh Your Ingredients: As mentioned, for the most accurate and consistent results, always weigh your dry ingredients using a digital kitchen scale. If you don’t have one, remember the “spoon and level” method for flours.
- Creaming is Key: Don’t rush the creaming process. Beat the peanut butter, room temperature butter, and sugars together until the mixture is truly light, fluffy, and creamy. This typically takes a good few minutes and is crucial for incorporating air, which results in a lighter, more tender cookie.
- Don’t Overmix Dry Ingredients: Once you add the dry mixture to the wet, mix only until just combined. Overmixing can develop the gluten in the almond flour (though less than wheat flour), potentially leading to a tougher cookie.
- Flatten the Dough Balls: Gently flattening the cookie dough balls before baking is important. These large cookies benefit from a little help to spread evenly and achieve that desirable thick, yet wide shape.
- Avoid Overbaking: This is perhaps the most critical tip! Monster cookies are best when slightly underbaked. They should look barely golden around the edges but still appear soft and slightly glossy in the center when you pull them from the oven. They will continue to set on the hot baking sheet as they cool. Overbaking will lead to dry, crumbly cookies.
- Proper Spacing on the Baking Sheet: These are “monster” cookies for a reason – they spread! Ensure you leave plenty of space (about 3 inches) between each dough ball on your baking sheet. I usually bake no more than 5 cookies per standard large baking sheet to prevent them from merging.
- Use Parchment Paper: Always line your baking sheets with parchment paper. This prevents sticking, ensures even browning, and makes cleanup a breeze.
- Light-Colored Baking Sheets: Whenever possible, use light-colored baking sheets. Darker sheets absorb more heat and can cause the bottoms of your cookies to brown too quickly or even burn, resulting in an uneven bake.
- Let Them Rest: Resist the urge to move the cookies immediately after they come out of the oven. Letting them rest on the hot baking sheet for 10 minutes allows them to firm up and continue baking slightly, preventing them from falling apart when transferred.
Almond Flour Monster Cookie FAQs
Here are some frequently asked questions to help you master this delightful recipe:
Yes, absolutely! Since this recipe utilizes almond flour, these monster cookies are naturally gluten-free. However, for a truly gluten-free product, it’s essential to double-check that your old-fashioned rolled oats and any candy-coated chocolates (like M&M’s) you use are certified gluten-free. Some oats can be cross-contaminated during processing, so look for a specific gluten-free label.
Even though these are substantial cookies, they bake relatively quickly. The key is to avoid overbaking to keep them wonderfully soft and chewy. Start checking them around the 9-minute mark. They are ready when the edges appear lightly golden brown and set, but the centers still look a little soft, glossy, and slightly underbaked. They will continue to cook and set on the hot baking sheet after they’re removed from the oven.
Yes, you can easily prepare the cookie dough in advance! Simply roll the dough into balls, gently flatten them, and press the additional chocolate chips and M&M’s into the tops. Store the prepared dough balls in a single layer in an airtight container in the refrigerator for up to two days. For longer storage, freeze them for up to a month. To bake, let the chilled or frozen dough balls thaw slightly at room temperature (about 20-30 minutes for frozen dough) to help them spread properly. Then bake as instructed, keeping in mind that frozen dough may require an additional few minutes of baking time.
Several factors can prevent cookies from spreading. If you accidentally chilled the dough, it will be firmer and resist spreading. It’s also crucial to flatten the dough balls slightly before baking; this gives them a head start in spreading out. Additionally, ensure your butter was at room temperature and properly creamed, as cold butter or under-creaming won’t incorporate enough air, leading to a denser dough that won’t spread as much. Using natural peanut butter (the oily, runny kind) can also negatively impact spreading and texture.
While peanut butter is classic for monster cookies, you can experiment with other smooth, shelf-stable nut butters like almond butter or cashew butter for a different flavor profile. Be aware that the fat content and consistency of different nut butters can vary, potentially affecting the final texture, so you might need slight adjustments. Seed butters like tahini or sunflower seed butter could also work, but will impart a distinct flavor.

Explore More Almond Flour Cookie Recipes
If you’ve fallen in love with baking with almond flour, we have plenty more delicious cookie recipes for you to try:
- Almond Flour Cookie Butter Cookies
- Almond Flour Snickerdoodles
- Almond Flour Sugar Cookies
- Almond Flour Chocolate Chip Cookie Cake
We’d love to hear about your baking experience! If you make this recipe, please share your thoughts in the comments below!
HUNGRY FOR MORE? Follow Crumb Top Baking on Instagram, Pinterest and Facebook!
Print

Thick and Chewy Almond Flour Monster Cookies (No Chill!)
5 Stars
4 Stars
3 Stars
2 Stars
1 Star
No reviews
- Author: Leanne
- Prep Time: 15 minutes
- Cook Time: 10 minutes
- Total Time: 25 minutes
- Yield: 14 cookies
- Category: Dessert
- Method: Bake
- Cuisine: American, Canadian
- Diet: Gluten Free
Description
Almond Flour Monster Cookies are soft and thick with chewy edges, packed with peanut butter, oats, chocolate chips and M&Ms. This recipe also requires no chilling time!
Ingredients
- 1 3/4 cups (182g) fine blanched almond flour
- 1/2 teaspoon baking soda
- 1/4 teaspoon fine sea salt
- 1/2 cup (145g) smooth, shelf stable peanut butter
- 1/4 cup (56g) unsalted butter, room temperature
- 1/2 cup (115g) dark brown sugar, packed
- 1/4 cup (55g) granulated sugar
- 1 large egg, room temperature
- 1 teaspoon vanilla extract
- 3/4 cup (85g) old fashioned rolled oats
- 1/2 cup (95g) dark chocolate chips
- 1/2 cup (100g) M&Ms
Instructions
- Preheat oven to 350F (175°C) and line a large baking sheet with parchment paper.
- In a medium-sized bowl, whisk together the almond flour, baking soda, and salt until well combined.
- In a large mixing bowl, use a stand or handheld electric mixer to cream together the peanut butter, room temperature butter, dark brown sugar, and granulated sugar. Beat for about 2-3 minutes until the mixture is light, fluffy, and creamy.
- Add the room temperature egg and vanilla extract to the creamed mixture and beat until just combined, scraping down the sides of the bowl as needed.
- On low speed, gradually add the dry flour mixture to the wet ingredients. Mix only until just combined, being careful not to overmix the dough.
- Use a spatula to gently stir in the old-fashioned rolled oats and approximately two-thirds of the chocolate chips and M&Ms.
- Using a 3-tablespoon cookie scoop, measure out consistent portions of the cookie dough and roll them into balls. Place them on the prepared baking sheet about 3 inches apart (aim for about 5 cookies per standard sheet).
- Take the bottom of a measuring cup or a glass and gently flatten the tops of the dough balls slightly. Then, press the remaining chocolate chips and M&Ms into the tops of each flattened cookie for a beautiful presentation.
- Bake for 9-11 minutes, or until the edges of the cookies are lightly golden brown and set, but the centers still look slightly soft and glossy. It’s better to slightly underbake these for a chewier texture.
- Allow the freshly baked cookies to rest on the hot baking pan for 10 minutes. This allows them to finish setting and firm up before transferring them carefully to a wire rack to cool completely.
- Repeat the baking process with any remaining cookie dough, ensuring to use a cool baking sheet or allow the used sheet to cool between batches.
Notes
- For greater accuracy and consistent results, I strongly recommend weighing your ingredients using a kitchen scale. If you’re using cup measurements, be sure to use the spoon and level method for dry ingredients.
- Ensure your peanut butter, butter, and sugars are beaten together until the mixture is very creamy and light in color. This process typically takes a few minutes and is essential for developing the cookie’s texture.
- Don’t forget to flatten the cookie dough balls slightly before baking. This step helps them spread out evenly and achieve that perfect thick monster cookie shape.
- To keep your cookies deliciously soft and chewy, it’s crucial not to overbake them. They should still look a little underbaked and slightly glossy in the middle when you remove them from the oven.
- For even baking and to prevent overly browned bottoms, I always recommend using a light-colored baking sheet. Darker sheets can cause the bottoms of cookies to cook faster.
- For more detailed advice, ingredient explanations, and additional tips, please refer to the comprehensive sections above the recipe card.
