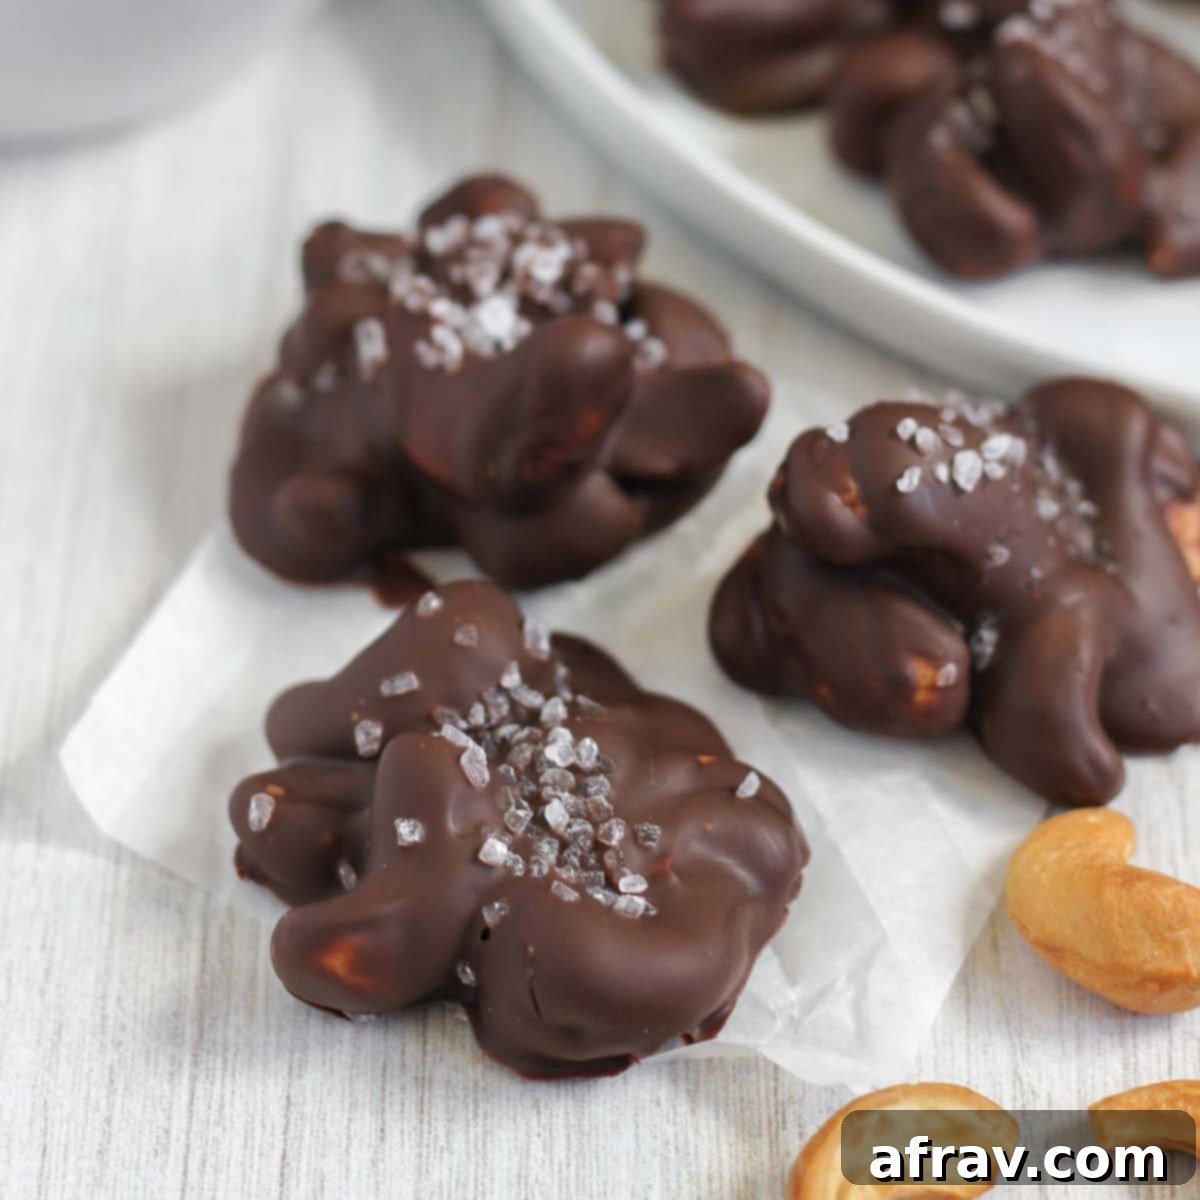
Irresistible Homemade Chocolate Covered Cashew Clusters with Sea Salt: The Ultimate No-Bake Treat
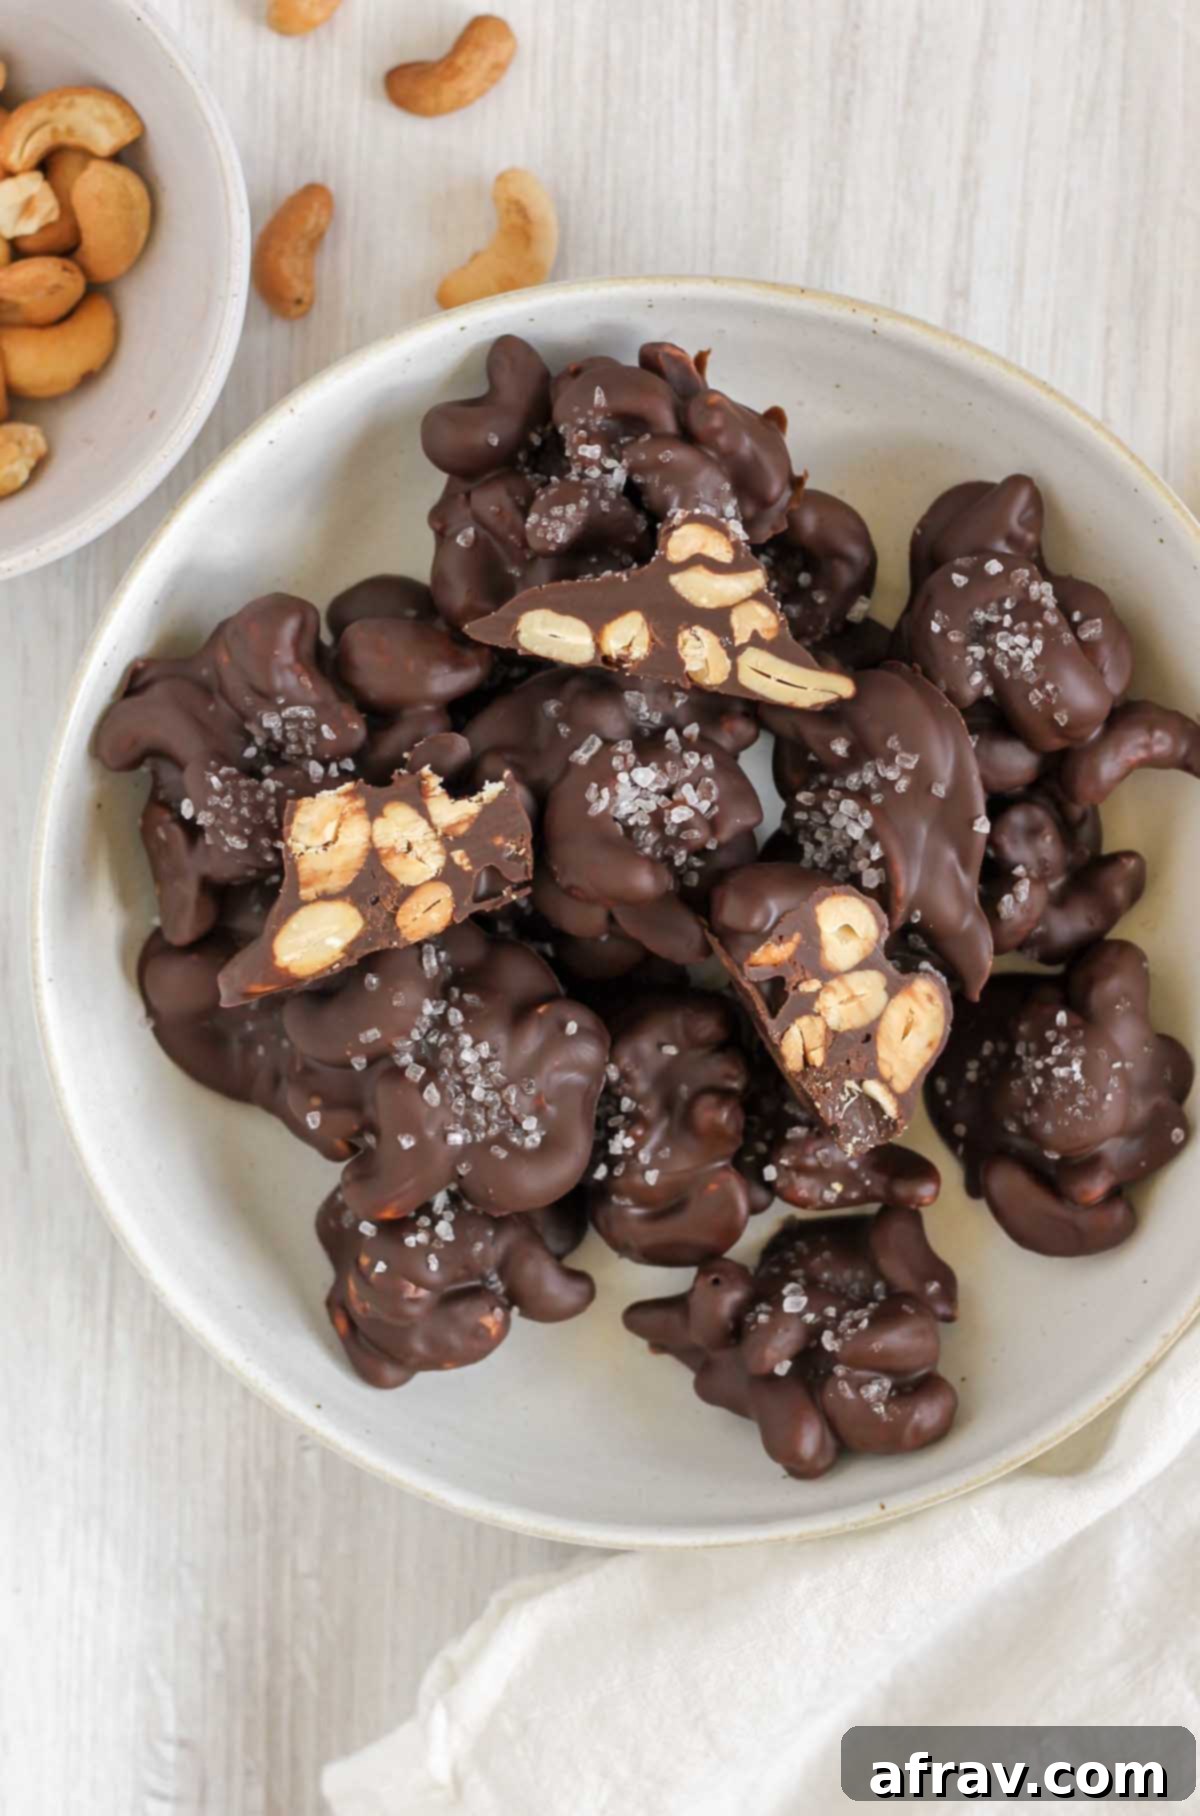
Craving a delightful sweet and salty treat that’s both easy to make and satisfyingly healthy? Look no further than these incredible chocolate covered cashew clusters! Crafted with just 4 simple ingredients and requiring a mere 15 minutes of hands-on prep, these clusters are a game-changer. They’re perfect as a guilt-free snack or dessert, an elegant addition to holiday charcuterie boards, or a thoughtful, homemade gift for loved ones.
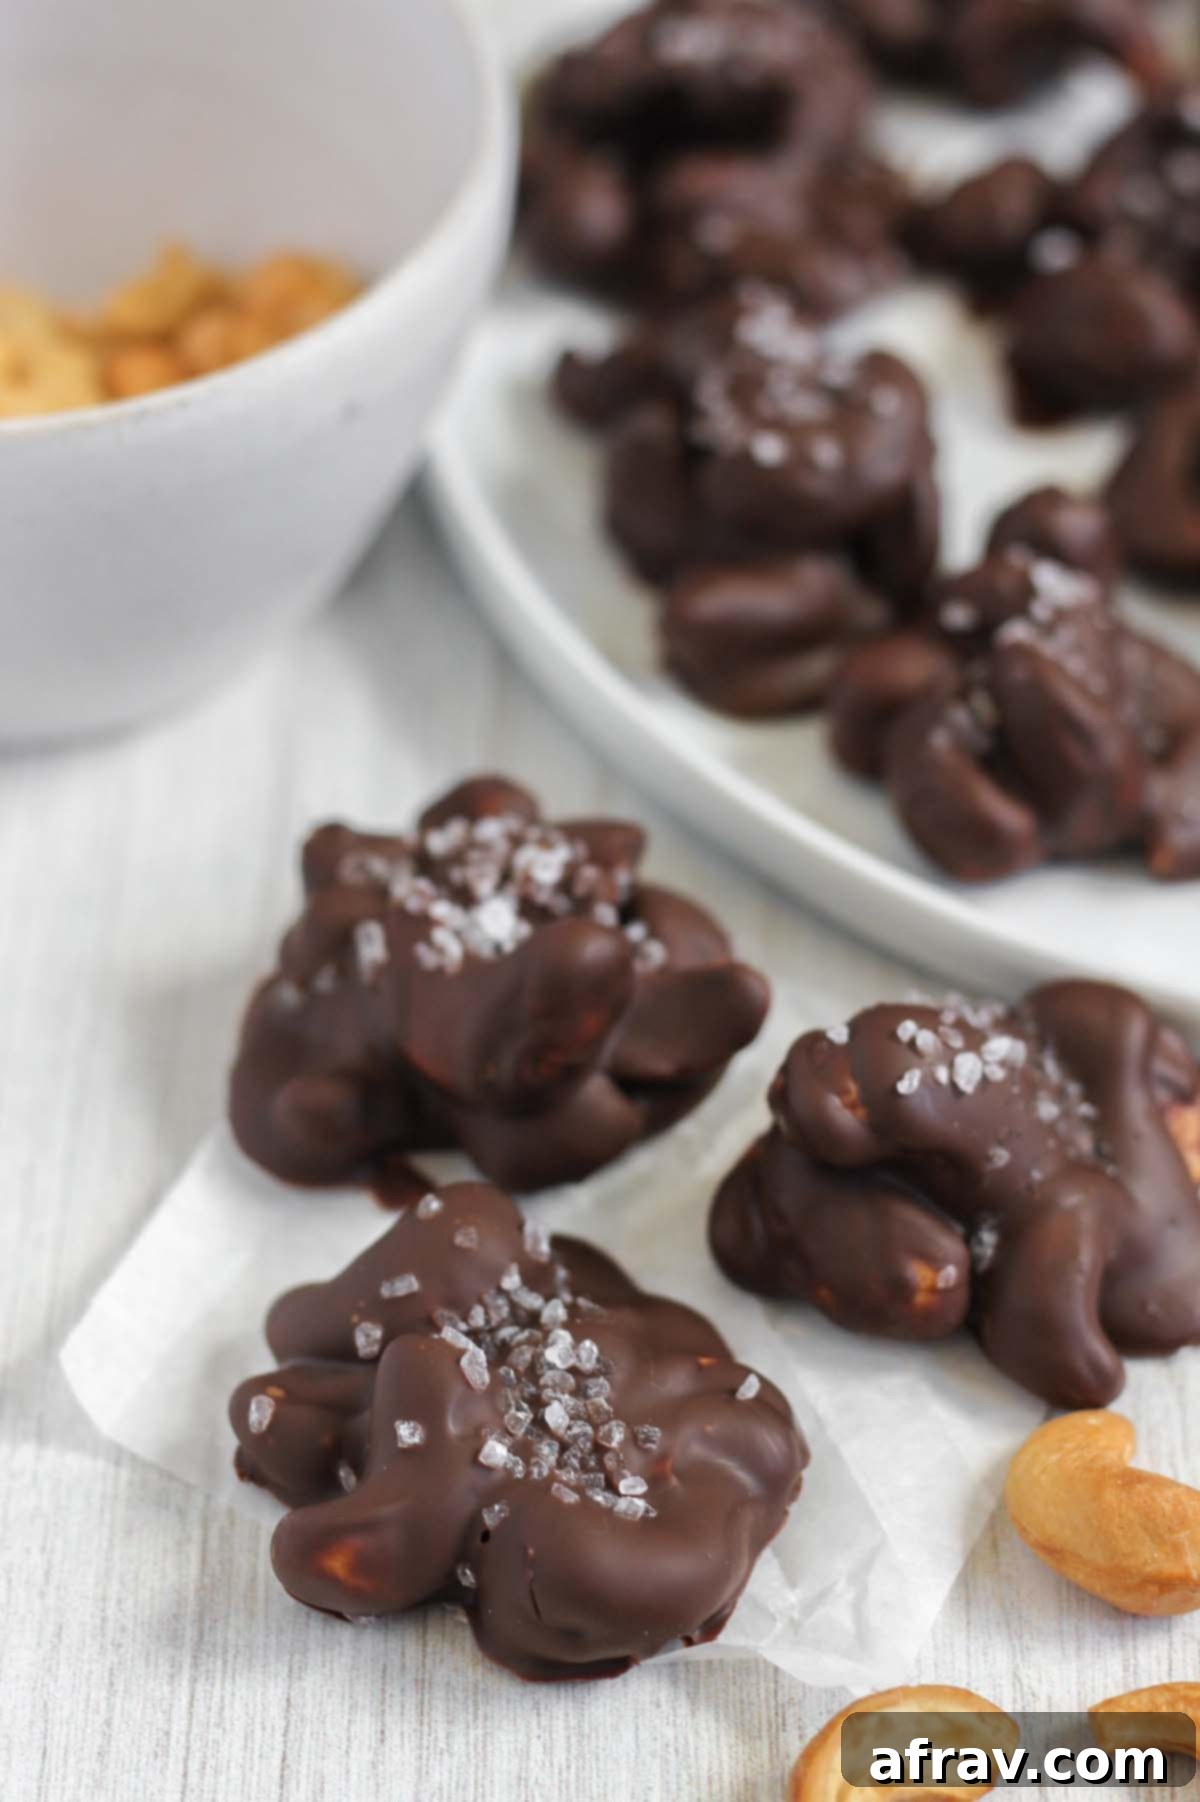
Indulge your sweet tooth the wholesome way with these delectable chocolate covered cashew clusters! This incredibly easy recipe flawlessly combines the rich, nutty crunch of perfectly roasted cashews with smooth, decadent dark or semi-sweet chocolate, all finished with a sprinkle of flaky sea salt. It’s the ideal way to treat yourself to a healthier dessert option whenever a craving for something sweet strikes.
As the holiday season approaches each year, our kitchens often become filled with an abundance of candy and baked goods. While I certainly enjoy a good indulgence, I also love having a repertoire of better-for-you recipes that are still incredibly delicious. These chocolate cashew clusters fit that bill perfectly, much like my macaroons without condensed milk, dark chocolate bark, vegan turtles, almond flour biscotti, and healthy chocolate peanut butter balls.
While these clusters are undoubtedly perfect for holiday gatherings and gifting, remember that their deliciousness isn’t limited to a specific season. They make a fantastic, wholesome treat to enjoy all year round, satisfying cravings whenever they arise.
Why You’ll Adore This Chocolate Covered Cashew Recipe
These chocolate covered cashews are more than just a simple sweet treat; they’re a delightful experience packed with flavor and goodness. Here’s why you’ll want to make them again and again:
- The Perfect Sweet & Salty Harmony: For all you devoted sweet and salty enthusiasts, these cashew clusters are an absolute dream come true. The rich, slightly bitter notes of dark chocolate perfectly complement the creamy, buttery cashews, while the delicate crunch and briny burst of sea salt elevate every bite into a symphony of flavors. It’s an addictive combination that’s hard to resist!
- An Effortless & Delicious Homemade Gift: Searching for a thoughtful, personalized gift that truly impresses? Look no further! These chocolate cashew clusters are incredibly easy to make in batches, making them ideal for sharing. Package them in small decorative bags or boxes, and you have a stunning, homemade present that’s perfect for friends, family, teachers, or hosts during the holidays or any special occasion.
- Packed with Wholesome Nutrients: Unlike many conventional desserts, these clusters offer a healthier alternative. Cashews are renowned for being a powerhouse of nutrition, rich in healthy monounsaturated and polyunsaturated fats, dietary fiber, and plant-based protein. They also provide essential vitamins and minerals like magnesium, zinc, copper, and iron. When you choose a high-quality dark chocolate (70% cacao or higher), you also benefit from its potent antioxidants, which can contribute to heart health and overall well-being. It’s a treat you can feel good about enjoying!
- Quick & Easy No-Bake Preparation: Forget about preheating ovens and complex baking steps! This recipe is entirely no-bake, saving you time and effort. With only 15 minutes of active prep, you can whip up a batch in no time, making it perfect for busy schedules or when you need a last-minute dessert.
- Minimal Ingredients, Maximum Flavor: You only need four core ingredients to create these gourmet-tasting clusters. The simplicity of the ingredient list means less shopping and a focus on quality, which truly shines through in the final product.
Essential Ingredients for Your Cashew Clusters
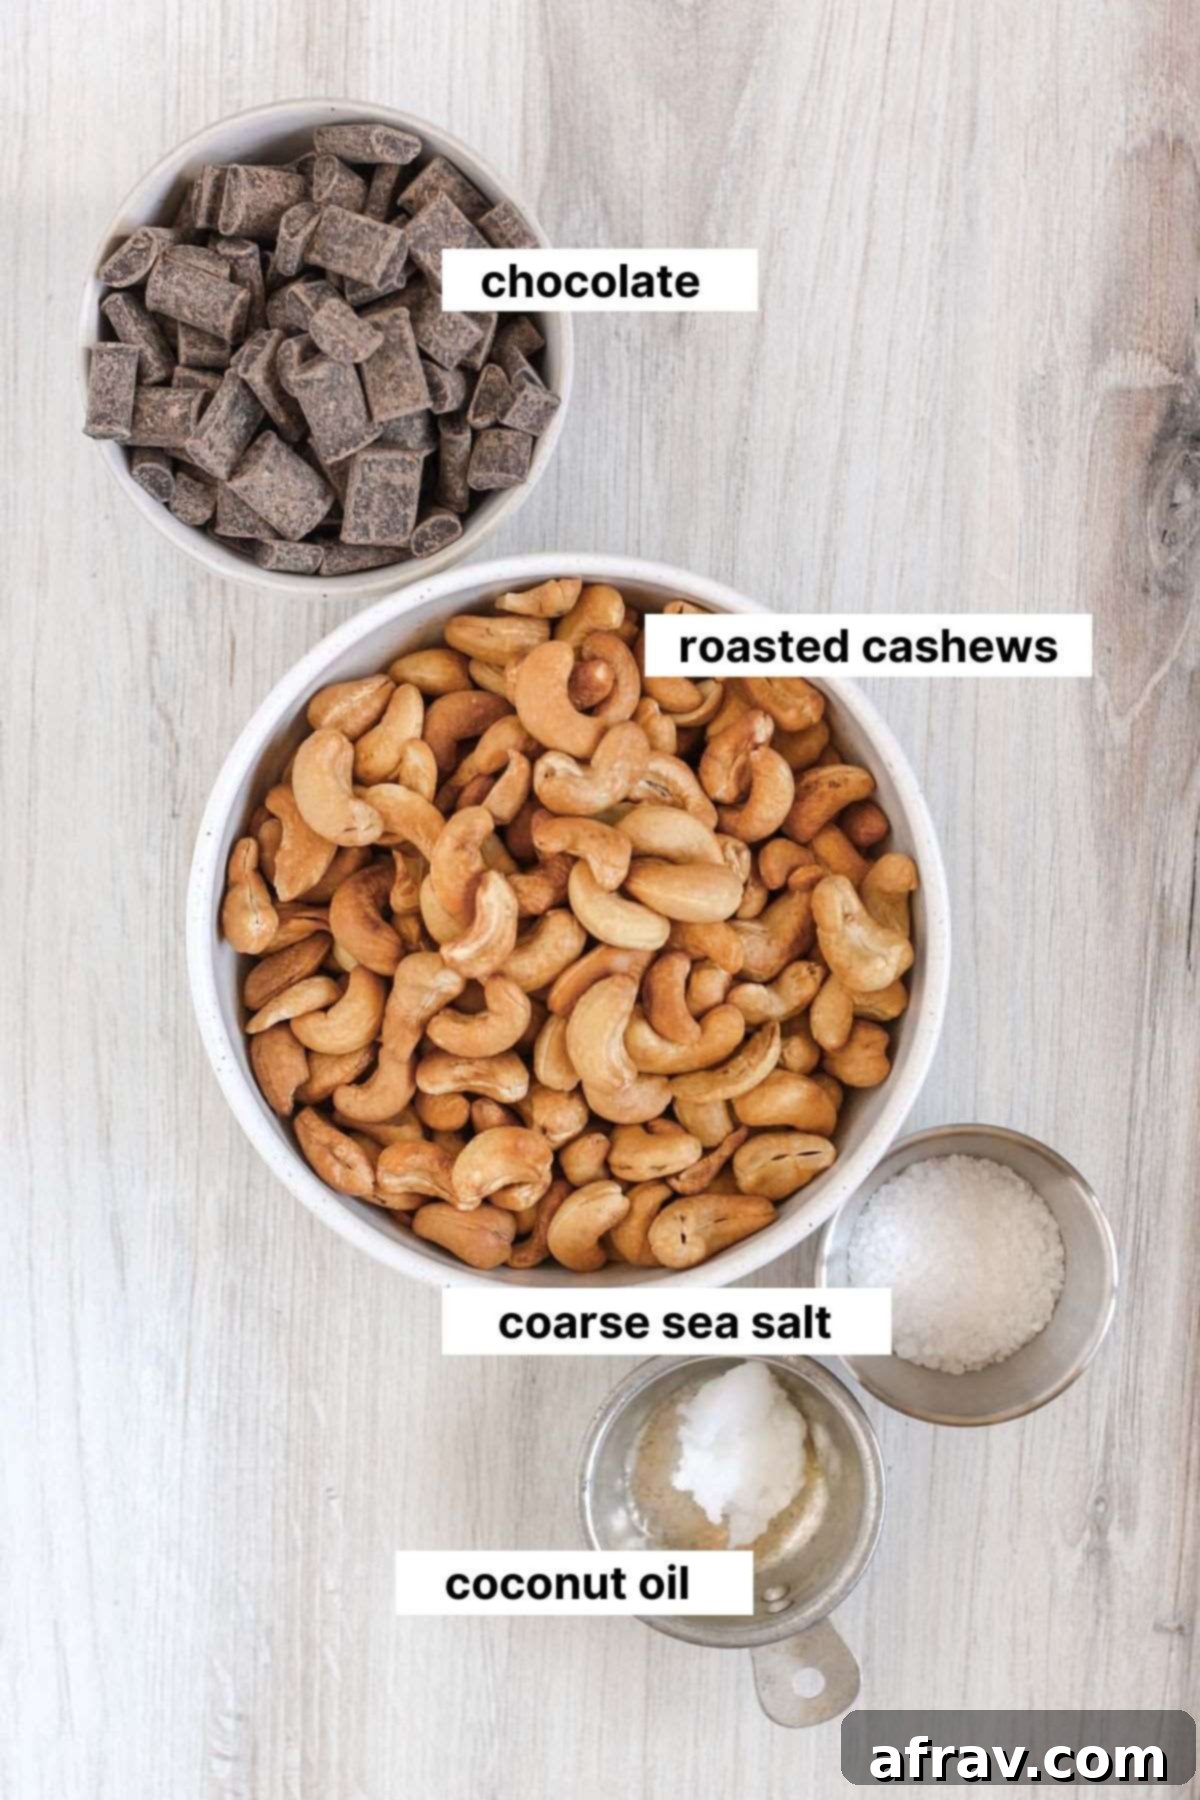
Creating truly delicious chocolate covered cashews starts with choosing the right ingredients. Here’s a closer look at what you’ll need and why each element is important:
- Roasted Cashews: These are, without a doubt, the superior choice for this recipe. Roasting the cashews intensifies their naturally sweet and buttery flavor, making them more aromatic and adding a wonderfully satisfying crunch. Raw cashews, while usable, tend to be much softer and lack the depth of flavor. If you have raw cashews, I highly recommend following my guide on how to roast cashews for the best results. Alternatively, you can buy already roasted (unsalted) cashews to save time. Be sure they are unsalted so you can control the salt content in the final product.
- High-Quality Sea Salt: The type of salt you use makes a significant difference. I strongly recommend using coarse sea salt or delicate sea salt flakes. These provide a distinct texture and a burst of briny flavor that regular table salt cannot replicate. Avoid using fine table salt, as it can make the clusters taste overly salty and doesn’t offer the desired textural contrast.
- Premium Chocolate: The quality of your chocolate directly impacts the taste and texture of your clusters. Semi-sweet or dark chocolate work best, providing a rich flavor that balances the sweetness. Avoid milk chocolate, which can be overly sweet and doesn’t offer the same depth. Aim for chocolate chips or a chopped chocolate bar with at least 60% cacao for optimal flavor and health benefits.
- Coconut Oil: Just a small amount of coconut oil is added to the chocolate to help it melt smoothly and achieve a beautiful, glossy finish. It also aids in creating a more fluid consistency, making it easier to coat the cashews evenly. Virgin coconut oil will impart a subtle coconut flavor, while refined coconut oil is more neutral.
Clean Food Tip: When selecting cashews (and most nuts), it’s wise to consider organic options. Non-organic nuts are often treated with synthetic chemicals like pesticides, which can be harmful. Opting for organic cashews helps ensure you’re consuming a cleaner product.
Clean Food Tip: For chocolate, simplicity in ingredients is key. Look for brands where the ingredient list primarily includes sugar, chocolate liquor (or cocoa mass), and cocoa butter, with minimal added emulsifiers or artificial flavors. My personal favorite brands for quality and clean ingredients include Equal Exchange, Hu Chocolate, and Pascha.
A complete list of ingredients and precise amounts can be found in the detailed recipe card below.
Creative Variations & Easy Substitutions
One of the best things about this chocolate covered cashew recipe is its versatility! Feel free to customize it to your taste preferences or dietary needs with these simple variations:
To make vegan: The base recipe is already very close to vegan. Simply ensure that the chocolate you choose is certified dairy-free. Many dark chocolate brands are naturally vegan, but always double-check the label for milk ingredients.
To make Paleo-friendly: For those following a Paleo diet, select a Paleo-compliant chocolate. These typically contain no dairy or refined sugars. Brands like Hu Chocolate Gems are excellent options as they are often made with unrefined sweeteners like coconut sugar.
Explore other chocolate covered nuts: This recipe isn’t just for cashews! It’s a fantastic template for any chocolate covered nut. Feel empowered to swap the cashews for an equal amount of your favorite nuts like crunchy almonds, savory peanuts, rich walnuts, or buttery pecans. Roasting these nuts first will yield the best flavor and texture.
For the coconut enthusiasts: If you adore coconut, elevate these clusters by incorporating some unsweetened coconut flakes. You can either mix them directly into the melted chocolate with the cashews for a uniform flavor, or sprinkle shredded coconut generously on top of the clusters before the chocolate sets for added texture and visual appeal.
A touch of spice: For those who appreciate a warming kick or a subtle layer of complexity, stir in a pinch of ground cinnamon, nutmeg, or even a tiny dash of cayenne pepper into the melted chocolate. The cayenne pepper offers a surprising yet delightful heat that perfectly complements the sweetness of the chocolate.
Fruity additions: For an extra layer of flavor and chewiness, consider adding finely chopped dried cranberries, cherries, or even orange zest to the cashew and chocolate mixture before forming clusters. These additions introduce bright, tangy notes that contrast beautifully with the rich chocolate and nutty cashews.
Decorative toppings: Beyond sea salt, you can experiment with other toppings for visual appeal and added flavor. Think a sprinkle of crushed pistachios, a drizzle of white chocolate, edible glitter, or even a very light dusting of cocoa powder for a sophisticated look.
Simple Steps to Perfectly Chocolate Covered Cashews
Making these delightful chocolate cashew clusters is surprisingly straightforward. Follow these easy steps to create your perfect no-bake treat:
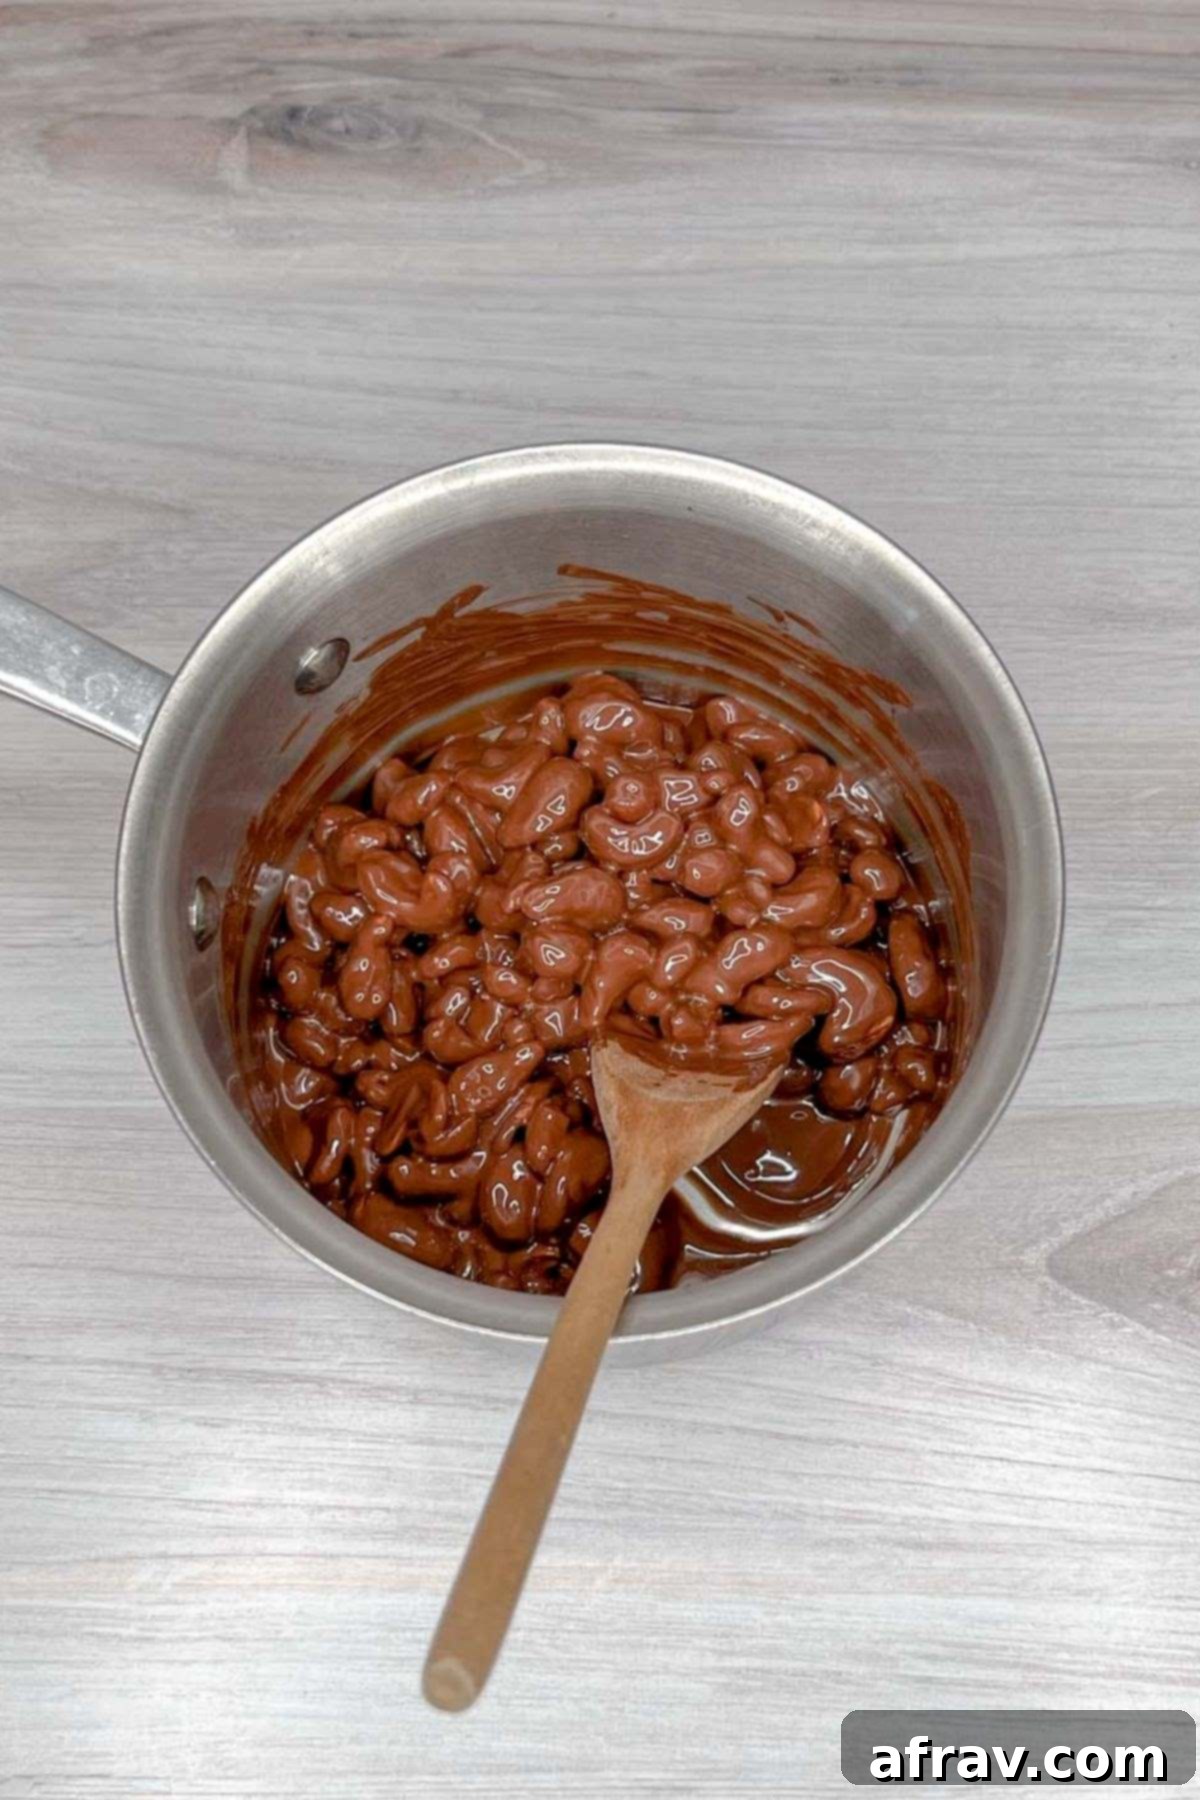
Step 1: Melt the Chocolate Elegantly. Begin by gently melting your chosen chocolate and coconut oil in a small saucepan over very low heat. This slow and controlled melting prevents burning and ensures a silky-smooth consistency. Stir continuously until about three-quarters of the chocolate has melted. Once it reaches this point, immediately remove the pan from the heat. The residual heat will continue to melt the remaining pieces as you stir, creating a perfectly tempered, glossy chocolate. Add your roasted cashews to this luscious melted chocolate. Mix them thoroughly with a spatula or spoon until every cashew is beautifully coated.
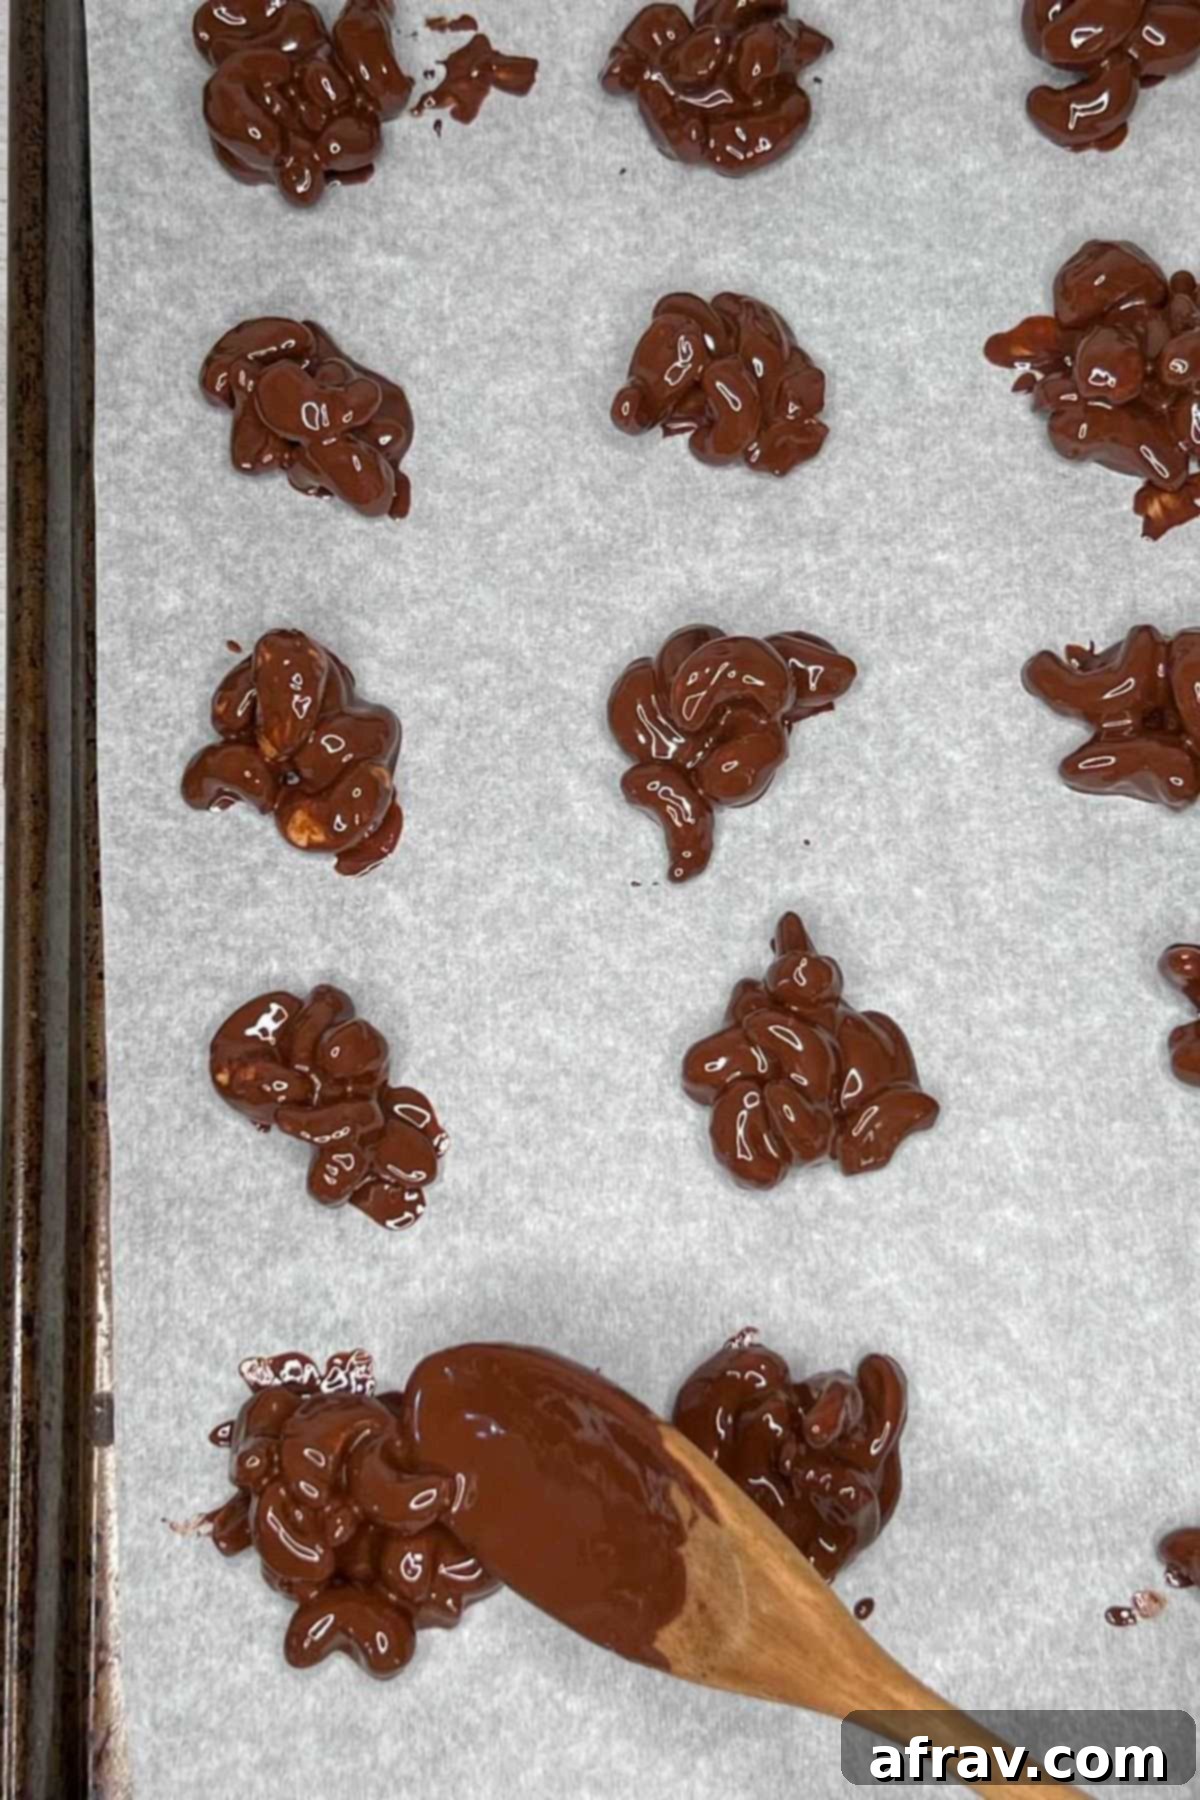
Step 2: Form Perfect Clusters. Prepare a baking sheet by lining it with parchment paper. This non-stick surface is crucial for easy removal once the chocolate sets. Using a large spoon or a small cookie scoop, carefully drop clusters of the chocolate-covered cashews onto the lined baking sheet. Aim for clusters containing approximately 6-7 cashews, or adjust the size to your preference for larger or smaller bites. Give each cluster a little space to prevent them from sticking together as they set.
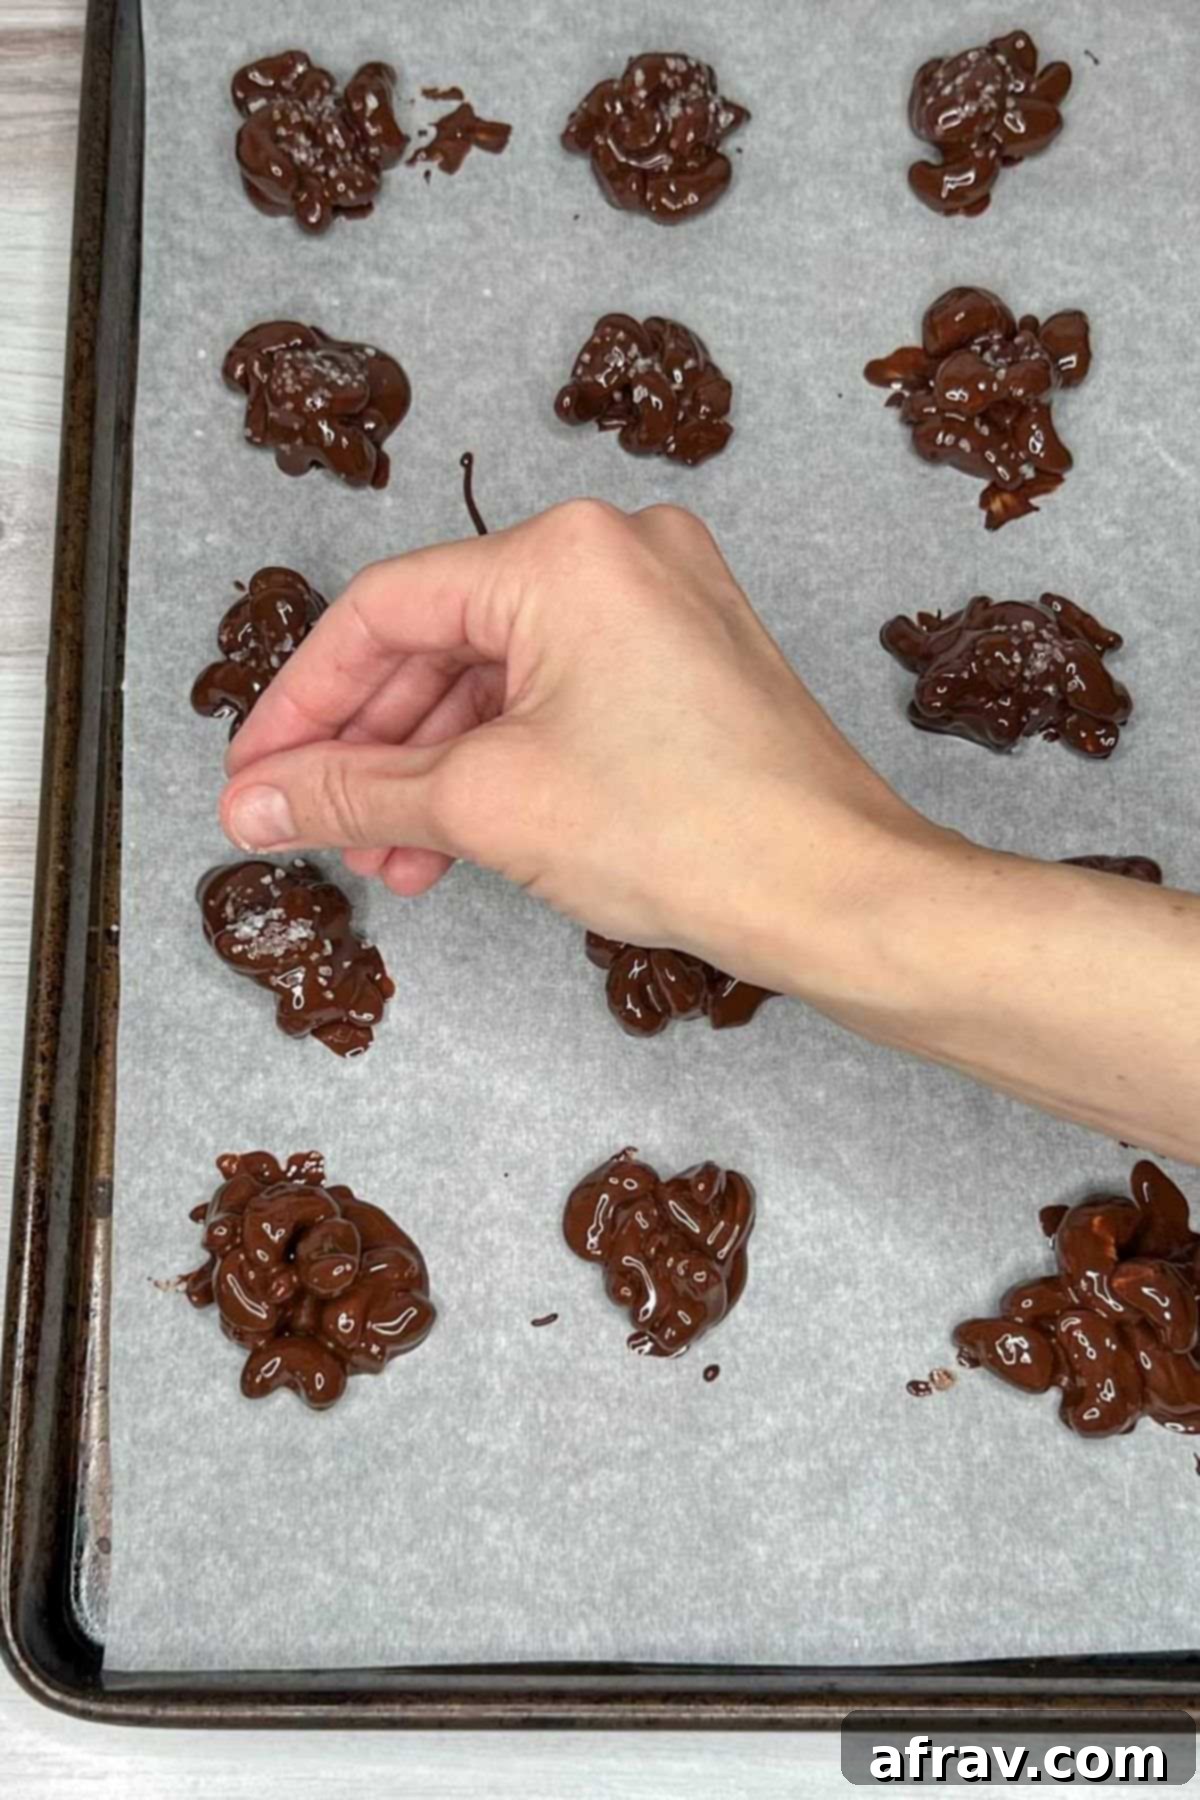
Step 3: The Salty Finish. Patience is key for this step! Allow the chocolate-covered clusters to rest undisturbed for about 10-15 minutes. This brief waiting period is important because it allows the chocolate to begin setting slightly. Once the chocolate is no longer liquid but still tacky, gently sprinkle your coarse sea salt or sea salt flakes over the top of each cluster. This timing ensures that the salt adheres beautifully to the chocolate and sits proudly on top, rather than sinking into the still-liquid chocolate.
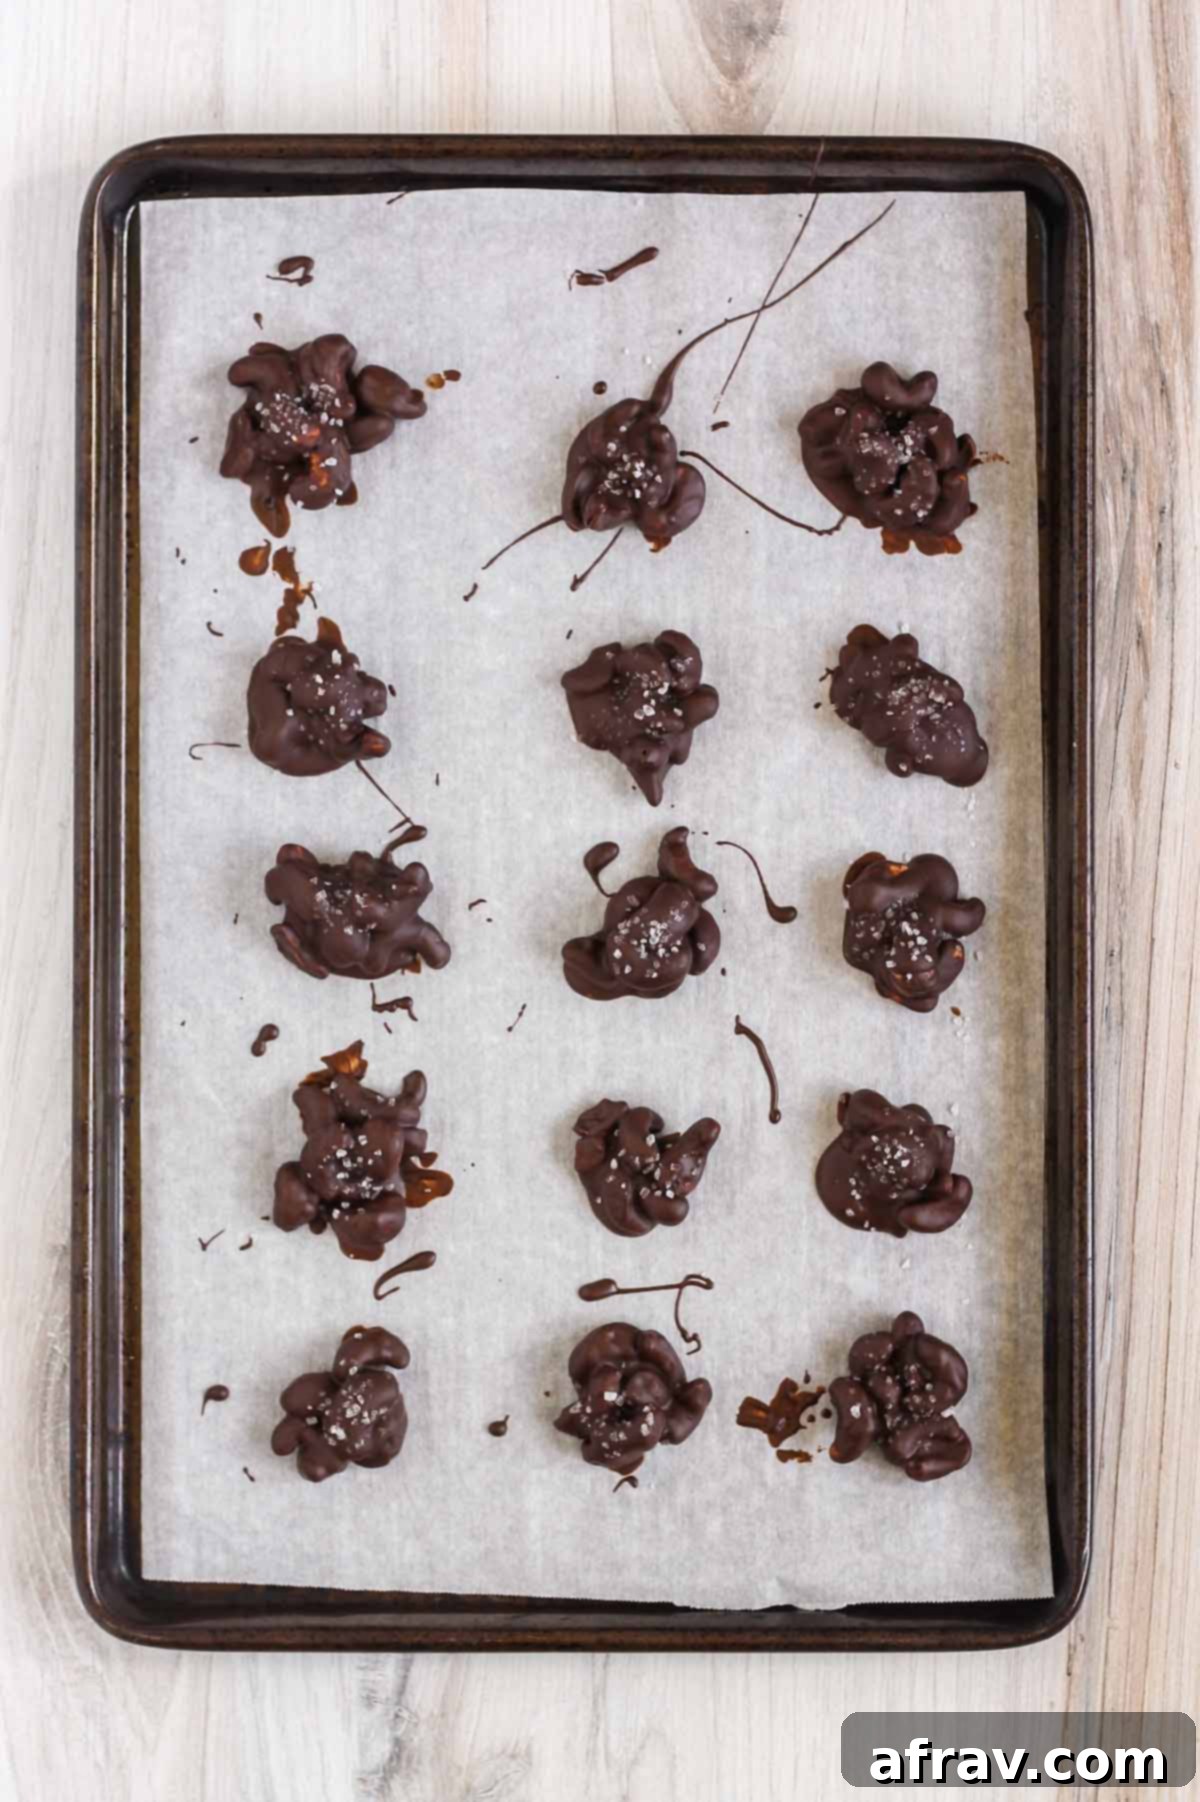
Step 4: Allow to Fully Set. The final step is simple: allow your chocolate covered cashew clusters to set completely at room temperature. This can take anywhere from 45 minutes to a few hours, depending on the room temperature and humidity. For a quicker set, you can carefully place the baking sheet in the refrigerator for 20-30 minutes, but be mindful of “chocolate bloom” (see FAQs for more details). Once fully hardened, they are ready to be enjoyed or stored.
PRO TIPS FOR MELTING CHOCOLATE:
Stovetop Method: When melting chocolate on the stove, always use a low heat setting. It’s crucial to remove the pan from the heat when approximately three-quarters of the chocolate has melted. Continue to stir the chocolate constantly off the heat until all the remaining pieces have completely melted. This technique, known as “carryover cooking,” prevents the chocolate from burning, becoming grainy, or seizing, ensuring a smooth, glossy finish.
Microwave Method: If using a microwave, place the chocolate chips or chopped chocolate in a microwave-safe bowl. Microwave for 1 minute on medium power. After this initial minute, continue microwaving in shorter bursts of 30 seconds, stirring thoroughly between each interval. Stop microwaving when about three-quarters of the chocolate has melted. Again, stir vigorously until the remaining pieces melt completely from the residual heat. This prevents overheating and preserves the chocolate’s smooth texture.
Chef-Approved Expert Tips for Success
Achieving perfectly smooth, delicious chocolate covered cashews is easy with these insider tricks:
Always opt for good quality chocolate that contains minimal added oils, preservatives, or artificial ingredients. Lesser quality chocolates often contain waxes or excessive fillers that don’t melt smoothly, leading to a dull finish or a gritty texture. Investing in good chocolate truly makes a difference in both taste and appearance.
When melting your chocolate, the crucial moment is to remove it from the heat source when there are still some small, unmelted pieces visible. Continue stirring the chocolate vigorously and continuously off the heat. The residual warmth from the already melted chocolate will gently melt the remaining solids. This prevents scorching the chocolate and helps in achieving a beautiful temper, which contributes to a shiny finish and a satisfying snap when bitten into.
To ensure the sea salt creates a visually appealing and perfectly distributed finish, allow the chocolate to set slightly before sprinkling it with salt. Wait approximately 10-15 minutes after forming the clusters. This allows the chocolate to become tacky enough for the salt to adhere without sinking completely into the chocolate, ensuring that each flake sits nicely on top for that perfect sweet-and-salty crunch.
For effortless gifting or to help create perfectly uniform clusters, consider making these in mini or regular-sized cupcake liners. Simply place a liner in each cavity of a muffin tin, drop the chocolate-cashew mixture into each, and then proceed with salting. Once set, they pop out easily and are already perfectly portioned and ready for presentation.
If you’re aiming for a dainty, bite-sized treat, simply make your clusters smaller. Use only 2-3 cashews per cluster instead of the suggested 6-7. This makes them ideal for snacking, sharing, or for adding to a dessert spread where variety is key.
For an extra boost of flavor and a rich aroma, gently toast your cashews in a dry pan or oven for a few minutes before coating them in chocolate. This really brings out their natural nutty notes and enhances the overall taste profile of the clusters.
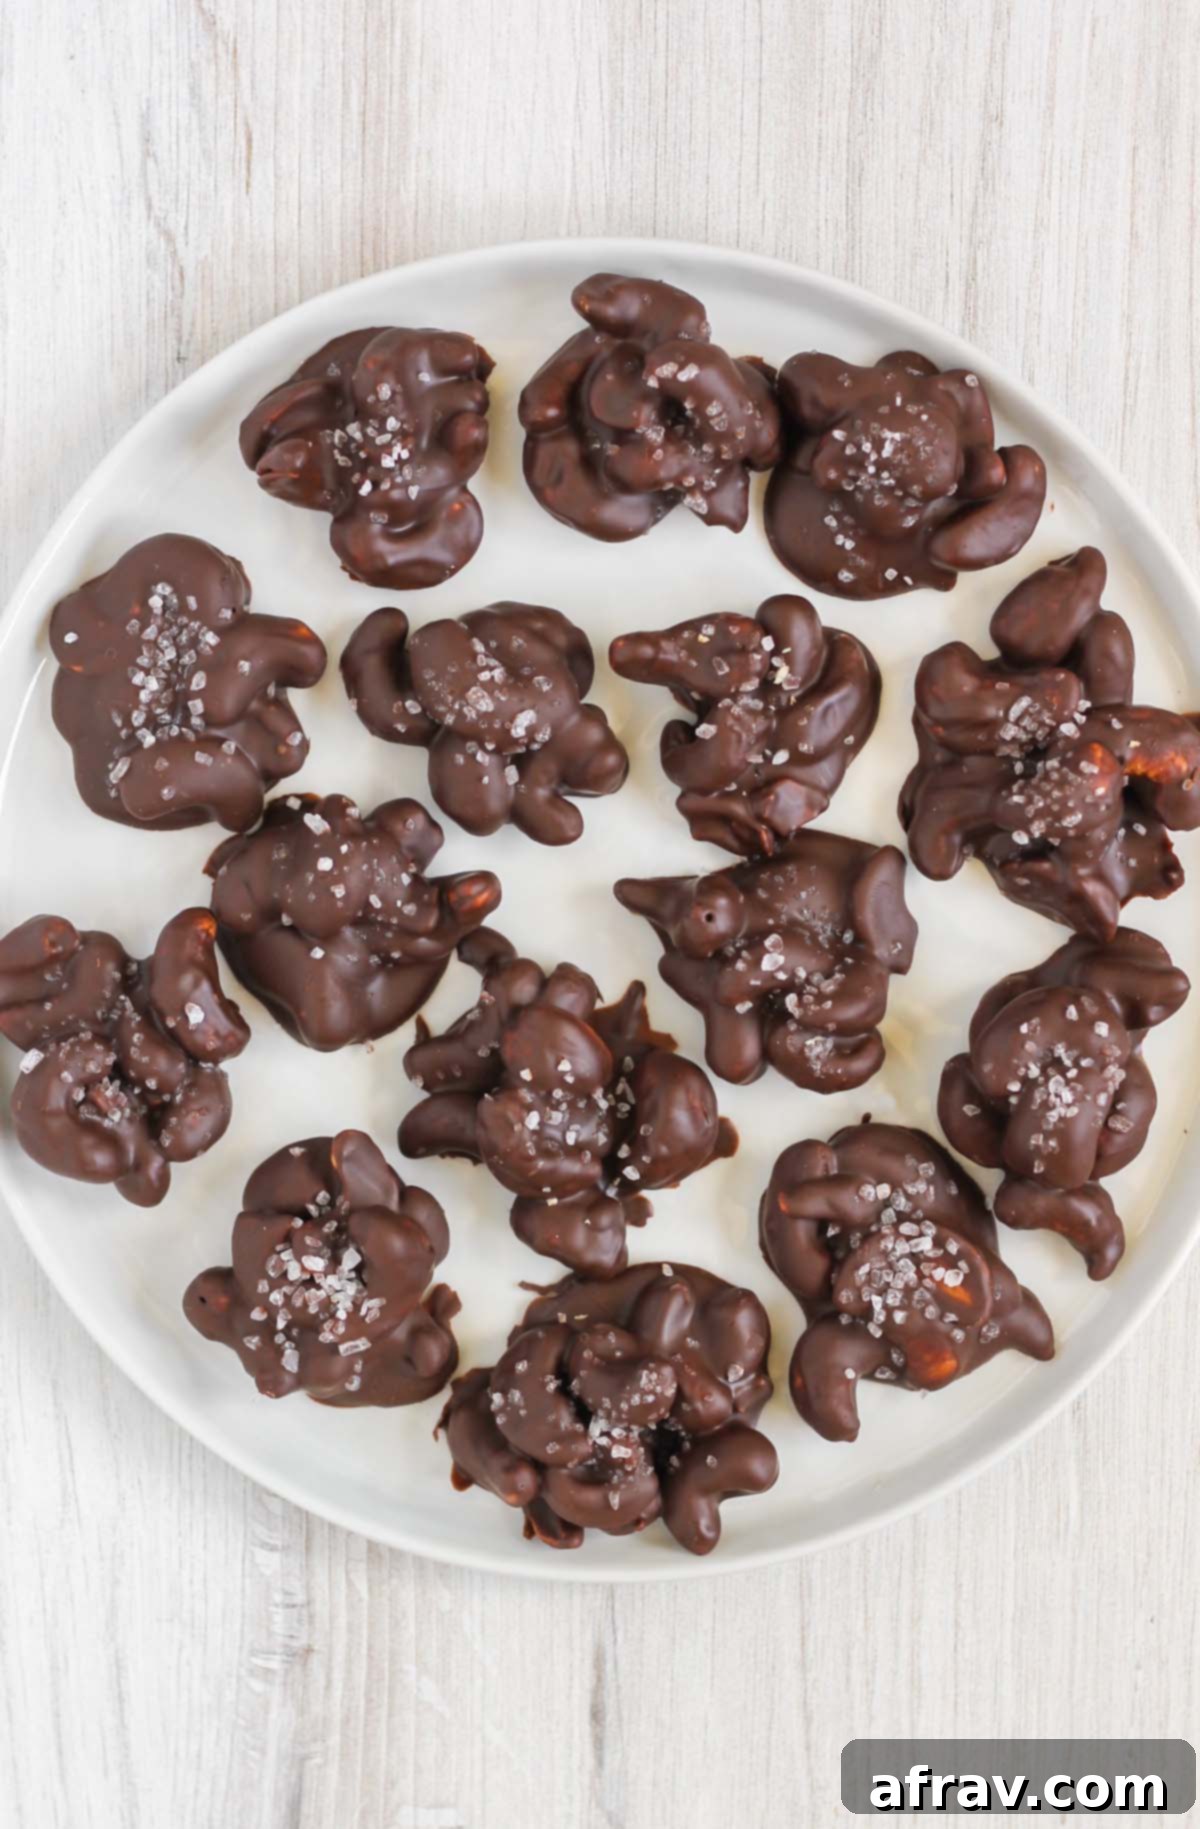
Storage Tips for Freshness
Properly storing your chocolate covered cashew clusters will ensure they remain fresh and delicious for as long as possible:
Room Temperature Storage: These clusters are at their best when stored in an airtight container at room temperature. Kept this way, they will stay fresh and enjoyable for up to one week. If you live in a warmer or very humid climate, you might find that the chocolate can become a bit soft or sticky. In such cases, storing them in the refrigerator might be a better option. If you plan to layer the clusters in your container, always place a piece of parchment paper between each layer to prevent them from sticking together.
Refrigeration: While it’s generally best to keep chocolate at a stable room temperature, refrigeration is an option if your environment is too warm or humid. However, be aware of the risk of “blooming” (explained in the FAQs below), where the fat from the chocolate rises to the surface, creating little white streaks or spots. This doesn’t affect the taste or safety, only the appearance. If refrigerating, ensure they are in a truly airtight container to prevent them from absorbing odors.
Freezing for Longer Term: I generally don’t recommend freezing these clusters as it significantly increases the risk of chocolate blooming once thawed, which can impact their visual appeal. However, if you need to store them for an extended period, they can be frozen for up to 3 months. To freeze, arrange them in a single layer on a baking sheet and freeze until solid. Then, transfer them to a freezer-safe airtight container or bag, again using parchment paper between layers. Thaw them gradually in the refrigerator before bringing them to room temperature to serve.
Common Questions About Chocolate Cashew Clusters
Absolutely, you certainly can! While I personally prefer the enhanced flavor and satisfying crunch that roasting cashews brings out, using raw cashews is perfectly acceptable. If you do use raw cashews, the resulting clusters will have a slightly softer texture and a milder cashew flavor. For the best experience, I still highly recommend a quick roast!
The term “healthy” is often subjective and depends on individual dietary needs and definitions. However, I genuinely believe these chocolate covered cashew clusters are an excellent “clean eating” snack or dessert option. Cashews themselves are a great source of healthy fats, fiber, and protein. When paired with high-quality dark chocolate (rich in antioxidants) and consumed in moderation, they offer a far more nutritious alternative to many processed sweets. They’re a fantastic choice when you’re looking for something sweet without the guilt!
While tempering chocolate can lead to a more professional-looking, shiny finish and a firmer snap, this recipe is designed for ease and simplicity. The slow melting method (as outlined in my instructions) works wonderfully for achieving delicious and visually appealing clusters without the complexities of traditional tempering. If you’re an experienced chocolatier or simply wish to explore tempering, feel free to follow these detailed directions for tempered chocolate. Otherwise, rest assured that the simple melting method will yield fantastic results!
Those little white bubbles or streaks are known as “chocolate bloom.” There are two main types: fat bloom and sugar bloom. Fat bloom occurs when the fat from the chocolate separates and rises to the surface, often due to temperature fluctuations, especially when stored in the refrigerator or exposed to extreme heat. Sugar bloom, less common in this context, happens when moisture causes sugar crystals to form on the surface. While bloom might make your chocolate look less appealing, it is entirely harmless, and the cashews are still perfectly safe and delicious to eat. To minimize bloom, try to store your clusters at a consistent, cool room temperature.
While you technically *can* use milk chocolate, I highly recommend sticking to semi-sweet or dark chocolate for this recipe. Milk chocolate tends to be much sweeter and often lacks the depth of flavor needed to balance the richness of the cashews and the salt. Furthermore, milk chocolate typically contains more dairy and sugar, making it a less “clean” option. Dark chocolate provides a more sophisticated flavor profile and enhanced antioxidant benefits.
If you’re in a hurry, you can speed up the setting process by placing the baking sheet with the formed clusters into the refrigerator for about 20-30 minutes. Be cautious not to leave them in for too long, as extreme temperature changes can contribute to chocolate bloom. Once firm, remove them and allow them to come closer to room temperature before serving or storing, as very cold chocolate can be quite hard.
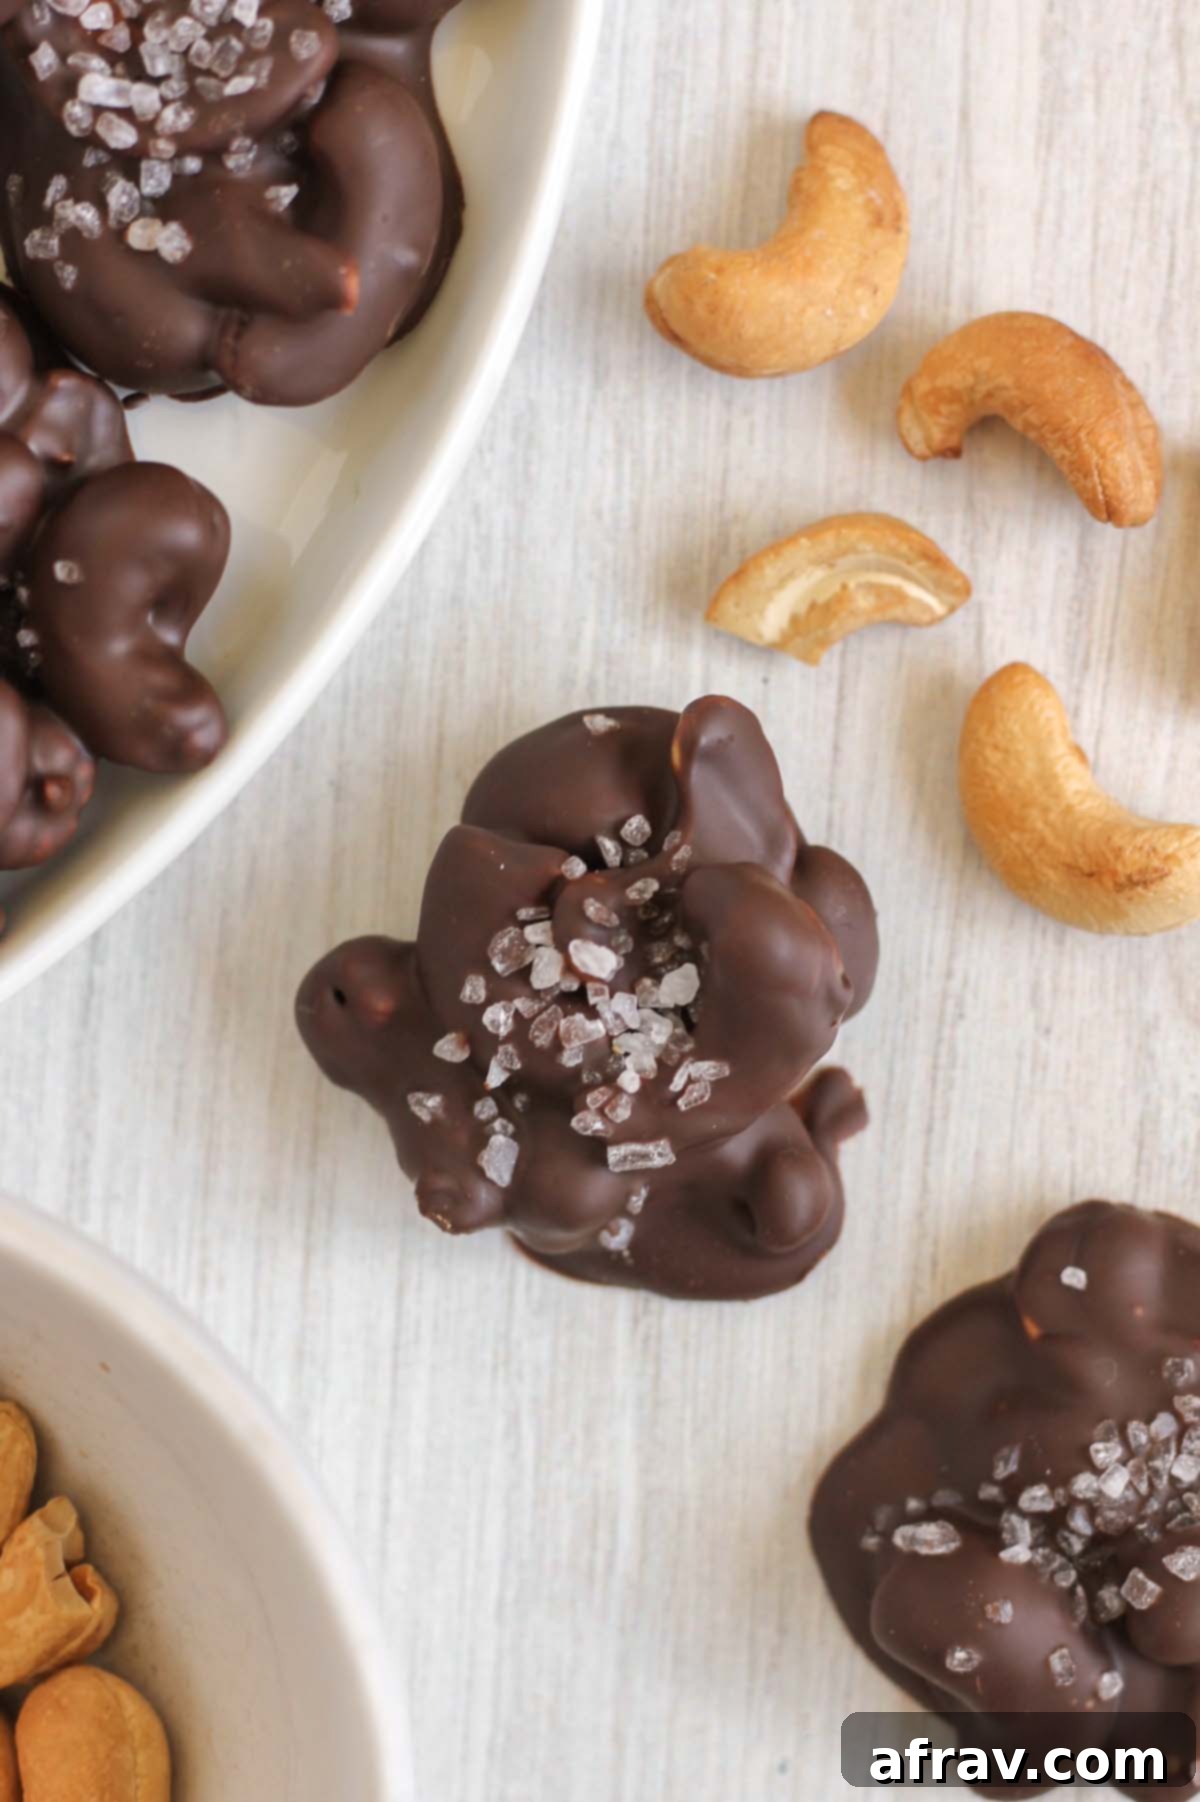
Explore More Delicious Chocolate Creations
If you loved these chocolate covered cashews, you’ll surely enjoy these other chocolate-inspired recipes from Clean Plate Mama:
- No-Bake Chocolate Protein Bars
- Chocolate Baked Oats (no banana)
- Oat Flour Chocolate Chip Cookies
- Fudgy Oat Flour Brownies
If you make this amazing Chocolate Covered Cashew Clusters recipe, please let me know what you think! I would be incredibly grateful if you could leave a star rating and/or a comment below. Your feedback helps others discover and enjoy these recipes. And don’t forget to share a photo of your creations on Instagram or Facebook and mention @CleanPlateMama – I’d love to see your delicious work!
Eat Clean. Be Well!
-Sara

Chocolate Covered Cashew Clusters
Print
Pin
Rate
Save This Recipe For Later!
We’ll email this post to you, so you can come back to it later. Plus, enjoy weekly clean eating recipes as a bonus.
Equipment
-
1 Baking sheet
-
1 Small Saucepan
Ingredients
- 1 ½ cups roasted cashews (unsalted, see notes on roasting)
- 1 cup dark chocolate chips or chopped chocolate bar (60% cacao or higher, or semi-sweet, see notes on chocolate quality)
- 1 tsp. coconut oil
- coarse sea salt (or flaky sea salt, for sprinkling)
Instructions
-
Line a large baking sheet with parchment paper. This will prevent your clusters from sticking and ensure easy cleanup. Set it aside.
-
In a small saucepan, combine the chocolate chips (or chopped chocolate bar) and coconut oil. Melt them together over very low heat, stirring frequently. Once the chocolate is about three-quarters melted, remove the pan from the heat entirely. Continue stirring the chocolate until all the remaining pieces have fully melted and the mixture is smooth and glossy. This method helps prevent burning and ensures a beautiful texture.
-
Add the roasted cashews into the bowl with the melted chocolate. Using a spatula or spoon, gently mix until all the cashews are thoroughly coated in the rich chocolate mixture.
-
Using a large spoon or a small cookie scoop, drop clusters of the chocolate-covered cashews onto your prepared baking sheet. For a good serving size, aim for approximately 6-7 cashews per cluster. Leave a little space between each cluster.
-
Allow the chocolate to set for about 10-15 minutes at room temperature. This is important to let the chocolate become slightly firm but still tacky. After this time, gently sprinkle each cluster with coarse sea salt or sea salt flakes. This timing ensures the salt adheres beautifully to the chocolate and doesn’t sink in.
-
Let the chocolate covered cashew clusters fully harden at room temperature (this can take 45 minutes to 2 hours, or faster in the fridge for 20-30 mins). Once completely set, transfer them to an airtight container for storage.
Notes
- I highly recommend using roasted cashews as they provide a delightful crunch and roasting them significantly enhances their rich, nutty flavor. However, raw cashews can also be used if preferred, though the texture and flavor will be slightly different.
- For the best possible taste and texture, always use high-quality chocolate without excessive added oils or preservatives. Dark chocolate (60% cacao or higher) or semi-sweet chocolate is ideal for a balanced flavor; milk chocolate is generally not recommended as it can be overly sweet.
- Don’t waste any extra chocolate! If there’s a small amount of melted chocolate left in the pan after coating, you can drizzle it decoratively over the finished clusters once they are on the parchment paper.
- These chocolate cashew clusters are best enjoyed within one week when stored properly at room temperature in an airtight container.
- Consider adding a pinch of cinnamon or a tiny dash of cayenne pepper to the melted chocolate for a unique flavor twist.
- For easy gifting, you can place individual clusters into mini cupcake liners once they are formed on the baking sheet.
Nutrition
