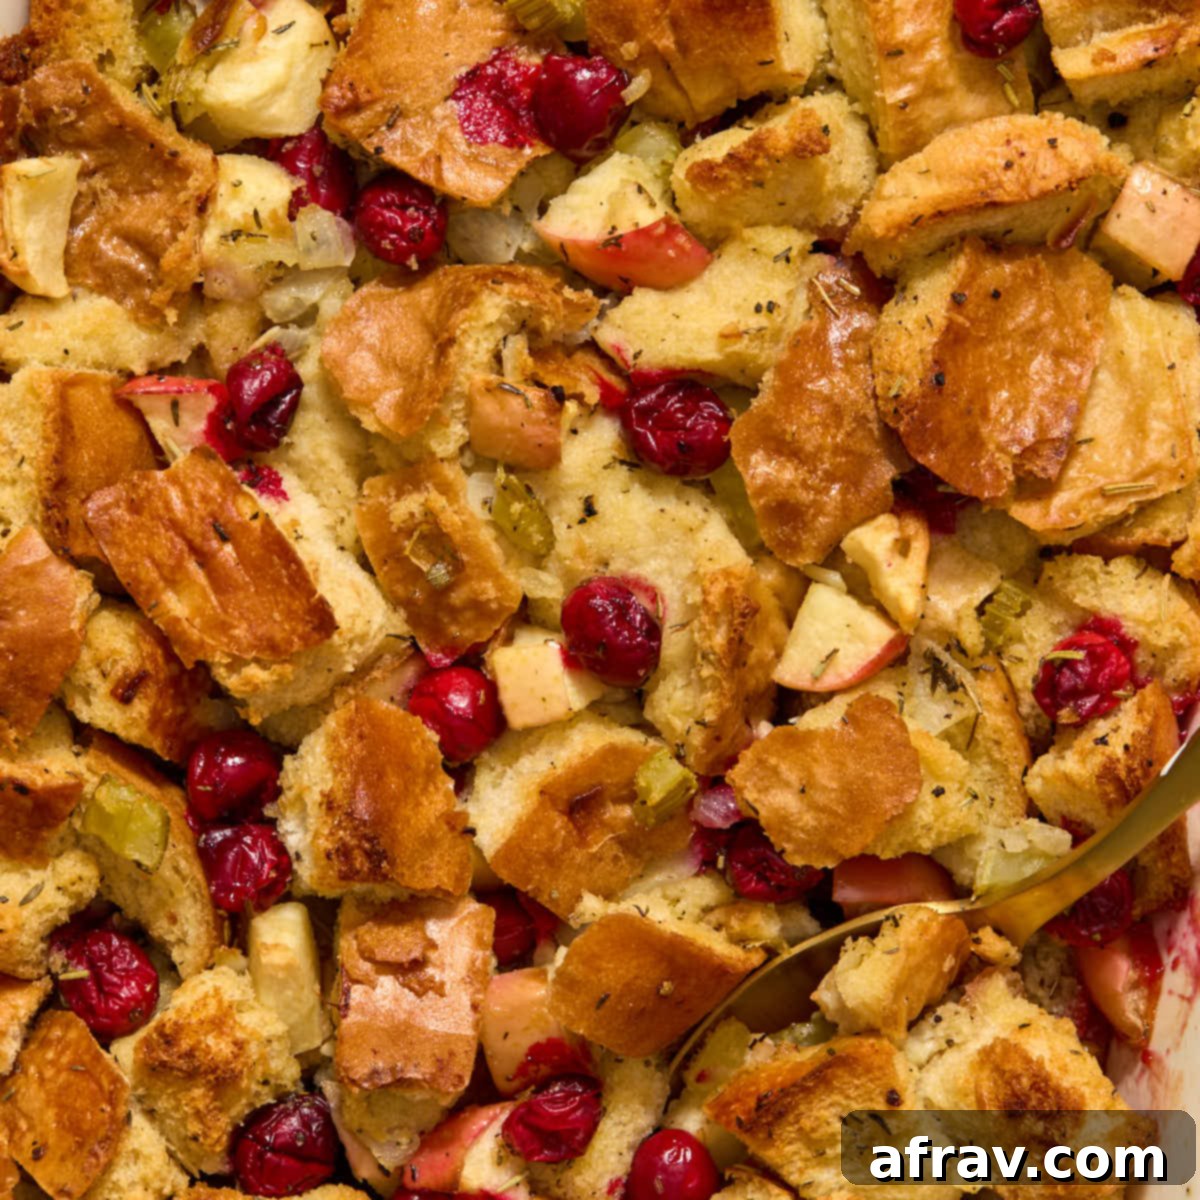
Easy & Flavorful Vegetarian Apple Cranberry Stuffing: The Perfect Holiday Side Dish
Elevate your holiday feast with this sensational **Apple Cranberry Stuffing**, a vegetarian delight that promises to be the star of your table. Crafted with perfectly toasted bread cubes, rich vegetable broth, crisp Honeycrisp apples, and vibrant fresh cranberries, this stuffing is a symphony of flavors and textures. Infused with aromatic dried herbs, it bakes to a beautiful golden brown, offering that classic, comforting stuffing essence but with an exciting sweet and tart twist. It’s an irresistibly festive way to refresh your traditional stuffing side dish for Thanksgiving, Christmas, or any special gathering.
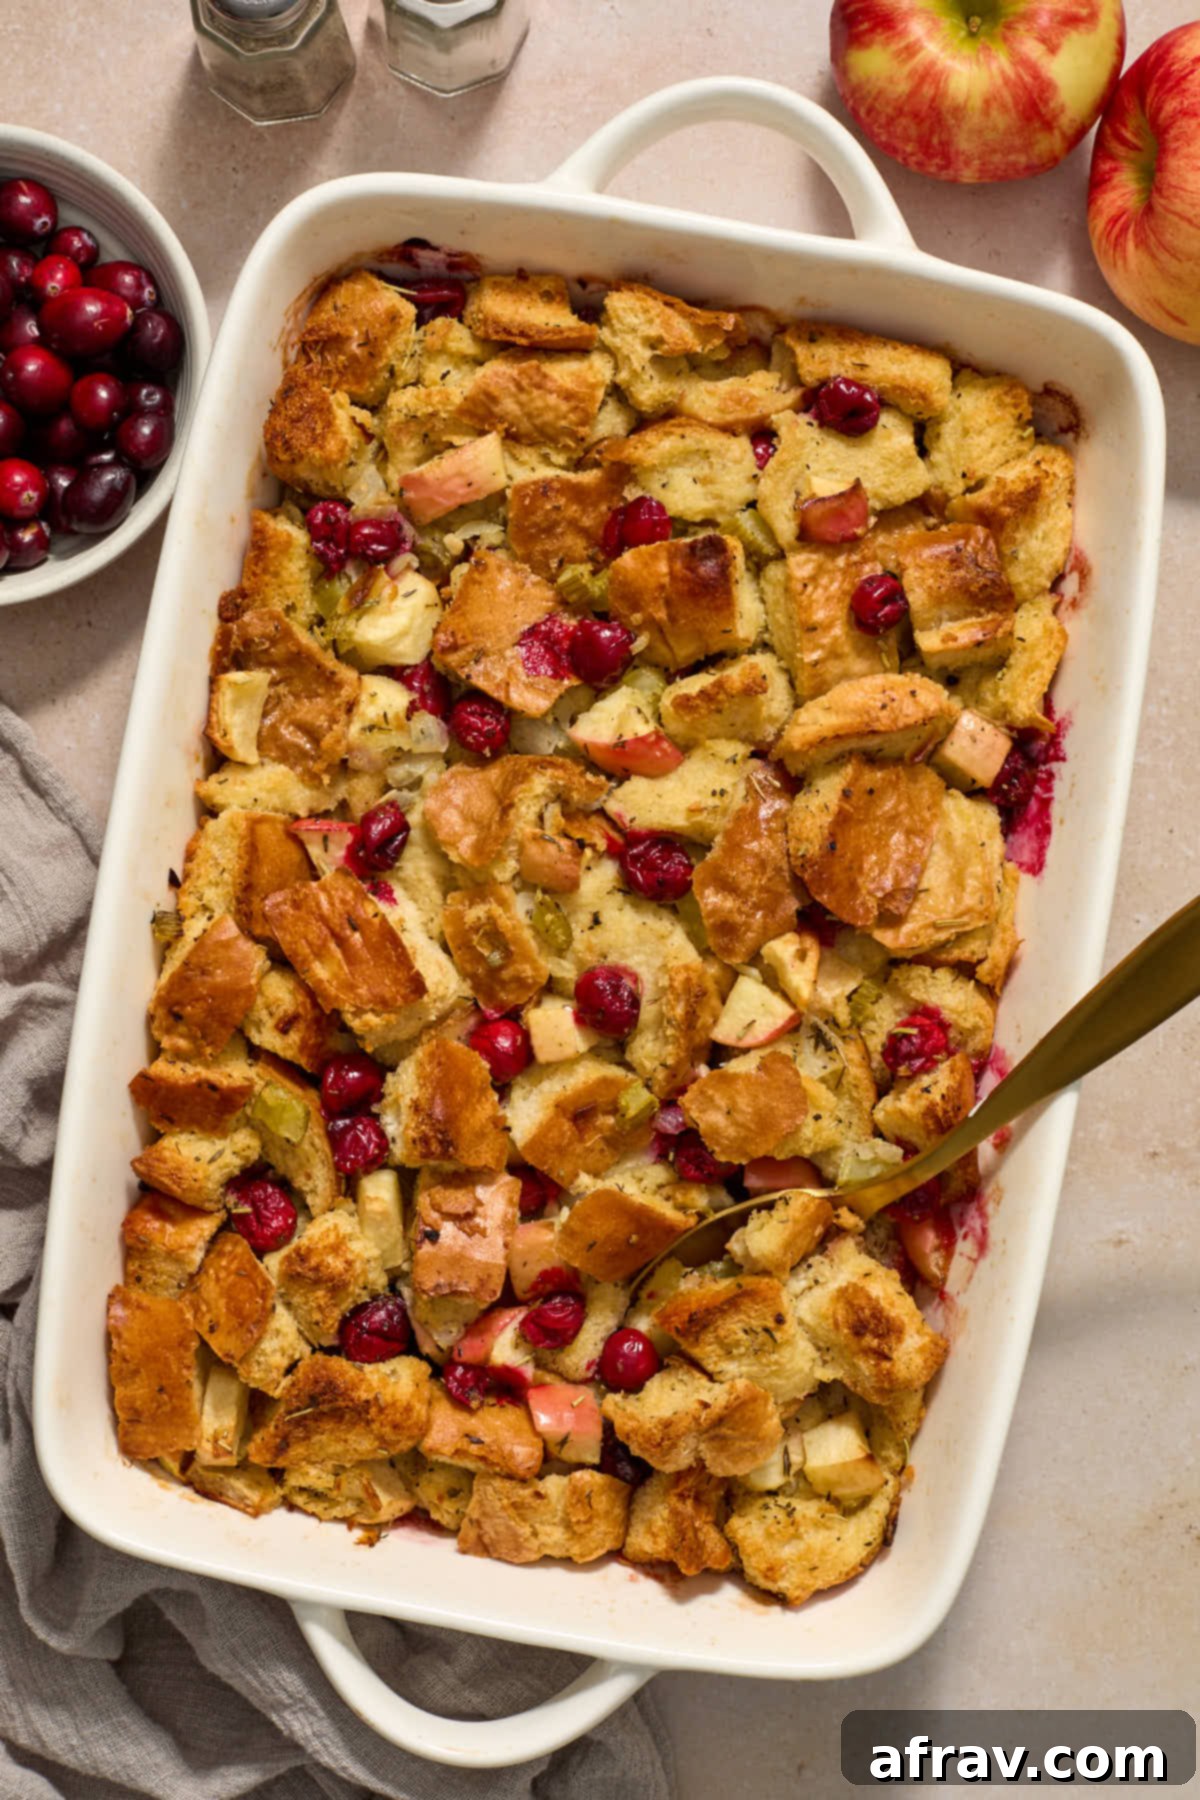
Stuffing holds a special place in holiday meals, often considered one of the most anticipated side dishes. If you, like us, find yourself constantly craving that perfect blend of savory goodness, then this recipe is definitely for you. While this apple cranberry version offers a unique fruity sweetness, you might also enjoy exploring other variations. For those who appreciate a heartier option, consider trying a whole wheat stuffing with kielbasa sausage. It’s a fantastic shortcut sausage stuffing, utilizing whole wheat bread while retaining all the cherished flavors of a traditional, robust stuffing.
This vegetarian stuffing recipe is meticulously designed to balance convenience with gourmet taste. The combination of sweet apples and tangy cranberries not only adds incredible depth of flavor but also a burst of festive color that makes it truly stand out. It’s a versatile dish that can complement a variety of main courses, from roasted turkey to vegetarian roasts, making it a staple for any holiday menu. The goal is a perfectly moist interior with a delightfully crispy, buttery top – a texture combination that’s absolutely addictive.
Table of contents
- Key ingredients and substitutions
- How to make apple cranberry stuffing (with step-by-step photos)
- Tips for stuffing success
- Storage and reheating instructions
- Recipe FAQs
- More holiday side dishes
Key Ingredients and Substitutions for Perfect Stuffing
Understanding the role of each ingredient is key to perfecting this apple cranberry stuffing. Below is a detailed overview of the core components and suggested substitutions to help you create a truly memorable dish. The complete list of exact ingredients and quantities can be found in the comprehensive recipe card at the end of this post.
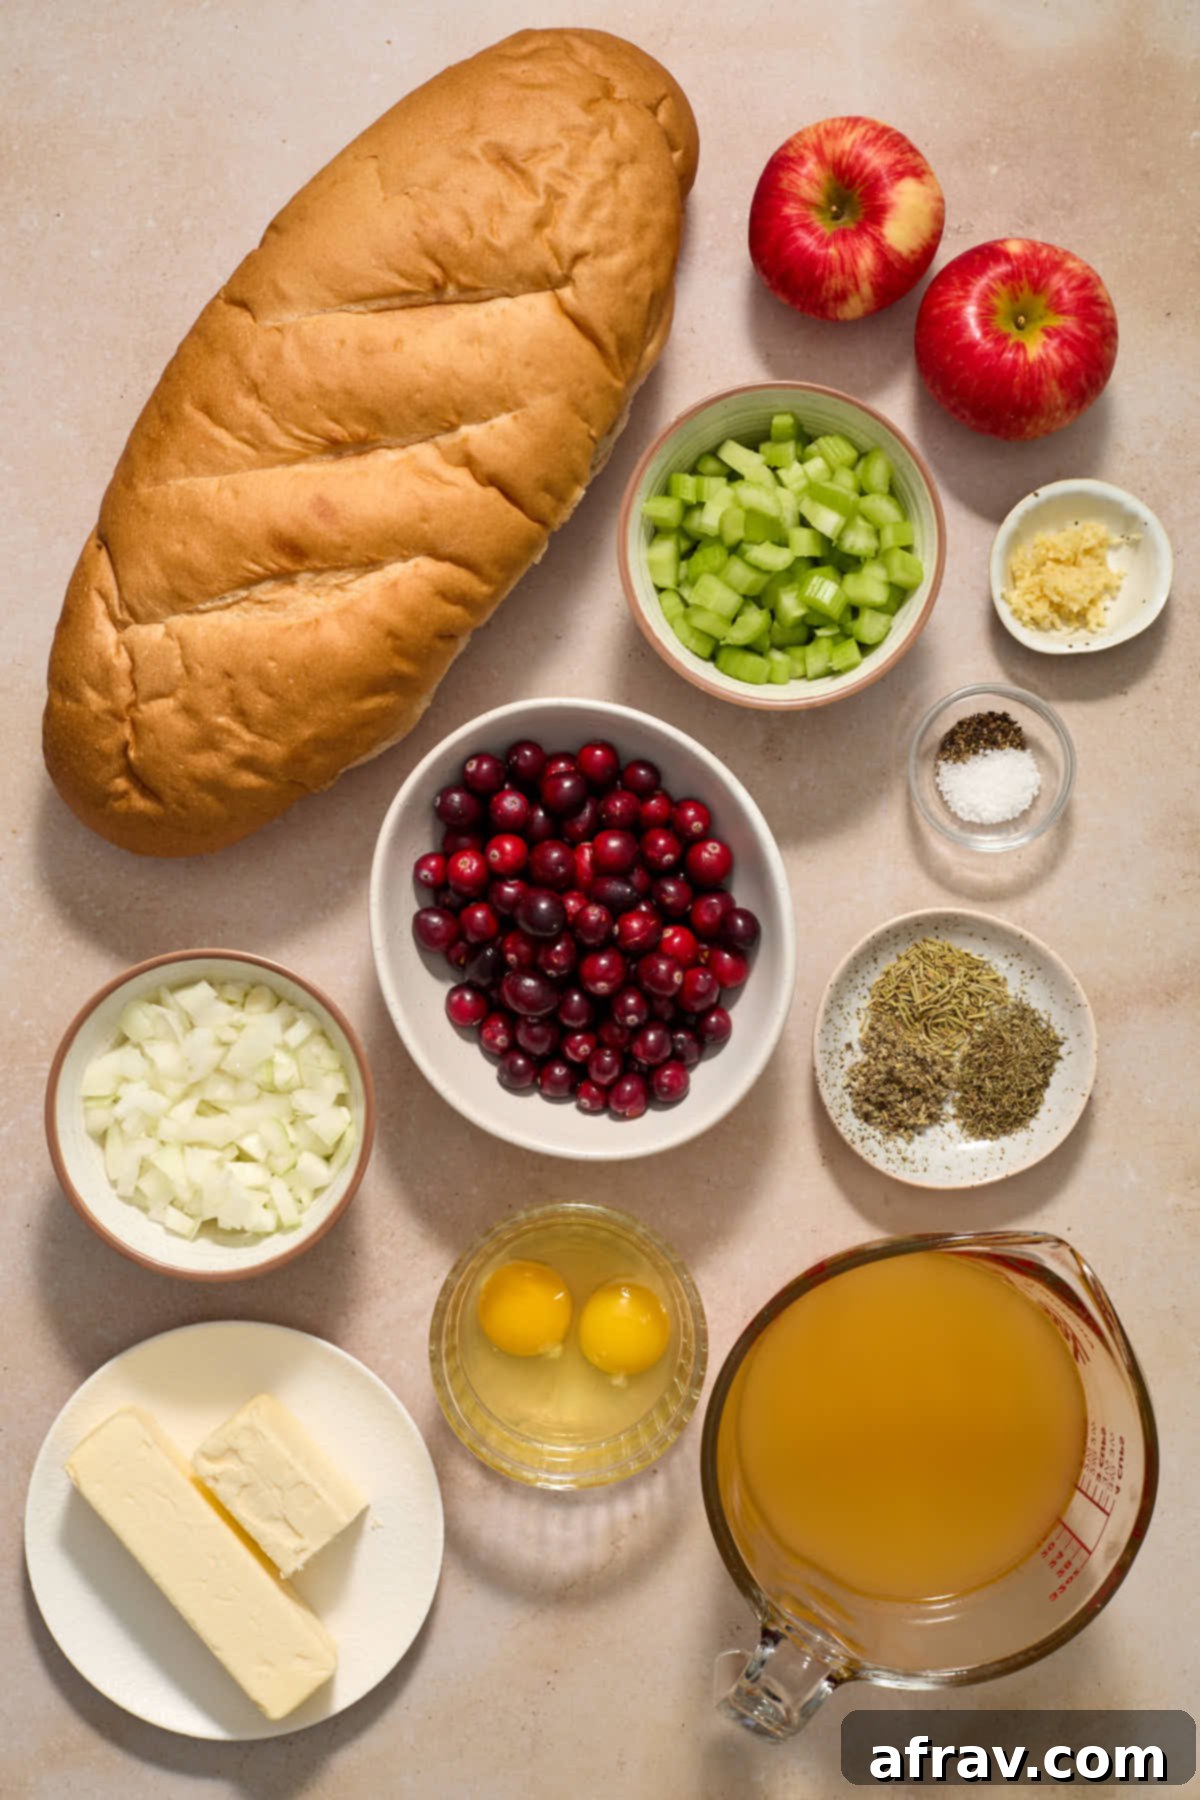
- French Bread – The foundation of any great stuffing is the bread. You’ll need an entire loaf of French bread, which typically yields around 14 cups of cubed bread. French bread is fantastic for stuffing because its sturdy crumb holds up well during baking, absorbing the broth without becoming overly mushy, while still providing a lovely chewiness. However, if French bread isn’t available, Italian bread or sourdough are excellent alternatives that offer similar textural benefits. The most crucial tip for your bread is to use it when it’s a few days old or intentionally stale. Stale bread is much easier to cut into uniform cubes and toasts more effectively, resulting in that desired crispy-on-the-outside, tender-on-the-inside texture.
- Apples – The choice of apple significantly impacts the stuffing’s flavor profile. We recommend sweet and tart varieties that maintain their crisp bite even after baking. Honeycrisp apples are a top choice due to their perfect balance of sweetness and acidity, and their firm texture. Other excellent options include Pink Lady, Fuji, or even Granny Smith if you prefer a more pronounced tartness. While I typically leave the apple peels on for added fiber, color, and texture, you can certainly peel them if that’s your preference. Ensure they are cored and chopped into consistent, bite-sized pieces for even distribution throughout the stuffing.
- Cranberries – Fresh cranberries are essential for providing that signature tart flavor and a beautiful pop of festive color. Their bright acidity cuts through the richness of the butter and bread, creating a perfectly balanced taste experience. If fresh cranberries are out of season or unavailable, dried cranberries can be used as a substitute. Be aware, however, that dried cranberries are much sweeter and will alter the overall flavor of the stuffing. If using dried, you might consider slightly reducing the amount or adjusting other sweet elements in your meal to compensate.
- Celery, Onion, Garlic, and Dried Herbs – These are the aromatic heroes that infuse the stuffing with its classic, savory depth. Cooking these vegetables and herbs gently in butter softens them and releases their incredible flavors. For the herbs, a blend of dried thyme, rosemary, and sage is ideal, as these traditional holiday spices complement each other beautifully and evoke that comforting festive aroma. If you opt for fresh herbs instead, remember that they are less potent than dried herbs, so you’ll need to triple the amount to achieve the same intensity of flavor. Finely chopping fresh herbs will help them release their oils more effectively.
- Broth – To keep this delicious stuffing entirely vegetarian, we utilize vegetable broth. It provides the necessary moisture and savory undertones without any animal products. I always prefer to use no-salt-added vegetable broth, as this gives you complete control over the seasoning. If you’re using low-sodium or regular broth, be sure to significantly reduce the amount of added salt in the recipe to prevent the stuffing from becoming overly salty. Chicken broth can be used if a vegetarian dish isn’t a requirement, but vegetable broth ensures it remains inclusive for all dietary preferences.
- Unsalted Butter – Butter plays a crucial role, not only for sautéing the aromatics but also for enriching the overall flavor and contributing to the golden-brown crust. Using unsalted butter allows you to control the salt content precisely. If only salted butter is available, adjust the added salt accordingly.
- Eggs – Large eggs act as a binder, holding the stuffing together and contributing to its moist, cohesive texture. They prevent the stuffing from becoming too crumbly and add a subtle richness.
- Salt and Pepper – Fine sea salt and freshly ground black pepper are fundamental seasonings that enhance all the other flavors. Taste as you go, especially if using a pre-seasoned broth, to achieve the perfect balance.
How to Make Apple Cranberry Stuffing (with Step-by-Step Photos)
Making this delightful apple cranberry stuffing is a straightforward process, designed for success even for novice cooks. Follow these clear, step-by-step instructions, complete with visual aids, to achieve a perfectly moist and flavorful stuffing every time. For even more detailed measurements and specific instructions, please refer to the recipe card at the very end of this post.
Tips for Stuffing Success: Achieve Perfection Every Time
Crafting the perfect stuffing involves a few key techniques and considerations. By following these tips, you can ensure your Apple Cranberry Stuffing is a resounding success, earning rave reviews from your family and friends.
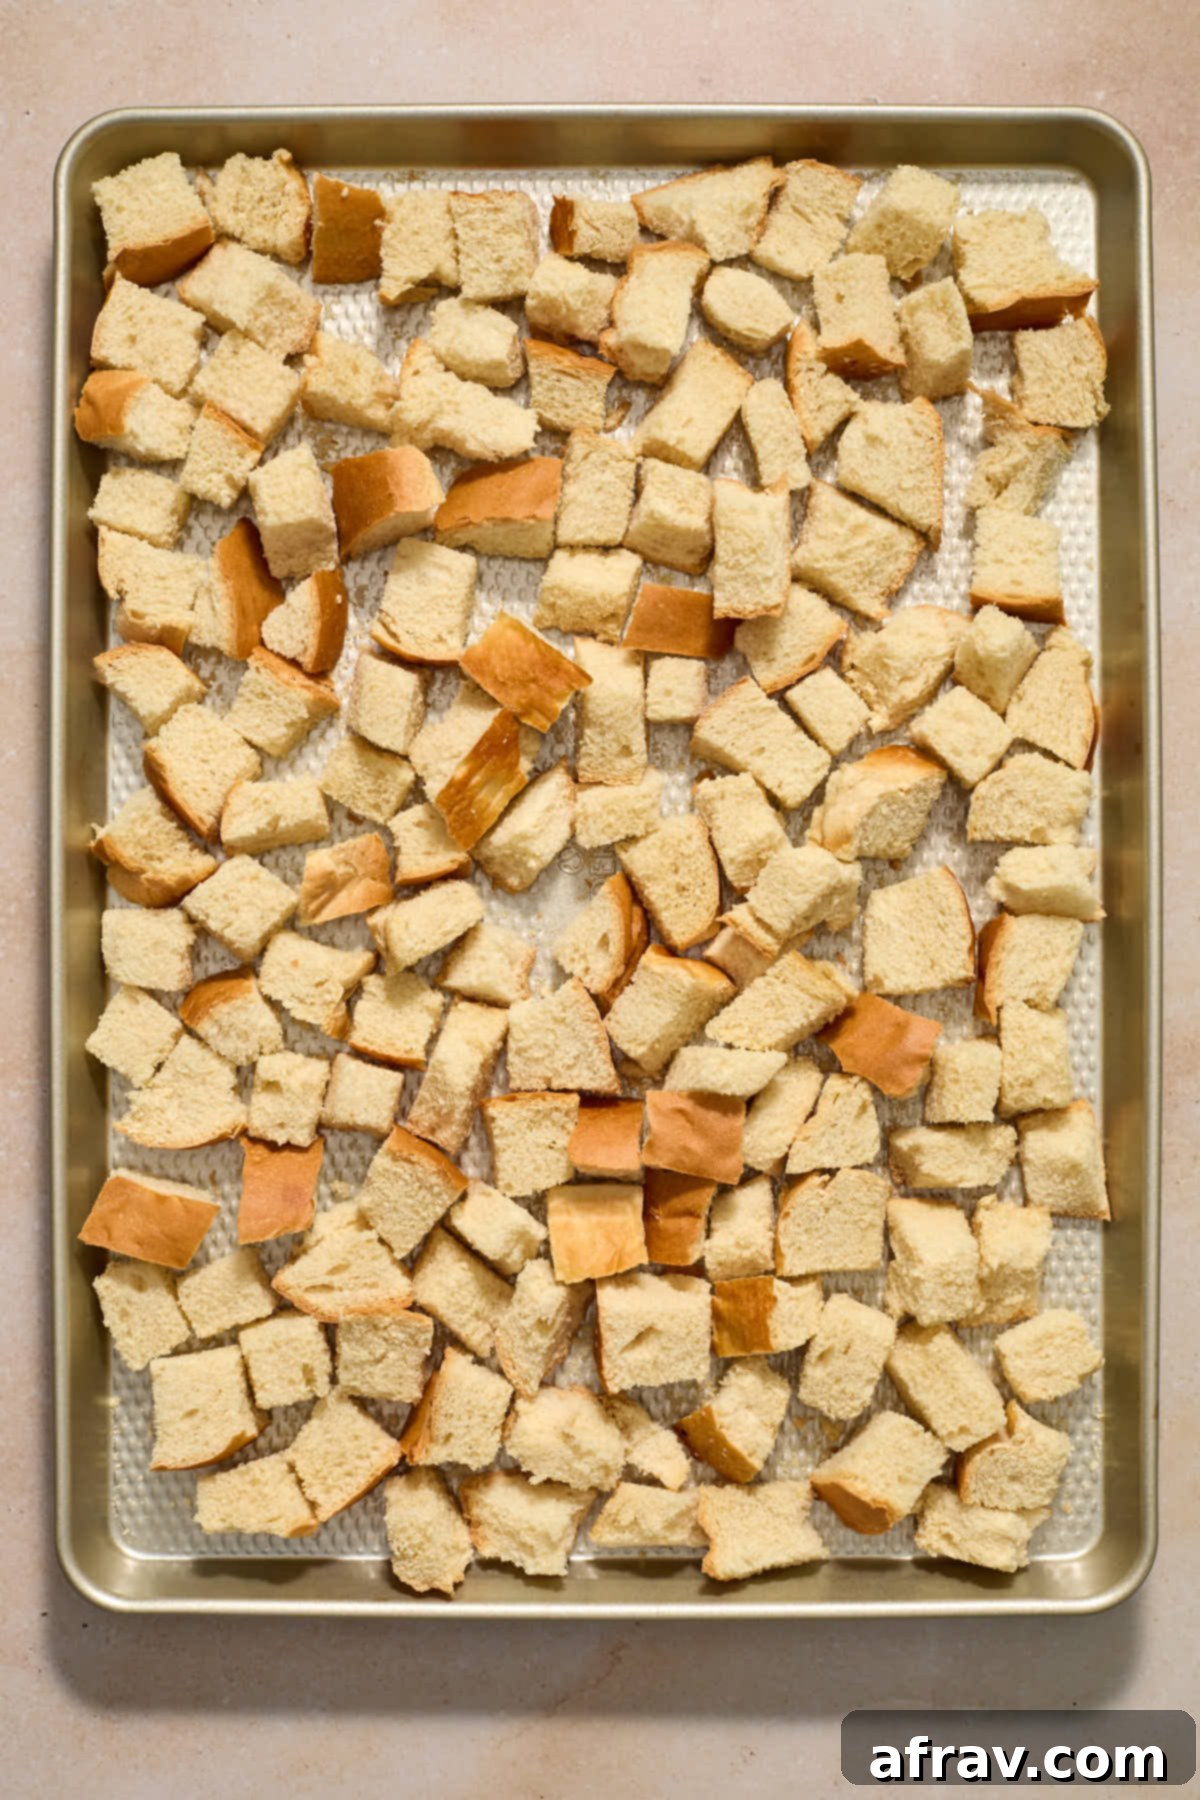
- Embrace Stale Bread. This is perhaps the most critical tip for stuffing that isn’t soggy. Fresh bread is too soft and contains too much moisture, making it difficult to cut into neat cubes and prone to absorbing liquid excessively, resulting in a dense, heavy stuffing. Aim for bread that’s a few days old and feels somewhat dry. Even better, follow the recipe’s suggestion to toast it. Toasting the bread cubes mimics the texture of croutons, creating a robust base that can soak up the flavorful broth without falling apart, ensuring a delightful chewiness and a crispy exterior.
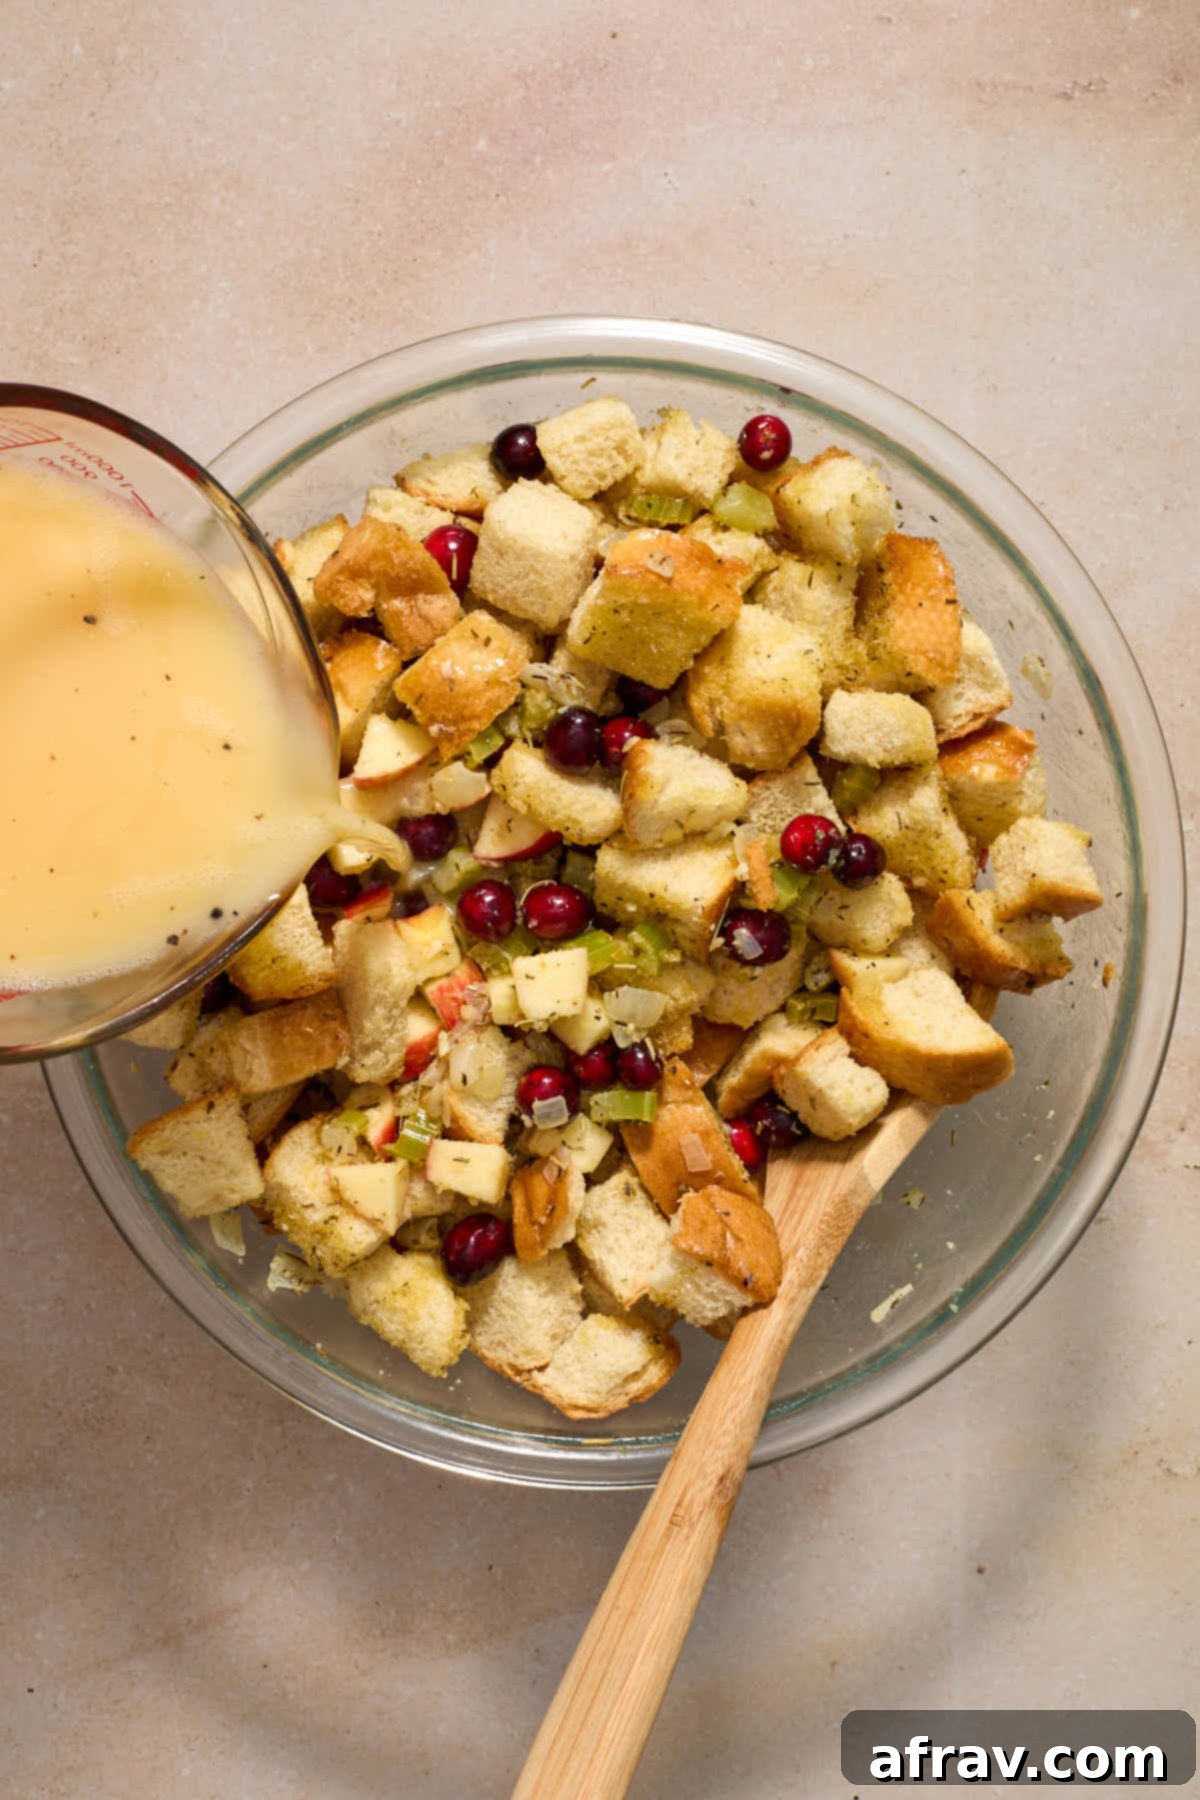
- Avoid Over-Soaking the Bread Cubes. The balance of moisture is paramount. You want all the bread cubes to be thoroughly moistened by the flavorful egg and broth mixture, allowing them to absorb the wonderful flavors. However, it’s crucial to avoid over-saturating the bread to the point where it becomes soggy and breaks down. I recommend gradually adding the liquid, pouring it in increments, and gently tossing the bread cubes with a large spoon or your hands. This technique ensures even coverage, allowing each cube to absorb just enough moisture to become tender without turning mushy. You might even find that you don’t need to use every drop of the liquid, depending on how dry your bread was initially.
- Utilize an Extra-Large Bowl for Mixing. Stuffing involves a substantial volume of ingredients, particularly the bread cubes. To effectively combine everything without crushing the bread or spilling contents, an extra-large mixing bowl is indispensable. It provides ample space for gentle tossing, allowing you to evenly distribute the aromatics, fruit, and liquid throughout the bread. The bowl I used in the step-by-step photos was large, but even a bigger one would have been more ideal for truly effortless mixing!
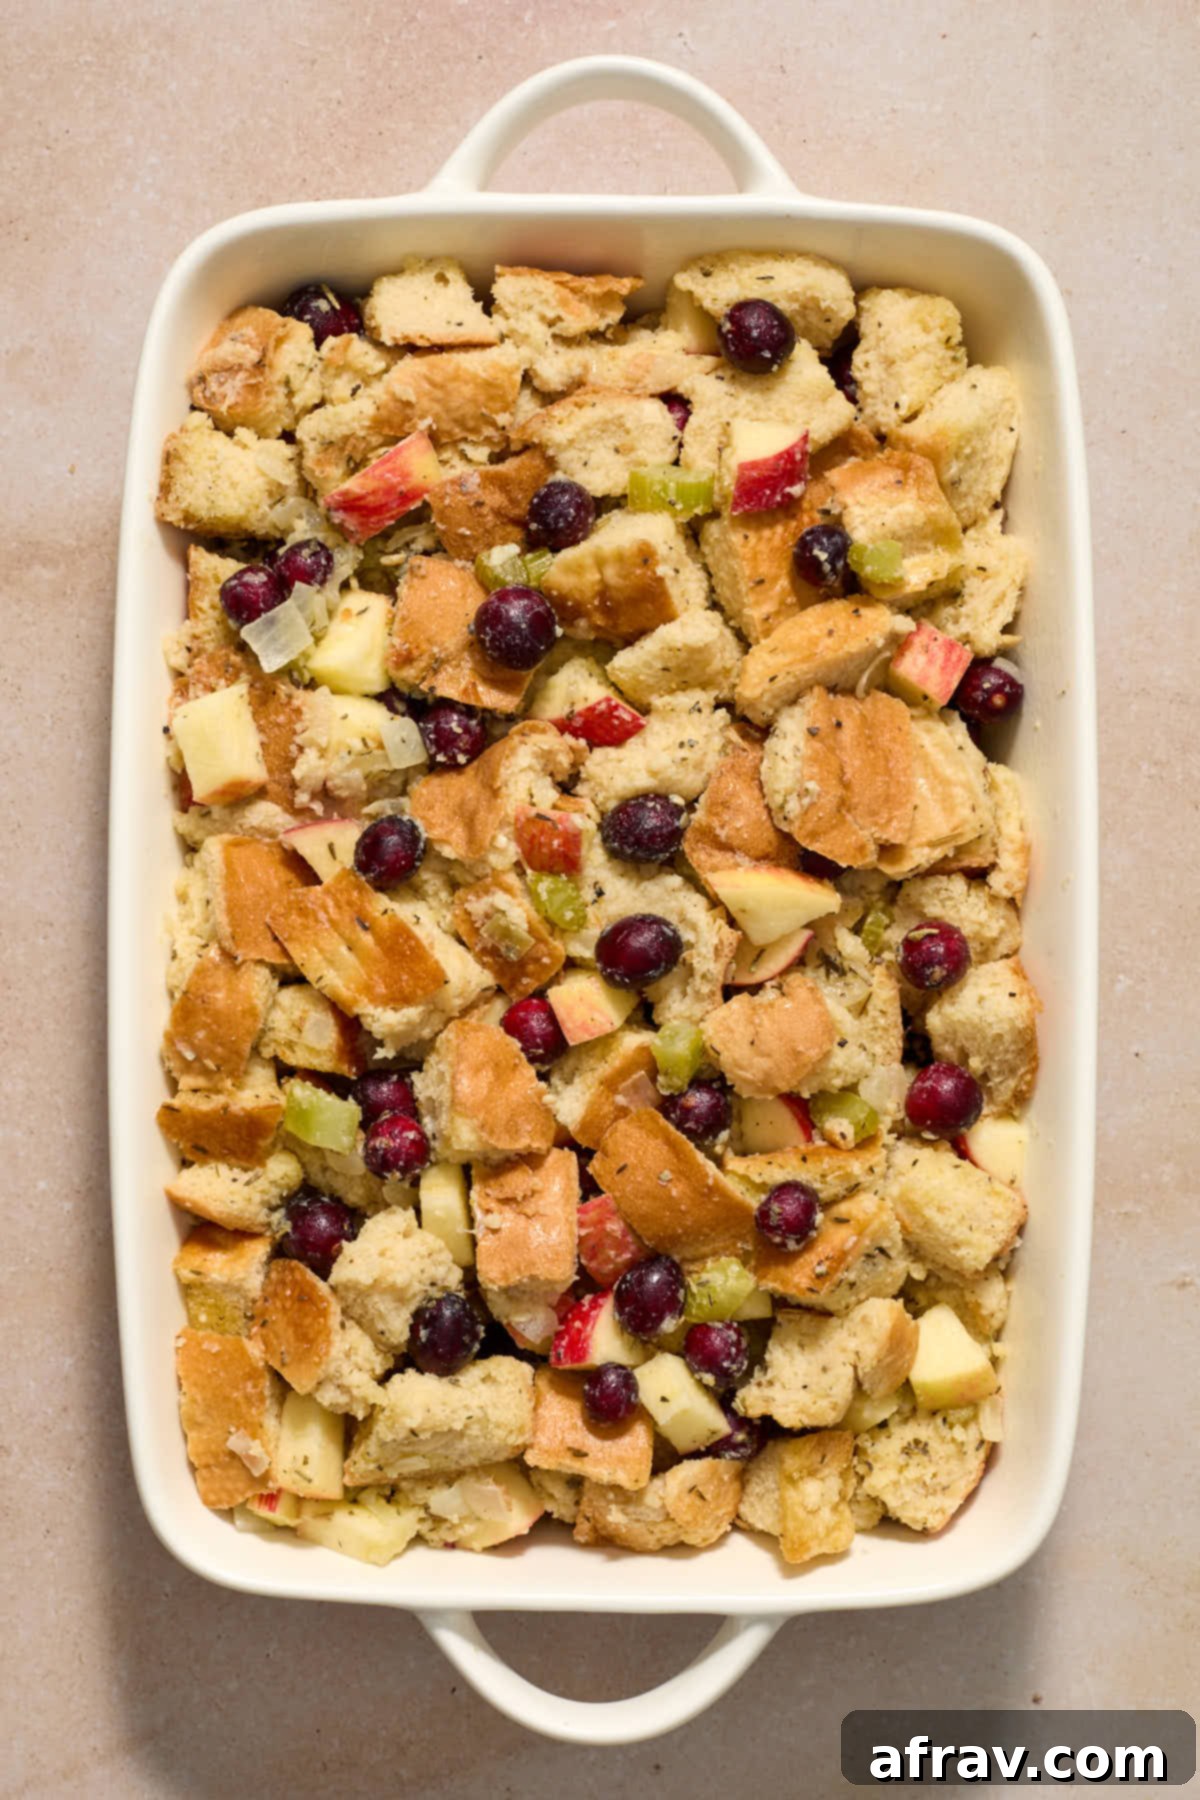
- Don’t Overcrowd the Baking Dish. While a 9×13 inch baking dish is standard, if you desire more crispy edges and a quicker cook time, avoid packing the stuffing too tightly. A slightly looser arrangement allows hot air to circulate more freely, promoting browning and crispiness on the top layer.
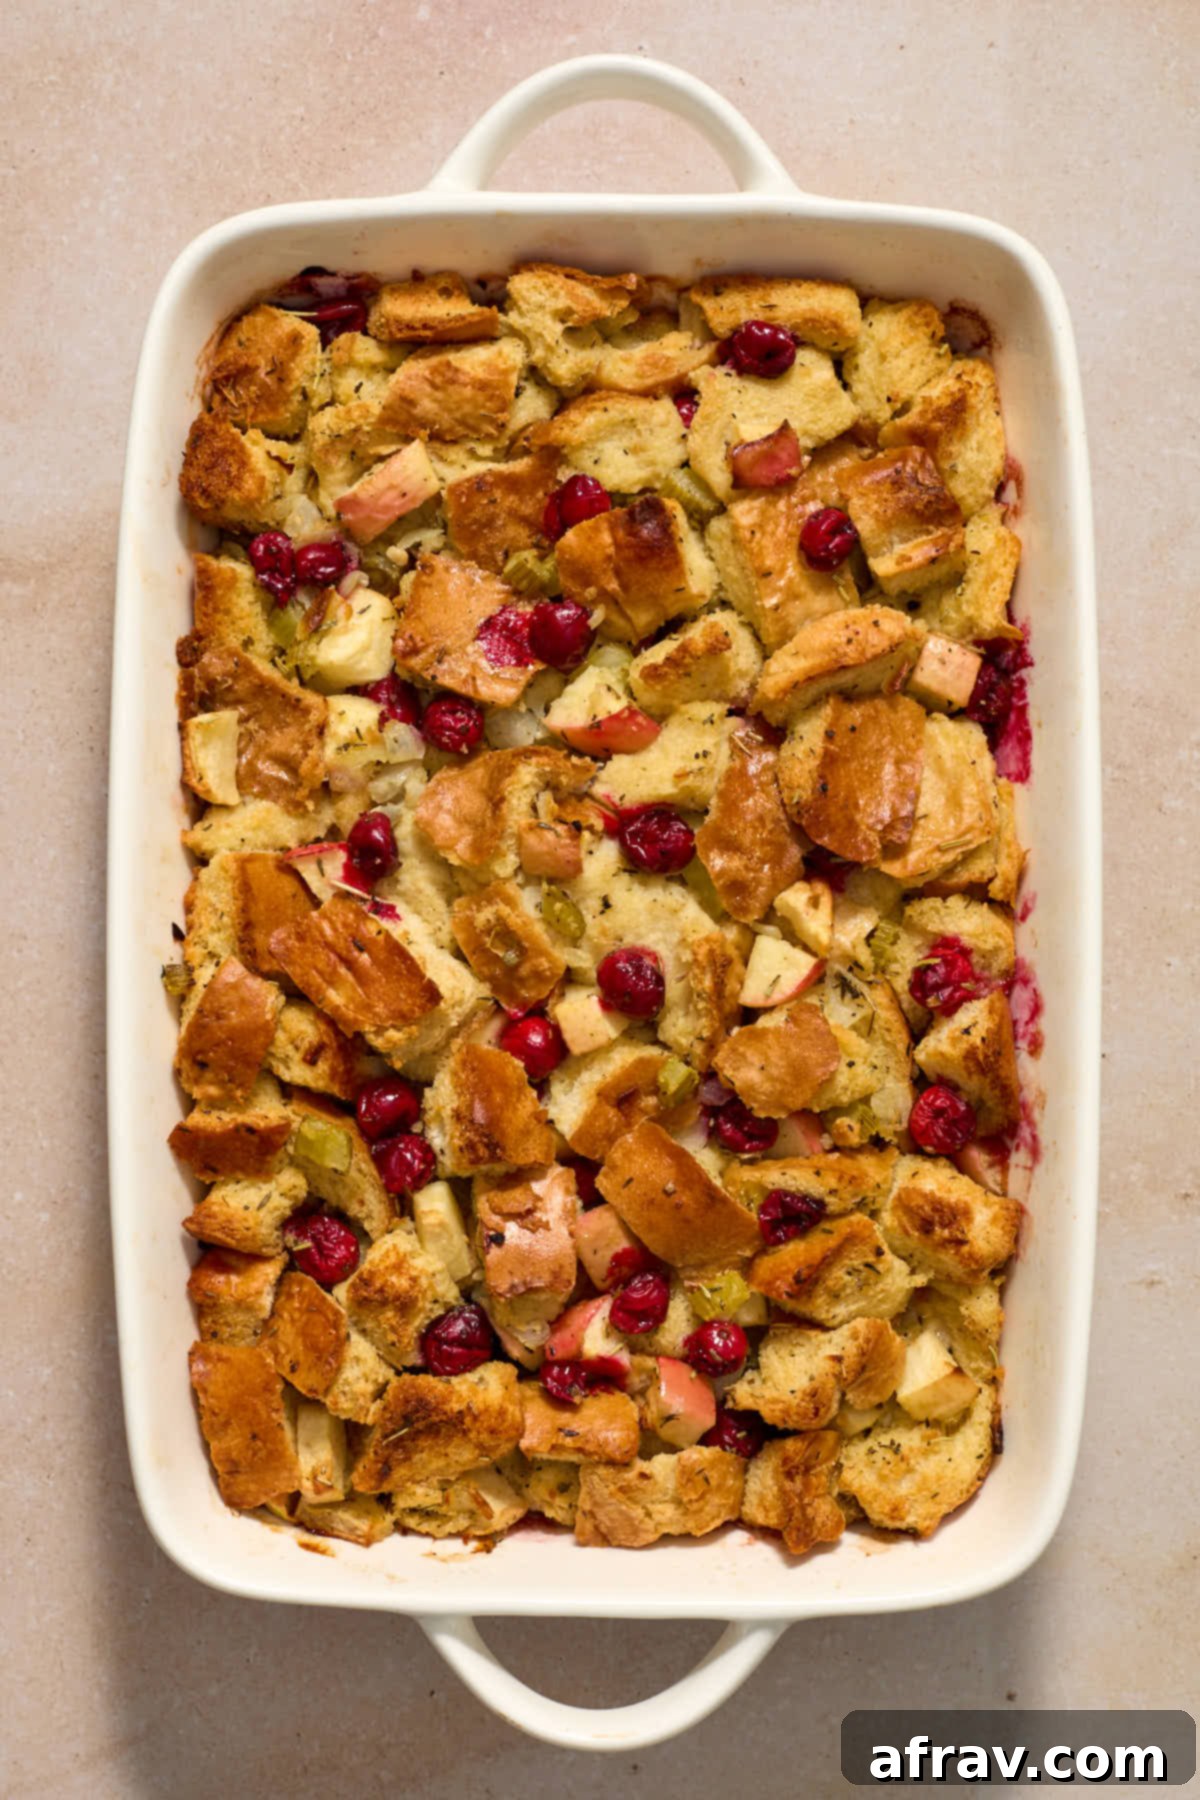
- Cover for Moisture, Uncover for Crispness. For the first portion of baking (e.g., 30-40 minutes), covering the stuffing with foil can help trap moisture, ensuring the interior remains tender and prevents the top from browning too quickly. For the last 15-20 minutes, remove the foil to allow the top to become gloriously golden brown and wonderfully crispy.
- Achieve Uniformity in Chopping. For consistent texture and flavor distribution, try to chop your celery, onion, apples, and garlic into roughly similar, small pieces. This ensures they cook evenly and integrate seamlessly into the stuffing without any one ingredient dominating.
Storage and Reheating Instructions for Leftover Stuffing
If by some miracle you find yourself with any of this delicious stuffing leftover (a rare occurrence in our household!), proper storage is key to maintaining its flavor and texture. It’s best stored in an airtight container and can be safely enjoyed within 2-3 days when refrigerated. Ensure it cools completely before placing it in the refrigerator to prevent condensation and maintain quality.
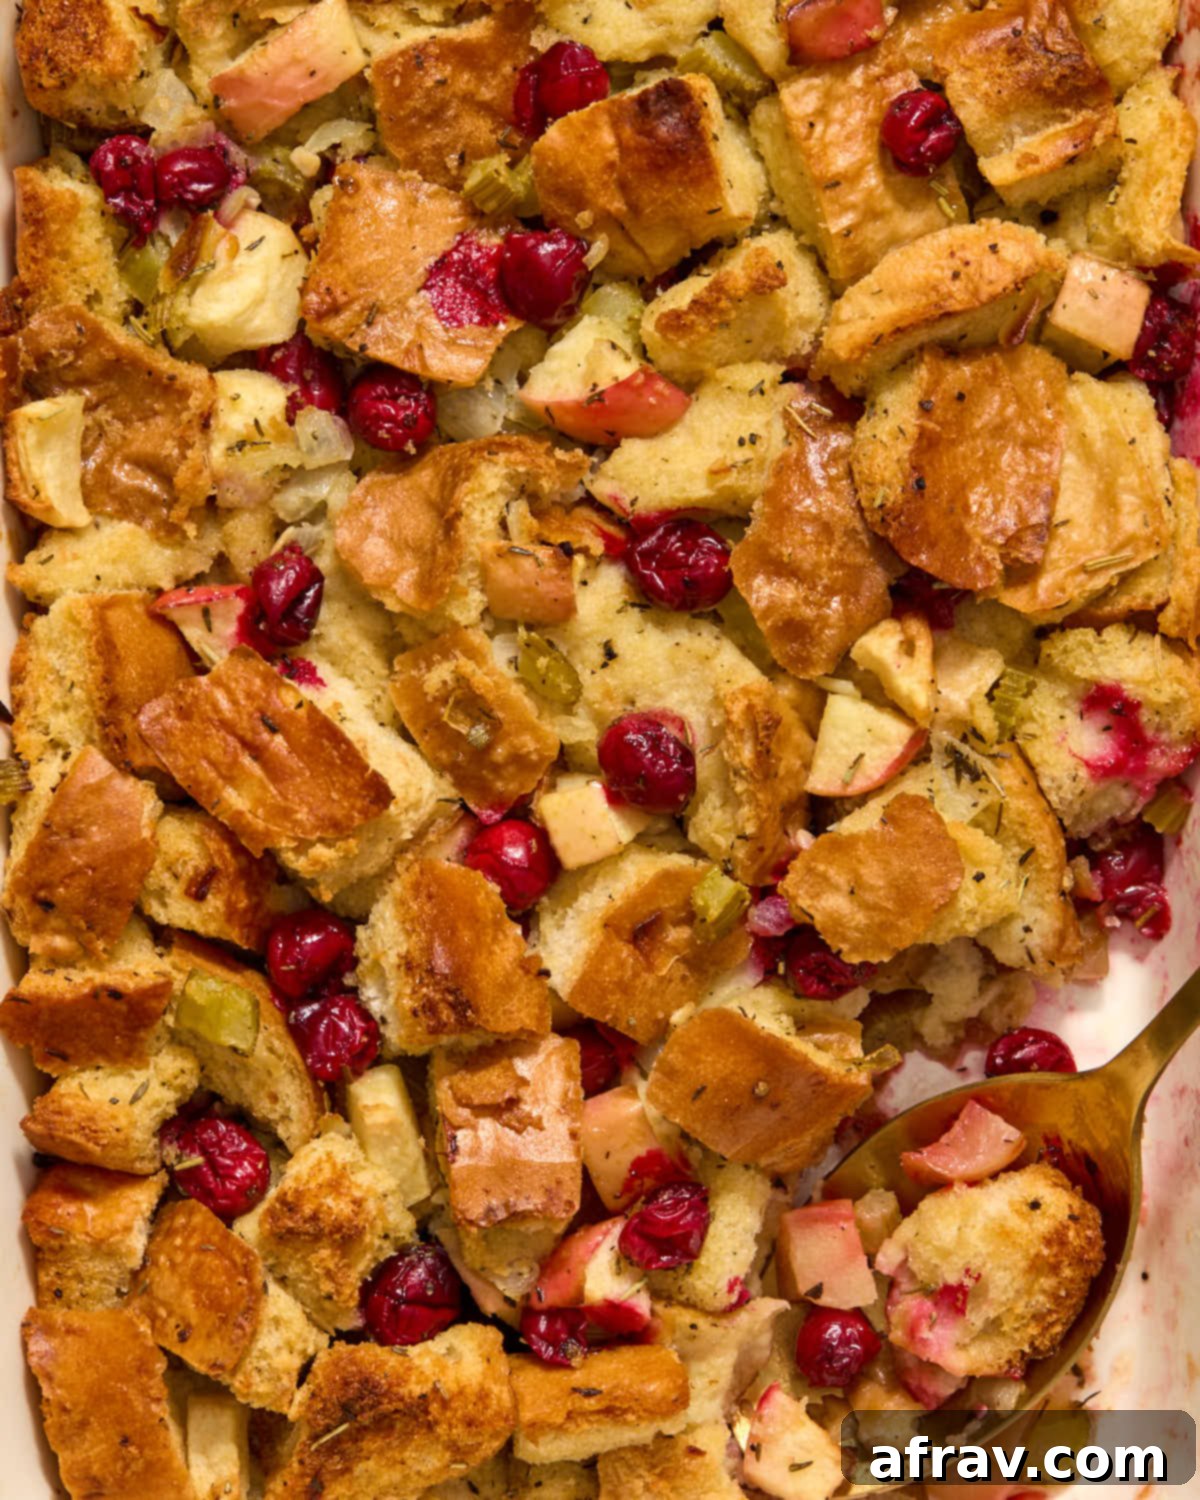
When it comes to reheating stuffing, the goal is to revive its crispy exterior while keeping the interior moist and tender. The absolute best way to reheat stuffing is in the oven. Simply spread the leftover stuffing out in a single layer on a sheet pan. Bake it at 350°F (175°C) for approximately 10-15 minutes, or until it’s thoroughly heated through and the top has regained its appealing crispiness. Keep a close eye on it during reheating; it’s easy for the cranberries to burn or for the stuffing to dry out too much if reheated for an excessive period. For smaller portions, you can also gently reheat it in a microwave, though it won’t achieve the same level of crispness. A quick pass in an air fryer can also work wonders for smaller batches, delivering a fantastic crispy exterior.
Recipe FAQs: Your Apple Cranberry Stuffing Questions Answered
Here are answers to some of the most common questions about making and enjoying this Apple Cranberry Stuffing, ensuring you have all the information you need for a successful culinary experience.
While fresh cranberries are highly recommended for their texture and vibrant tartness, you can use frozen cranberries as a substitute. However, during testing, using frozen cranberries directly made the stuffing a bit mushy due to the extra moisture released upon thawing. If you only have frozen cranberries on hand, I strongly suggest defrosting them first. After they’ve thawed, pat them very dry with paper towels to remove as much excess moisture as possible before incorporating them into the stuffing mixture. This step will help maintain the desired texture of your stuffing.
Making stuffing for a holiday meal can be a time-consuming process, so prepping ahead is a fantastic strategy. For the absolute best results, I recommend assembling the stuffing just before baking to maintain optimal texture. However, several components can be prepared in advance:
- Toast the bread cubes: You can toast the bread cubes 1-2 days ahead of time. Once completely cooled, store them in a large airtight container or a large zip-top bag at room temperature.
- Cook the veggie mixture: The sautéed celery, onion, garlic, and herb mixture can also be cooked a day in advance. Let it cool completely, then store it in an airtight container in the refrigerator.
- Chop apples and cranberries: Chop your apples and have your cranberries ready. Store chopped apples in a bowl of lightly salted water with a splash of lemon juice to prevent browning, then drain and pat dry before use.
On baking day, simply combine all the prepped components, prepare the liquid mixture, toss everything together, and bake.
Absolutely! Nuts can add a wonderful crunch and nutty flavor. Toasted pecans or walnuts would be excellent additions. Add about 1/2 to 1 cup of chopped nuts along with the cranberries and apples in Step 5. Toasting the nuts lightly before adding them will enhance their flavor.
A 9×13 inch baking dish is ideal for this recipe, offering enough surface area for good browning while ensuring the stuffing cooks through evenly. Ceramic or glass baking dishes work well. If you only have a slightly smaller dish, you may need to adjust the baking time or use two smaller dishes to avoid overcrowding, which can lead to a less crispy top.
This particular recipe uses French bread, so it is not gluten-free. However, you can easily adapt it by substituting the French bread with an equal amount of good quality gluten-free bread. Look for sturdy gluten-free bread that holds its shape when cubed and toasts well. Follow the same toasting instructions to ensure it dries out sufficiently before mixing.
More Delicious Holiday Side Dishes to Complete Your Meal
Looking to round out your holiday spread with even more incredible flavors? These complementary side dishes are perfect companions to your Apple Cranberry Stuffing and will help you create an unforgettable feast:
- Roasted Brussels Sprouts with Prosciutto: A savory and slightly crispy dish that adds a perfect green counterpoint.
- Air Fryer Maple Pecan Brussels Sprouts: For a touch of sweet and nutty crunch, these air-fried sprouts are a quick crowd-pleaser.
- Air Fryer Baby Potatoes: Crispy on the outside, fluffy on the inside, these potatoes are a versatile and delicious addition.
- Air Fryer Herb and Garlic Carrots: Sweet, tender, and infused with savory herbs and garlic, these carrots offer vibrant color and flavor.
- Air Fryer Butternut Squash: A naturally sweet and earthy option that’s incredibly easy to prepare in the air fryer.
We absolutely love hearing from you! If you decide to make this Apple Cranberry Stuffing recipe, please share your thoughts and experiences in the comments section below. Your feedback and ratings are invaluable!
HUNGRY FOR MORE? Follow Crumb Top Baking on Instagram, Pinterest and Facebook to stay updated with our latest delicious recipes and baking adventures!
Print

Apple Cranberry Stuffing (Vegetarian)
5 Stars 4 Stars 3 Stars 2 Stars 1 Star
No reviews
Author: Leanne
Prep Time: 30 minutes
Cook Time: 55 minutes
Total Time: 1 hour 25 minutes
Yield: 10 servings
Category: Side Dish
Method: Bake
Cuisine: American, Canadian
Diet: Vegetarian
Description
This Apple Cranberry Stuffing is made with perfectly toasted French bread cubes, savory vegetable broth, sweet Honeycrisp apples, fresh, tart cranberries, and a medley of aromatic dried herbs. It bakes up golden brown and wonderfully buttery, offering a classic holiday stuffing flavor elevated by a delightful sweet and tart twist. This vegetarian side dish is not only easy to make but also incredibly flavorful, making it the ideal festive addition to your Thanksgiving, Christmas, or any special occasion meal.
Ingredients
- 1 loaf French bread (cut into 1-inch cubes, about 14 cups, preferably day-old or stale)
- 3/4 cup (170g) unsalted butter
- 3–4 stalks celery, finely chopped (about 1 cup)
- 1 medium-sized yellow onion, finely chopped
- 4 garlic cloves, minced
- 1 teaspoon dried thyme
- 1 teaspoon dried rosemary
- 1 teaspoon dried sage
- 2 1/2 cups (600ml) no salt added vegetable broth (or low sodium, adjust salt accordingly)
- 2 large eggs, whisked
- 1 teaspoon fine sea salt
- 1/2 teaspoon ground black pepper
- 1 1/2 cup fresh cranberries
- 2 small Honeycrisp apples, cored and chopped (peeling is optional)
Instructions
- Preheat your oven to a low 250°F (120°C). Evenly arrange the cubed bread in a single layer on one or two large baking sheets, ensuring they are not overcrowded. This allows for even drying. Toast the bread cubes for 12-15 minutes, then gently flip them over and toast for another 12-15 minutes, or until they are completely dried out and crispy, but not visibly browned. This crucial step prevents a soggy stuffing.
- Once toasted, remove the bread from the oven and set it aside to cool completely. Increase the oven temperature to 350°F (175°C) and generously grease a 9×13 inch baking dish. This ensures the stuffing doesn’t stick and forms a lovely crust.
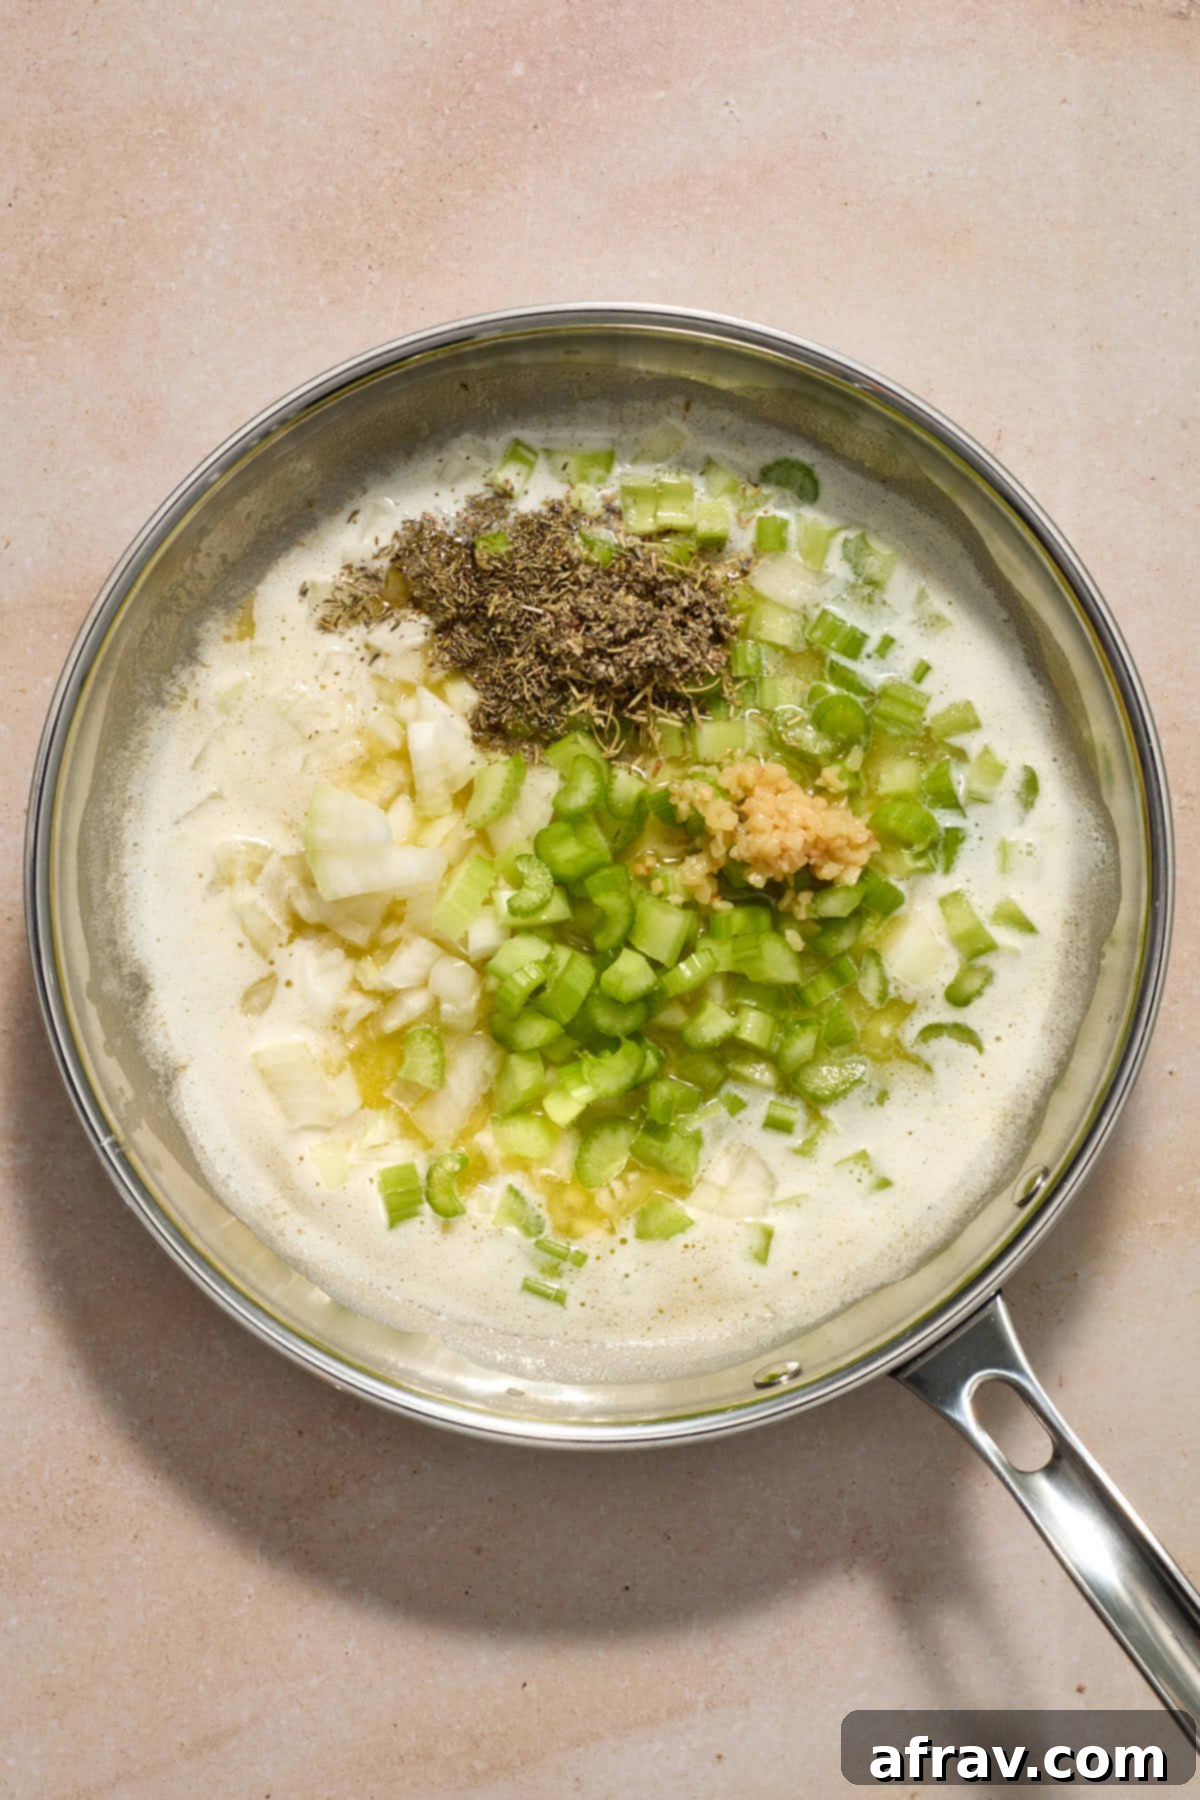
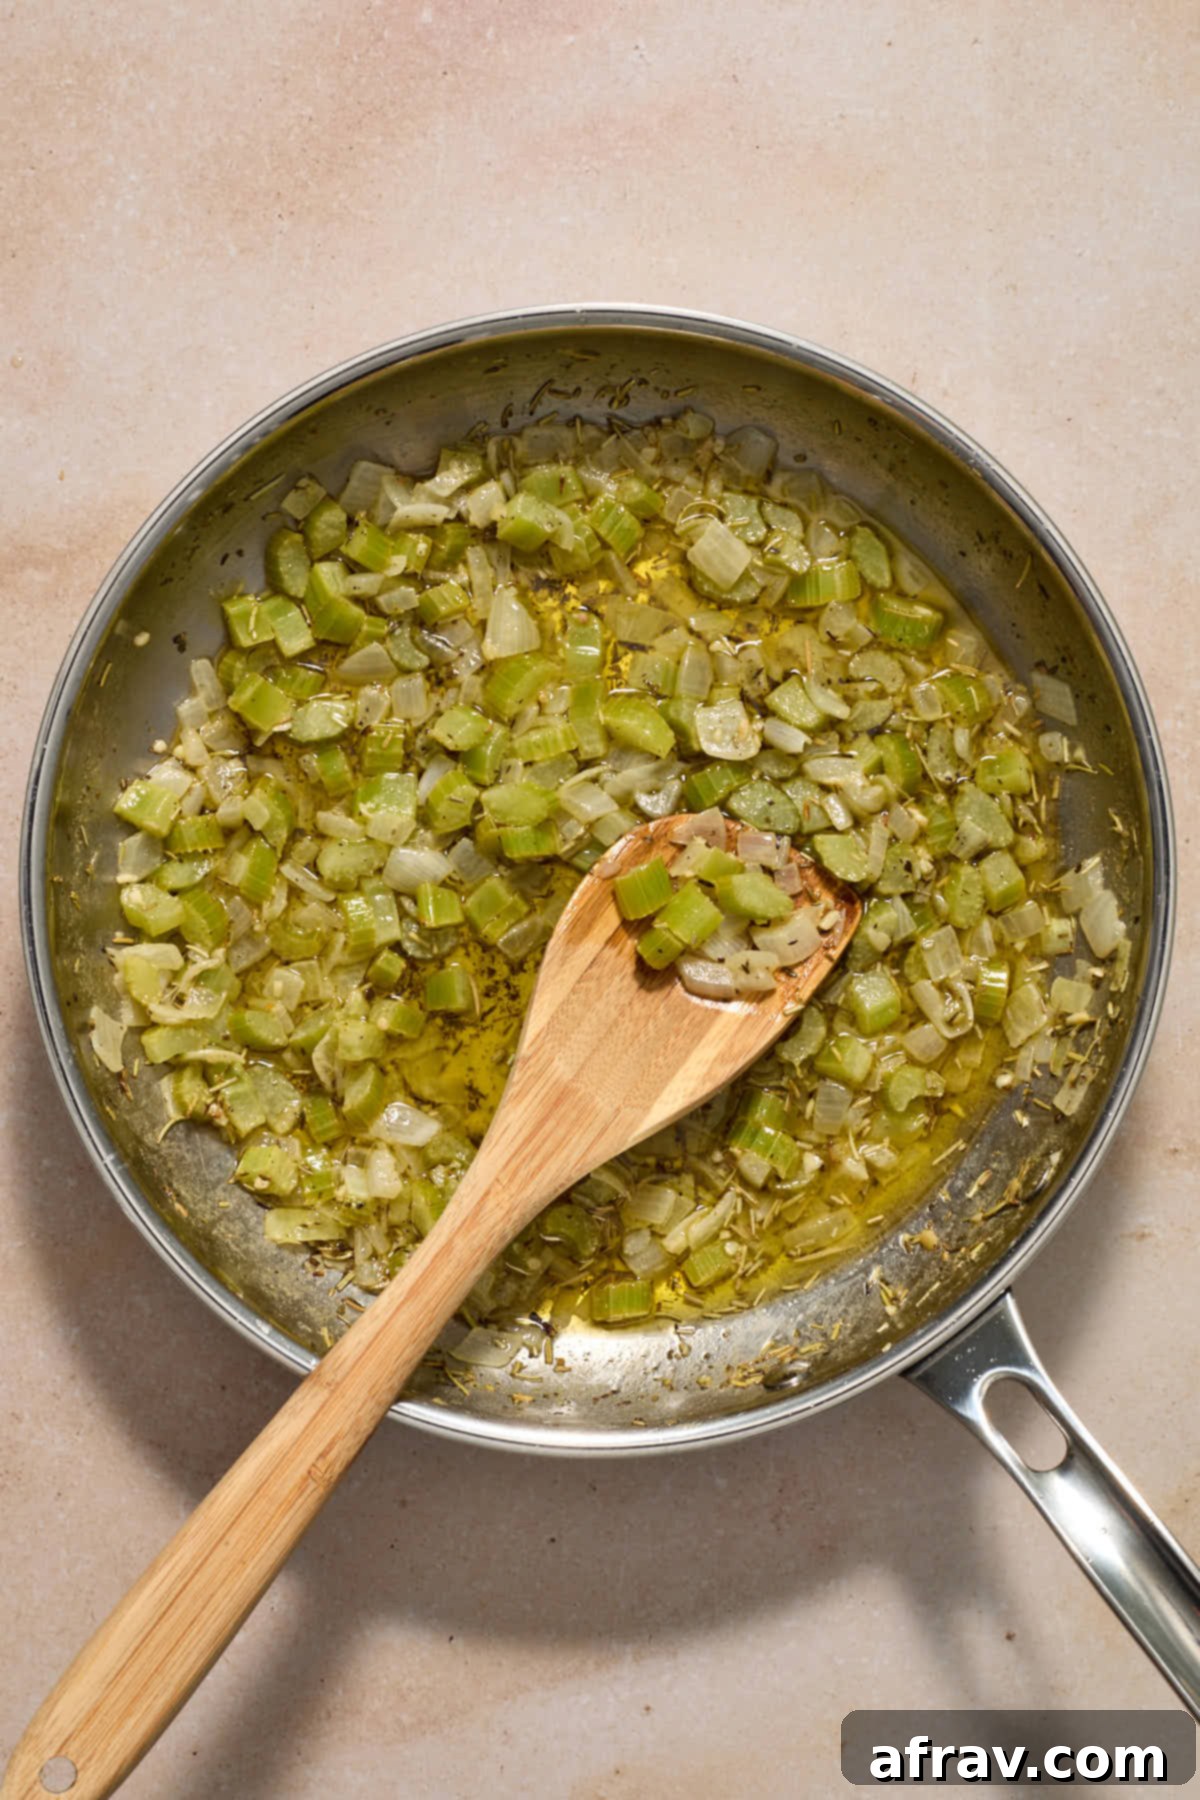
- In a large skillet, melt the unsalted butter over medium heat. Add the chopped celery, onion, minced garlic, and the dried herbs (thyme, rosemary, and sage). Sauté this mixture, stirring occasionally, until the vegetables are softened and fragrant, which usually takes about 5 minutes. Remove from heat and allow to cool slightly.
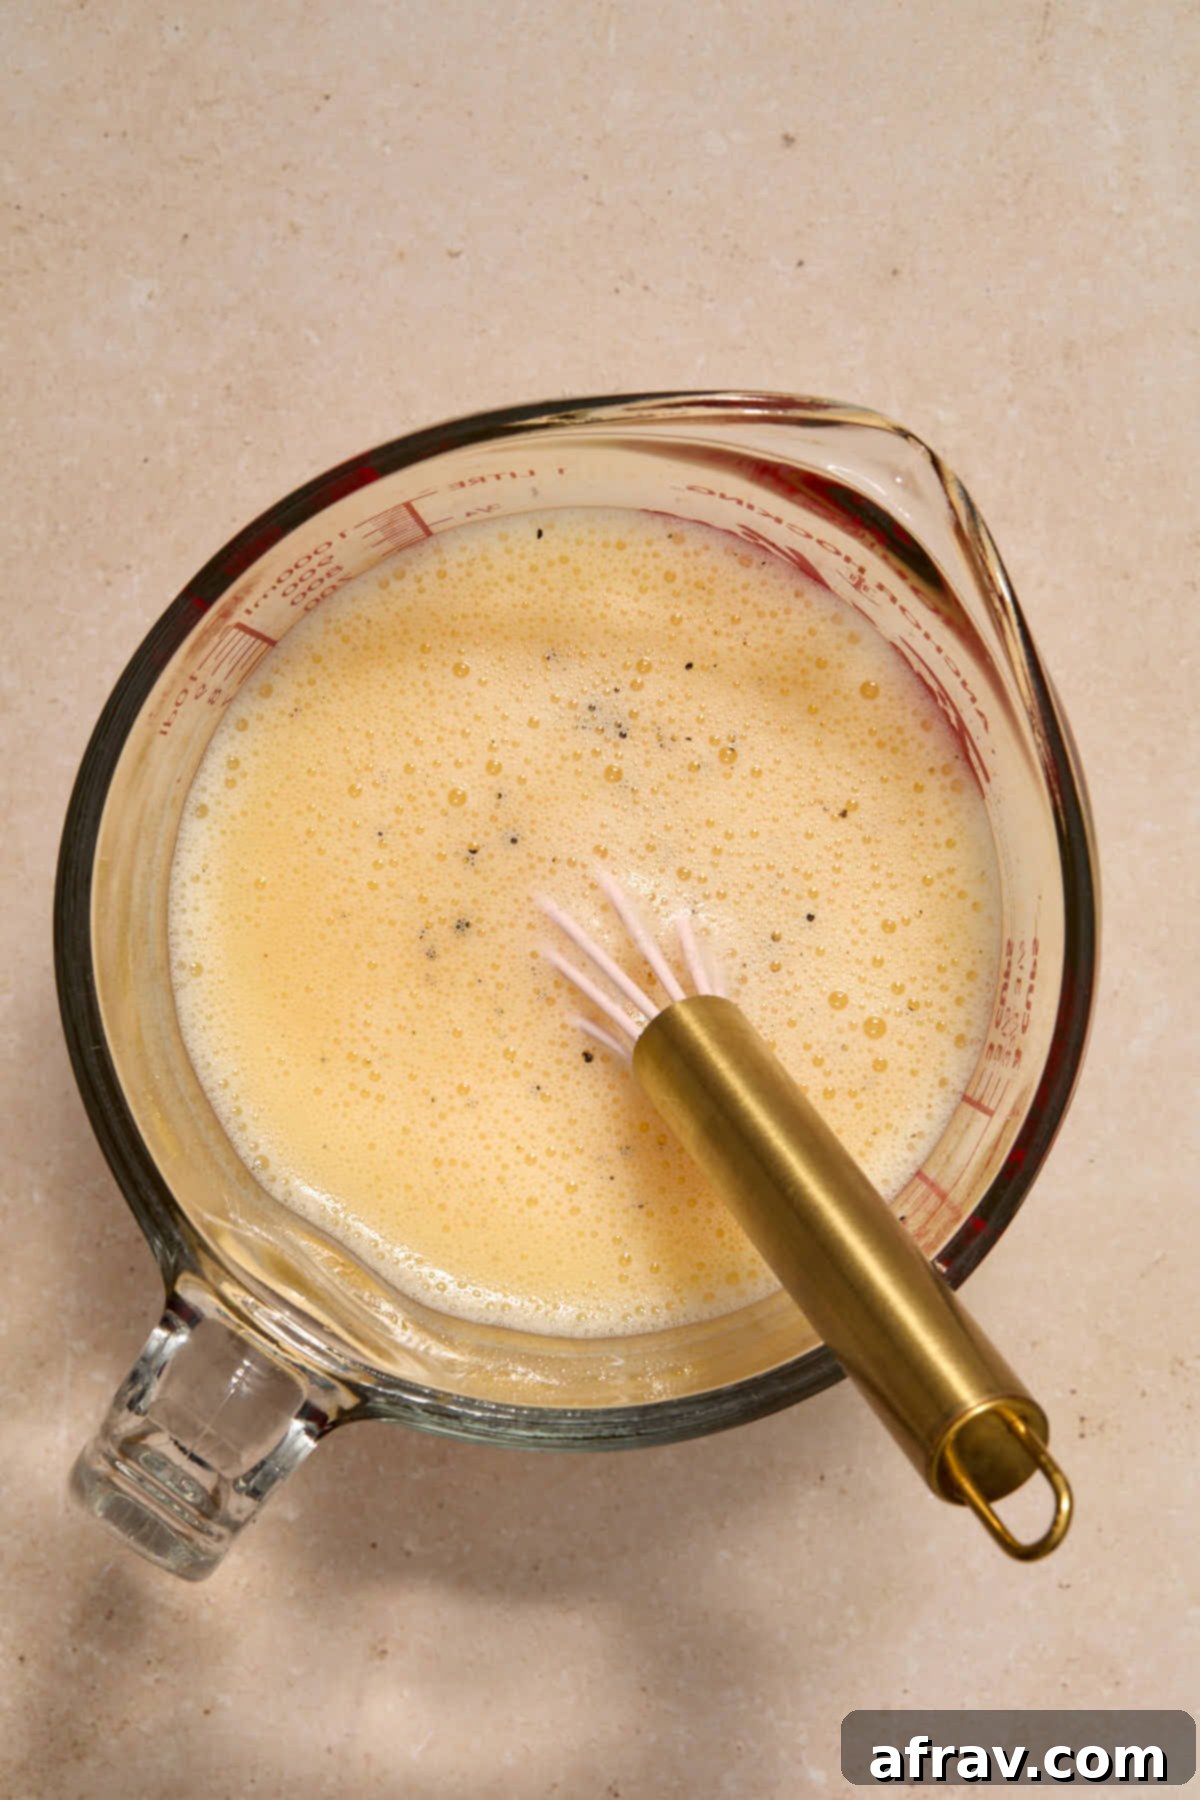
- In a large liquid measuring cup or a medium bowl, whisk together the vegetable broth, whisked large eggs, fine sea salt, and ground black pepper until all ingredients are well combined and the eggs are fully incorporated.
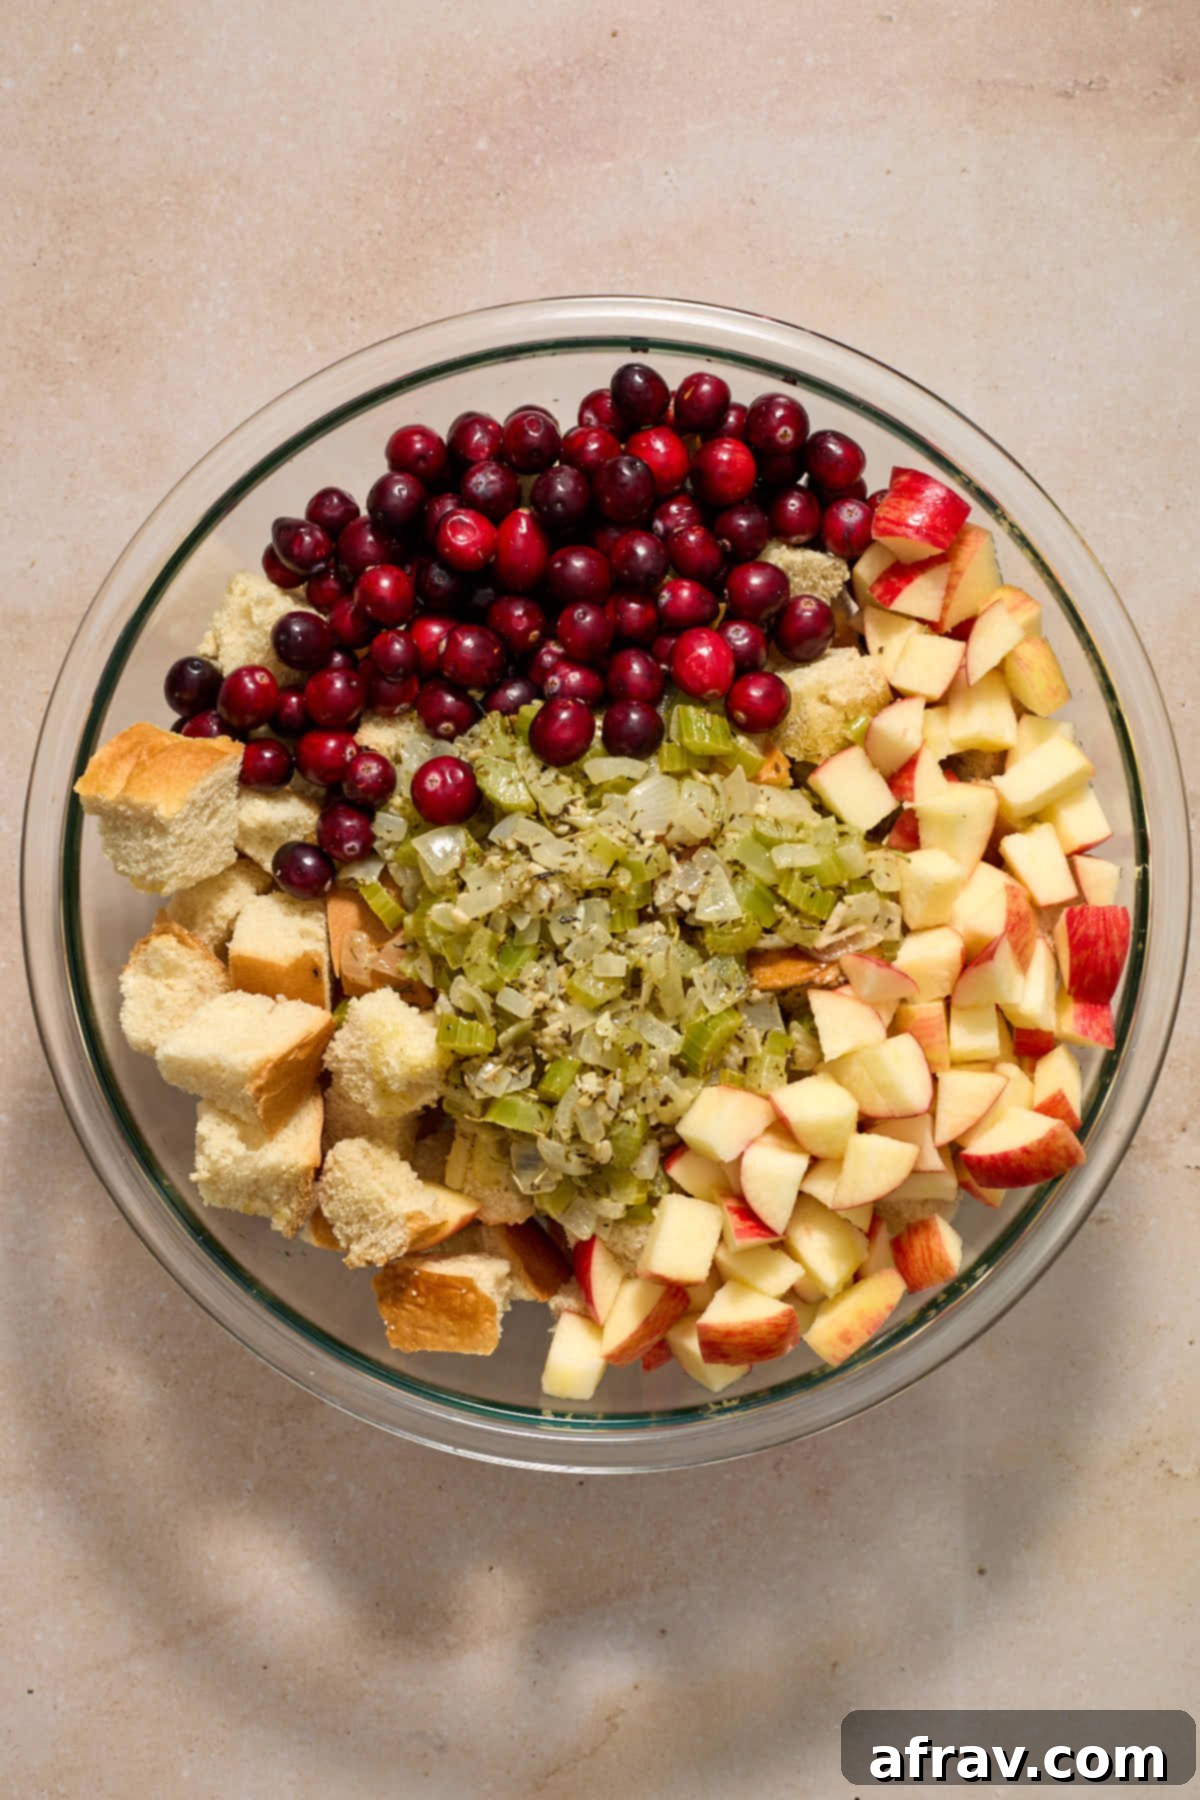
- In an extra-large mixing bowl, combine the cooled toasted bread cubes, the sautéed vegetable and herb mixture, the fresh cranberries, and the chopped Honeycrisp apples. Gently toss all these ingredients together until they are evenly distributed throughout the bread.
- Gradually pour the broth/egg mixture over the bread cube mixture. Using a large spoon or your hands, gently toss everything together until all the bread cubes are well coated and thoroughly moistened. Be careful not to overmix, as this can make the bread mushy. The bread cubes should be moist but not soggy. You may find you don’t need to use all the liquid, depending on the dryness of your bread. (*Refer to note #1 below for further guidance.)
- Transfer the prepared stuffing mixture evenly into your greased 9×13 inch baking dish. You can spread it out loosely for a crispier top or slightly compact it for a moister interior.
- Bake the stuffing in the preheated 350°F (175°C) oven for 45-55 minutes, or until the top is beautifully golden brown and delightfully crispy, and the interior is heated through and tender. If you prefer an extra crispy top, you can remove any foil (if used) for the last 15-20 minutes of baking.
Notes
- Moisture Balance is Key: The goal is for all the bread cubes to be moistened by the egg/broth mixture, absorbing the flavors and becoming tender. However, it’s crucial to prevent the bread from becoming overly saturated and soggy to the point of falling apart. When adding the liquid, do so gradually and toss the bread cubes gently. This ensures even coverage without over-soaking. Depending on how stale and toasted your bread is, you might find that you don’t need to use the entire amount of liquid specified in the recipe. Adjust as needed to achieve a moist but not waterlogged consistency.
- Vegetarian Option & Broth Choice: This recipe is intentionally crafted as a vegetarian stuffing, utilizing vegetable broth to ensure it’s suitable for all guests. If you do not require the dish to be vegetarian, you can certainly substitute chicken broth for the vegetable broth. Regardless of the type of broth used, I highly recommend opting for a “no-salt-added” variety. This gives you complete control over the seasoning. If you use a low-sodium or regular broth, remember to significantly reduce the amount of fine sea salt you add to the stuffing mixture to avoid it becoming too salty. Always taste and adjust seasoning before baking.
