Irresistible Gluten-Free Raspberry Thumbprint Cookies with Cassava Flour
Discover the ultimate gluten-free treat with these delightful cassava flour thumbprint cookies. Each soft, buttery cookie is generously filled with vibrant raspberry jam and elegantly drizzled with a smooth almond glaze. Perfect for your holiday gatherings or any moment you crave a naturally sweet indulgence, these cookies offer a melt-in-your-mouth experience that everyone will adore.
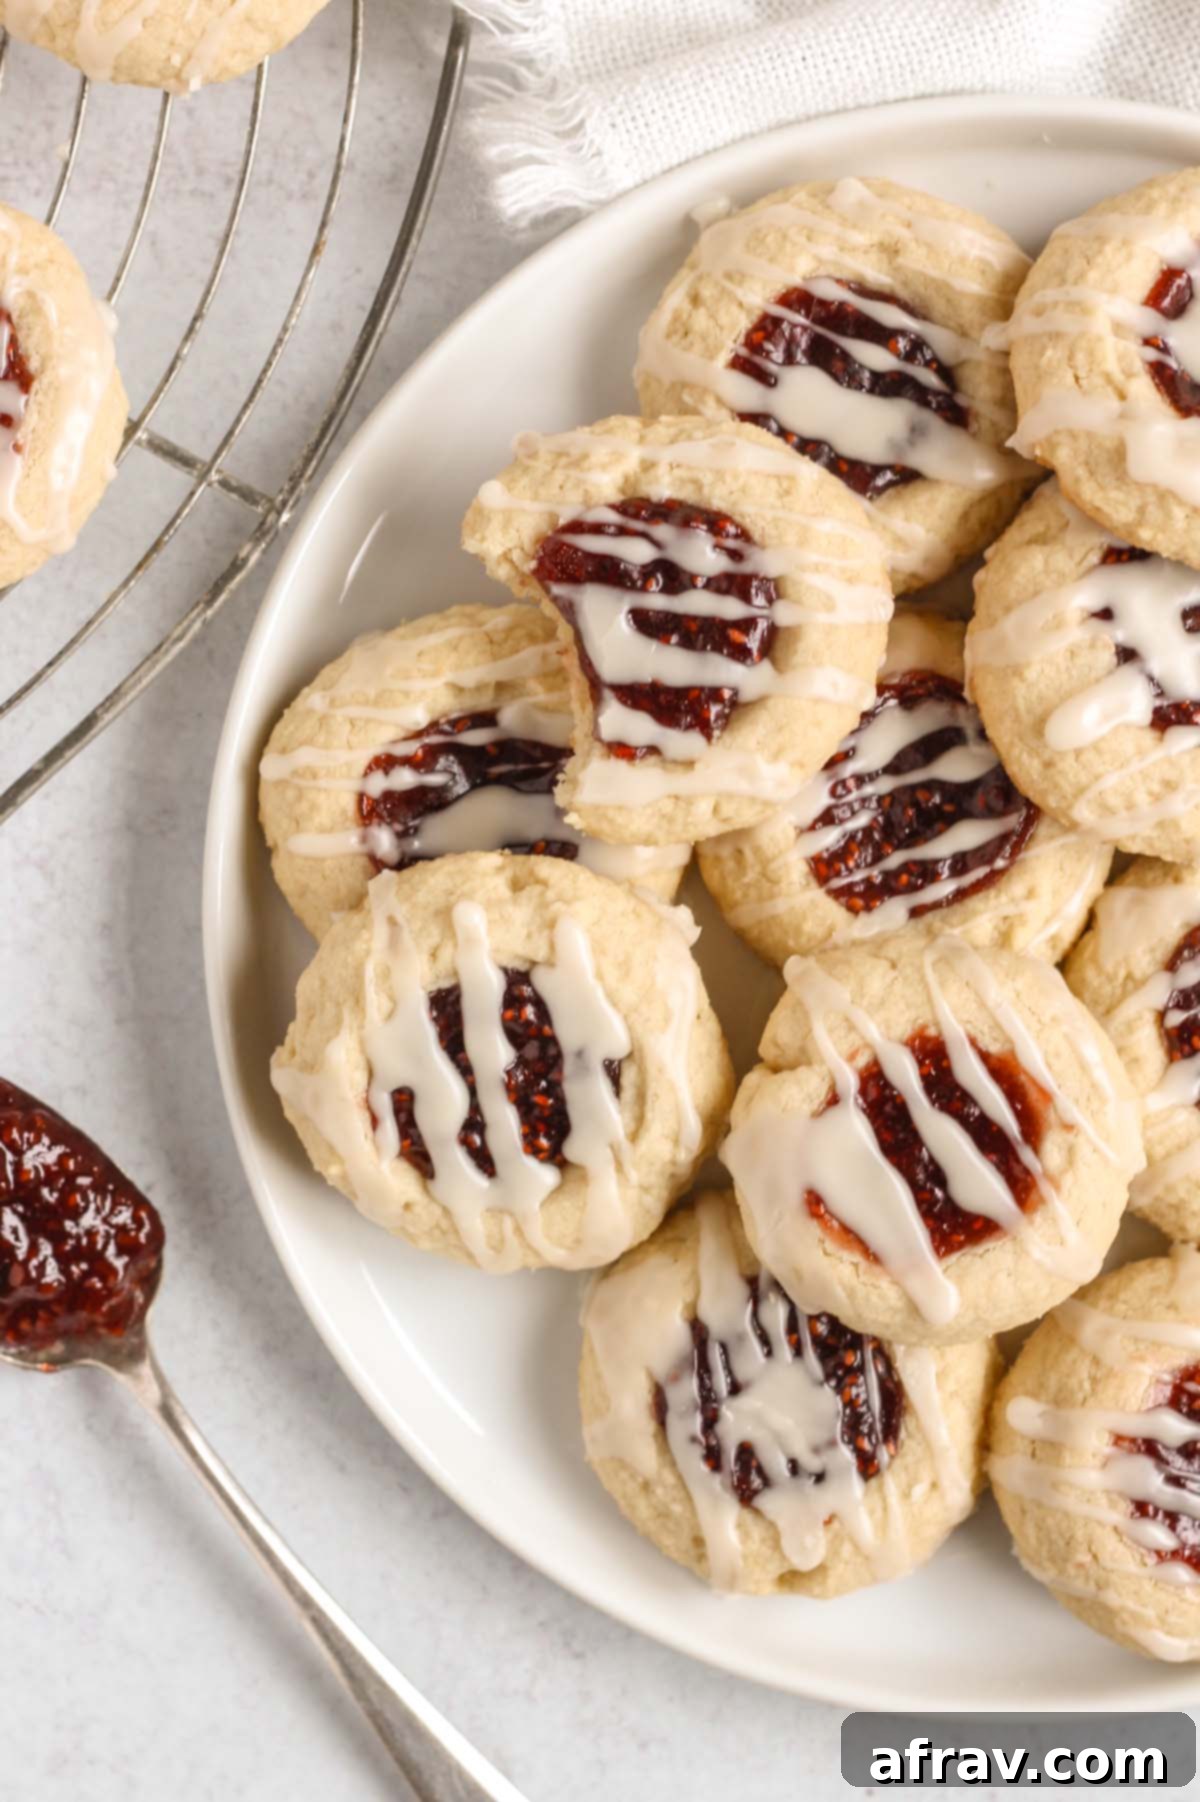
Holiday baking often brings a delicious dilemma. On one hand, there’s the undeniable allure of sweet, festive treats. On the other, the prevalence of refined ingredients can be a deterrent for those seeking a “cleaner” approach to their diet. While these gluten-free thumbprint cookies do include refined organic cane sugar – a choice made to achieve that classic, perfect texture and sweetness – they proudly feature cassava flour, making them a fantastic grain-free and gluten-free option for your holiday cookie tray.
This recipe from Clean Plate Mama bridges the gap between indulgent holiday favorites and mindful eating. We understand the desire for truly satisfying baked goods, especially during festive seasons. That’s why we’ve focused on creating a cookie that delivers on flavor and texture while offering a great alternative to traditional wheat-based recipes.
Cassava flour is a game-changer in gluten-free baking. It’s a single-ingredient flour derived from the cassava root, offering a wonderfully smooth texture and neutral flavor that performs exceptionally well as a 1:1 substitute for wheat flour in many recipes. Unlike some other gluten-free flours, cassava flour is not highly processed and is completely grain-free, making it an excellent choice for those with sensitivities or specific dietary preferences. Its natural starchiness helps create a soft, tender crumb, which is exactly what you want in a perfect thumbprint cookie.
For those new to the world of thumbprint cookies, prepare to fall in love! These delightful little treats are a type of shortbread cookie, typically characterized by a buttery, tender base with a small, thumb-sized indentation in the center, which is then filled with a sweet preserve. While classic raspberry jam offers a delightful tart contrast to the cookie’s sweetness, the beauty of thumbprint cookies lies in their versatility. Feel free to experiment with your favorite jam flavors, or for an even healthier, homemade touch, try my homemade chia jam. The possibilities are endless, allowing you to customize these cookies to suit any preference.
If you’re looking to expand your repertoire of gluten-free holiday treats, you’ve come to the right place! Be sure to explore some of our other festive favorites. You’ll find delicious options like my gluten-free almond flour biscotti, rich healthy dark chocolate bark, indulgent dairy-free coconut macaroons, decadent vegan chocolate turtles, our take on healthy Samoas, and wonderfully chewy oat flour cookies. Each recipe is crafted to bring joy to your holiday table, guilt-free!
Why You’ll Adore These Gluten-Free Thumbprint Cookies
These raspberry thumbprint cookies are more than just a sweet treat; they’re a delightful experience. Here’s why they’re sure to become a beloved staple in your baking repertoire:
- Naturally Grain-Free & Gluten-Free: Thanks to the remarkable properties of cassava flour, these cookies are not only certified gluten-free but also completely grain-free. This makes them an excellent choice for individuals with grain sensitivities or those following a paleo-friendly diet, without compromising on taste or texture.
- Incredibly Easy to Make: Don’t let their elegant appearance fool you! This recipe requires just 7 core ingredients and minimal active prep time. Even novice bakers will find these thumbprint cookies simple to whip up, making them perfect for busy holiday seasons or a spontaneous baking craving.
- Unforgettably Soft and Buttery: Prepare for a truly decadent experience. These cookies boast an irresistibly soft, melt-in-your-mouth texture that is rich with buttery goodness. The careful balance of ingredients ensures a tender crumb that holds its shape beautifully while practically dissolving on your tongue.
- The Perfect Harmony of Tart and Sweet: The vibrant, slightly tart flavor of raspberry jam provides a magnificent contrast to the sweet, buttery cookie base and the delicate almond glaze. This combination creates a balanced flavor profile that prevents the cookies from being overly sweet, leaving you perfectly satisfied after every bite.
Essential Ingredient Notes for Perfect Cookies
Using the right ingredients and understanding their roles is key to achieving the best possible gluten-free thumbprint cookies. Here’s a closer look at the stars of our recipe:
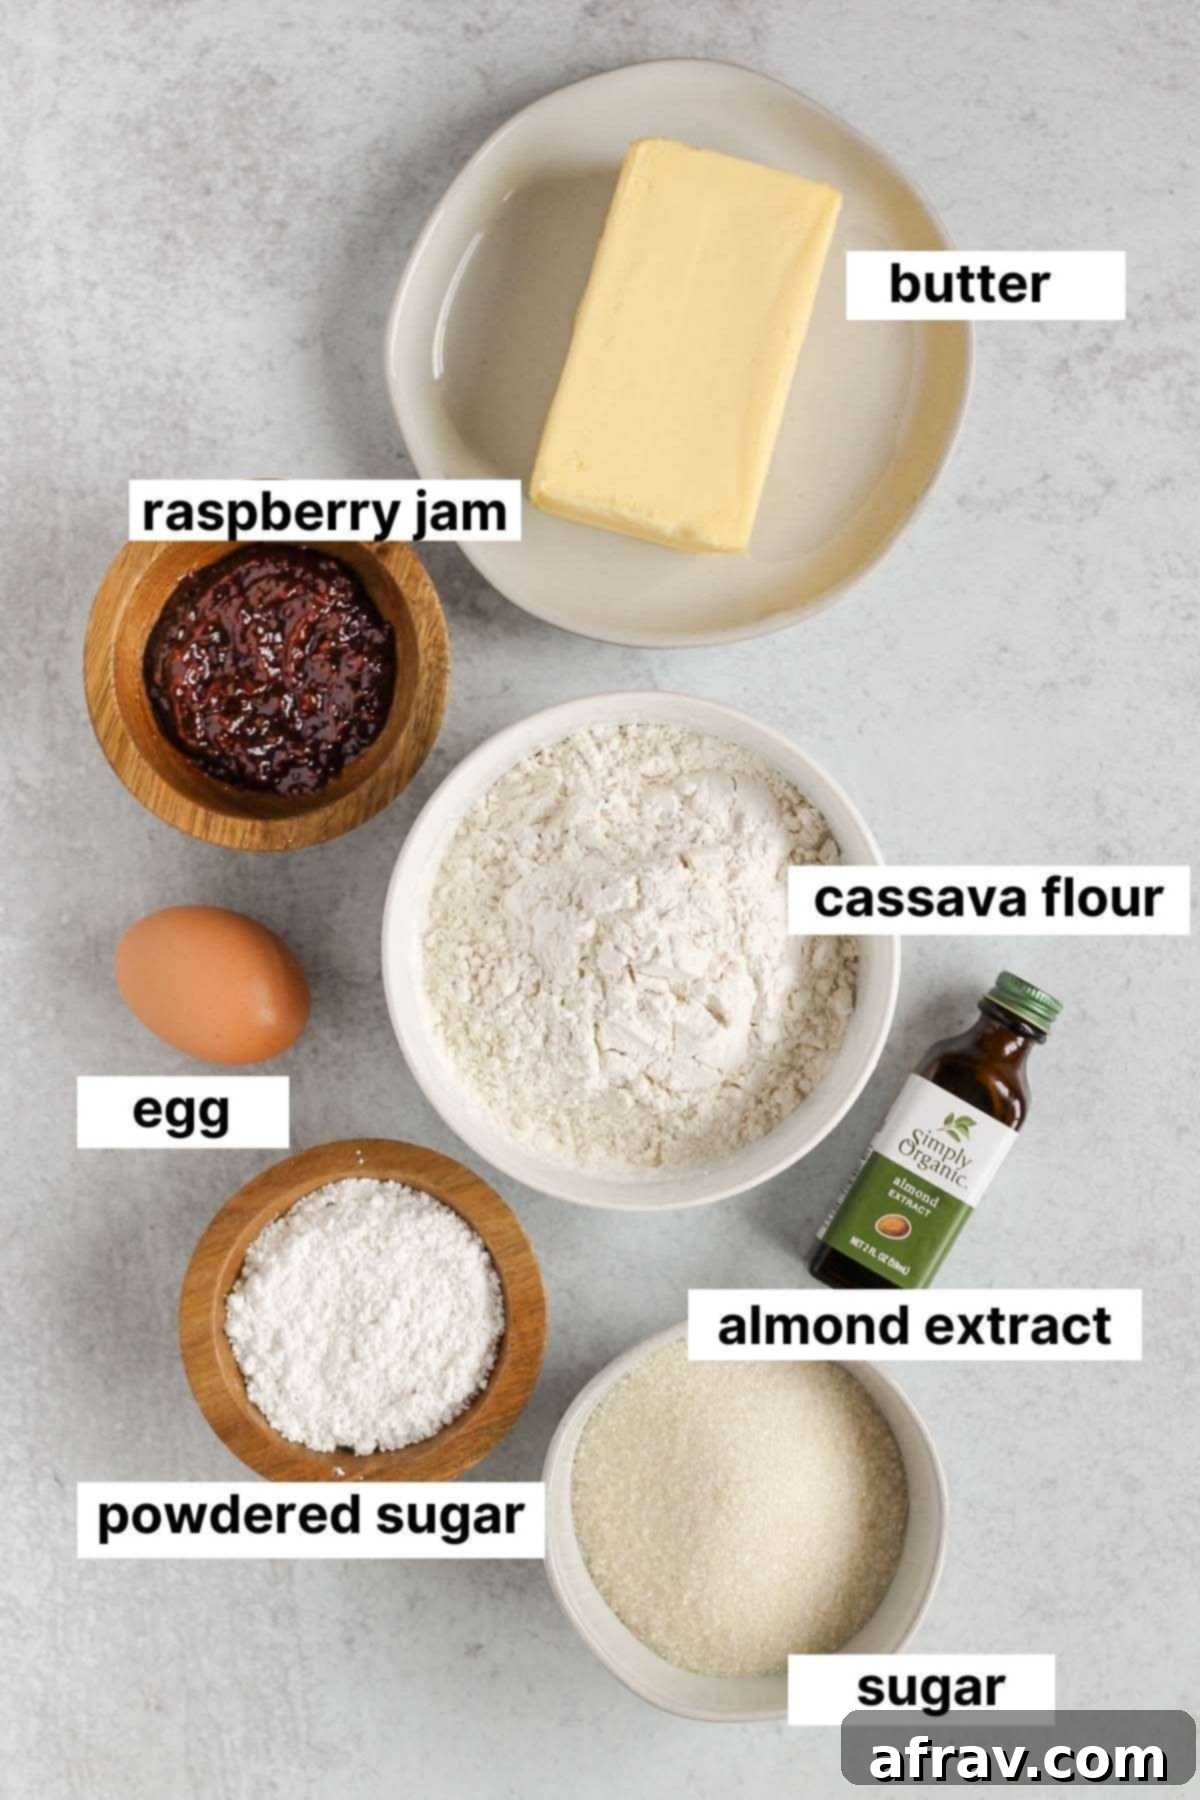
- Cassava Flour: This recipe is specifically developed and tested using cassava flour, renowned for being both gluten-free and grain-free. Its unique properties contribute significantly to the soft, tender texture of these cookies. We highly recommend sticking to cassava flour for guaranteed results. While other gluten-free flours exist, they behave differently, and substituting them without adjustments may alter the final texture and taste significantly. For best results, I recommend either Otto’s Naturals or Terrasoul Organic Cassava Flour.
- Butter: Achieving that wonderfully soft, tender crumb requires butter at the right consistency. Always use room temperature butter, not melted or chilled butter. This ensures it creams properly with the sugar, incorporating air and contributing to the cookie’s delicate texture.
- Sugar: For this particular recipe, organic cane sugar delivers the ideal sweetness and helps create the traditional shortbread texture we’re after. While I often lean towards unrefined sugars in my baking, some recipes truly shine with the subtle refinement of organic cane sugar. Think of it as a conscious indulgence – it’s still a cleaner option than highly processed white sugars.
- Egg: A single large egg acts as a binder, providing structure and moisture to the cookies. Ensure it’s also at room temperature for seamless incorporation into the butter mixture.
- Almond Extract: This is a secret weapon that elevates the flavor profile, adding a subtle, nutty aroma that complements the raspberry jam beautifully. Don’t skip it!
- Raspberry Jam: The heart of the thumbprint! Use a good quality raspberry jam. The tartness is key to balancing the sweetness of the cookie. As mentioned, feel free to use your favorite fruit jam.
- Confectioner’s Sugar (Powdered Sugar): Essential for the smooth, elegant almond glaze. This finely milled sugar dissolves easily, creating a silky topping that sets nicely.
- Water: Used in the glaze to achieve the perfect drizzling consistency. You might need to adjust the amount slightly to get your desired thickness.
A complete list of ingredients and precise amounts can be found in the detailed recipe card below.
Creative Variations and Easy Substitutions
While the classic raspberry and almond combination is utterly delicious, these gluten-free thumbprint cookies are wonderfully adaptable. Don’t hesitate to put your own spin on them!
For Dairy-Free Thumbprint Cookies: It’s easy to make these cookies suitable for dairy-free diets. Simply swap the traditional butter for an equal amount of refined coconut oil or your favorite vegan butter substitute. Using refined coconut oil is important to avoid imparting any coconut flavor to the cookies, ensuring the classic buttery taste prevails.
Explore Different Jam Flavors: The jam filling is where you can truly get creative! If raspberry isn’t your preferred flavor, or if you simply want to try something new, strawberry, apricot, or even a mixed berry jam would be fantastic options. For a citrusy twist, try orange marmalade. You could also venture into savory territory with a fig spread for a more gourmet cookie.
Alternative Extracts: While almond extract adds a unique depth, you can substitute it with vanilla extract for a more classic flavor profile. Lemon extract could also be a delightful addition, especially if paired with a lemon curd or blueberry jam filling.
Add Zest: For an extra burst of flavor, consider adding a teaspoon of finely grated lemon or orange zest to the cookie dough along with the wet ingredients. This brightens up the overall taste, especially when complemented by a fruity jam.
Step-by-Step Guide: How to Make These Delicious Cookies
Making these gluten-free thumbprint cookies is surprisingly simple and incredibly rewarding. You’ll find yourself reaching for this recipe again and again, especially during the holidays. Just remember to plan ahead, as the dough requires a little chill time.
A Quick Timeline: You will need to allow the cookie dough to chill in the refrigerator for at least 1 hour before shaping and baking. Additionally, after baking, the cookies will need to cool for about 15-20 minutes before you apply the delicate almond glaze to ensure it sets beautifully.
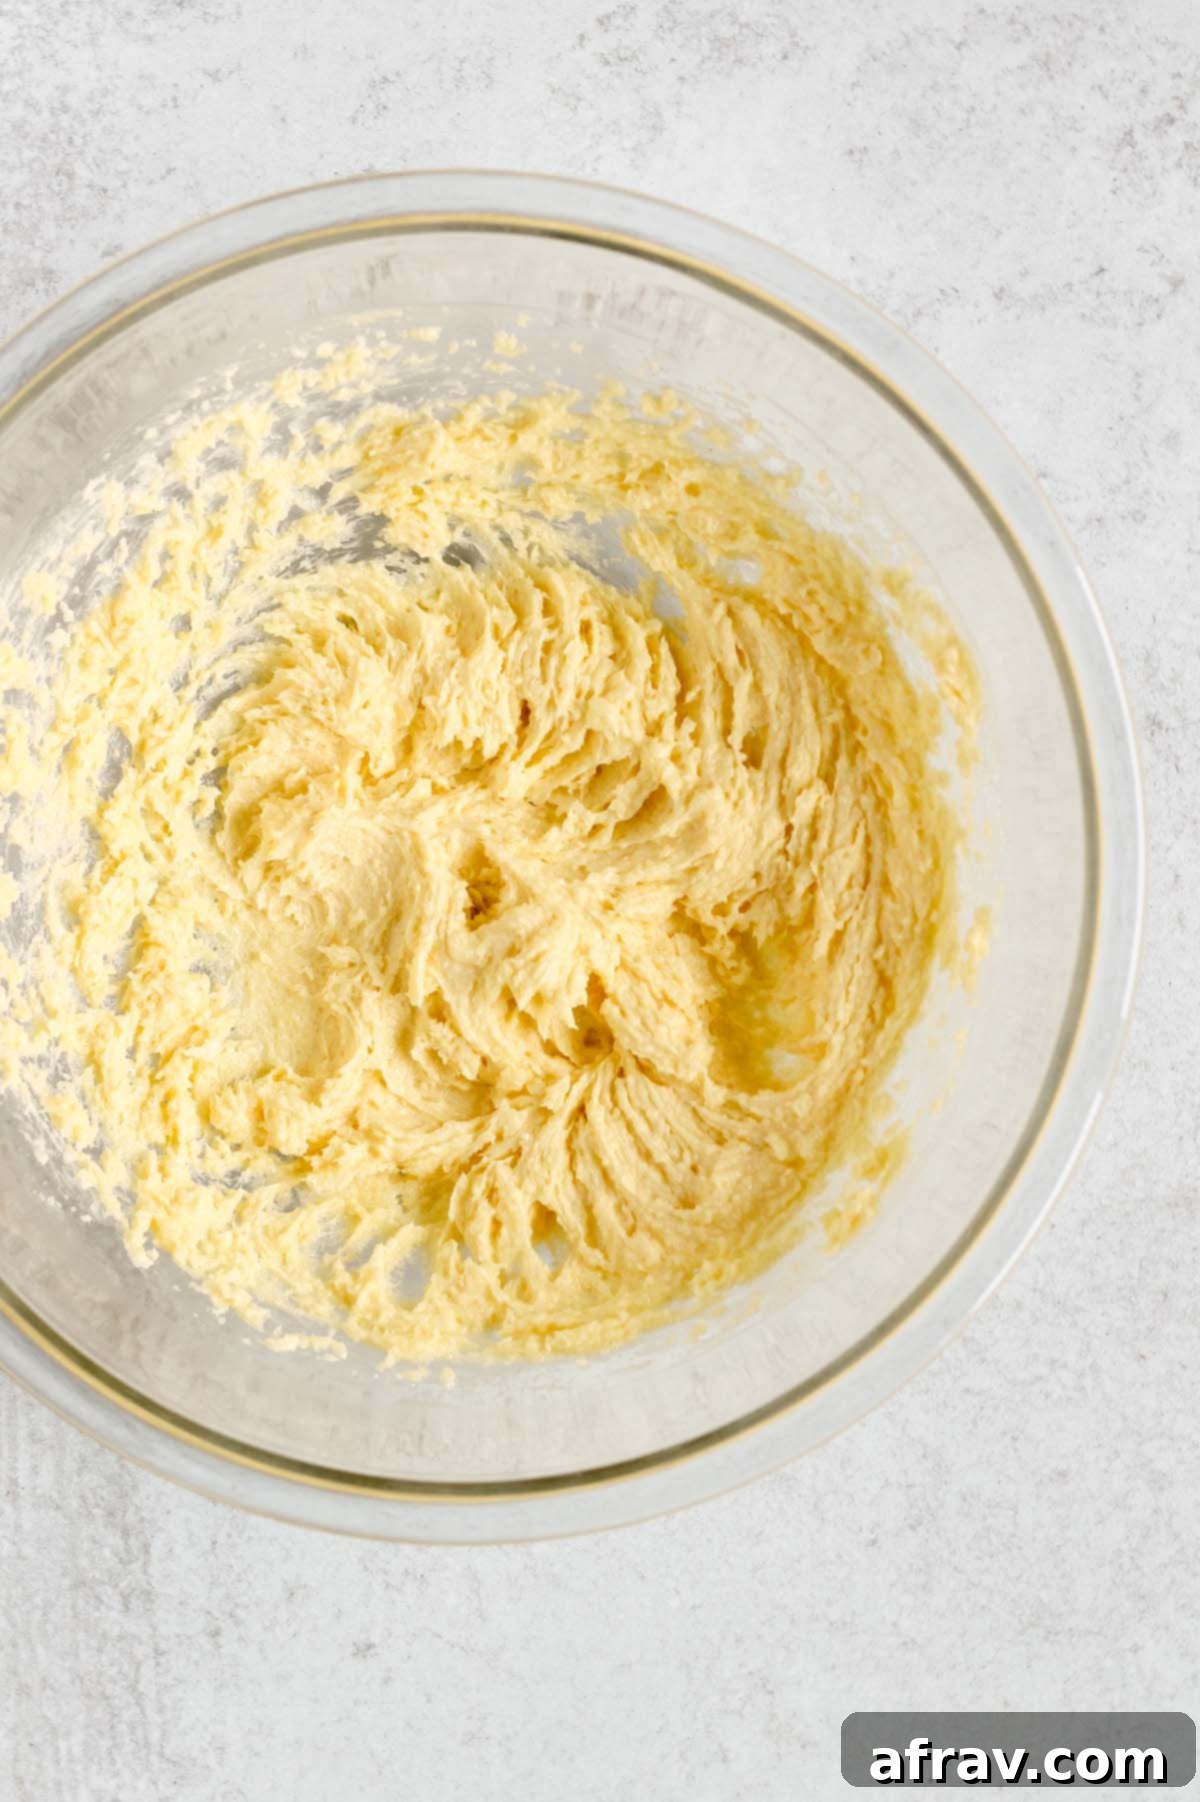
Step 1: Cream Butter and Sugar. In a large mixing bowl, using an electric hand mixer, cream together the room temperature butter and sugar. Beat on medium-high speed for approximately 2 minutes, or until the mixture is light, fluffy, and pale yellow. This step is crucial for incorporating air, which contributes to the cookies’ soft texture.
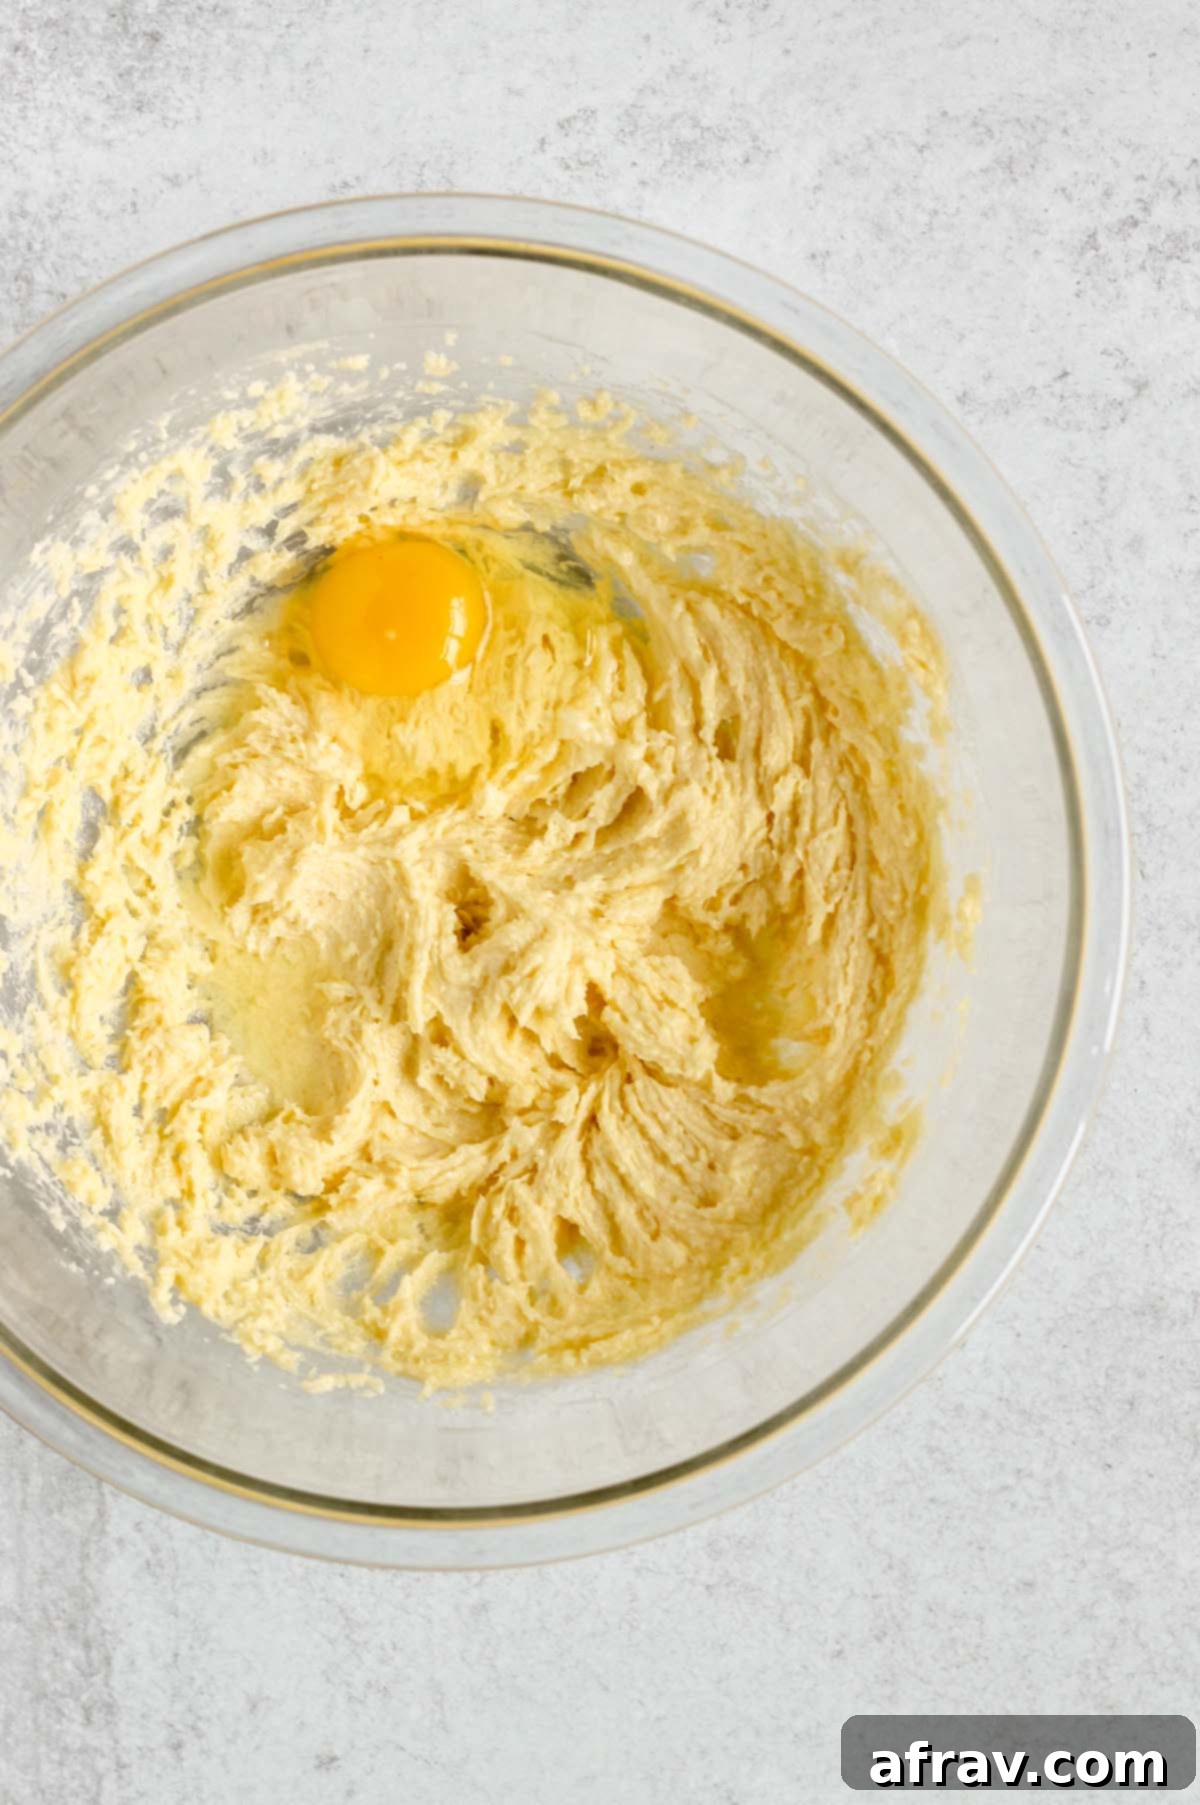
Step 2: Add Wet Ingredients. Reduce the mixer speed to low. Add the egg and almond extract to the creamed butter mixture. Continue to beat on low speed just until the egg is fully incorporated. Be careful not to overmix at this stage.
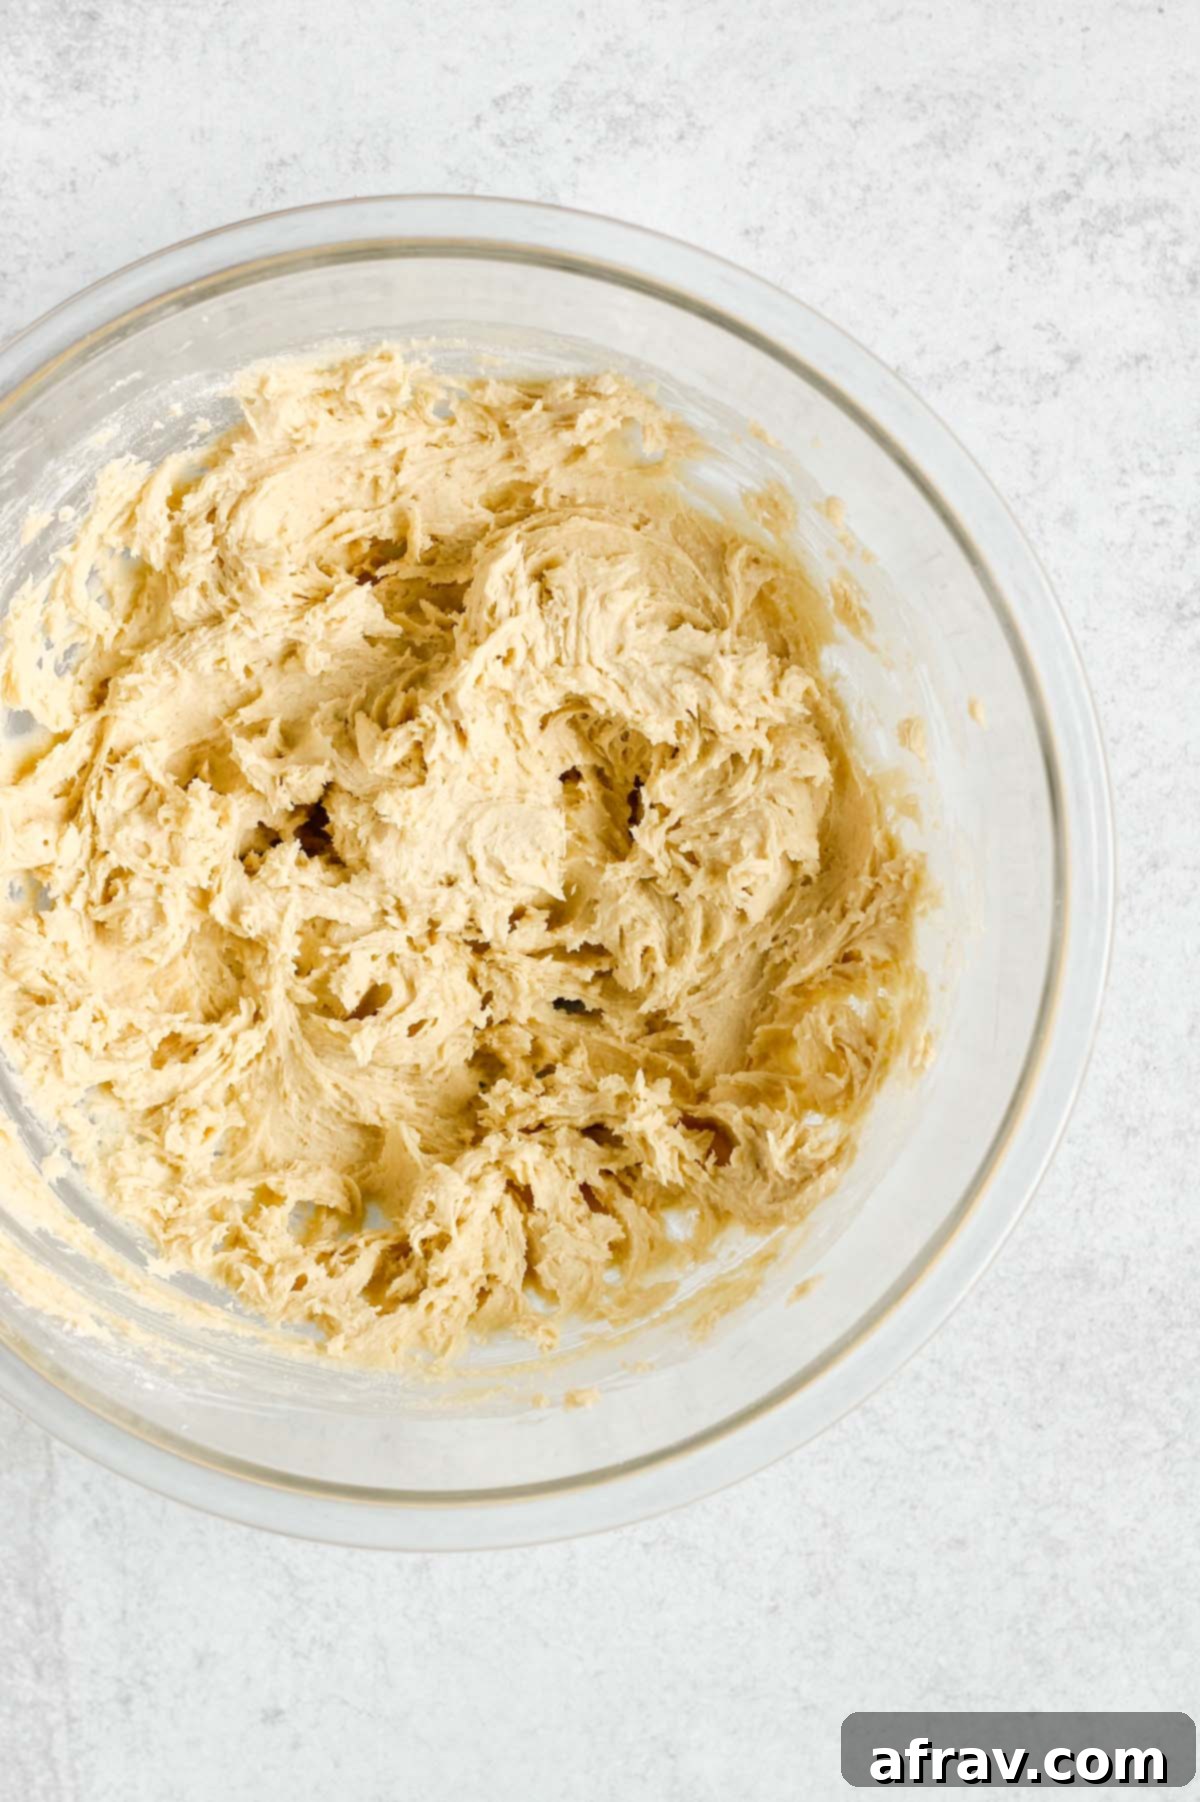
Step 3: Incorporate Cassava Flour. With the mixer still on low speed, gradually add the cassava flour, about ½ cup at a time. Continue mixing until all the flour has been fully incorporated into the dough and no dry streaks remain. The dough will be soft and cohesive.
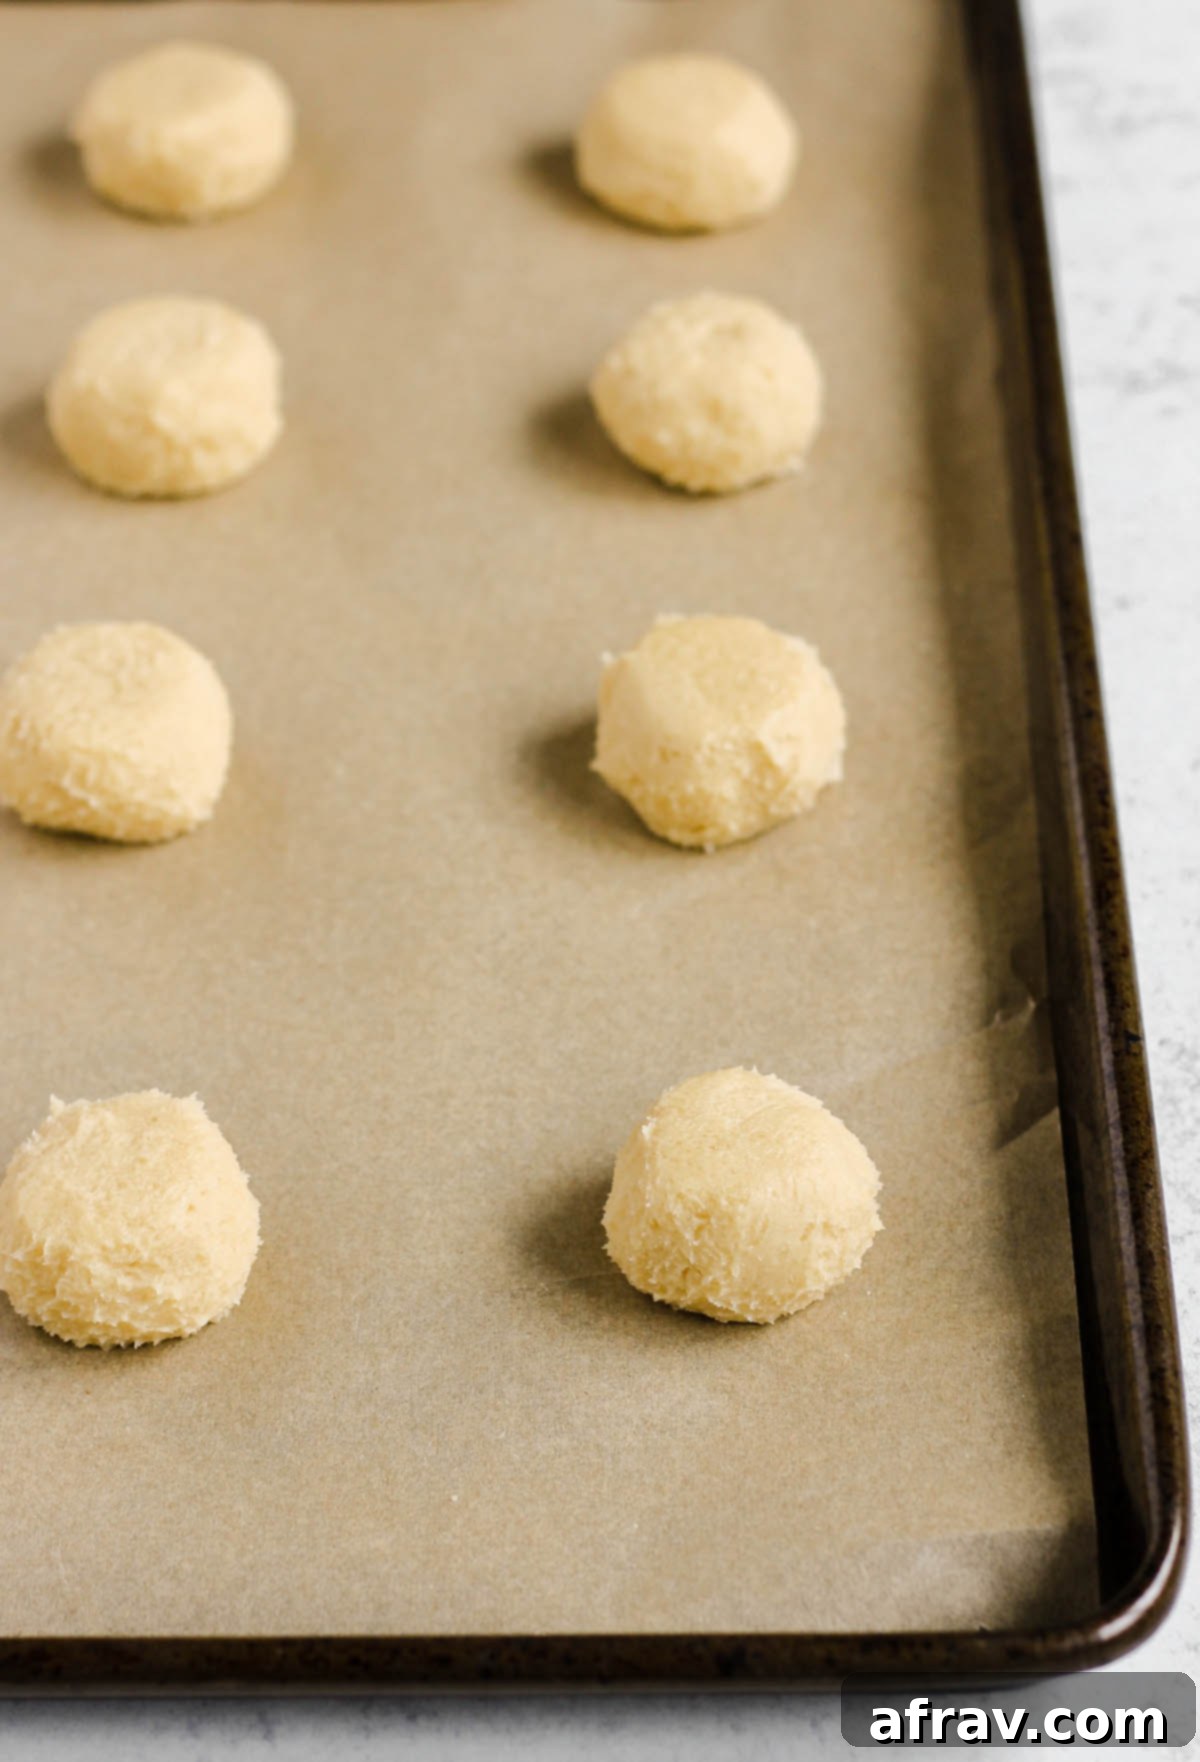
Step 4: Chill and Roll Dough. Cover the dough with plastic wrap and refrigerate for 1 hour. This chilling step is essential as it helps firm up the dough, making it easier to handle and preventing excessive spreading during baking. After chilling, preheat your oven to 350°F (175°C) and line 1-2 baking sheets with parchment paper or silicone mats. Take approximately 1.5 tablespoons of dough for each cookie and roll it into smooth, uniform balls. Place them about 2 inches apart on the prepared baking sheets.
PRO TIP: After rolling your dough into balls, lightly grease the bottom of a small glass or a ⅓ cup measuring cup. Gently press down on each dough ball to slightly flatten it. This technique helps achieve that perfectly round shape for your thumbprint cookies and reduces the likelihood of cracks forming during baking.
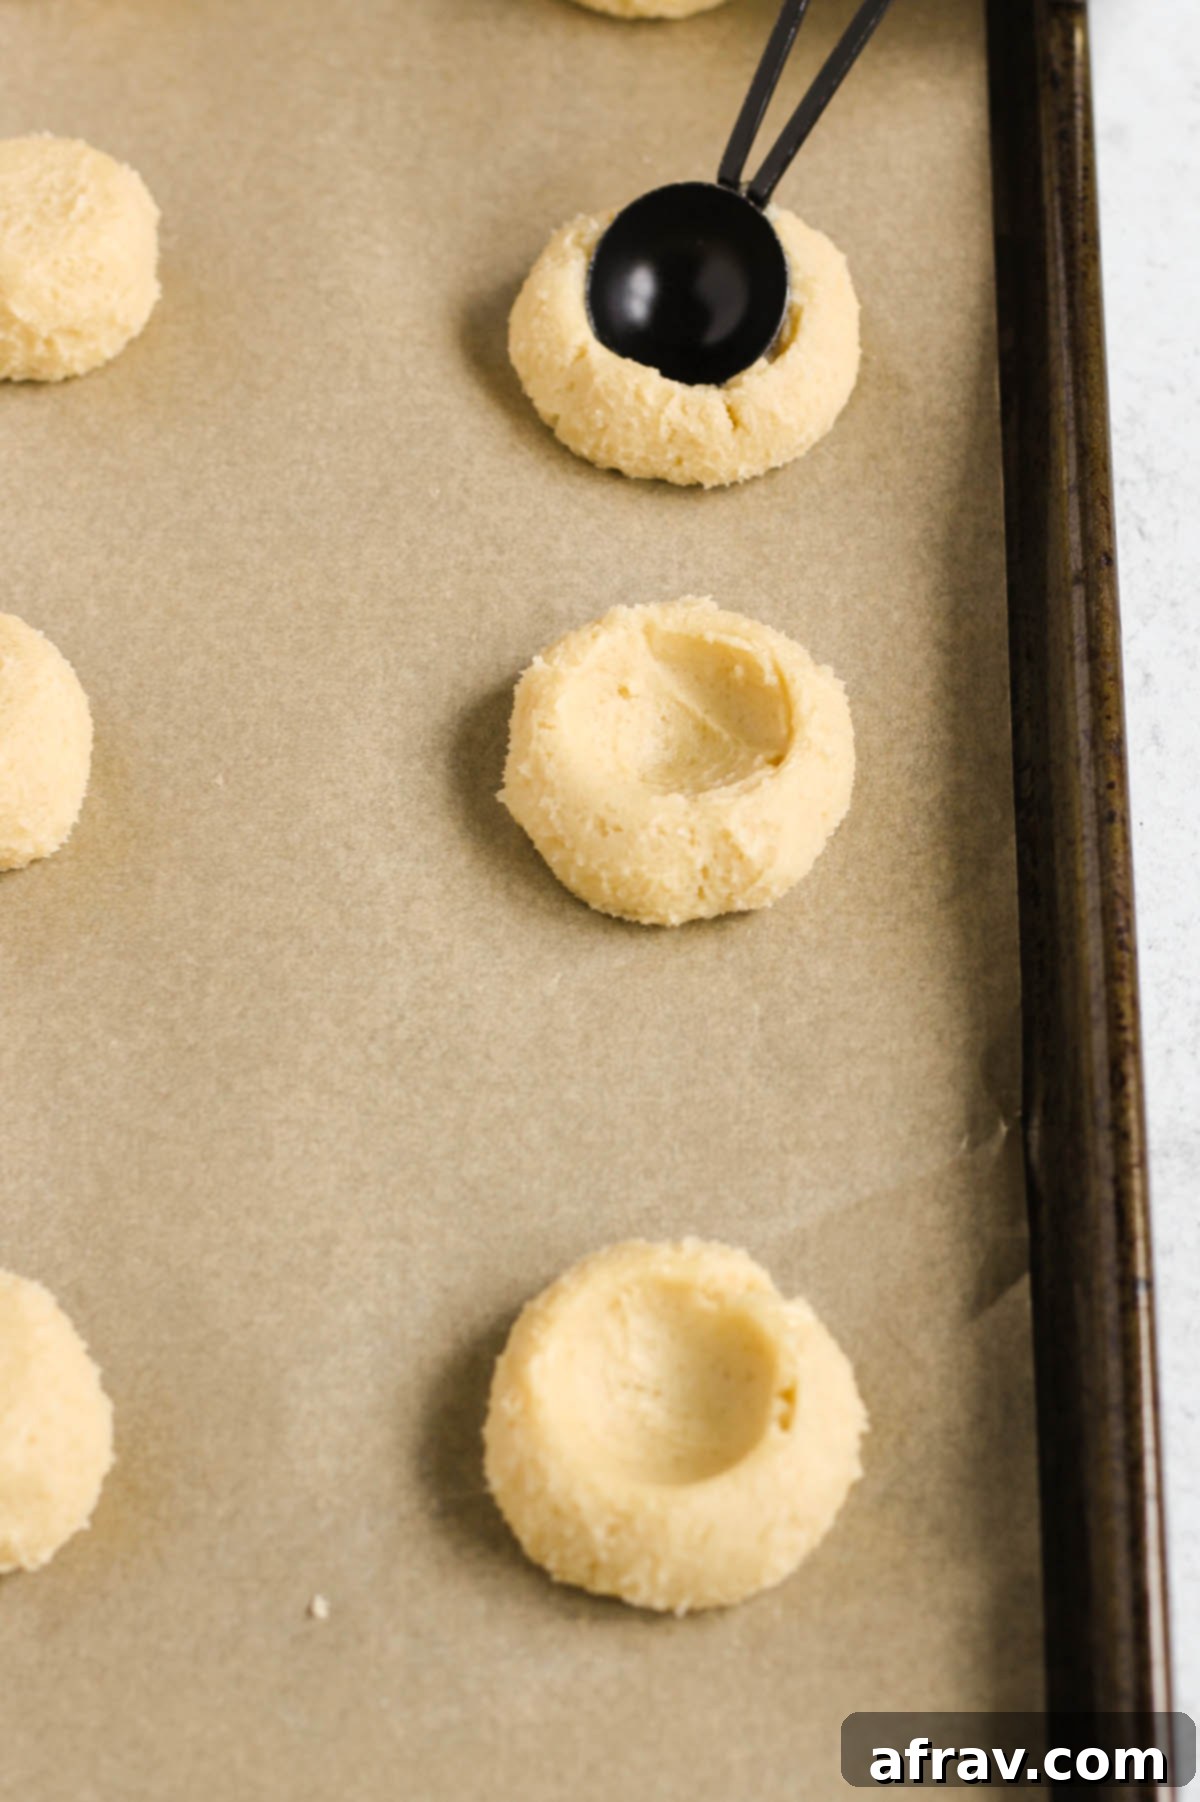
Step 5: Create Indents. Using the back of a 1 teaspoon measuring spoon (or your thumb, for a more rustic look), gently make an indent in the center of each dough ball. Press firmly enough to create a small well, but not so hard that you break through the bottom of the cookie.
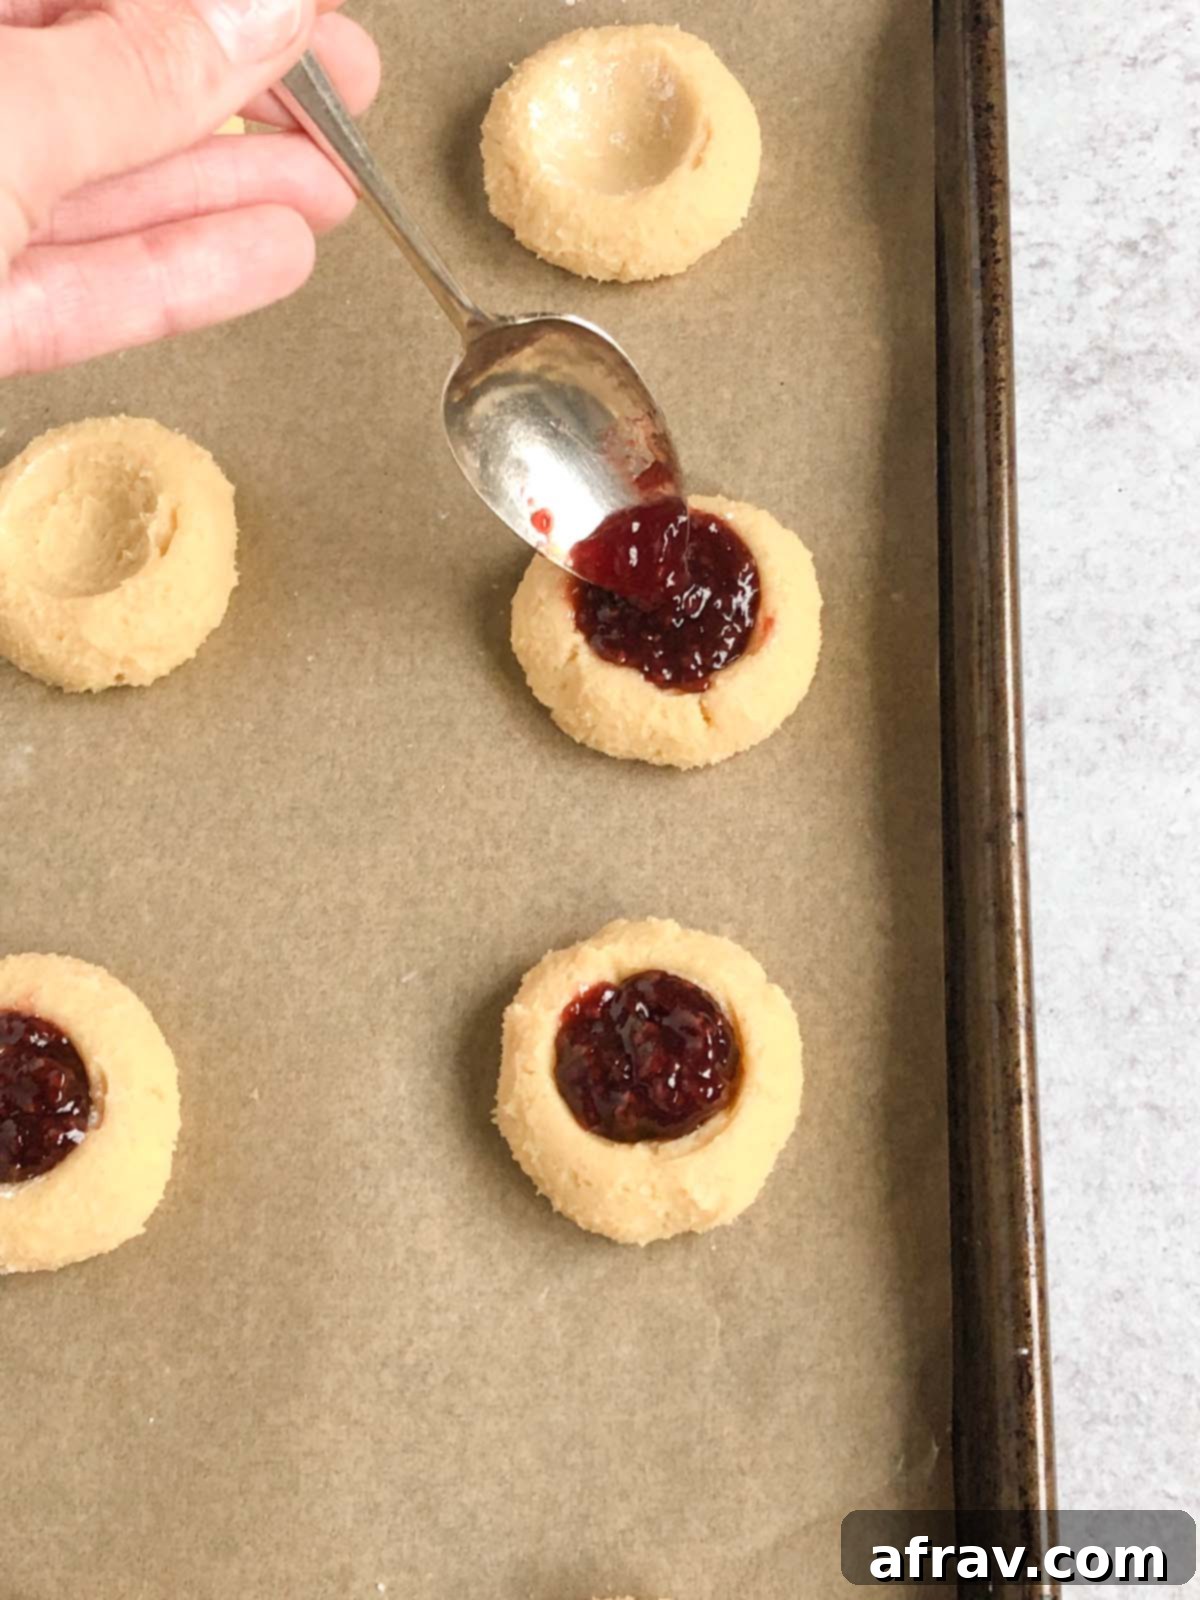
Step 6: Fill and Bake. Carefully fill each indent with approximately ½ teaspoon of raspberry jam. Bake the cookies in your preheated oven at 350°F (175°C) for 14-16 minutes, or until the bottom edges are lightly golden. The key is not to overbake; you want the cookies to remain soft and tender. Once baked, allow them to cool on the baking sheet for a few minutes before transferring them to a wire rack to cool completely.
PRO TIP: Cassava flour dough can be a little stickier than traditional wheat flour dough. To prevent the teaspoon (or your thumb) from sticking when making the indents, lightly dip the back of the spoon into a small bowl of cassava flour before pressing into each dough ball. This creates a non-stick barrier.
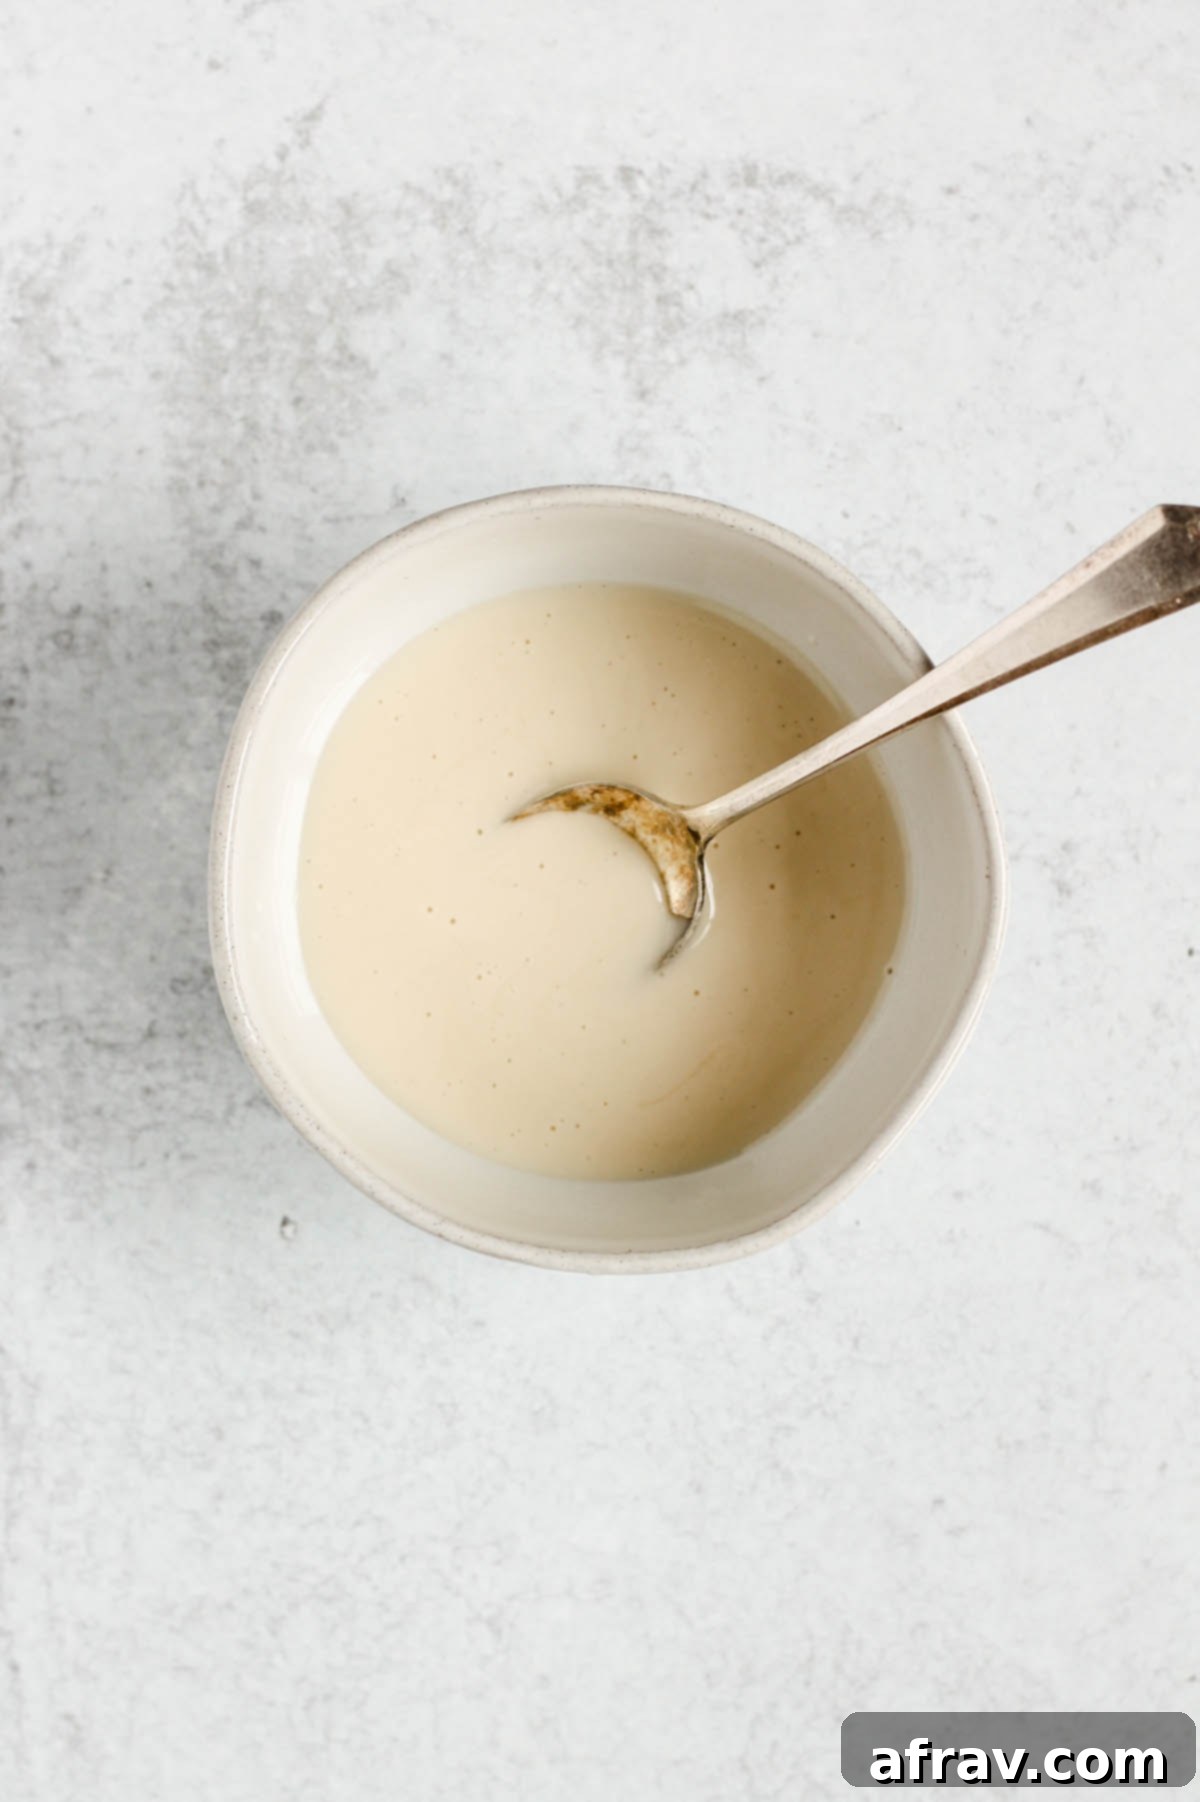
Step 7: Prepare the Glaze. While the cookies are cooling, prepare the almond glaze. In a small bowl, whisk together the confectioner’s sugar (also known as powdered sugar), almond extract, and water until the mixture is completely smooth and free of lumps. Adjust the water amount slightly if needed to achieve a drizzling consistency – it should be thick enough to cling to a spoon but thin enough to flow.
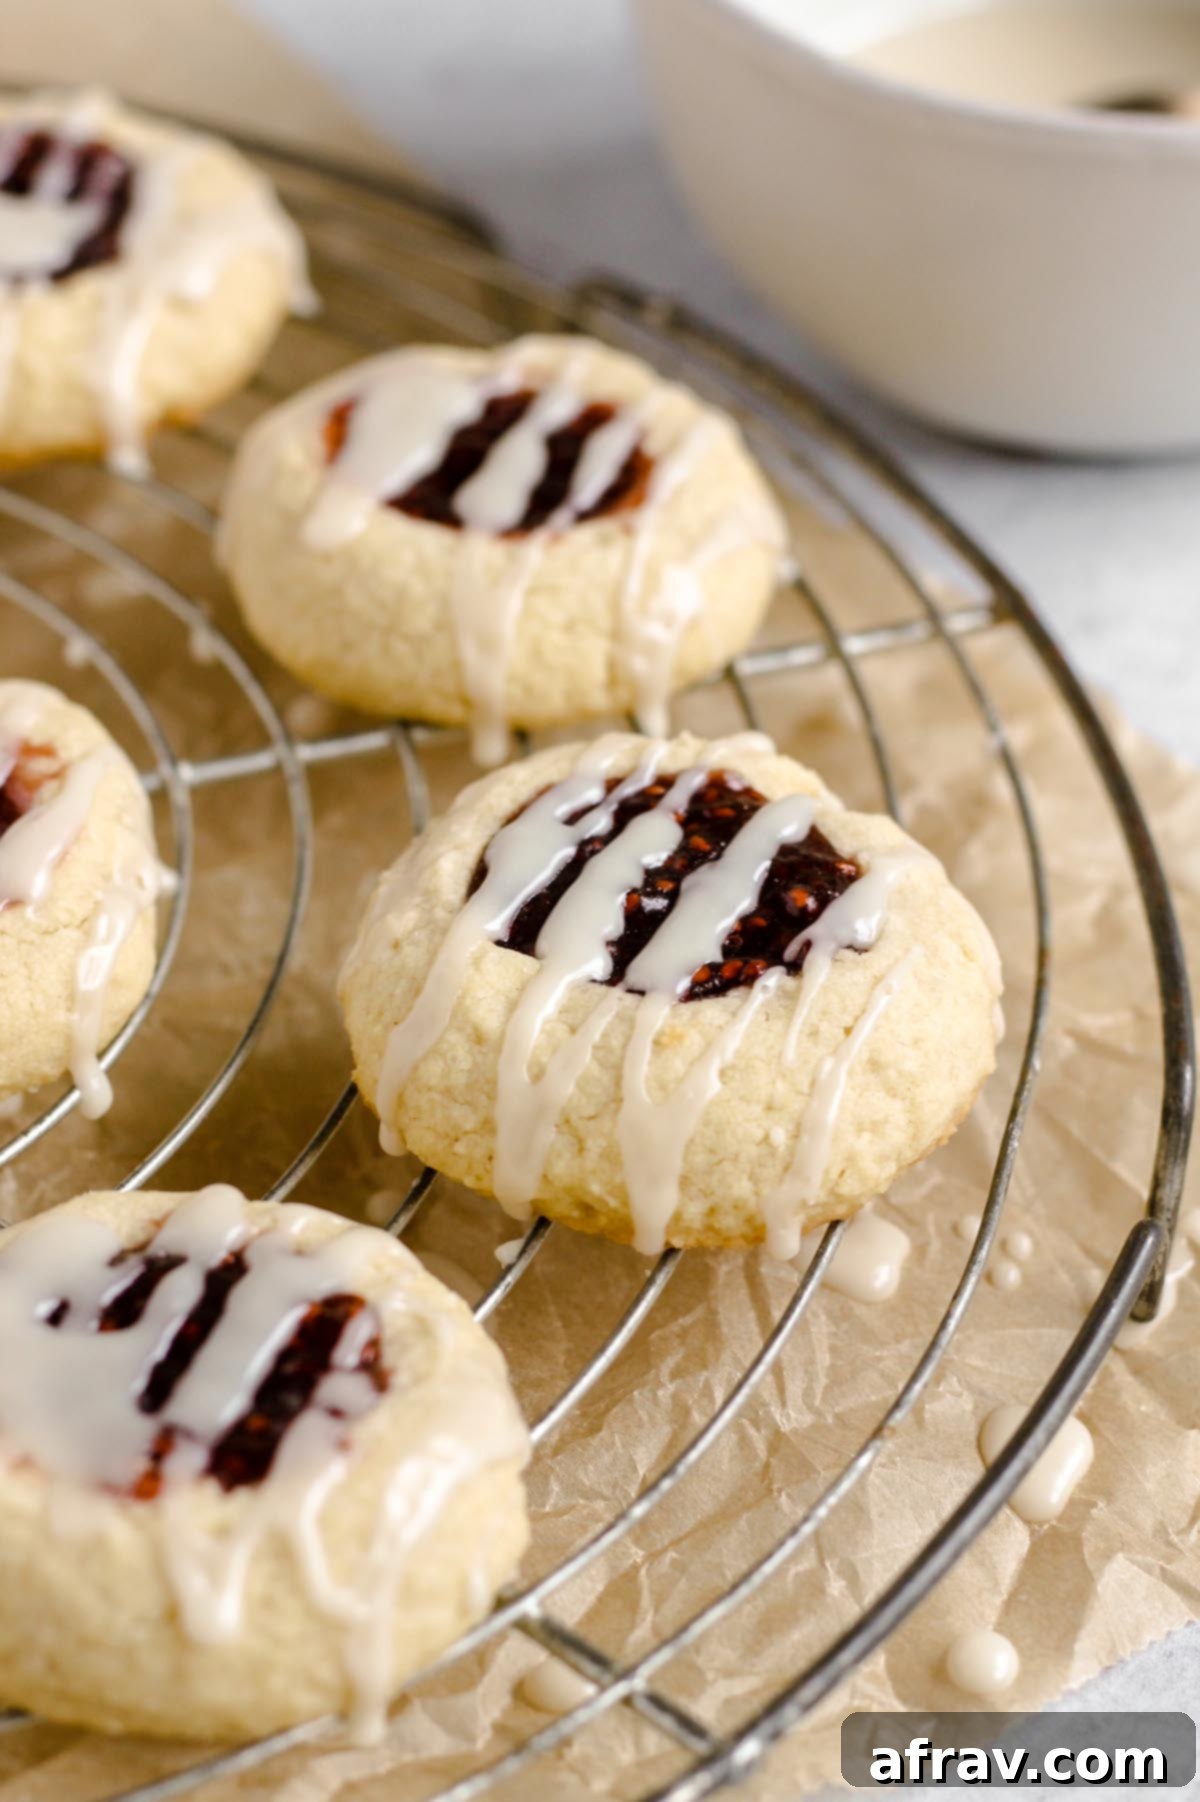
Step 8: Glaze and Serve. Ensure the cookies are completely cool before drizzling with the glaze. If the cookies are still warm, the glaze will simply melt and run off. Using a spoon or a piping bag with a very small opening, elegantly drizzle the almond glaze over each cookie. Allow the glaze to set for at least 15-20 minutes before serving or storing. Enjoy your beautiful and delicious gluten-free thumbprint cookies!
Expert Tips and Notes for Perfect Gluten-Free Thumbprint Cookies Every Time
Mastering these cookies is simple with a few key considerations in mind. Follow these tips to ensure your thumbprint cookies come out beautifully and deliciously perfect with every batch:
- Room Temperature Butter is Non-Negotiable: Always use butter that has naturally softened at room temperature. Butter softened in the microwave can become too oily and separate, affecting the cookie dough’s consistency and the final texture of your cookies. Proper creaming starts with properly softened butter.
- Creaming for Perfection: Take your time to fully beat the butter and sugar together until the mixture is light, pale, and fluffy. This step is essential for incorporating air, which creates a tender, melt-in-your-mouth cookie texture. Don’t rush it!
- Preventing Cracks and Spreading:
- Smooth Dough Balls: Tightly roll each portion of dough in your hands until it’s smooth and free of visible cracks. If the dough feels too sticky, lightly dust your hands with a tiny bit of cassava flour.
- Cool Baking Sheets: Always place your dough balls on a cooled cookie sheet for baking. If they touch a warm sheet before going into the oven, they can start to melt prematurely, leading to excessive spreading and potential cracking.
- Chill the Dough: The 1-hour refrigeration period is crucial. It helps the butter solidify and the flour to fully hydrate, preventing the cookies from spreading too much during baking. If baking in batches, keep the remaining dough in the fridge until ready to use.
- Achieve the Perfect Round Shape: After rolling your dough into balls, lightly grease the bottom of a flat-bottomed glass or a measuring cup. Gently press this onto the top of each dough ball to slightly flatten it. This technique helps ensure a uniform, perfectly round cookie shape, which looks lovely on a holiday platter.
- Non-Stick Indents: Cassava flour dough can be a bit more prone to sticking. Before making the indentations in the dough balls, dip the back of your 1-teaspoon measuring spoon into a small amount of cassava flour. This creates a barrier that prevents the spoon from sticking to the dough and keeps your indents clean and neat.
- Patience with the Glaze: It’s tempting to glaze warm cookies, but resist the urge! Allow the cookies to cool completely – ideally for at least 20 minutes – before preparing and drizzling the glaze. If the cookies are still warm, the glaze will melt and run off, creating a messy rather than elegant finish.
Storing and Freezing Your Gluten-Free Thumbprint Cookies
These delightful gluten-free thumbprint cookies are so good, you might want to make a double batch! Here’s how to properly store them to maintain their freshness or freeze them for enjoyment later.
Storing: To keep your thumbprint cookies tasting fresh and delicious, store them in an airtight container at room temperature. They will remain wonderfully soft and flavorful for up to 3 days. If you need them to last a bit longer, you can store them in the refrigerator for 5-6 days. Just be sure the container is tightly sealed to prevent them from drying out.
Freezing: These cookies freeze beautifully! To freeze, place the cooled, glazed cookies in a single layer on a baking sheet and flash freeze for about 30 minutes, or until firm. This prevents them from sticking together. Once firm, transfer them to a freezer-safe airtight container or a heavy-duty freezer bag. They will maintain their quality for up to 3 months. To enjoy, simply allow them to thaw at room temperature for an hour or two before serving. You can also freeze the unbaked dough balls: simply roll them, make the indents (without jam), flash freeze, then store. When ready to bake, add jam and bake from frozen, adding a few extra minutes to the baking time.
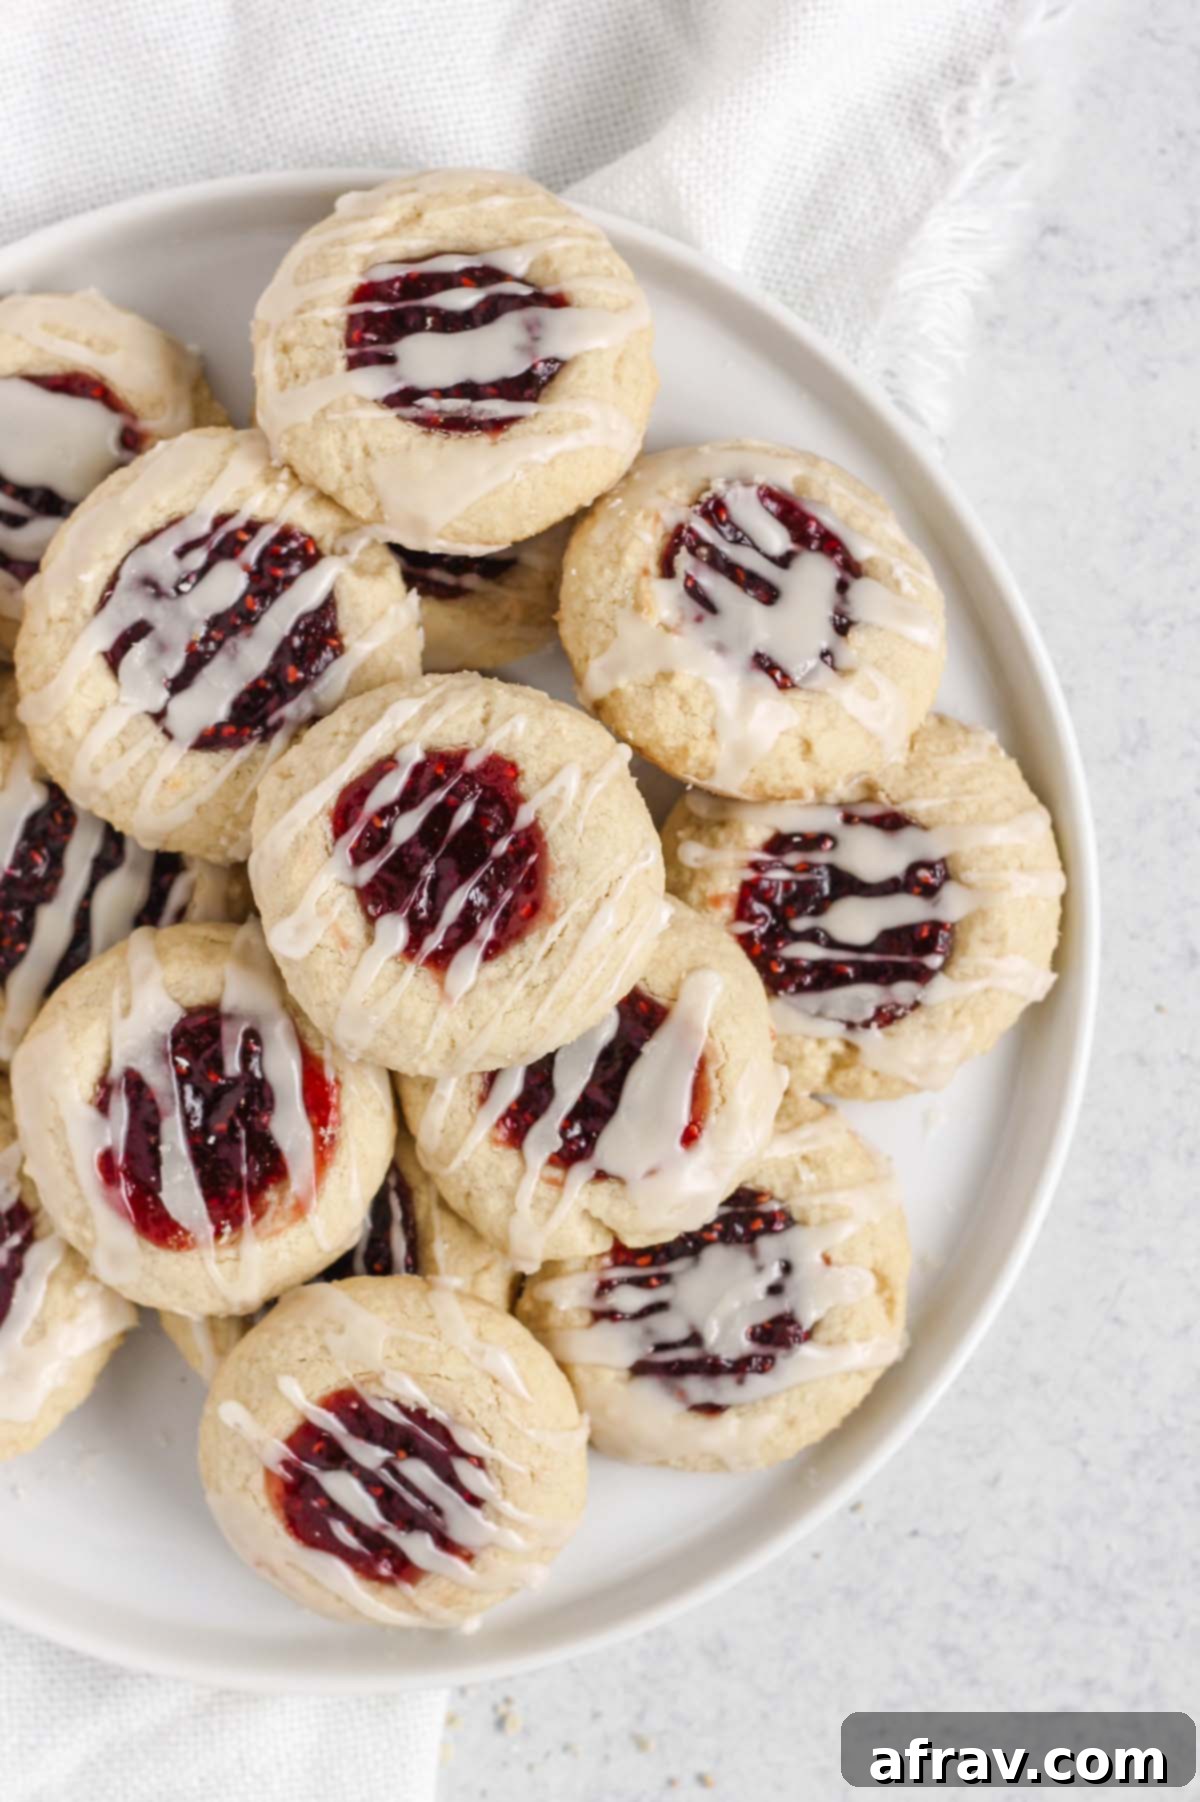
Common Questions About Gluten-Free Thumbprint Cookies
Here are answers to some frequently asked questions to help you bake the best gluten-free thumbprint cookies:
Yes, you absolutely can use jelly as a filling for these cookies! I personally prefer jam because I love the added texture and concentrated fruit flavor that the fruit pieces provide. However, jelly will work just as well and will give you a smoother, more translucent center. The choice is yours based on personal preference! For a healthier, whole-food option, you might also consider trying my homemade chia seed jam.
The primary key to keeping these cookies perfectly round and preventing excessive spreading is to ensure your dough is adequately chilled. Letting the dough refrigerate for at least an hour before you start rolling helps the butter firm up, providing a more stable structure. Also, make sure your baking sheets are cool before placing the dough balls on them, especially if you’re baking in batches. If the dough touches a warm surface, it can start to melt before it even enters the oven, leading to a flatter cookie.
While it might seem like an easy shortcut, I highly recommend adding the jam to the cookie indents *before* baking. Baking the cookies with the jam allows the jam to slightly caramelize and firm up, creating a more stable and less sticky filling. If you add the jam after baking, it tends to remain softer and can make the cookies quite sticky and messy to handle and store. Plus, the baked-in jam offers a deeper, richer flavor.
Cracking can happen if the dough is too cold, not pliable enough, or if it wasn’t rolled smoothly into a ball. Ensure your dough has chilled but isn’t rock hard. When rolling, make sure each ball is smooth and tight. Using the “lightly grease and flatten” pro tip (Step 4 and Tips section) can also significantly reduce cracking by creating a smoother surface before the indent. Dipping your teaspoon in flour before making the indent also helps the dough release cleanly.
This recipe is specifically formulated and extensively tested with cassava flour due to its unique baking properties that mimic wheat flour very well in terms of texture and binding. Substituting with other gluten-free flours like almond flour, oat flour, or a gluten-free blend will likely yield different results in terms of texture, moisture, and how the cookies hold their shape. I cannot guarantee the same delicious outcome if a different flour is used without significant recipe adjustments.
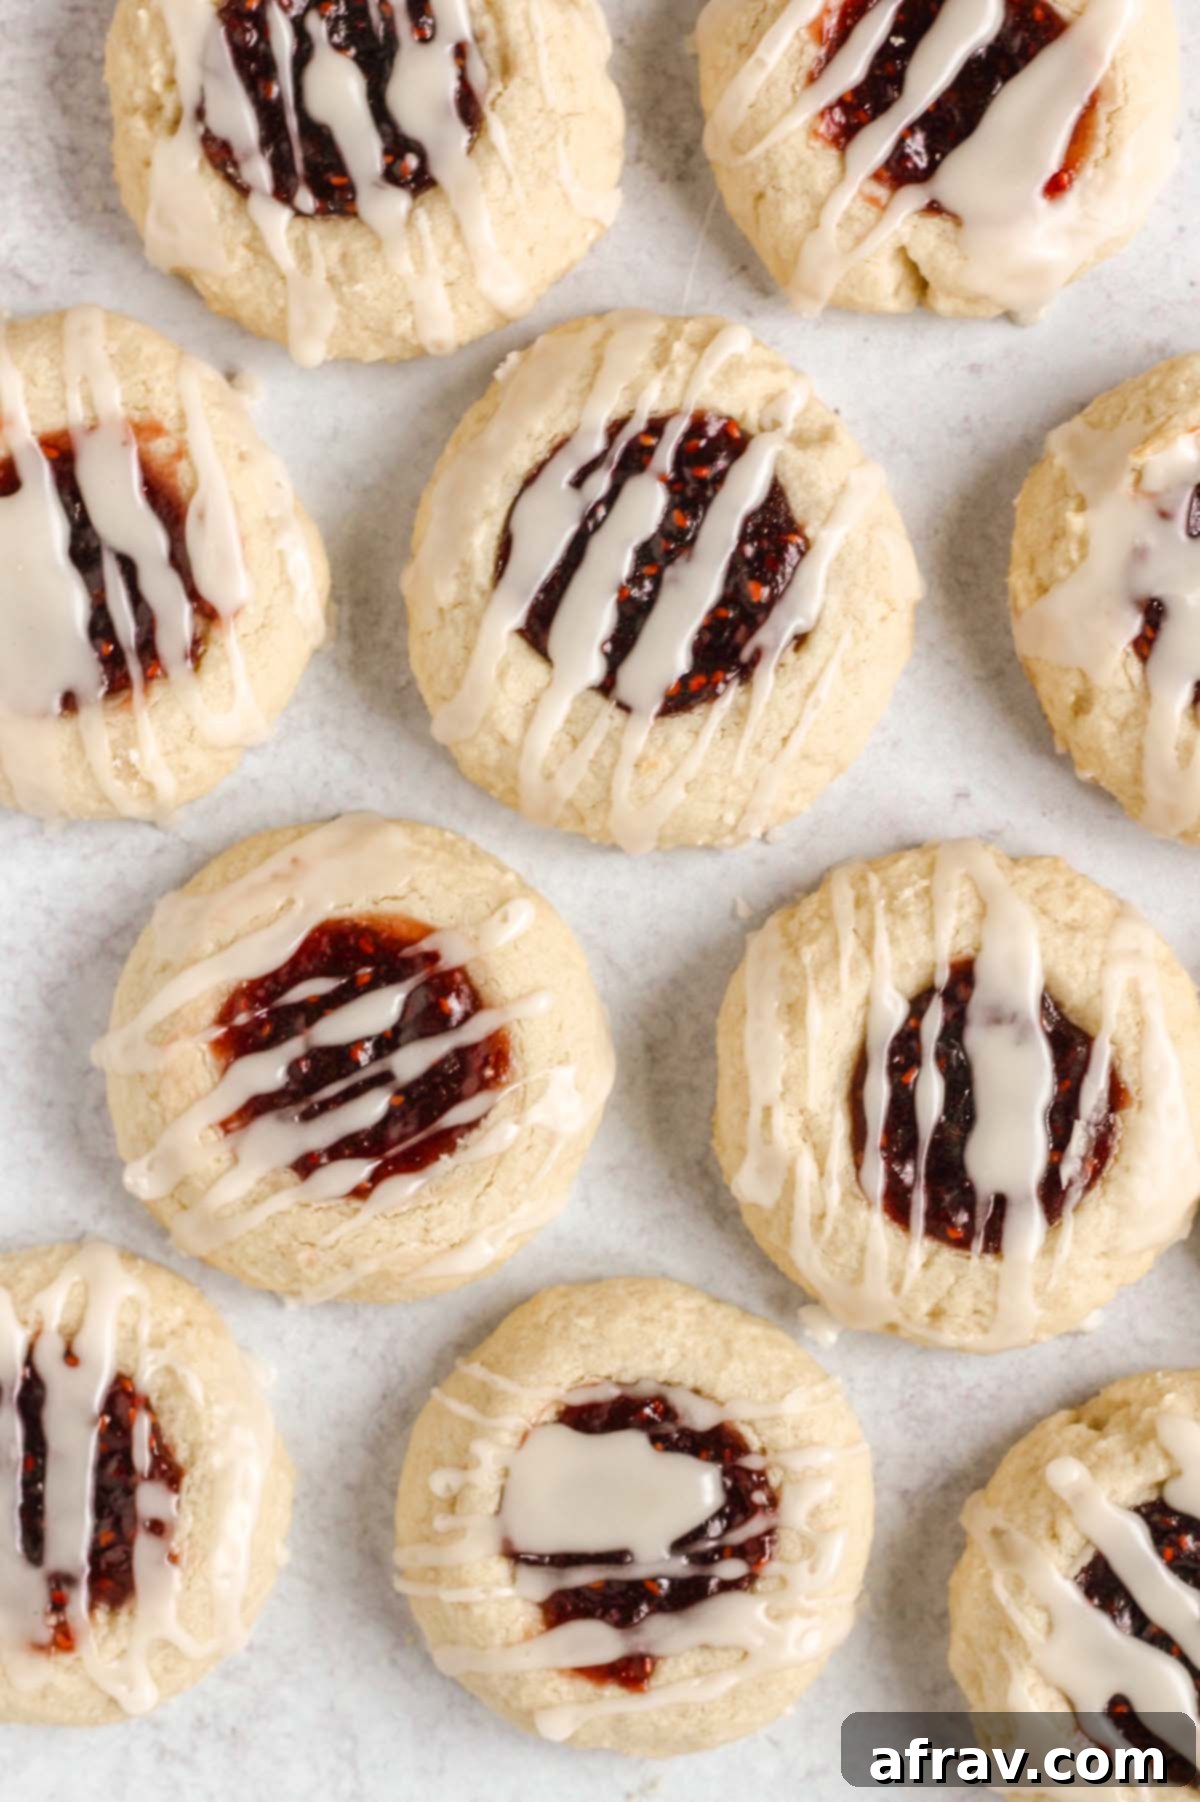
More Irresistible Gluten-Free Holiday Treats to Try!
If you loved these gluten-free thumbprint cookies, you’re in for a treat! Here are more delicious, wholesome recipes from Clean Plate Mama that are perfect for holiday gatherings or simply to enjoy anytime you’re craving something sweet and gluten-free.
- Decadent Vegan Chocolate Turtle Recipe
- Chewy Oat Flour Chocolate Chip Cookies
- Healthy Dark Chocolate Bark (Dairy-Free)
- Healthy Dark Chocolate Peanut Butter Balls

Gluten-Free Raspberry Thumbprint Cookies
★★★★★ 5 from 11 votes
🖨️Print
📌Pin
⭐Rate
Save This Recipe For Later!
We’ll email this post to you, so you can come back to it later. Plus, enjoy weekly clean eating recipes as a bonus.
Equipment
-
1 Large Mixing Bowl
-
1 Electric Hand Mixer
-
1-2 Baking Sheets
-
Parchment Paper or Silicone Baking Mats
-
Measuring Spoons and Cups
Ingredients
For the Cookies
- ⅔ cup organic cane sugar
- 1 cup unsalted butter, room temperature (or dairy-free butter substitute)
- 1 large egg
- ¾ tsp. almond extract
- 1 ¾ cups cassava flour
- ¼ cup raspberry jam (or your preferred jam flavor)
For the Glaze
- ¾ cup confectioner’s sugar (powdered sugar)
- 1 tsp. almond extract
- 1-2 tbsp. water (adjust for desired consistency)
Instructions
-
Plan Ahead: This cookie dough requires at least 1 hour of chilling in the refrigerator, so make sure to factor this into your baking schedule.
-
Cream Butter and Sugar: In a large mixing bowl, using an electric hand mixer, combine the room temperature butter and sugar. Beat on medium-high speed for 1-2 minutes until the mixture is light, fluffy, and visibly creamy. This incorporates air, which is essential for a tender cookie.
-
Add Wet Ingredients: Reduce the mixer speed to medium-low. Add the egg and almond extract to the butter mixture. Continue mixing just until these ingredients are fully combined. Avoid overmixing.
-
Incorporate Flour: With the mixer still on low speed, slowly add the cassava flour, about ½ cup at a time. Continue mixing until all of the cassava flour has been thoroughly incorporated into the dough and the mixture is smooth.
-
Chill the Dough: Place the cookie dough into the fridge and allow it to chill for a minimum of one hour. There’s no need to cover the dough during this time.
-
Prepare for Baking: Once the dough has chilled, preheat your oven to 350°F (175°C). Line 1-2 baking sheets with parchment paper or silicone baking mats.
-
Shape Cookies: Take about 1 ½ tablespoons of the chilled dough for each cookie. Roll the dough into smooth, uniform balls and place them on the prepared cookie sheets, leaving about 2 inches between each. To help achieve a perfectly round shape and prevent cracking, lightly grease the bottom of a small glass or measuring cup and gently flatten each dough ball.
-
Indent and Fill: Using the back of a 1 teaspoon measuring spoon, gently make an indent in the center of each dough ball. Dip the spoon in a little cassava flour beforehand to prevent sticking. Fill each cookie indent with approximately ½ teaspoon of your chosen jam.
-
Bake to Perfection: Bake the cookies for 14-16 minutes, or just until the bottom edges are lightly golden. Be careful not to overbake, as you want these cookies to remain wonderfully soft. Once baked, allow them to cool on the baking sheet for a few minutes before carefully transferring them to a wire cooling rack to cool completely.
-
Repeat as Needed: Continue steps 6-8 until all of the dough has been used and baked.
-
Glaze and Set: Once all the cookies have cooled for about 20 minutes (they must be completely cool!), prepare the almond glaze. In a small bowl, whisk together the confectioner’s sugar, almond extract, and water until you achieve a smooth, drizzly consistency. Using a spoon, artfully drizzle the glaze over each cooled cookie. Allow the glaze to set for about 15-20 minutes before serving or storing.
-
Enjoy! Serve these beautiful and delicious gluten-free thumbprint cookies and savor every soft, jam-filled bite!
Notes
- Use the “spoon and level” method when measuring the cassava flour to ensure accuracy. This means gently spooning the flour into your measuring cup and then leveling off the top with a straight edge.
- Slightly flattening each dough ball (using a greased glass bottom) helps achieve a perfectly round shape for your cookies and significantly reduces the chance of the dough cracking during baking. Refer to the pictures in the main blog post for a visual guide if needed.
- If you’re baking in multiple batches, always keep the unbaked dough in the refrigerator between batches. Additionally, ensure you’re placing your dough balls on cool, not warm, cookie sheets to prevent premature spreading.
- For dairy-free cookies, substitute unsalted butter with an equal amount of refined coconut oil or a high-quality vegan butter alternative.
- Feel free to experiment with different jam flavors for the filling, such as strawberry, apricot, or even homemade chia jam for a healthier twist.
Final step: Don’t forget to click the stars above to rate the recipe! Your feedback helps me and other bakers know what you think. I absolutely love hearing from you in the comments below!
Nutrition
Carbohydrates: 19g |
Protein: 1g |
Fat: 8g |
Saturated Fat: 5g |
Polyunsaturated Fat: 1g |
Monounsaturated Fat: 2g |
Trans Fat: 1g |
Cholesterol: 27mg |
Sodium: 72mg |
Potassium: 10mg |
Fiber: 1g |
Sugar: 8g |
Vitamin A: 246IU |
Vitamin C: 1mg |
Calcium: 17mg |
Iron: 1mg
📸
Tried this Recipe? Tag me Today!
Mention @CleanPlateMama or tag #CleanPlateMama!
