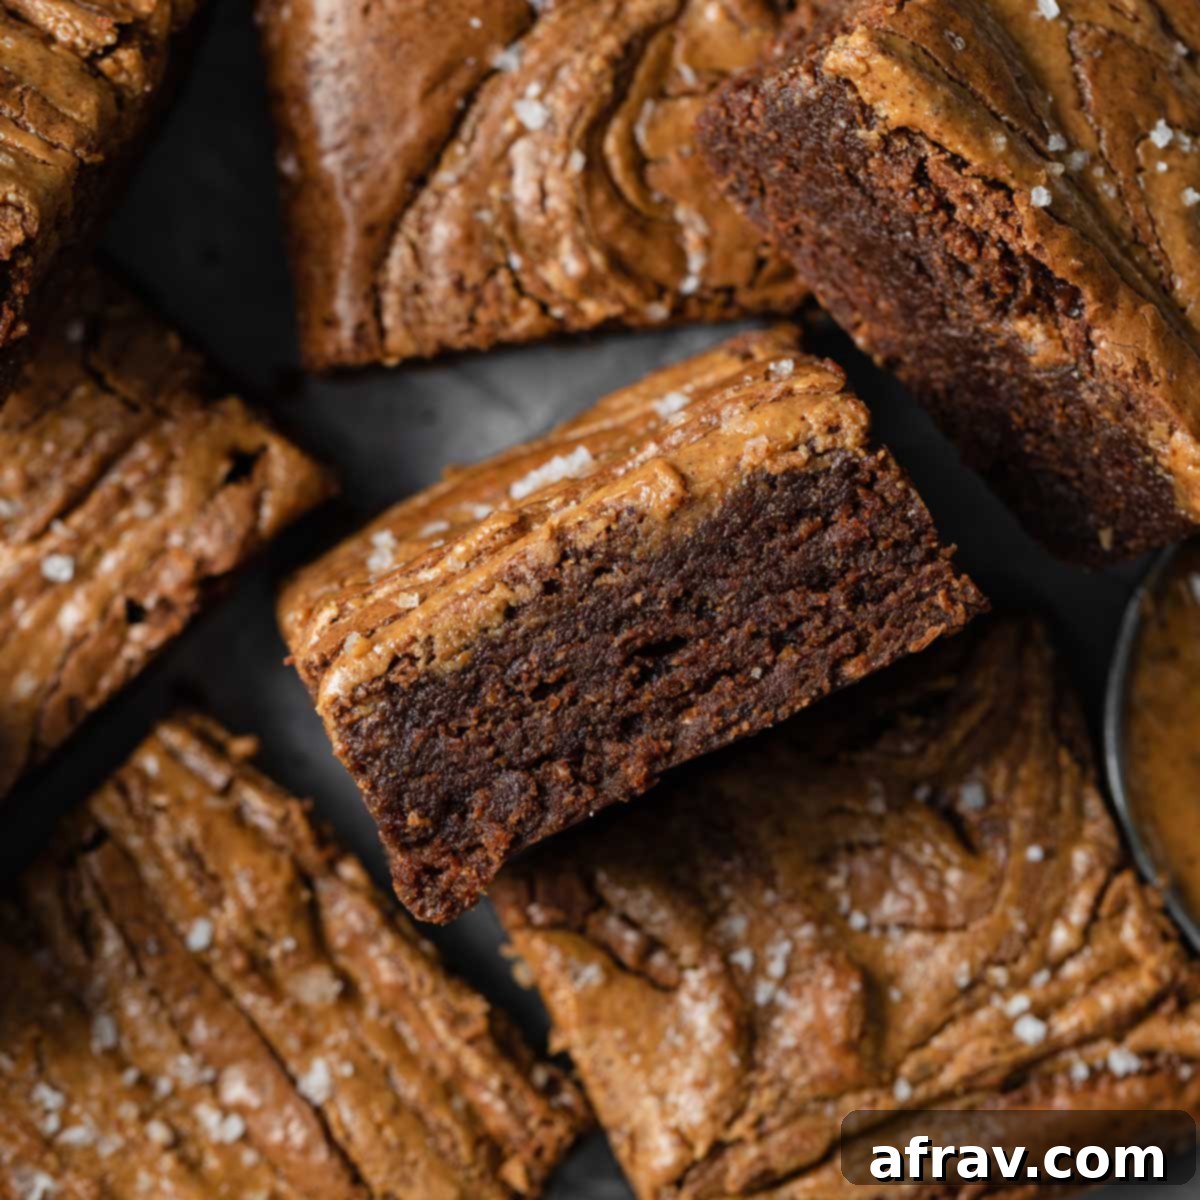
The Best Chewy Dairy-Free Almond Butter Brownies with Sea Salt Swirl
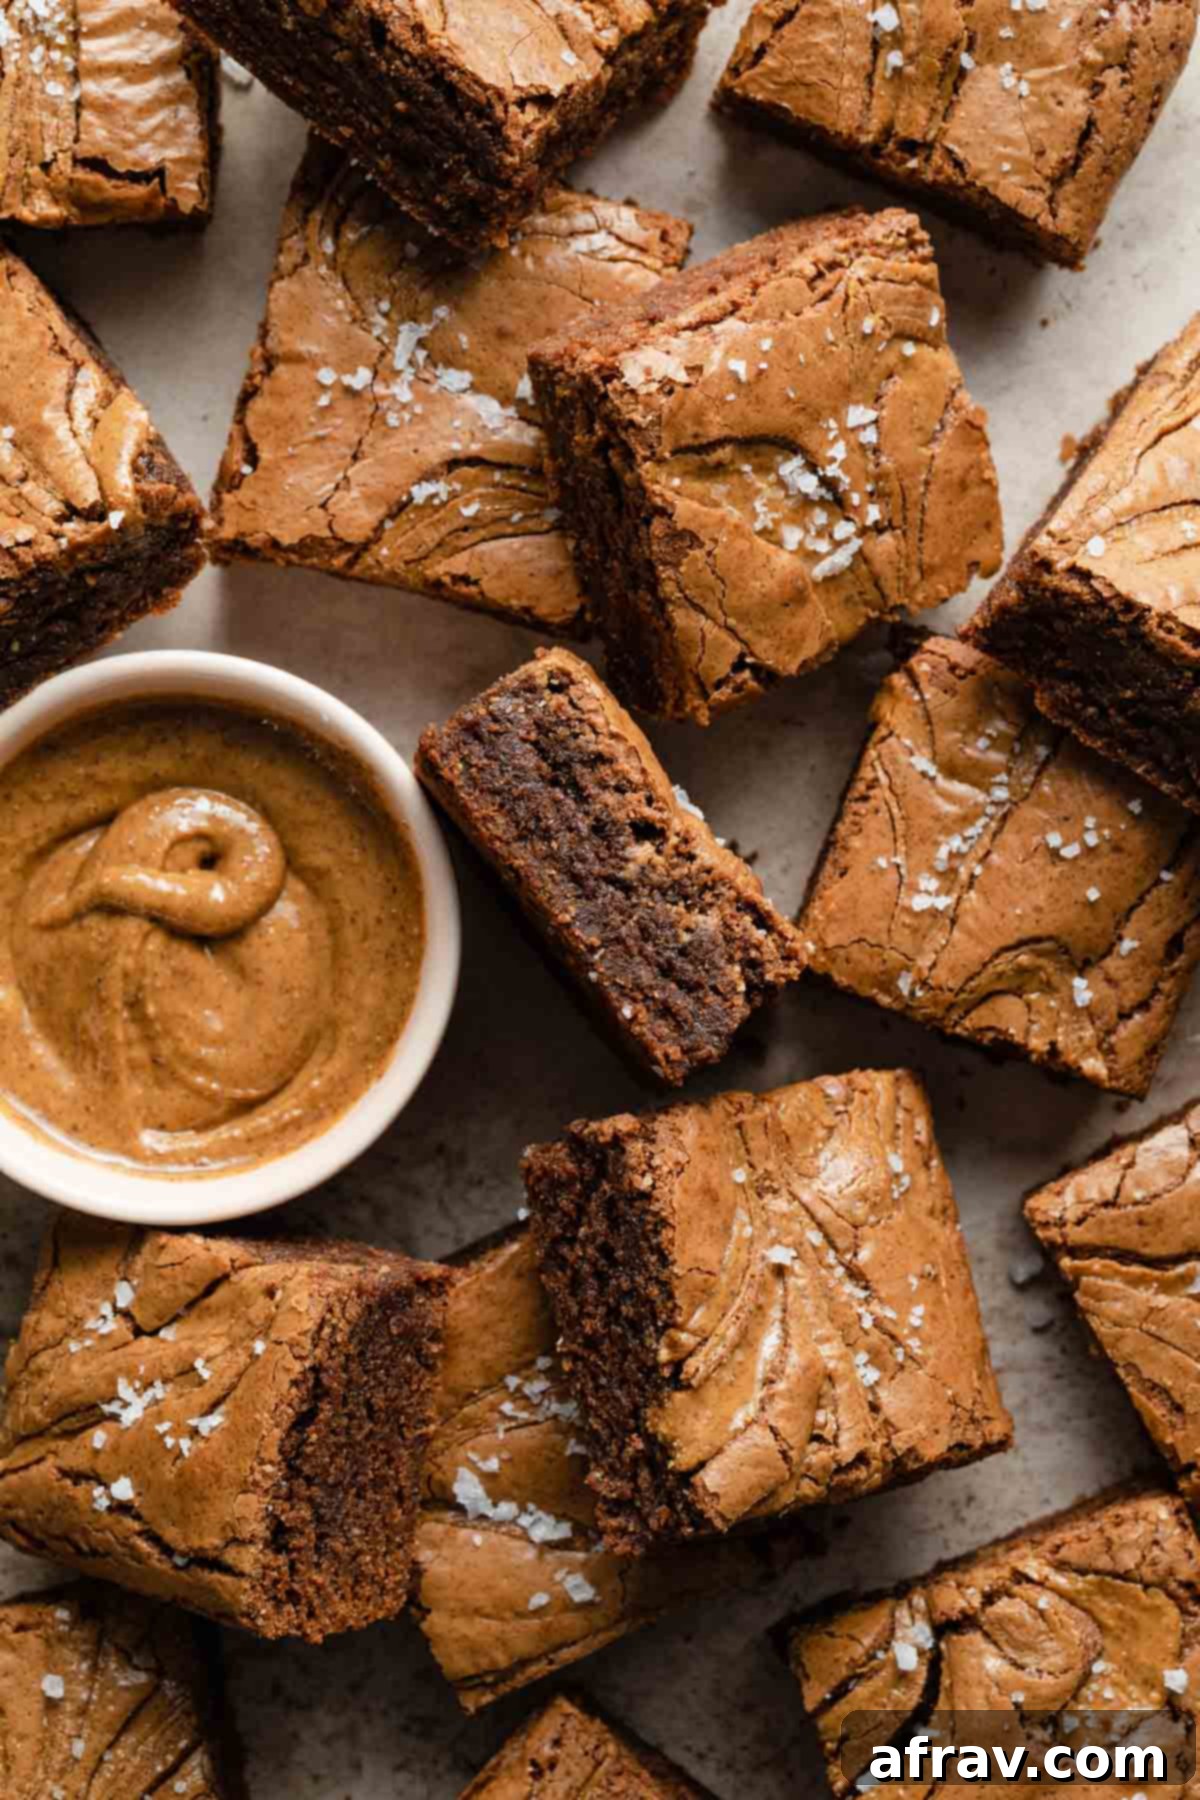
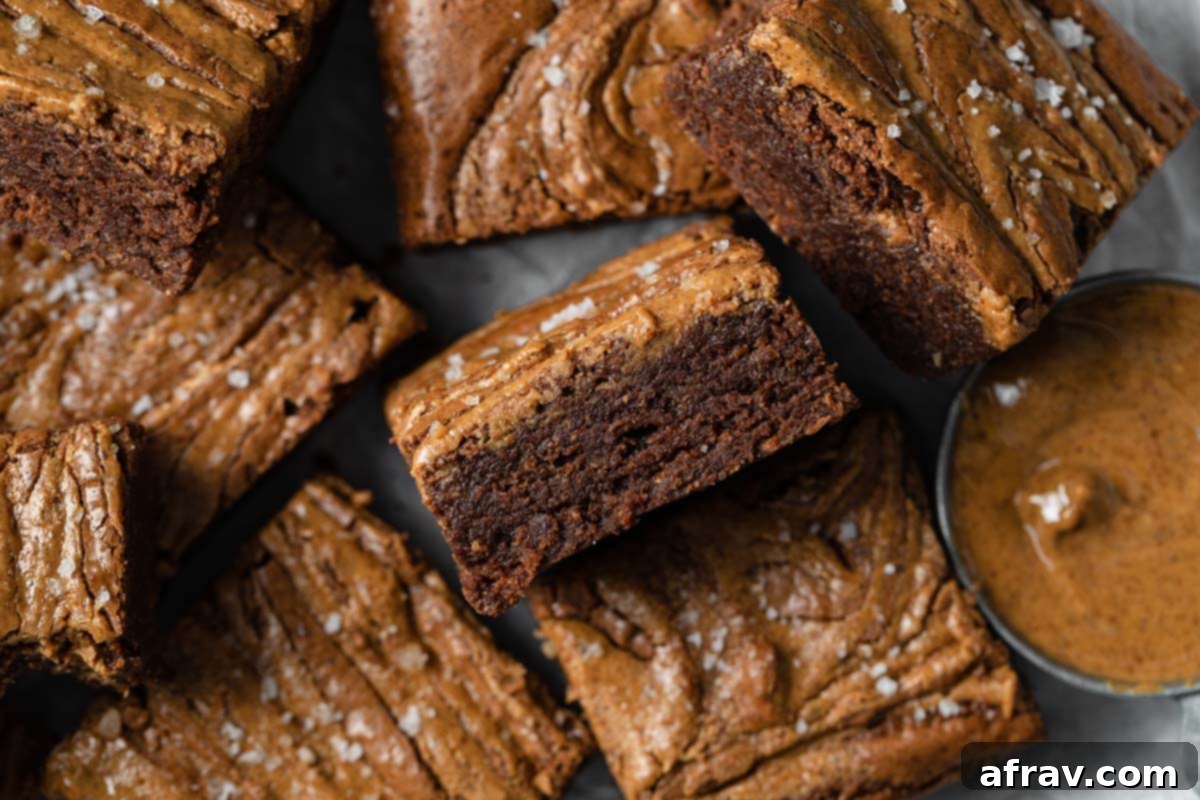
Prepare to fall in love with these Almond Butter Brownies – a truly irresistible treat that is rich, incredibly dense, and wonderfully chewy. Each bite offers a delightful almond butter swirl and a sprinkle of flaky sea salt, creating a perfect balance of sweet and savory. What makes these brownies even more special? They’re entirely dairy-free, thanks to the clever use of olive oil instead of traditional butter, making them accessible and enjoyable for everyone.
When it comes to brownies, dessert lovers often categorize them into three main types: cakey, fudgy, or chewy. This almond butter brownie recipe firmly lands in the chewy category, yet it retains a beautiful hint of fudginess that will satisfy even the most discerning chocolate cravings. Their unique texture sets them apart, offering a satisfying bite without being overly dense or dry.
This recipe is a delightful twist on our popular peanut butter brownie ice cream sandwiches. While sharing a similar foundational brownie, this version shines a spotlight on the creamy, nutty goodness of almond butter. And speaking of almond butter, it’s not just a subtle addition here; it’s incorporated directly into the batter and generously swirled on top, ensuring an extra rich and distinctly nutty flavor in every single square.
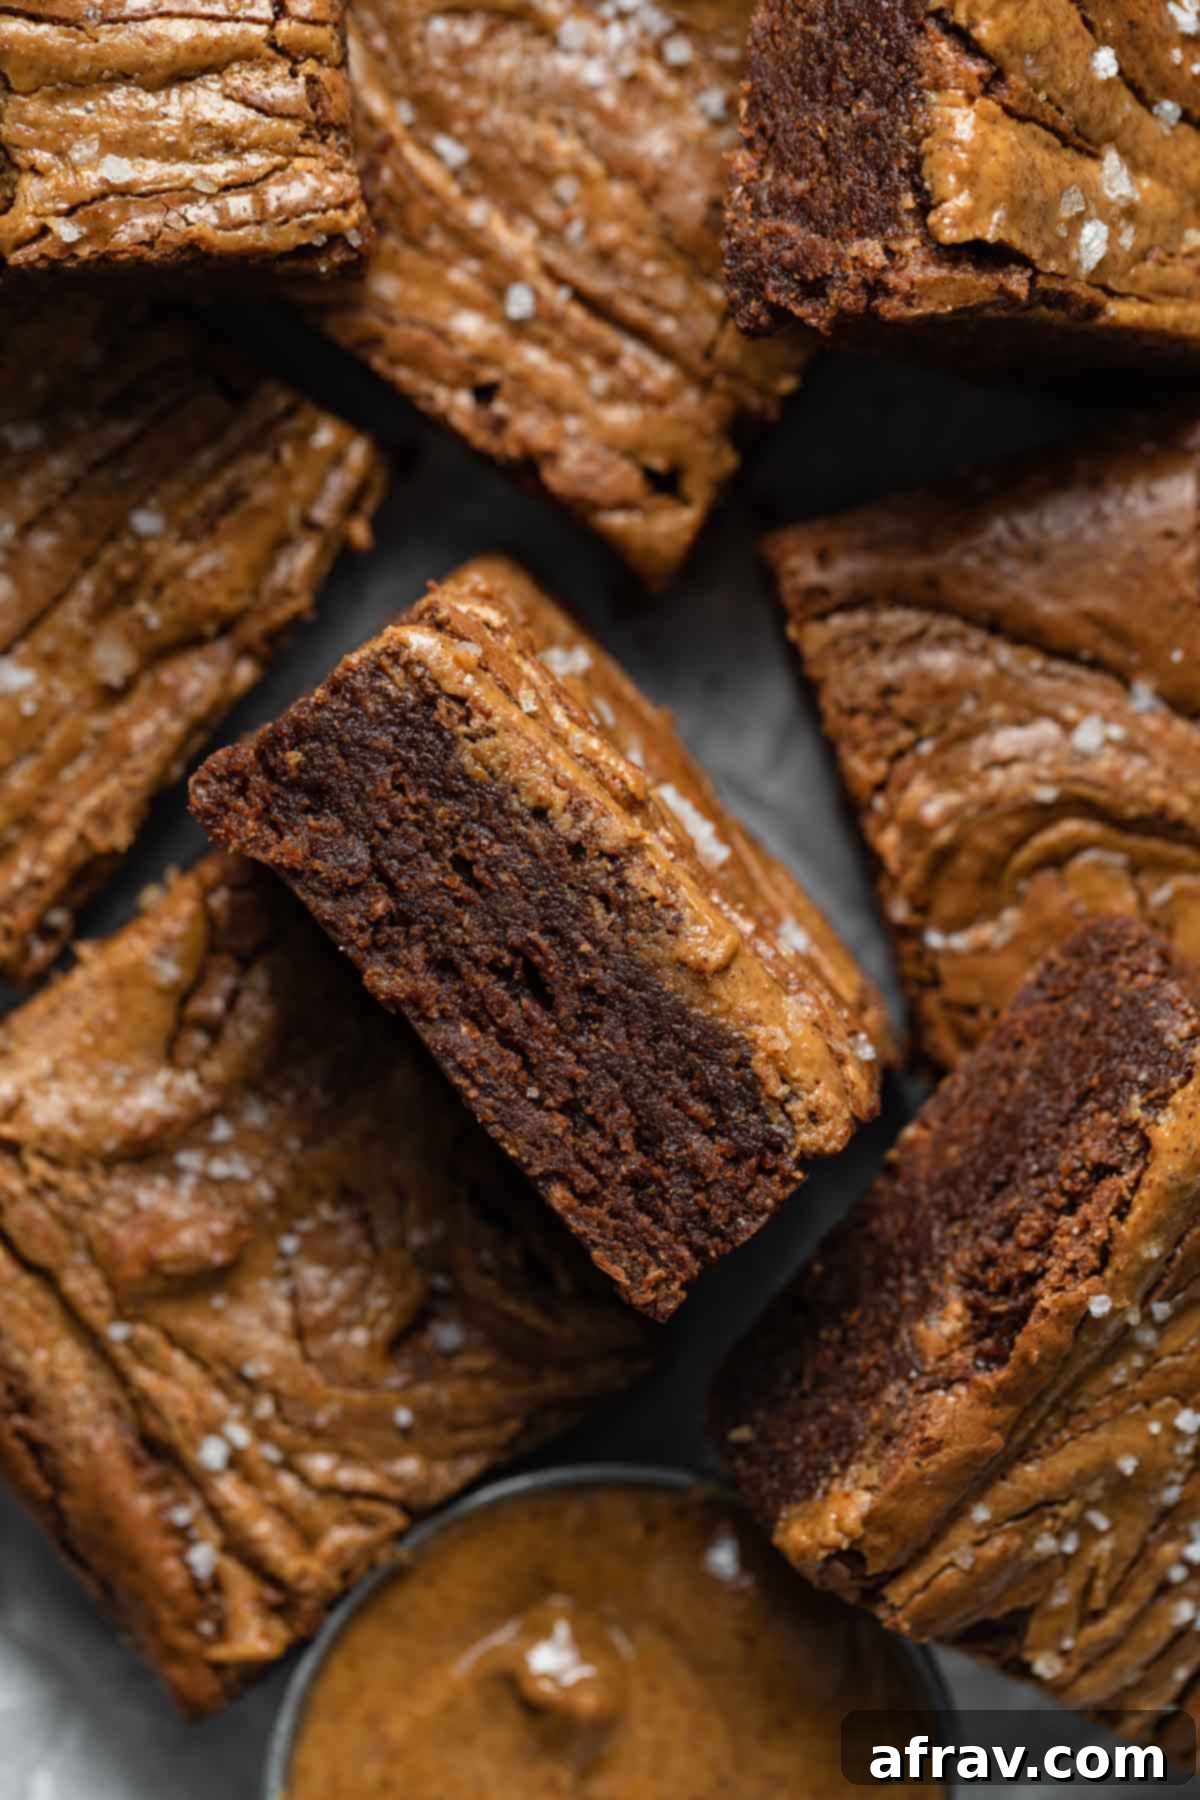
*This cherished recipe was originally shared in February 2020. It has since been thoughtfully updated with brand new photos, enhanced text, and more comprehensive, detailed instructions to ensure your baking success. Rest assured, the core ingredients and their perfect balance remain unchanged.
Why You’ll Adore This Almond Butter Brownie Recipe
These aren’t just any brownies; they’re a celebration of flavor and texture, designed to bring joy to every bite while catering to specific dietary needs. Here’s why these almond butter brownies are about to become your new go-to:
- Completely Dairy-Free: A fantastic option for those with dairy sensitivities or following a vegan lifestyle. By replacing butter with heart-healthy olive oil and using non-dairy dark chocolate chunks, we’ve created a brownie that sacrifices nothing in terms of richness or flavor.
- Effortless to Make (No Electric Mixer Required!): Forget the hassle of lugging out heavy kitchen appliances. This simple recipe comes together beautifully with just a few bowls, a whisk, and your trusty baking pan. It’s perfect for bakers of all skill levels, offering a quick and straightforward path to homemade deliciousness.
- Perfectly Chocolatey with an Irresistible Texture: Prepare for a brownie that is deeply chocolatey, wonderfully dense, and boasts a moist, tender center. The edges bake up to a delightful chewiness, creating a textural masterpiece. The addition of flaky sea salt on top provides a sublime sweet and salty contrast that truly elevates the experience.
- Wholesome Ingredients for a Decadent Treat: Indulge without guilt! While undeniably rich and decadent, these brownies incorporate wholesome elements like whole wheat flour, which adds a subtle nuttiness and fiber, and coconut sugar, a less refined alternative to traditional sugars. Paired with raw almond butter, you get a treat that feels indulgent but includes more nourishing components.
Essential Ingredients for Your Perfect Brownies
Crafting exceptional brownies starts with understanding the role each ingredient plays. Here’s a closer look at what you’ll need and why it’s important for these dairy-free delights:
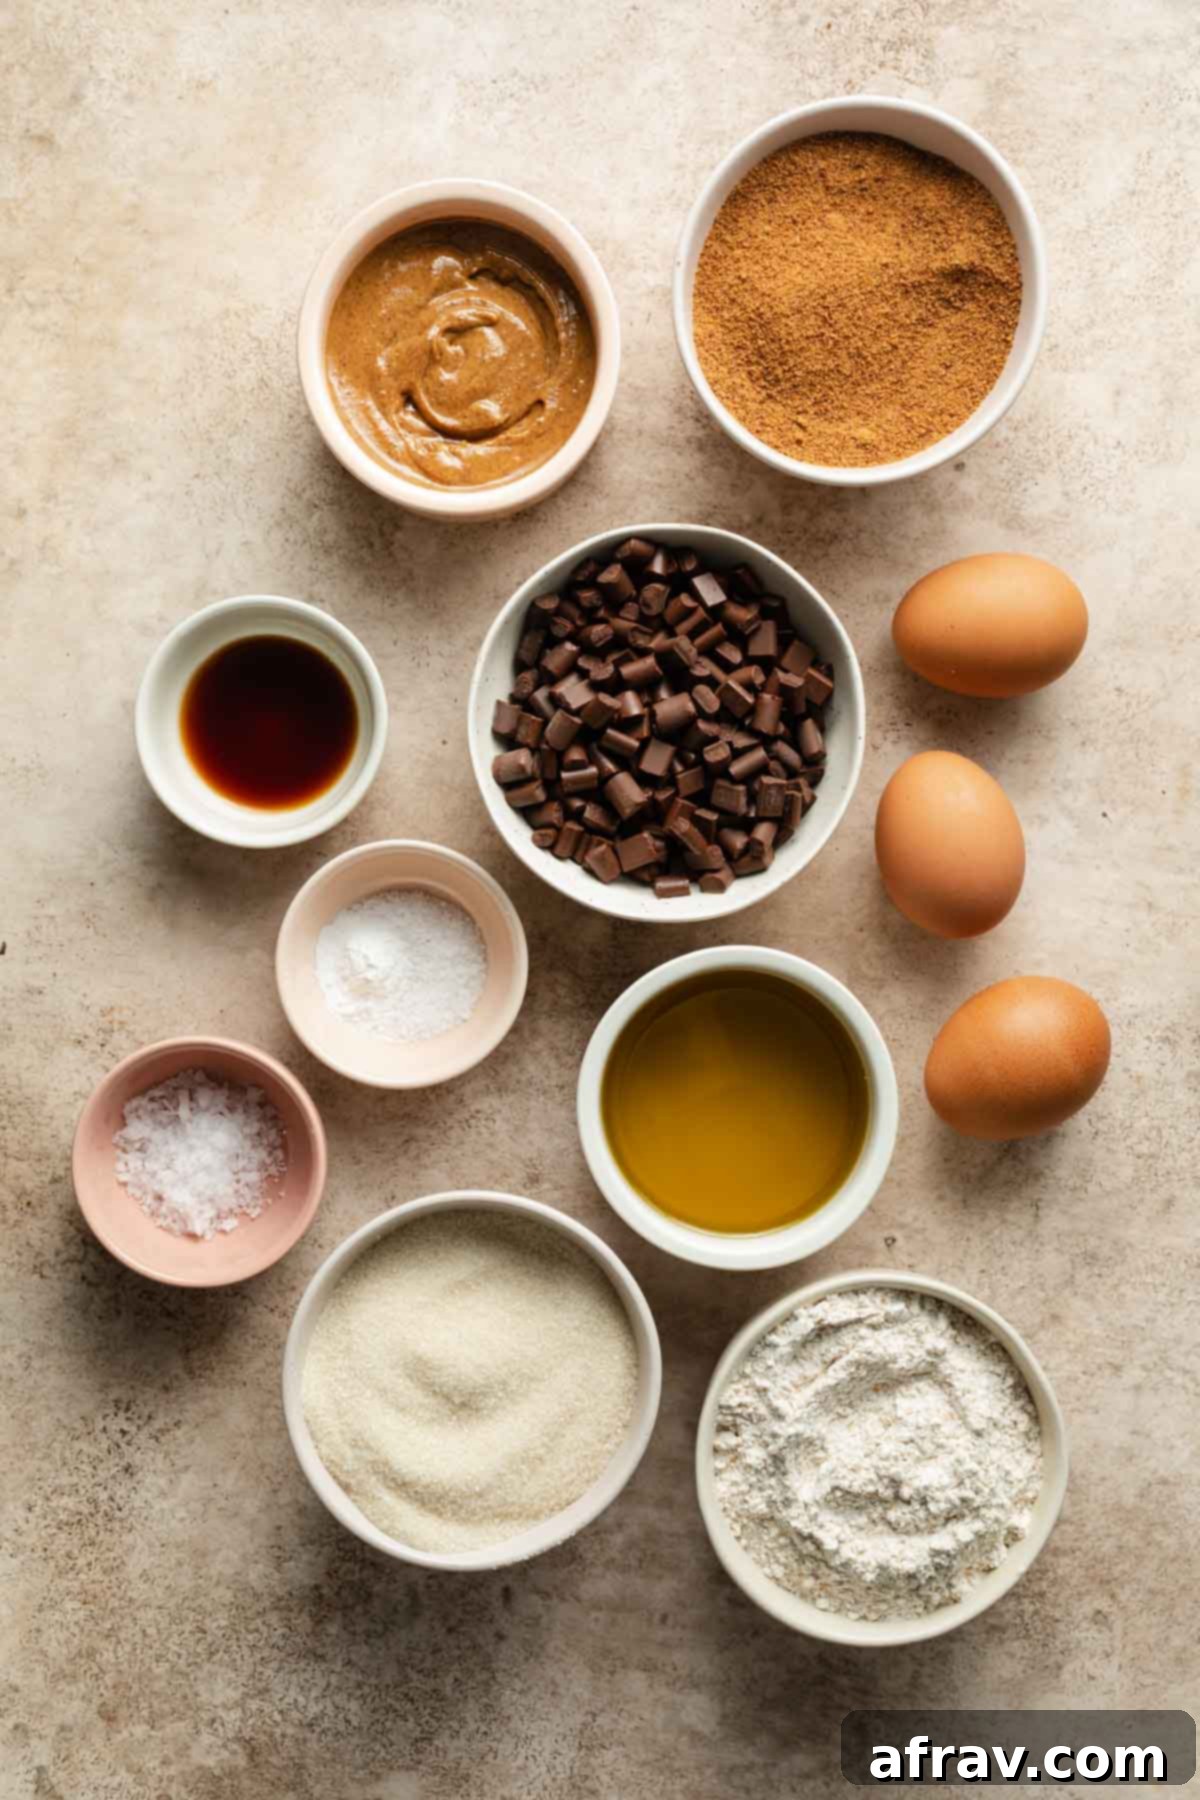
- Chocolate: The heart of any great brownie! We begin with melted chocolate to form the rich base of the batter. To ensure these brownies remain dairy-free, opt for high-quality non-dairy dark chocolate chips or chunks. Feel free to use your favorite brand of dairy-free chocolate – just ensure it melts smoothly for the best results.
- Oil: A generous 1/2 cup of oil provides the necessary fat content, ensuring a moist and rich texture that butter would typically deliver. Olive oil, or extra virgin olive oil, is an excellent choice not only for its dairy-free nature but also for its subtle fruity notes that complement the chocolate beautifully without overpowering it.
- Almond Butter: This is the star ingredient! We use 1/4 cup of natural almond butter melted into the batter for its nutty flavor and additional healthy fats. Another 1/4 cup is reserved for swirling on top, creating those beautiful streaks and an extra burst of almond flavor. For effortless swirling, make sure your almond butter is drippy and at room temperature; a stiff or cold almond butter will be harder to work with.
- Sugar: A thoughtfully chosen combination of coconut sugar and cane sugar provides both sweetness and contributes significantly to the brownies’ chewy texture and desirable consistency. Both can often be found in the organic or natural foods section of most grocery stores. If these are unavailable, a mix of brown sugar and granulated sugar makes a suitable substitute, though you might notice a slight difference in moisture and require a tiny bit more baking time.
- Eggs: Three large eggs are crucial for the structure and, most importantly, the wonderfully chewy texture of these brownies. Bringing your eggs to room temperature before mixing is a small but important step; it helps them incorporate more smoothly and evenly into the melted chocolate and sugar mixture, preventing any curdling and ensuring a consistent batter.
- Vanilla Extract: A splash of pure vanilla extract is essential for enhancing and deepening the complex flavors of the chocolate and almond butter. Always opt for real vanilla extract over artificial for the most authentic and robust taste.
- Salt: A touch of salt in the batter (kosher or table salt) is key for balancing the sweetness and making all the other flavors pop. But don’t stop there! A sprinkle of flaky sea salt over the top before baking is what truly sets these brownies apart, adding a crucial sweet-and-salty crunch. Flaky sea salt is a finishing salt and should not be substituted with table salt for the topping.
- Whole Wheat Flour: Flour provides the necessary structure. This recipe utilizes whole wheat flour, which is more absorbent and lends a slightly denser, chewier texture compared to all-purpose white flour. While we haven’t tested this specific recipe with all-purpose flour, if you choose to experiment, be aware that you may need to adjust the quantity due to its different absorption rate.
- Baking Powder: We use just a small amount of baking powder. This is intentional, as we aim for a dense, fudgy-chewy brownie rather than a light, cakey one. It provides just enough lift without making them airy.
Step-by-Step: Crafting Your Dairy-Free Almond Butter Brownies
Creating these delightful brownies is a simple and rewarding process. Follow these clear steps for perfect results every time:
- Prepare Your Pan: Preheat your oven to a steady 350°F (175°C). Lightly grease a 9-inch square baking pan with non-stick cooking spray and line it completely with parchment paper, leaving an overhang on the sides. This thoughtful step will make lifting the cooled brownies out incredibly easy.
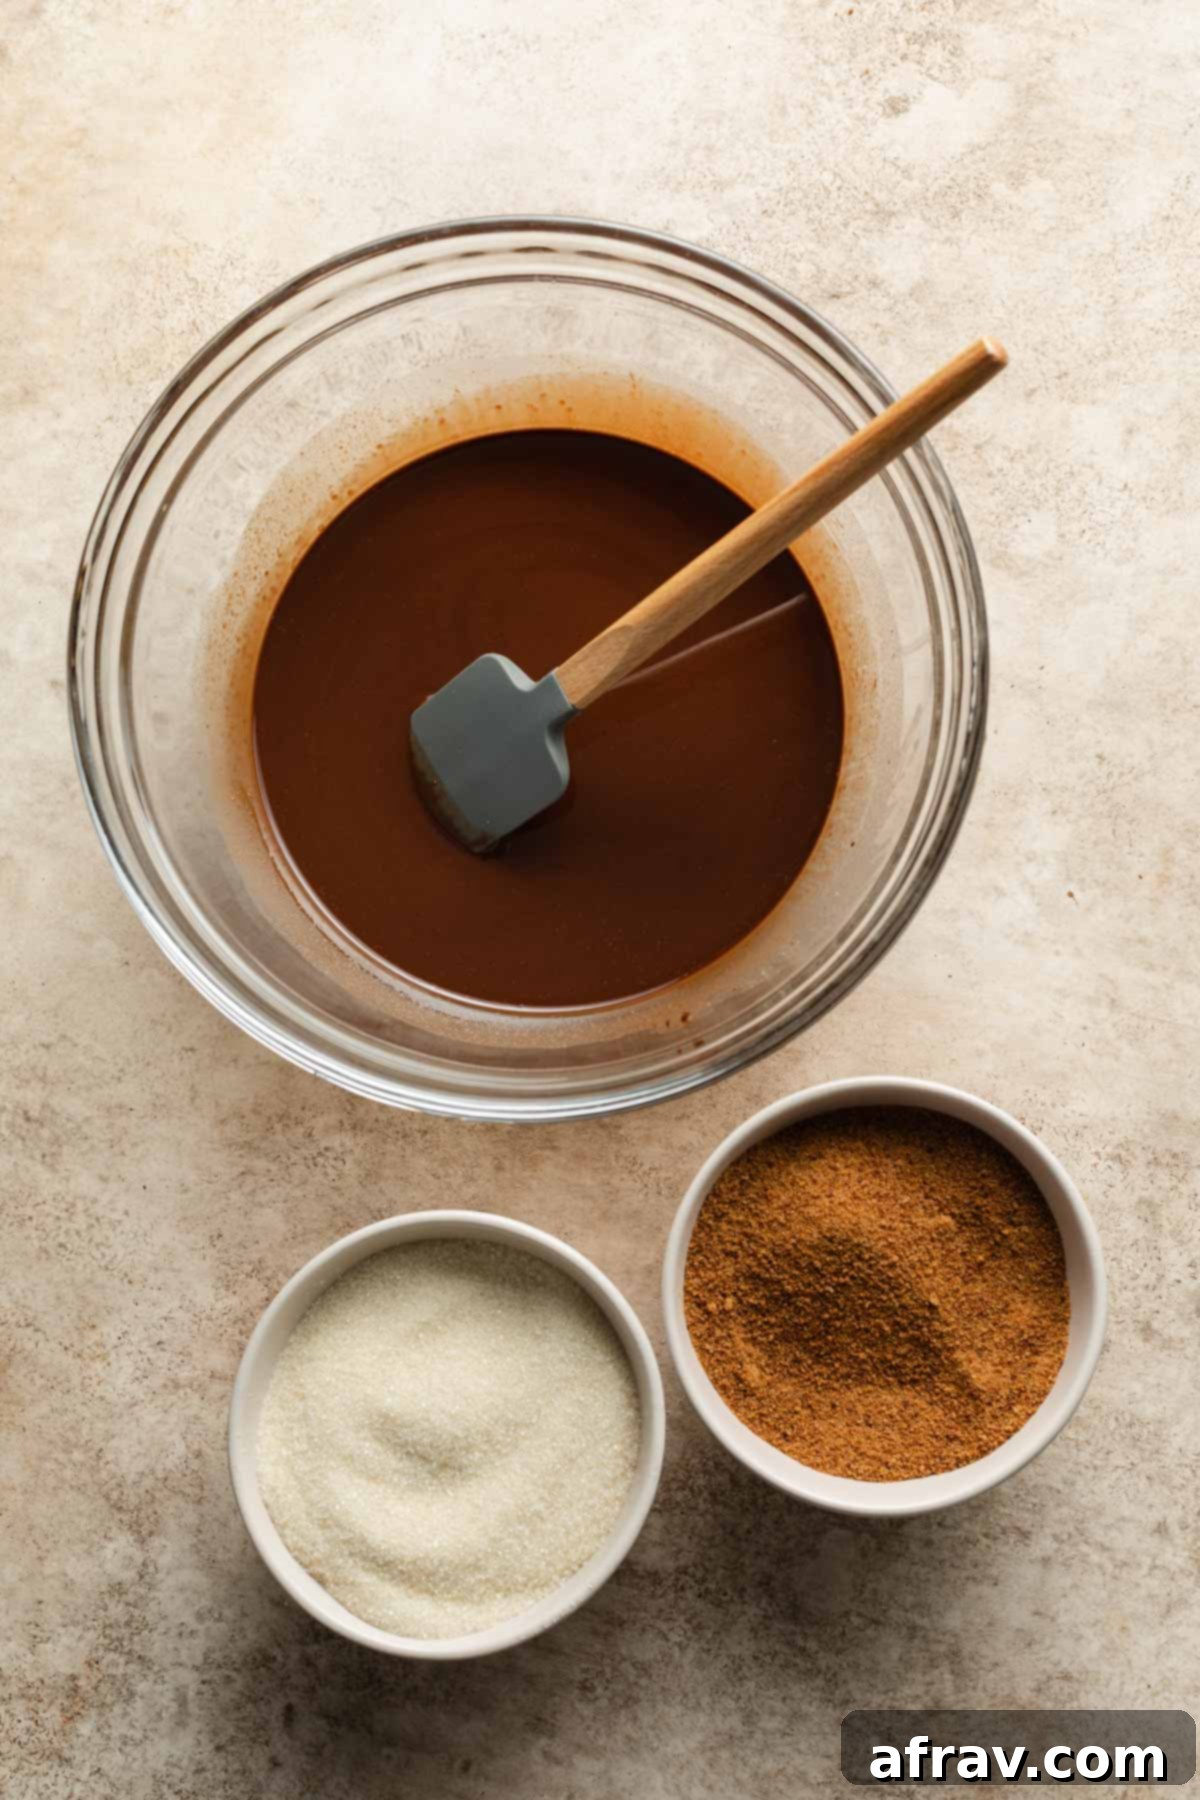
- Melt the Wet Ingredients: In a large, microwave-safe bowl, combine your dairy-free dark chocolate chips (or chunks), olive oil, and 1/4 cup of the natural almond butter. Microwave this mixture in two 30-second intervals, stirring thoroughly in between each interval and again at the end, until the mixture is completely smooth, glossy, and beautifully runny. Be very careful not to overheat the chocolate, as it can burn quickly and become grainy.
- Add the Sugars: Pour the cane sugar and coconut sugar into the melted chocolate mixture. Whisk vigorously until they are well combined. Don’t worry if the mixture feels a bit gritty at this stage; the sugars will dissolve further as the other wet ingredients are added.
- Incorporate Eggs and Vanilla: One at a time, whisk in the room-temperature eggs. Ensure each egg is fully incorporated before adding the next. Once the eggs are mixed in, stir in the vanilla extract until everything is homogenous and fragrant.
- Combine Dry Ingredients: In a separate, small bowl, whisk together the whole wheat flour, baking powder, and salt. This ensures all the dry ingredients are evenly distributed before adding them to the wet mixture.
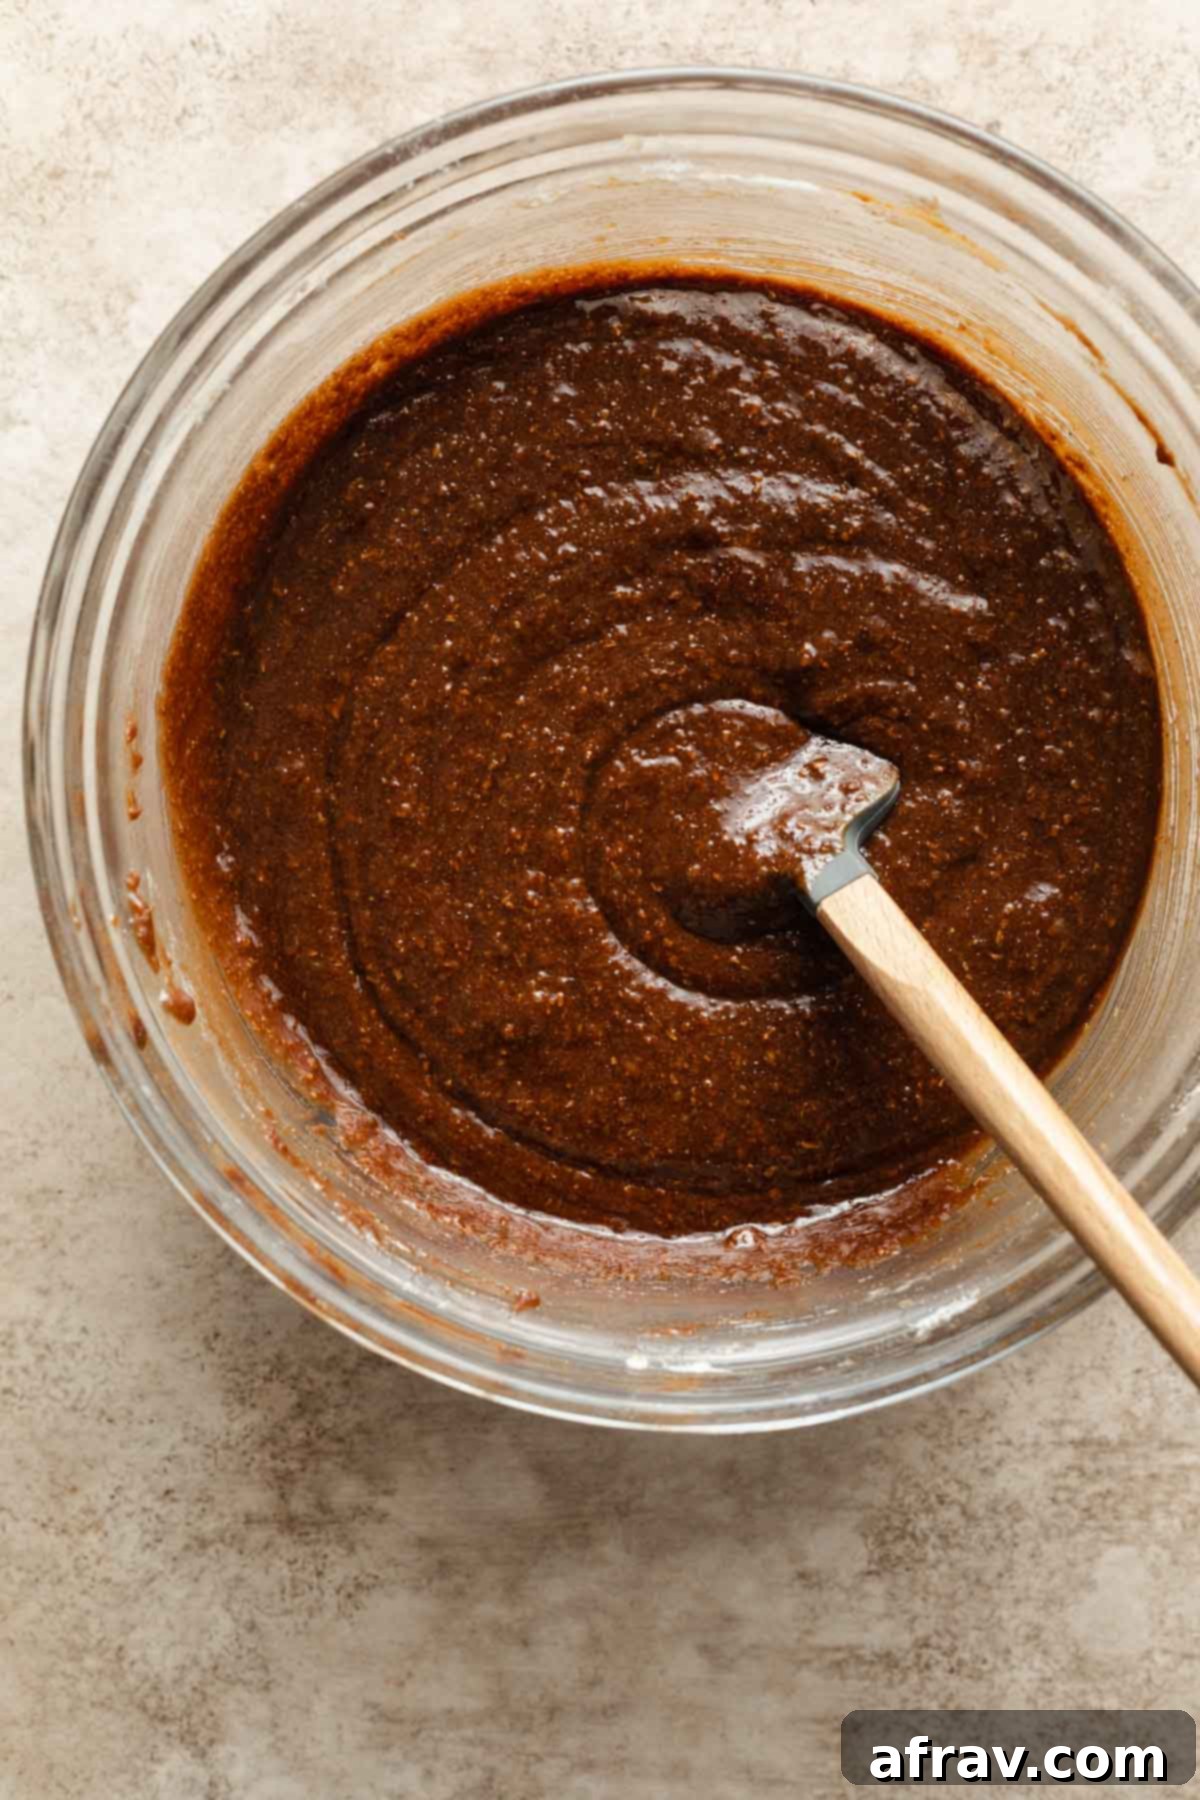
- Gently Mix Wet and Dry: Add the dry flour mixture to the wet chocolate mixture. Using a spatula or wooden spoon, gently fold until the ingredients are *just* combined. The key here is to avoid overmixing, which can develop gluten too much and lead to tougher, less chewy brownies. A few streaks of flour are perfectly fine.
- Pour into Pan and Swirl: Pour the rich brownie batter into your prepared pan and use the back of a spatula to spread it out into an even layer.
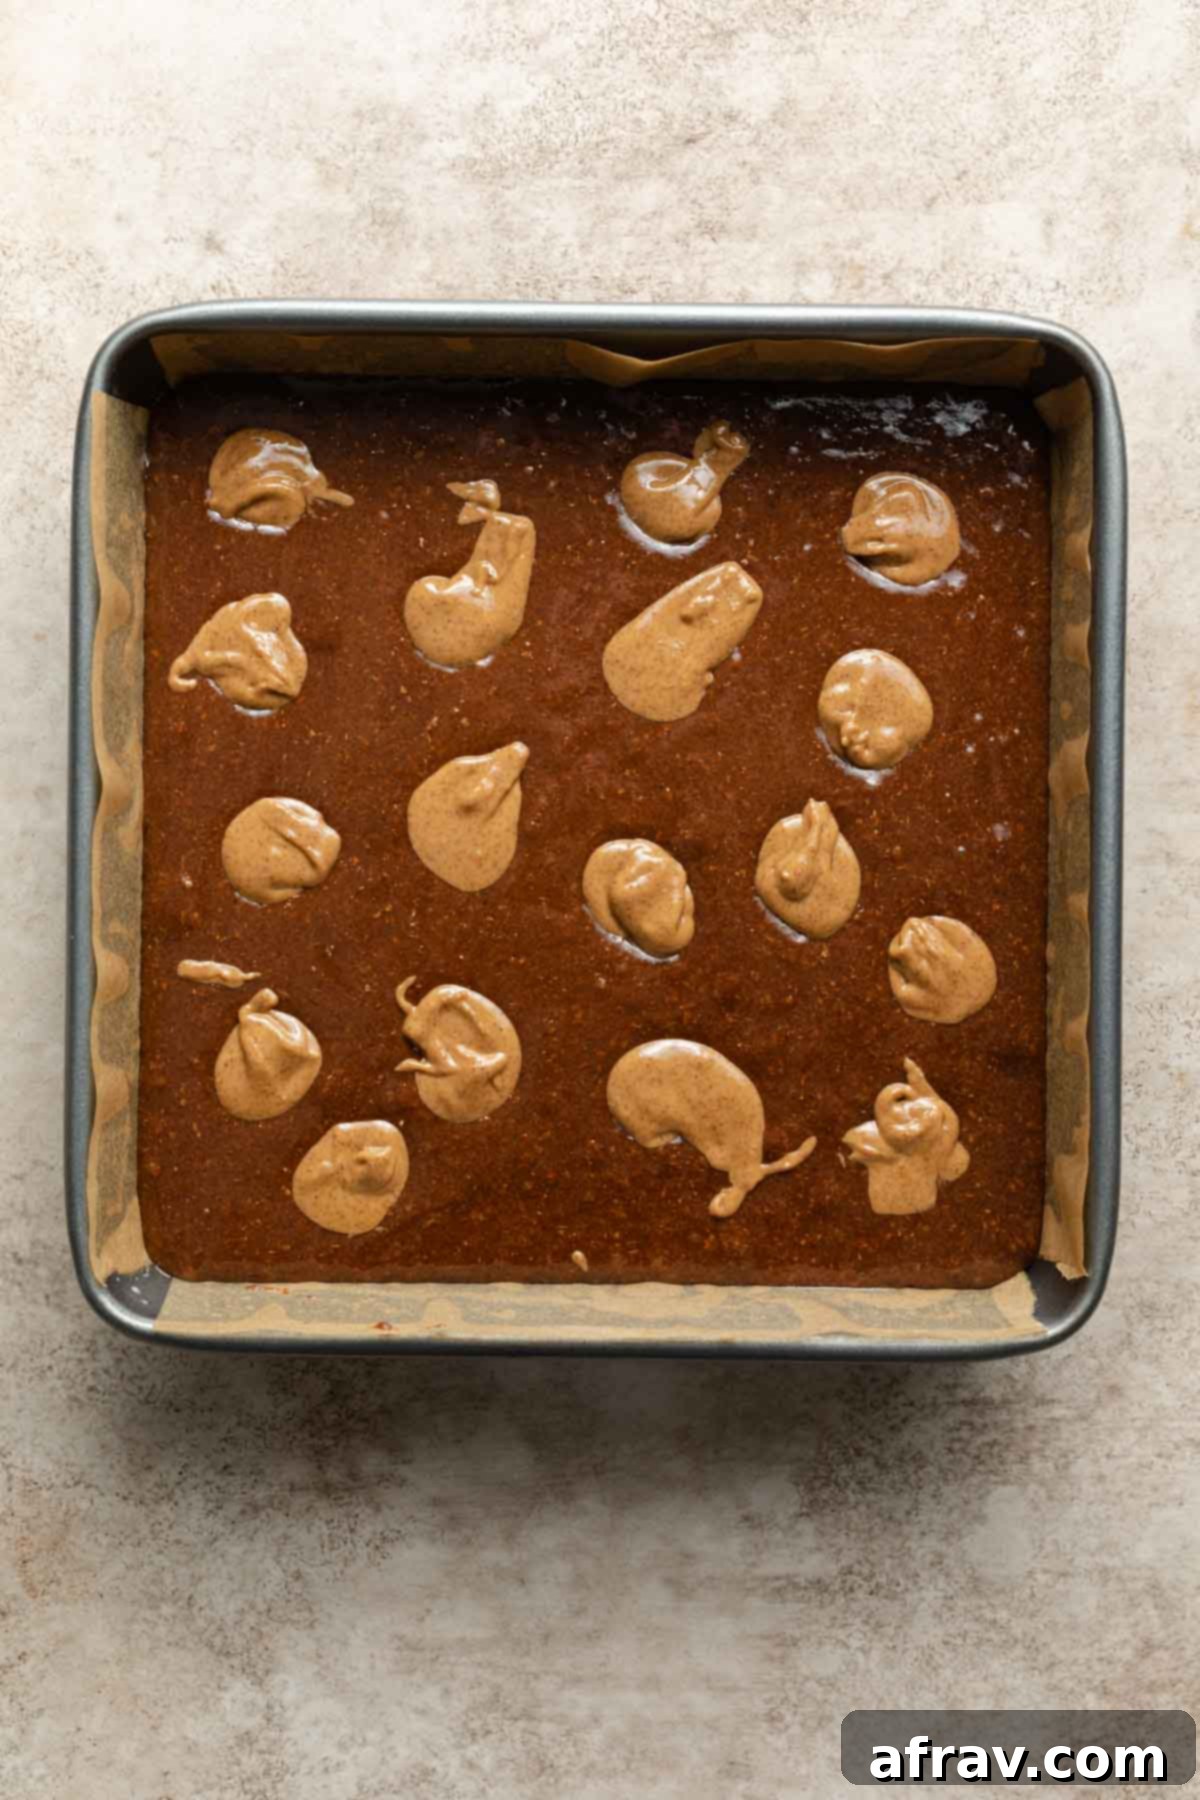
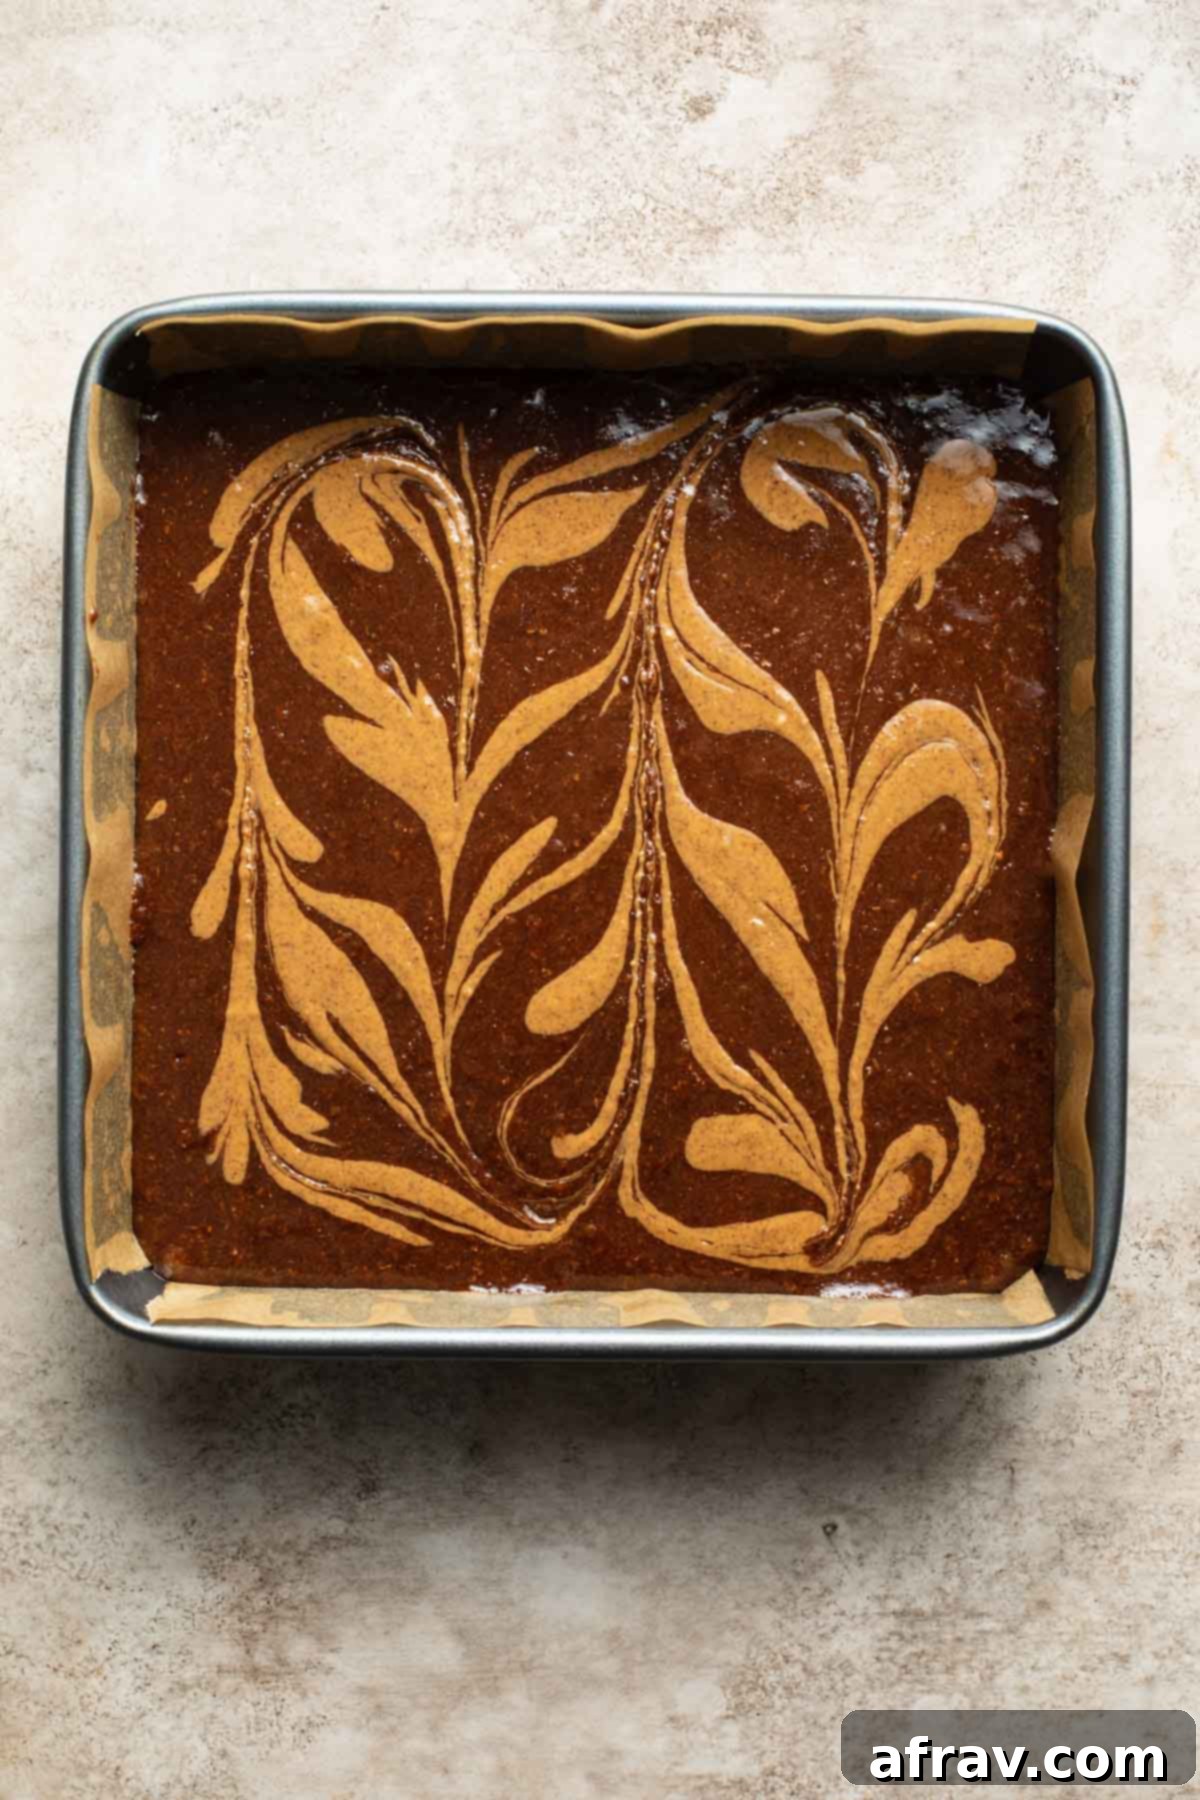
- The Signature Swirl: Take the remaining 1/4 cup of room-temperature almond butter and drop small dollops evenly over the surface of the batter. Then, using a knife or a skewer, gently swirl the almond butter into the chocolate batter to create beautiful, enticing patterns. Finally, sprinkle generously with flaky sea salt.
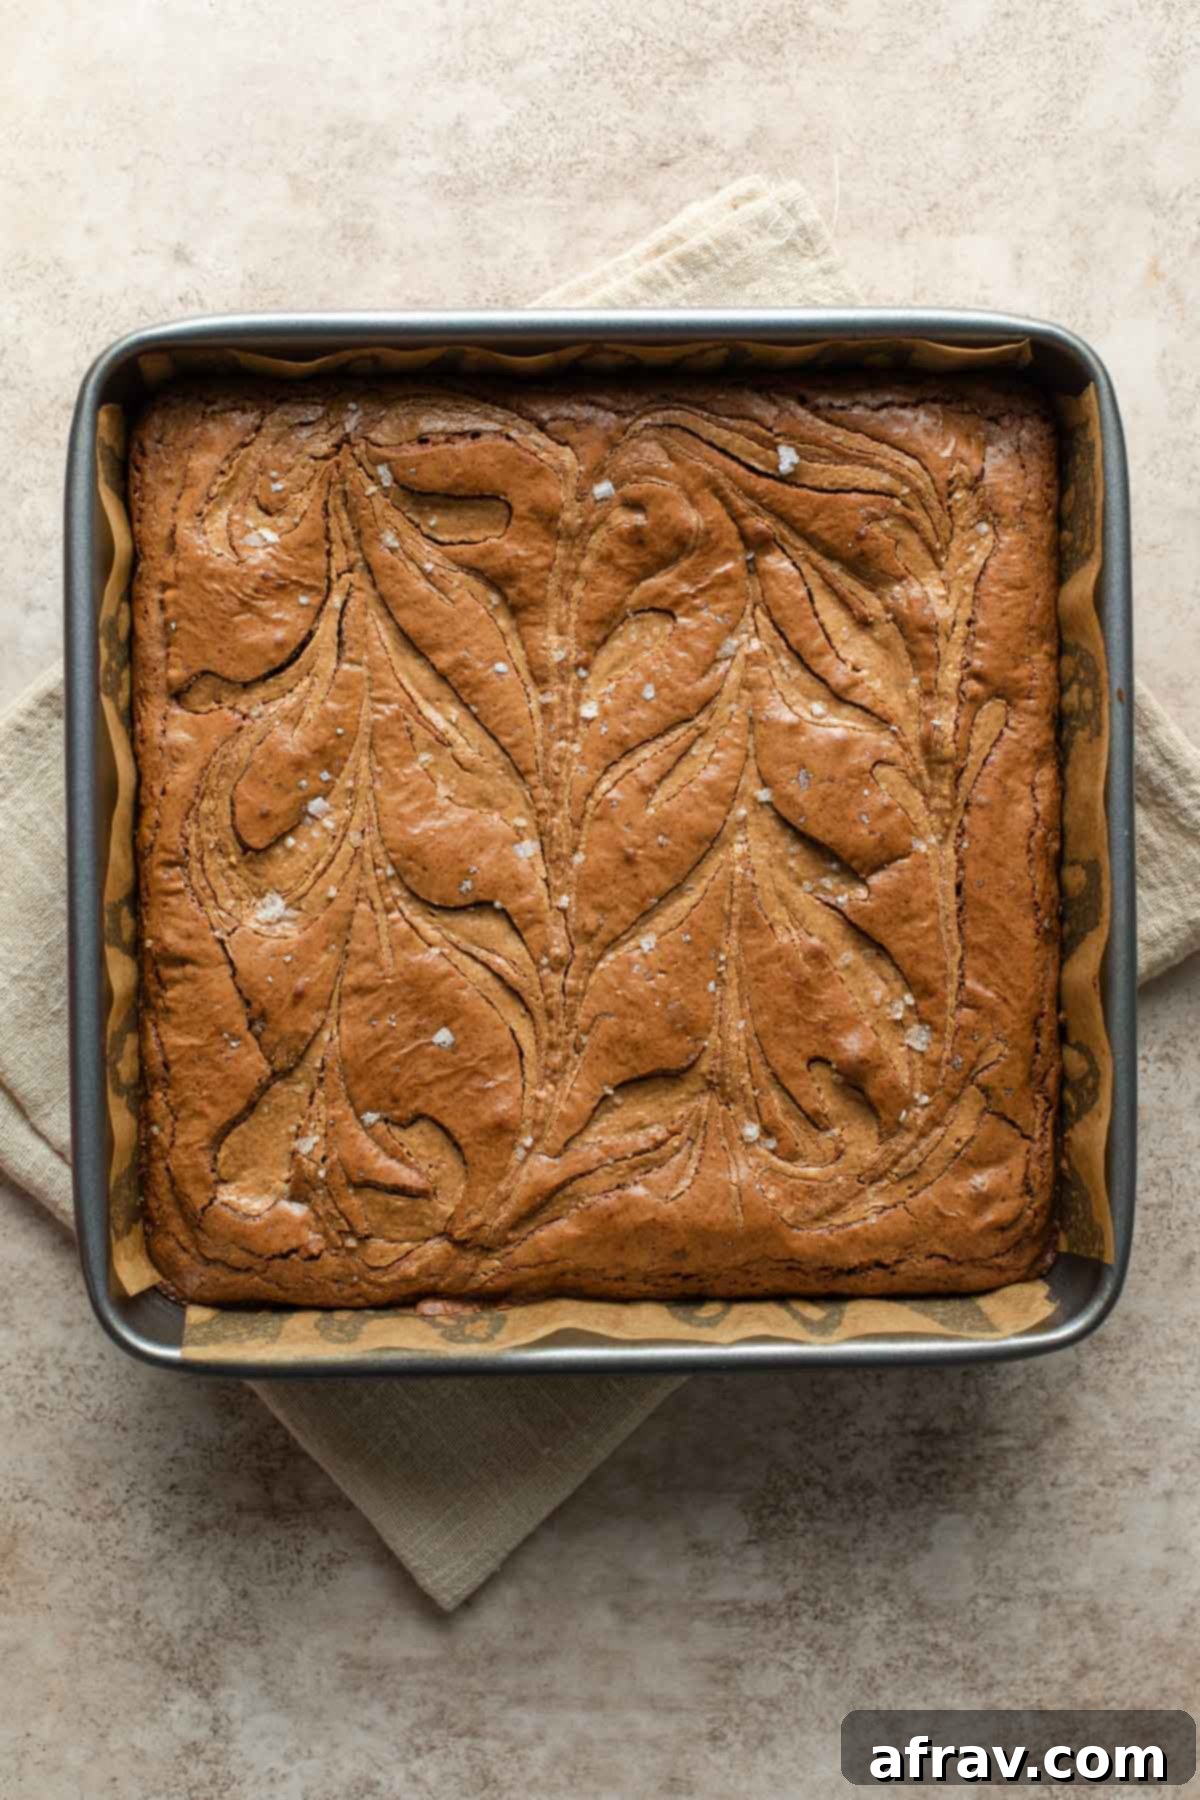
- Bake to Perfection: Place the pan in your preheated oven and bake for approximately 27-29 minutes. You’ll know they’re ready when the top appears set and slightly glossy, and a toothpick inserted into the center comes out with moist crumbs still clinging to it. Be careful not to overbake, as this will lead to dry brownies!
- Cool Completely: This step requires patience, but it’s crucial! Allow the brownies to cool completely in the pan on a wire rack before attempting to cut them. This allows them to set fully and develop their signature chewy texture.
- Enjoy and Store: Once cooled, lift them out using the parchment paper overhang, cut into squares, and enjoy! Store any leftovers in an airtight container at room temperature.
Smart Substitutions for Your Brownies
While this recipe is crafted for optimal results, we understand that sometimes you need to make adjustments. Here are some trusted substitutions and how they might affect your final brownie:
- Sugar Alternatives: If coconut sugar and cane sugar aren’t available, you can certainly use a combination of light or dark brown sugar and granulated white sugar. Keep in mind that brown sugar introduces more moisture into the batter, which means your brownies might require a few extra minutes of baking time to achieve the desired doneness. Always use the toothpick test!
- Dairy-Full Chocolate: For those who don’t require a dairy-free dessert, you can absolutely use standard dark chocolate chips or chunks containing dairy. Be aware that the dairy content will likely make the batter slightly thicker than with dairy-free chocolate. This can also lead to a quicker baking time, so start checking for doneness a couple of minutes earlier than the recipe suggests.
Exciting Brownie Variations to Try
Once you master the base recipe, feel free to get creative with these delicious variations:
- Peanut Butter Power: For a different nutty profile, substitute almond butter with natural, smooth peanut butter. Ensure it’s a drippy, natural variety for the best texture and swirl.
- Nutty Add-ins: Boost the texture and flavor by folding in a handful of chopped nuts like walnuts, almonds, or pecans into the batter just before pouring it into the pan.
- Decadent Frosting: Elevate your brownies with a luscious layer of frosting. Our avocado chocolate frosting is a fantastic dairy-free option that adds another dimension of richness.
- Festive Toppings: If you’re frosting your brownies, consider finishing them with crushed nuts, colorful sprinkles, or even a dusting of cocoa powder for an extra touch of flair.
Frequently Asked Questions About Baking Brownies
The ideal baking time for these brownies is between 27-29 minutes. You’ll know they’re reaching perfection when the top of the brownies appears set and has a slight glossy sheen. Additionally, the edges will begin to gently pull away from the sides of the pan. For a definitive check, insert a toothpick into the very center of the brownies; it should emerge with some moist crumbs clinging to it, but no wet batter. Pulling them out at this stage ensures that signature chewy texture. If you prefer a slightly more fudgy consistency, you can remove them a minute or two earlier.
This particular recipe has been specifically developed and tested using whole wheat flour. Whole wheat flour is more absorbent than standard all-purpose white flour and contributes to the unique texture of these brownies. If you decide to substitute with all-purpose white flour, you may need to adjust the quantity slightly, potentially increasing it, to achieve a similar consistency in the batter. Please note that the final texture may vary.
These almond butter brownies rely on whole wheat flour for their structure and chewy density. While there are many fantastic recipes for flourless almond butter brownies available, this specific recipe has not been tested in a flourless version. Altering the flour content significantly would require a complete rebalancing of the other ingredients to maintain the desired texture and consistency.
Yes, absolutely! While this recipe is designed for a 9-inch square pan, an 8-inch pan can be used. Keep in mind that using a smaller pan will result in thicker brownies. Because of the increased thickness, you will need to extend the baking time by approximately 5 minutes. Always rely on the toothpick test to confirm doneness and prevent under or over-baking your thicker brownies.
Storage and Freezing Instructions
Proper storage is key to enjoying your almond butter brownies for as long as possible:
- Room Temperature Storage: Once completely cooled, store your brownies in an airtight container at room temperature. They will maintain their delicious freshness and chewy texture for 2-3 days.
- Refrigeration: To extend their shelf life, transfer the brownies to an airtight container and store them in the refrigerator for 5-7 days. As a bonus, refrigerating them will make them extra chewy – a delightful texture for some!
- Freezing for Longer Enjoyment: For long-term storage, ensure the brownies are entirely cooled. Cut them into individual squares, then arrange them in a single layer in an airtight freezer-safe container. If you need to stack layers, place a sheet of parchment or wax paper between each layer to prevent sticking. These brownies will keep beautifully in the freezer for up to 3 months. When you’re ready to enjoy them, simply defrost at room temperature for a perfect treat.
Expert Tips for Perfect Almond Butter Brownies
Achieving brownie perfection is easier than you think with these expert tips:
- Opt for Smooth, Natural Nut Butter: For the best results, always use a smooth, natural almond butter (or peanut butter if substituting). Chunky varieties can alter the desired texture of the brownies and make it incredibly challenging to create that beautiful, even swirl on top.
- Room Temperature Ingredients are Key: This is a small step that makes a big difference! Allowing your almond butter to rest at room temperature ensures it’s soft and drippy, making it easier to melt smoothly into the chocolate mixture and to swirl effortlessly into the brownie batter. Similarly, room temperature eggs incorporate more readily and evenly into the batter, leading to a smoother, more consistent final product.
- Gentle Chocolate Melting: When melting the chocolate, oil, and almond butter, we recommend using a microwave in short bursts. Heat in two 30-second intervals, stirring thoroughly in between and after until the mixture is completely smooth. This prevents overheating, which can cause the chocolate to seize or burn, resulting in a grainy texture. If you’re using a stovetop, use a double boiler over low heat and stir constantly.
- Accurate Flour Measurement (Spoon and Level Method): To avoid dense, dry brownies, measure your whole wheat flour correctly. Always use the “spoon and level” method: spoon the flour into your measuring cup until it’s overflowing, then use a straight edge (like a knife or the back of a spoon) to level off the excess without compacting the flour. Scooping directly from the container compacts the flour, leading to too much being used.
- Avoid Overmixing the Batter: Once you add the dry ingredients to the wet, mix only until they are *just* combined. Overmixing develops the gluten in the flour, which can lead to a tougher, less tender brownie. A few visible streaks of flour are perfectly acceptable.
- Understand Batter Consistency: This dairy-free brownie batter will be thick but might feel slightly less viscous than traditional butter-based brownie batters due to the properties of olive oil and dairy-free chocolate. If you opt for a different type of chocolate (e.g., one containing dairy), you might find the batter becomes thicker.
- The Parchment Paper Advantage: Always grease your baking pan and line it with parchment paper that extends up the sides. This simple trick creates “handles” that allow you to easily lift the entire slab of cooled brownies out of the pan, making cutting a breeze and ensuring no sticky bits are left behind.
- Patience is a Virtue – Let Them Cool: We know the warm, chocolatey aroma is tempting, but resist the urge to cut into the brownies immediately! Allowing them to cool completely in the pan is essential for them to set properly. Cutting them while warm will result in crumbly, messy squares.
- Never Overbake: The biggest secret to chewy, fudgy brownies is to avoid overbaking. Keep a close eye on them towards the end of the baking time. Overbaked brownies will become dry and cakey rather than moist and chewy.
More Brownie and Bar Recipes to Explore
If you’re a true brownie connoisseur, we have even more delectable recipes for you to try:
- For an intensely fudgy brownie experience, don’t miss these rich Tahini Brownies, surprisingly delightful Oat Flour Brownies, or these fruity and indulgent Raspberry Brownies.
- When the holidays roll around or you’re simply craving something festive, we highly recommend these wonderfully seasonal Peppermint Mocha Fudge Brownies.
- And if you’re a fan of blonde brownies (blondies!), you’ll be captivated by these delicate Almond Flour Blondies or our cheerfully themed Christmas Blondies.
More Irresistible Chocolate Desserts
If your sweet tooth yearns for more chocolatey goodness, explore these other delightful dessert options:
- Our Sweet Potato Cake with Chocolate Coconut Frosting offers an incredibly moist cake, subtly spiced with cinnamon and crowned with a luscious dairy-free coconut whip. It’s a surprising combination that truly works!
- These Chocolate Oat Bars feature a rich and fudgy chocolate filling nestled between comforting layers of oats, coconut, and warming chai spices – perfect for a cozy treat.
- Indulge in our Healthy Chocolate Zucchini Cake, a dessert that is both rich and decadent, yet ingeniously made with a variety of wholesome, ‘good-for-you’ ingredients you wouldn’t expect!
If you make these delicious almond butter brownies, we’d absolutely love to hear what you think! Please share your experience and comments below!
HUNGRY FOR MORE? Follow Crumb Top Baking on Instagram, Pinterest and Facebook!
Print

Almond Butter Brownies (Dairy-Free)
5 Stars 4 Stars 3 Stars 2 Stars 1 Star
5 from 8 reviews
Author: Leanne
Prep Time: 15 minutes
Cooling Time: 3 hours
Cook Time: 29 minutes
Total Time: 3 hours 44 minutes
Yield: 16 brownies
Category: Dessert
Method: Bake
Cuisine: American
Description
Almond Butter Brownies are rich, dense and ultra chewy with an almond butter swirl and flaky sea salt! They’re also made with olive oil instead of butter so they’re dairy-free.
Ingredients
- 1 cup dairy-free dark chocolate chips/chunks
- 1/2 cup extra virgin olive oil (or olive oil)
- 1/4 + 1/4 cup natural almond butter, room temperature (divided)
- 3/4 cup cane sugar
- 3/4 cup coconut sugar
- 3 large eggs, room temperature
- 1 1/2 teaspoons vanilla extract
- 1 1/3 cups whole wheat flour, spooned and levelled
- 1/2 teaspoon baking powder
- 1/2 teaspoon salt (kosher or table)
- 1/2 teaspoon flaky sea salt
Instructions
- Preheat oven to 350F. Spray a 9-inch square pan with non-stick cooking spray and line it with parchment paper.
- In a large microwave-safe bowl, add the chocolate, oil and 1/4 cup of almond butter. Microwave on two 30-second intervals, stirring in between and after until mixture is smooth and runny. Be careful not to overheat as the chocolate can burn.
- Add in the sugars and whisk until combined. The mixture will be gritty.
- Whisk in the eggs, one at a time, and then the vanilla.
- In a small bowl, whisk together the flour, baking powder and salt.
- Add dry ingredients to the wet mixture and stir until just incorporated. (Don’t over mix).
- Pour into the prepared pan and spread out in an even layer.
- Add dollops of the remaining 1/4 cup of almond butter to the top of the batter and use a knife to swirl it around. Sprinkle on the sea salt.
- Bake for 27-29 minutes (see note 4 below), or until a toothpick inserted into the centre comes out with a few crumbs on it.
- Let cool completely before cutting into squares.
- Store in an airtight container at room temperature and enjoy within 2-3 days.
Notes
- You can use peanut butter in place of almond butter. Just make sure it’s natural and smooth.
- You can substitute brown sugar for coconut sugar and granulated sugar for cane sugar.
- If you don’t need these brownies to be dairy-free, you can use chocolate with dairy.
- Making substitutions will change the texture of the batter and affect the baking time. For instance, brown sugar adds more moisture so the brownies will need a few extra minutes of baking time. Dairy chocolate, on the other hand, creates a thicker batter so the brownies will bake faster.
- Be careful not to over bake the brownies as they will dry out. The brownies are ready when the top is set and they start to pull away from the sides of the pan. Use the toothpick test to check for doneness.
- Be sure to check out the other sections above the recipe card for more detailed advice and suggestions for making this recipe.
This recipe was adapted from NYT Cooking.
