Homemade Chocolate Peanut Butter Frosting: The Ultimate Recipe for Cakes & Cupcakes
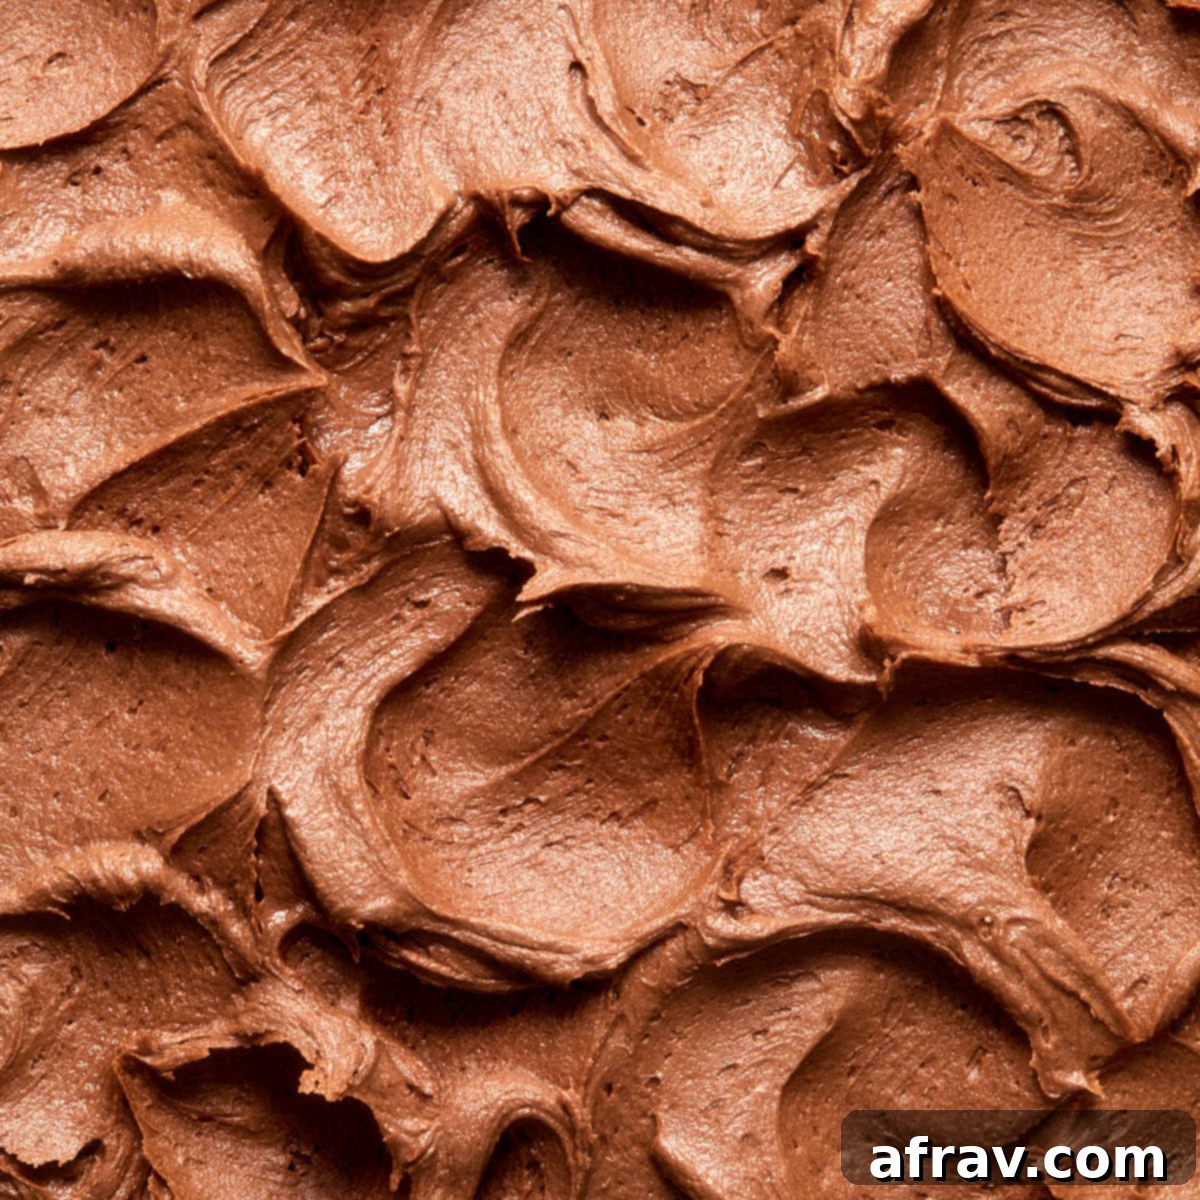
There are few flavor combinations as universally beloved as chocolate and peanut butter. When these two powerhouses unite in a frosting, the result is pure magic. Prepare yourself for the ultimate dessert topping: this incredibly smooth, intensely rich, and lusciously creamy Chocolate Peanut Butter Frosting. It’s designed to be perfectly balanced, ensuring the decadent chocolate and nutty peanut butter flavors are the stars, without being overly sweet. Best of all, achieving this bakery-worthy frosting in your own kitchen is surprisingly simple and quick!
For any baking enthusiast, the joy of perfecting a cake or cupcake recipe often culminates in finding that ideal frosting. This particular chocolate peanut butter buttercream consistently stands out as a crowd-pleaser and a personal favorite. Its dreamy texture makes it incredibly versatile, whether you’re aiming for elegantly piped swirls on vanilla almond flour cupcakes, a thick, impressive layer on a grand almond flour banana cake, or even a simple, delightful spread. It’s also the perfect complement to chocolate-based treats, such as these almond flour chocolate cupcakes – because, let’s be honest, you can never have too much chocolate!
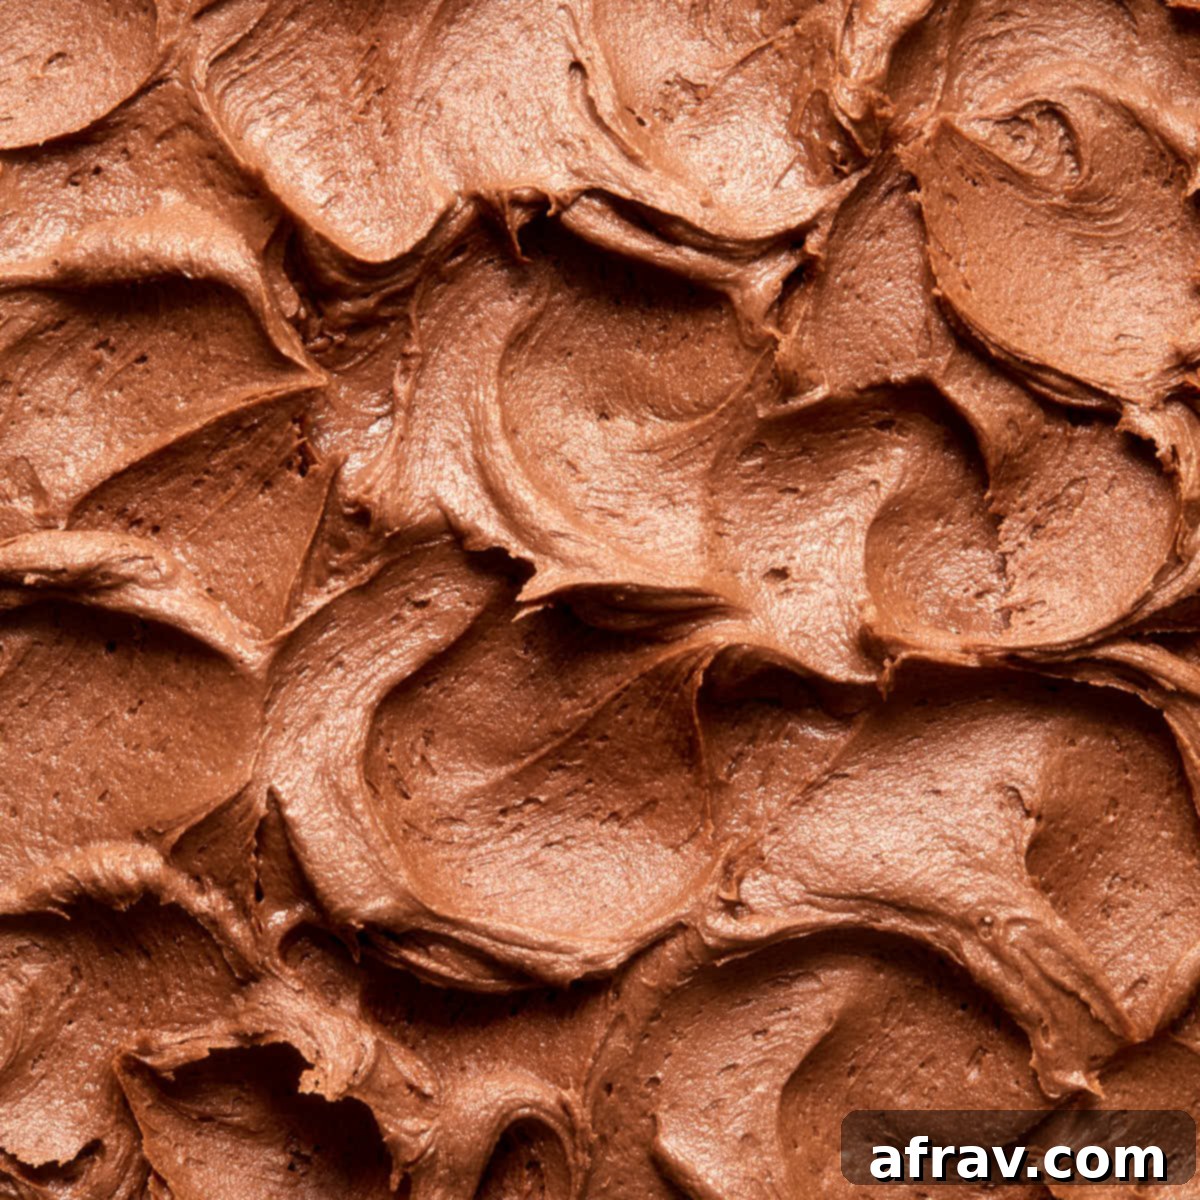
What sets this particular recipe apart is its ability to deliver a robust flavor profile without overwhelming your taste buds with sugar. We’ve carefully crafted the proportions to allow the deep cocoa notes and the savory richness of peanut butter to truly shine. So, if you’re ready to elevate your baking and delight your family and friends with an unforgettable frosting, look no further. This recipe promises a spectacular finish that’s not just delicious, but also incredibly satisfying to make, transforming ordinary desserts into extraordinary treats.
Table of contents
- Ingredients and substitutions
- How to make chocolate peanut butter frosting
- Measuring ingredients
- Storage and freezing tips
- Key recipe tips
- Recipe FAQs
- More frosting recipes
Essential Ingredients for Perfect Chocolate Peanut Butter Frosting & Smart Substitutions
Crafting the perfect buttercream begins with understanding your ingredients. Below, we’ll delve into each component of this rich chocolate peanut butter frosting, explaining its role and offering helpful substitution tips to ensure your success. Remember, precise measurements are crucial for the best results, so refer to the detailed recipe card at the end of this post for exact quantities.
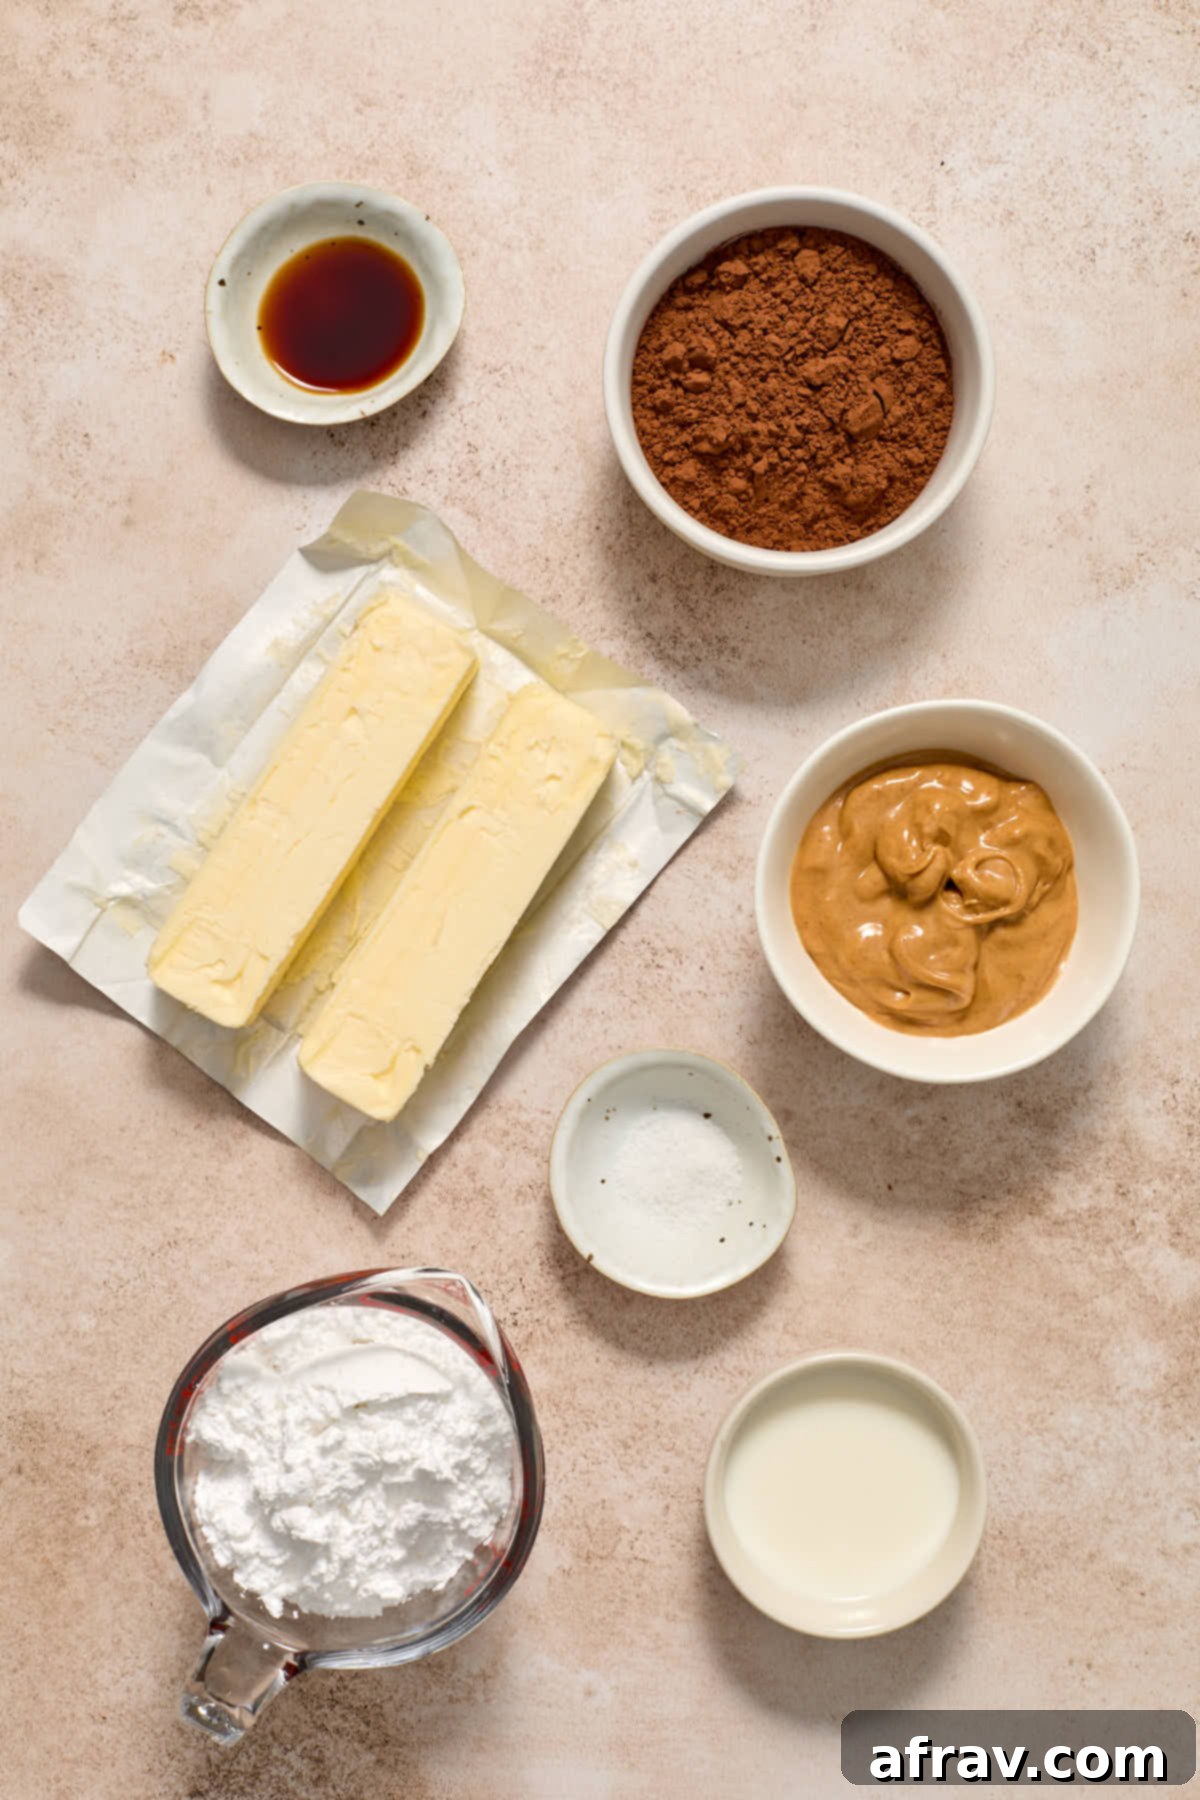
- Unsalted Butter – The foundation of any great buttercream! Using unsalted butter allows you to control the overall saltiness of the frosting, balancing the sweetness and enhancing other flavors. It’s imperative that your butter is at **room temperature**. This is key for achieving that smooth, lump-free consistency, as cold butter won’t cream properly with the other ingredients. If you only have salted butter, you can use an equal amount, but you might want to omit or significantly reduce the pinch of added salt later in the recipe. For a plant-based or dairy-free alternative, a high-quality block or stick plant-based butter (not the spreadable tub variety) can be used successfully. Just be aware that plant-based butters can sometimes be softer, so you might need slightly less milk to achieve the desired consistency.
- Smooth Peanut Butter – This is where the magic truly happens! For the silkiest, most stable frosting, **shelf-stable smooth peanut butter** is non-negotiable. Avoid natural peanut butter (the kind that separates) as its oil content and consistency can make your frosting runny and grainy. The goal here is a creamy, emulsified peanut butter that will blend seamlessly into the buttercream. Crunchy peanut butter, while delicious on its own, will introduce unwanted texture and prevent a smooth finish, so stick to smooth. Opt for a brand you enjoy the taste of, as its flavor will be prominent in the frosting.
- Powdered Sugar (Confectioners’ Sugar) – This finely milled sugar provides both sweetness and structure to our frosting. Unlike granulated sugar, powdered sugar dissolves instantly, ensuring a smooth texture without any grittiness. It’s also what gives the frosting its body and allows it to hold its shape for piping. To prevent lumps and guarantee the smoothest possible buttercream, it’s highly recommended to **sift your powdered sugar** before adding it to the mixture, especially if it’s been sitting in your pantry for a while. This simple step makes a significant difference in the final consistency.
- Cocoa Powder – The chocolatey heart of this frosting! You have two main options here: Dutch-processed cocoa or natural cocoa powder. I personally prefer **Dutch-processed cocoa** for its deeper, darker color and more intense chocolate flavor. It has been treated with an alkali to neutralize its acidity, resulting in a smoother, less bitter taste. Natural cocoa powder, on the other hand, is acidic and has a lighter color and a milder, fruitier chocolate flavor. Both will work beautifully in this frosting, so choose based on your preference for chocolate intensity and color. Whichever you choose, **sifting the cocoa powder** is essential to avoid lumps and ensure even distribution throughout the frosting.
- Milk – A little liquid goes a long way in achieving the perfect creamy, spreadable, and pipeable consistency. Milk helps thin out the frosting just enough without compromising its richness. I typically use dairy milk, but any plant-based milk (like almond, soy, or oat milk) will also work. Heavy cream is another excellent option for an even richer, slightly thicker consistency, adding a touch of indulgence. Start with the smaller recommended amount and add more only if needed, a half teaspoon at a time, until your desired consistency is reached.
- Vanilla Extract – Just a touch of pure vanilla extract elevates the overall flavor profile, adding depth and warmth that complements both the chocolate and peanut butter. Don’t skip this, as it brightens the other flavors and adds a subtle complexity that makes the frosting truly irresistible.
- Salt – While optional, a small pinch of salt is highly recommended. It acts as a flavor enhancer, much like in savory dishes. Salt helps to cut through the sweetness, making the chocolate and peanut butter flavors more pronounced and creating a more balanced and complex taste experience. It prevents the frosting from tasting one-dimensional.
Step-by-Step Guide: How to Make Creamy Chocolate Peanut Butter Frosting
Making this incredibly delicious chocolate peanut butter frosting is a straightforward process that yields impressive results. You’ll need an electric mixer (either a stand mixer with a paddle attachment or a handheld electric beater) to achieve the desired smooth and creamy consistency. Below is a detailed overview of each step. For precise measurements, please consult the full recipe card at the conclusion of this article.
-
Cream the Butter and Peanut Butter: In a large mixing bowl, combine the room temperature unsalted butter and the smooth, shelf-stable peanut butter. Using your electric mixer, start on low speed to incorporate the ingredients, then increase to medium-high. Beat these two until the mixture is light, fluffy, and completely smooth. This initial creaming process is essential for creating an airy base and ensures that your butter is fully integrated before adding the dry ingredients. It should take about 2-3 minutes. Scrape down the sides of the bowl frequently with a spatula to ensure everything is evenly combined and no butter is clinging to the sides.
-
Incorporate Dry and Wet Ingredients: Next, add the sifted powdered sugar, sifted cocoa powder, milk, vanilla extract, and a pinch of salt to the butter-peanut butter mixture. It’s crucial to begin mixing on **low speed**. If you start too high, the finely milled powdered sugar and cocoa will create a “dust storm” in your kitchen, making a mess and potentially losing some ingredients! Mix on low until all the dry ingredients are just moistened and fully incorporated into the wet ingredients. This usually takes about 30-60 seconds. Don’t overmix at this stage; just ensure no dry streaks remain.
-
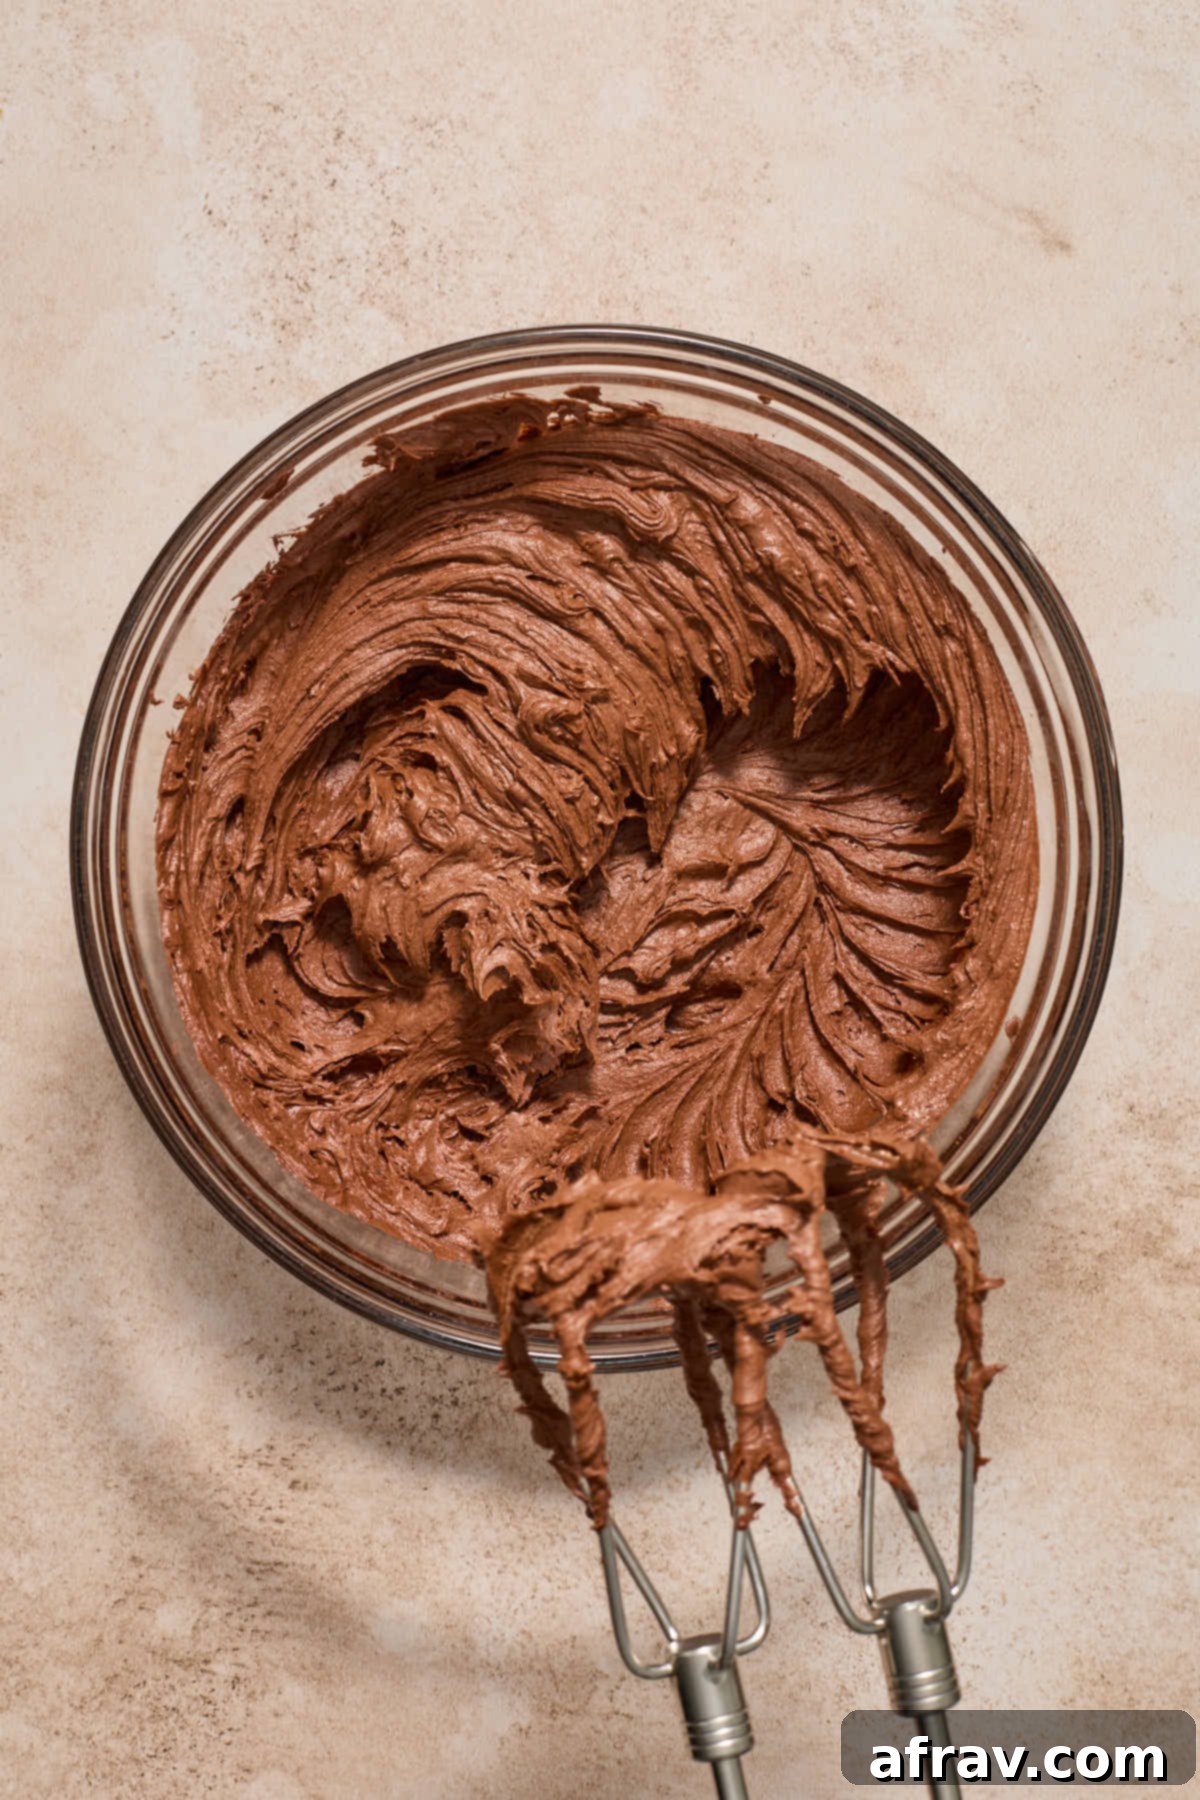
Whip to Perfection: Once the dry ingredients are incorporated, increase your mixer speed to medium-high. Continue to beat the frosting for another 3-5 minutes, or until it becomes incredibly light, smooth, and wonderfully creamy. The longer you beat it at this stage (within reason), the more air will be incorporated, resulting in a truly ethereal, pipeable texture. Periodically stop the mixer to scrape down the sides and bottom of the bowl with a spatula, ensuring that every bit gets whipped to the same perfect consistency. The frosting should be easily spreadable or pipeable, holding its shape beautifully without being stiff. If it’s too thick, add a tiny bit more milk (1/2 teaspoon at a time); if too thin, a tablespoon or two more sifted powdered sugar can help thicken it up. Taste and adjust sweetness or salt if desired.
Precision in Baking: The Importance of Accurate Ingredient Measurement
While baking might seem like an art, it’s truly a science, and precise ingredient measurement is paramount for consistent, perfect results, especially when it comes to delicate textures like frosting. In the recipe card, you’ll find both US cup measurements for convenience and more accurate weight and volume measurements. For the most professional-quality outcomes, particularly with dry ingredients like flour, sugar, and cocoa, we highly recommend using a digital kitchen scale.
Here’s a quick guide to understanding the measurements provided to help you achieve consistent success with your chocolate peanut butter frosting:
- Grams (g): When you see grams listed, this indicates a weight measurement. Using a kitchen scale to weigh ingredients like butter, powdered sugar, and cocoa powder is the gold standard for accuracy. It eliminates inconsistencies that can arise from how densely an ingredient is packed into a measuring cup, ensuring you use the exact amount specified.
- Milliliters (ml): For liquid ingredients such as milk or vanilla extract, milliliters represent volume. A liquid measuring cup, designed with a spout and clear markings for accurate viewing at eye level, is ideal for these. Always measure liquids at eye level to avoid parallax errors.
- Teaspoons and Tablespoons: Smaller quantities of ingredients, typically flavorings or leavening agents, are provided in teaspoons and tablespoons. Always use proper measuring spoons, ensuring they are level (not heaped) for accuracy. For sticky ingredients like peanut butter, leveling with a straight edge can be helpful.
Adhering to these measurement best practices will help ensure your Chocolate Peanut Butter Frosting has the ideal texture and flavor every single time, avoiding issues like a grainy or overly thin consistency that can result from imprecise measuring.
Storage and Freezing Tips: Keeping Your Frosting Fresh and Ready
One of the many great things about this chocolate peanut butter frosting is how well it stores, allowing you to make it ahead of time or save leftovers for future baking projects. Proper storage ensures your frosting maintains its delicious flavor and perfect consistency.
Refrigeration:
For immediate use, simply apply the frosting to your cooled cakes or cupcakes. If you’ve made the frosting in advance or have leftovers, transfer it to an airtight container. It can be safely stored in the refrigerator for up to 3-4 days. When you’re ready to use it after refrigeration, it’s important to allow the frosting to come back to room temperature. This usually takes about 30-60 minutes, depending on the ambient temperature of your kitchen. If the frosting feels a bit too stiff or dense after softening, give it a quick whip with your electric mixer (on medium speed) for a minute or two until it’s light, fluffy, and perfectly spreadable again. This re-whipping helps to re-incorporate any separated butter and air, restoring its creamy, smooth texture. Never try to use it directly from the fridge, as it will be too firm to spread.
Freezing:
Yes, this chocolate peanut butter frosting is also freezer-friendly! This is fantastic for meal prepping desserts or simply having delicious frosting on hand whenever a craving strikes. To freeze, place the frosting in a heavy-duty freezer bag, pressing out as much air as possible, or in an airtight freezer-safe container. It will keep beautifully in the freezer for up to 3 months. Clearly label the container with the date. When you’re ready to use your frozen frosting, transfer it to the refrigerator to thaw overnight. Once completely thawed, let it come to room temperature on your counter (this could take a couple of hours), then give it a good re-whip with your electric mixer until it’s smooth and pliable. Freezing can sometimes alter the texture slightly, but a good whip will bring it right back to its original glory, ready for decorating.
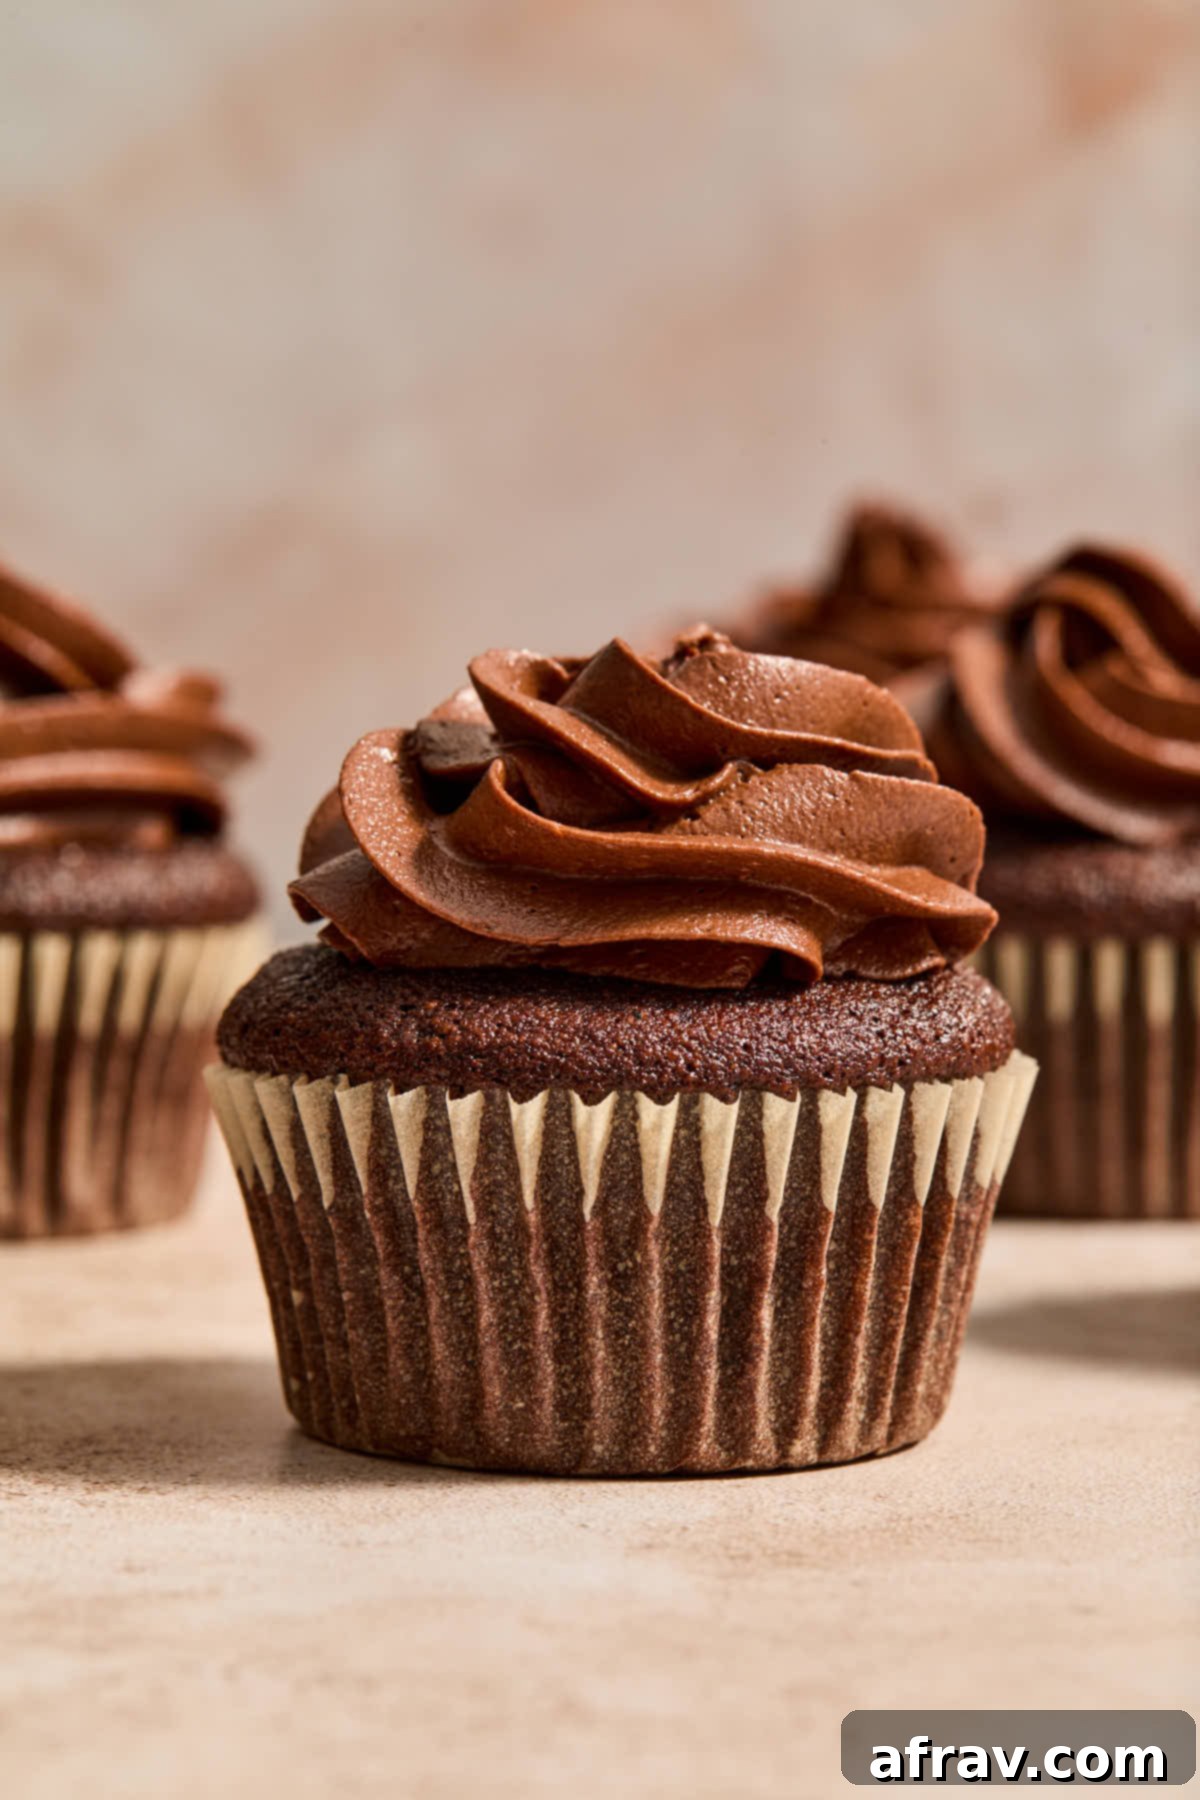
With these storage tips, you can enjoy this delectable frosting anytime, ensuring none of your efforts go to waste and you always have a delightful topping ready!
Mastering Your Frosting: Essential Tips for Success
Achieving a flawless chocolate peanut butter frosting is easy when you keep a few key principles in mind. These expert tips will help ensure your frosting is perfectly smooth, wonderfully creamy, and packed with irresistible flavor every time you make it.
- Room Temperature Ingredients are Non-Negotiable: This is arguably the most critical tip for any buttercream. Your butter *must* be at true room temperature – soft enough to make a slight indent with your finger, but not melted or greasy. Cold butter will result in a lumpy, grainy frosting that simply won’t cream properly with the peanut butter. Depending on your kitchen’s temperature, this could take an hour or even longer. To expedite the process, you can cut the butter into smaller cubes, which increases the surface area and allows it to soften more quickly. Avoid microwaving butter to soften it, as this can lead to uneven melting and an oily texture that will negatively impact your frosting.
- Always Use Shelf-Stable, Smooth Peanut Butter: We’ve touched on this, but it bears repeating due to its importance. Natural peanut butter, which typically separates oil from solids, contains too much oil and isn’t emulsified in the same way as shelf-stable varieties. Using it will almost certainly result in a runny, oily, and grainy frosting that won’t hold its shape or incorporate properly. Stick to classic, smooth, shelf-stable peanut butter (like Jif or Skippy) for the best results and a stable, creamy frosting.
- Sift Your Dry Ingredients for Ultimate Smoothness: Powdered sugar and cocoa powder can easily clump together, especially if they’ve been sitting in your pantry for a while. These tiny lumps, if not removed, will translate into a distinctly grainy texture in your finished frosting. To guarantee the silkiest, smoothest frosting imaginable, always take the extra minute to sift both your powdered sugar and cocoa powder before adding them to the mixer. This simple step makes a huge difference in the final mouthfeel of your frosting!
- Adjust Sweetness to Your Preference: This recipe is intentionally designed to be “not too sweet,” allowing the rich chocolate and savory peanut butter flavors to truly shine without being overpowered by sugar. However, taste is subjective! If you find you prefer a sweeter frosting, simply add more sifted powdered sugar, a tablespoon at a time, beating well after each addition until you reach your desired level of sweetness. Remember that adding more sugar will also thicken the frosting, so be mindful of consistency.
- Achieve Your Desired Consistency: The beauty of buttercream is its adaptability. If your frosting seems too thick for piping intricate designs or spreading smoothly, don’t worry! Gradually add more milk (or cream), starting with just half a teaspoon at a time. Beat well after each addition, checking the consistency, until it reaches your ideal spreadable or pipeable texture. Conversely, if your frosting is too thin, you can thicken it by adding a tablespoon or two more of sifted powdered sugar. Always make these adjustments slowly and gradually to avoid over-correcting.
- Scrape Down the Bowl Religiously: During the mixing process, ingredients can stick to the sides and bottom of the bowl, especially in the initial stages. Make sure to stop your mixer periodically and scrape down the bowl thoroughly with a rubber spatula, ensuring you get all the way to the bottom. This ensures all ingredients are evenly incorporated and whipped, preventing streaks or unmixed portions, and contributing to a uniformly smooth and consistent frosting.
Frequently Asked Questions About Chocolate Peanut Butter Frosting
Here are answers to some common questions you might have while making this delectable frosting. We’ve compiled these FAQs to help troubleshoot and ensure your baking experience is as smooth as your frosting!
A grainy texture in buttercream frosting is a common issue, but entirely preventable! The primary culprit is usually butter that is too cold. If your butter isn’t at proper room temperature, it won’t cream smoothly with the peanut butter and powdered sugar, leading to tiny clumps. Ensure your butter is soft to the touch before you begin. Other contributing factors include not sifting your powdered sugar and cocoa powder, which can introduce lumps, or not beating the frosting for long enough. The sugar and cocoa need sufficient time to fully dissolve and incorporate into the fat, creating that signature smooth buttercream texture. If your frosting is grainy, you can sometimes fix it by continuing to beat it on medium-high speed for a few more minutes, scraping down the bowl often. If that doesn’t work, warming a small portion of the frosting (about 1/4 cup) gently in the microwave for 5-10 seconds until just melted, then slowly re-incorporating it into the main batch while mixing can sometimes rescue it.
Absolutely, this frosting can be easily adapted to be dairy-free and vegan-friendly! Simply replace the unsalted butter with a high-quality, block-style plant-based butter alternative. It’s important to use a solid block rather than a soft, spreadable tub variety, as the latter often contains too much water and can lead to a runny frosting. Similarly, substitute the dairy milk with your favorite plant-based milk, such as almond milk, soy milk, or oat milk. Keep in mind that plant-based butter tends to be a bit softer than dairy butter, so you might need to start with slightly less plant-based milk and add more only if the consistency requires it. Always beat until light and fluffy, adjusting liquids as needed, and ensure your vegan butter is at room temperature.
This recipe yields approximately 2 cups of rich and creamy chocolate peanut butter frosting, which is a generous amount perfect for various baking applications. It’s ideal for generously topping 12 standard-sized cupcakes, providing a beautiful swirl on each. Alternatively, it’s sufficient to frost an entire 9-inch round cake, whether it’s a single or double layer. For larger desserts, it will comfortably cover a 10-12 cup bundt cake. It also provides just enough luscious frosting for a beautifully decorated 3-layer 6-inch cake. Its robust flavor and stable consistency make it perfect for any of these delicious uses!
Yes, you absolutely can! The recipe was tested with Dutch-processed cocoa for a deeper, darker color and more intense chocolate flavor. However, natural cocoa powder works just as well. It will result in a slightly lighter-colored frosting with a milder, fruitier chocolate taste, which many people prefer. Just ensure you sift it, as with any cocoa powder, to prevent lumps and ensure a smooth frosting. The choice between the two largely depends on your desired flavor intensity and color.
Adjusting frosting consistency is a common need and easy to do! If your frosting is too thin, gradually add more sifted powdered sugar, one tablespoon at a time, beating well after each addition until it thickens to your desired consistency. If it’s too thick, add milk (or cream) half a teaspoon at a time, mixing thoroughly after each addition until it becomes creamier and more spreadable/pipeable. Remember, it’s easier to add a little more than to take away, so make adjustments slowly and incrementally, checking the consistency after each addition.
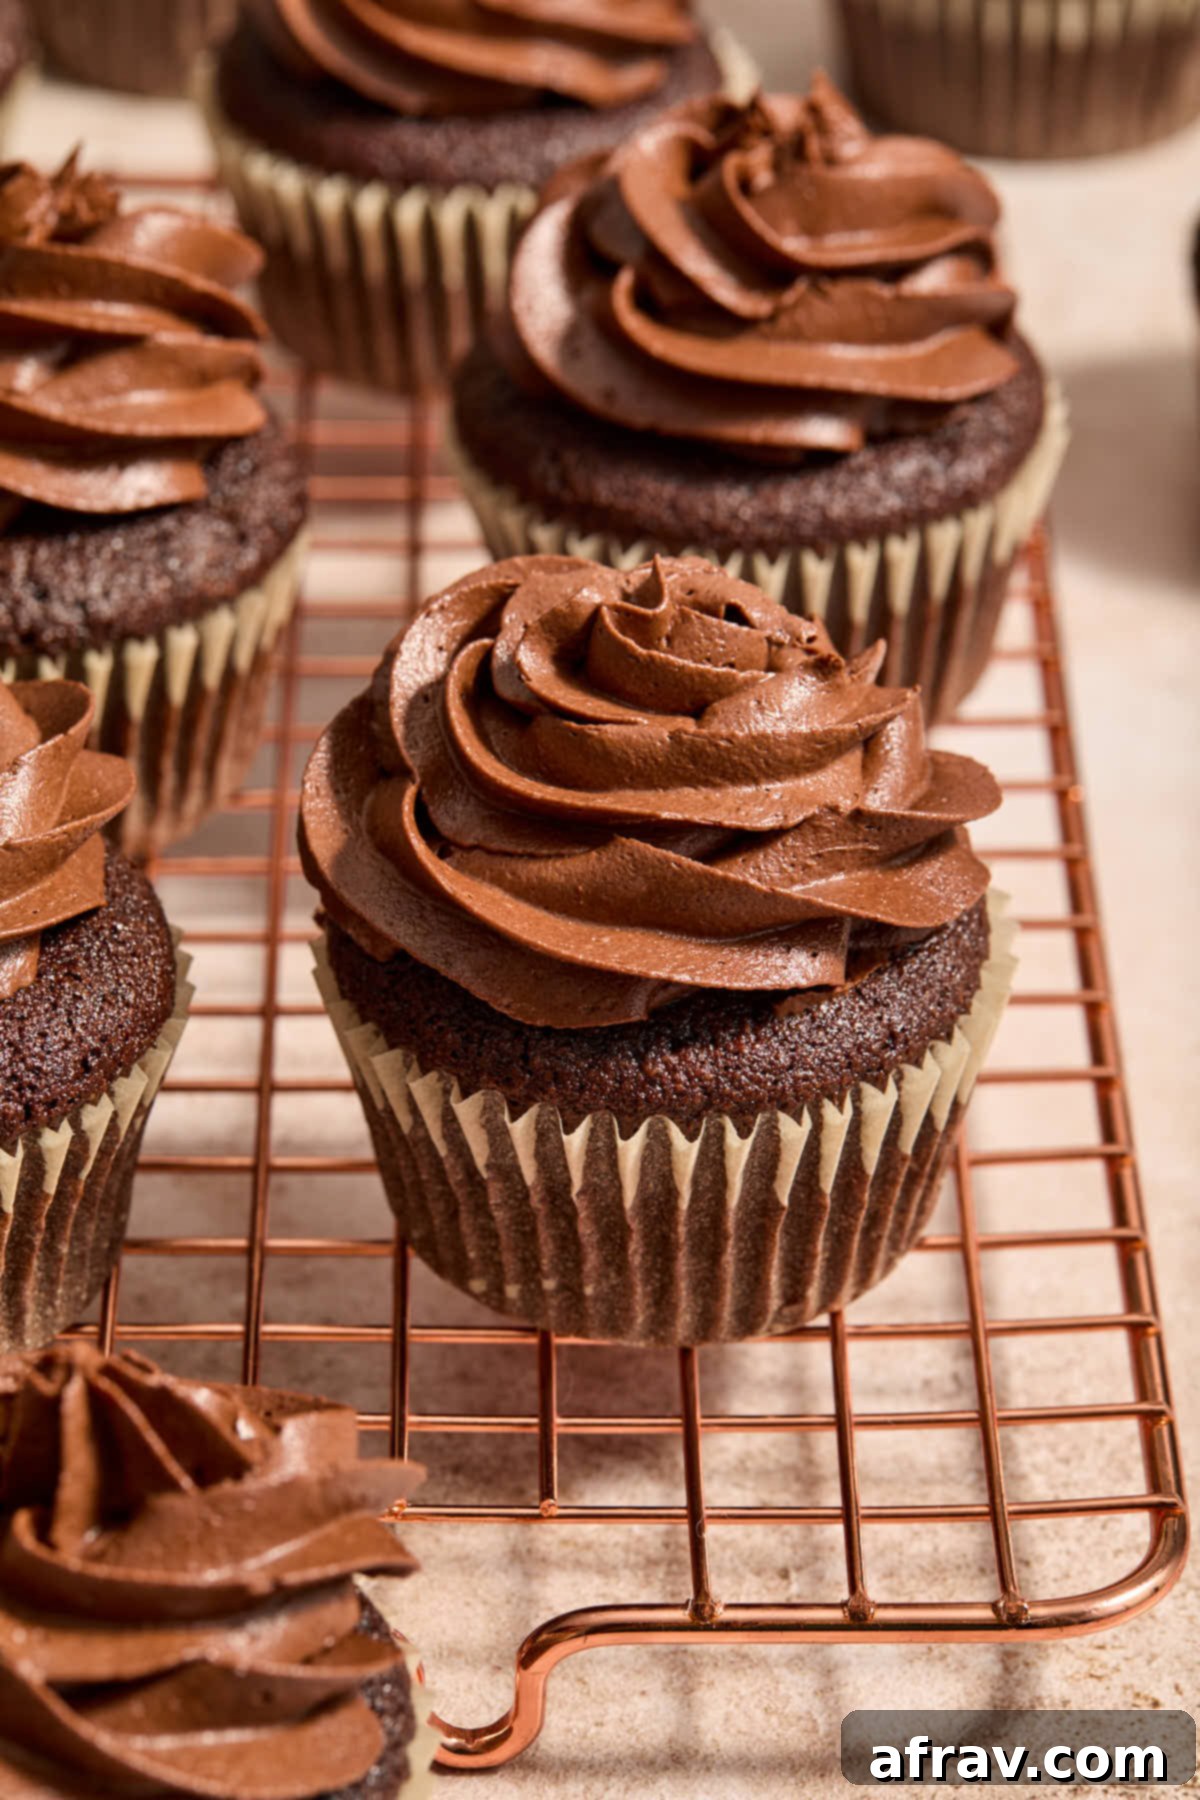
Explore More Delicious Frosting Recipes
If you love experimenting with sweet toppings, you’re in the right place! Here are some other fantastic frosting recipes from our collection that you might enjoy:
- Decadent Chocolate Avocado Frosting
- Rich Peanut Butter Cream Cheese Frosting
- Classic Vanilla Bean Sour Cream Frosting
- Tangy Sour Cream Chocolate Frosting
We hope this comprehensive guide inspires you to create the most incredible Chocolate Peanut Butter Frosting! It’s truly a game-changer for any dessert, offering a perfect balance of flavors and an irresistible texture. Your cakes, cupcakes, and other baked goods will thank you for this delicious upgrade.
If you’ve had the pleasure of making this recipe, we would absolutely love to hear from you! Please share your thoughts, experiences, and any delicious creations in the comments section below. Your feedback helps us and other bakers in our community by providing valuable insights and inspiration!
HUNGRY FOR MORE? Don’t miss out on our latest recipes and baking tips! Follow Crumb Top Baking on Instagram, Pinterest and Facebook to stay connected and inspired by our sweet creations!
Print

Chocolate Peanut Butter Frosting
5 Stars 4 Stars 3 Stars 2 Stars 1 Star
No reviews
Author: Leanne
Prep Time: 5 minutes
Total Time: 5 minutes
Yield: 2 cups
Category: Dessert
Method: Mix
Cuisine: American
Diet: Gluten Free
Description
Smooth, rich and creamy, this simple Chocolate Peanut Butter Frosting is not too sweet so the chocolate peanut butter flavor shines through!
Ingredients
- 1 cup (227g) unsalted butter, room temperature
- 6 tablespoons smooth peanut butter, shelf stable
- 1 cup (120g) powdered sugar, sifted if lumpy (more if needed)
- 1/2 cup (50g) Dutch-processed cocoa, sifted if lumpy
- 3–4 teaspoons milk (more if needed)
- 1 teaspoon vanilla extract
- Pinch of salt
Instructions
- Add the room temperature unsalted butter and the smooth, shelf-stable peanut butter to a large mixing bowl.
- Using an electric mixer (hand beaters or the paddle on a stand mixer), beat together on medium-high speed until the mixture is light, fluffy, and completely smooth (about 2-3 minutes). Scrape down the sides of the bowl as needed.
- Add the sifted powdered sugar, sifted cocoa powder, milk, vanilla extract, and a pinch of salt to the bowl. Beat together on low speed until the sugar and cocoa are just mixed in and no dry streaks remain. (Starting on low speed prevents a cloud of powdered sugar and cocoa dust).
- Increase the speed to medium-high and continue to beat together for another 3-5 minutes, or until the frosting is incredibly light, smooth, and wonderfully creamy. Stop occasionally to scrape down the sides and bottom of the bowl with a spatula, ensuring uniform consistency.
Notes
- The butter will need to be brought to room temperature in order to ensure a smooth and creamy buttercream. This may take an hour or longer depending on the temperature in your kitchen. To speed up the process, you can cut the butter into cubes.
- Avoid using natural peanut butter. It will result in a runny and grainy frosting. Stick with shelf stable and smooth varieties for the best texture.
- For the smoothest frosting, always sift your powdered sugar and cocoa to remove any lumps before adding them to the mixer.
- If you prefer a sweeter and thicker frosting, just add more sifted powdered sugar, a little at a time, until it reaches your desired sweetness and thickness.
- For a creamier frosting, just add a bit more milk (1/2 teaspoon at a time), until the frosting reaches your desired consistency.
- Be sure to check out the other sections above the recipe card for more detailed advice and suggestions for making this recipe, including storage tips and FAQs.
