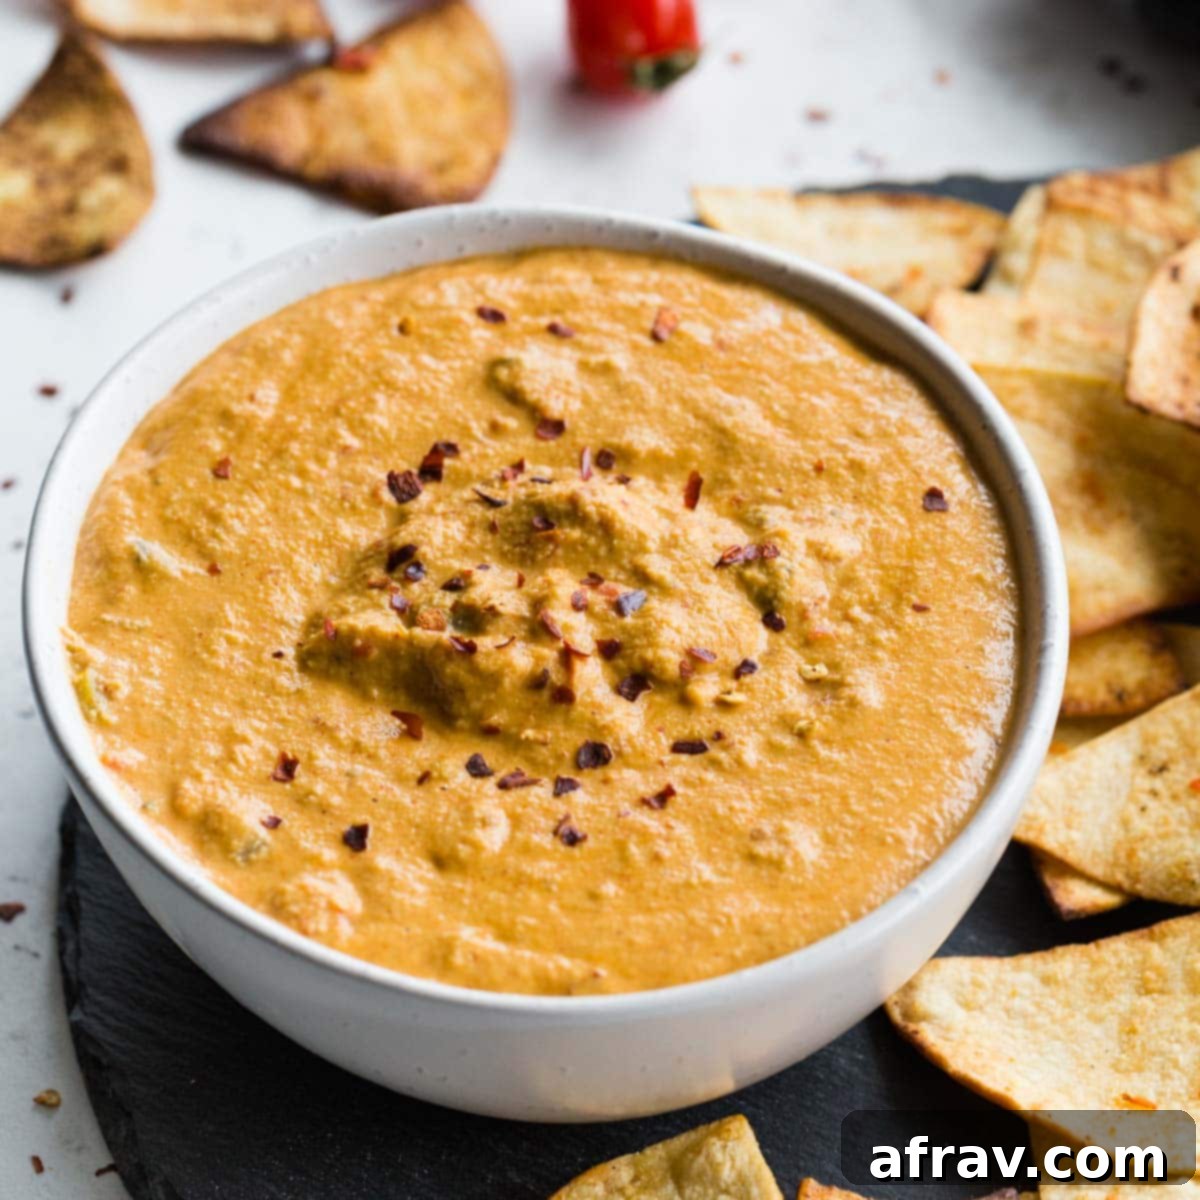
The Ultimate Creamy Vegan Cashew Queso: Your Go-To Dairy-Free Dip!
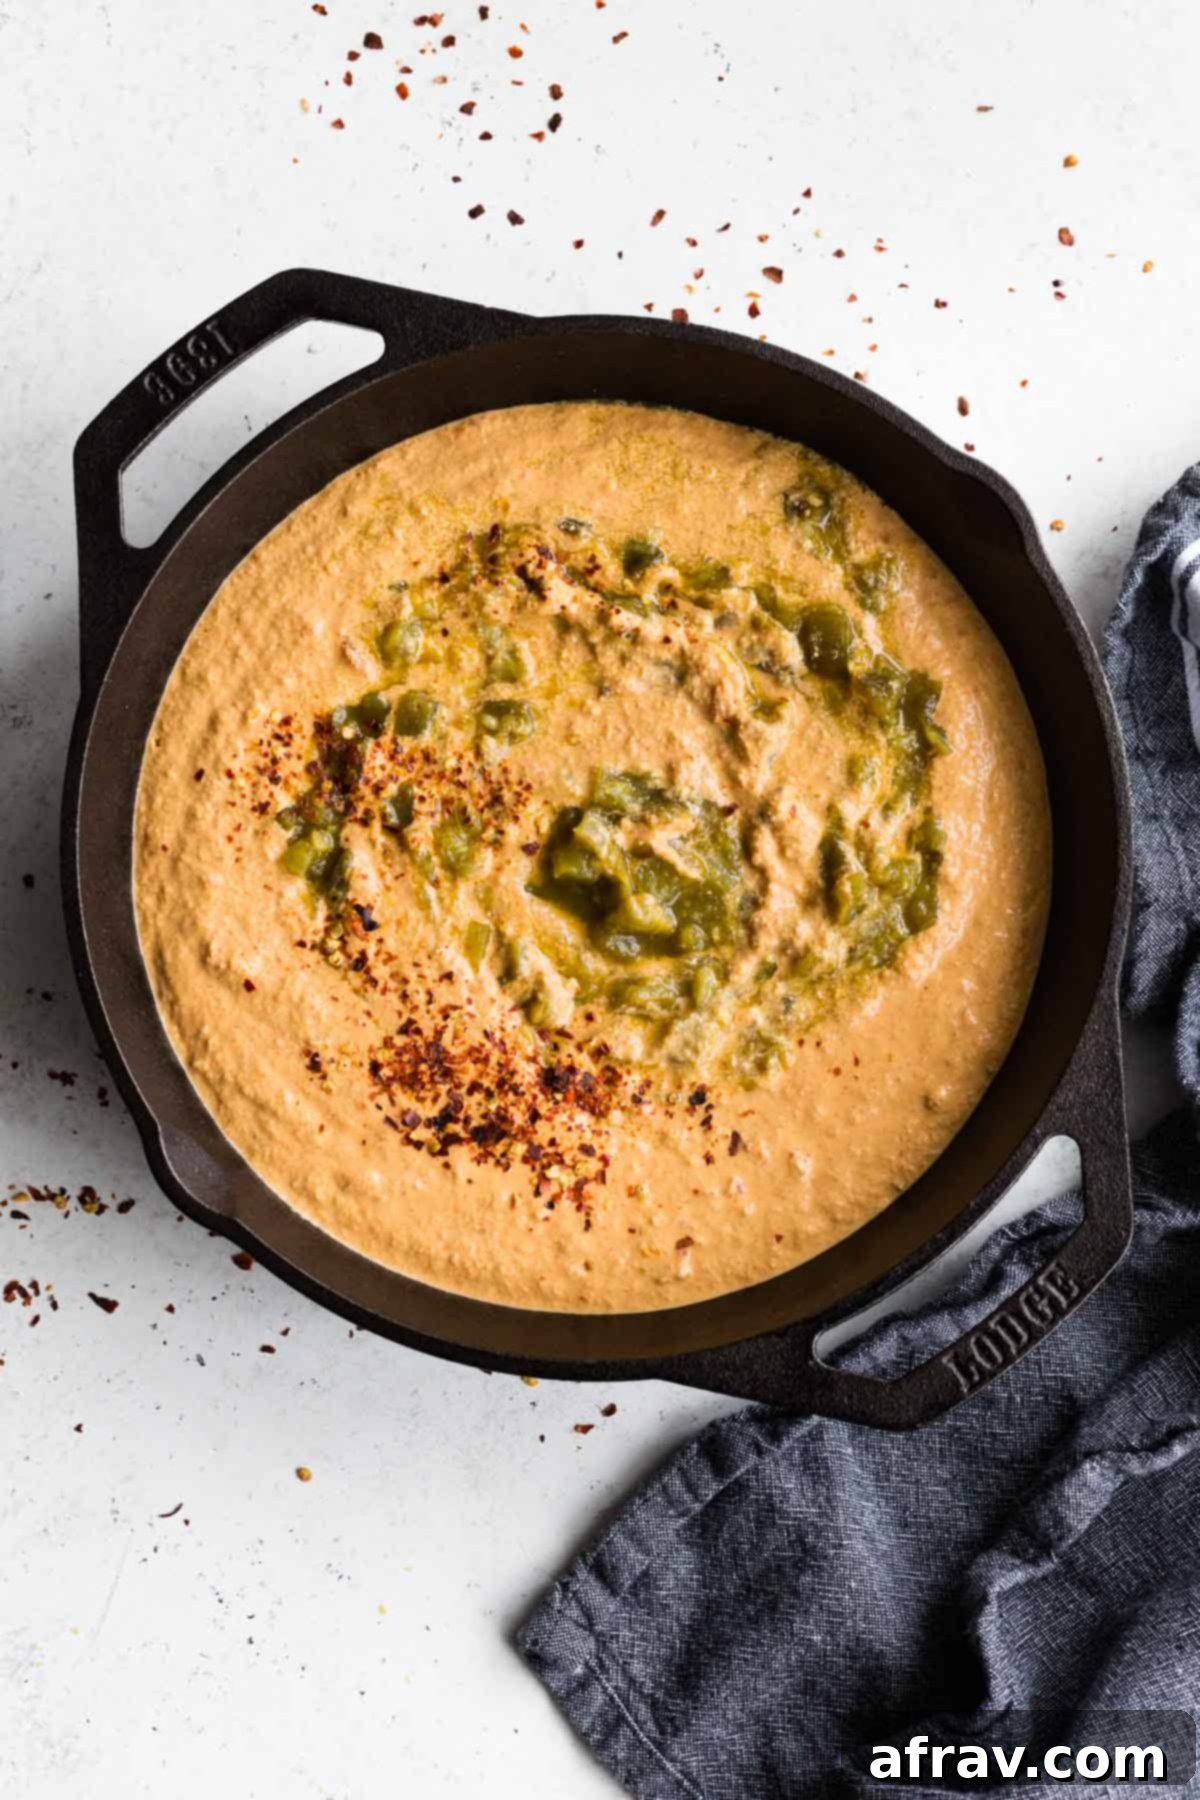
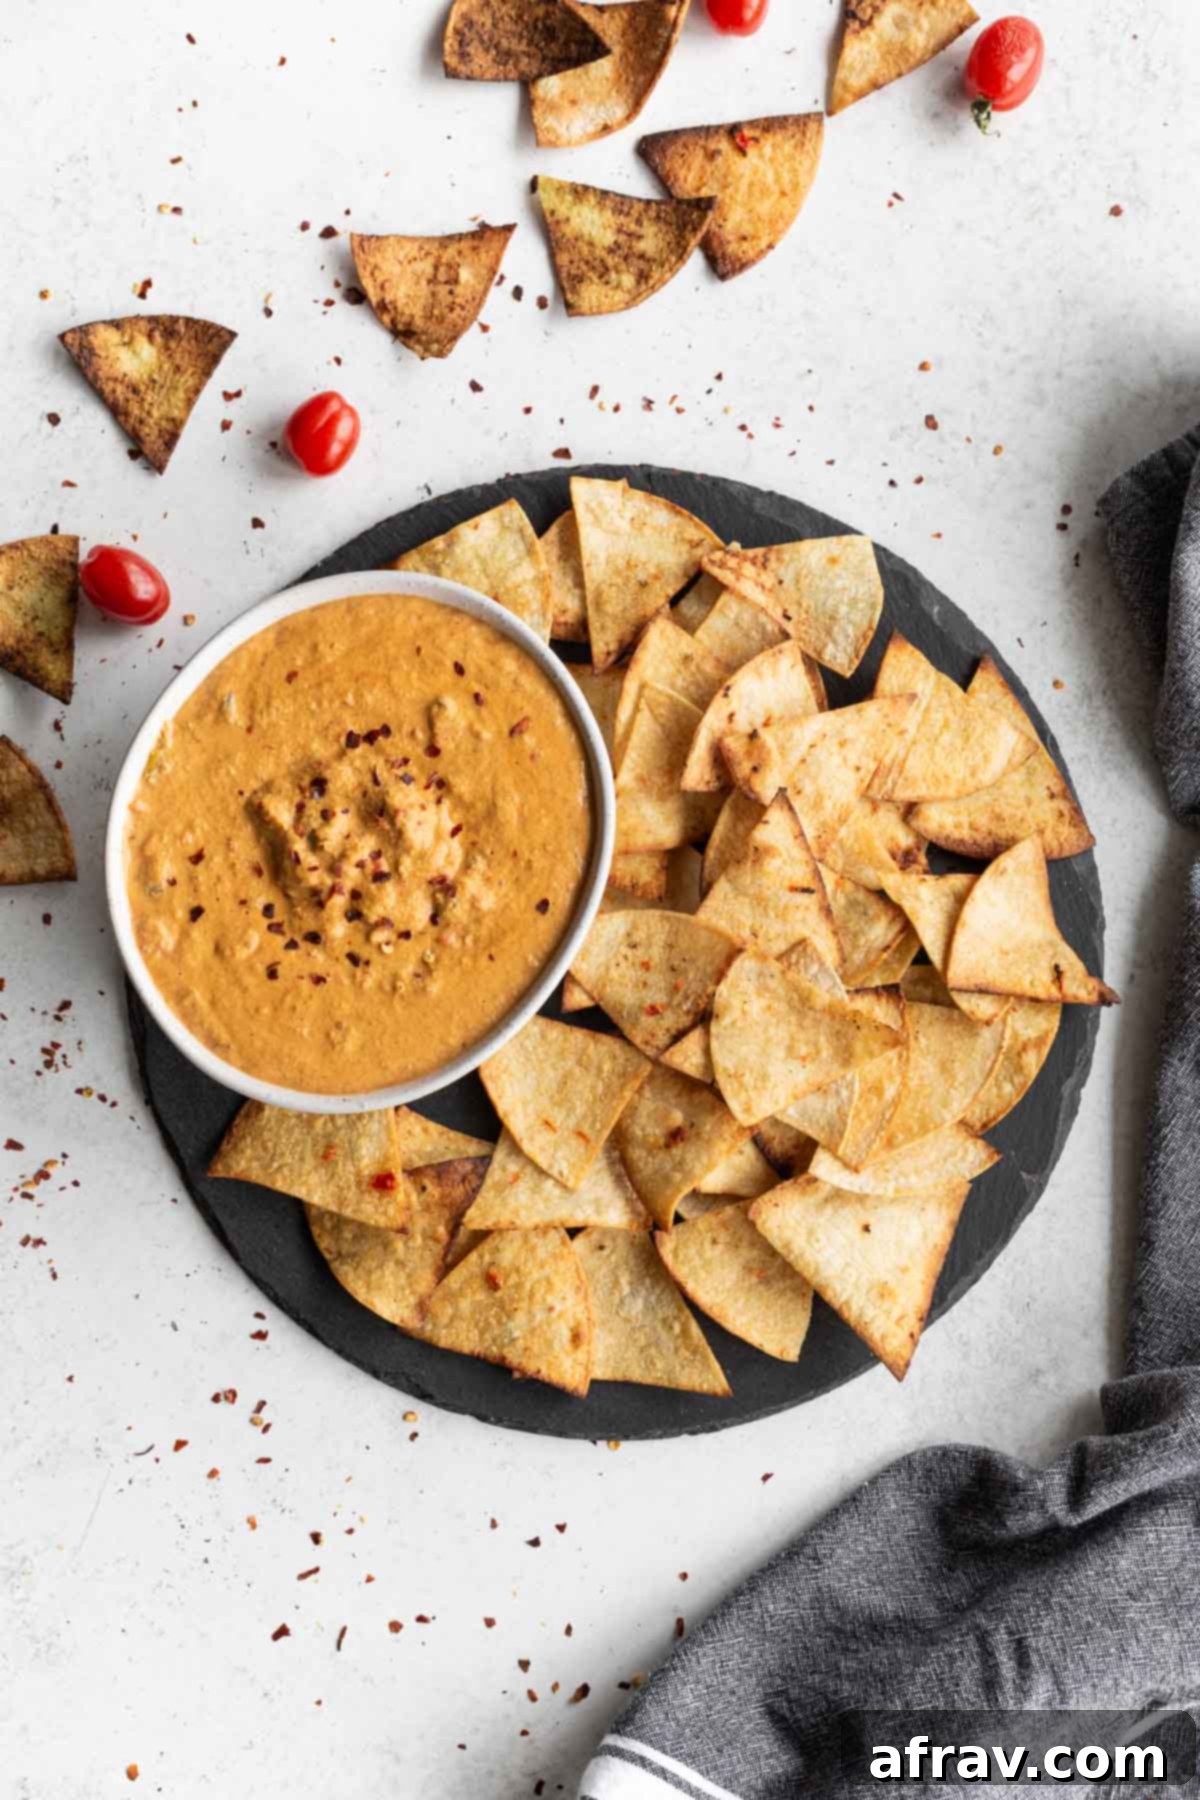
Prepare to fall in love with Cashew Queso, a luxuriously thick and incredibly creamy vegan dip that perfectly balances a hint of spicy chilis with an abundance of smoky flavor. This isn’t just another dip; it’s a culinary revelation that you can enjoy straight up with your favorite tortilla chips or generously pour over a mountain of nachos. Thanks to the magic of cashews and nutritional yeast, you’ll be amazed that this irresistibly ‘cheesy’ dip is completely dairy-free, making it a fantastic option for everyone, including those with dietary sensitivities.
If you’re a fan of rich, savory dips but prefer to steer clear of dairy and cream cheese, you’ll also adore this dairy-free buffalo chicken dip, which offers another incredible plant-based experience.
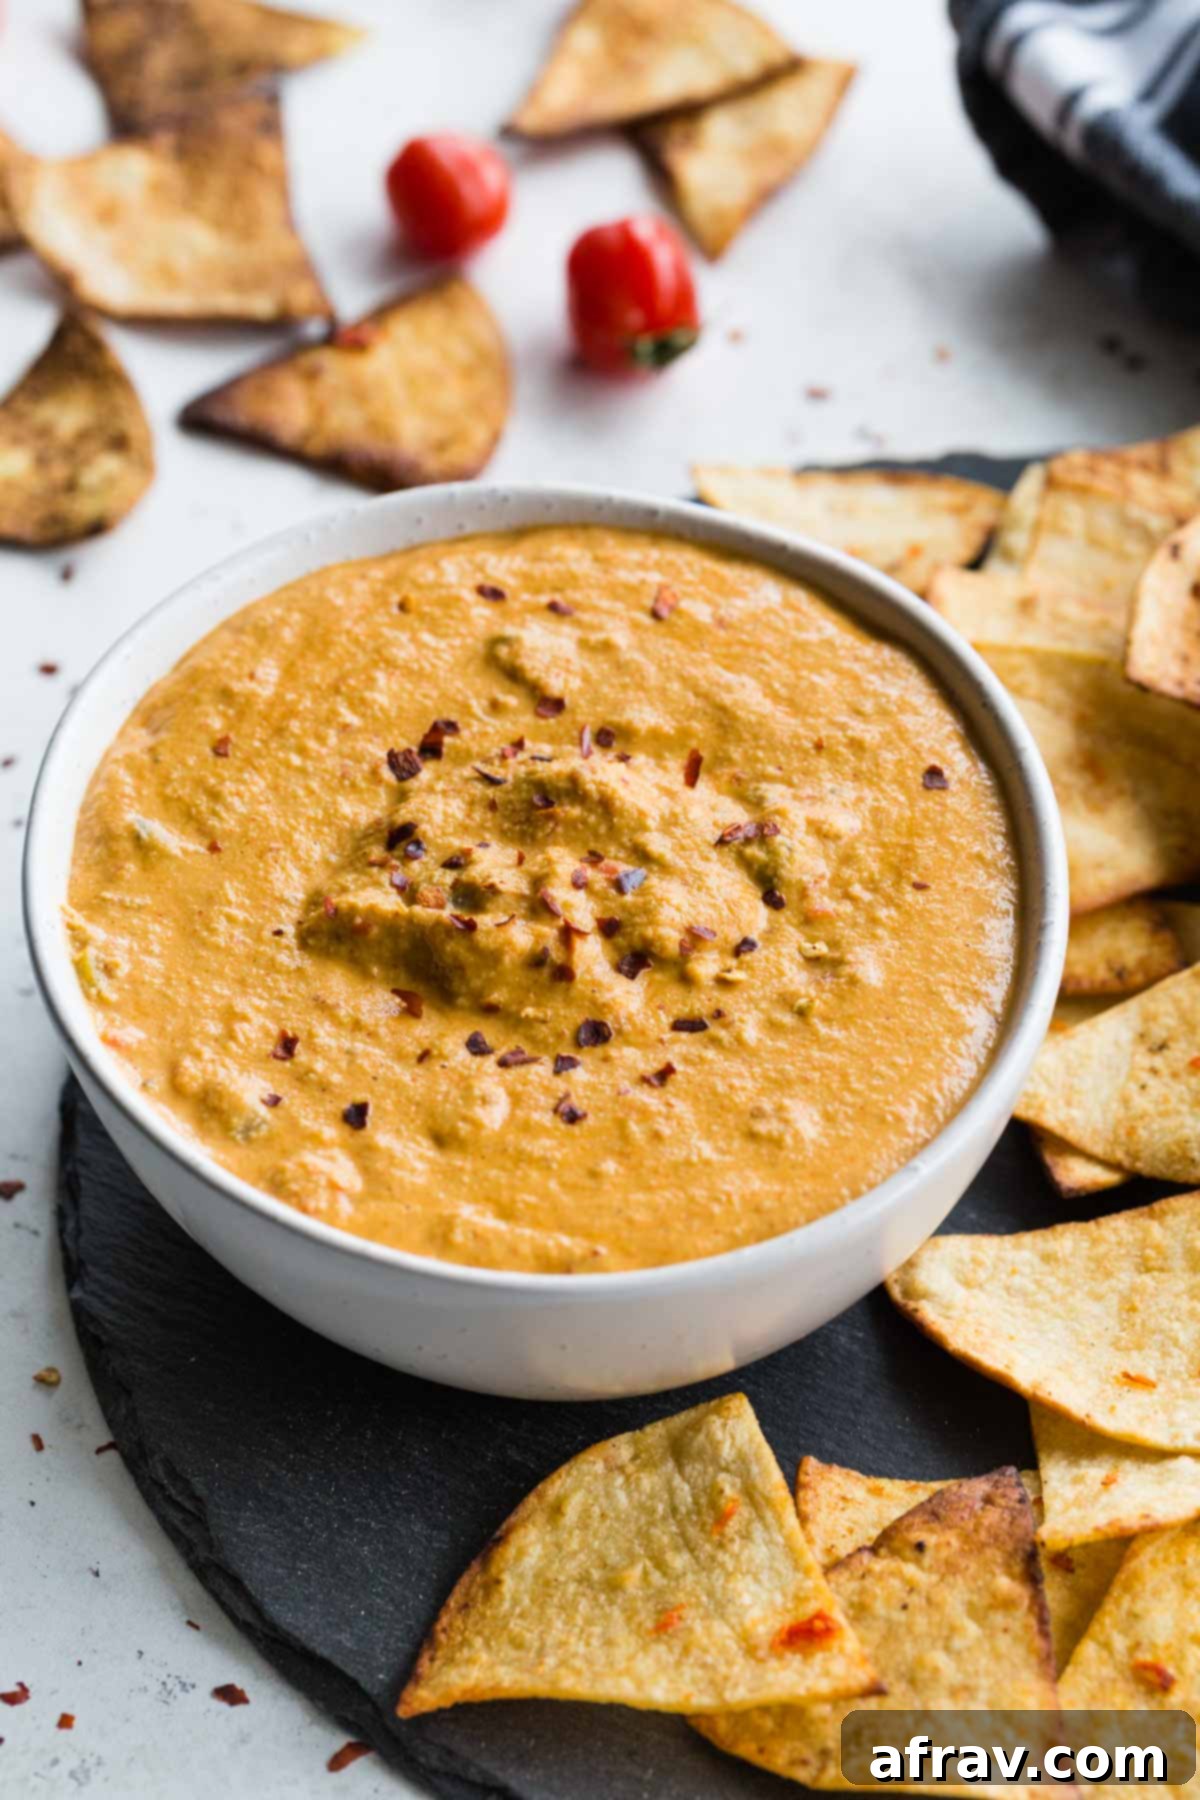
*This recipe was originally shared in May 2019 and has been comprehensively updated with new text, including more in-depth helpful tips and serving suggestions for our readers. The core recipe, cherished by many, remains deliciously the same.
I am genuinely obsessed with the unparalleled creaminess that cashews bring to dips. For anyone navigating dairy sensitivities or looking for delicious plant-based alternatives, cashew-based dips are an absolute game-changer. They provide that luxurious texture and satisfying mouthfeel often missing from dairy-free options, without relying on cream cheese or sour cream. We regularly enjoy a variety of cashew creations, including:
- Creamy Herb Dip
- Chipotle Dip
- Creamy Jalapeño Dip
- Roasted Red Pepper Dip
- Mushroom Spinach Dip
- Cashew Mayo
- Dairy-Free Caramelized Onion Dip
Why You’ll Adore This Dairy-Free Cashew Queso
This Cashew Queso isn’t just a recipe; it’s an experience waiting to happen. Here’s why it’s destined to become a staple in your kitchen:
- Truly Vegan & Dairy-Free: Yes, you read that right! Experience all the rich, creamy, and ‘cheesy’ goodness you crave, but without any dairy whatsoever. This makes it perfect for vegans, those with lactose intolerance, or anyone looking to incorporate more plant-based options into their diet without sacrificing flavor.
- Customizable Spice Level: Whether you prefer a mild hint of warmth or a fiery kick, the spice level is entirely in your hands. Easily adjust the amount of chilis and red pepper flakes to perfectly suit your palate and preferences.
- Incredibly Versatile: Beyond being a sensational chip dip, this cashew queso effortlessly transforms into a creamy spread for sandwiches, a delectable sauce for an array of dishes like nachos and tacos, or even a rich addition to soups and stews. Its adaptability means it’s always ready to elevate your meals.
Essential Ingredients for the Best Vegan Queso
Crafting this dairy-free queso requires a few simple, yet key ingredients that work together to create its signature flavor and texture. Let’s dive into what you’ll need:
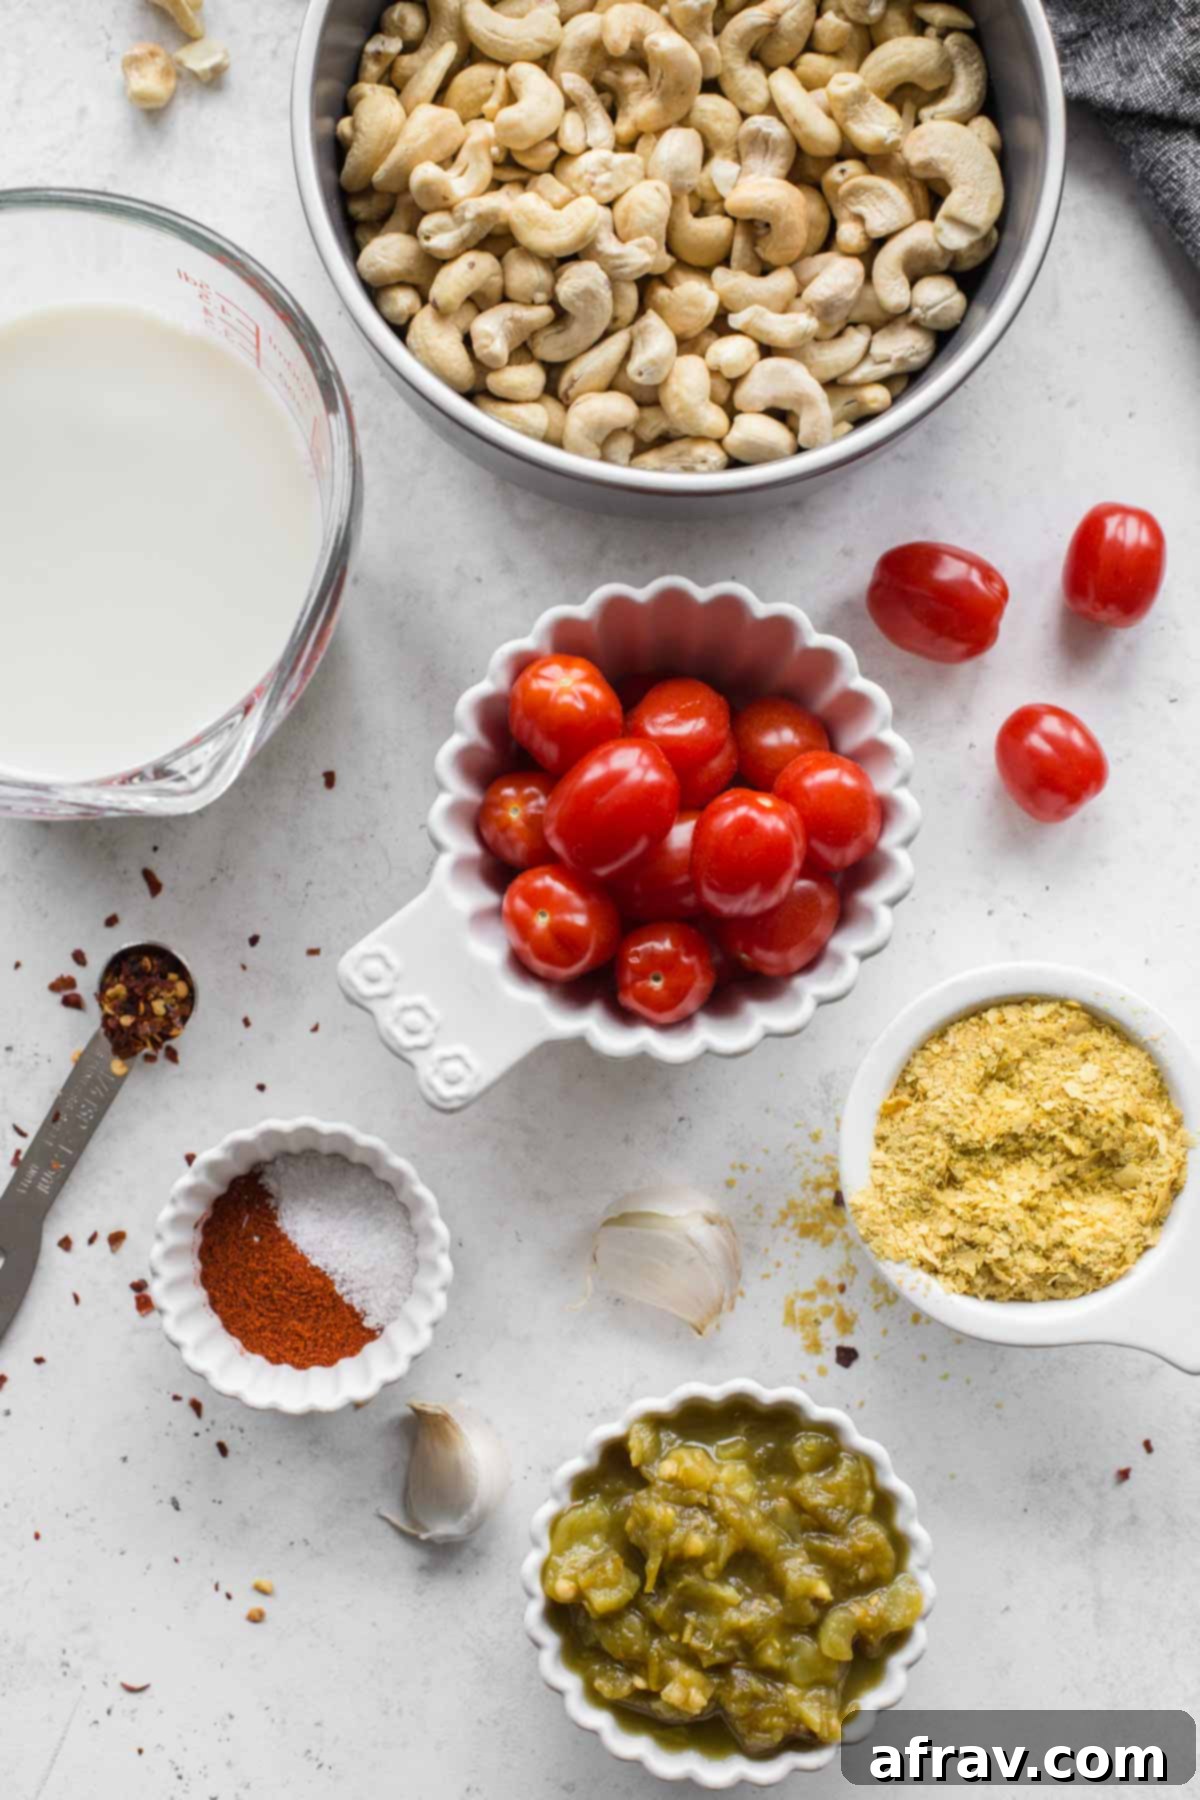
Cashews: The star of the show! I exclusively use raw and unsalted whole cashews for their neutral flavor and exceptional ability to create a smooth, creamy base when blended. While I haven’t experimented with roasted cashews, they might alter the queso’s delicate taste profile, so raw is highly recommended for the best results.
Hot Water: Crucial for the initial soaking process. Hot water helps to rapidly soften the cashews, ensuring they break down completely in your blender to achieve that velvety-smooth consistency without overworking your appliance.
Unsweetened Nut Milk: I typically opt for almond or cashew milk. The key here is to choose an unsweetened and unflavored variety. Any sweetness or additional flavors will significantly impact the savory profile of your queso. Always check the label!
Nutritional Yeast: This is where the magic happens for that distinct ‘cheesy’ flavor! Nutritional yeast is a staple in vegan cooking, offering a savory, umami-rich taste that mimics cheese without any dairy. Don’t skip it!
Smoked Paprika: Absolutely essential for imparting that deep, authentic nacho-like smokiness that makes this queso so addictive. Regular paprika will not provide the same rich, savory depth, so ensure you grab the smoked variety for the desired flavor profile.
Baby Tomatoes: Adding grape or cherry tomatoes not only boosts the veggie content but also contributes a subtle freshness and helps to naturally thin out the queso, balancing its richness. They also add a lovely color.
Chopped Green Chilies: A small can of these delivers a mild, zesty kick and a foundational flavor that perfectly complements the smoky paprika. They’re a classic addition to any queso for a reason.
Fresh Garlic Cloves: A few cloves of fresh garlic are vital for enhancing the overall savory profile. Feel free to adjust the amount to your personal taste – garlic lovers, don’t be shy!
Crushed Red Pepper Flakes: For those who love a bit of extra heat, red pepper flakes provide a wonderful, adjustable spiciness. If you find the queso spicy enough with just the green chilis, you can simply omit them.
Salt: A fundamental flavor enhancer. Start with the recommended amount and then adjust to your preference. Remember, you can always add more, but you can’t take it away!
How to Make Creamy Vegan Cashew Queso: A Step-by-Step Guide
Making this incredible dairy-free queso is surprisingly simple! Follow these steps for a perfect batch every time:
Step 1: Soak the Cashews. Begin by placing your raw cashews in a heat-proof bowl and covering them generously with hot water. Allow them to soak for at least 30 minutes. This crucial step is what transforms hard cashews into soft, blendable gems, ensuring your blender creates the silkiest, creamiest texture possible without straining its motor. If you don’t have a high-powered blender, consider soaking them longer, even up to an hour.
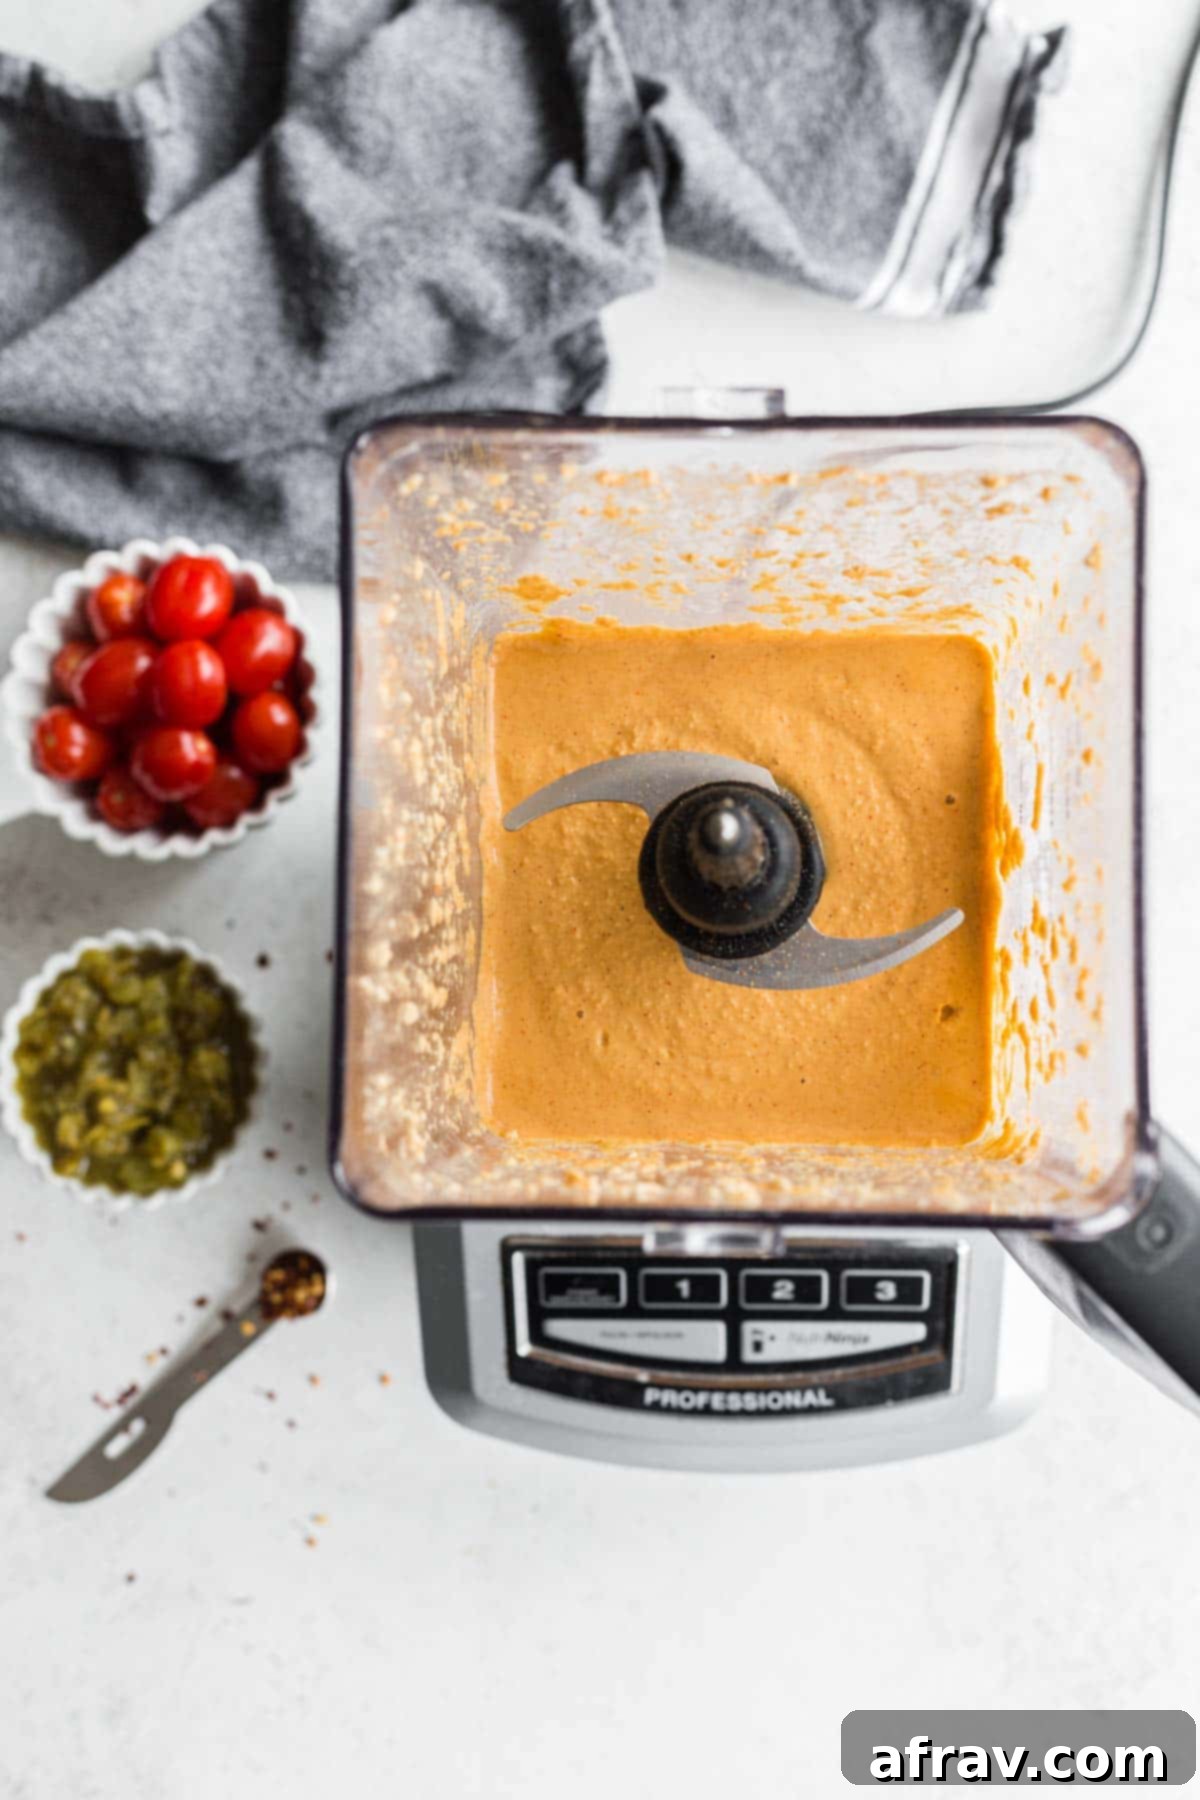
Step 2: Blend the Base. Once the cashews are plump and tender, drain them thoroughly. Transfer the softened cashews to your high-speed blender. Add the unsweetened nut milk, nutritional yeast, fresh garlic cloves, smoked paprika, and salt. Blend on high speed until the mixture is incredibly smooth and creamy. Scrape down the sides of the blender as needed to ensure all ingredients are fully incorporated and no cashew lumps remain.
Step 3: Incorporate Tomatoes. Add the fresh grape or cherry tomatoes to the blender. Pulse the mixture a few times. You want the tomatoes to be blended in, but it’s nice to retain some small, subtle pieces for a touch of texture and freshness in the final dip. Avoid over-blending at this stage, unless you prefer a completely smooth queso.
Step 4: Stir in Final Flavors. Finally, stir in the chopped green chilies and crushed red pepper flakes. If you prefer a completely smooth queso without any chunks, you can blend the chilis in with the tomatoes. However, stirring them in provides a lovely visual and textural element.
Step 5: Serve and Enjoy! Your homemade vegan cashew queso is now ready! You can serve it immediately while it’s fresh and vibrant, or warm it gently on the stovetop over low heat, stirring frequently, or in the microwave until heated through. Be careful not to let it boil or scorch.
Delicious Ways to Serve Your Dairy-Free Cashew Queso
The versatility of this cashew queso means there are endless ways to enjoy its creamy, cheesy goodness. Here are some of our favorite suggestions:
Classic Chip Dip: The most obvious, yet undeniably satisfying way to enjoy it! Dip your favorite tortilla chips, whether they’re store-bought or homemade. These air fryer tortilla chips or air fryer pita chips offer a healthier, crispy counterpart to the rich queso.
Vegan Nacho Cheese & Sauce: Elevate your Mexican-inspired dishes by using this queso as a luscious, pourable vegan nacho cheese. Drench it over your favorite nachos, fajitas, and tacos for an explosion of flavor. It pairs exceptionally well with loaded veggie nachos, taco cups, hearty pulled pork breakfast nachos, and savory ground beef fajitas.
Dip for Roasted Potatoes: Turn simple potato dishes into something extraordinary! Use this creamy dip for air fryer potato wedges, crispy air fryer baby potatoes, or perfectly cooked air fryer potato slices. The combination of warm potatoes and cool (or warm) queso is simply divine.
Flavor Booster for Soups & Chili: Add a generous dollop (or several!) to your favorite vegan chili or chicken fajita soup. Stir it in thoroughly to infuse your dish with added creamy texture and a delightful cheesy, smoky depth of flavor.
Frequently Asked Questions About Cashew Queso
Absolutely, yes! Soaking the cashews is a non-negotiable step for achieving the incredibly creamy, smooth texture that defines excellent cashew queso. It softens the cashews significantly, allowing them to blend into a velvety consistency without any gritty bits. This is particularly important if you don’t own a high-powered blender, as it reduces the strain on your appliance and ensures a superior result. For best results, hot water for 30 minutes is usually sufficient, but longer soaks (up to 1-2 hours) can be beneficial if your blender isn’t particularly strong.
Yes, a blender is essential for this recipe, and a high-powered blender will undoubtedly yield the best results – think silky smooth perfection. If your blender isn’t quite powerful enough to achieve that desired smooth consistency, there are a few tricks you can try: blend the cashews in smaller batches, extend the cashew soaking time, or even try using a food processor. However, in my experience, a food processor, while capable, often produces a slightly less creamy and more textured queso compared to a high-speed blender.
When stored properly in an airtight container in the refrigerator, your homemade cashew queso will typically stay fresh and delicious for 3-4 days. It’s common for the queso to thicken slightly in the fridge. If it becomes too thick for your liking, simply stir in 1-2 tablespoons of unsweetened nut milk to thin it back out to your desired consistency. You might also notice some natural liquid separation after a few days, which is perfectly normal and nothing to worry about. Just give the queso a good stir to recombine everything before serving.
One of the fantastic aspects of this cashew queso is its versatility in serving temperature – it’s equally delightful served hot or cold! If you prefer it chilled, simply pour it into a serving bowl and enjoy immediately, or cover and refrigerate it for later. To serve it warm, gently heat the queso on low heat in a skillet or saucepan on the stovetop, stirring frequently to prevent it from sticking or burning around the edges. Alternatively, you can warm it briefly in the microwave. The goal is to warm it through, not to bring it to a bubbling boil, to maintain its creamy texture.
Additional Expert Tips for Perfect Cashew Queso
To ensure your cashew queso turns out perfectly every time and to customize it to your exact preferences, keep these additional tips in mind:
- Adjusting the Spice: This recipe is designed to be more smoky than overtly spicy, offering a gentle warmth. If you crave more heat, don’t hesitate to add extra crushed red pepper flakes. For a deeper, spicier kick, you can even substitute a portion of the smoked paprika with chili powder.
- Extra Kick with Jalapeños: For an even more intense spicy experience, consider finely chopping fresh jalapeños (remove seeds for less heat) and blending them into the queso or stirring them in at the end.
- For Milder Palates: If you prefer a milder dip, simply omit the crushed red pepper flakes entirely. The green chilis provide a gentle, complementary flavor without overpowering heat.
- Smoked Paprika is Key: I cannot stress this enough: always use smoked paprika. Regular paprika will not deliver the unique, deep, and authentic smoky flavor that makes this queso so special and reminiscent of traditional queso.
- Canned Tomatoes Option: If fresh baby tomatoes aren’t available, you can substitute with half a cup of well-drained canned diced tomatoes. Be sure to drain them thoroughly to avoid excess liquid, and if they are salted, you may need to reduce the amount of added salt in the recipe.
- Chunky vs. Smooth: I personally love the texture that comes from stirring in the green chilies at the end, which creates a slightly chunky queso. However, if you prefer a perfectly smooth consistency, simply blend the green chilies along with the tomatoes.
- Thinning the Queso: Cashew queso tends to thicken up, especially after refrigeration. Don’t worry! It’s easy to adjust. Just blend or stir in a tablespoon or two of additional unsweetened nut milk until it reaches your desired creamy, pourable consistency.
- Batch Size Adjustment: This recipe yields a generous batch of queso, perfect for gatherings or if you want leftovers. For smaller households or if you’re just making it for two, feel free to easily halve the recipe.
If you try this incredible Cashew Queso recipe, I would absolutely love to hear your thoughts and feedback in the comments section below!
HUNGRY FOR MORE? Follow Crumb Top Baking on Instagram, Pinterest and Facebook for more delicious recipes and cooking inspiration!
Print Recipe

Cashew Queso
5 Stars 4 Stars 3 Stars 2 Stars 1 Star
5 from 11 reviews
Author: Leanne
Prep Time: 5 minutes
Soak Time: 30 minutes
Cook Time: 5 minutes
Total Time: 40 minutes
Yield: 3 cups
Category: Dips
Method: Blend
Cuisine: Mexican
Diet: Vegan
Description
This Cashew Queso is a lusciously thick and wonderfully creamy vegan dip, boasting a perfect blend of spicy chilis and rich smoky flavor. It’s the ideal dairy-free alternative to traditional queso, perfect for dipping your favorite chips or generously drizzling over nachos, fajitas, and tacos for an irresistible plant-based feast!
Ingredients
- 2 cups raw cashews
- 2 cups hot water
- 1 1/2 cups unsweetened nut milk (almond or cashew recommended)
- 1/3 cup nutritional yeast
- 3 teaspoons smoked paprika
- 1 teaspoon kosher salt
- 2 cloves garlic, peeled
- 1 cup grape or cherry tomatoes
- 1/4 teaspoon crushed red pepper flakes (add more to taste, plus extra for garnish)
- 1 can (4 ounces) chopped green chilies, drained
Instructions
- Add the cashews and hot water to a glass dish (or heat-proof bowl) and let them soak for 30 minutes to soften. This step is crucial for a smooth consistency.
- Drain the softened cashews thoroughly and transfer them to a high-speed blender. Add the unsweetened nut milk, nutritional yeast, smoked paprika, salt, and peeled garlic cloves. Blend on high until the mixture is completely smooth and creamy, scraping down the sides as needed.
- Add the grape or cherry tomatoes to the blender. Pulse a few times until the tomatoes are blended but some small pieces still remain, providing a nice texture.
- Stir in the crushed red pepper flakes (if using) and the drained green chilies. For an even smoother queso, you can blend the chilies in at this stage instead of stirring.
- Enjoy your cashew queso immediately. Serve it cold for a refreshing dip, or warm it gently on the stovetop over low heat (stirring frequently) or in the microwave until heated through, but not bubbling.
- Garnish with a sprinkle of extra red pepper flakes or fresh cilantro, and serve proudly with your favorite chips, or pour generously over nachos, tacos, or fajitas.
Notes
- For a spicier queso, simply increase the amount of crushed red pepper flakes or substitute some of the smoked paprika with chili powder. You can also add finely chopped fresh jalapeños (seeds removed for less heat) for an extra fiery kick.
- If you prefer a milder dip, feel free to omit the crushed red pepper flakes entirely.
- It’s vital to use smoked paprika for this recipe. Regular paprika will not provide the deep, authentic smoky flavor that is a hallmark of delicious queso.
- A high-powered blender is recommended for the smoothest possible queso. If you don’t have one, try blending the ingredients in two smaller batches, soaking the cashews for a longer duration (up to an hour), or using a food processor (though the texture may be slightly less creamy).
- This queso will naturally thicken, especially after being refrigerated. To achieve your desired consistency, simply blend or stir in a small amount (1-2 tablespoons) of additional unsweetened nut milk.
- For more in-depth advice on ingredients, serving suggestions, and troubleshooting, please refer to the detailed sections provided above the recipe card. These sections offer valuable insights to help you perfect this recipe.
