Easy No-Churn S’mores Ice Cream: Your Ultimate Homemade Summer Treat!
Prepare for your new favorite summer dessert: this incredibly easy S’mores Ice Cream recipe! Imagine a wonderfully smooth and creamy base, infused with the nostalgic taste of gooey melted marshmallows, perfectly complemented by chunks of crisp graham crackers, and finished with irresistible ripples of fudgy chocolate. The best part? It’s a no-churn ice cream, meaning you don’t need any special equipment like an ice cream maker, and it comes together in just about 15 minutes of active prep time!
My passion for no-churn ice creams runs deep. Why? Because they epitomize the perfect balance of ease, luscious creaminess, and undeniable deliciousness. What’s not to love about a homemade treat that delivers on all fronts with minimal fuss?
While I often lean towards dairy-free, banana-based “nice creams” – like my popular cherry chocolate chip nice cream – I recently found fresh inspiration. A friend, Katherine from Love in my Oven, encouraged me to explore a dairy-rich version using heavy cream and sweetened condensed milk. Her delightful creations truly opened up a new world of possibilities for me.
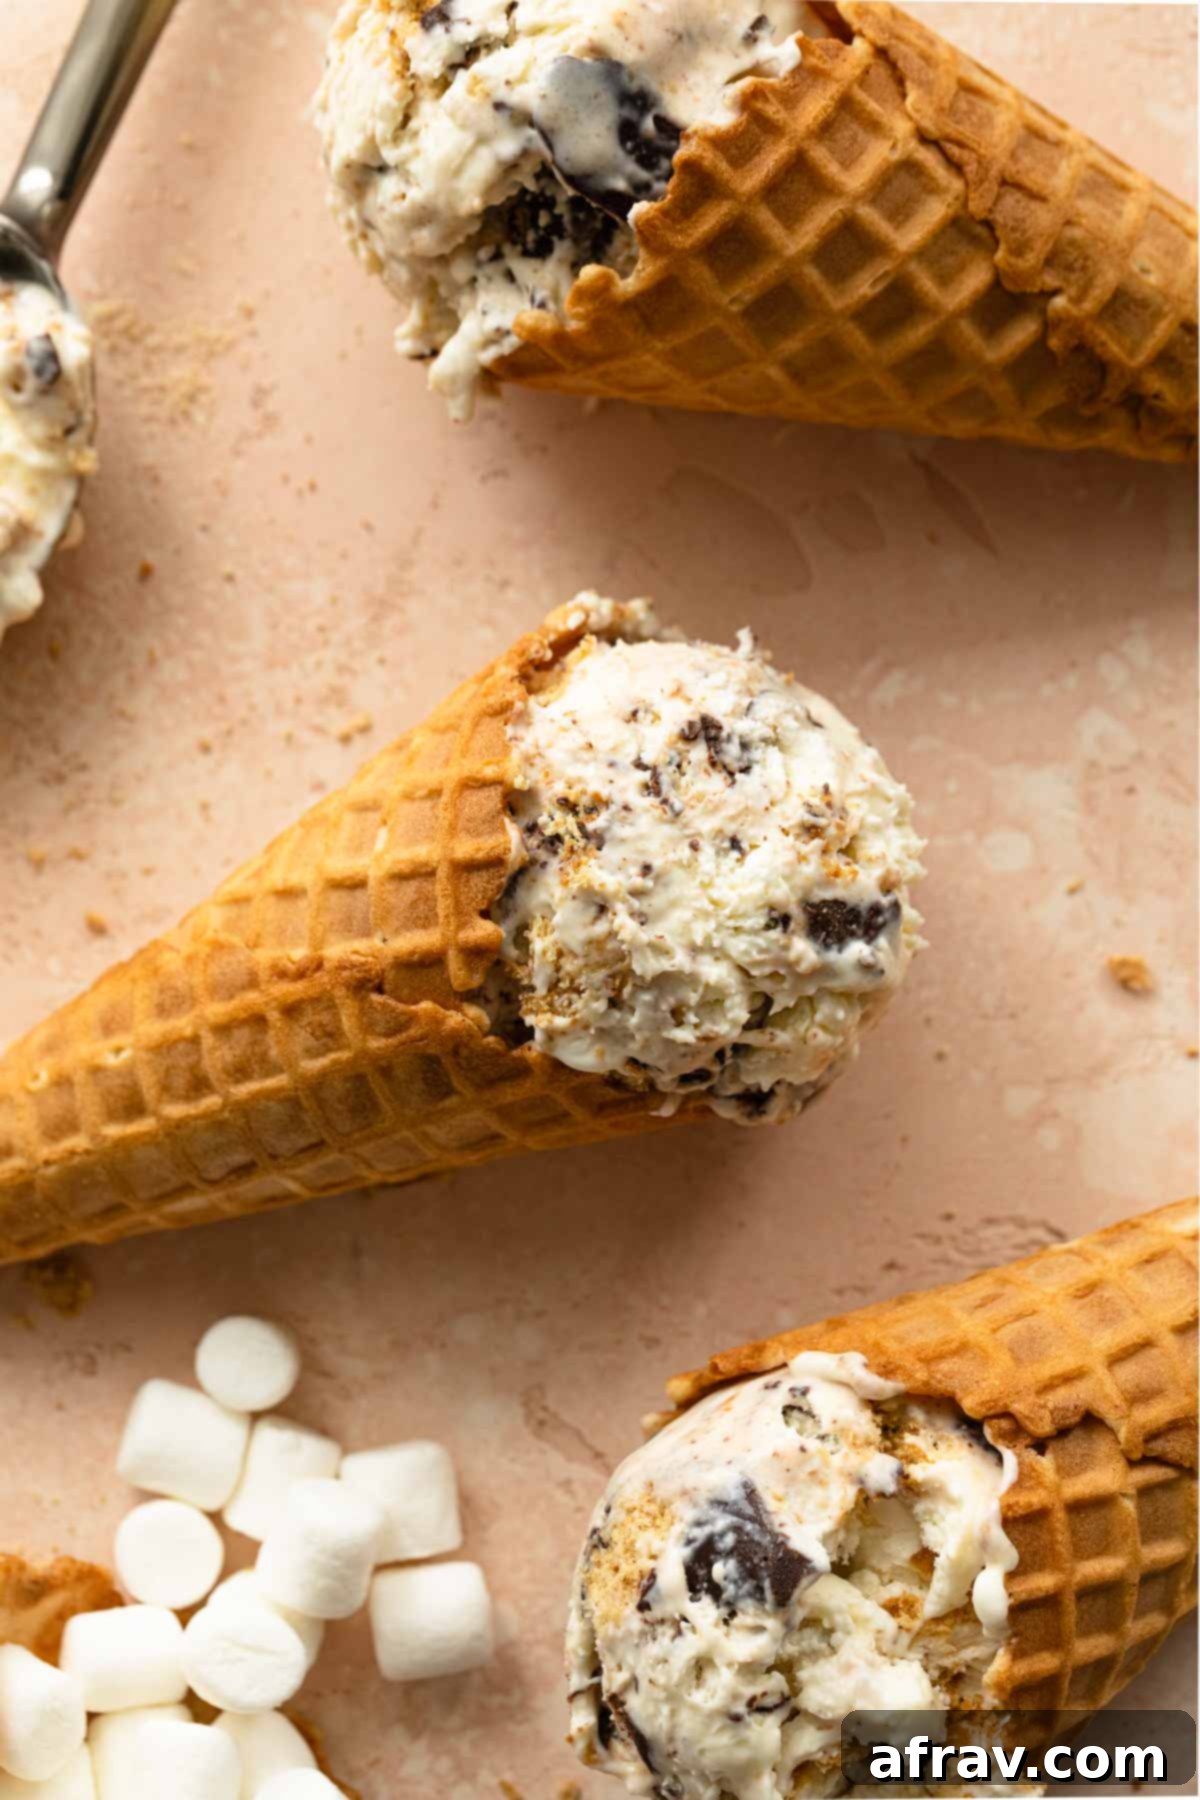
Not long ago, I tried Katherine’s no-churn chocolate Oreo ice cream, and it was such a resounding success that I simply had to start experimenting with other exciting flavor combinations. With summer in full swing, and everyone craving that classic campfire treat, creating a S’mores ice cream felt like the most natural and utterly perfect choice. This recipe captures all the iconic flavors of s’mores in a cool, creamy, frozen delight, making it an ideal indulgence for those warm days and nights.
Why You’ll Absolutely Love This S’mores Ice Cream Recipe
There are countless reasons why this easy no-churn S’mores ice cream will become a staple in your summer dessert repertoire:
- It’s a Simple & Quick Summer Dessert: Forget complicated recipes! This delightful ice cream requires just 6 basic ingredients and can be assembled in a mere 15 minutes. Seriously, the most challenging part is patiently waiting for it to freeze to perfection. It’s the ultimate hassle-free treat for any warm weather gathering or a spontaneous craving.
- No Ice Cream Maker Required: That’s right – no specialized, bulky equipment needed! All you’ll need is an electric mixer to whip the heavy cream into a light, airy base. After that, the remaining ingredients are simply folded in. This makes homemade ice cream accessible to everyone, regardless of their kitchen gadget collection.
- No Eggs, No Custard Base: Traditional homemade ice creams often rely on an egg-yolk based custard, which can be time-consuming and sometimes intimidating to prepare. This no-churn recipe simplifies the process dramatically, creating its rich, creamy base with just heavy whipping cream and sweetened condensed milk. It’s foolproof and consistently delicious.
- Utterly Delicious & Perfectly Balanced: This ice cream strikes the ideal balance of flavors and textures. It’s wonderfully rich without being overly sweet, delivering all the beloved notes of a classic s’mores. You’ll savor the gooey marshmallow ice cream, discover delightful crunch from chopped graham crackers, and enjoy decadent swirls of fudgy chocolate throughout every spoonful. It’s a symphony of s’mores perfection!
- Perfect for Any Occasion: Whether it’s a backyard BBQ, a casual family dinner, a birthday party, or just a quiet evening on the patio, this s’mores ice cream fits right in. Its familiar and comforting flavors appeal to all ages.
Key Ingredients for the Best S’mores Ice Cream
Crafting this incredible s’mores ice cream relies on a few key ingredients, each playing an essential role in achieving its signature flavor and texture. Here’s a detailed look at what you’ll need:
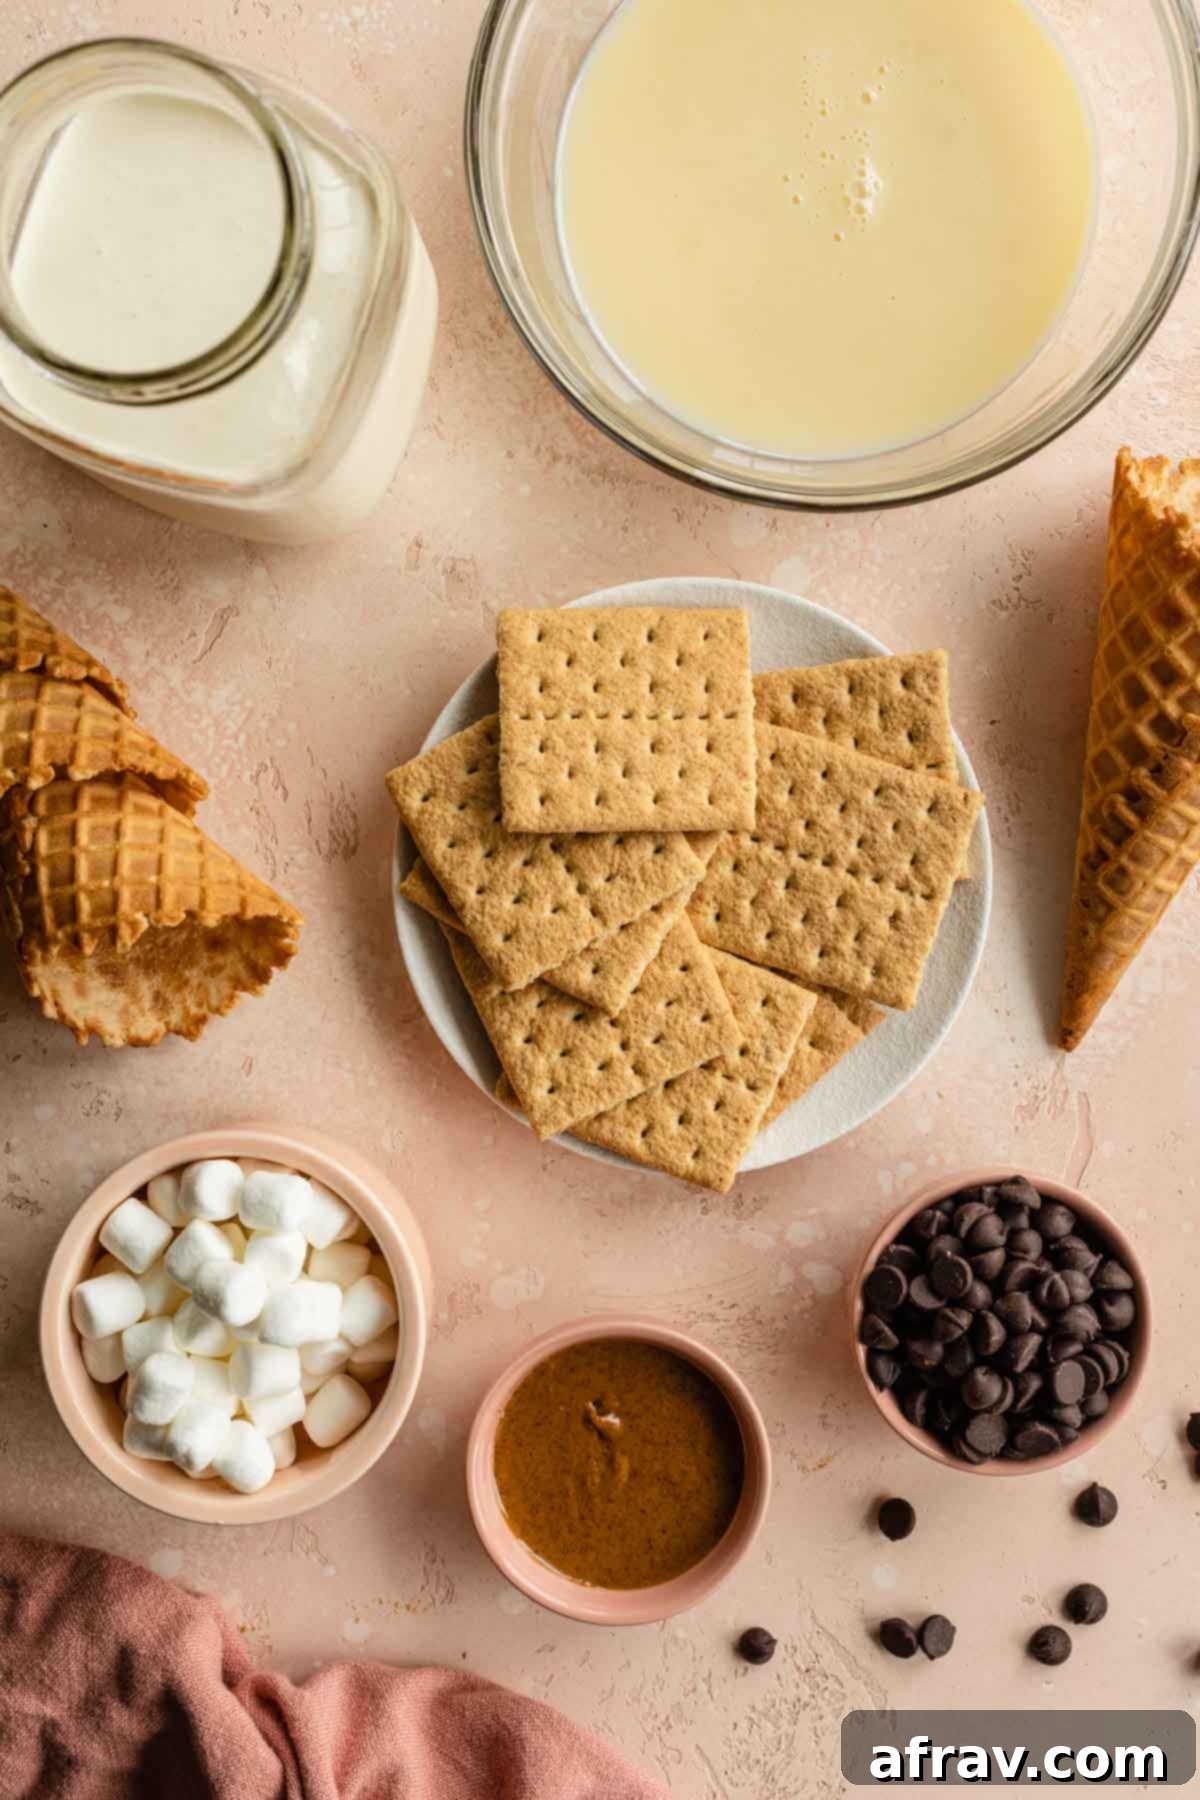
- Heavy Cream: You’ll need a full 2 cups of heavy cream (or heavy whipping cream). This is the foundation of our creamy and fluffy no-churn base. The magic happens when you whip it into stiff peaks, incorporating air that creates that desirable light and airy ice cream texture. Ensure it’s very cold for optimal whipping results.
- Sweetened Condensed Milk: One can (typically 300ml or 14oz) of sweetened condensed milk is crucial. It not only contributes significantly to the incredibly creamy texture but, most importantly, acts as the primary sweetener for this entire batch of ice cream. Its thick, sugary consistency also helps prevent ice crystal formation, ensuring a smoother final product.
- Marshmallows: A signature s’mores ingredient! You’ll need one cup of mini marshmallows. These will be briefly microwaved until they become wonderfully gooey and easily spreadable, infusing the ice cream with that classic toasted marshmallow flavor. If mini marshmallows aren’t available, don’t worry – you can absolutely use larger marshmallows and simply break them into smaller pieces before melting.
- Graham Crackers (or Graham Wafers): About 8 graham crackers, broken into small, irregular pieces, are essential for adding that iconic crunch and subtly sweet, honeyed flavor. Most of these pieces will be folded directly into the ice cream mixture, providing textural contrast, while a handful will be reserved to sprinkle on top for a beautiful presentation and an extra layer of crunch.
- Chocolate Chips: For that rich chocolate element, I prefer using dark chocolate chips as they provide a deeper flavor that balances the sweetness. However, to stay true to the traditional s’mores experience, feel free to use milk chocolate chips or even chopped-up squares of Hershey’s chocolate. The choice is yours to customize the chocolate intensity.
- Almond Butter: This might seem like an unconventional addition, but it plays a vital role. Melted chocolate, when added directly to ice cream, can often freeze quite hard and become brittle. A small amount of almond butter (or another neutral-flavored nut butter like cashew butter) melted with the chocolate chips helps keep the chocolate soft and fudgy even at freezing temperatures. The result is an irresistible, soft, fudgy chocolate ripple that melts delightfully in your mouth.
How to Make Easy No-Churn S’mores Ice Cream: Step-by-Step
Creating this delightful s’mores ice cream is a straightforward process, making it perfect for even novice bakers. Follow these simple steps for a truly incredible frozen treat:
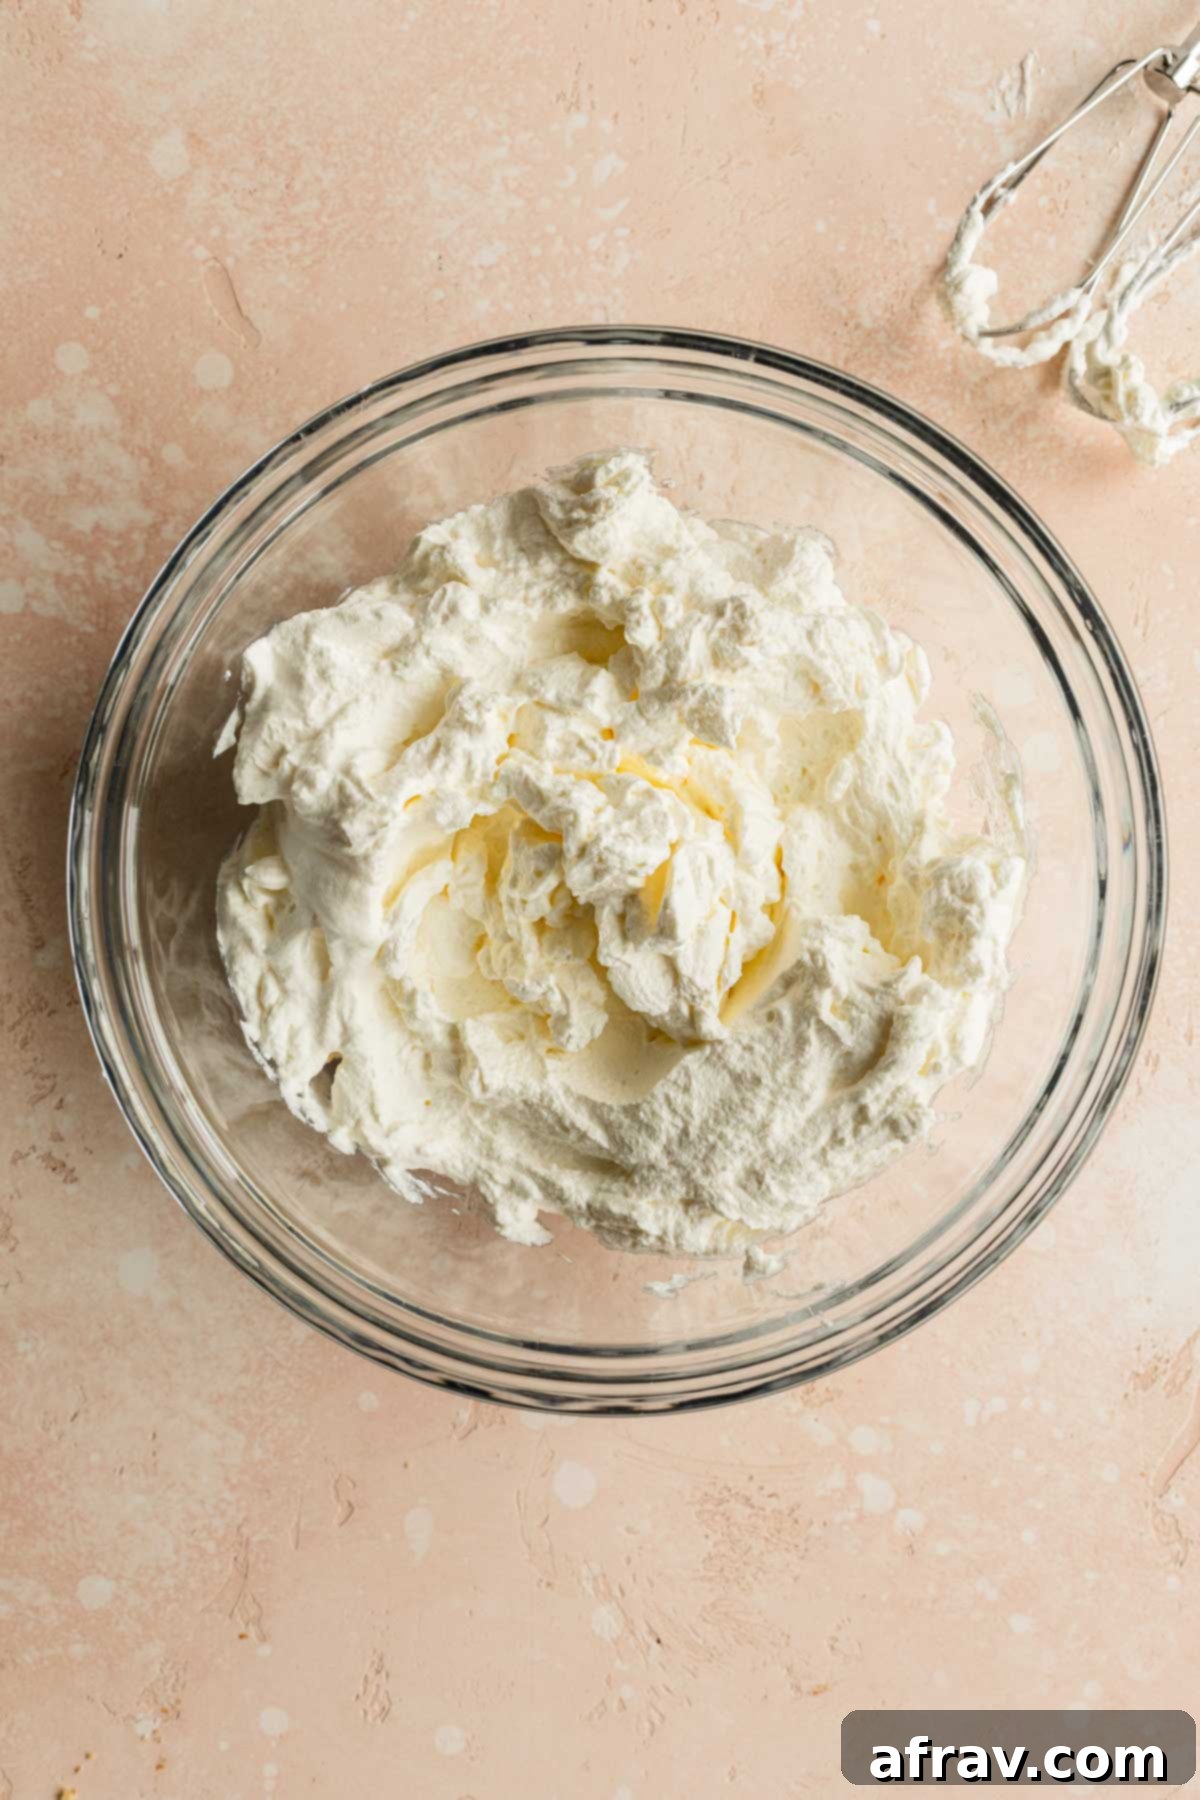
- Whip the Cream: In a deep, chilled mixing bowl, use an electric mixer (handheld or stand mixer) to whip the cold heavy cream until it forms stiff, peaks. This means when you lift the beaters, the cream stands up firmly. Be careful not to overmix, or it might turn grainy. Set this aside.
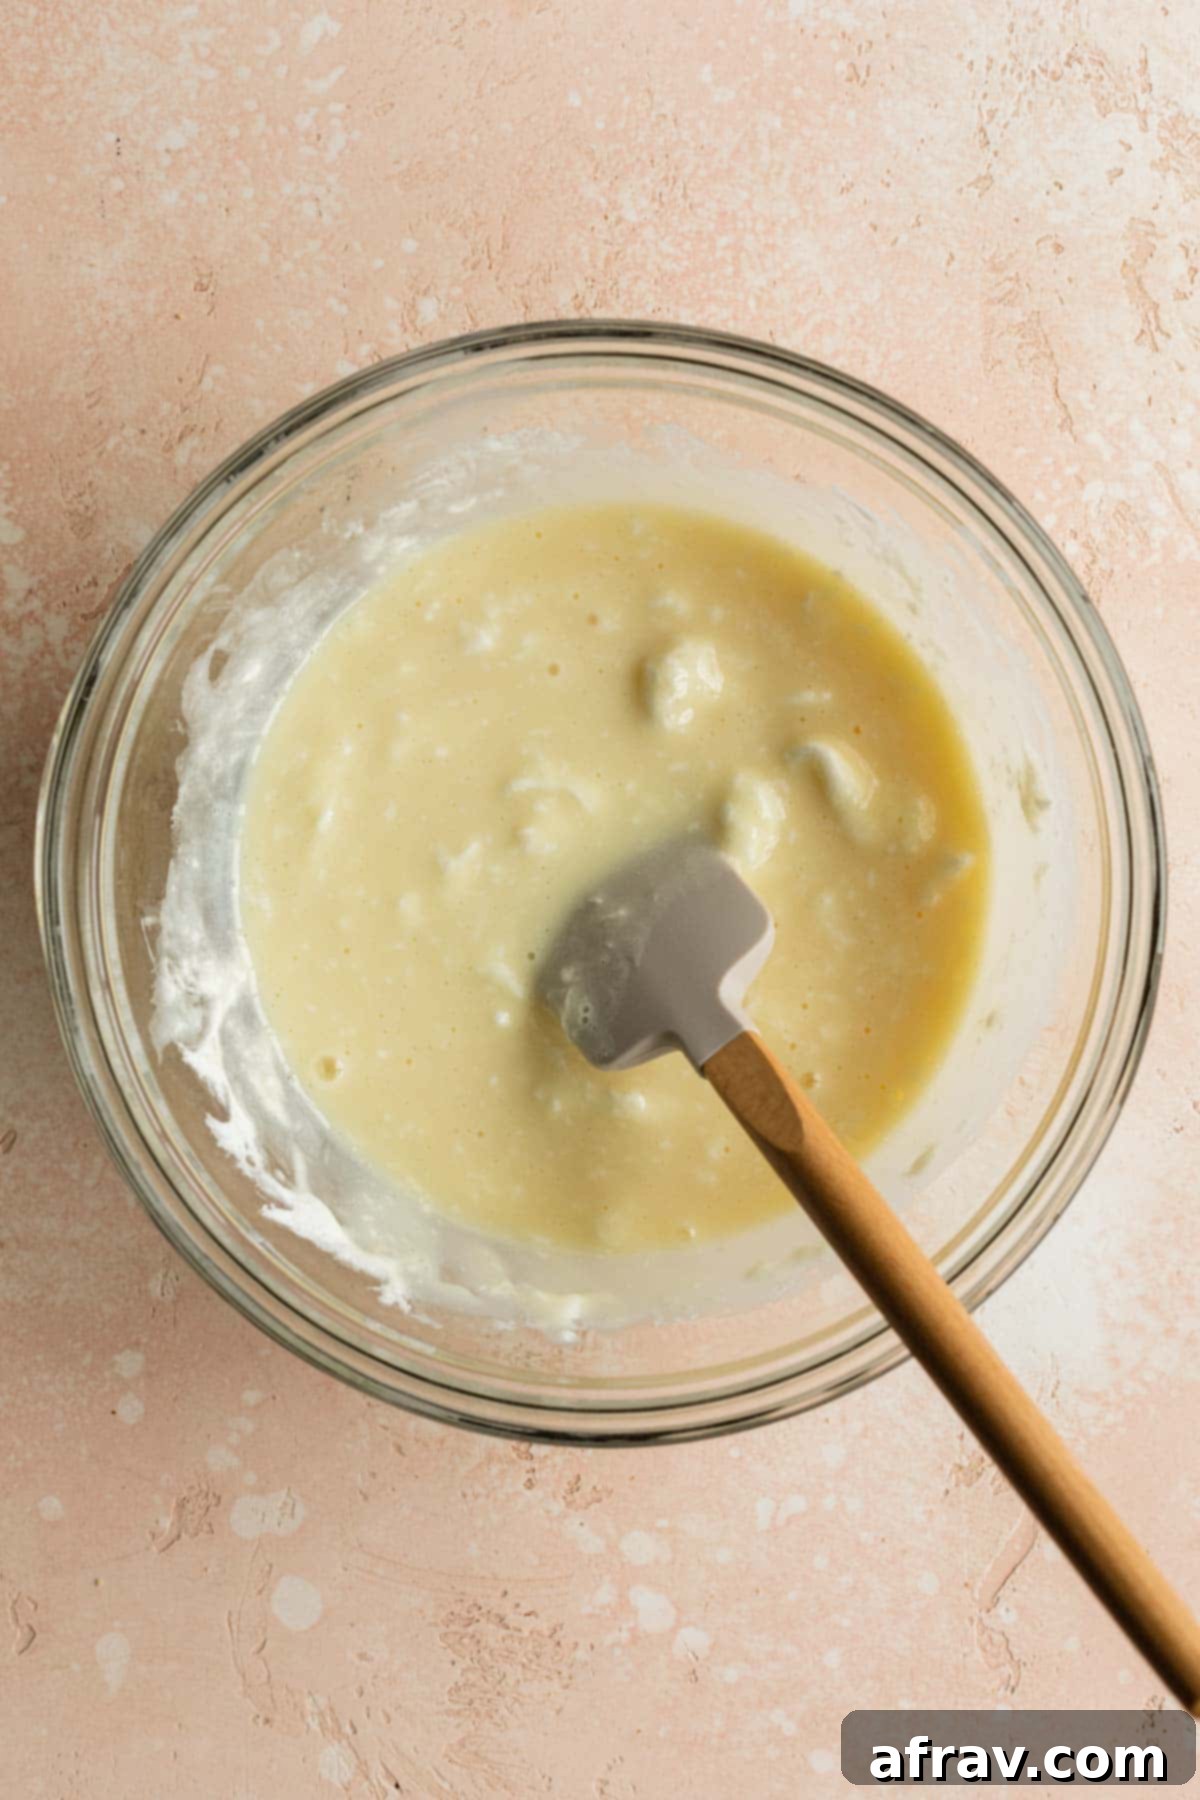
- Melt Marshmallows & Combine with Condensed Milk: In a large, microwave-safe bowl, microwave the mini marshmallows for approximately 20-30 seconds. They will puff up significantly, so use a generously sized bowl. Stir immediately until they are completely melted and gooey. Then, add the entire can of sweetened condensed milk and stir thoroughly until the mixture is smooth and well combined.
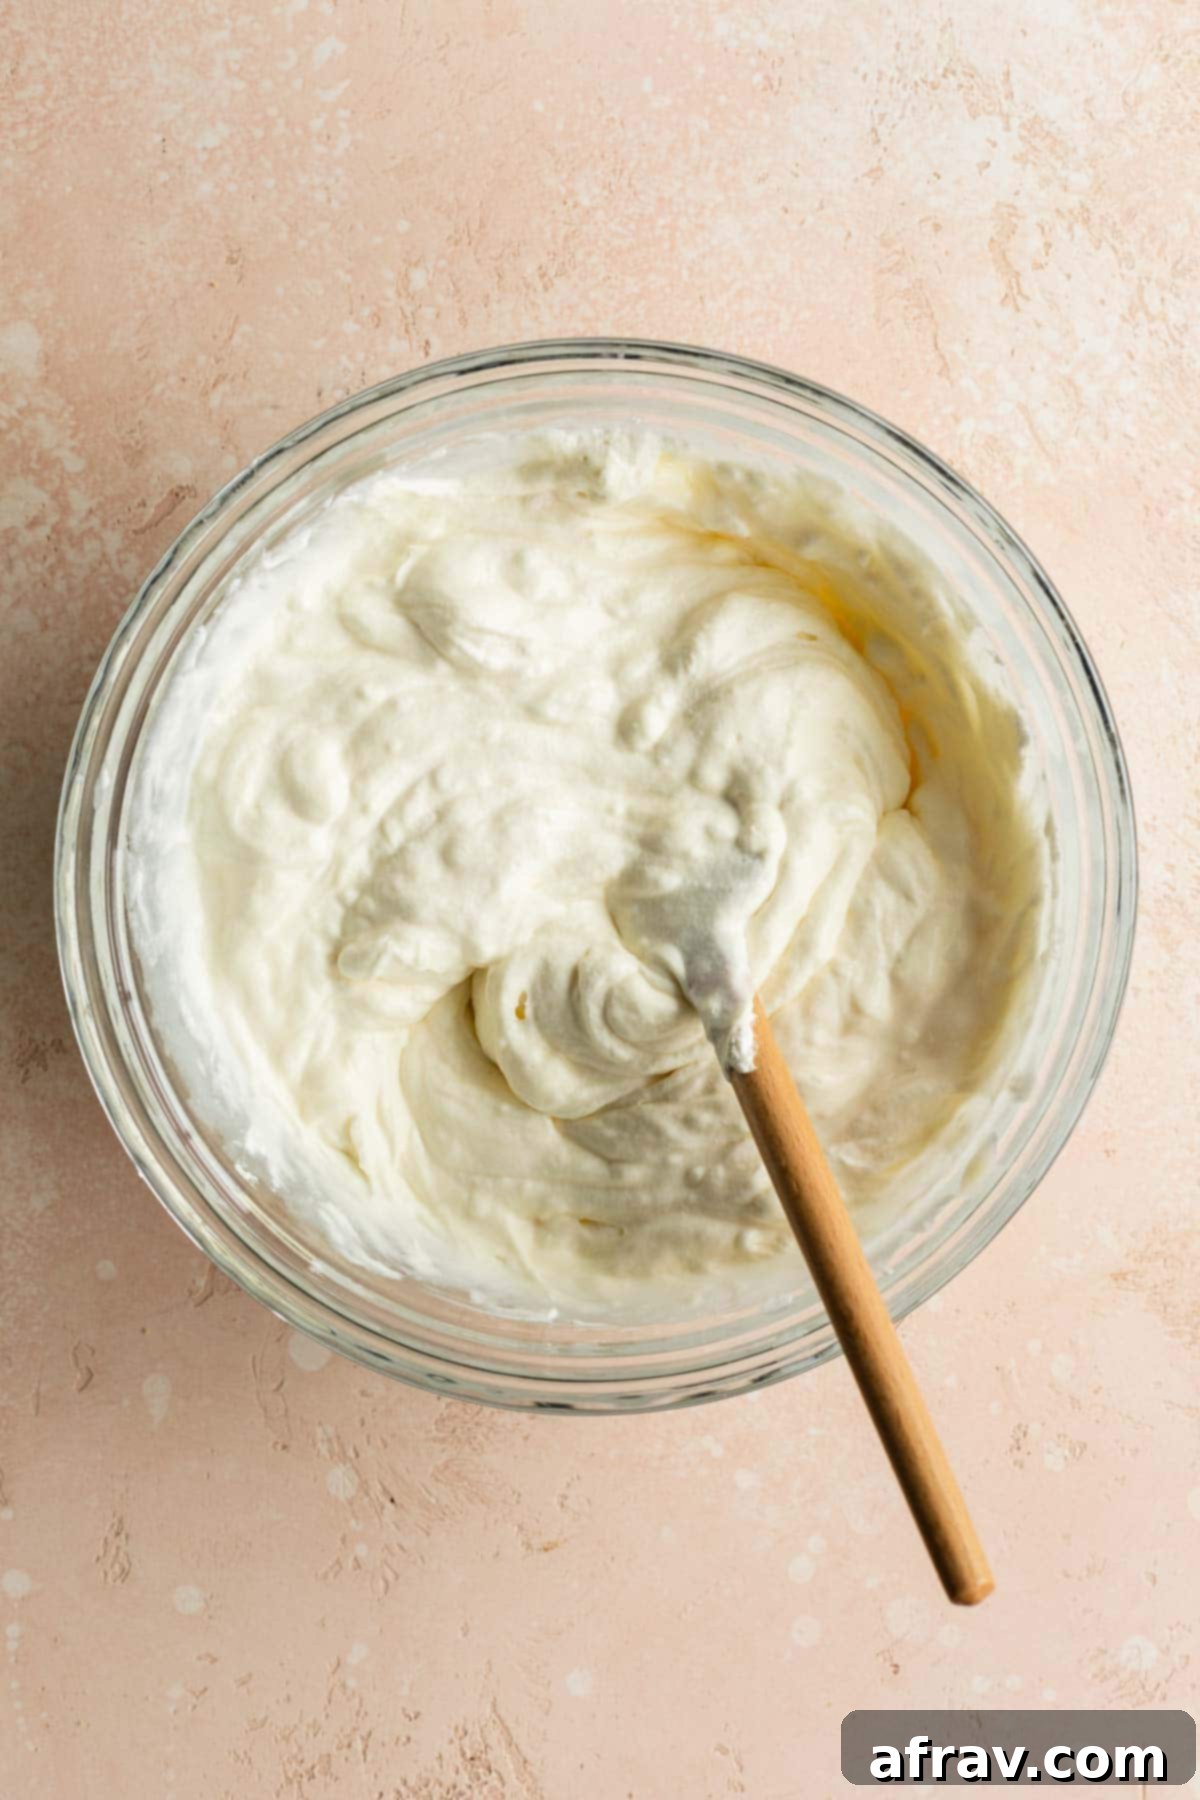
- Fold Mixtures Together: Gently add the warm marshmallow and condensed milk mixture to the whipped heavy cream. Using a spatula, carefully fold the two mixtures together until they are fully incorporated, maintaining as much of the airiness from the whipped cream as possible.
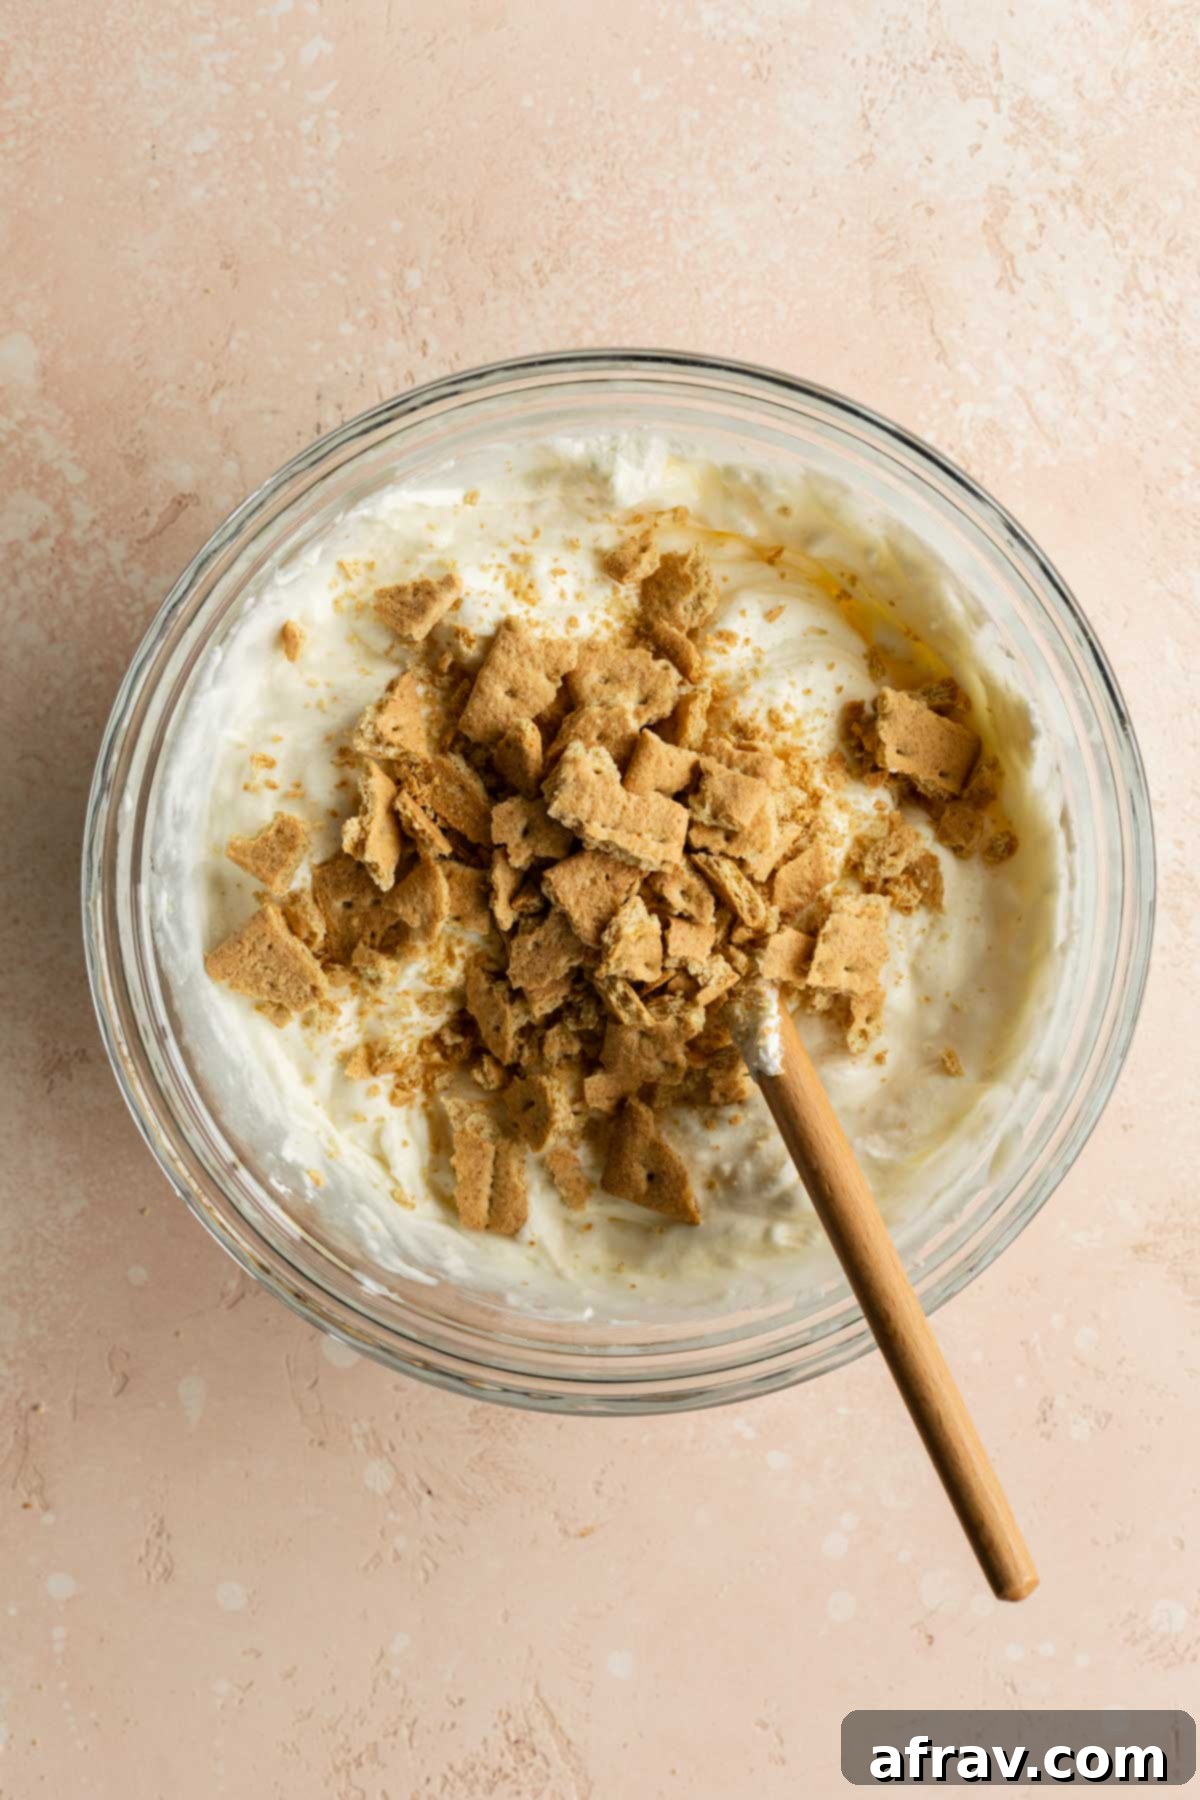
- Add Graham Crackers: Fold in the chopped graham cracker pieces into the ice cream base. Make sure to reserve a small handful of graham cracker pieces to sprinkle on top later for decoration and extra crunch.
- Prepare the Fudgy Chocolate Ripple: Place the chocolate chips and almond butter in a separate microwave-safe bowl. Heat in the microwave for two 30-second intervals, stirring well in between each interval and after the last one, until the mixture is completely smooth and melted. The almond butter helps ensure the chocolate remains soft and fudgy when frozen.
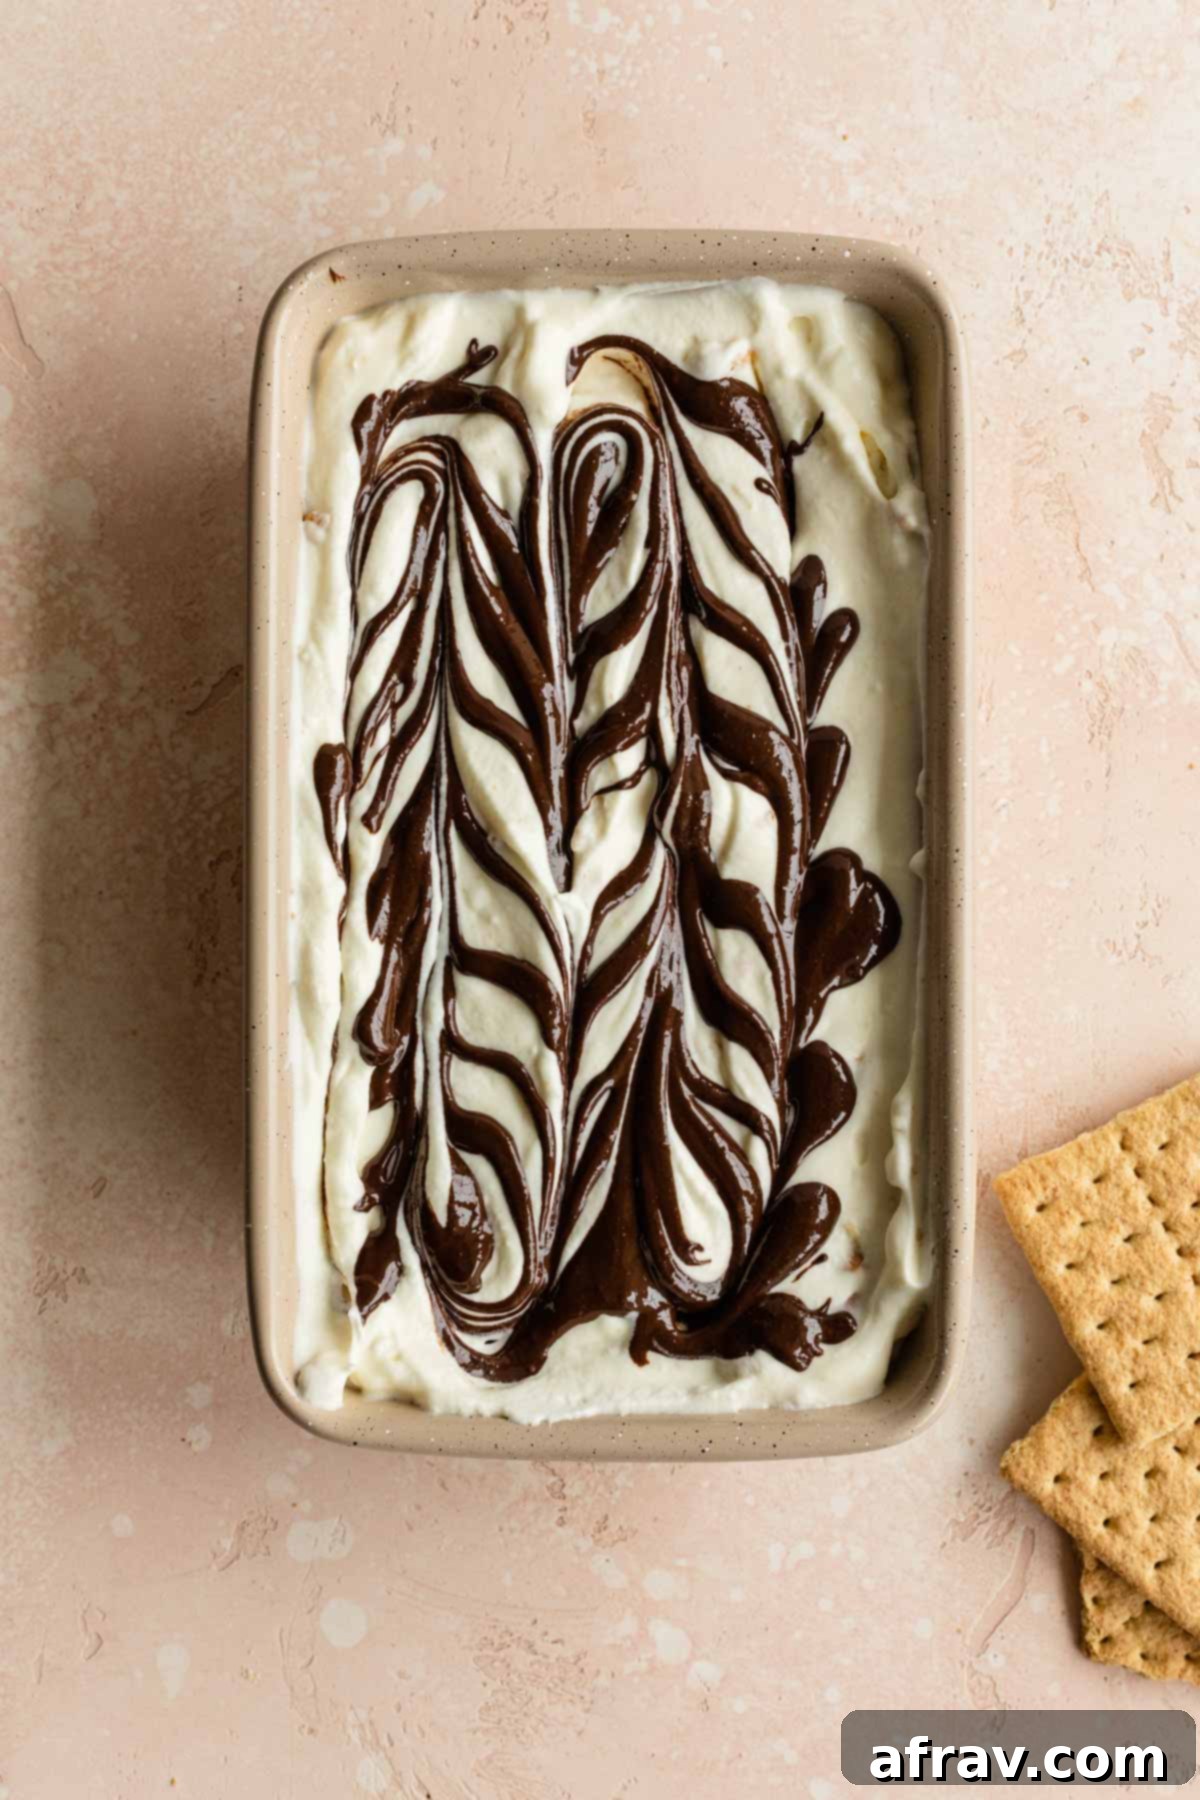
- Layer the Ice Cream and Chocolate: Get a 9 x 5-inch loaf pan ready. Spoon approximately one-third of the s’mores ice cream mixture into the bottom of the pan, spreading it evenly. Drizzle about one-third of the melted chocolate mixture over this layer. Repeat this layering process two more times, ending with a layer of drizzled chocolate on top.
- Create the Swirl Effect: Take a knife or a skewer and gently run it through the layered ice cream a few times. This will beautifully swirl the chocolate throughout the ice cream, creating an appealing ripple effect that ensures chocolate in every bite.
- Freeze to Perfection: Sprinkle the remaining reserved graham cracker pieces over the top of the swirled ice cream. Cover the loaf pan tightly with plastic wrap, pressing it down directly onto the surface of the ice cream to minimize air exposure. Place the pan in the freezer and allow it to freeze for a minimum of 5-6 hours, or preferably overnight, until it’s completely firm.
Frequently Asked Questions About No-Churn S’mores Ice Cream
Unfortunately, no, regular milk cannot be used as a substitute for heavy cream in this particular no-churn ice cream recipe. Heavy cream, specifically heavy whipping cream, is essential because it contains a high fat content that allows it to whip up into a light, airy, and stable foam. This whipped texture forms the creamy and fluffy base of the ice cream. Regular milk, with its much lower fat content, will not whip in the same way and will result in an icy, rather than creamy, texture. For the best results and the desired smooth consistency, always stick to heavy cream.
Proper storage is key to maintaining the quality and texture of your homemade no-churn ice cream. I initially stored this S’mores ice cream in a standard 9×5-inch loaf pan, covering the top tightly with plastic wrap pressed directly against the surface to minimize air exposure. While effective, you can use any freezer-safe container. I generally advise against glass containers for long-term storage, as they can take longer to freeze and are more prone to breaking with extreme temperature changes. For optimal freshness and to prevent freezer burn and ice crystal formation, especially if you plan to keep the ice cream for more than a few days, an airtight plastic container is ideal. A shallow 9-inch square pan is also a great option, as the ice cream spreads out more, freezes faster and more evenly, and offers a larger surface area for easier scooping.
For this S’mores ice cream recipe, you can expect it to be fully frozen and ready to enjoy within 5-6 hours when placed in a standard loaf pan. However, the freezing time can vary based on several factors. If you opt for a more shallow pan (like a 9-inch square pan as mentioned above), the ice cream will freeze in less time due to its increased surface area. Additionally, if you prefer a softer, more “soft-serve” consistency for your ice cream, you might find it’s ready after just 3-4 hours in the freezer. Always check for your desired firmness before serving.
When stored correctly in an airtight container, this no-churn S’mores ice cream should maintain its optimal quality for about a month in the freezer. Beyond that timeframe, you might begin to notice the formation of small ice crystals, which can slightly alter the texture, making it a little icier. While still perfectly safe to eat, the texture won’t be as smooth and creamy as when freshly made. Improper storage, such as using a container that isn’t airtight or not covering the surface directly with plastic wrap, can lead to ice crystals forming much sooner – often within just a few days.
I haven’t personally tested this substitution, but it’s an interesting idea! Since the recipe involves melting the mini marshmallows until they achieve a gooey, spreadable texture quite similar to marshmallow fluff, it’s highly probable that marshmallow fluff could work as a direct substitute. If you decide to give it a try, I would suggest using a similar volume or weight. Please let me know in the comments below if you experiment with marshmallow fluff and how it turns out – your insights would be greatly appreciated!
This S’mores ice cream is incredibly versatile and delicious on its own, but it truly shines when paired with other treats! We absolutely adore serving it scooped into crisp waffle cones, or in bowls alongside a warm, fudgy salted almond butter brownie, drizzled with extra caramel sauce for an elevated dessert experience. For a fun twist on the classic s’mores, try sandwiching a scoop between two graham crackers. It would also make an incredible filling for homemade ice cream sandwiches, especially if you use brownie cookies as the “bread”! Get creative and enjoy this delightful treat in your favorite way.

Expert Tips for Perfect No-Churn S’mores Ice Cream
Achieve the best possible results with your homemade S’mores ice cream by keeping these valuable tips in mind:
- Enhance Marshmallow Flavor with Toasting: While melting marshmallows in the microwave is quick and convenient, for a more authentic, deeper s’mores flavor, consider toasting some marshmallows in the oven or with a kitchen torch. Just keep a very close eye on them, as they can brown and burn extremely quickly. A few seconds under a broiler can make a huge difference in flavor!
- Microwaving Marshmallows Safely: When melting the marshmallows in the microwave, always use a large, microwave-safe bowl. Marshmallows expand quite a lot when heated, so a spacious bowl will prevent any messy overflows. They only need about 20-30 seconds to become gooey; overheating can make them too hard to stir.
- Preventing Ice Crystal Formation: To ensure your ice cream remains smooth and creamy, minimizing ice crystals is crucial. Always store your homemade ice cream with a layer of plastic wrap pressed directly onto the surface of the ice cream, and then cover the container with a tight-fitting lid. An airtight freezer-safe plastic container is your best bet for longer storage.
- Achieving the Perfect Scoop: Once fully frozen, your ice cream will be quite firm. For effortless scooping and a perfectly creamy texture, let the ice cream sit at room temperature for 5-10 minutes before serving. If you prefer a softer, more scoopable “soft-serve” style ice cream, you can reduce the initial freezing time to just 3-4 hours.
- Chocolate Ripple Shortcut: If you’re short on time or prefer a simpler approach, you can skip melting the chocolate chips with almond butter. Instead, simply chop up some chocolate chips or a chocolate bar and fold them directly into the ice cream mixture. The chocolate pieces will be firmer, but still delicious!
- Chill Your Tools: For the best whipped cream results, consider chilling your mixing bowl and electric mixer beaters in the freezer for 10-15 minutes before whipping the heavy cream. This helps the cream whip up faster and achieve stiffer peaks.

More Delicious Ice Cream Recipes to Explore
If you loved this S’mores Ice Cream, you might also enjoy these other delightful frozen treats:
- Chocolate Peanut Butter Nice Cream Cake
- Chocolate Peanut Butter Mocha Pops
- Blueberry Goat Cheese Ice Cream Bars
- Carrot Cake Ice Cream Sandwiches
I genuinely hope you try this easy S’mores ice cream recipe and fall in love with its irresistible flavors! If you do make it, I’d be thrilled to hear your thoughts and experiences in the comments section below. Happy scooping!
HUNGRY FOR MORE? Follow Crumb Top Baking on Instagram, Pinterest and Facebook!

S’mores Ice Cream
5 Stars
4 Stars
3 Stars
2 Stars
1 Star
No reviews
Author: Leanne
Prep Time: 15 minutes
Freezing Time: 6 hours
Total Time: 6 hours 15 minutes
Yield: 10 scoops
Category: Dessert
Method: Freeze
Cuisine: American
Description
This easy S’mores Ice Cream recipe is smooth and creamy with melted marshmallows, graham crackers and fudgy chocolate! It’s a no-churn ice cream that takes just 15 minutes to make!
Ingredients
- 2 cups heavy whipping cream
- 1 can (300 ml) sweetened condensed milk
- 1 cup mini marshmallows
- 8 graham crackers, chopped
- 1/2 cup chocolate chips
- 2 tablespoons almond butter
Instructions
- In a deep mixing bowl, use an electric mixer to whip the heavy cream until stiff peaks form. Set aside.
- In a large microwave safe bowl, microwave the marshmallows for 20-30 seconds. Stir in the sweetened condensed milk.
- Add the marshmallow/condensed milk mixture to the whipped cream and stir to combine.
- Fold in the chopped graham wafer pieces (reserving some for the top).
- Place the chocolate chips and almond butter in a microwave safe bowl and heat for two 30-second intervals, stirring in between and after until smooth.
- In a 9 x 5 inch loaf pan, add one-third of the ice cream mixture. Drizzle on one-third of the melted chocolate. Repeat the layers twice.
- Run a knife through the ice cream a few times to swirl the chocolate around and create the ripple effect.
- Top with remaining graham wafer pieces, cover with plastic wrap and freeze for 5-6 hours.
Notes
- When melting the marshmallows, keep an eye on them. They only need 20-30 seconds to melt. You should also place them in a large bowl as they will expand in the microwave.
- If you don’t have mini marshmallows, you can use large marshmallows.
- You can use another type of nut butter in place of the almond butter.
- To help prevent ice crystals from forming on the ice cream, store it with plastic wrap covering the top or in an airtight freezer safe plastic container.
- Once frozen, the ice cream will be firm, so you’ll need to let it sit at room temperature for 5-10 minutes so you can easily scoop it out.
- Be sure to check out the other sections above the recipe card for more detailed advice and suggestions for making this recipe.
