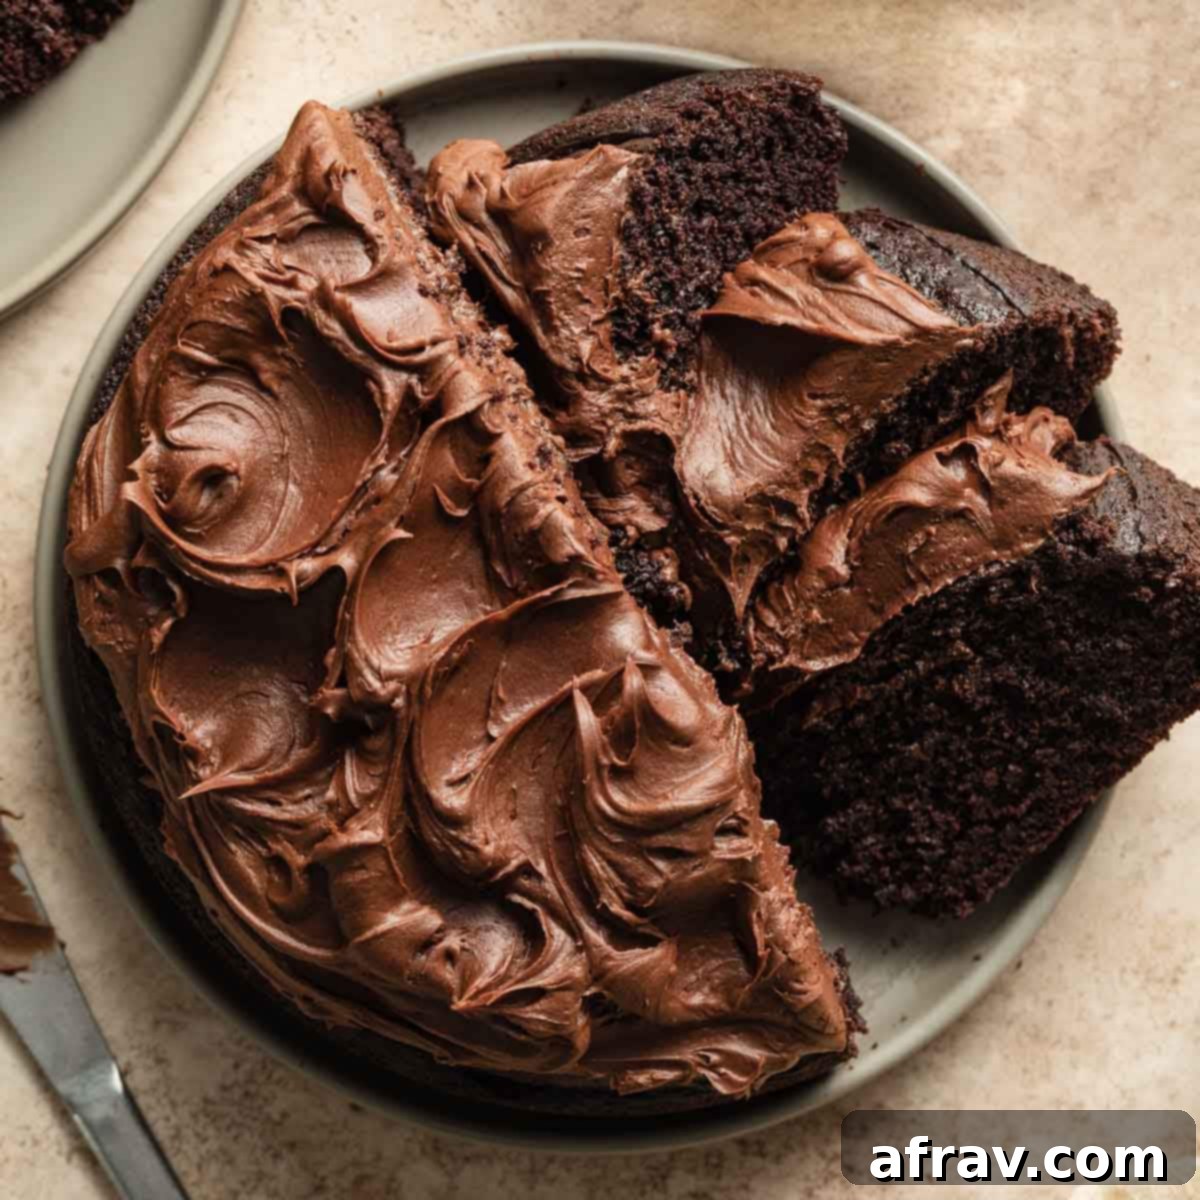
The Ultimate Guide to Baking a Delicious Air Fryer Chocolate Cake (Vegan-Friendly!)
Prepare to be amazed! This Air Fryer Cake isn’t just any cake; it’s a rich, tender, and intensely chocolatey homemade delight that’s incredibly simple to bake. Forget turning on your oven – this recipe leverages the convenience of your air fryer to create a show-stopping dessert that’s almost as effortless as a boxed cake mix, yet tastes wonderfully homemade.
Many of us predominantly use our air fryers for savory dishes, enjoying crispy results with favorites like these air fryer potato slices or quick air fryer chicken bites. However, the versatility of this countertop appliance extends far beyond savory snacks. Lately, I’ve been experimenting with baking cakes and cookies, like these delightful air fryer chocolate chip cookies, which led me to adapt my favorite classic chocolate cake recipe into this fantastic air fryer version!
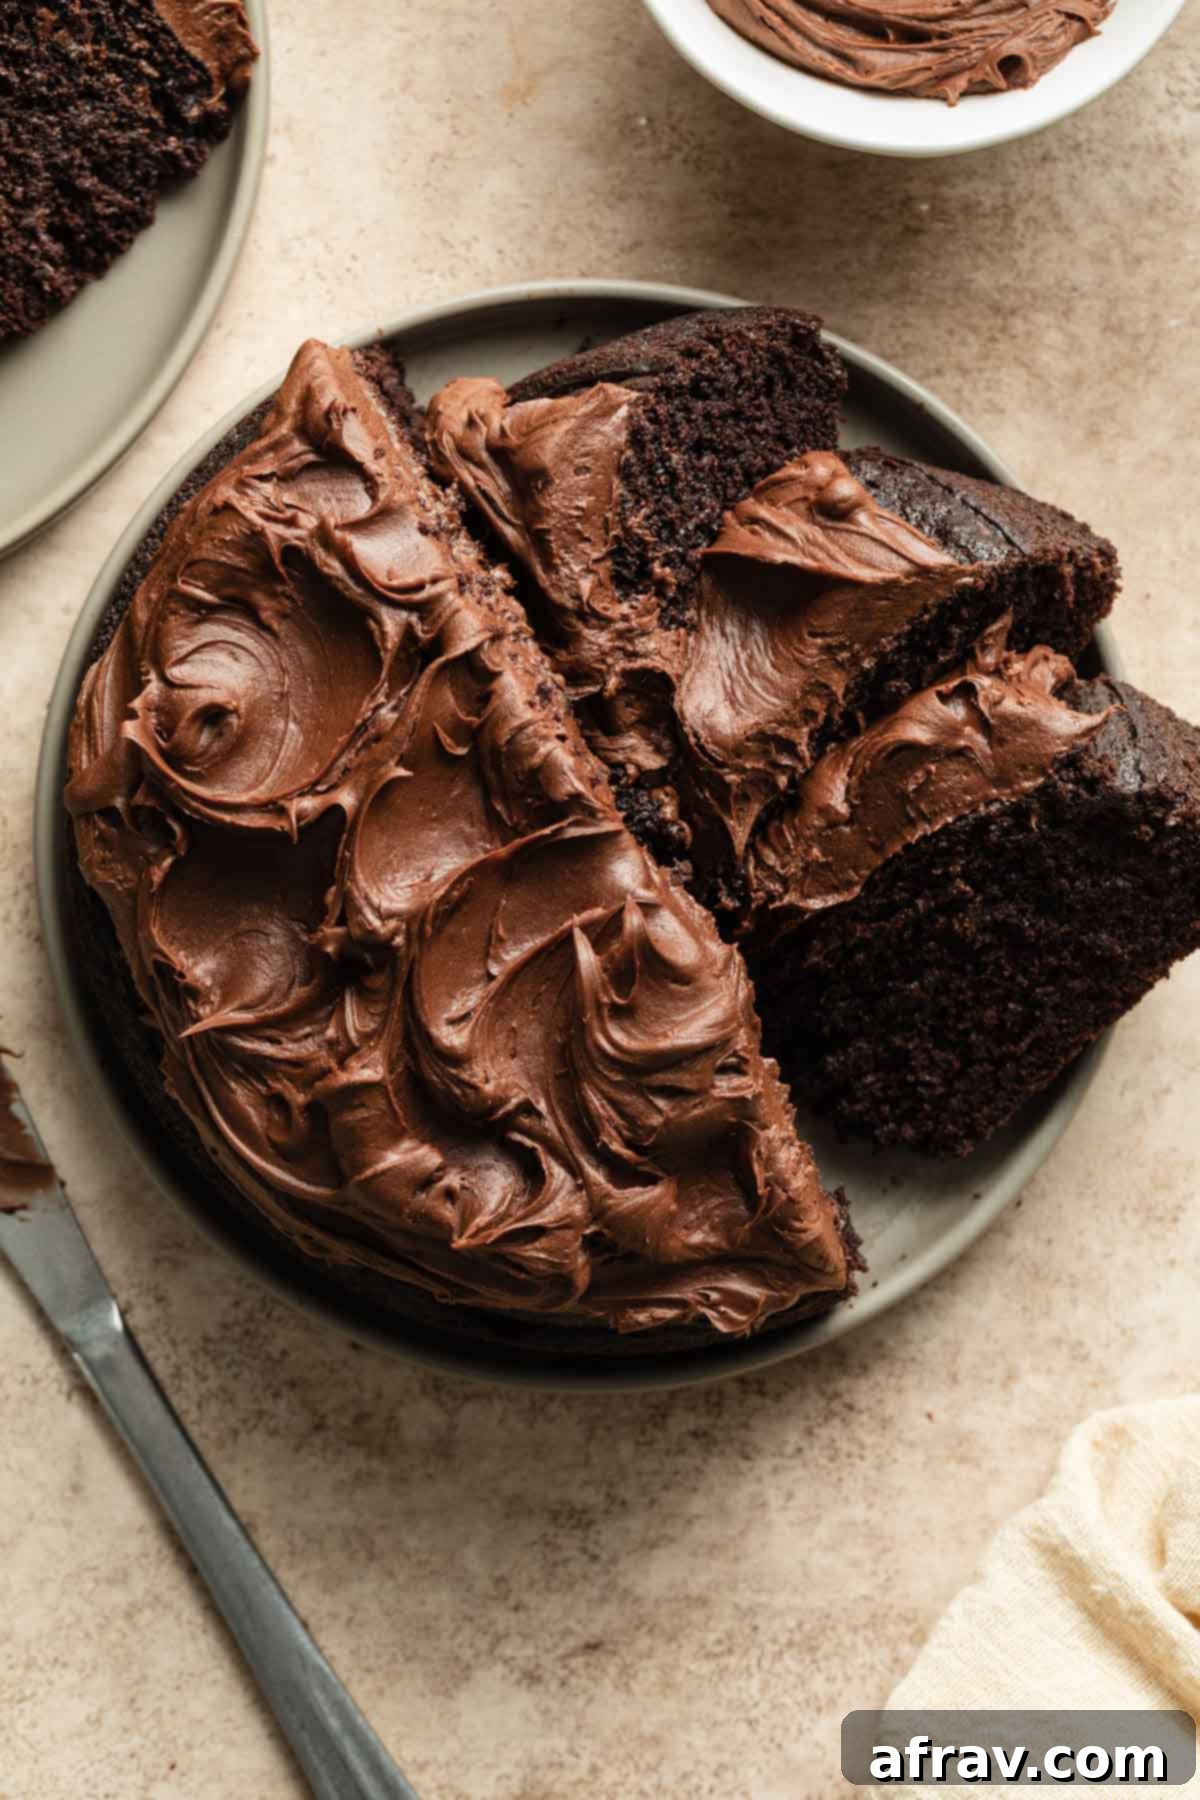
While the air fryer is often lauded as a time-saving gadget, it’s important to manage expectations for baking. I’ll be upfront: baking this cake in the air fryer doesn’t necessarily save time compared to using a traditional oven. In fact, for large-scale baking or multi-tier cakes, the oven remains my primary choice. However, the air fryer offers a unique set of benefits and serves as an incredibly convenient alternative for various situations.
If you’re dealing with limited oven space, don’t have an oven at all, or simply want to avoid heating up your entire kitchen (a true blessing on hot summer days!), this air fryer chocolate cake is an absolute game-changer. It provides a perfect solution for enjoying a freshly baked dessert without the fuss of a conventional oven, making delicious homemade treats more accessible than ever.
Why You’ll Absolutely Love This Air Fryer Cake Recipe
This air fryer chocolate cake isn’t just a novelty; it’s a genuinely fantastic recipe with numerous advantages that make it a go-to for many home bakers. Here’s why it’s bound to become a new favorite:
- Effortlessly Simple & Accessible: This is a super simple recipe, crafted with mostly everyday pantry staples. It’s designed for minimal fuss, making homemade baking approachable for everyone. For ultimate convenience, if you opt to substitute water for the almond milk, you won’t need any perishable ingredients at all, which is perfect for last-minute baking or when your fridge is running low!
- Minimal Cleanup: Say goodbye to stacks of dirty dishes! This is a one-bowl recipe, meaning you mix all your ingredients in a single bowl. Plus, there’s no electric mixer required – a simple whisk does the job beautifully, further simplifying both the baking process and the cleanup afterward.
- Diet-Friendly & Inclusive: This cake is thoughtfully made without butter, eggs, or dairy milk, making it naturally dairy-free and vegan. It’s an ideal option for those with dietary restrictions or anyone looking for a plant-based dessert that doesn’t compromise on flavor or texture.
- Keep Your Kitchen Cool: One of the biggest advantages of air fryer baking is that it doesn’t radiate as much heat as a full-sized oven. This is particularly appealing during warmer months or if you live in a small space, allowing you to bake a delicious cake without turning your kitchen into a sauna.
- Optimize Oven Space: Hosting a dinner party or cooking for a large group? Baking dessert in the air fryer is a brilliant way to free up your conventional oven for other dishes, allowing you to manage multiple courses simultaneously without sacrificing the homemade touch for your sweet ending.
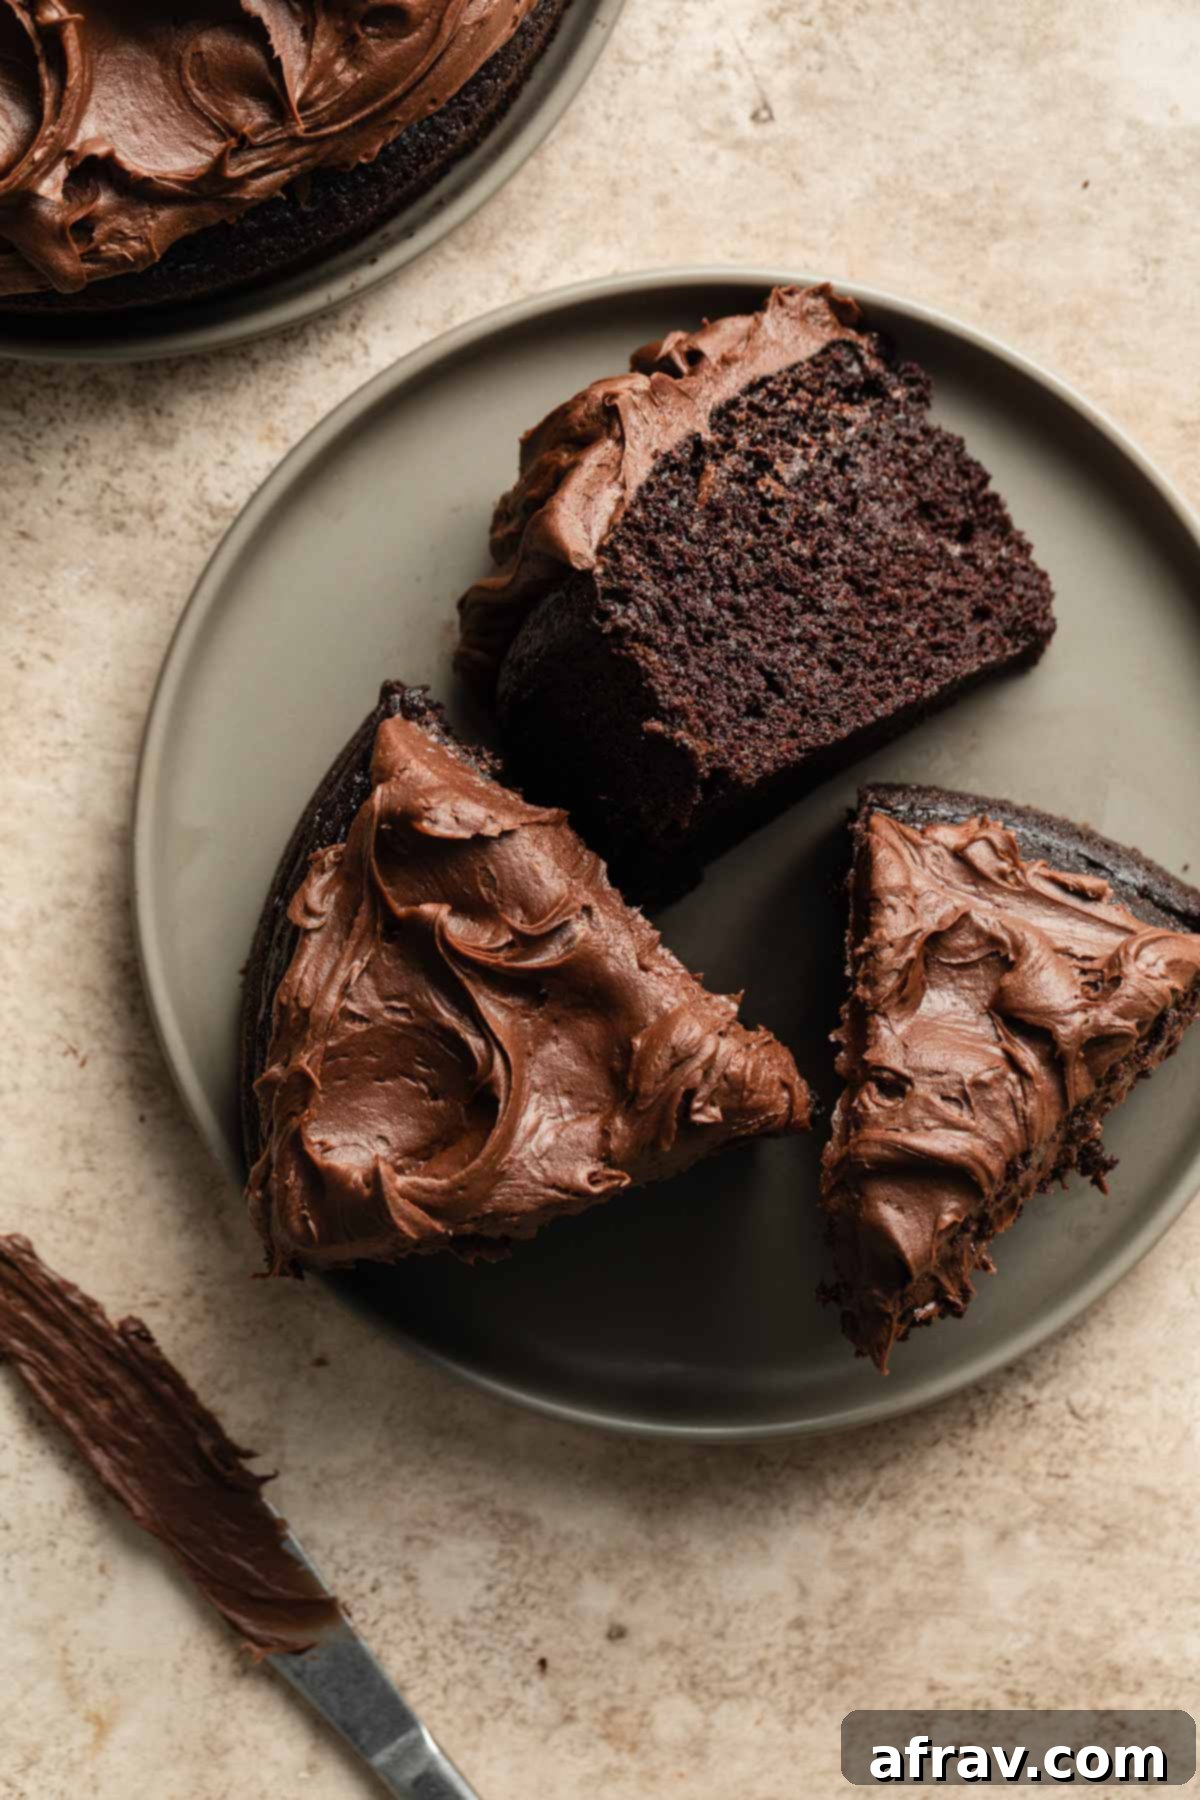
Chocolate Depression Cake: A Historical Twist in Your Air Fryer
This delectable chocolate cake recipe is actually a modern twist on a classic “depression cake.” This humble yet incredibly flavorful cake originated during the Great Depression era, a time when essential baking ingredients like eggs, milk, and butter were scarce and expensive. Resourceful bakers developed recipes that relied on more readily available and affordable ingredients, creating delicious treats out of necessity.
You might also know this type of cake by other charming names like “crazy cake” or “wacky cake.” These monikers highlight the seemingly unconventional method of mixing ingredients directly in the pan, or the surprise that such a rich and moist cake could emerge from such simple components.
The core ingredients for this type of cake are indeed quite straightforward: it’s essentially a cocoa-infused cake made without the traditional dairy and eggs. Despite its basic composition, it consistently delivers a delightful texture and deep chocolate flavor.
While specific ratios may vary slightly from recipe to recipe, the fundamental ingredients typically include all-purpose flour, granulated sugar, unsweetened cocoa powder, baking soda, salt, water (or plant-based milk), vegetable oil, vinegar, and vanilla extract. The magic lies in the chemical reaction between the acidic vinegar and the alkaline baking soda, which creates carbon dioxide bubbles, providing the necessary leavening without eggs.
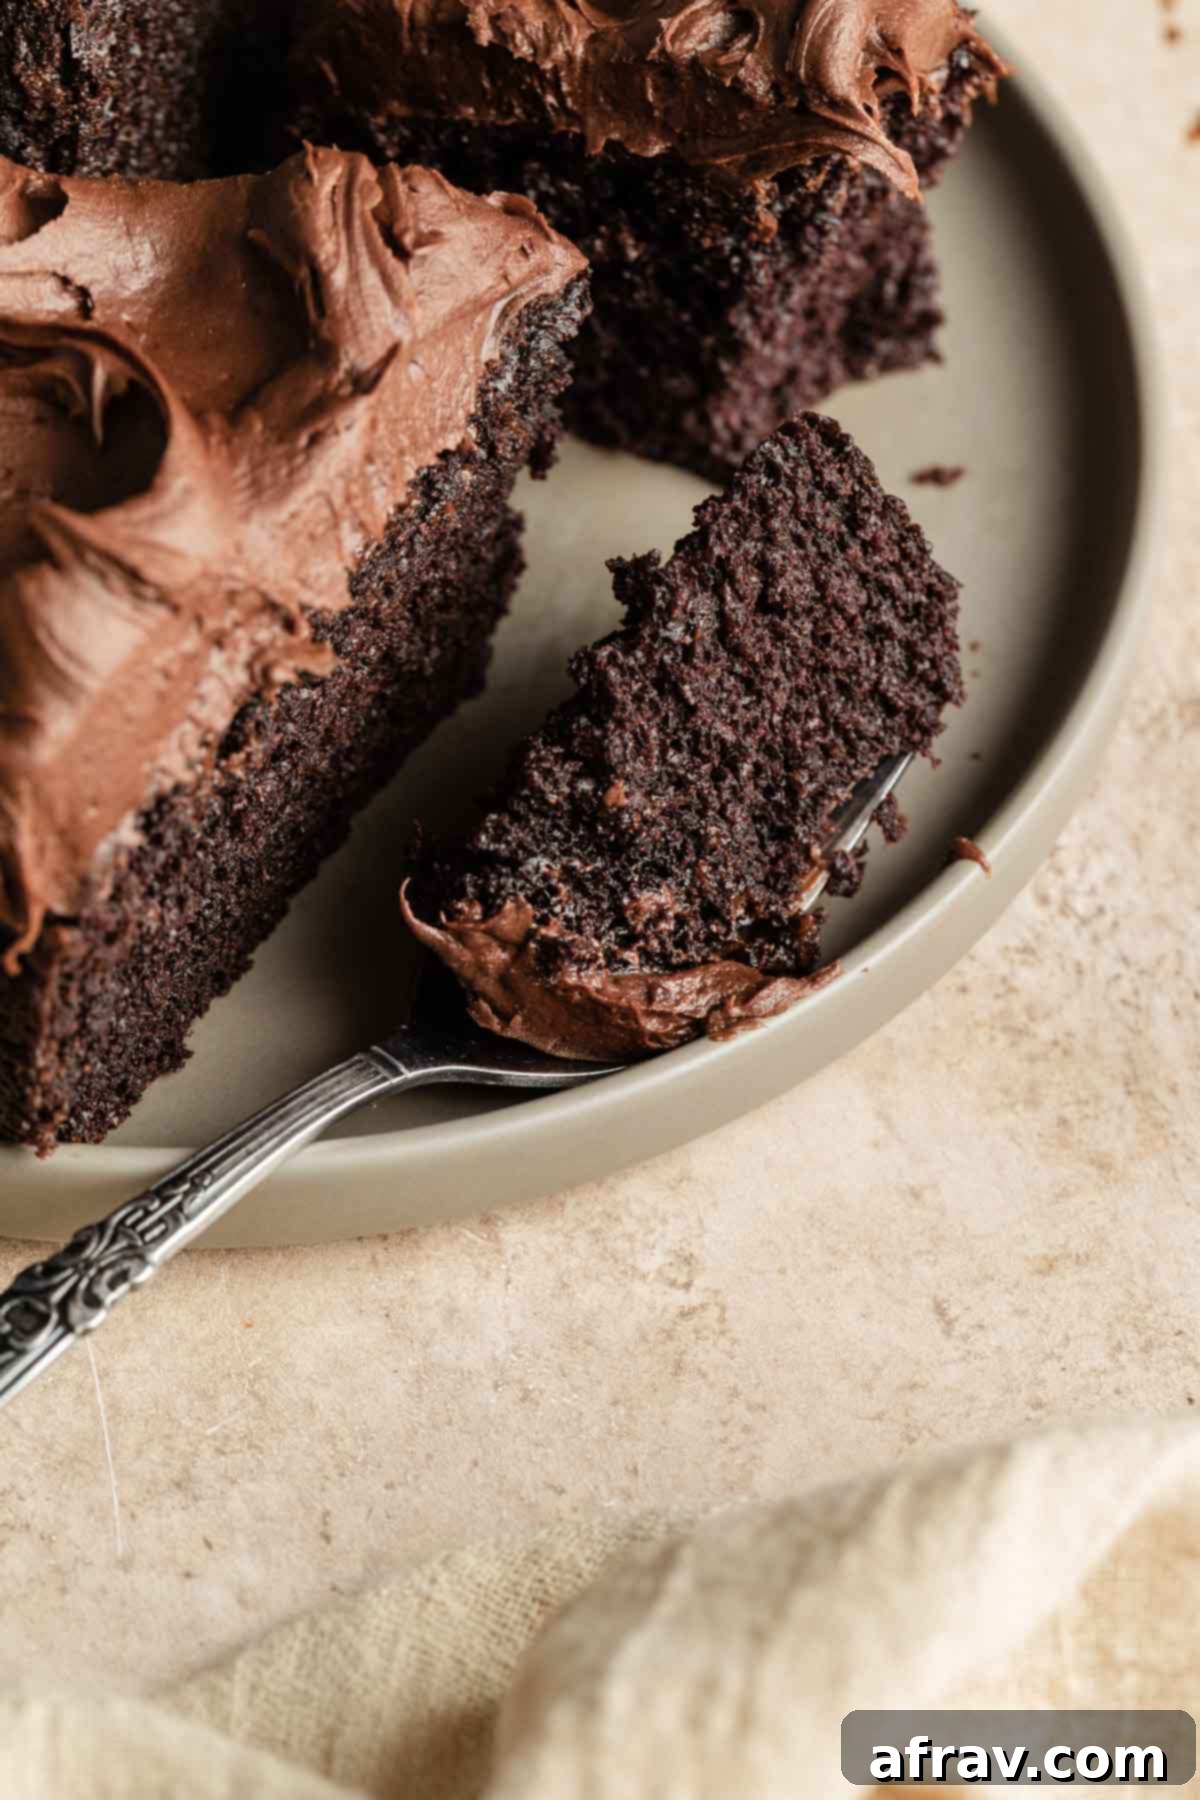
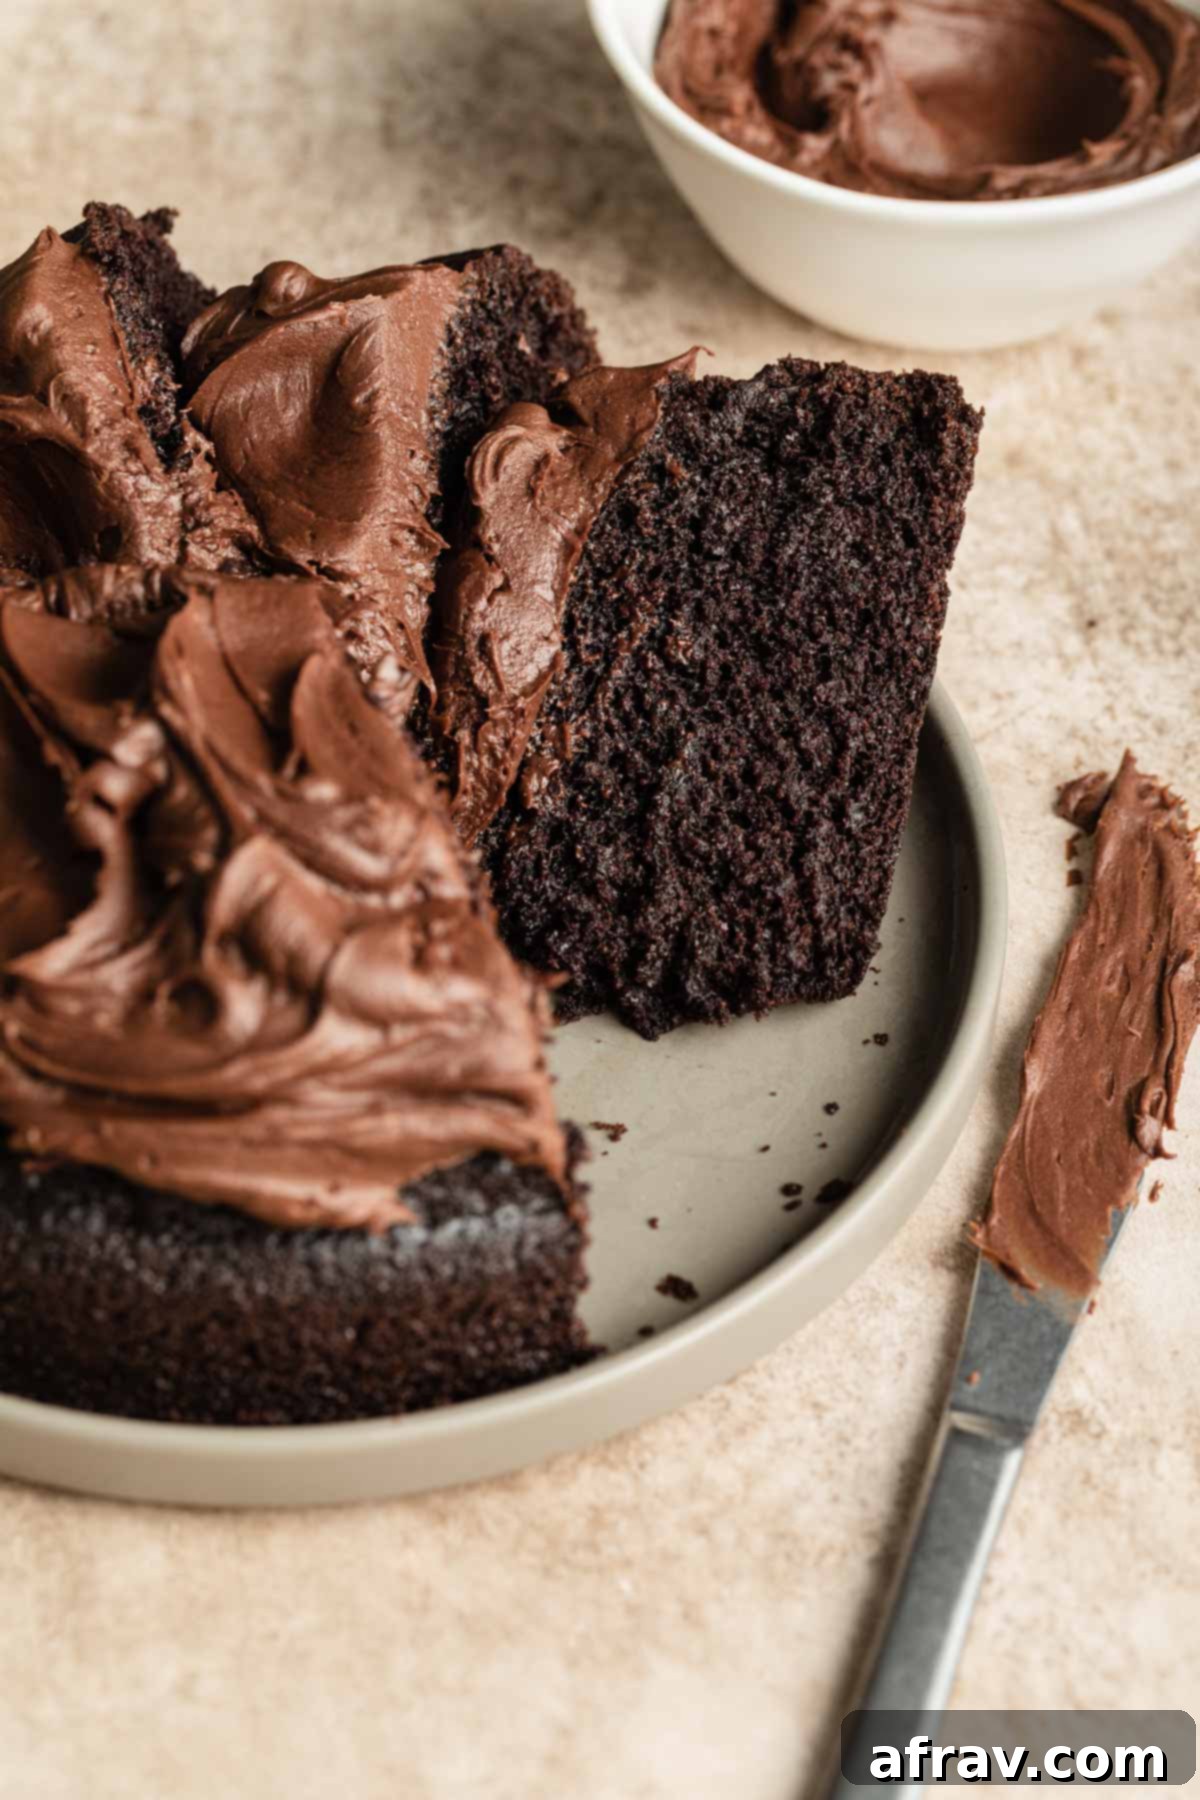
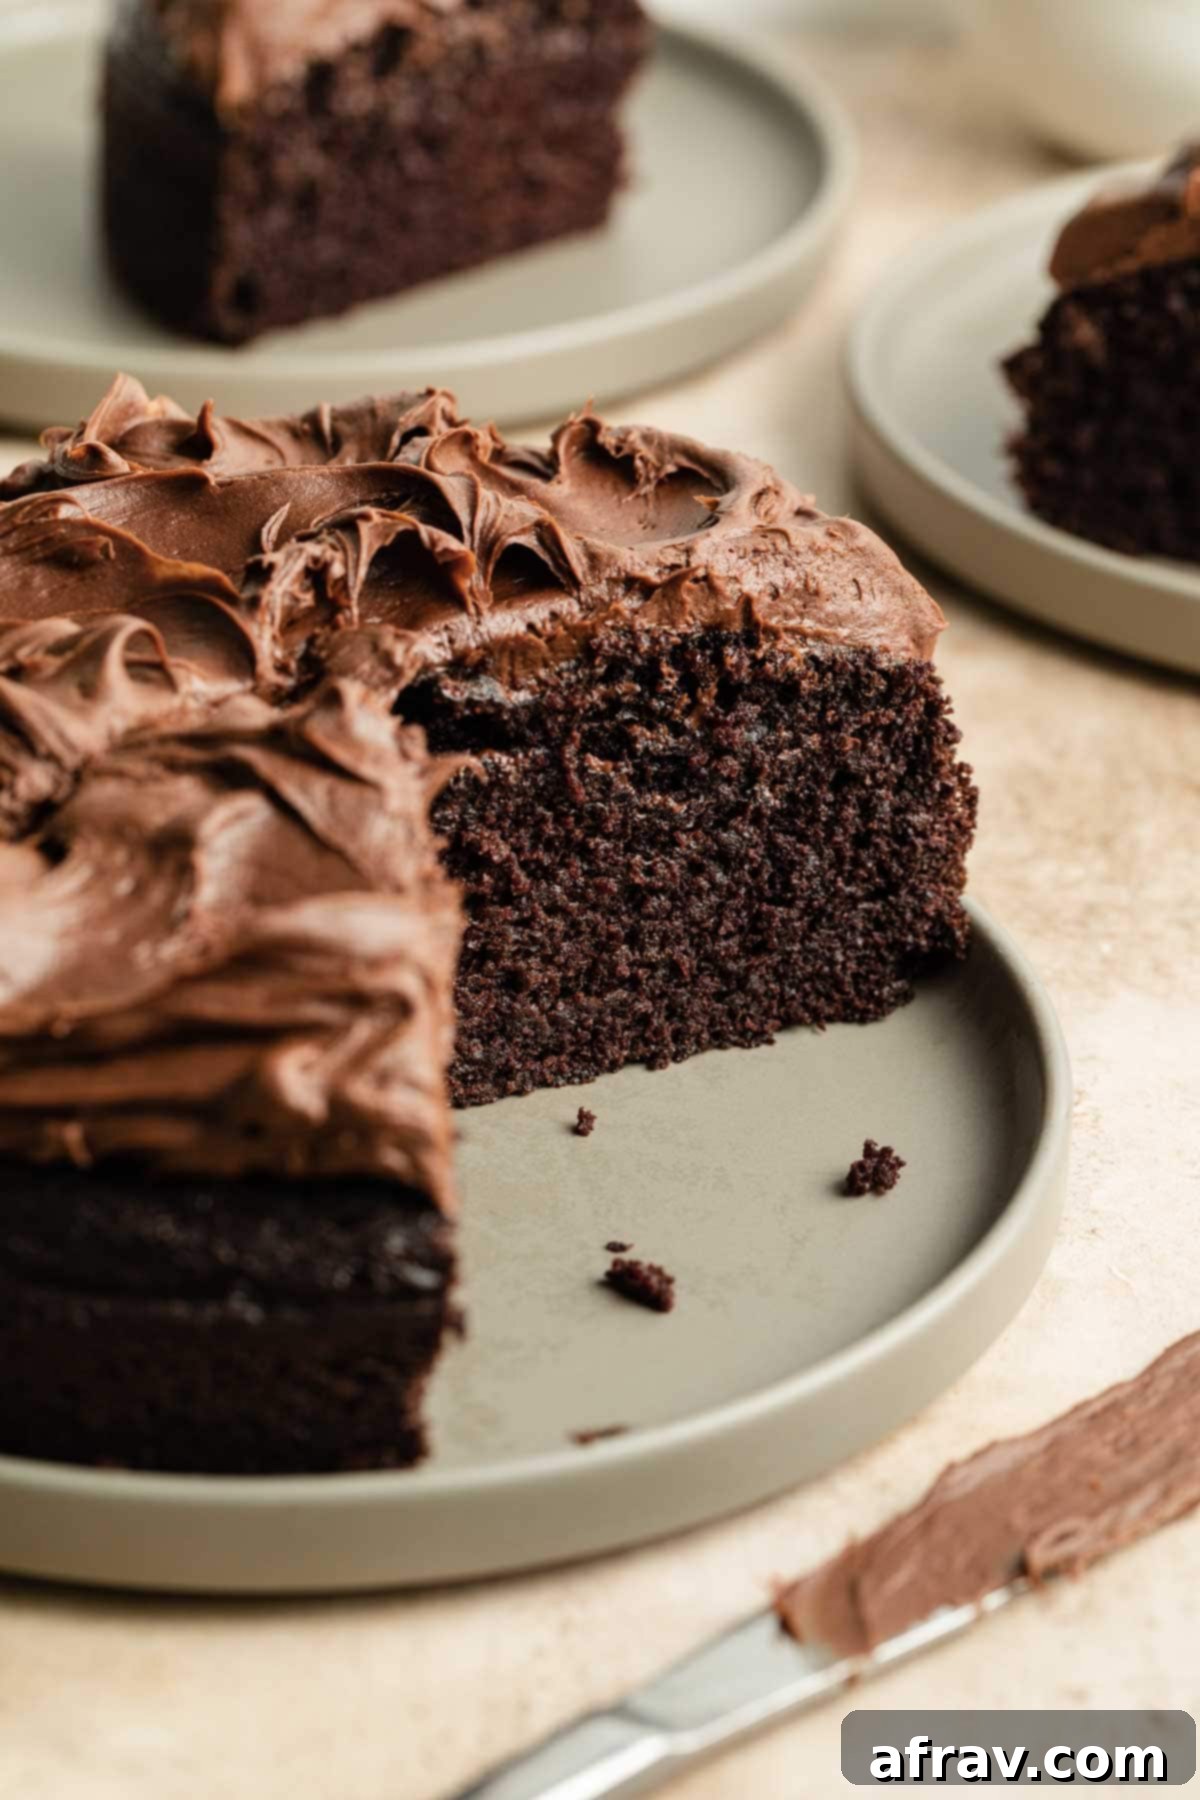
Even though the ingredient list is quite basic, I promise you, the taste is anything but! This cake is incredibly moist, rich, decadent, and intensely chocolatey – embodying all the qualities you crave in a truly satisfying chocolate cake. Adapting this historical gem for the air fryer simply adds a layer of modern convenience to a timeless recipe.
Diving Deeper into the Ingredients
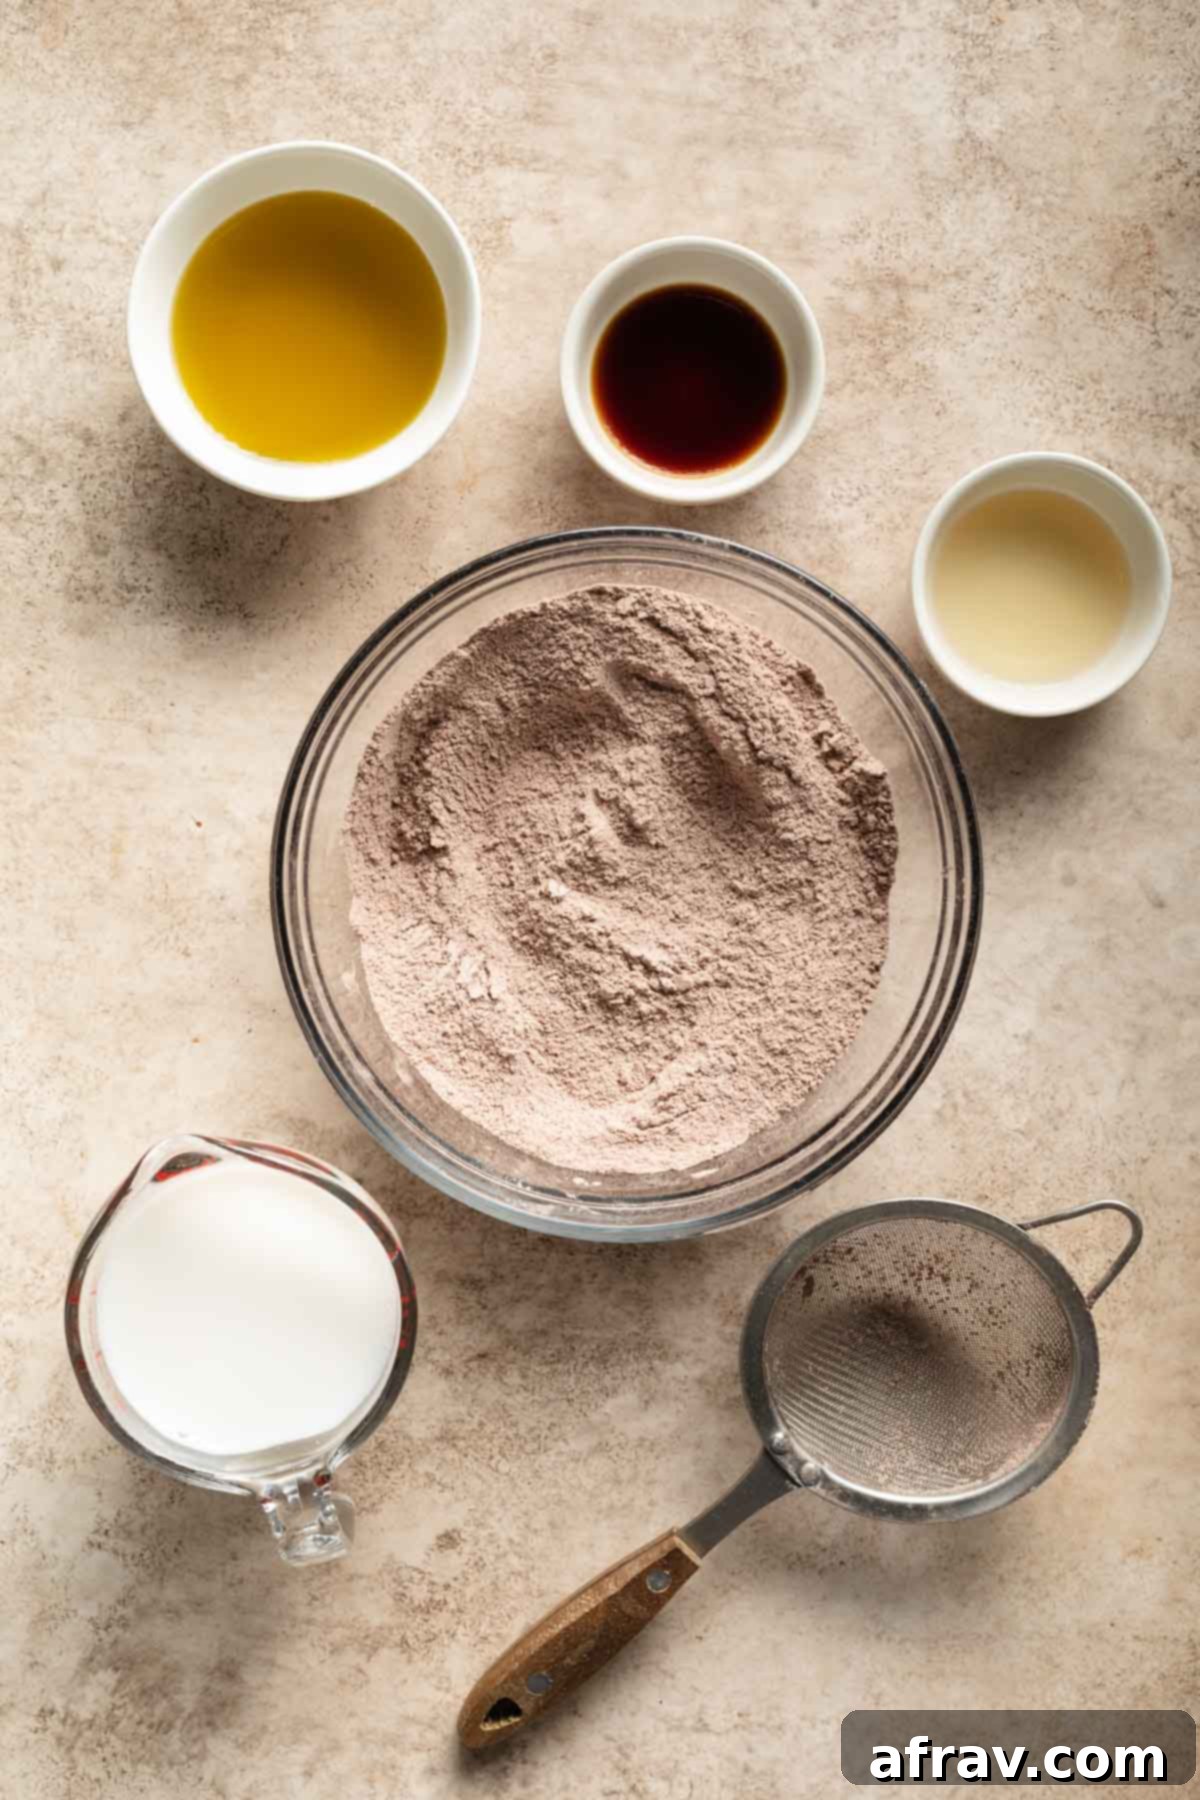
Understanding the role of each ingredient will help you achieve the perfect air fryer cake and confidently make substitutions if needed. Here’s a closer look at what goes into this delicious dessert:
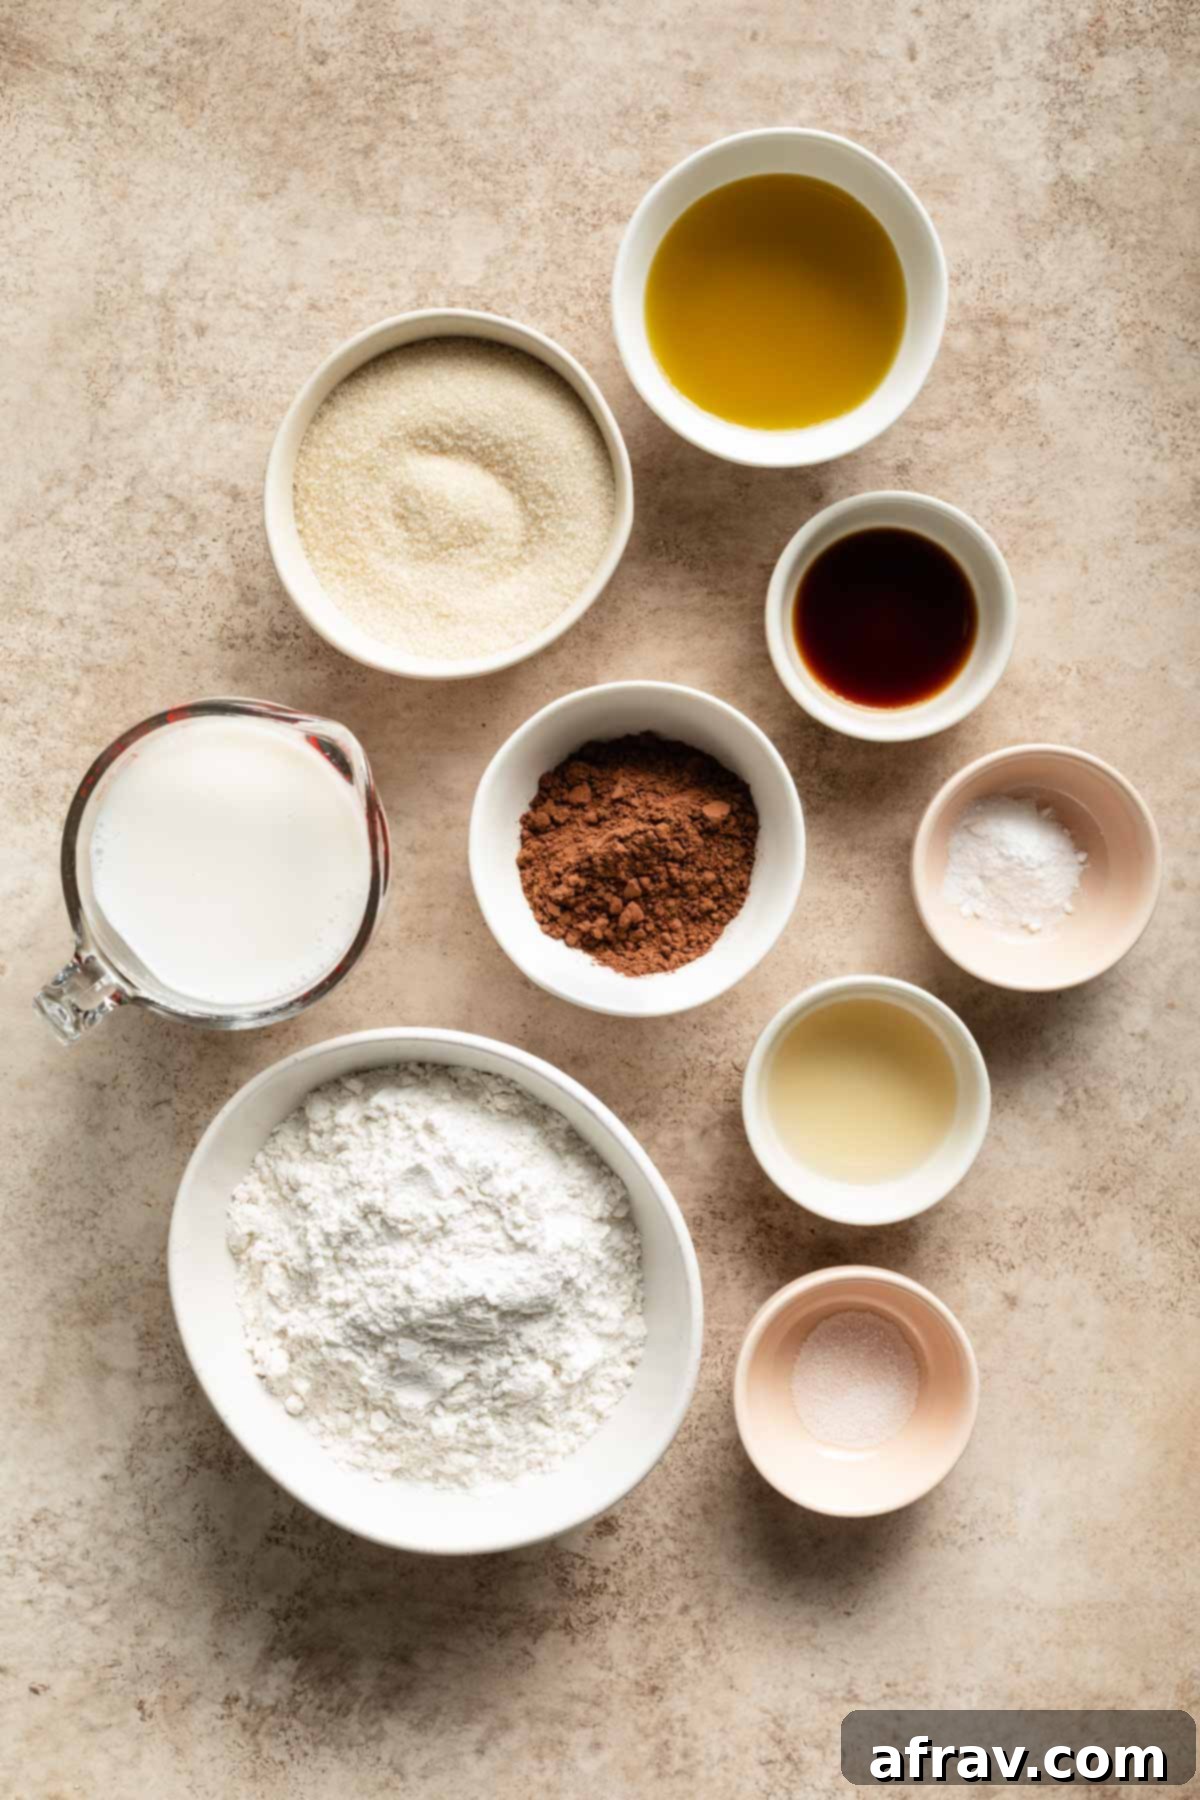
- All-Purpose Flour: You’ll need 1 1/2 cups of all-purpose white flour. For accurate measurement and a tender crumb, always spoon the flour into your measuring cup and then level it off with a straight edge. This prevents compacting the flour, which can lead to a dense cake.
- Sugar: The cake is sweetened with cane sugar, which gives it a fine texture and balanced sweetness. However, you can easily substitute it with granulated sugar for similar results. For a slightly different flavor profile and less refined option, coconut sugar can also be used, though it might impart a subtle caramel note.
- Unsweetened Cocoa Powder: This is key for that rich, deep chocolate flavor. You have two main options: natural cocoa powder (which is acidic) or Dutch-processed cocoa powder (which has been neutralized). I generally prefer and recommend using Dutch-processed cocoa as it tends to yield a darker color and a more intense, smoother chocolate flavor without any bitterness.
- Baking Soda: This is our primary leavening agent, crucial for helping the cake rise. In this egg-free recipe, baking soda reacts with the acidic ingredients (like vinegar and cocoa powder if using natural) to create carbon dioxide gas, which gives the cake its light and airy texture.
- Salt: A small amount of salt is vital for enhancing the flavors of all the other ingredients, particularly the chocolate. It balances the sweetness and deepens the overall taste profile, ensuring the cake isn’t bland.
- Almond Milk: While a traditional depression cake often calls for water, I’ve found that unsweetened almond milk contributes to an even more tender and moist cake crumb. You can use any type of unsweetened non-dairy milk you prefer, such as soy milk or oat milk. If you don’t require the cake to be dairy-free or vegan, regular dairy milk works too. And, of course, sticking to tradition with plain water is always an option if you prefer.
- Oil: I used extra virgin olive oil for its subtle fruitiness, which complements the chocolate well. However, its flavor might be too strong for some, so you can easily substitute it with a neutral-flavored oil like vegetable oil, canola oil, or avocado oil. These oils provide moisture and richness without interfering with the chocolate flavor.
- Vinegar: This ingredient is essential! Since this cake contains no eggs to help it rise, the vinegar plays a critical role. It reacts with the baking soda to produce carbon dioxide, providing the necessary lift and aeration for a light cake. The recipe calls for apple cider vinegar, but standard white vinegar will work just as effectively. Don’t worry, you won’t taste it in the final product!
- Vanilla Extract: Real vanilla extract is crucial for enhancing the deep, complex chocolate flavor. It adds a layer of aromatic depth that makes the cake taste more rounded and luxurious. In a pinch, artificial vanilla can be used, but for the best flavor, pure vanilla extract is recommended.
Step-by-Step: How to Make a Cake in Your Air Fryer
Baking a cake in the air fryer is simpler than you might think! Follow these steps for a perfectly baked chocolate cake:
- Prepare Your Pan: Begin by lightly greasing a 7-inch round cake pan with non-stick cooking spray. This crucial step prevents sticking. Then, line the bottom and sides of the pan with parchment paper. Ensure the parchment paper extends about 2 inches up the sides of the pan. This helps the cake release easily and prevents the sides from browning too much due to the air fryer’s intense heat. Avoid too much excess parchment paper, as the air circulation might cause it to lift and stick to the cake top during baking.
- Combine Dry Ingredients: In a large mixing bowl, sift together the all-purpose flour, sugar, cocoa powder, baking soda, and salt. Sifting is particularly important for cocoa powder as it helps to break up any lumps and ensures even distribution throughout the batter, leading to a consistent chocolate flavor and color.
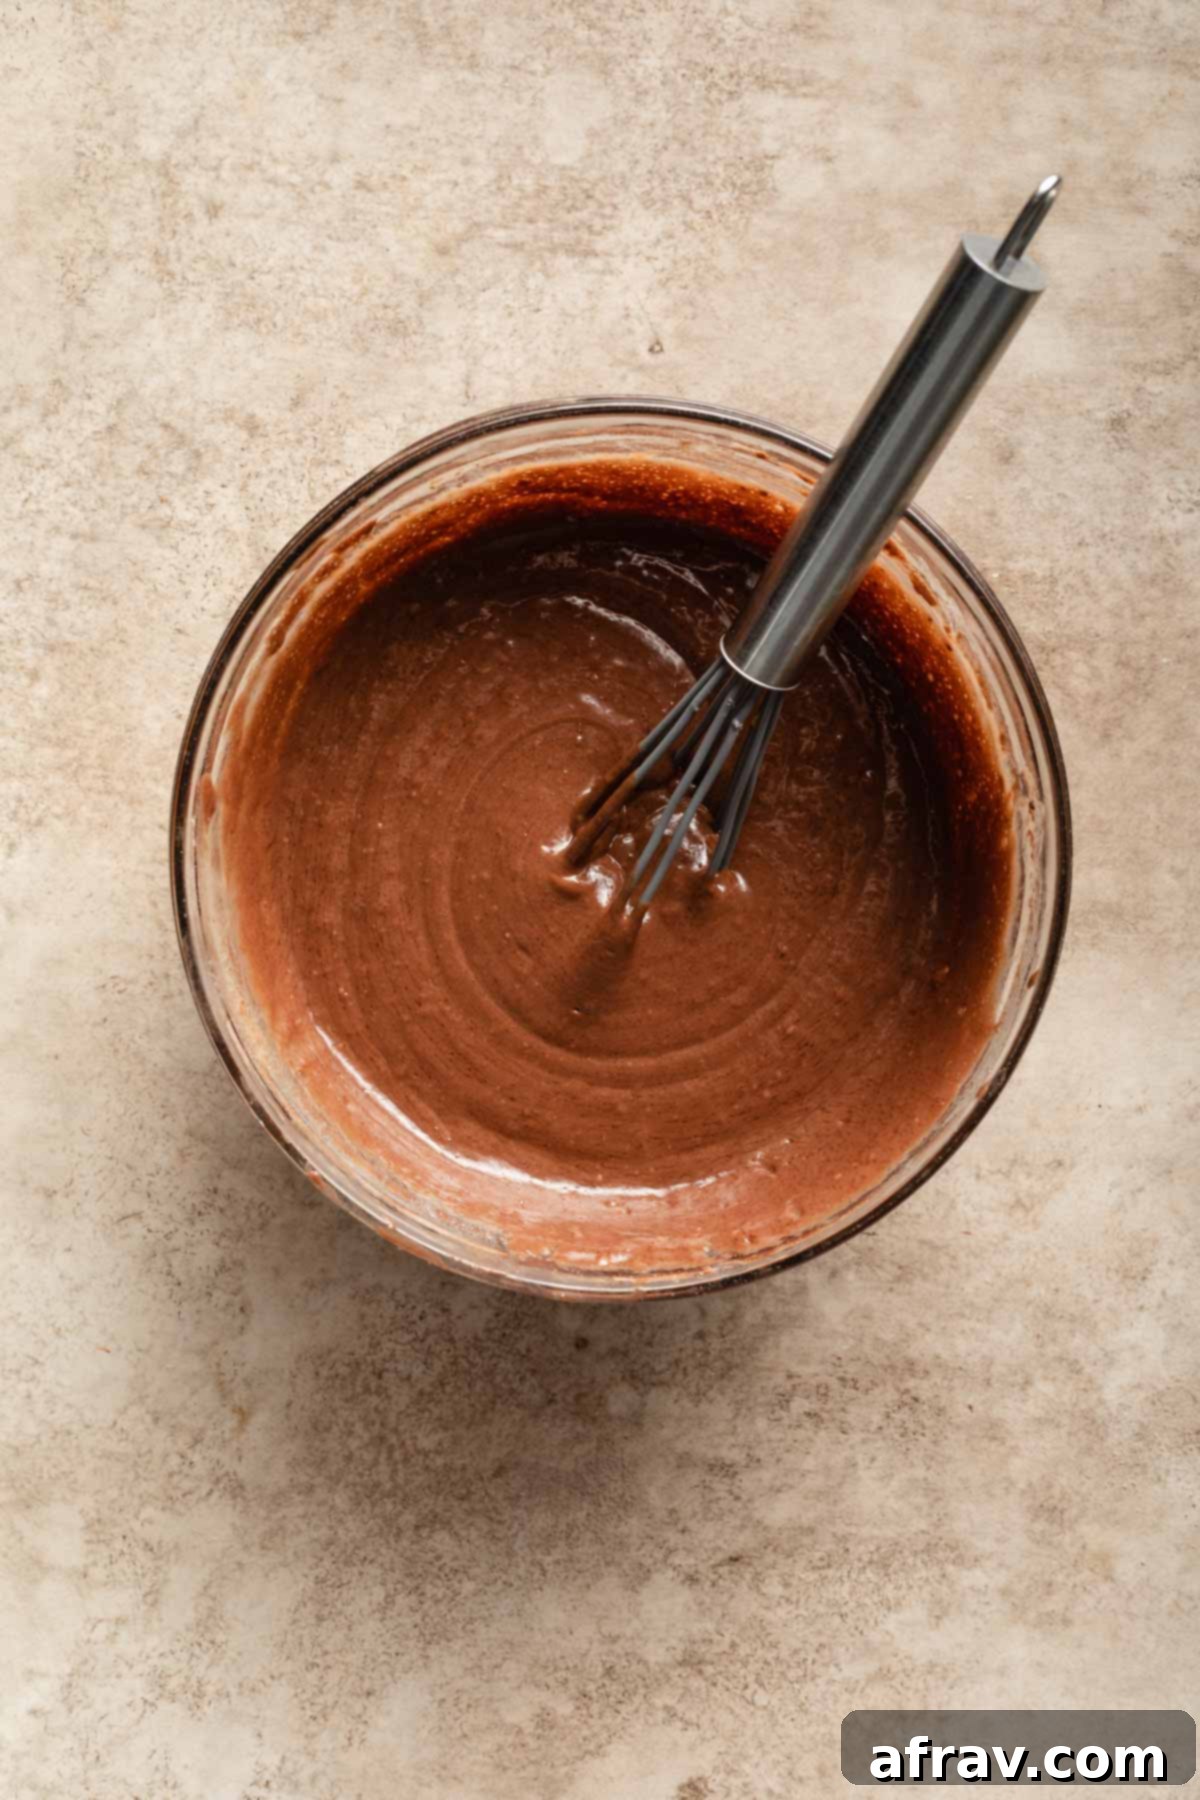
- Add Wet Ingredients: Create a small well in the center of your dry ingredients. Pour in the unsweetened almond milk, oil, apple cider vinegar, and vanilla extract. Using a whisk, gently mix until the cake batter is smooth and just combined. Be careful not to overmix, as this can develop the gluten in the flour and lead to a tougher cake. A few small lumps are acceptable.
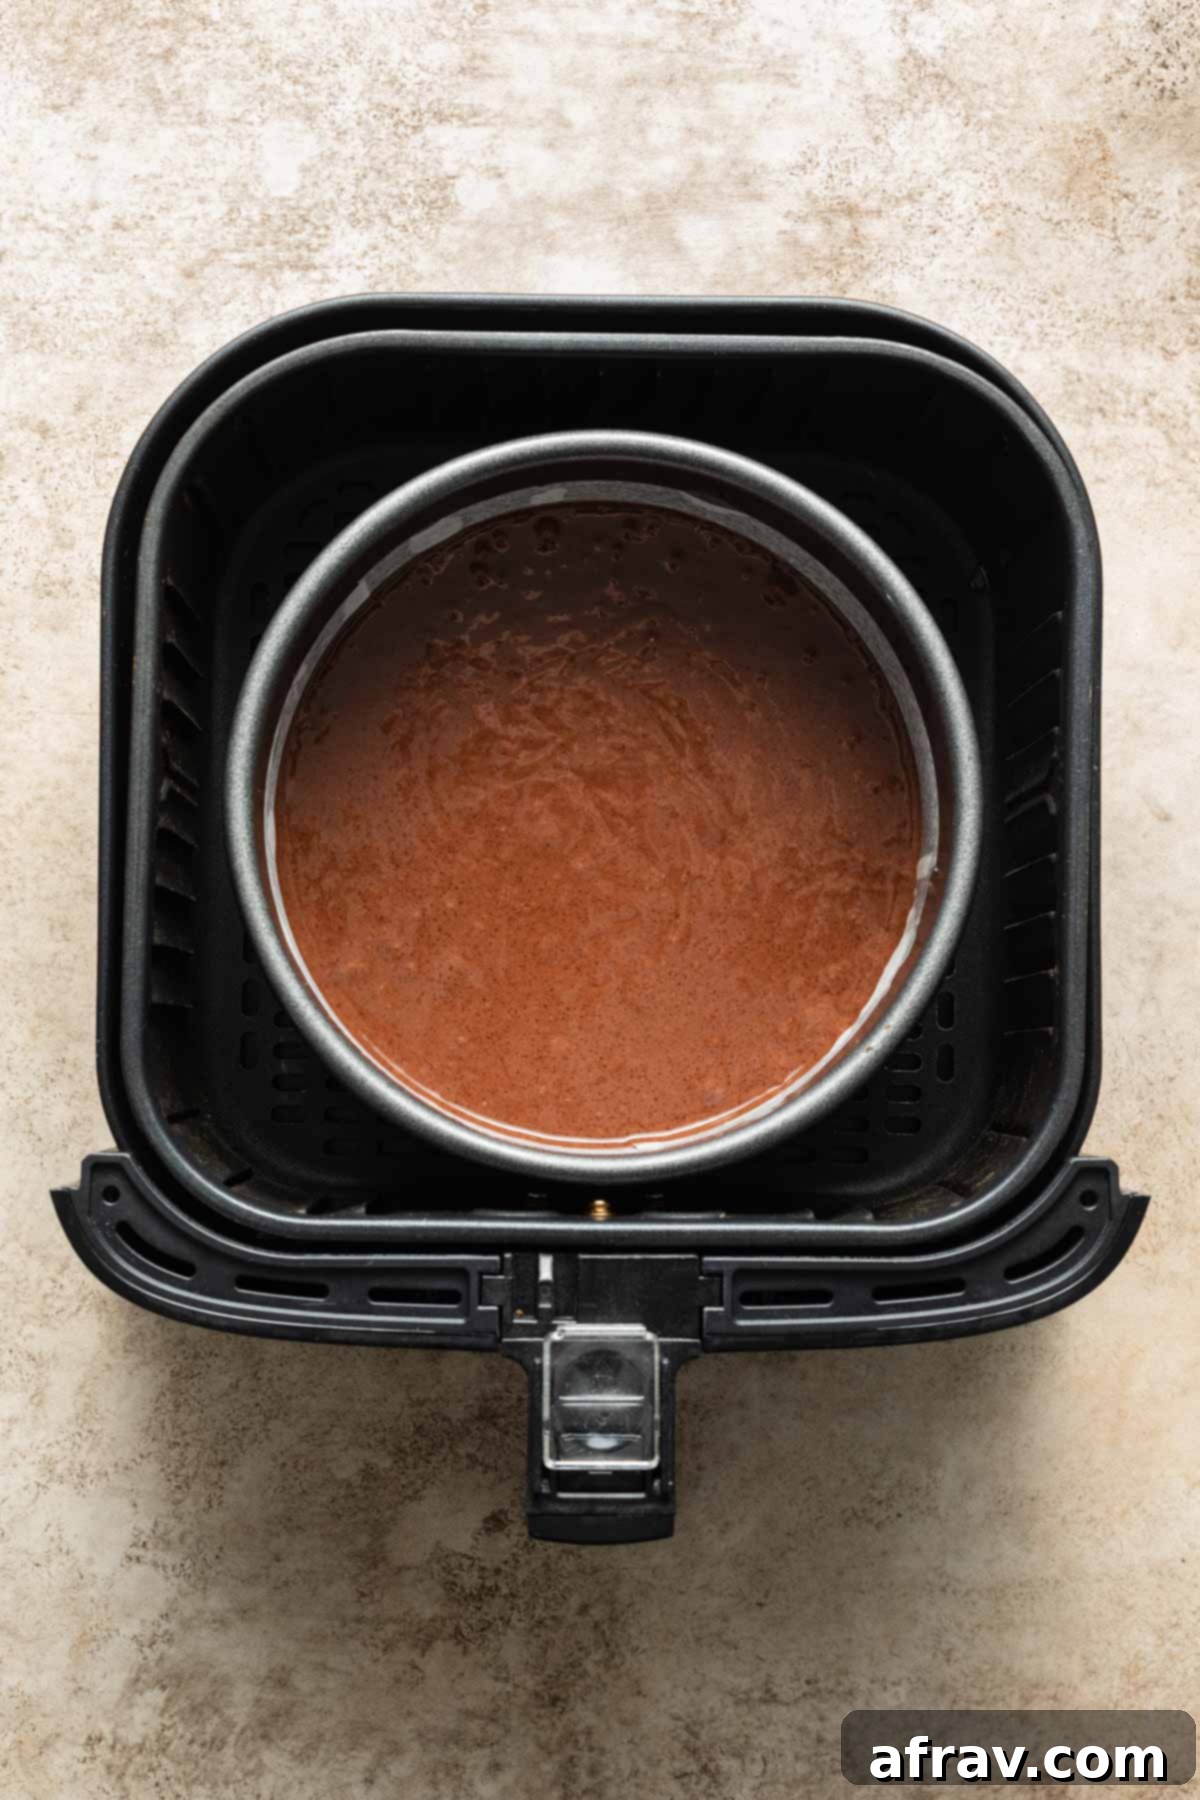
- Fill the Pan: Carefully pour the prepared batter into your parchment-lined cake pan. Once filled, gently tap the bottom of the pan on a hard, flat surface a few times. This helps to release any trapped air bubbles, ensuring a more even crumb structure in your finished cake.
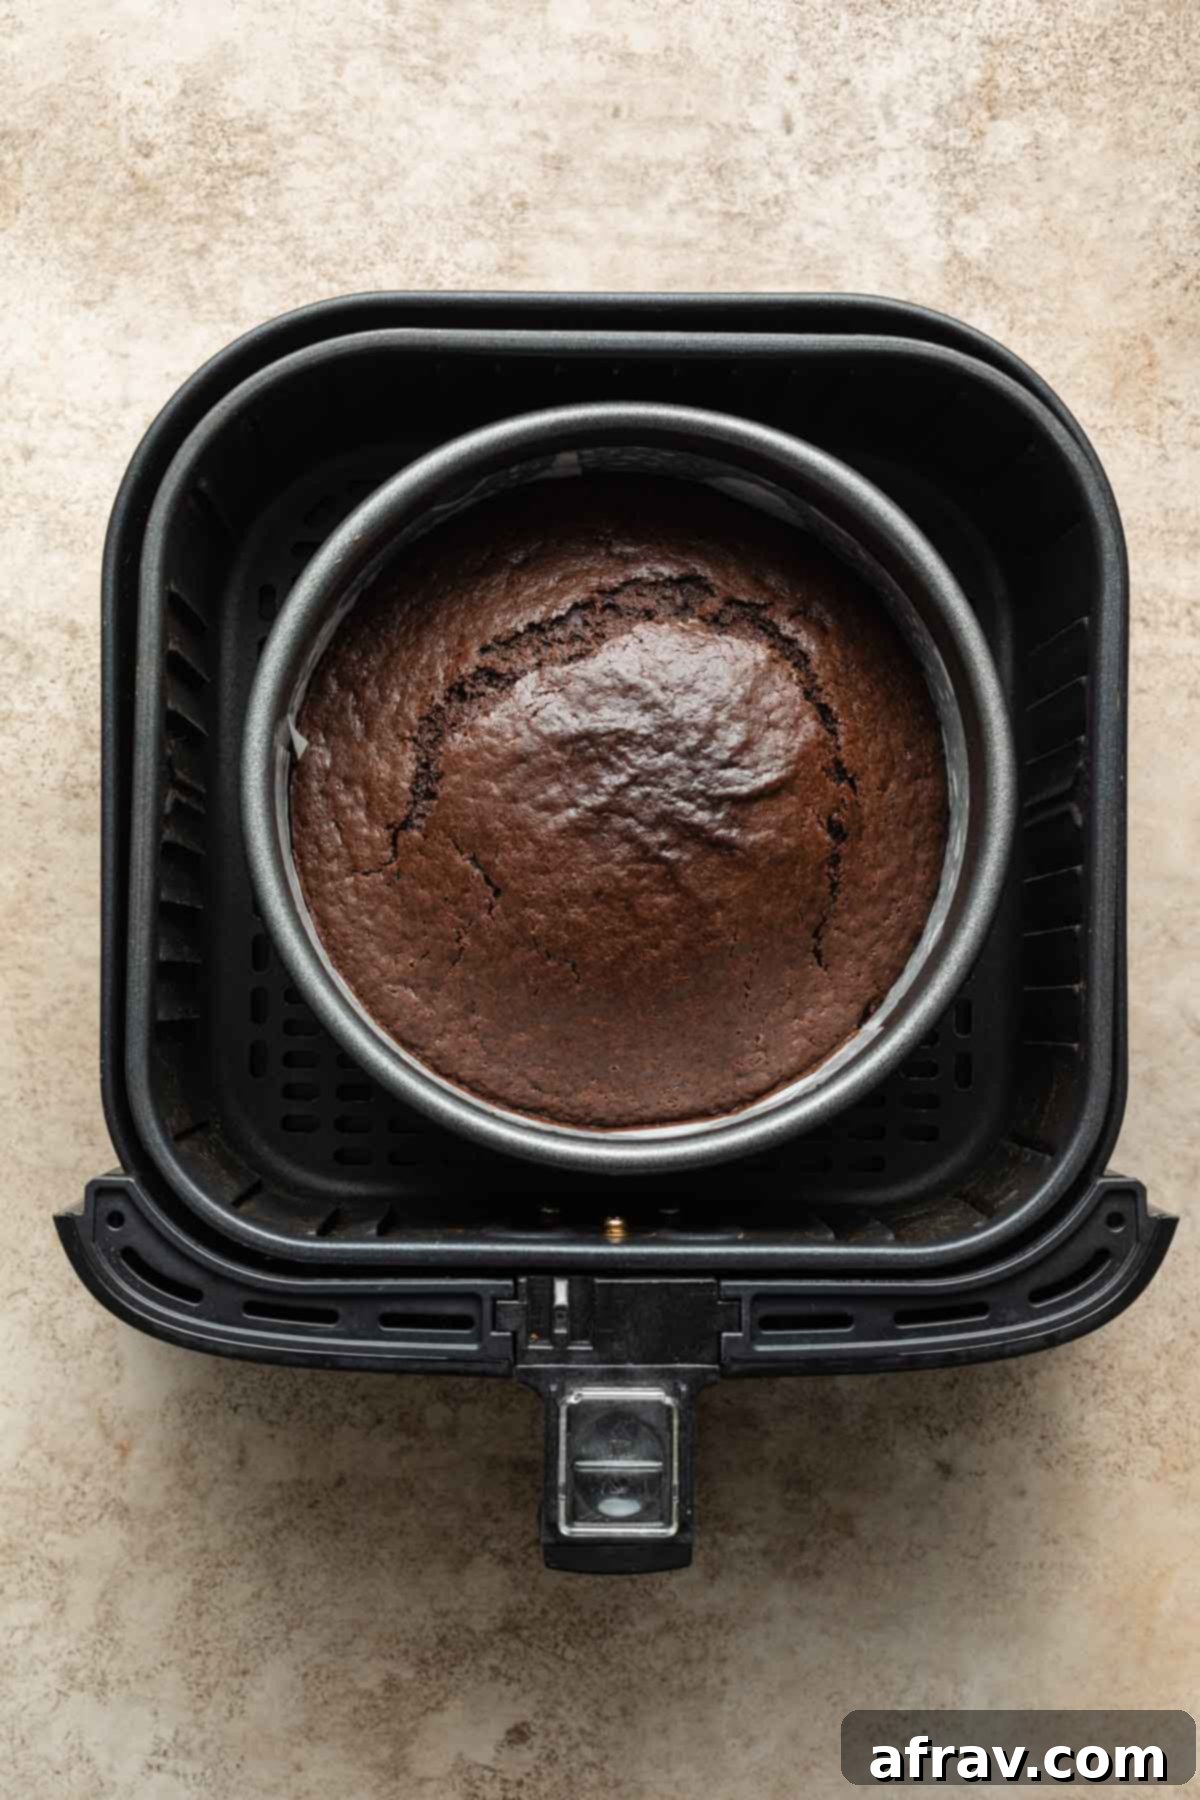
- Air Fry the Cake: Place the cake pan carefully into the air fryer basket. Set your air fryer to 250°F (120°C) and air fry for approximately 55-60 minutes. Baking at a lower temperature ensures the cake cooks evenly from the inside out, preventing a burnt exterior and raw center. Since air fryers can vary significantly in temperature and cooking efficiency, it’s wise to start checking on your cake around the 45-minute mark. The cake is done when a toothpick inserted into the center comes out with just a few moist crumbs attached, or clean.
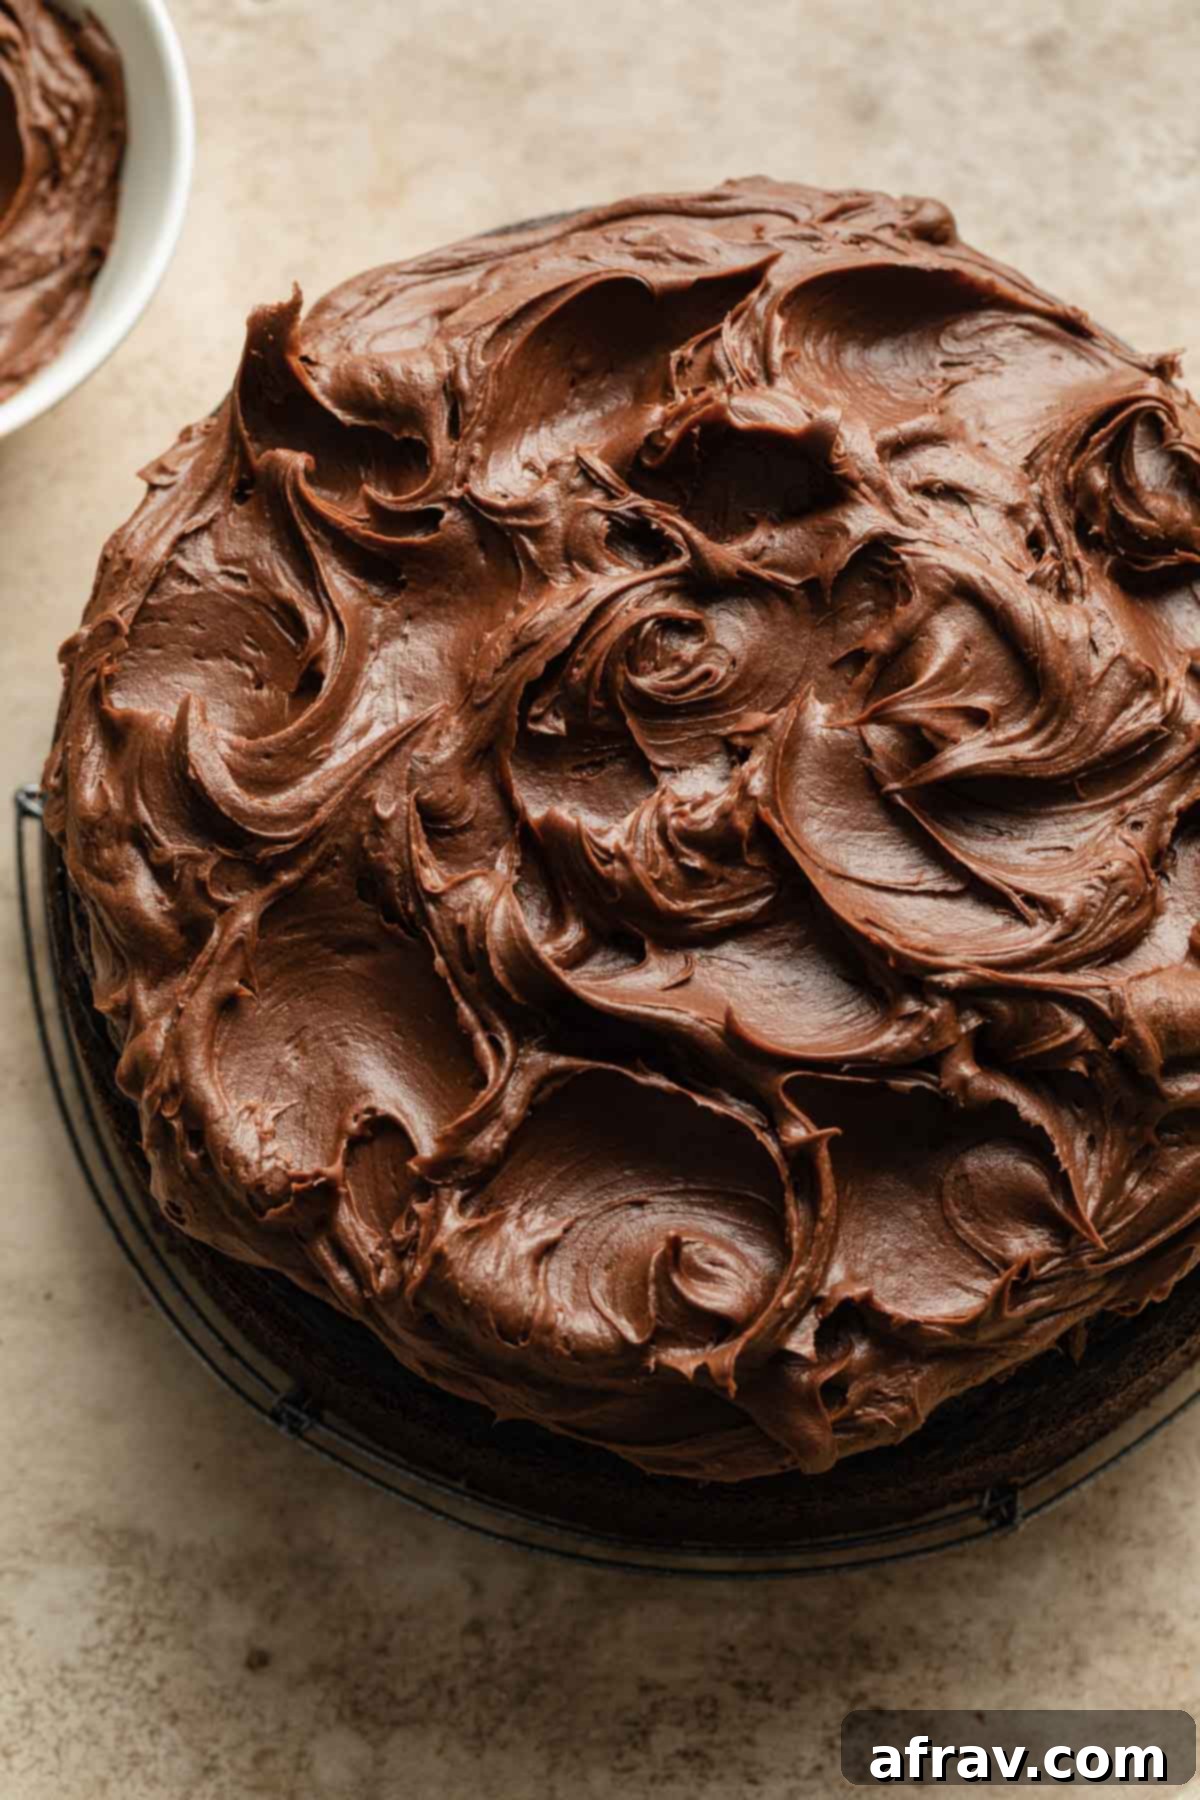
- Cool & Frost: Once baked, remove the cake pan from the air fryer and let it cool in the pan for exactly 10 minutes. This brief cooling period helps the cake firm up. After 10 minutes, carefully invert the cake onto a wire rack to cool completely. Allowing it to cool entirely on a rack prevents the bottom from becoming soggy. Once cooled, it’s ready for your favorite frosting! We highly recommend a rich chocolate avocado frosting for a vegan option or a decadent peanut butter cream cheese frosting. If you’re not keeping it vegan, a classic chocolate peanut butter frosting is also divine!
Frequently Asked Questions About Air Fryer Baking
New to baking in an air fryer? Here are some common questions and detailed answers to guide you:
Absolutely, yes! The air fryer is surprisingly versatile for baking. You can use it to bake a wide array of items you would typically prepare in a conventional oven. This includes delicious cakes like this one, cookies, light and fluffy chocolate chip muffins, and even delightful cinnamon rolls! The air fryer offers a fantastic alternative to oven baking, especially for smaller batches. When adapting recipes, remember to consider the smaller capacity of the air fryer compared to an oven. It’s also crucial to adjust baking temperatures and times to prevent over-baking or uneven cooking, as air fryers cook more intensely and quickly.
For this particular recipe, I used a Cosori 5.8 quart air fryer. Its basket size is quite generous and comfortably accommodates a 7-inch round cake pan, which is ideal for this recipe. If you own a smaller air fryer, you’ll need to opt for a smaller cake pan, such as a 6-inch pan. Keep in mind that a smaller pan means the cake will be thicker, requiring a slightly longer baking time and possibly further temperature adjustments to ensure it cooks through evenly without burning the exterior.
Yes, you absolutely can use a regular cake pan in your air fryer, provided it fits! There’s no need for special “air fryer cake pans.” The key is to measure the inside dimensions of your air fryer basket to ensure your chosen pan will fit comfortably without touching the sides, allowing for proper air circulation. For this recipe, I used a 7-inch round cake pan with sides that are at least 3 inches high. A Cosori 5.8 quart model can even fit some 8-inch round cake pans, though it can be a tight squeeze depending on the pan’s rim thickness. If you choose to use an 8-inch or a 6-inch round cake pan, you will definitely need to adjust the air frying time accordingly – larger pans might require slightly longer, and smaller/thicker cakes will certainly need more time to bake through.
Through extensive testing with various temperature settings, ranging from 250°F (120°C) to 350°F (175°C), I’ve found that a lower temperature is consistently better for cakes in the air fryer. At higher temperatures, the intense convection heat of the air fryer caused the outside of the cake to bake and brown much faster than the middle, resulting in a cake with a burnt or overly crispy exterior and an under-baked, gooey center. While a lower temperature takes a bit longer, around 250°F (120°C), it allows the cake to bake much more evenly throughout. You might still notice the cake cracking a bit on top; in my experience, this is often unavoidable with air fryer cakes due to the proximity of the heating element, but it doesn’t affect the deliciousness!
For a 7-inch round chocolate cake baked at 250°F (120°C) in an air fryer, the baking time is typically around 55-60 minutes. However, it’s crucial to remember that the precise baking time can vary significantly. Factors such as the specific size, brand, and model of your air fryer, as well as the material and dimensions of your cake pan, will all influence the duration. For instance, if you use a smaller 6-inch pan, the cake will be thicker and will require a longer baking time to cook completely. Always use the toothpick test as your primary indicator of doneness, and be prepared to adjust cooking times as needed for your specific setup.
Storage Instructions for Your Air Fryer Chocolate Cake
Proper storage ensures your delicious air fryer cake remains moist and flavorful for as long as possible. Here’s how to keep it fresh:
- Unfrosted Cake: If the cake is unfrosted, it can be stored at room temperature for 3-4 days. Place it in an airtight container or wrap it tightly in plastic wrap to prevent it from drying out.
- Frosted Cake: For frosted cakes, storage depends largely on the type of frosting used. If your frosting contains dairy (like a cream cheese frosting) or other perishable ingredients, the cake should be refrigerated in an airtight container. Frostings made with shelf-stable ingredients (like certain vegan buttercreams or chocolate avocado frosting) might be fine at room temperature for a day or two, but refrigeration is always safer for longer storage.
- Shelf Life: Regardless of frosting, this cake will maintain its delightful moist and tender texture for 3-4 days, ensuring you can enjoy it over several servings.
- Freezing for Later: This cake freezes exceptionally well if it’s unfrosted. Allow the baked cake to cool completely to room temperature. Then, wrap it tightly first in plastic wrap, followed by a layer of aluminum foil, or place it in a large freezer-safe bag. It can be stored in the freezer for up to 3 months. When you’re ready to enjoy it, thaw the cake overnight in the refrigerator or at room temperature before frosting and serving.
Handy Recipe Substitutions and Variations
This recipe is quite forgiving, allowing for several easy substitutions to accommodate dietary needs or ingredient availability:
- Sugar Alternatives: Instead of cane sugar, you can confidently use granulated sugar or even coconut sugar. Granulated sugar will yield virtually identical results, while coconut sugar may impart a slightly darker color and a subtle caramel-like flavor.
- Vinegar Options: If you don’t have apple cider vinegar on hand, white vinegar can be used as a direct substitute. Both are acidic enough to react with the baking soda and provide the necessary leavening without affecting the cake’s taste.
- Milk Choices: For the almond milk, feel free to substitute with water, regular dairy milk (if you don’t need a dairy-free cake), or any other unsweetened non-dairy milk such as soy milk, oat milk, or cashew milk. Each will contribute slightly different nuances to moisture and richness.
- Oil Varieties: While extra virgin olive oil was used here, other neutral-flavored oils like canola oil, vegetable oil, or avocado oil work perfectly. These oils provide moisture without imparting a strong flavor to the chocolate cake.
Essential Tips for Air Fryer Cake Success
Achieving a perfect air fryer cake is simple with these key tips and tricks:
- Proper Pan Preparation is Paramount: Always grease your cake pan thoroughly and line both the bottom and sides with parchment paper. This step is critical for two reasons: it ensures the cake releases effortlessly from the pan after baking, and it protects the sides from over-browning due to the concentrated heat of the air fryer.
- Parchment Paper Placement: When lining the pan, ensure the parchment paper extends only about 2 inches up the sides. If too much parchment paper is exposed above the batter, the vigorous air circulation inside the air fryer can cause it to lift, flutter, and potentially stick to the top of your baking cake, creating an uneven surface.
- Don’t Fear a Crispy Top: After your cake comes out of the air fryer, you might notice the top has a slightly crispy texture. Don’t worry, this is completely normal for air fryer baking due to the direct heat. This crispiness will soften considerably once the cake is covered and stored, or once it’s topped with a layer of your favorite frosting.
- Timely Cooling in the Pan: It’s important to let the cake cool in its pan for precisely 10 minutes after baking. This brief resting period allows the cake to firm up slightly, making it easier to handle. However, don’t leave it in the pan for too long; promptly transfer it to a wire rack after 10 minutes. If the cake sits in the pan for an extended period, condensation can build up, leading to a soggy bottom.
- Embrace the Dome and Cracks: Expect your air fryer cake to be slightly domed with a few cracks on top. In my experience, these cracks are almost unavoidable when baking cakes in an air fryer due to the intense, direct heat from the heating element being so close to the cake’s surface. If you prefer a perfectly level cake for frosting, you can easily trim the domed top with a serrated knife once the cake is completely cool.
- Know Your Air Fryer: Air fryers vary significantly in wattage, size, and how they circulate heat. Always treat the recommended baking times and temperatures as a guide. It’s wise to check on your cake a bit earlier than suggested (e.g., at the 45-minute mark) and adjust cooking time based on your specific appliance’s performance.
More Delicious Chocolate Cake Recipes to Explore
If you’re a chocolate lover, don’t stop here! Here are some other delightful chocolate cake recipes you might enjoy, perfect for any occasion:
- Almond Flour Chocolate Cake
- Easy Chocolate Sheet Cake
- Mini Chocolate Bundt Cakes
- Chocolate Cranberry Cake
- Almond Flour Chocolate Cupcakes
Discover More Air Fryer Recipes
Expand your air fryer repertoire beyond cakes! This versatile appliance can whip up a variety of savory dishes and snacks with incredible ease:
- Air Fryer Snap Peas
- Air Fryer Pork Schnitzel
- Air Fryer Beets
- Air Fryer Chicken Patties
- Air Fryer Tortilla Chips
- Air Fryer Peppers and Onions
If you embark on the delightful journey of making this air fryer chocolate cake, I would absolutely love to hear about your experience! Please share your thoughts and any tips in the comments section below. Your feedback helps fellow bakers!
HUNGRY FOR MORE? Follow Crumb Top Baking on Instagram, Pinterest and Facebook for more delicious recipes and baking inspiration!
Print

Air Fryer Cake
- Author: Leanne
- Prep Time: 10 minutes
- Cook Time: 60 minutes
- Total Time: 1 hour 10 minutes
- Yield: 8 slices
- Category: Dessert
- Method: Air Fry
- Cuisine: American
- Diet: Vegan
Description
This Air Fryer Cake is a homemade chocolate cake recipe that’s rich and moist, conveniently made in the air fryer and almost as easy as a boxed cake mix!
Ingredients
- 1 1/2 cups all-purpose white flour (spooned and leveled)
- 3/4 cup cane sugar (or granulated sugar)
- 1/4 cup unsweetened cocoa powder
- 1 teaspoon baking soda
- 1/2 teaspoon salt
- 1 cup unsweetened almond milk (or another non-dairy milk or water)
- 1/3 cup extra virgin olive oil (or canola, vegetable or avocado)
- 1 tablespoon apple cider vinegar (or white vinegar)
- 1 tablespoon vanilla extract
Instructions
- Grease a 7-inch round cake pan with non-stick cooking spray and line the bottom and sides with parchment paper (*see notes).
- In a large mixing bowl, sift together flour, sugar, cocoa, baking soda and salt. (Sifting is important to evenly incorporate the cocoa).
- Add in the almond milk, oil, vinegar and vanilla and whisk until the cake batter is smooth.
- Pour batter into prepared pan and tap the bottom of the pan off a hard surface to help release any air bubbles.
- Place the cake in the air fryer basket and air fry on 250F for 55-60 minutes, or until a toothpick inserted into the middle comes out with just a few crumbs on it. (Start checking on the cake after 45 minutes).
- Let cool in the pan for 10 minutes and then turn out onto a wire rack to cool completely.
- Top with your favorite frosting and serve.
Notes
- Your 7-inch round pan should be at least 2 – 3 inches high.
- It’s important to grease and line the bottom and sides of the cake pan with parchment paper so the cake releases easily and doesn’t brown too much on the sides.
- You just need the parchment paper about 2-inches up the side of your pan. If there is too much parchment paper exposed, the air circulation may blow it around and it will stick to the top of the cake.
- After the cake comes out of the air fryer, the top may be a little crispy. That’s okay. It will soften once covered and stored or topped with frosting.
- Only let the cake cool in the pan for 10 minutes. If it stays in the pan for too long, the bottom will get soggy.
- The cake will be slightly domed with a few cracks. In my experience, the cracks are unavoidable for a cake baked in the air fryer due to the heating element being so close to the top of the cake. If you want the cake level, just trim the top before frosting
- I used a Cosori 5.8 quart air fryer for this recipe. If you have a different size, brand or model of air fryer, you may need to adjust the temperature and/or air frying time slightly.
- Be sure to check out the other sections above the recipe card for more detailed advice and suggestions for making this recipe.
