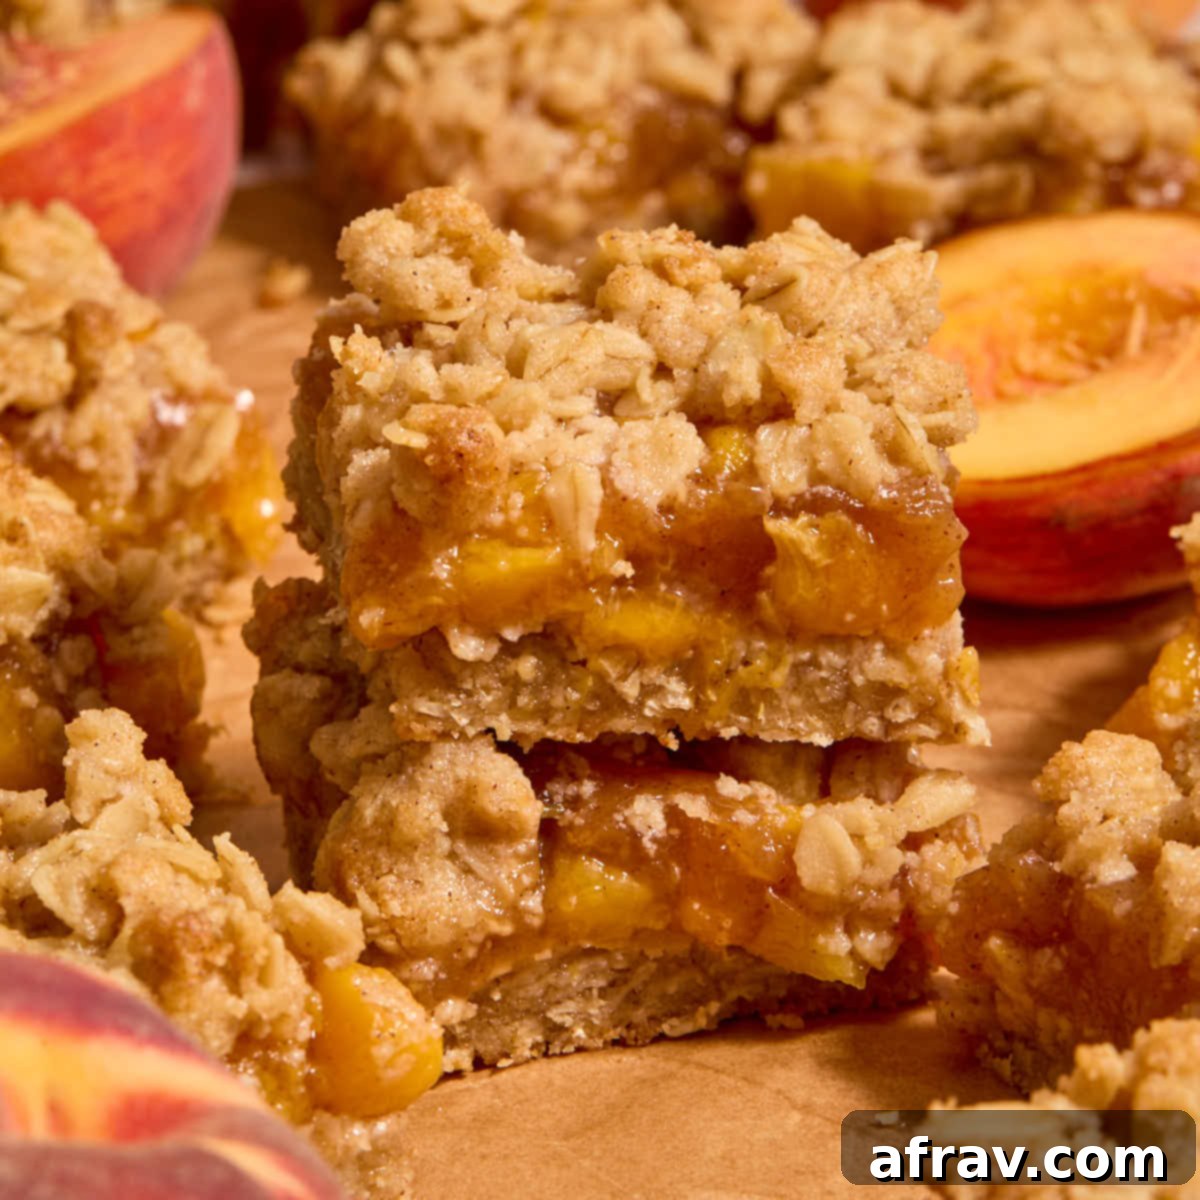
Gluten-Free Almond Flour Peach Crisp Bars: Easy, Buttery & Bursting with Summer Flavor
Prepare to fall in love with these incredible Almond Flour Peach Crisp Bars! They feature a dreamy, buttery gluten-free crust and a delightful oat crumble topping, both crafted from the same versatile recipe. Inside, you’ll find a luscious, sweet, and juicy homemade peach filling that captures the essence of summer in every bite. While they involve a few simple steps, these bars are surprisingly easy to assemble, bake up quickly, and can be prepared in advance, making them an ideal dessert for any occasion.
Serve them either chilled for a firm, refreshing treat or warm them slightly and pair with a scoop of creamy vanilla ice cream for an ultimate comfort dessert. And here’s the best part: don’t let the fleeting peach season limit your enjoyment! This recipe works beautifully with frozen peaches, allowing you to savor these delicious bars year-round.
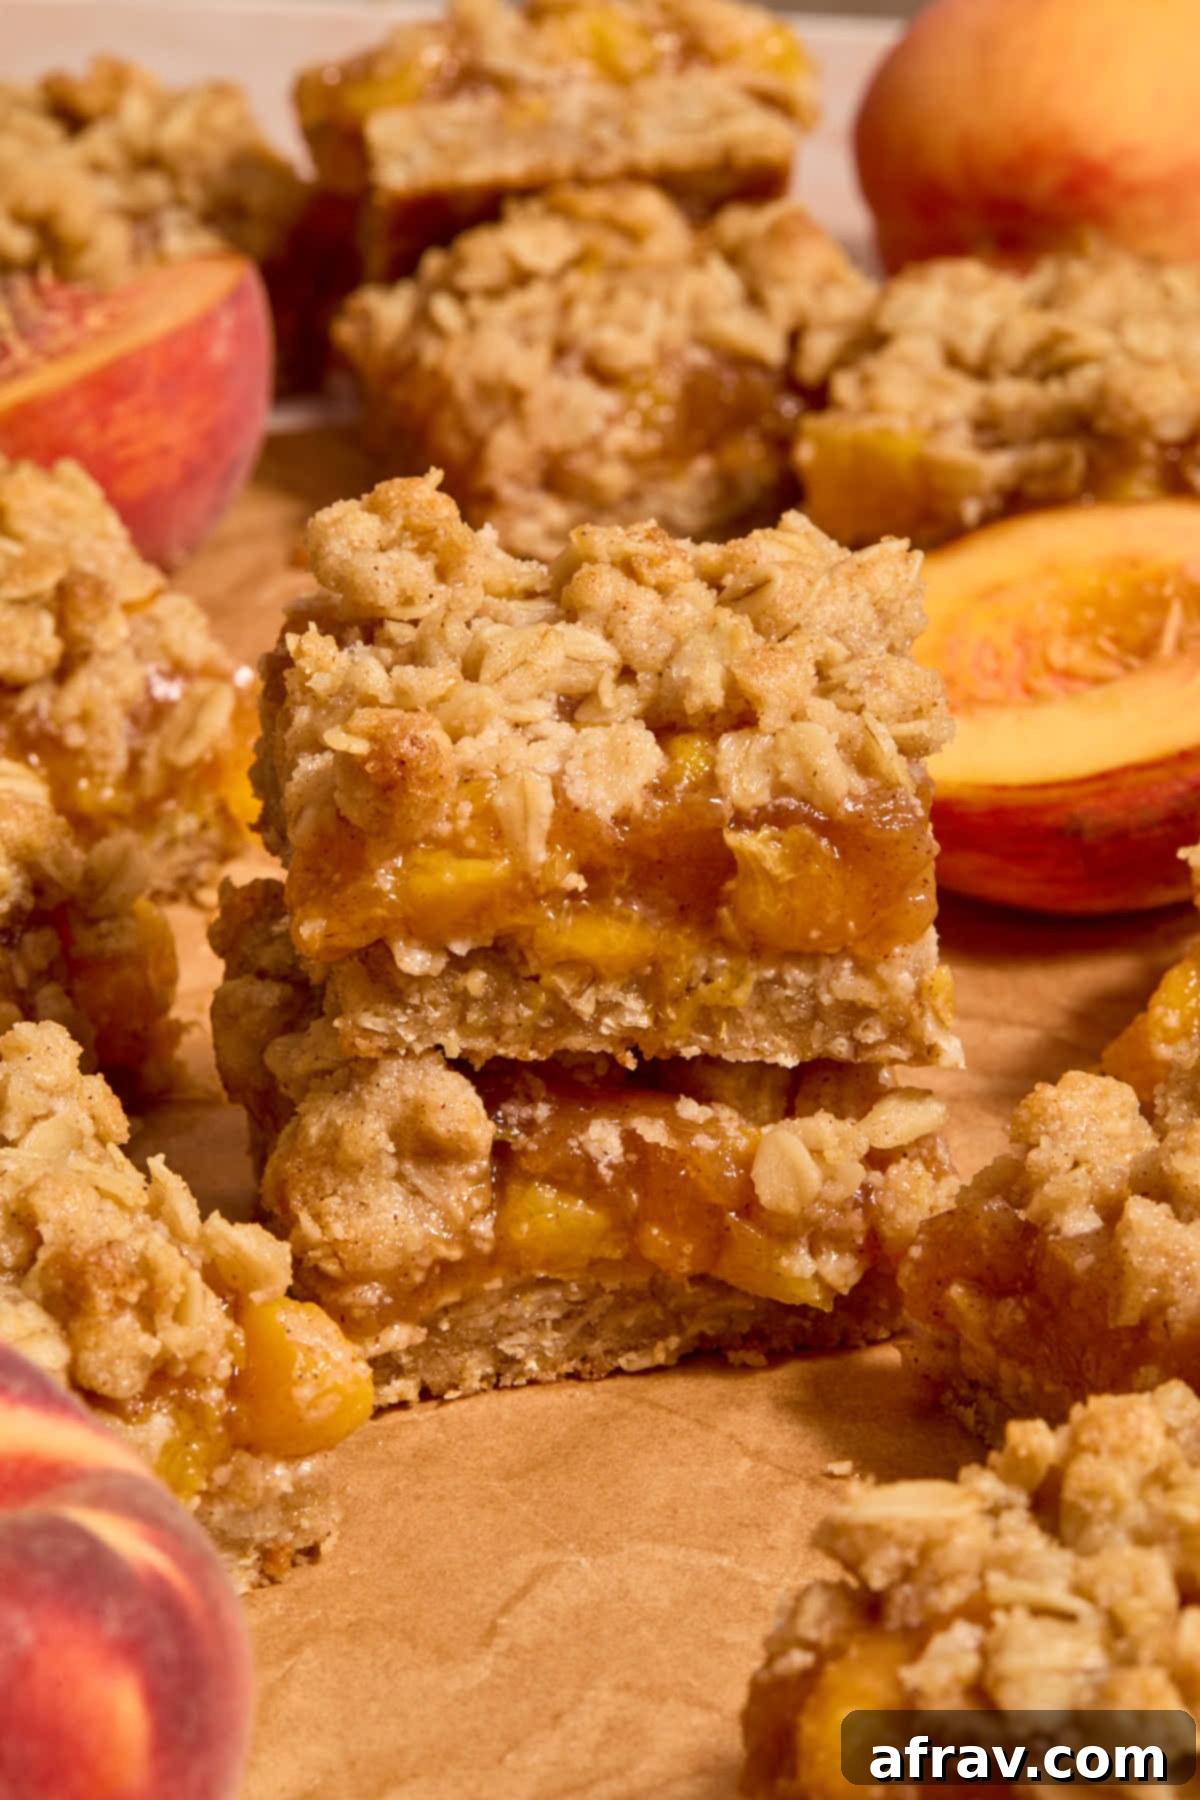
This beloved recipe originally made its debut in August 2019, but it has since undergone a significant transformation. We’ve simplified the process, opted for more accessible pantry-friendly ingredients, and minimized the use of specialty items, ensuring that anyone can whip up these delectable bars with ease. The revamped version takes inspiration from our popular almond flour cherry pie bars, and trust us, the changes have made them better than ever before!
If you’re eager for more dessert ideas to make the most of fresh peaches, be sure to also try this divine peach ricotta skillet cake – it’s an absolute must-try that perfectly complements the sweetness of summer peaches.
Why You’ll Adore These Gluten-Free Peach Crisp Bars
Beyond their irresistible flavor, these almond flour peach crisp bars offer a multitude of reasons to become your new favorite dessert:
- Naturally Gluten-Free: Thanks to almond flour and certified gluten-free oats, these bars cater to gluten-sensitive diets without compromising on taste or texture.
- Perfect Texture Combination: Enjoy the contrast of a tender, buttery crust, a soft, warm peach filling, and a delightfully crisp, crumbly topping in every bite.
- Bursting with Fresh Peach Flavor: Made with real peaches, the filling is sweet, tangy, and incredibly juicy, highlighting the natural goodness of this beloved summer fruit.
- Make-Ahead Friendly: These bars are excellent for meal prepping desserts or for entertaining, as they can be prepared in advance and stored in the fridge.
- Versatile Serving Options: Delicious served chilled for a firmer bar, or warmed and topped with a scoop of vanilla ice cream for a more traditional crisp experience.
- Simple Ingredients, Stunning Results: While there are a few steps, the ingredients are straightforward and the process is manageable for home bakers of all skill levels.
Table of Contents
- Key Ingredients and Substitutions
- A Note on Measuring Ingredients
- How to Make Peach Bars with Almond Flour
- Tips for Making the Best Gluten-Free Peach Crisp Bars
- Storage and Freezing Tips
- Recipe FAQs
- More Almond Flour Recipes
Key Ingredients and Substitutions
Understanding the role of each ingredient is key to successful baking. Below, we delve into the core components that make these gluten-free peach crisp bars so irresistible. The comprehensive recipe card at the end of this post provides all the ingredients with exact quantities.
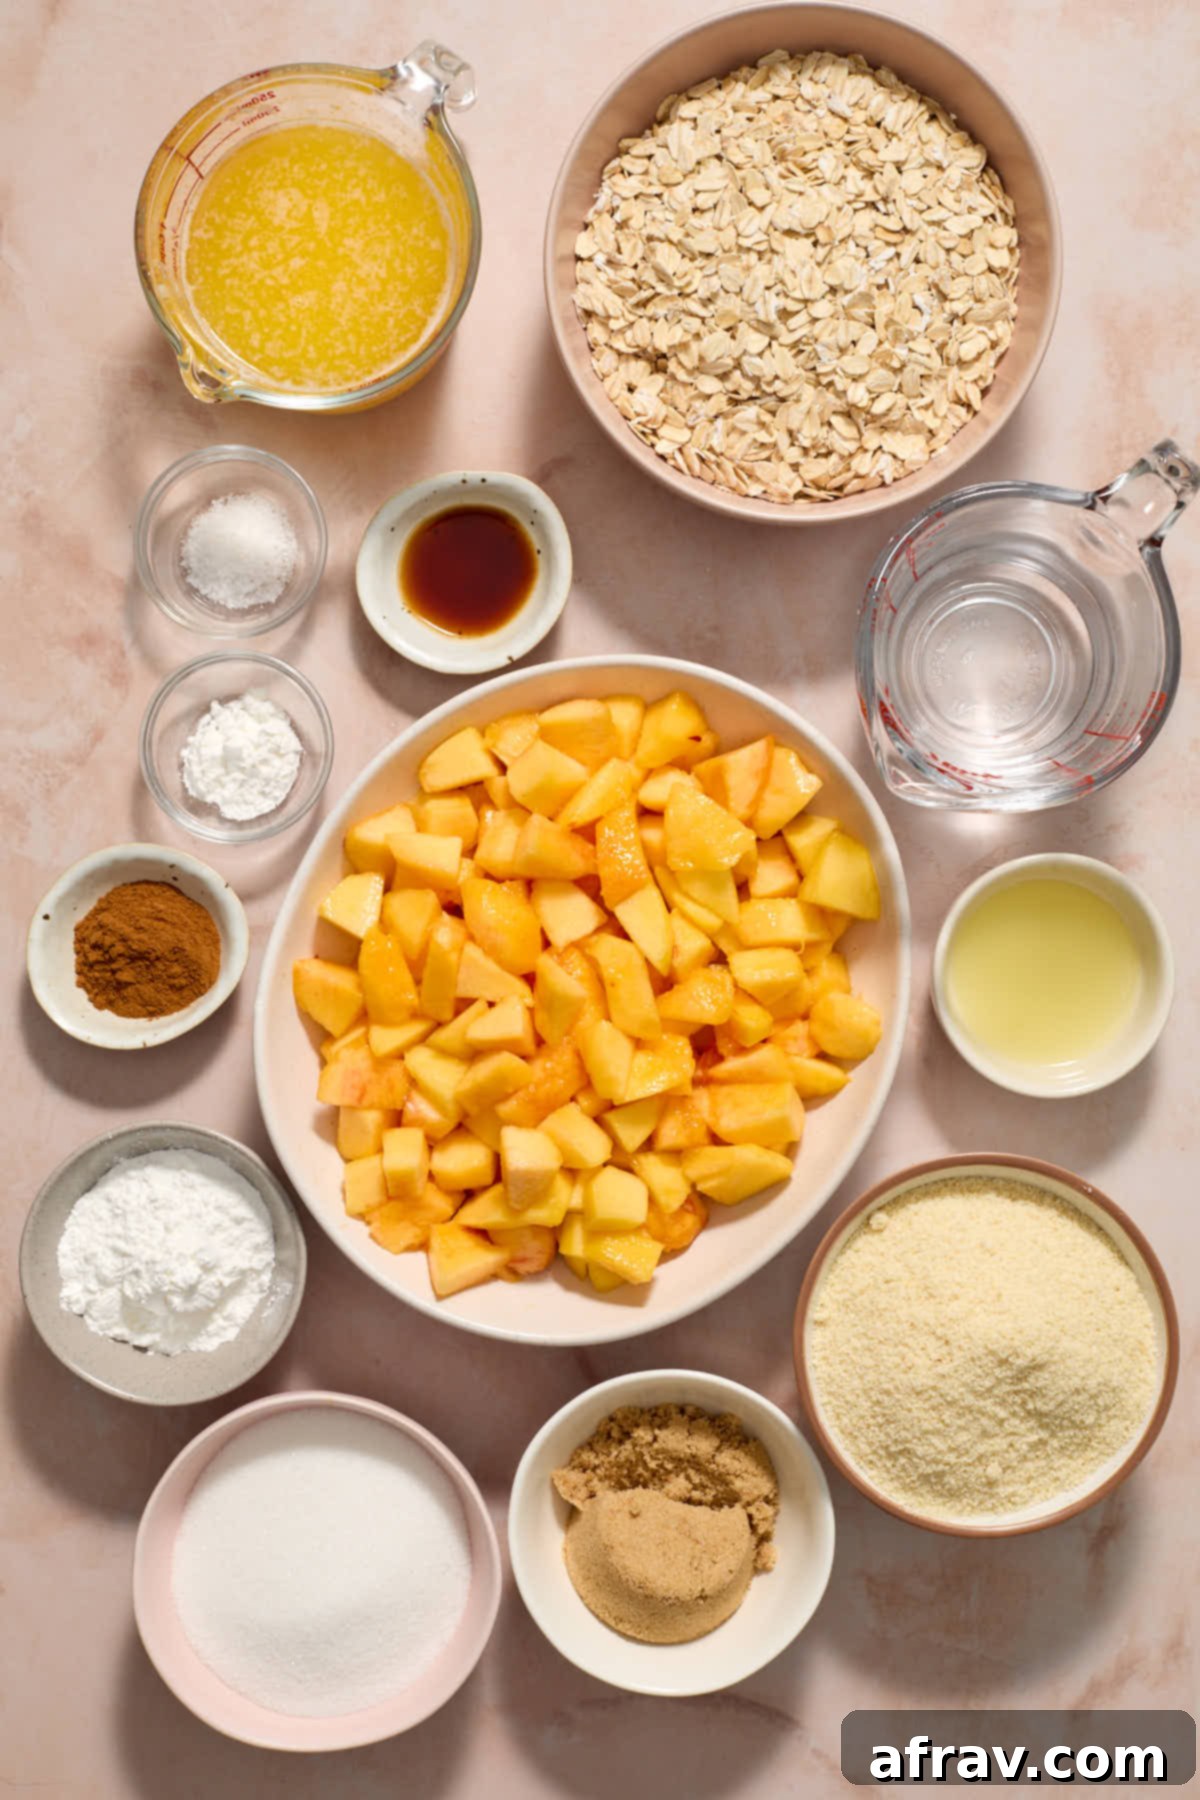
- Peaches – You’ll need approximately 1 1/2 pounds of fresh peaches for the filling, which typically translates to about 6 medium-sized peaches. After peeling and chopping them into nice chunks (about 3.5 cups), they’ll form the heart of your bars. It’s crucial to select peaches that are ripe but still firm, free from any overly soft spots or blemishes. Since we’ll be peeling them, firmness helps greatly with the process. Avoid excessively hard peaches, as they may not soften enough, but also steer clear of very soft ones, which can become mushy in the filling and be difficult to peel cleanly.
- Almond Flour – For the best texture in both the crust and crumble, my go-to choice is always fine blanched almond flour. Its finely ground consistency creates a tender, delicate crumb that works beautifully in gluten-free baking. While almond meal (which contains the skins and is coarser) might work in a crumble-style dessert, I highly recommend blanched almond flour for consistent, superior results. I have not tested this recipe with almond meal.
- Oats – Large flake rolled oats are paramount for achieving that classic crisp texture in both the base and topping. If you need to ensure these bars are truly gluten-free, always look for certified gluten-free oats. This guarantees they haven’t been cross-contaminated with wheat during processing.
- Cornstarch – This humble ingredient plays a vital double role in these bars. First, it acts as a thickening agent for the peach filling, ensuring it’s beautifully jammy and not watery. Second, a touch of cornstarch in the oat mixture contributes to a tender, not tough, base and a wonderfully crisp crumble topping.
- Unsalted Butter – A generous 3/4 cup of melted unsalted butter is essential for binding the oat and almond flour mixture, creating a rich, buttery flavor, and ensuring everything crisps up perfectly. Using unsalted butter allows you to control the exact amount of salt in the recipe. If you only have salted butter on hand, simply reduce the amount of added fine sea salt in the recipe by about half.
- Sugars (Granulated & Brown) – A combination of granulated sugar and light brown sugar provides the perfect balance of sweetness and depth. Granulated sugar contributes to crispness, while brown sugar adds moisture, a hint of caramel flavor, and a chewier texture to the crumble.
- Cinnamon & Vanilla Extract – These classic flavor enhancers beautifully complement the sweet peaches. Ground cinnamon adds warmth and spice, while vanilla extract brightens and rounds out the overall taste profile.
- Baking Powder – A small amount of baking powder helps to create a slightly tender, airy texture in the crust, ensuring it’s not too dense.
- Fine Sea Salt – A pinch of salt is crucial in baking; it balances the sweetness and enhances all the other flavors, bringing them to life.
- Lemon Juice – Fresh lemon juice in the peach filling brightens the fruit’s flavor and prevents it from being overly sweet, adding a delightful zesty note.
A Note on Measuring Ingredients
While US cup measurements are conveniently included in the recipe card for this recipe, for ultimate accuracy and consistent results, especially in gluten-free baking, weight and volume measurements are also provided. If you see ingredients listed in grams (g), we highly recommend using a digital kitchen scale to weigh them. For liquids, where milliliters (ml) are indicated, a liquid measuring cup will ensure precision. Smaller quantities of ingredients, such as spices and extracts, are typically provided in standard teaspoons and tablespoons.
How to Make Peach Bars with Almond Flour
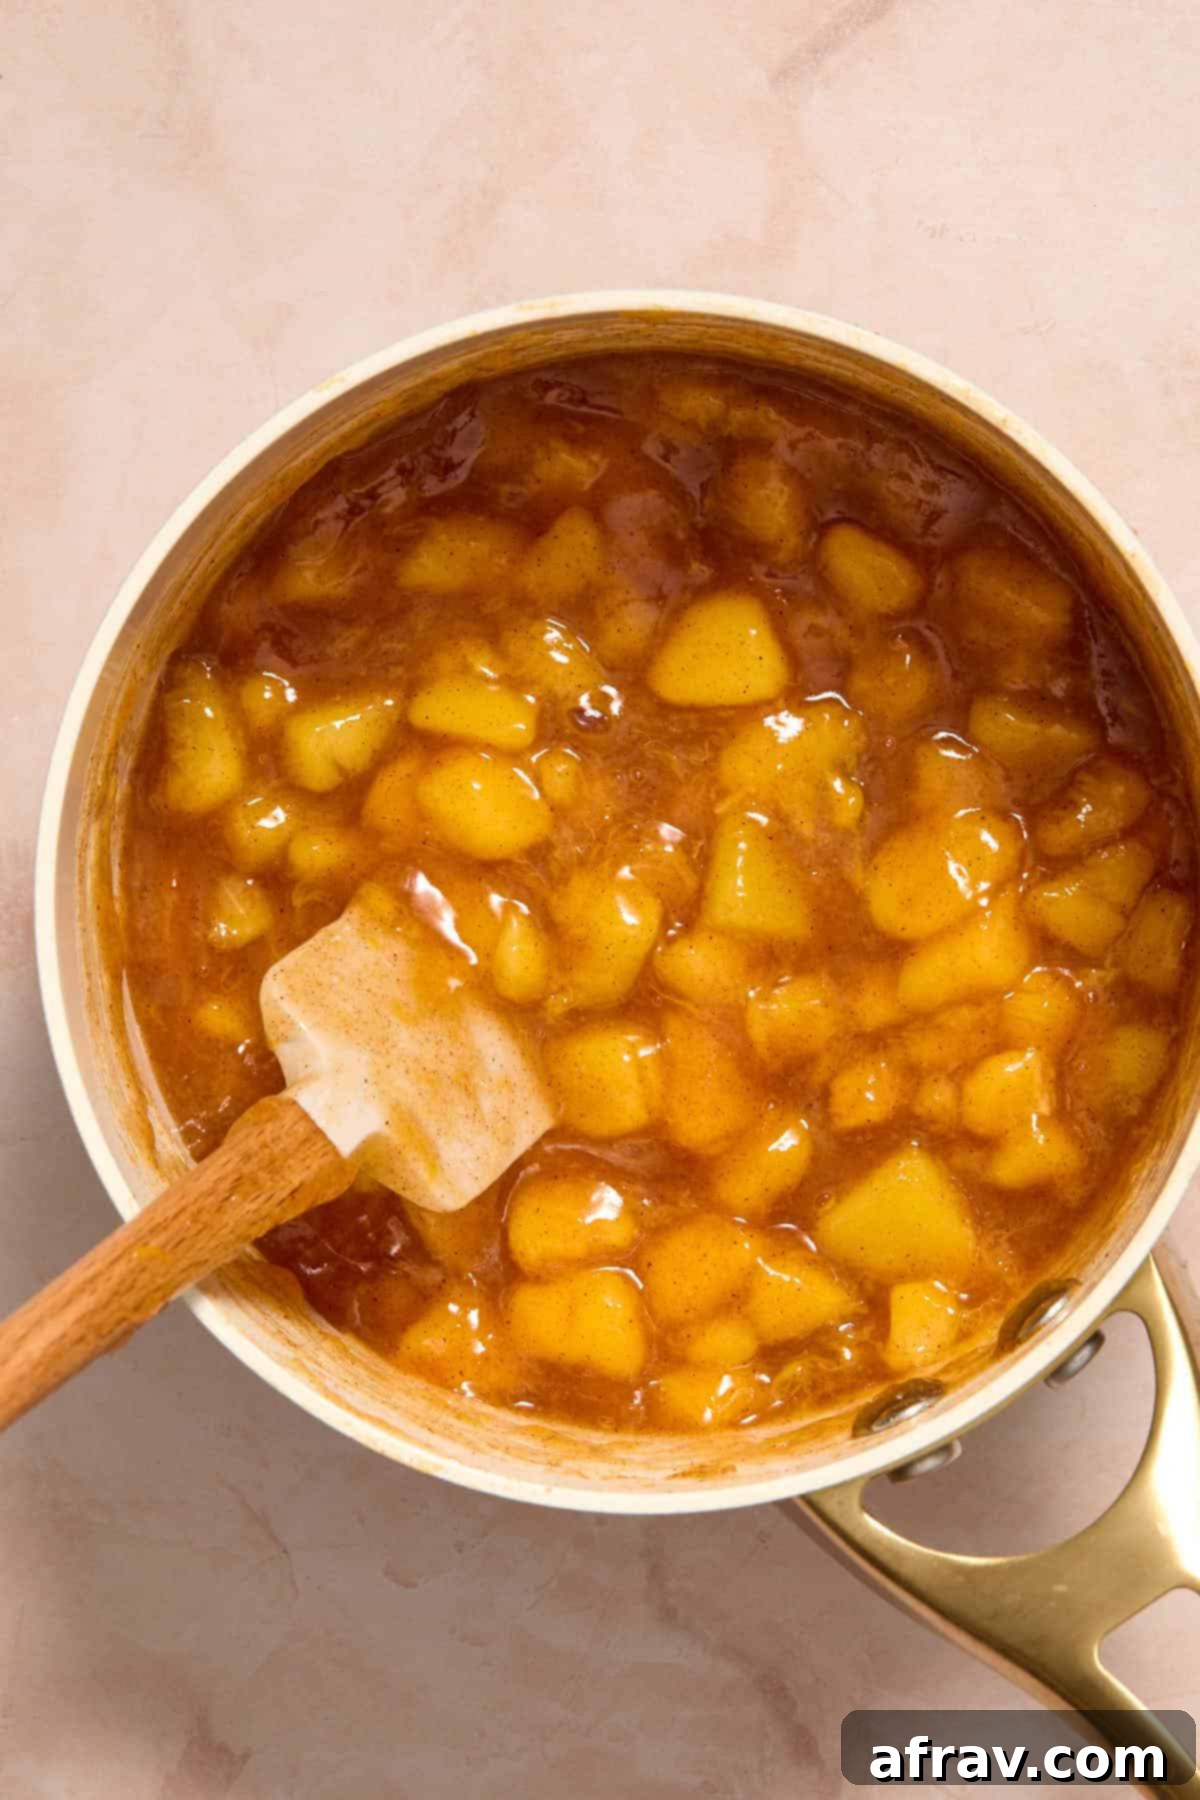
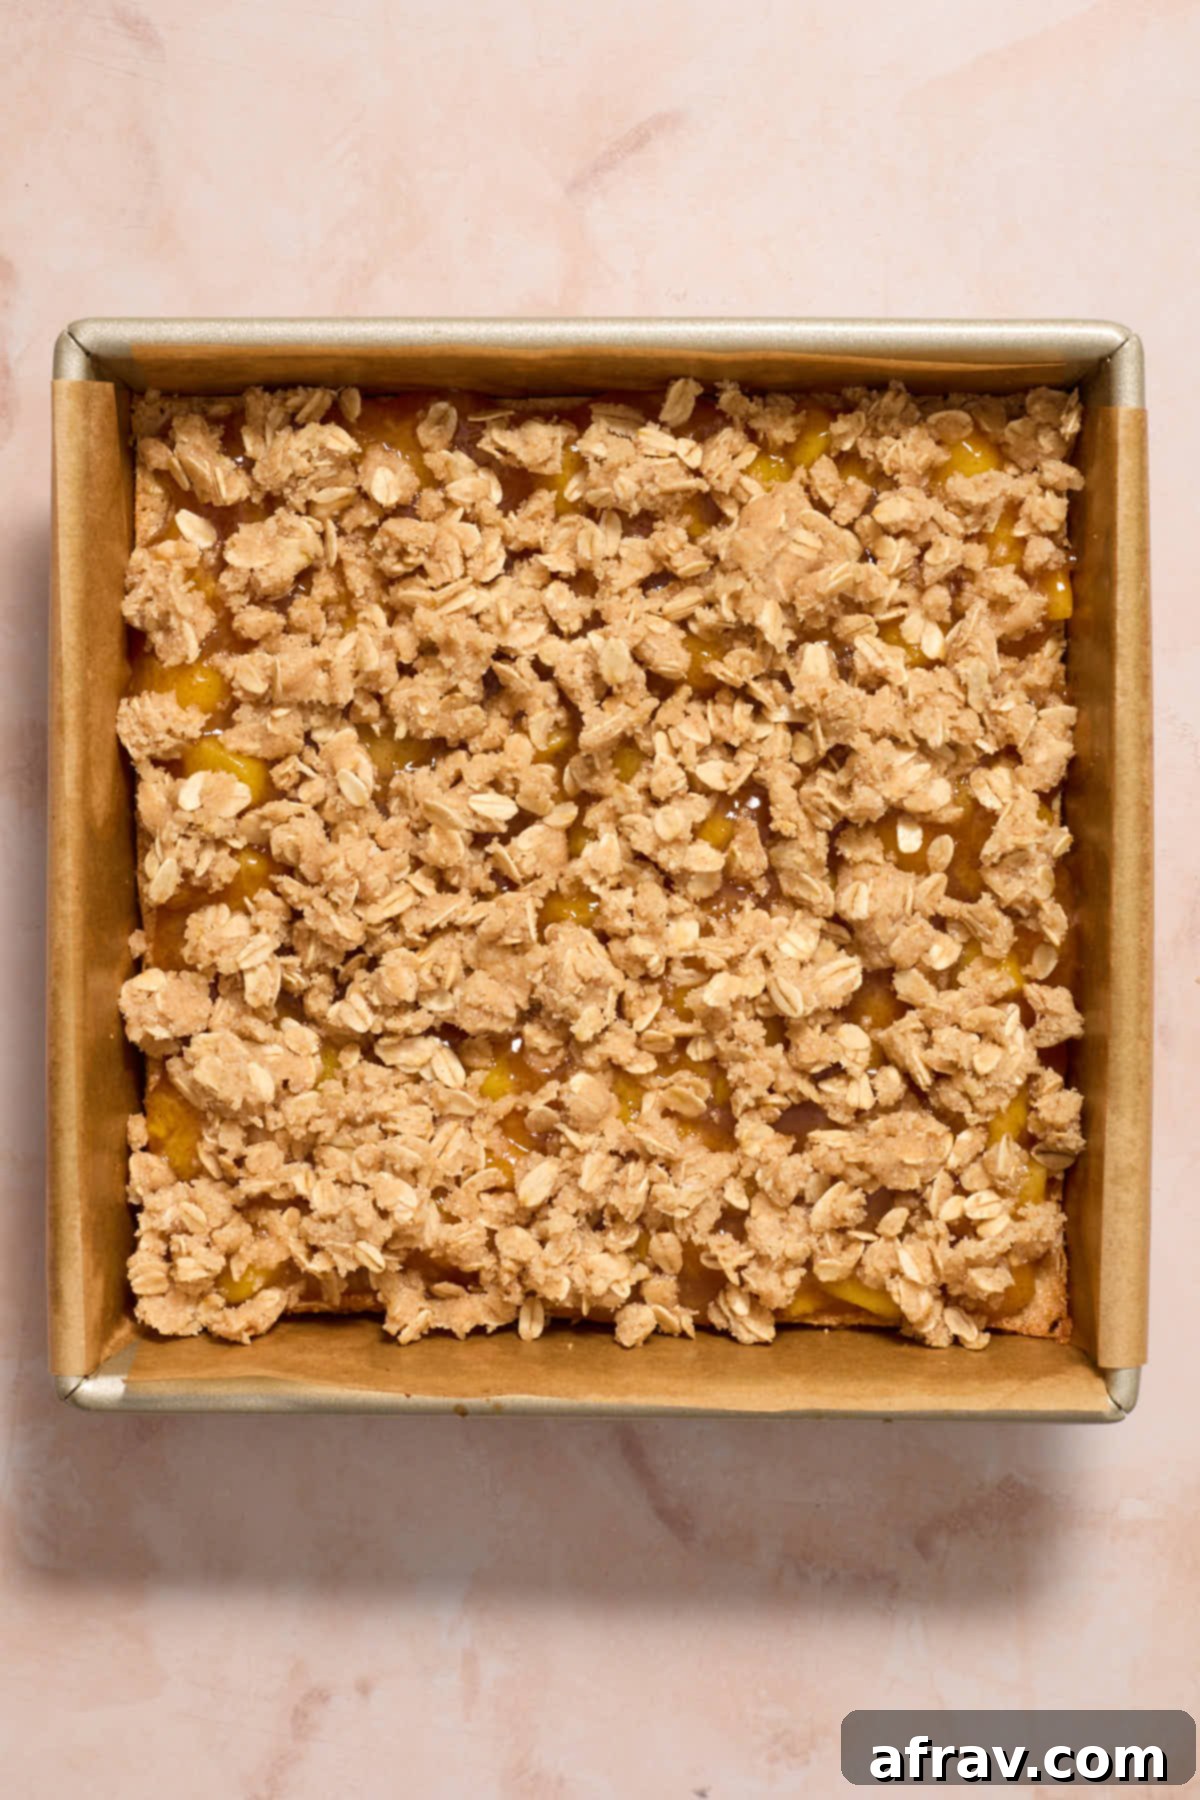
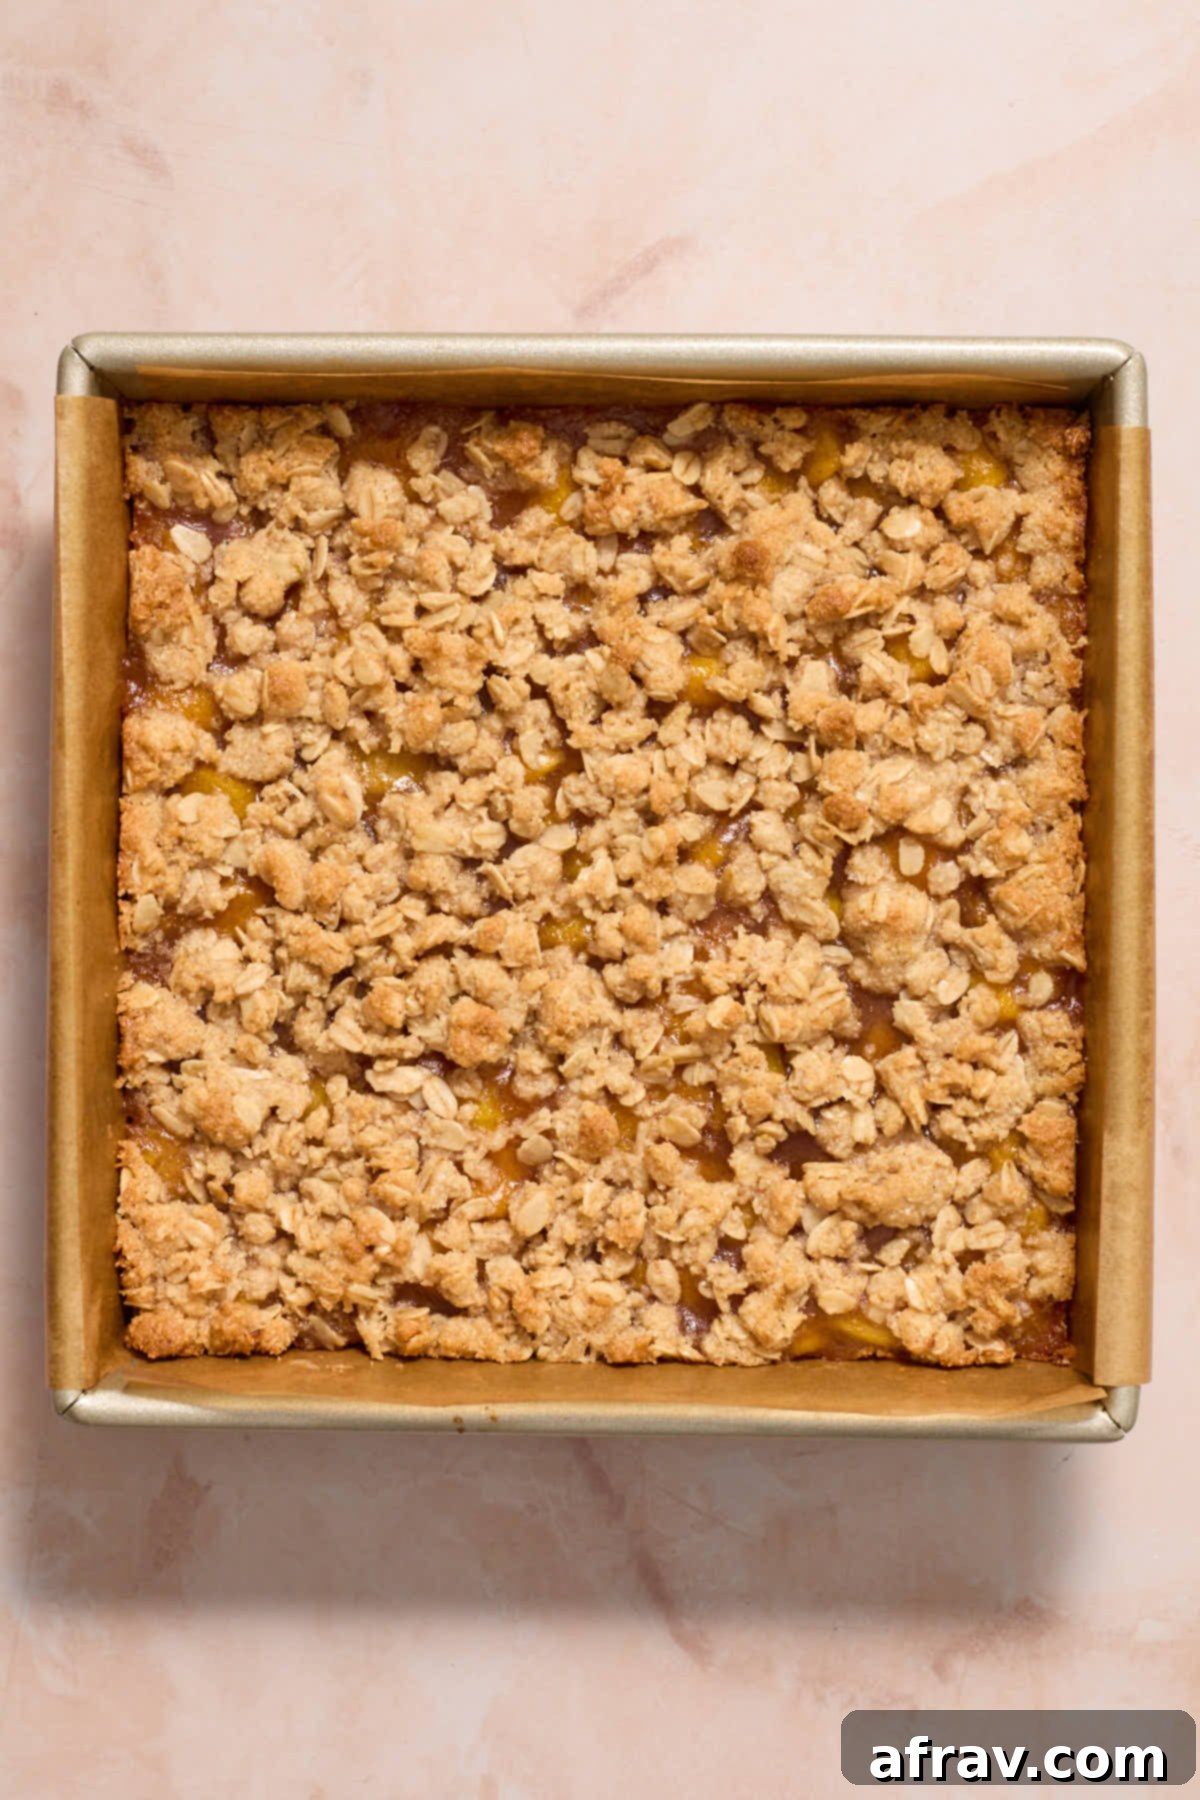
As highlighted earlier, crafting these delectable bars involves a few distinct stages. However, each step is quick, straightforward, and contributes to a beautifully cohesive final product. These bars bake up remarkably fast because we employ smart techniques: pre-cooking the filling to ensure juicy tenderness and pre-baking the crust for a sturdy, non-soggy foundation. Once assembled, your peach crisp bars will emerge from the oven hot, bubbling, and golden brown in a mere 15-17 minutes!
Tips for Making the Best Gluten-Free Peach Crisp Bars
Achieving perfectly crisp, juicy, and well-structured peach bars is all about these key details. Follow these expert tips for stellar results every time:
- Peeling the Peaches: While some bakers prefer blanching peaches in boiling water to loosen the skins, I’ve always found that a sharp vegetable peeler is the easiest and most efficient method, especially with firm, ripe peaches. If your peaches are on the softer side, blanching might be helpful, but generally, a good peeler will do the trick without extra steps. Peeling ensures a smooth, pleasing texture in the filling.
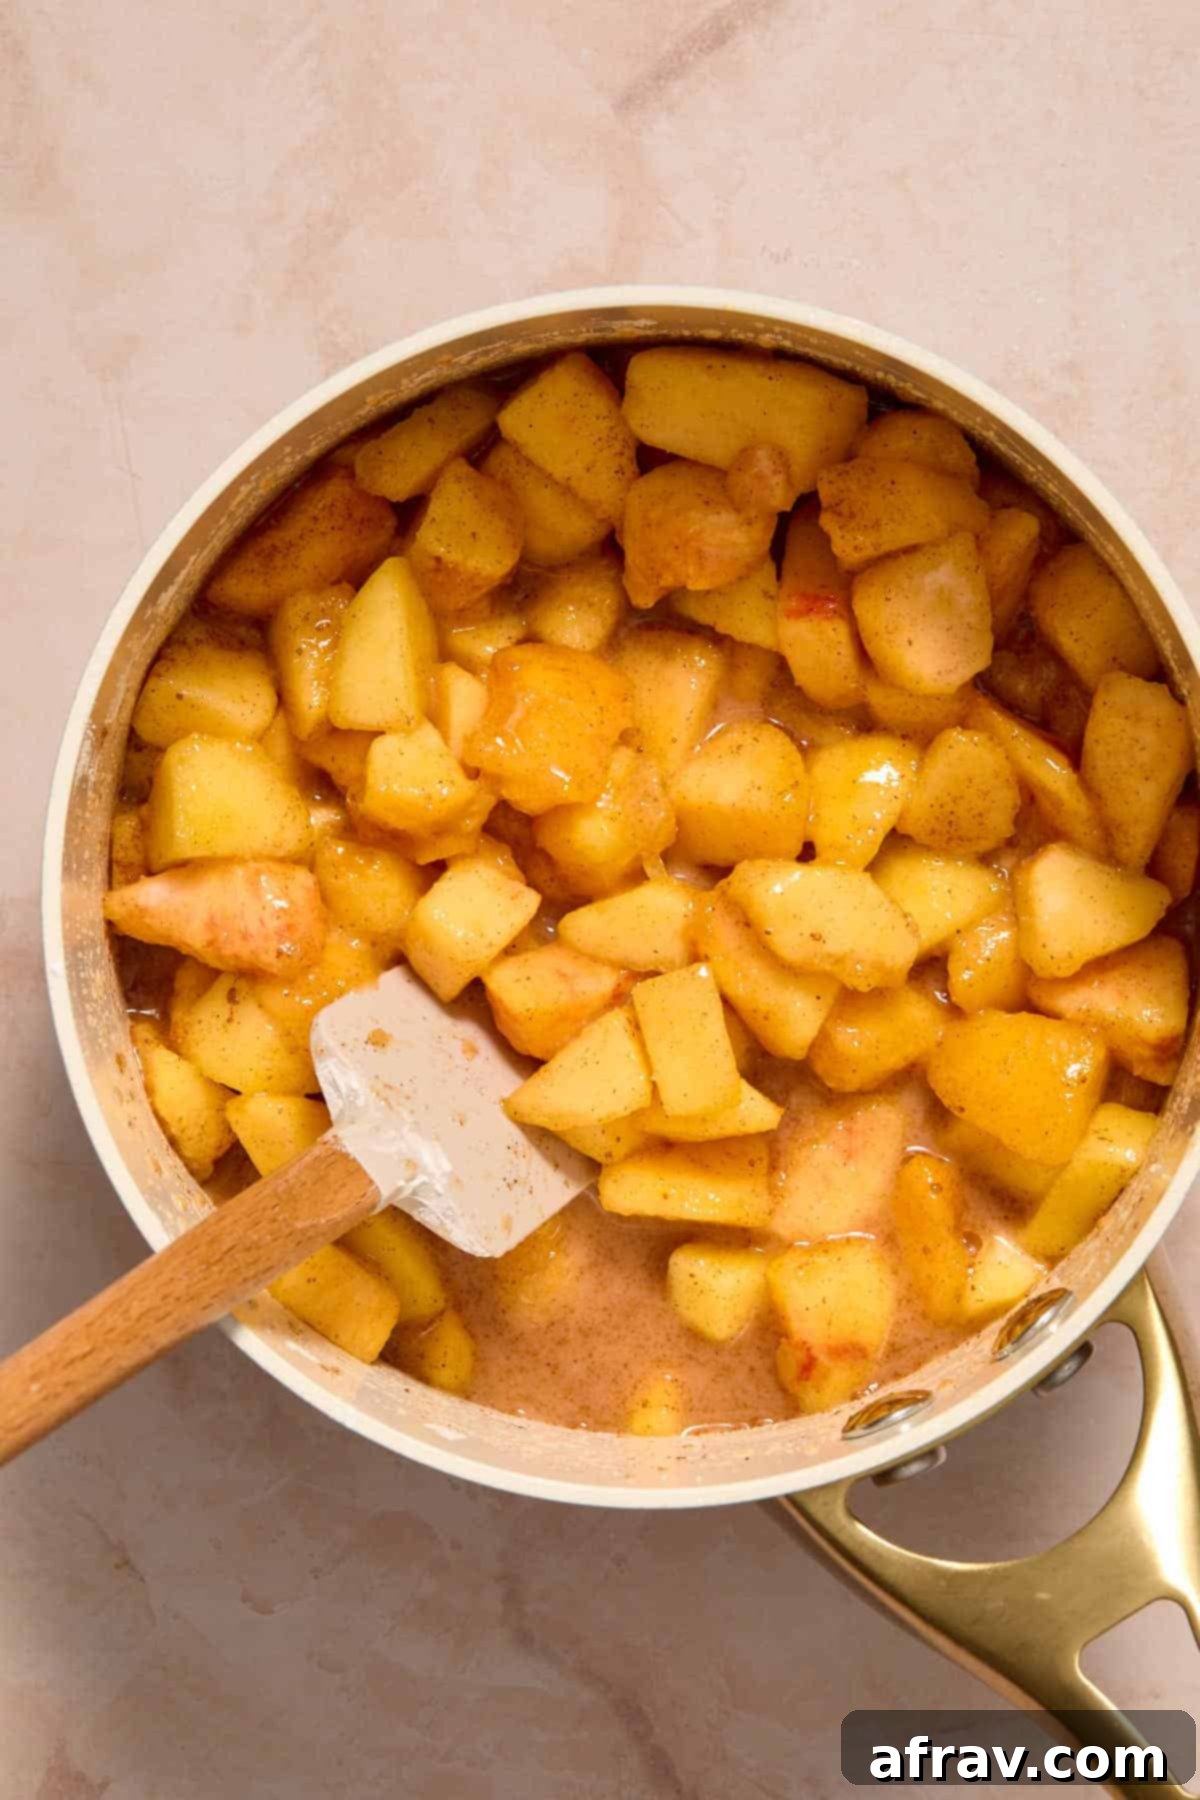
- Pre-Cook the Peach Filling First: This is a crucial step for these crisp bars. The crumble topping browns relatively quickly, and if the peach filling isn’t partially cooked beforehand, the peaches might remain too firm by the time your topping is perfectly golden. Pre-cooking ensures the peaches reach that ideal tender, juicy consistency while the filling thickens beautifully. When cooking, aim for just-softened peaches – you don’t want them overly soft or they will become mushy after baking.
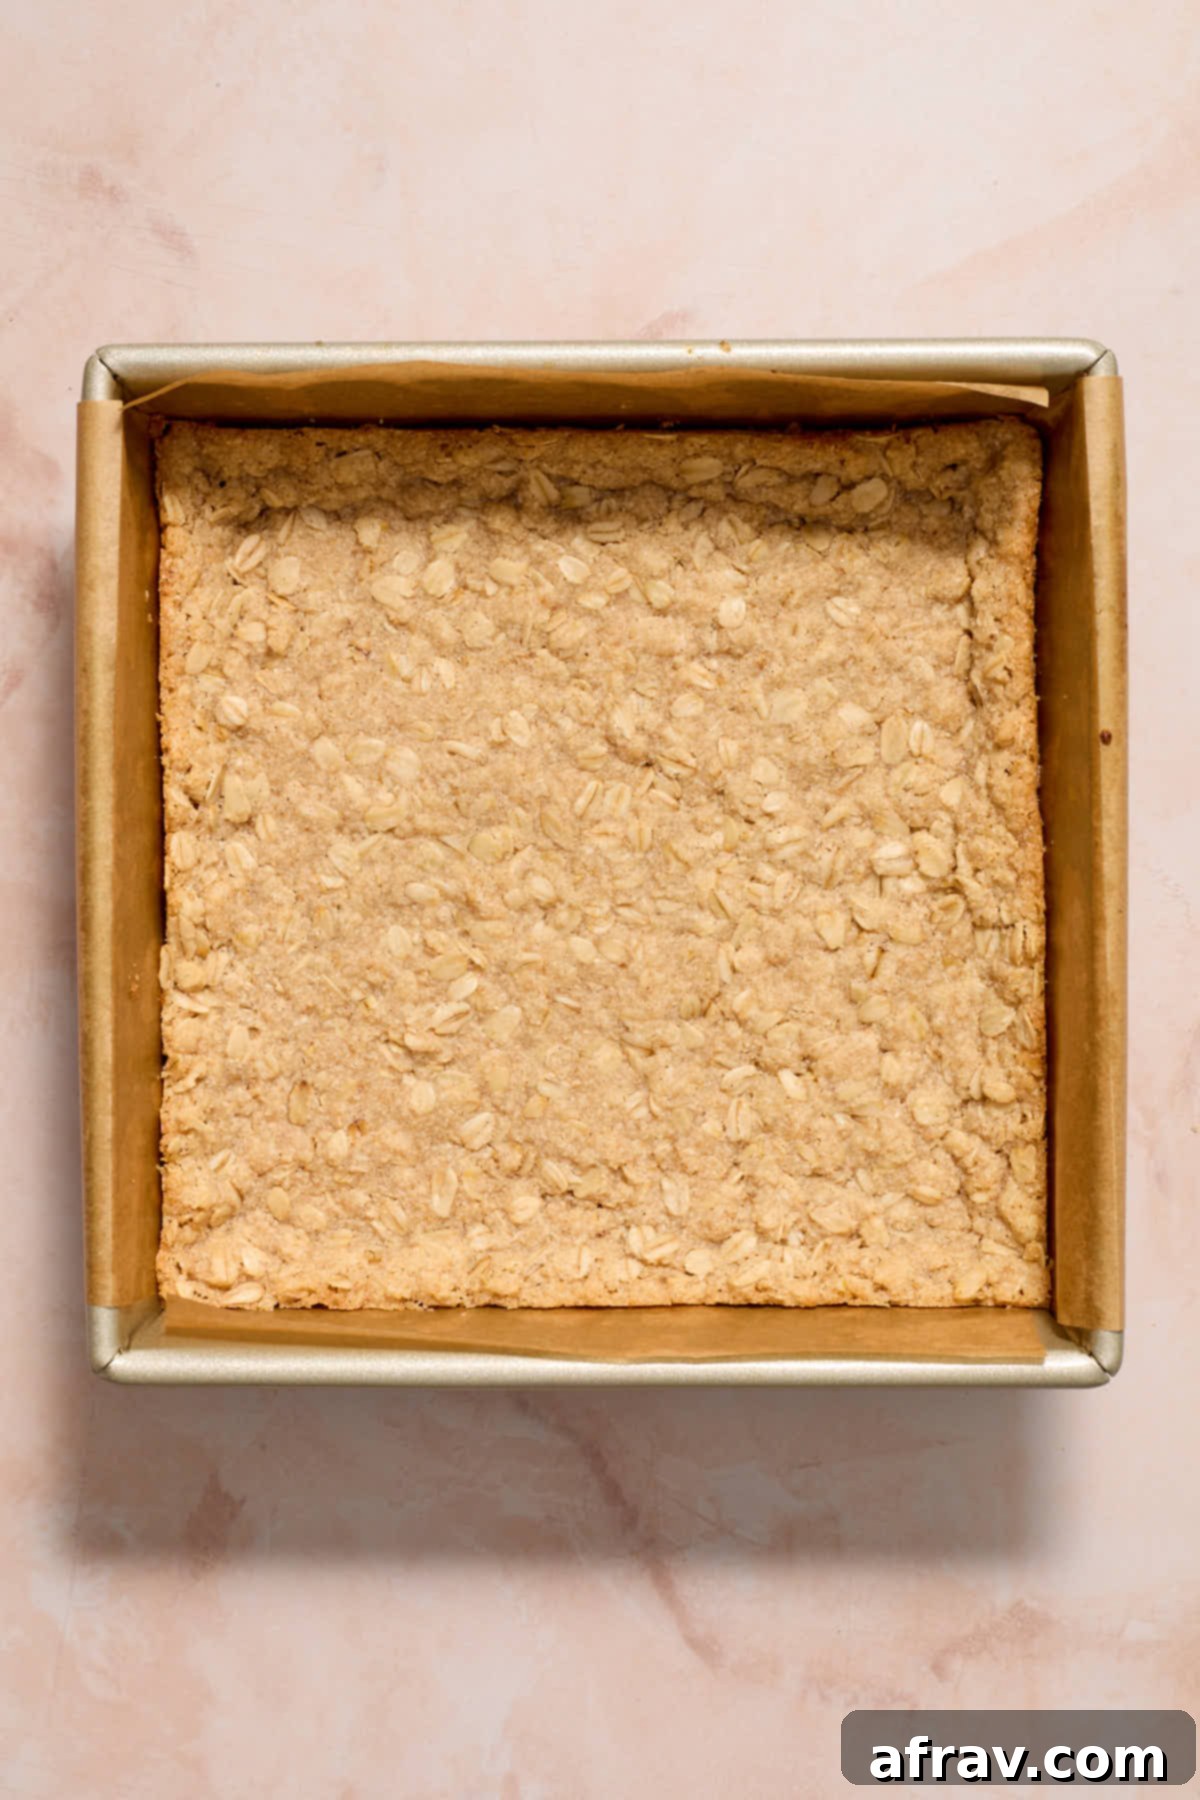
- Pre-Bake the Crust: With a generous, juicy peach filling, a sturdy crust is essential to prevent sogginess. Pre-baking the crust for about 10 minutes helps it set and become firm enough to hold up the heavy filling. An added bonus: as the crust cools, the middle tends to sink slightly, creating a natural, subtle “edge” that perfectly cradles the peach filling and prevents it from spilling over.
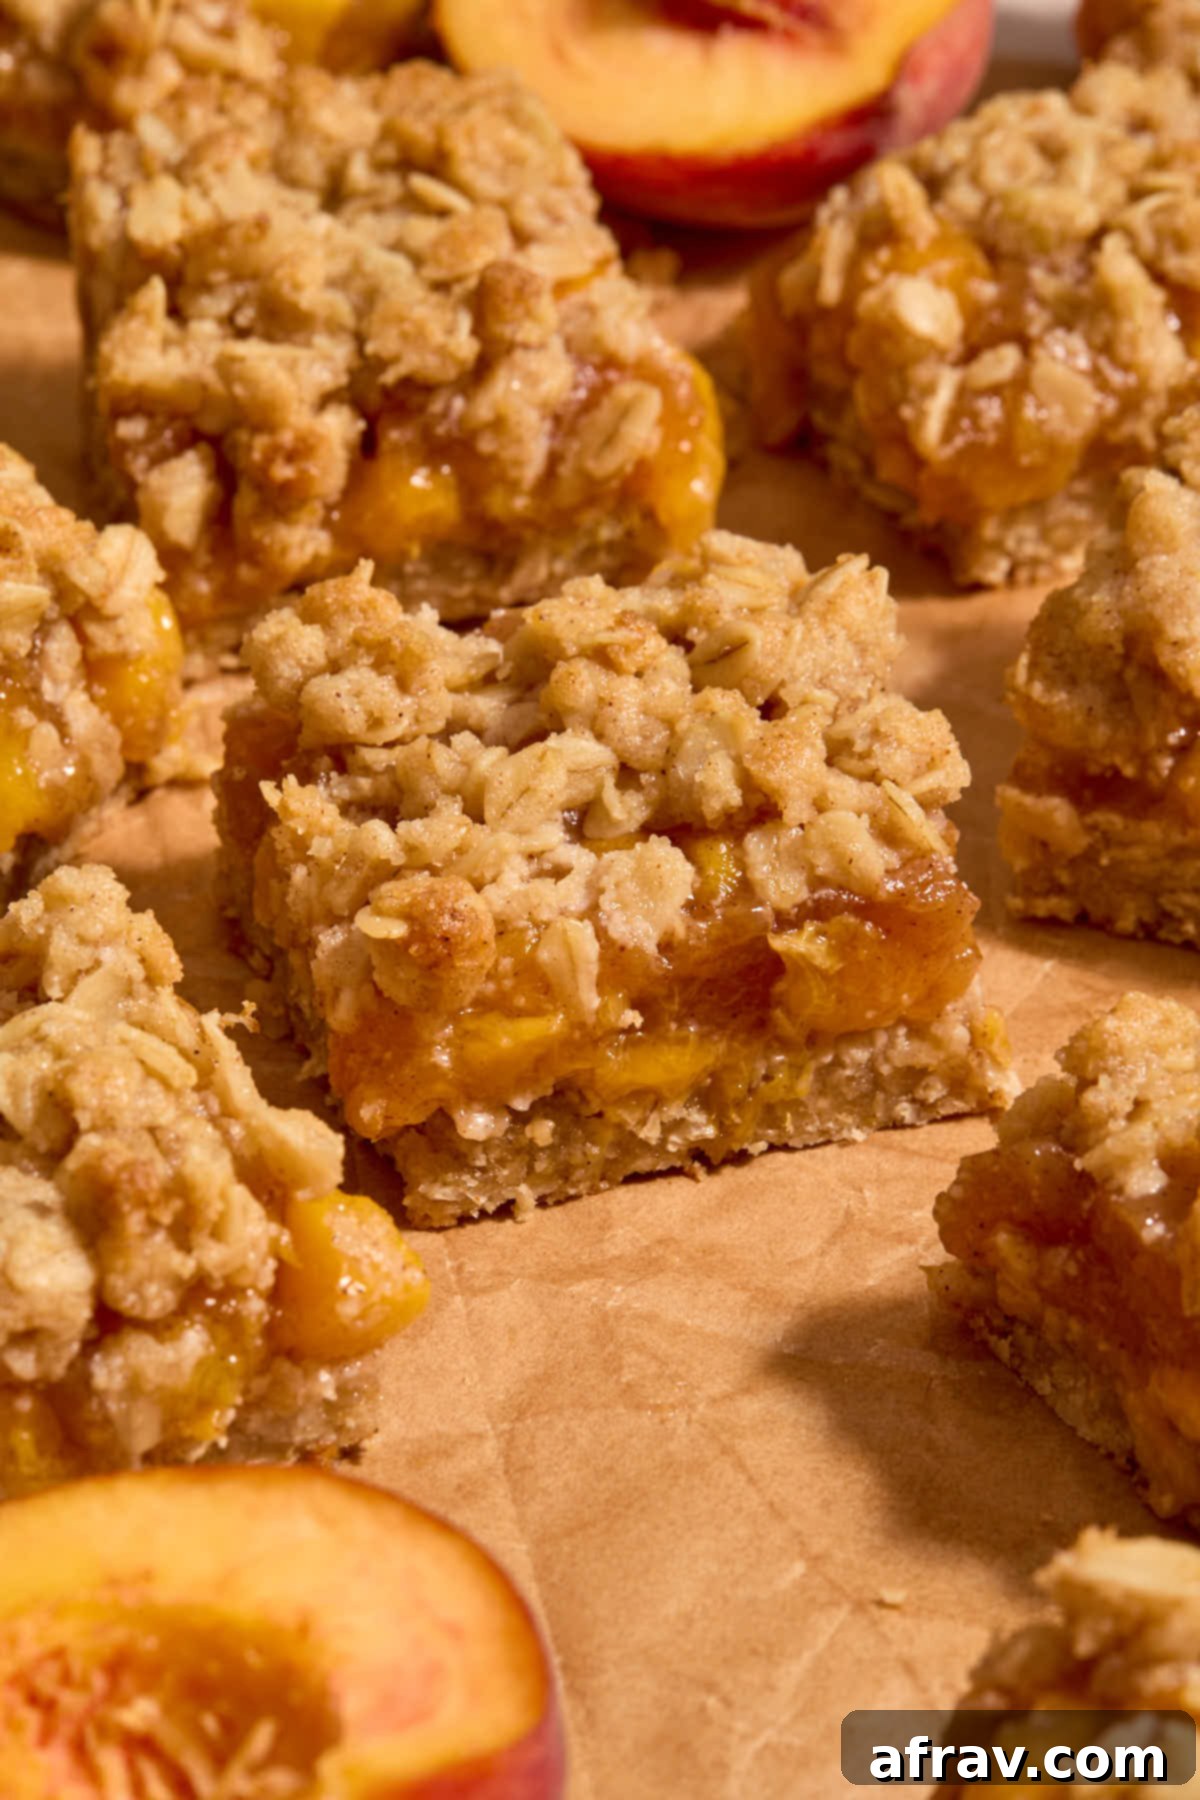
- Chill the Bars Thoroughly: Patience is a virtue, especially with these bars! Once they’ve finished baking, allow them to cool completely at room temperature first. Then, transfer them to the fridge for at least 2-3 hours, or ideally overnight. This chilling period is vital for the filling to fully set and for the bars to firm up, ensuring you can cut them into neat, clean squares without them falling apart.
- Option to Serve Warm (Embrace the Mess!): If you’re not concerned about perfectly cut bars and crave the ultimate warm, gooey crisp experience, feel free to cut into them while they’re still warm. Be warned, they will be a little messy and might not hold their shape perfectly, but serving them warm with a generous scoop of vanilla ice cream is an absolutely divine indulgence!
- Use a Parchment Paper Sling: For effortless removal of the entire slab of bars from the pan, line your baking dish with parchment paper, leaving an overhang on two sides. Once cooled and chilled, simply use these overhangs to lift the whole block out, making slicing a breeze.
- Don’t Overmix the Crumble: When combining the wet and dry ingredients for the crust/topping, mix just until combined. Overmixing can develop the gluten in the oats (even if gluten-free) and result in a tougher crust and topping.
Storage and Freezing Tips
Proper storage ensures your peach crisp bars remain fresh and delicious for as long as possible:
- Refrigeration: These bars are best stored in an airtight container in the refrigerator. They will maintain their crispy texture and delectable flavor for 3-4 days. Always allow them to cool completely before covering and refrigerating to prevent condensation, which can make them soggy.
- Freezing: While technically you *can* freeze these bars, I generally don’t recommend it if you’re aiming for the original crisp texture. The moisture from the peaches and the oats tends to become soft and loses its crispness upon thawing, resulting in a slightly different, less appealing texture. If you must freeze, wrap individual bars tightly in plastic wrap, then place them in an airtight freezer-safe container for up to 1 month. Thaw in the refrigerator overnight before serving.
Recipe FAQs
It’s not absolutely necessary, as peach skins are edible, but I personally prefer the smoother texture of the filling with peeled peaches. It makes for a more refined eating experience.
Absolutely! Frozen peaches are a fantastic option for enjoying these bars outside of peach season. Just be sure to thaw them completely first and drain off any excess liquid before using them in the filling. If they’re sliced, chop them into chunks similar to fresh peaches.
I haven’t tested this particular recipe with canned peaches, and I generally don’t recommend it. Canned peaches are typically already softened and packed in syrup, which could make the filling too mushy and overly sweet, altering the intended texture and flavor balance.
These bars are best stored in an airtight container in the refrigerator, where they will stay wonderfully crispy and delicious for 3-4 days. As for freezing, while possible, I’m not a fan of it for these specific bars. They tend to lose their signature crisp texture once defrosted, making them less enjoyable.
Yes, you can! This recipe is quite adaptable. Berries (like blueberries, raspberries), apples, or even cherries would work well. You might need to adjust the amount of sugar and cornstarch slightly depending on the sweetness and juiciness of the chosen fruit.
More Almond Flour Recipes
If you love baking with almond flour as much as we do, here are some other fantastic gluten-free recipes to try:
- Almond Flour Lemon Blueberry Bread
- Almond Flour Vanilla Cupcakes
- Almond Flour Lemon Poppy Seed Cake
If you bake these delightful Gluten-Free Almond Flour Peach Crisp Bars, I’d absolutely love to hear what you think! Please share your feedback and experience in the comments below.
HUNGRY FOR MORE? Follow Crumb Top Baking on Instagram, Pinterest and Facebook for more delicious recipes!
Print

Almond Flour Peach Crisp Bars
5 Stars
4 Stars
3 Stars
2 Stars
1 Star
5 from 21 reviews
- Author: Leanne
Prep Time: 25 minutes
Chilling Time: 3 hours
Cook Time: 35 minutes
Total Time: 4 hours
Yield: 16 bars
Category: Dessert
Method: Bake
Cuisine: American, Canadian
Diet: Gluten Free
Description
These Almond Flour Peach Crisp Bars have a buttery, gluten-free crust and oat crumble topping (made from the same recipe) and a sweet and juicy homemade peach filling! They are the perfect summer dessert, easy to make ahead, and delightful served warm or chilled.
Ingredients
For the crust and topping:
- 1 1/2 cups (170g) large flake rolled oats (certified gluten-free if needed)
- 1 1/4 cups (130g) fine blanched almond flour
- 1/4 cup (30g) cornstarch
- 1/2 cup (110g) granulated sugar
- 1/4 cup (57g) light brown sugar, packed
- 1 teaspoon ground cinnamon
- 1 teaspoon baking powder
- 1/2 teaspoon fine sea salt
- 1 teaspoon vanilla extract
- 3/4 cup (170g) unsalted butter, melted
For the peach filling:
- 1 1/2 pounds fresh peaches, about 6 medium-sized peaches, peeled and cut into chunks (about 3 1/2 cups)
- 1/3 cup (70g) granulated sugar
- 3–4 tablespoons water (*see note)
- 2 1/2 tablespoons cornstarch
- 1 tablespoon fresh lemon juice
- 1/2 teaspoon ground cinnamon
Instructions
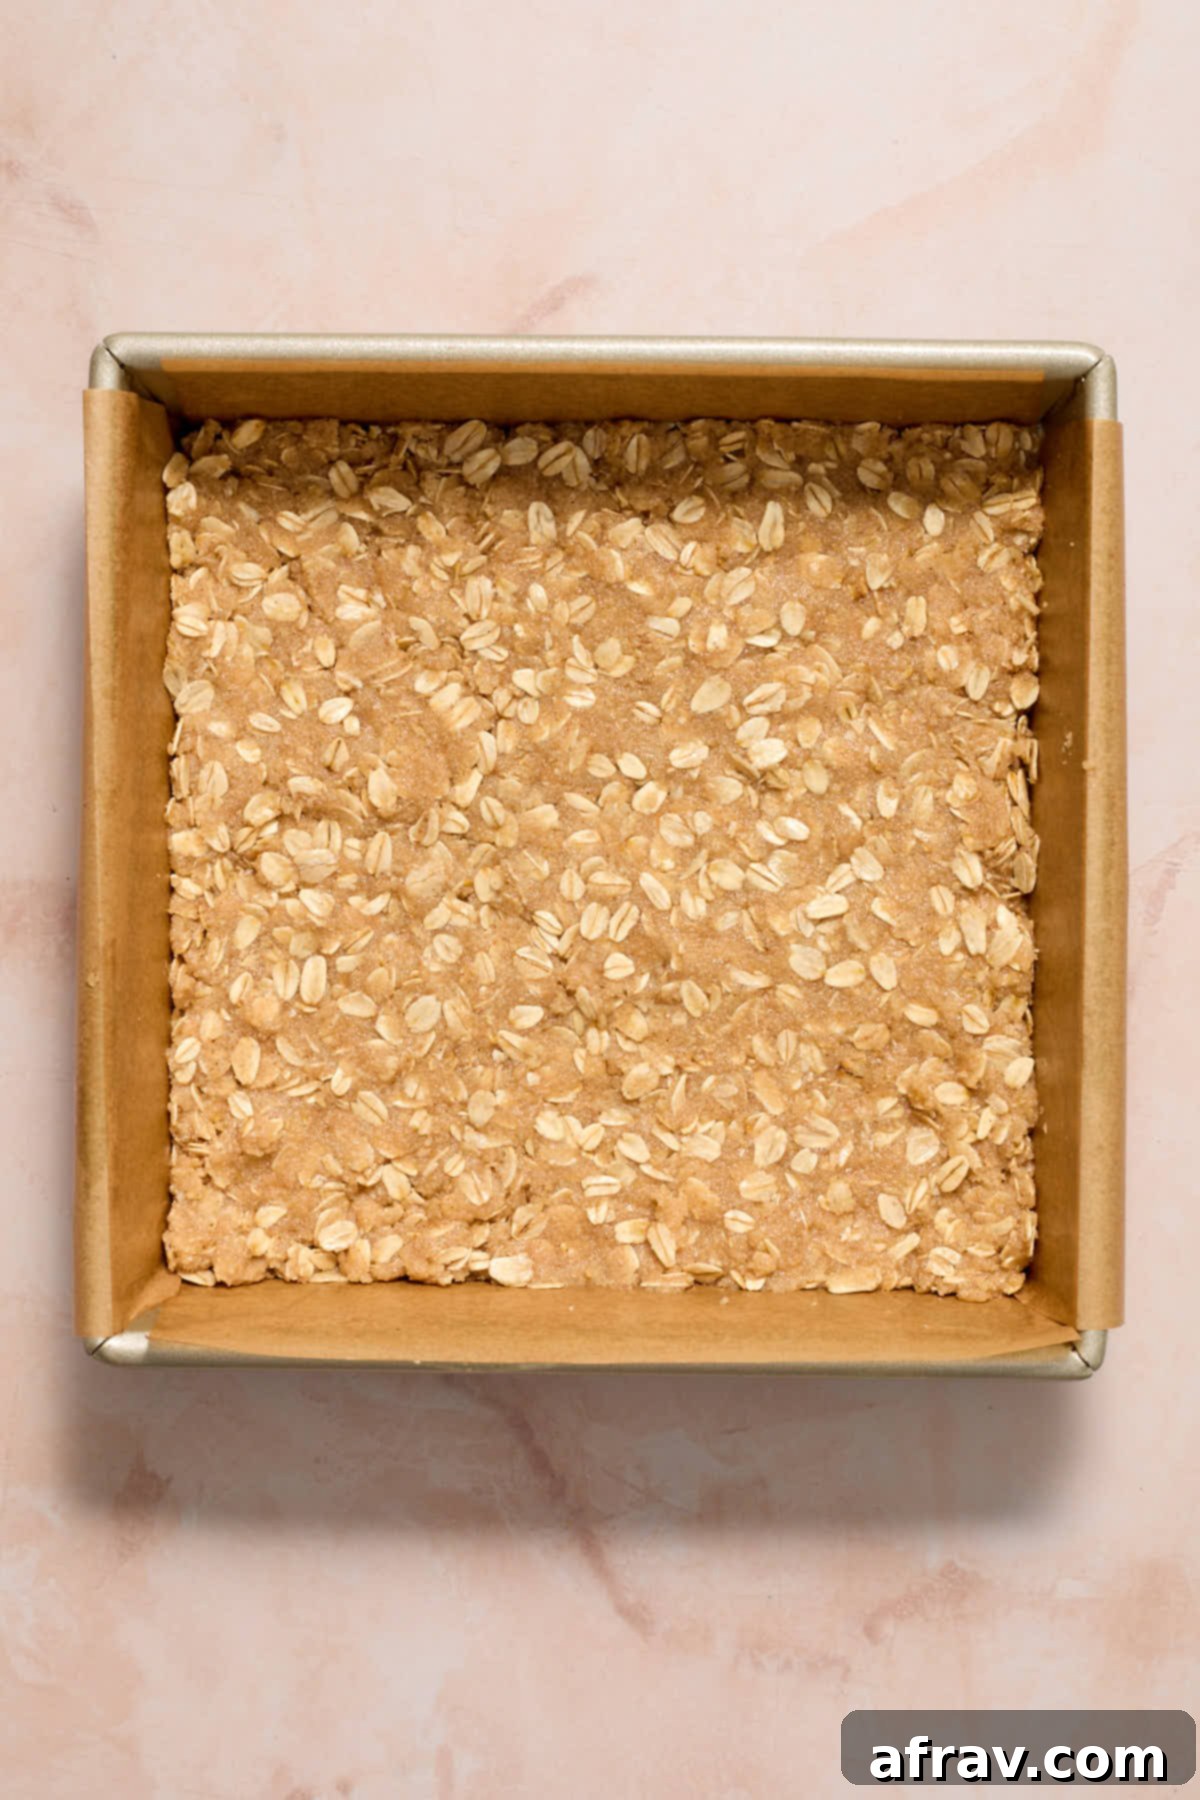
- Preheat your oven to 350°F (175°C). Prepare an 8-inch square baking pan by lightly greasing it, then lining it with parchment paper, leaving an overhang on two sides to create a “sling” for easy removal.
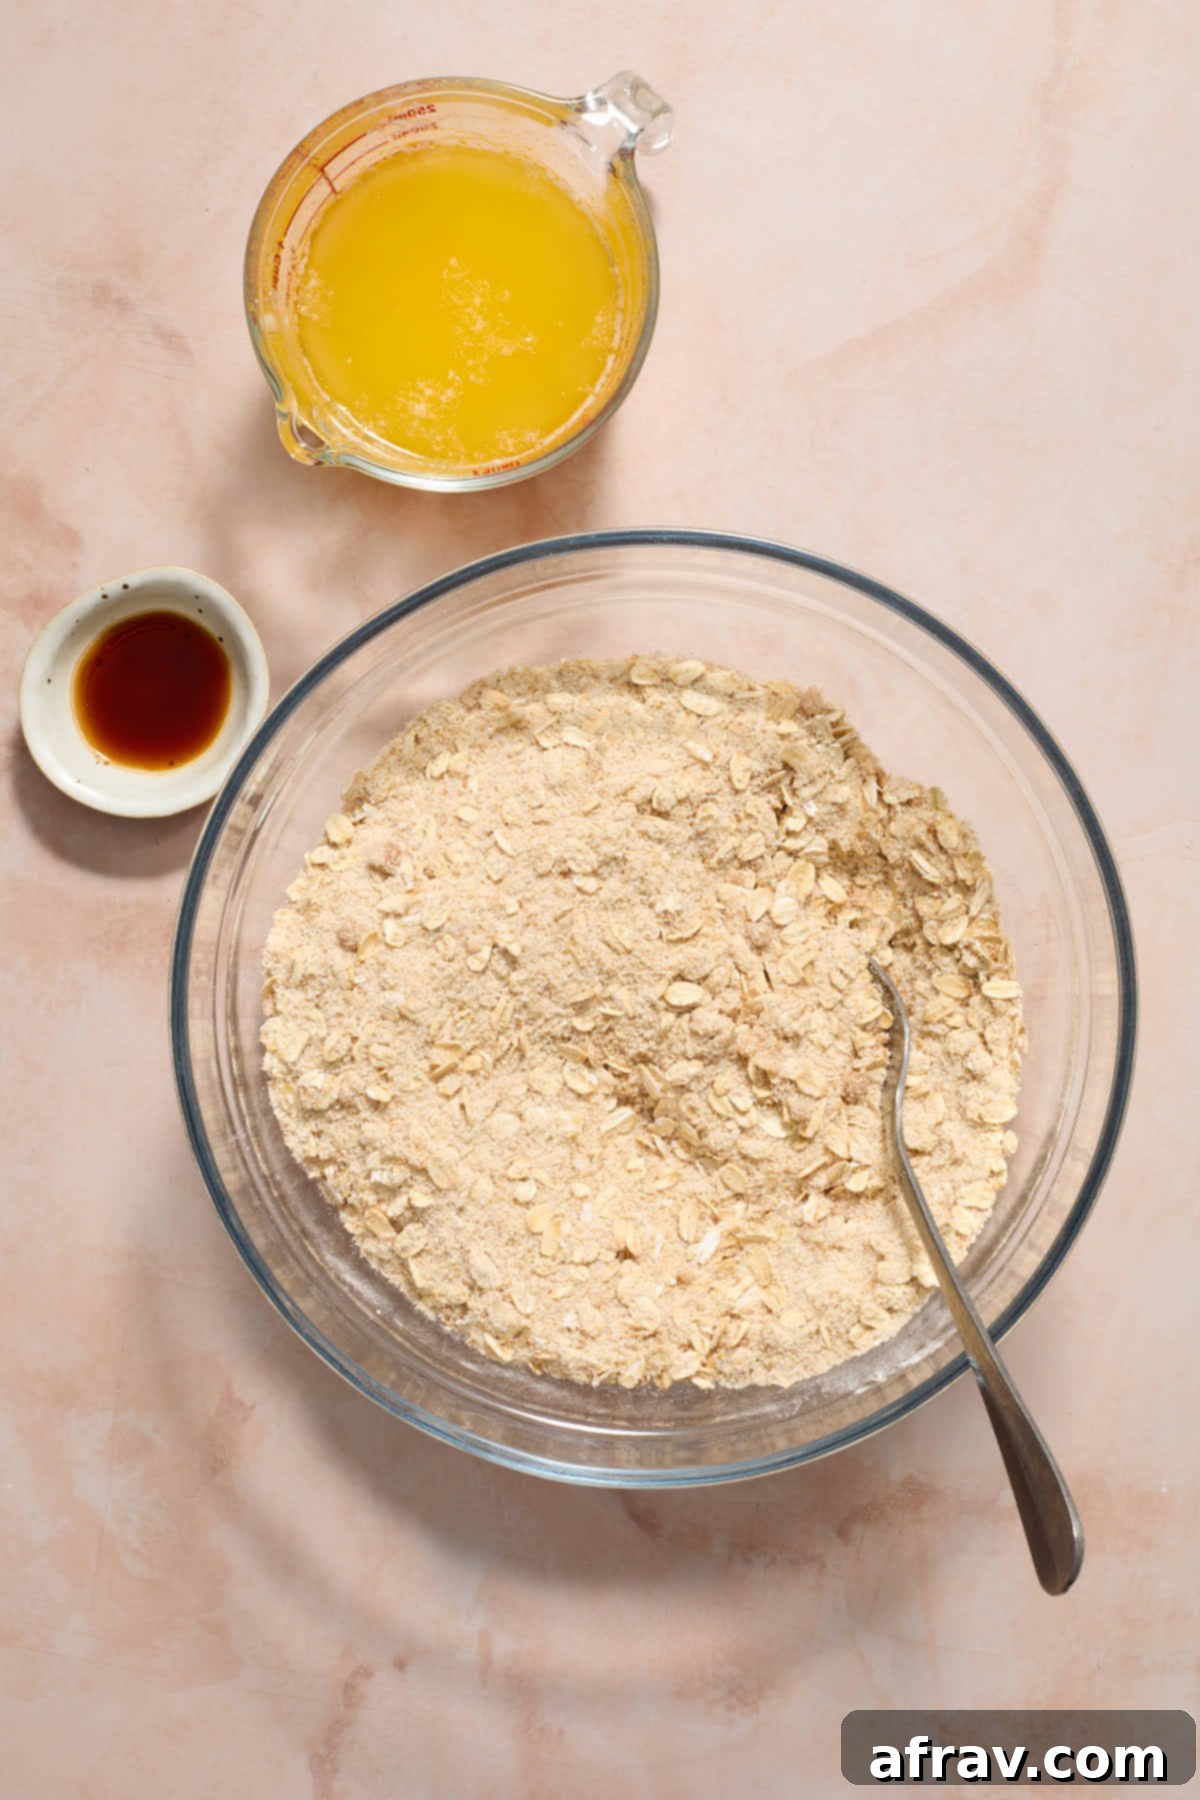
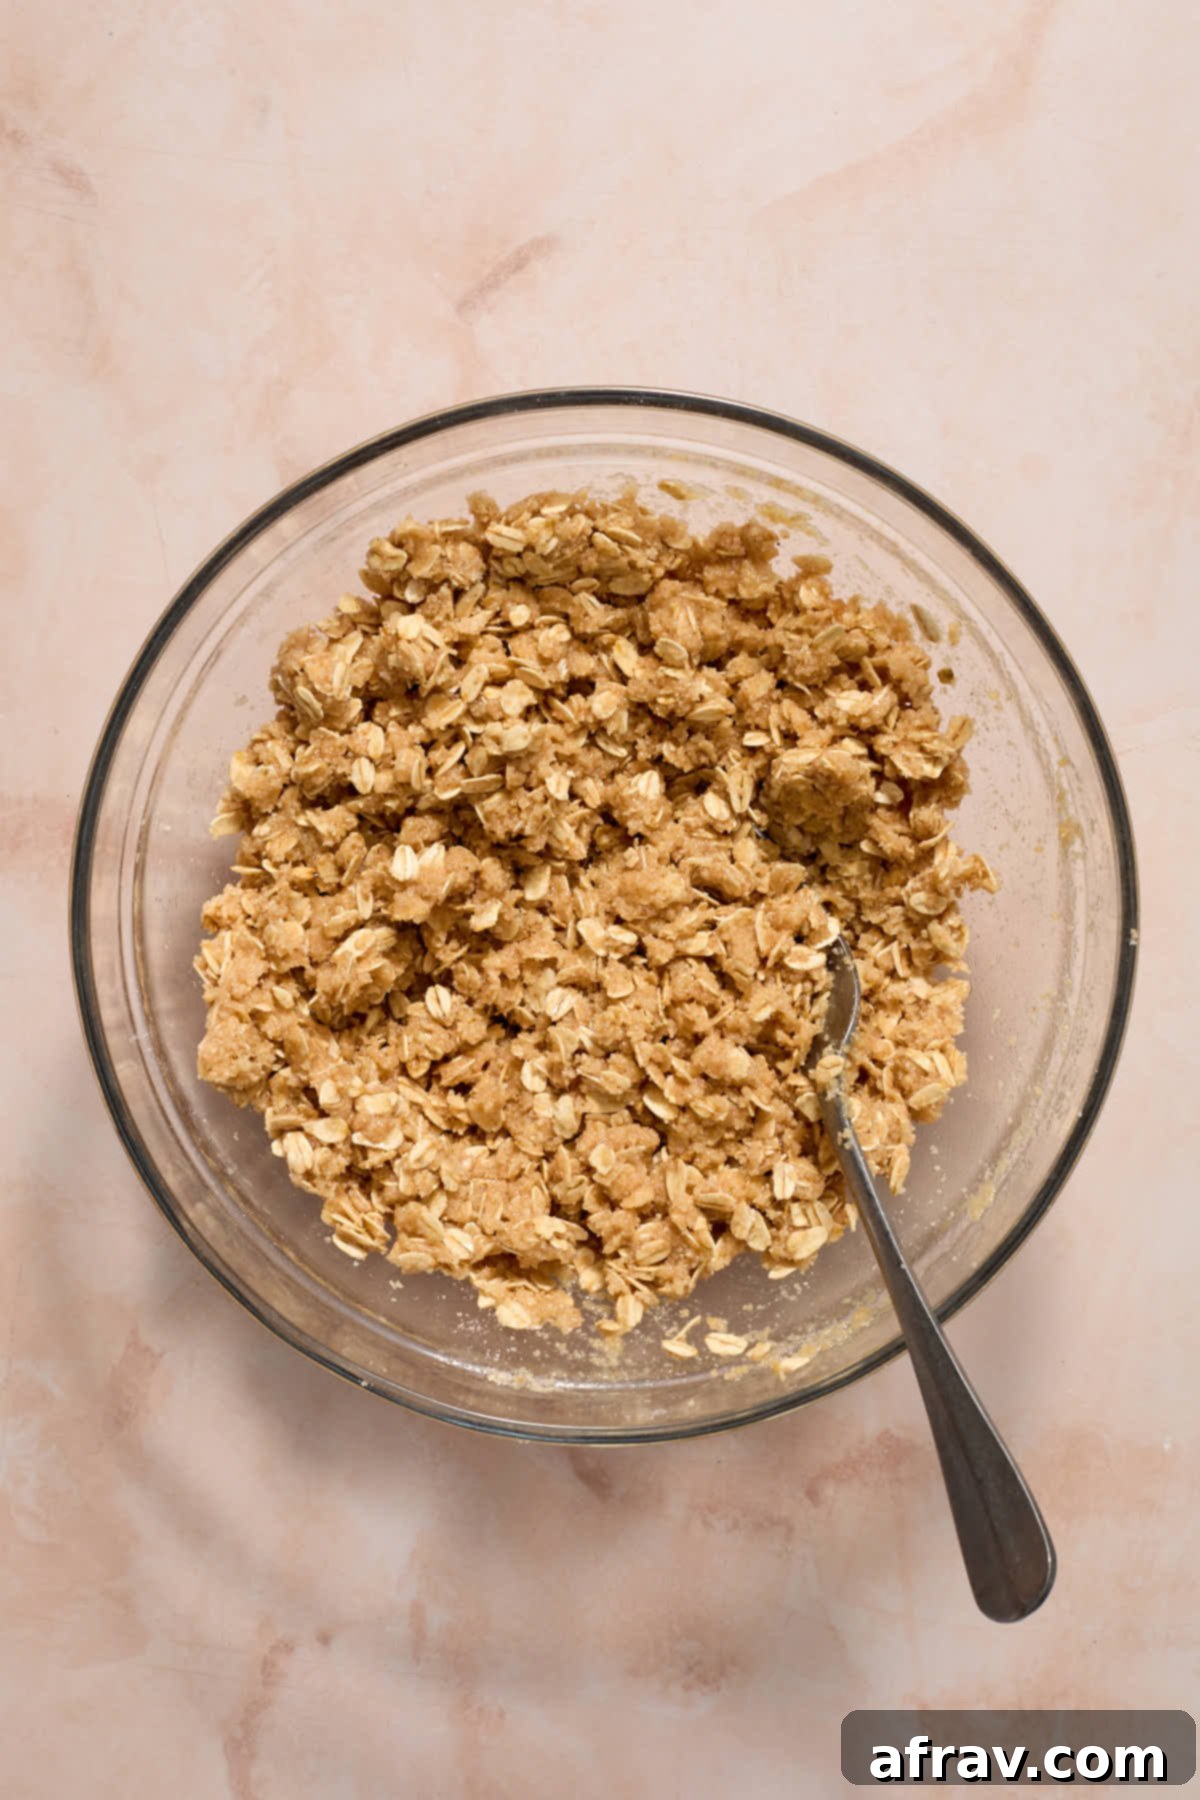
- In a large mixing bowl, whisk together all the dry ingredients for the crust and topping: large flake rolled oats, fine blanched almond flour, cornstarch, granulated sugar, light brown sugar, ground cinnamon, baking powder, and fine sea salt. Once well combined, pour in the melted unsalted butter and vanilla extract. Mix everything together with a fork until the mixture is thoroughly moistened and crumbly.
- Take about 3/4 of the oat mixture and press it firmly and evenly into the bottom of your prepared baking pan. This will form the base of your bars. Place the remaining 1/4 of the mixture in the refrigerator; this will be used as the crumble topping later.
- Bake the pressed crust for 9-11 minutes, or until the edges just begin to turn a light golden brown. The center might not appear fully set, but that’s perfectly fine. We want it to sink slightly as it cools, creating a subtle edge around the crust to beautifully contain the juicy peach filling. Let the crust cool completely while you prepare the filling.
- In a small saucepan, combine all the peach filling ingredients: chopped fresh peaches, granulated sugar, water, cornstarch, fresh lemon juice, and ground cinnamon. Stir well to ensure the cornstarch is fully dissolved and distributed amongst the peaches.
- Place the saucepan over medium heat and cook the peach mixture, stirring frequently to prevent sticking or burning. Continue cooking until the peaches have softened slightly and the mixture has visibly thickened to a jam-like consistency. This usually takes about 5-7 minutes. Remove the saucepan from the heat and let the filling cool for 10-15 minutes; it will thicken further as it cools.
- Once the crust has cooled and the filling has slightly cooled and thickened, carefully spread the peach mixture evenly over the pre-baked crust. Then, retrieve the reserved 1/4 of the oat mixture from the fridge and sprinkle it generously over the peach filling, forming your crisp topping.
- Return the pan to the oven and bake for another 15-18 minutes, or until the crumble topping is beautifully golden brown and the peach filling is bubbling invitingly around the edges. When you pull the bars out, they may still have a slight “jiggle” in the center, which is completely normal. They will continue to set and firm up as they cool to room temperature.
- For the cleanest cuts and best texture, allow the bars to cool completely at room temperature, then transfer them to the refrigerator to chill for at least 2-3 hours, or preferably overnight, before slicing them into perfect squares. Enjoy!
Notes
- The precise amount of water needed for the peach filling can vary based on how juicy your peaches are. I recommend starting with 3 tablespoons of water and only adding an additional tablespoon if you find the filling mixture to be too thick and not yielding enough liquid as it cooks.
- This recipe works well with frozen peaches. Ensure they are peeled and chopped to the desired size before starting. Crucially, let them thaw completely first and thoroughly drain off any excess liquid to prevent a watery filling.
- When preparing the peach filling on the stovetop, aim to cook the peaches until they are just tender-soft. Be careful not to overcook them to a mushy state, as they will undergo further softening during the final bake in the oven.
- To maintain the gluten-free integrity of these bars, always double-check that the oats you purchase are explicitly certified gluten-free. This prevents any potential cross-contamination with gluten-containing grains.
