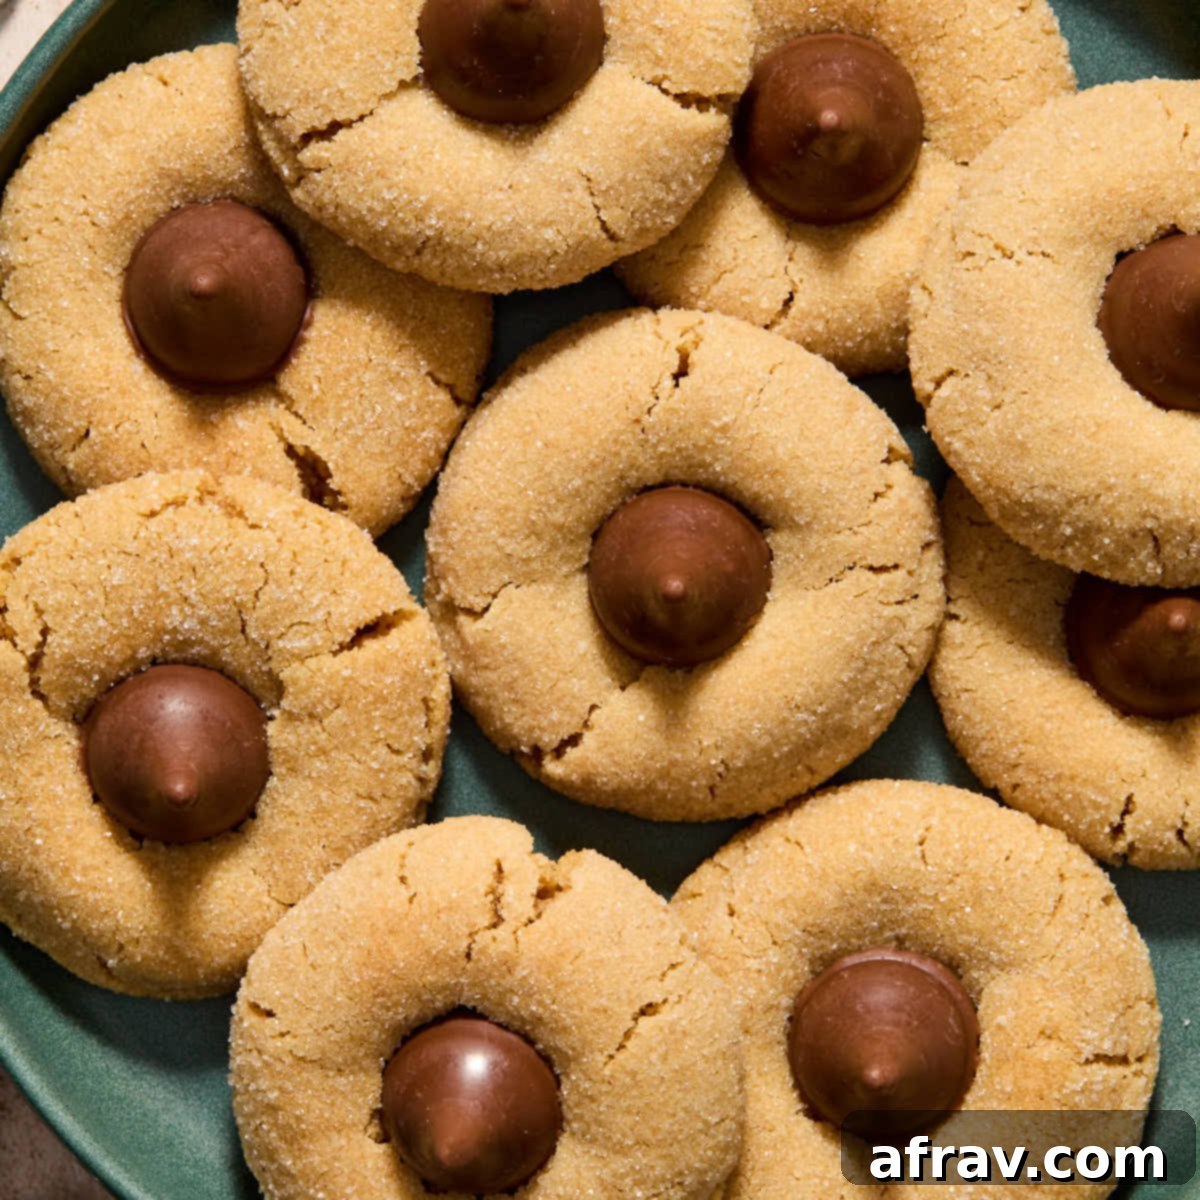
Soft & Chewy Almond Flour Peanut Butter Blossom Cookies (Gluten-Free Recipe)
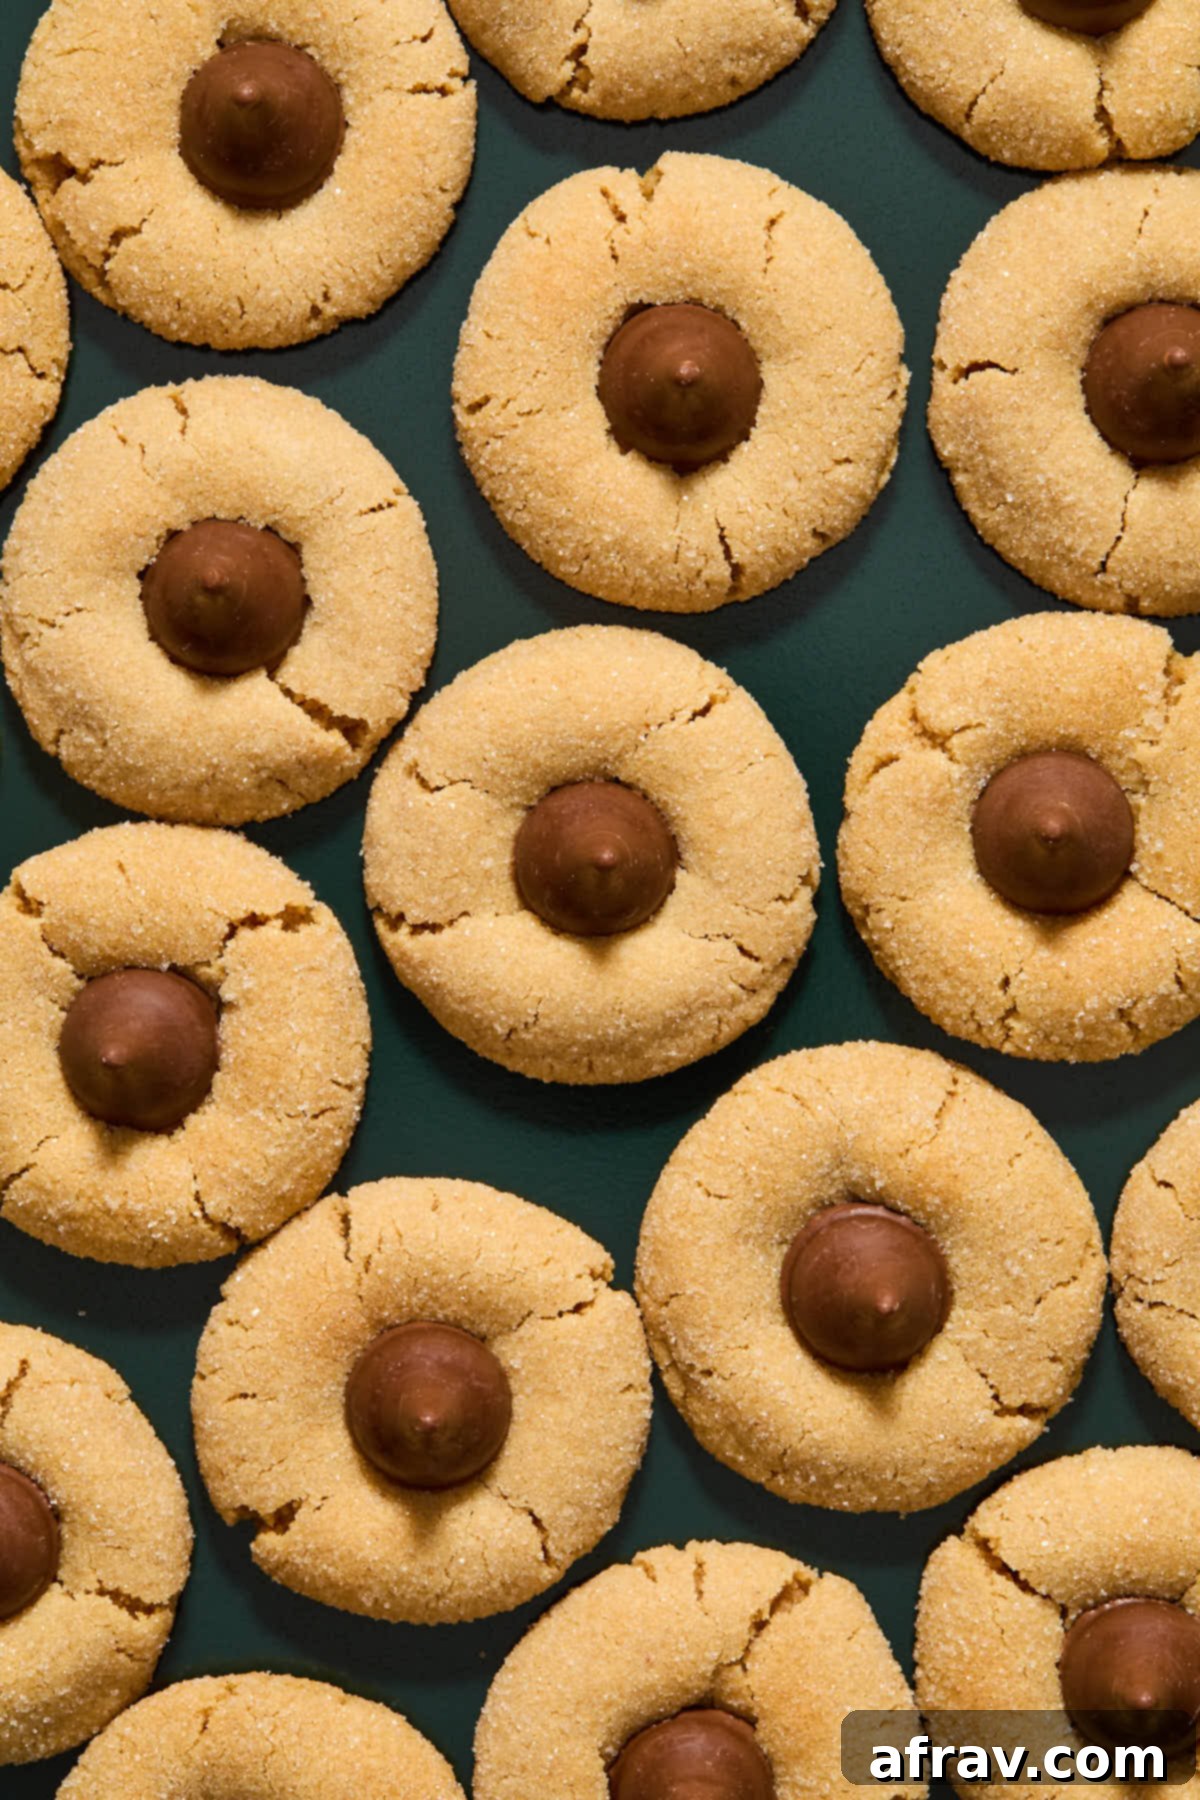
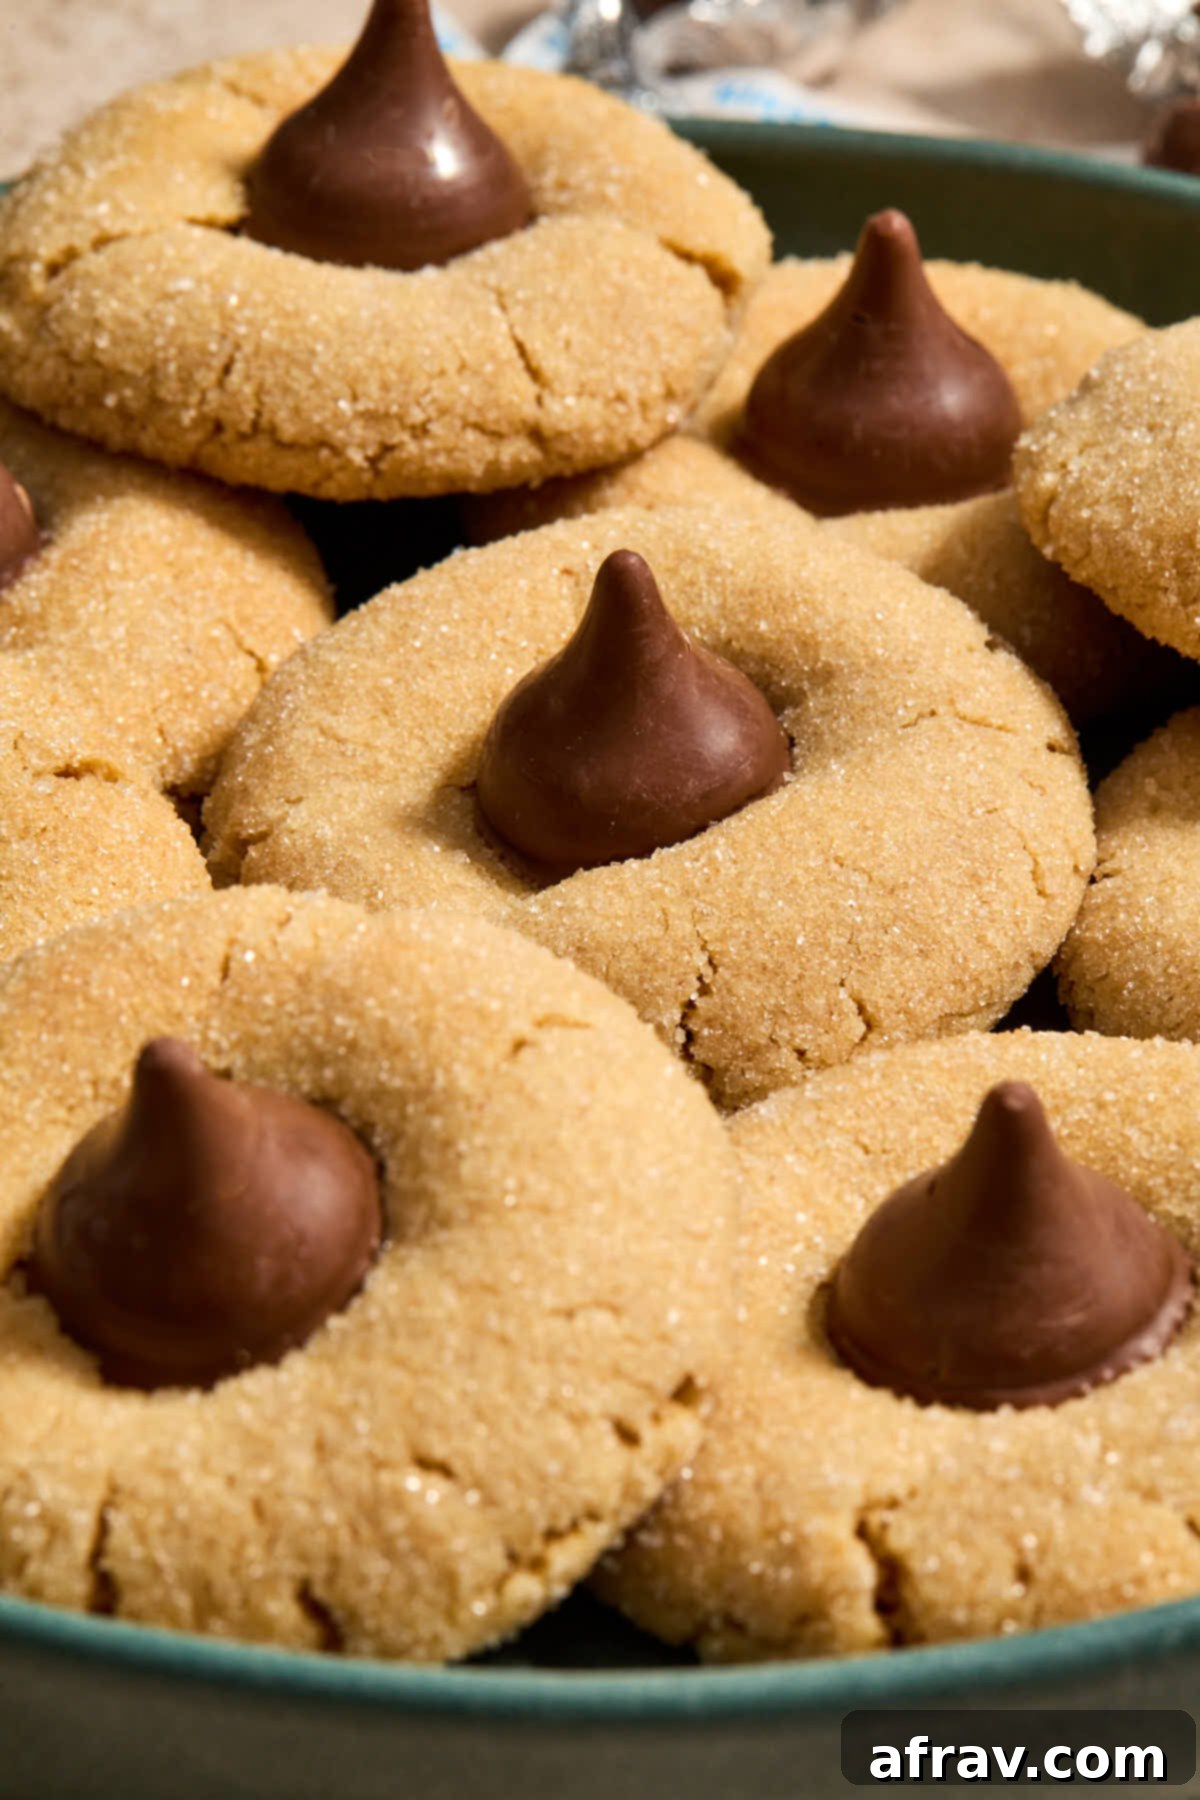
Indulge in the ultimate classic cookie reimagined: these incredibly soft and delightfully chewy Almond Flour Peanut Butter Blossoms. These beloved peanut butter cookies are perfectly baked, coated in sparkling sugar, and crowned with a decadent chocolate kiss. Not only are they incredibly easy to make, but they are also naturally gluten-free, making them an ideal treat for anyone who loves the timeless combination of chocolate and peanut butter. Get ready to bake a batch of these irresistible cookies that are sure to become a new favorite!
Over the past few years, these delightful peanut butter kiss cookies have evolved into a cherished tradition in my kitchen, extending far beyond just the Christmas holidays. The beauty of Hershey Kisses is their year-round availability and diverse seasonal varieties, which means these festive cookies can make an appearance for practically every celebration! From springtime gatherings to autumn feasts, or simply as a comforting everyday snack, these Almond Flour Peanut Butter Blossoms bring joy and a touch of sweetness to any occasion.
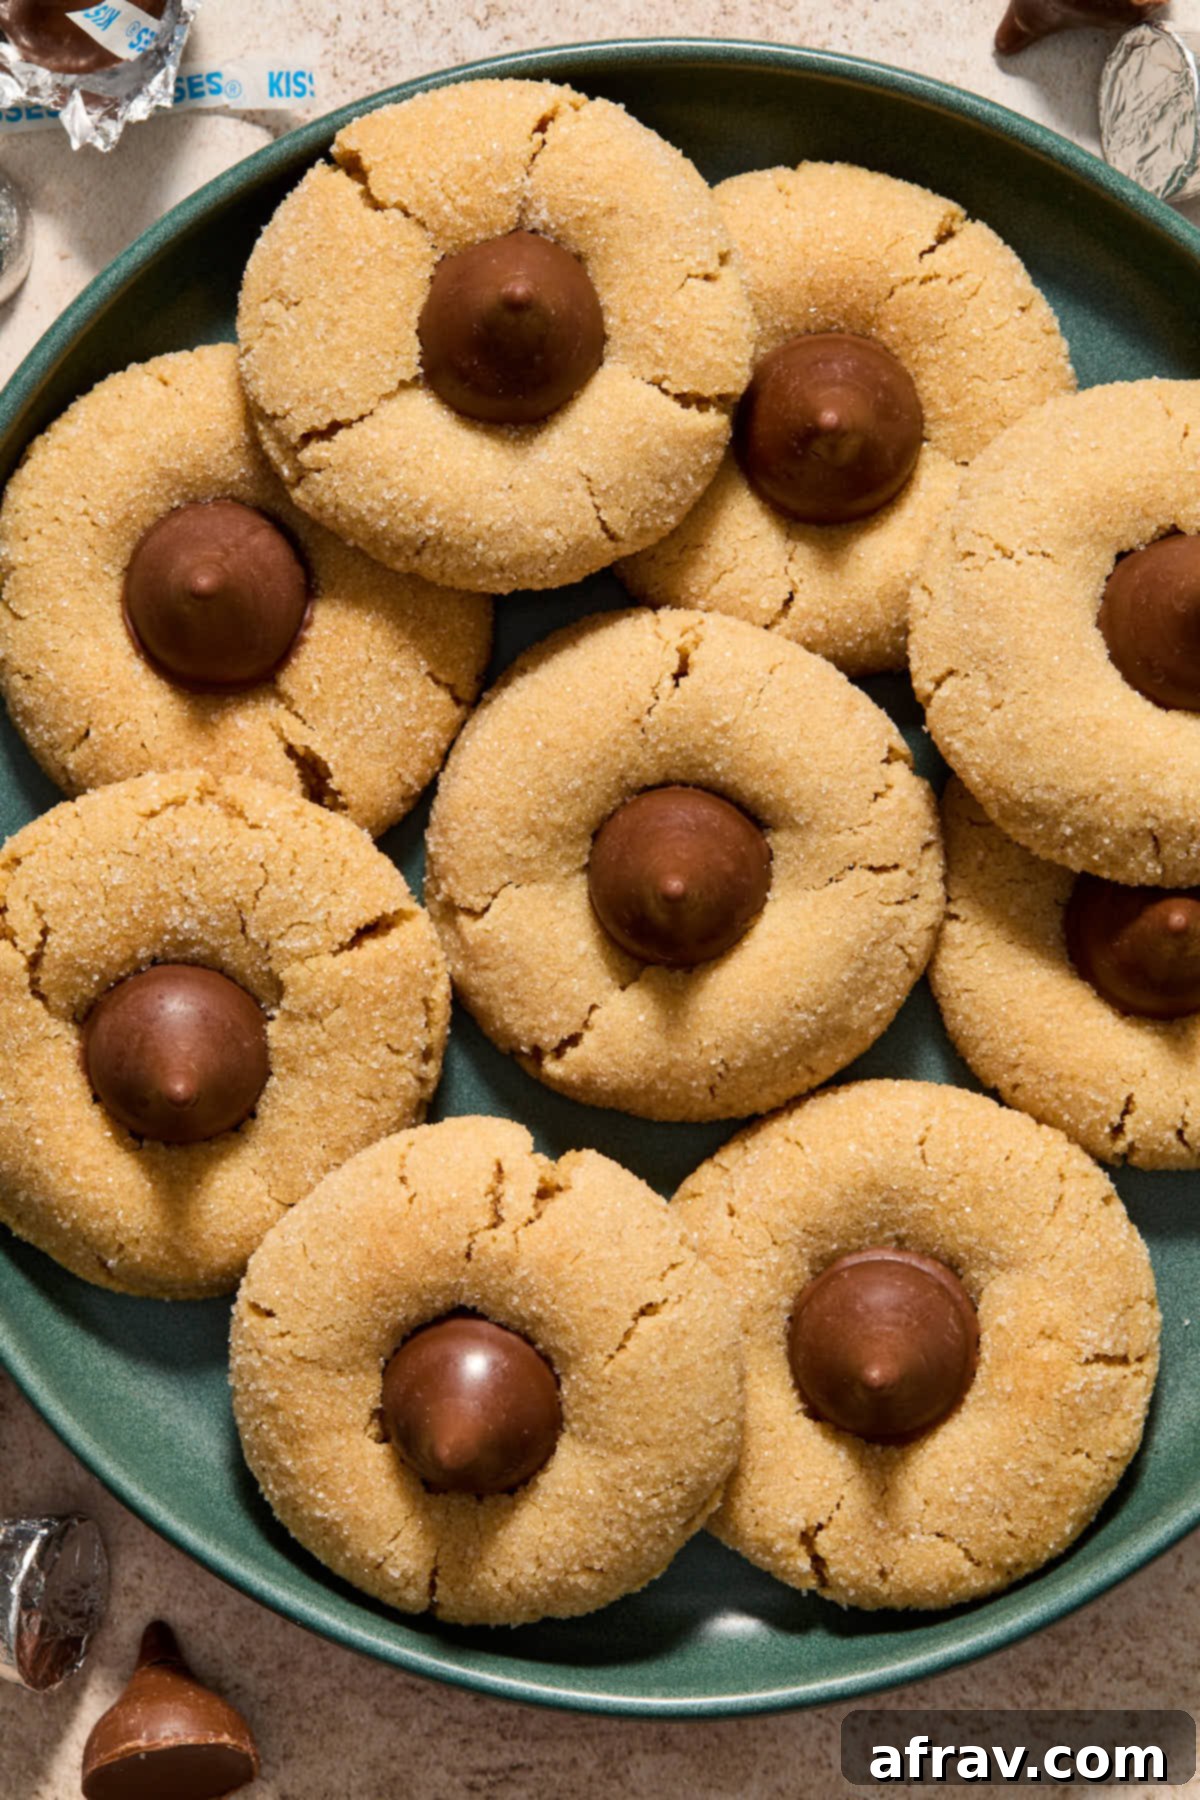
Table of Contents
- What Makes These Cookies So Good?
- Ingredients and Smart Substitutions
- How to Make Almond Flour Peanut Butter Blossoms (Step-by-Step)
- Accurate Ingredient Measurement Tips
- Storage and Freezing Guidelines
- Essential Baking Tips for Perfect Blossoms
- Recipe Frequently Asked Questions
- More Delightful Almond Flour Cookie Recipes
What Makes These Almond Flour Peanut Butter Blossom Cookies So Good?
- Irresistible Flavor and Texture: These cookies strike the perfect balance between sweet and salty, delivering a melt-in-your-mouth experience that is both soft and delightfully chewy. The rich peanut butter flavor combined with the subtle nuttiness of almond flour creates a truly exquisite base for the chocolate kiss.
- Naturally Gluten-Free: Made with almond flour, these peanut butter blossoms are a fantastic option for those following a gluten-free diet, without compromising on taste or texture. Always double-check that your chocolate kisses and any other ingredients are certified gluten-free to ensure a completely safe treat.
- Perfect for Any Occasion: Their classic appeal makes them suitable for holidays, birthdays, potlucks, or simply as an everyday indulgence. You can even customize them by rolling the cookie dough in different colored sugars or festive sprinkles to match any holiday theme or celebration, adding a touch of personalized charm.
Ingredients and Smart Substitutions for Gluten-Free Peanut Butter Blossoms
Creating these delicious gluten-free Almond Flour Peanut Butter Blossoms starts with selecting the right ingredients. Below is a detailed overview of the key components and helpful substitution suggestions to ensure your baking success. For the precise measurements and quantities, please refer to the comprehensive recipe card located at the end of this post.
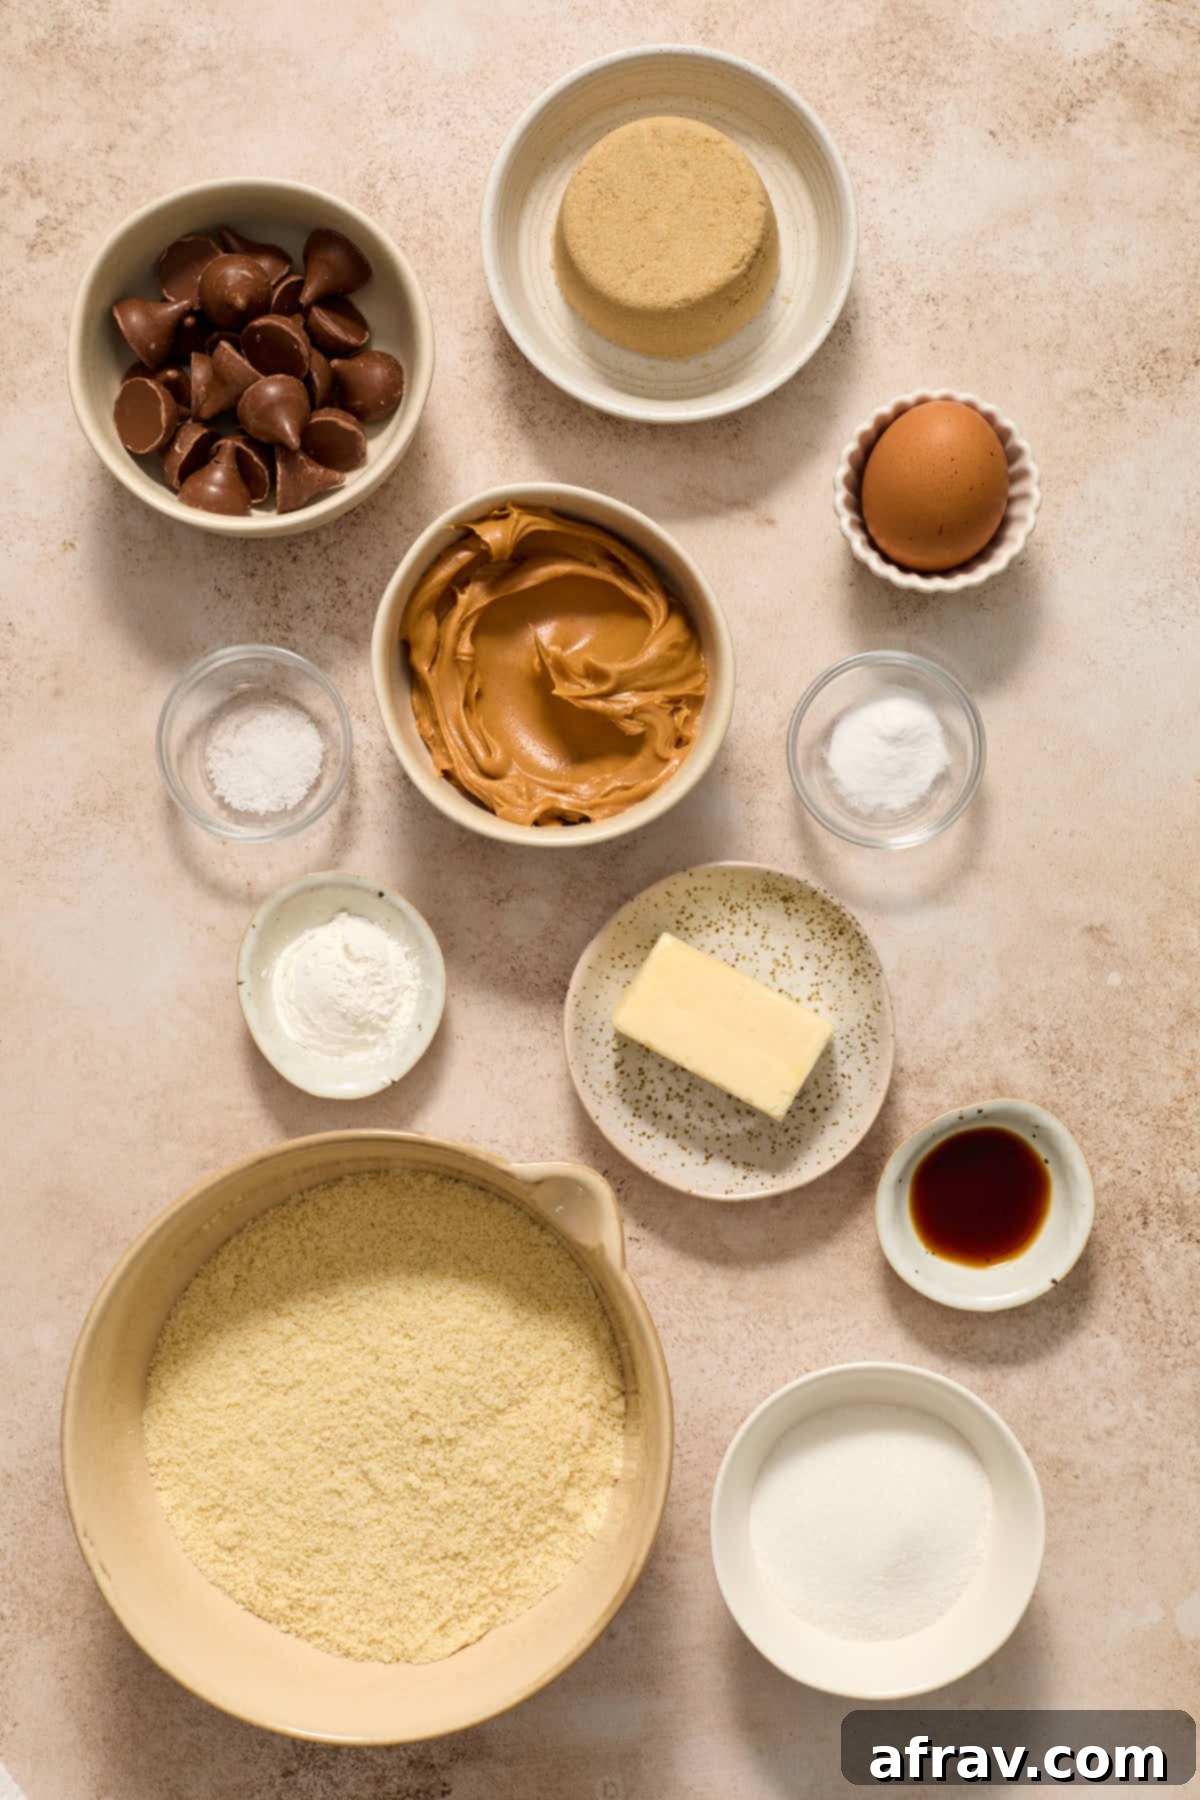
- Peanut Butter: The secret to thick, perfectly formed cookies is using a smooth, shelf-stable peanut butter. Brands like Jif or Skippy work wonderfully. Avoid natural peanut butter (the kind that separates and needs stirring, often stored in the fridge) as its oil content can be inconsistent, causing your cookies to spread too much during baking and lose their classic blossom shape.
- Almond Flour: For the best texture in your gluten-free peanut butter blossoms, I highly recommend using fine blanched almond flour. This type of flour is made from blanched almonds with their skins removed, resulting in a very fine, light texture that mimics traditional wheat flour more closely. Almond meal, on the other hand, includes the skins and has a coarser, grittier texture, which can impact the cookie’s final softness.
- Cornstarch: Just one tablespoon of cornstarch makes a significant difference. It acts as a tenderizer and helps these cookies stay wonderfully thick and puffy, preventing them from spreading too thin. If you don’t have cornstarch, arrowroot powder can be a suitable substitute.
- Sugars: This recipe calls for a balanced blend of light brown sugar and granulated sugar. The light brown sugar contributes moisture and a delicious chewiness, while granulated sugar adds structure and a crisp edge when rolled. You can substitute with dark brown sugar for an even richer, more molasses-like flavor, but be aware it will add a bit more moisture to the cookie dough, potentially requiring a slight adjustment in chilling time.
- Butter: Unsalted butter is preferred as it gives you complete control over the salt content in your cookies. Ensure your butter is at true room temperature; this is crucial for it to cream together smoothly with the sugars and peanut butter, creating a light and airy base for your cookie dough. I haven’t yet tested this recipe with a plant-based butter, so I can’t guarantee the same results.
- Chocolate Kisses: Milk Chocolate Hershey Kisses are the iconic topping for blossom cookies, providing that signature melty chocolate center. While classic is best, feel free to get creative! You can substitute with other small chocolates like mini peanut butter cups, seasonal flavored kisses, or even small squares of your favorite chocolate bar. Just make sure your chosen chocolate is gluten-free if you need to adhere to that dietary requirement.
How to Make Almond Flour Peanut Butter Blossoms (Step-by-Step Guide)
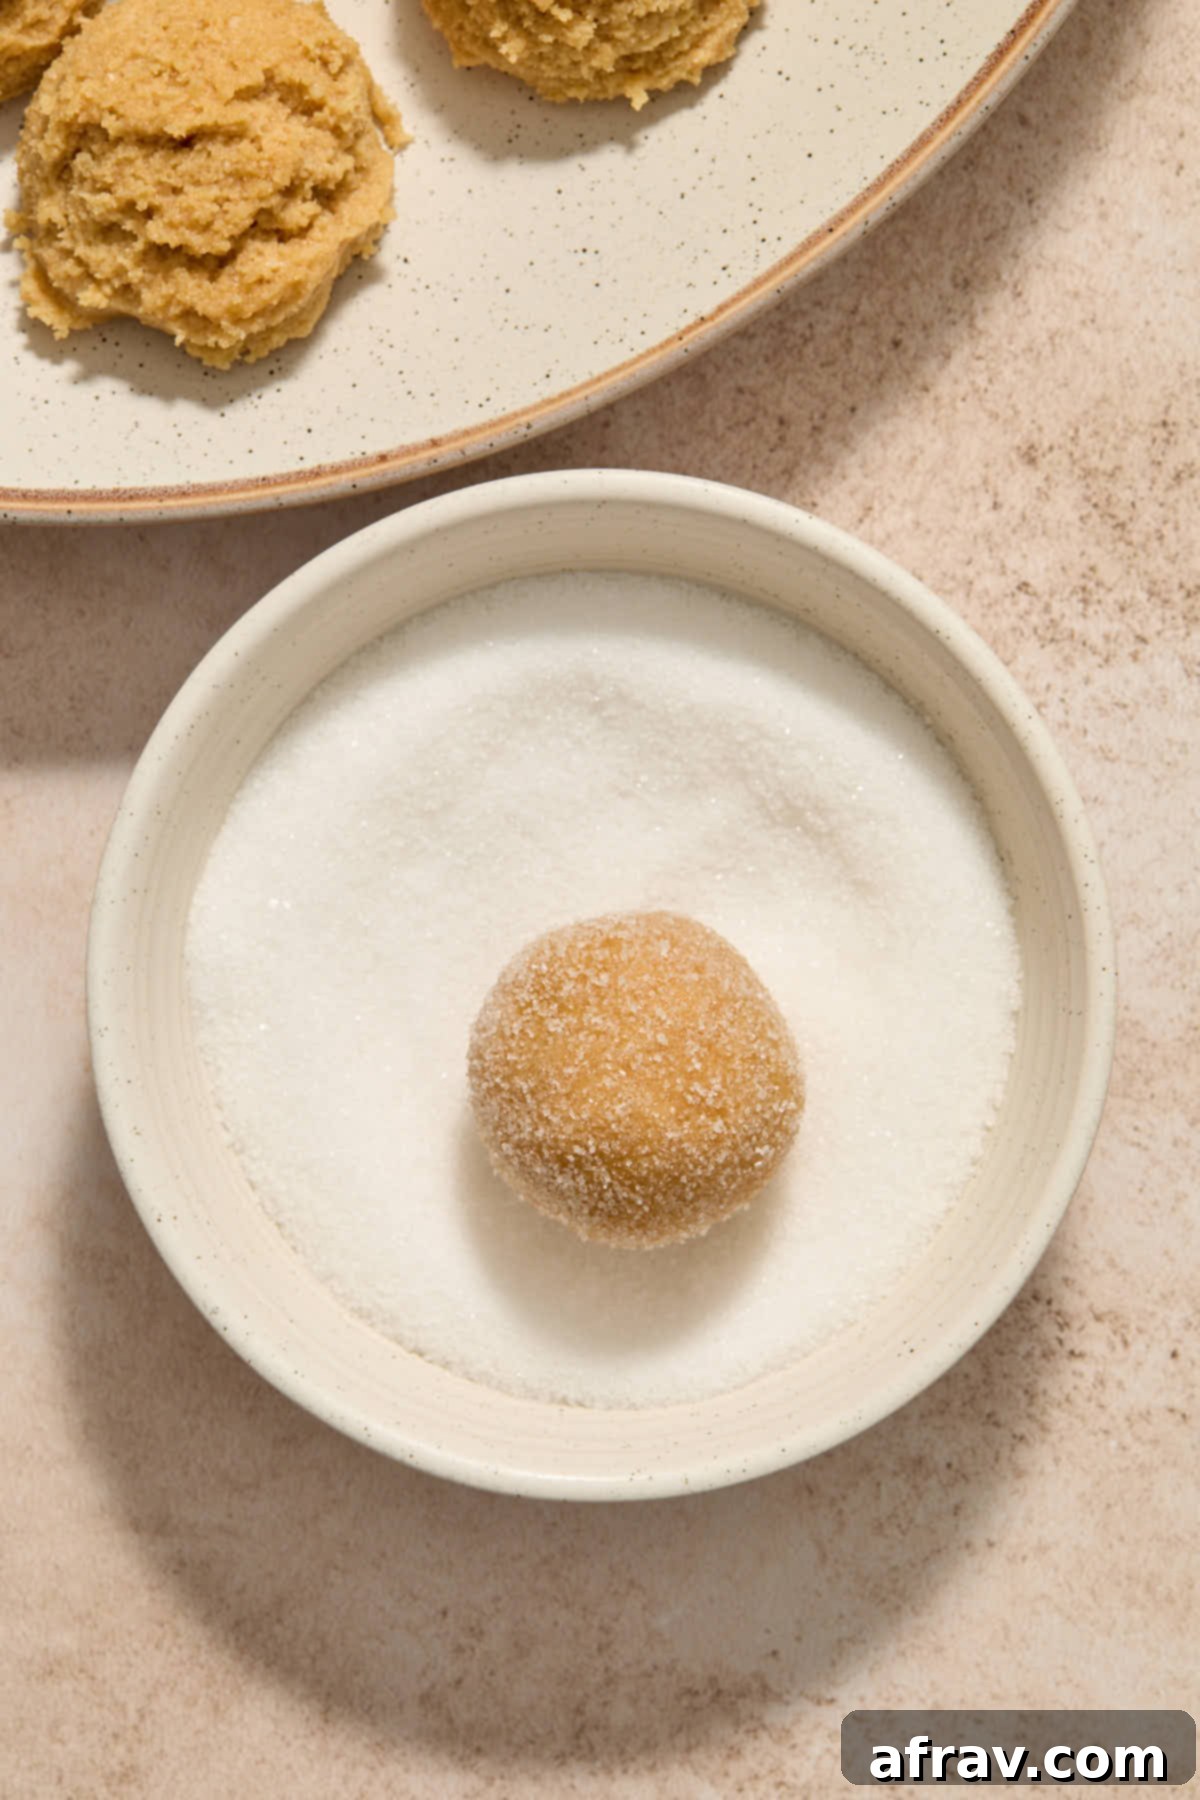
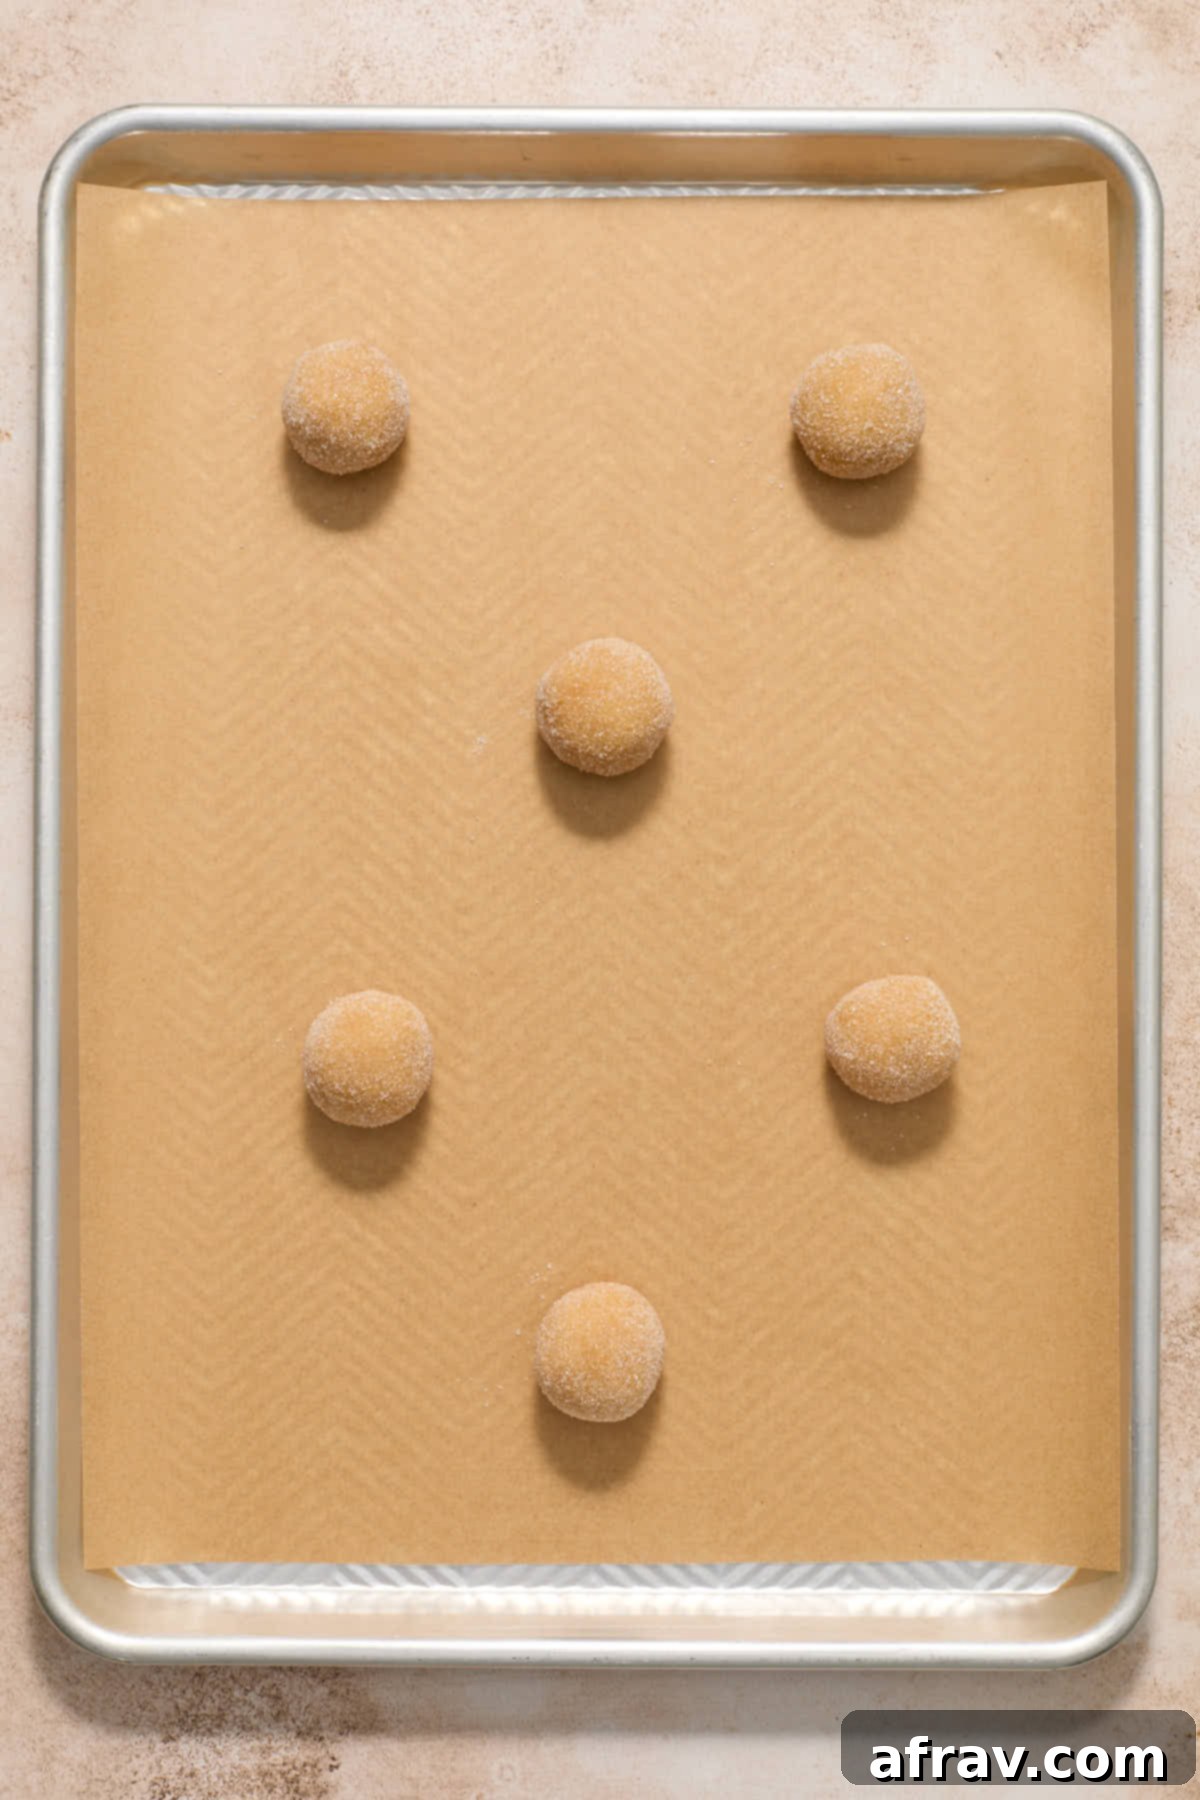
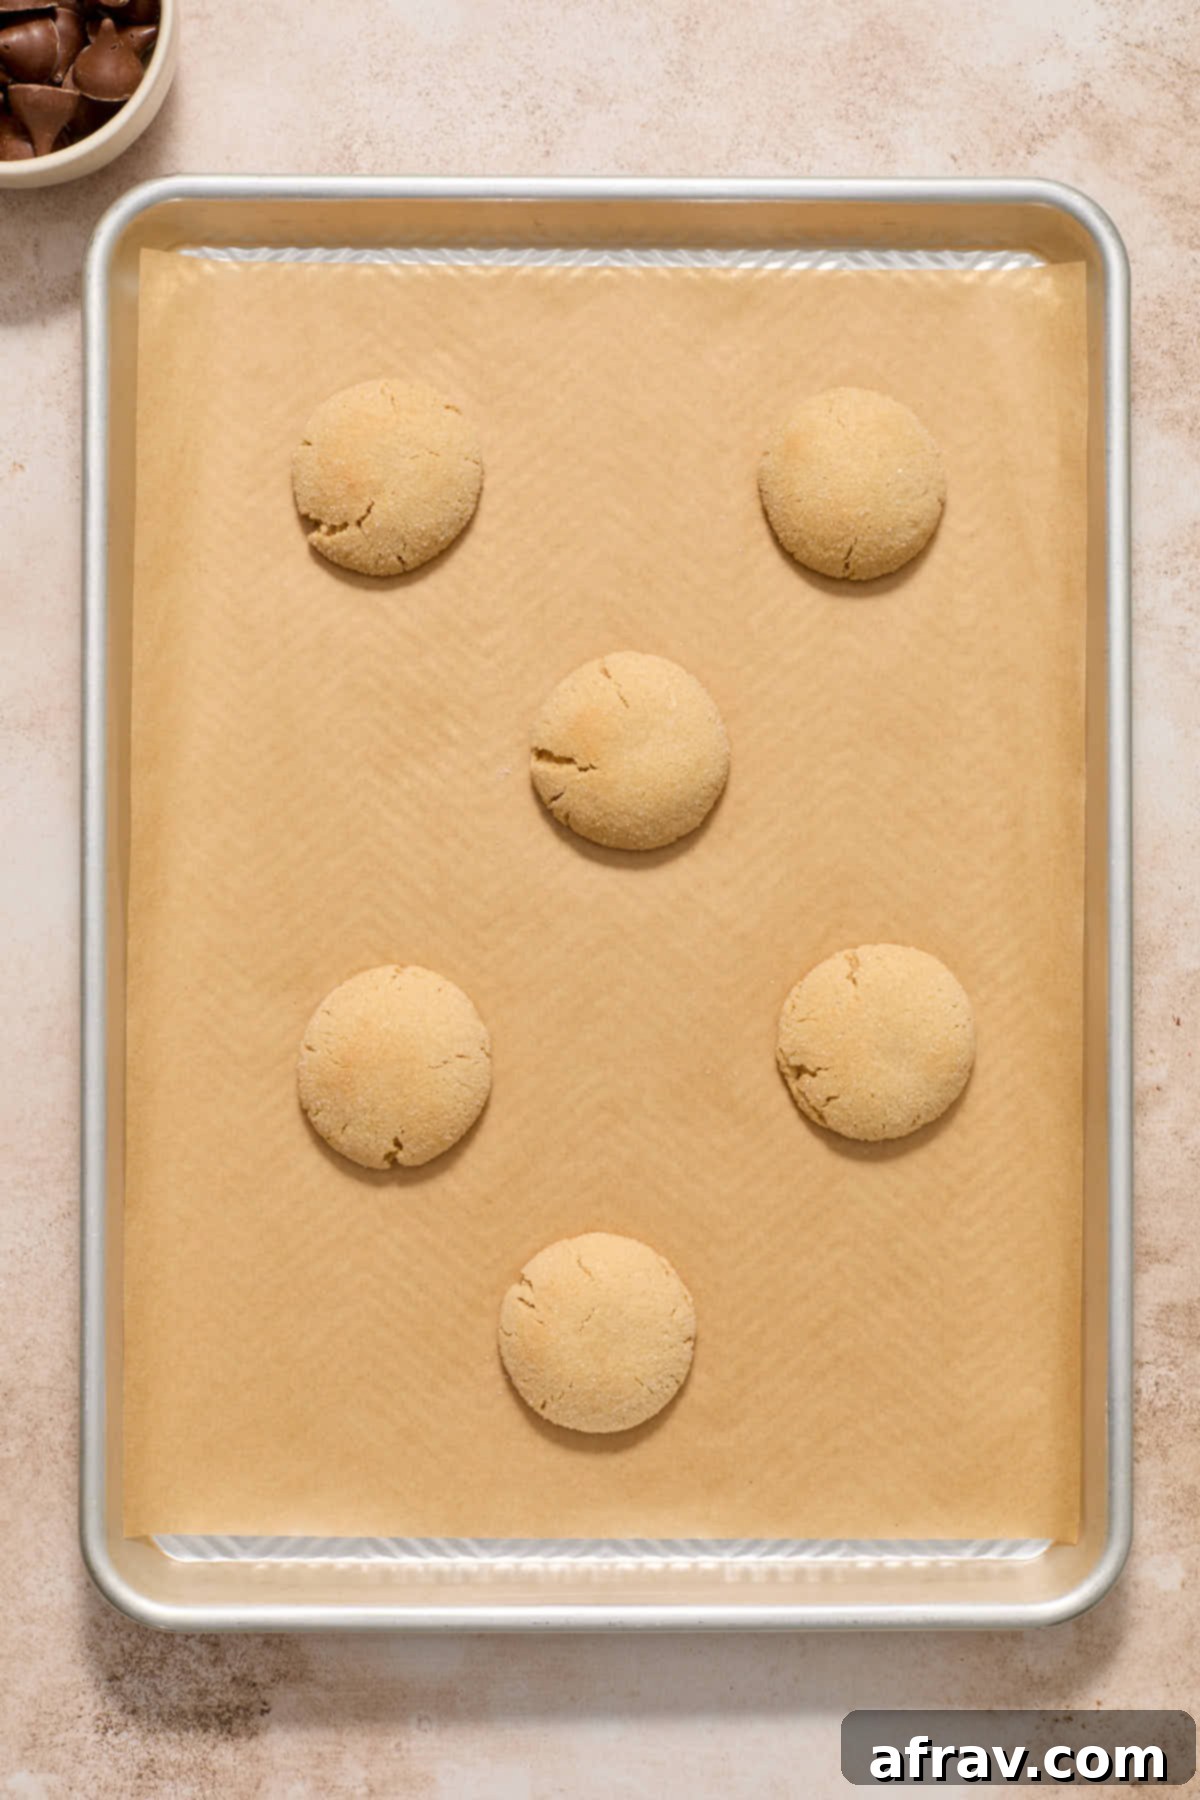
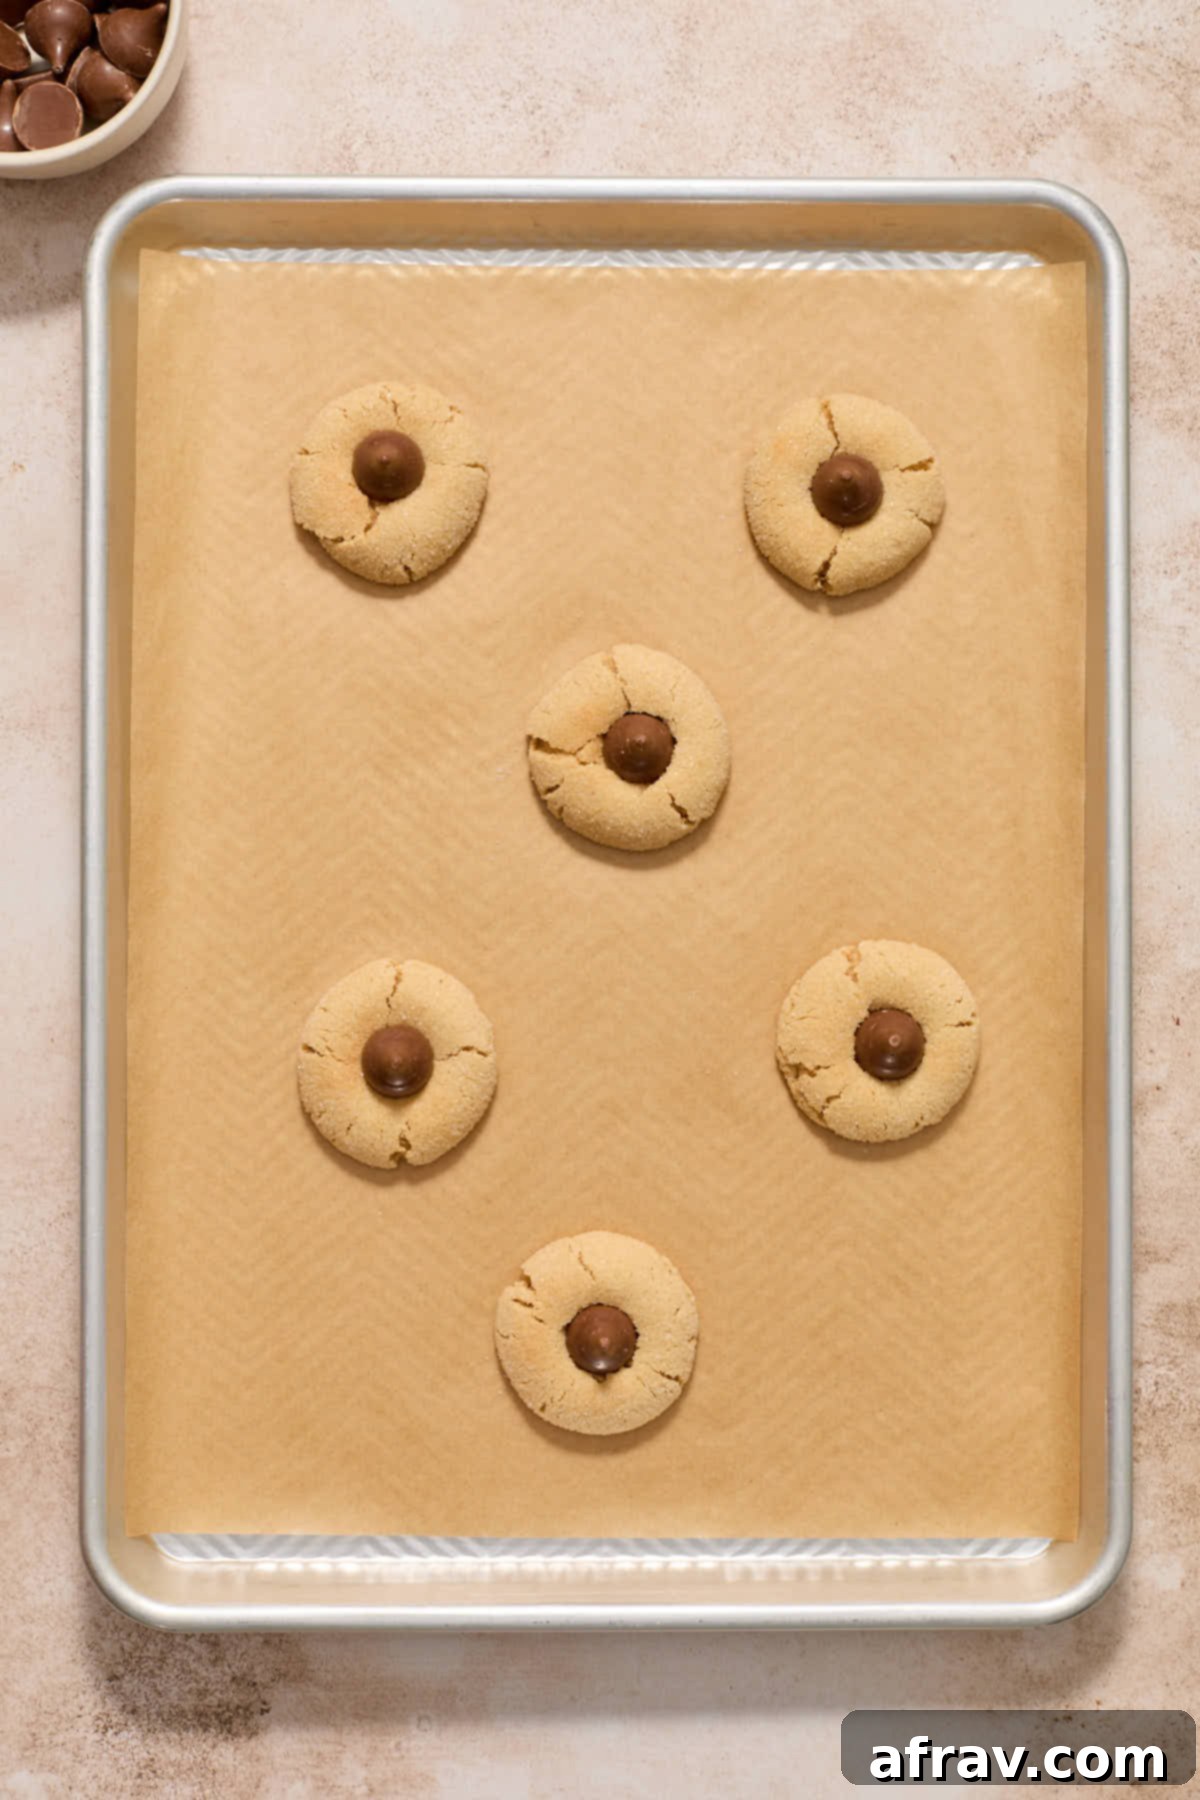
Crafting these delectable gluten-free Almond Flour Peanut Butter Blossoms is a straightforward and enjoyable process. Below, you’ll find a clear overview of each step, accompanied by helpful photos to guide you along the way. For the complete, detailed instructions and precise ingredient quantities, please consult the full recipe card at the very end of this post.
Accurate Ingredient Measurement Tips for Baking Success
Achieving consistent and perfect results in baking, especially with delicate gluten-free recipes like these Almond Flour Peanut Butter Blossoms, largely depends on accurate ingredient measurement. For your convenience, traditional US cup measurements are included in the recipe card for this recipe. However, to ensure the highest level of accuracy and replicate the recipe precisely, weight and volume measurements are also provided.
If you see ingredients listed in grams (g), it’s highly recommended to use a reliable kitchen scale to weigh these ingredients. This method is far more accurate than volumetric cup measurements, particularly for flours and sugars, where density can vary. For ingredients measured in milliliters (ml), you’ll want to use a liquid measuring cup, ensuring you read it at eye level. Smaller quantities of ingredients, such as baking soda, salt, and extracts, are typically provided in teaspoons and tablespoons, for which standard measuring spoons are perfectly suitable. Precise measurements are key to those soft, chewy textures!
Storage and Freezing Guidelines for Your Peanut Butter Blossoms
Proper storage is essential to maintain the delicious taste and perfect texture of your homemade Almond Flour Peanut Butter Blossoms. These cookies are so good, you’ll want to enjoy them for as long as possible!
Storage: To keep your gluten-free peanut butter blossom cookies fresh and moist, store them in an airtight container at room temperature. Placed on your countertop, they will remain wonderfully soft and delicious for 3-4 days. For longer freshness, consider placing a slice of bread in the container; it helps keep cookies soft by sharing its moisture.
Freezing: These cookies freeze beautifully! Once your cookies have completely cooled and the chocolate kisses are fully set, arrange them in a single layer in a freezer-safe container or freezer bag. If stacking, place parchment paper between layers to prevent sticking. Store them in the freezer for up to 3 months. When you’re ready to enjoy, simply thaw them at room temperature for a few hours, or pop them in the microwave for a few seconds for a warm, gooey treat.
Essential Baking Tips for Perfect Almond Flour Peanut Butter Blossoms
Achieving bakery-quality Almond Flour Peanut Butter Blossoms is easy with these expert tips. Follow these guidelines to ensure your gluten-free cookies turn out soft, chewy, and perfectly formed every single time.
- Weigh Your Ingredients for Accuracy: As mentioned, for the most accurate results in baking, especially with almond flour, I strongly recommend weighing your ingredients using a kitchen scale. If a scale isn’t available, make sure to use the “spoon and level” method when measuring dry ingredients: spoon flour into your measuring cup until it overflows, then level off the excess with the back of a knife. Do not scoop directly from the bag, as this can compact the flour and lead to too much being used.
- Don’t Skip the Chilling Step: Chilling the cookie dough for at least one hour is an absolute must for these Almond Flour Peanut Butter Blossoms. This step allows the fats to firm up and prevents the cookies from spreading too much in the oven, ensuring they maintain their desirable thick, puffy, and soft texture. Cold dough equals happy, plump cookies!
- Underbake Slightly for Softness: It is always better to slightly underbake these cookies rather than overbake them. Overbaking, even by a minute or two, can cause them to dry out and become crumbly, losing that wonderful soft and chewy center. The edges should be lightly golden, and the centers should look just set when you pull them from the oven. They will continue to set as they cool.
- Use a Light-Colored Baking Sheet: The color of your baking sheet can significantly impact how your cookies bake. I recommend using a light-colored baking sheet. Darker baking sheets absorb more heat and can cause the bottoms of your cookies to brown too quickly and become overly crispy, or even burnt, before the rest of the cookie is properly cooked.
- Monitor Your Oven Temperature: Oven temperatures can vary significantly from one appliance to another. To avoid surprises, start checking on your Almond Flour Peanut Butter Blossoms around the 9-minute mark. If your oven tends to run hot, you might need to reduce baking time slightly, or vice versa if it runs cool.
- Cooling with Kisses in the Freezer: The final chill in the freezer after pressing in the chocolate kisses is critical. This quick chill helps the chocolate set rapidly, preventing it from completely melting and spreading all over the cookie, ensuring a perfectly formed and appealing chocolate kiss top.
Frequently Asked Questions About Almond Flour Peanut Butter Blossoms
For achieving the ideal texture and preventing your cookies from spreading too much, a smooth, shelf-stable peanut butter (like Jif or Skippy) will yield the best results. Natural peanut butter, which often contains separated oils, tends to make the cookie dough too soft and can cause the cookies to spread excessively during baking, losing their characteristic shape.
Several factors can contribute to cookies spreading too much. The most common reasons for overly flat cookies are insufficient chilling of the dough or leaving the dough at room temperature for too long before baking. Ensure your dough is properly chilled for at least an hour. Additionally, placing cold cookie dough balls onto a warm baking sheet can cause them to spread prematurely, so always use a cool or room-temperature baking sheet.
To ensure your chocolate kisses hold their shape and don’t completely melt, there are a couple of key steps. First, let the baked cookies rest on the pan for just a few minutes after coming out of the oven before pressing the chocolate kisses into their centers. This allows the cookies to cool slightly and firm up. Once the chocolates are in place, immediately transfer the cookies to a plate or tray and place them in the freezer for 10-15 minutes. This rapid cooling helps to set the chocolate quickly, maintaining its classic kiss shape.
Absolutely! Making the dough ahead of time is a fantastic option, especially since this recipe requires chilling. You can portion out the cookie dough onto a plate or tray as instructed, cover it tightly with plastic wrap, and store it in the refrigerator for up to 2 days. When you’re ready to bake, simply take the dough out, roll it into balls, coat in sugar, and proceed with baking as directed. This makes holiday baking or entertaining much more manageable!
More Delightful Almond Flour Cookie Recipes to Try
If you’ve fallen in love with baking with almond flour and the ease of gluten-free treats, you’re in luck! Here are more fantastic almond flour cookie recipes to satisfy your sweet tooth and expand your baking repertoire:
- Almond Flour Monster Cookies
- Almond Flour Sugar Cookies
- Almond Flour Snickerdoodles
- Almond Flour Cookie Butter Cookies
- Almond Flour Chocolate Chip Cookie Cake
I hope you thoroughly enjoy making and sharing these Soft & Chewy Almond Flour Peanut Butter Blossoms! If you do make this recipe, I’d absolutely love to hear what you think and see your creations. Please feel free to leave your comments and feedback below!
HUNGRY FOR MORE? Follow Crumb Top Baking on Instagram, Pinterest and Facebook!
Print

Soft and Chewy Almond Flour Peanut Butter Blossoms (Gluten-Free)
5 Stars
4 Stars
3 Stars
2 Stars
1 Star
No reviews
- Author: Leanne
Prep Time: 15 minutes
Chilling Time: 1 hour
Cook Time: 11 minutes
Total Time: 1 hour 26 minutes
Yield: 20 cookies
Category: Dessert
Method: Bake
Cuisine: American, Canadian
Diet: Gluten Free
Description
These Almond Flour Peanut Butter Blossoms are a dream come true for cookie lovers! They’re soft, perfectly baked, naturally gluten-free peanut butter cookies, generously coated in sugar and charmingly topped with a classic chocolate kiss. Ideal for any occasion, these treats combine the beloved flavors of peanut butter and chocolate in a wholesome, delicious package.
Ingredients
- 2 cups (208g) fine blanched almond flour
- 1 tablespoon cornstarch
- 1/2 teaspoon baking soda
- 1/4 teaspoon fine sea salt
- 1/2 cup (145g) shelf stable smooth peanut butter
- 1/4 cup (56g) unsalted butter, room temperature
- 1/2 cup (115g) packed light brown sugar
- 1/4 cup (55g) granulated sugar, plus 3 tablespoons for rolling
- 1 large egg, room temperature
- 1 teaspoon vanilla extract
- 20 milk chocolate kisses, unwrapped
Instructions
- Preheat your oven to 350°F (175°C) and prepare a large baking sheet by lining it with parchment paper. This prevents sticking and ensures even baking.
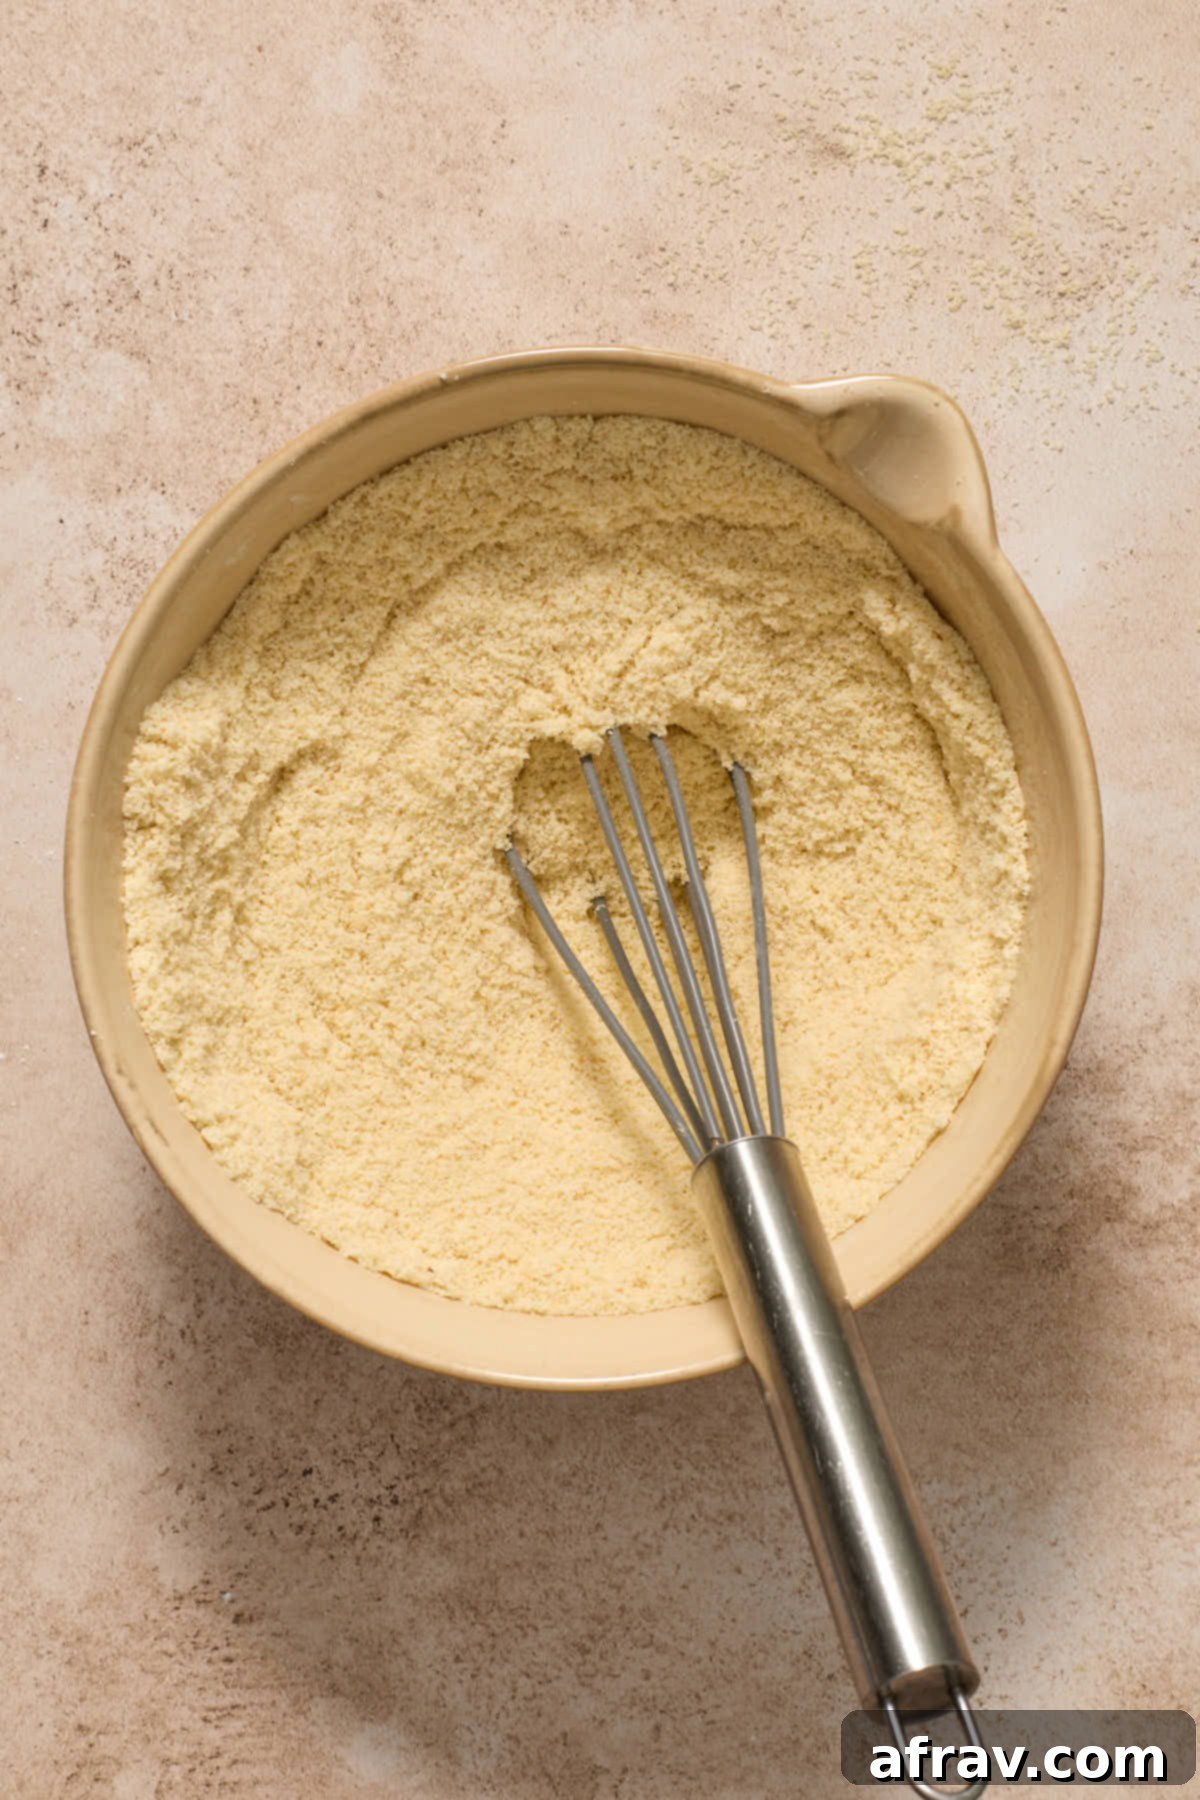
- In a medium-sized bowl, combine the dry ingredients: whisk together the almond flour, cornstarch, baking soda, and salt. Make sure they are thoroughly mixed to ensure proper leavening.
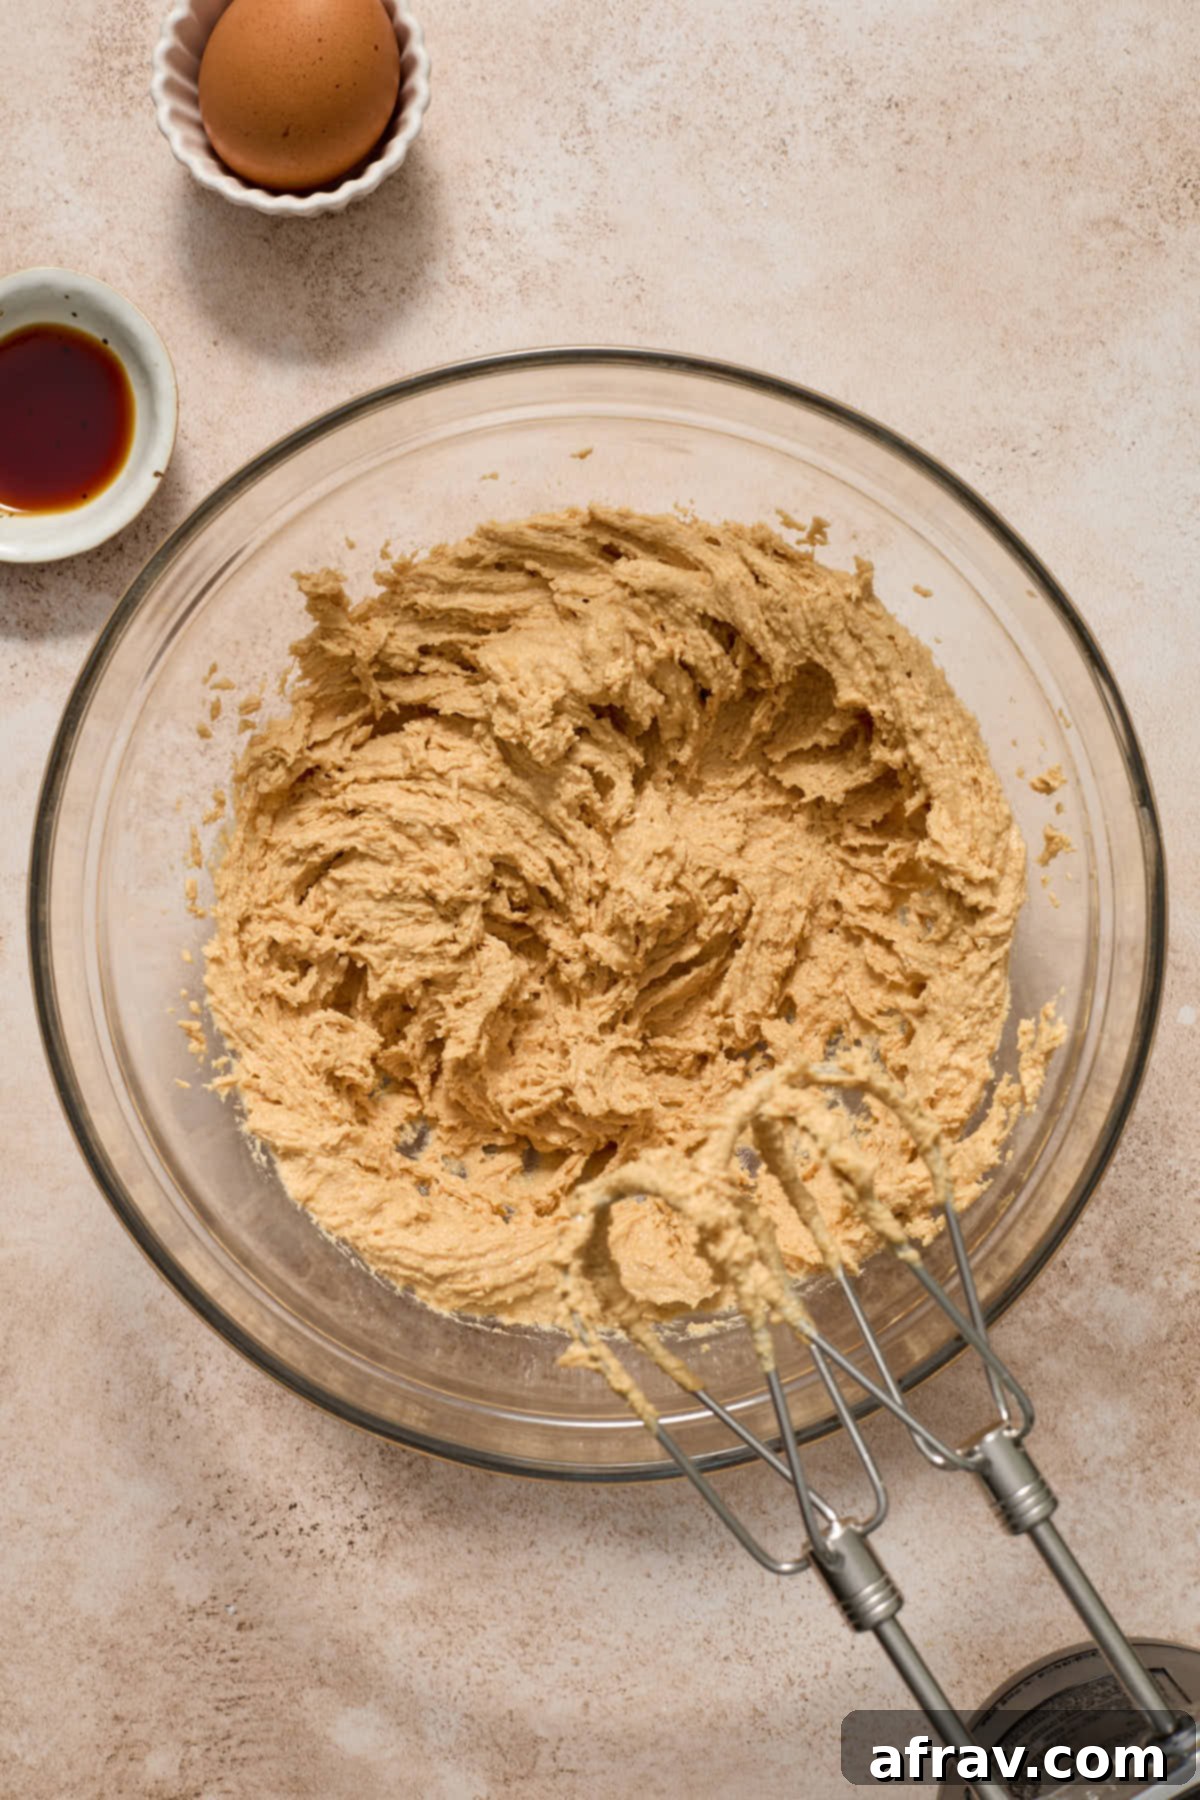
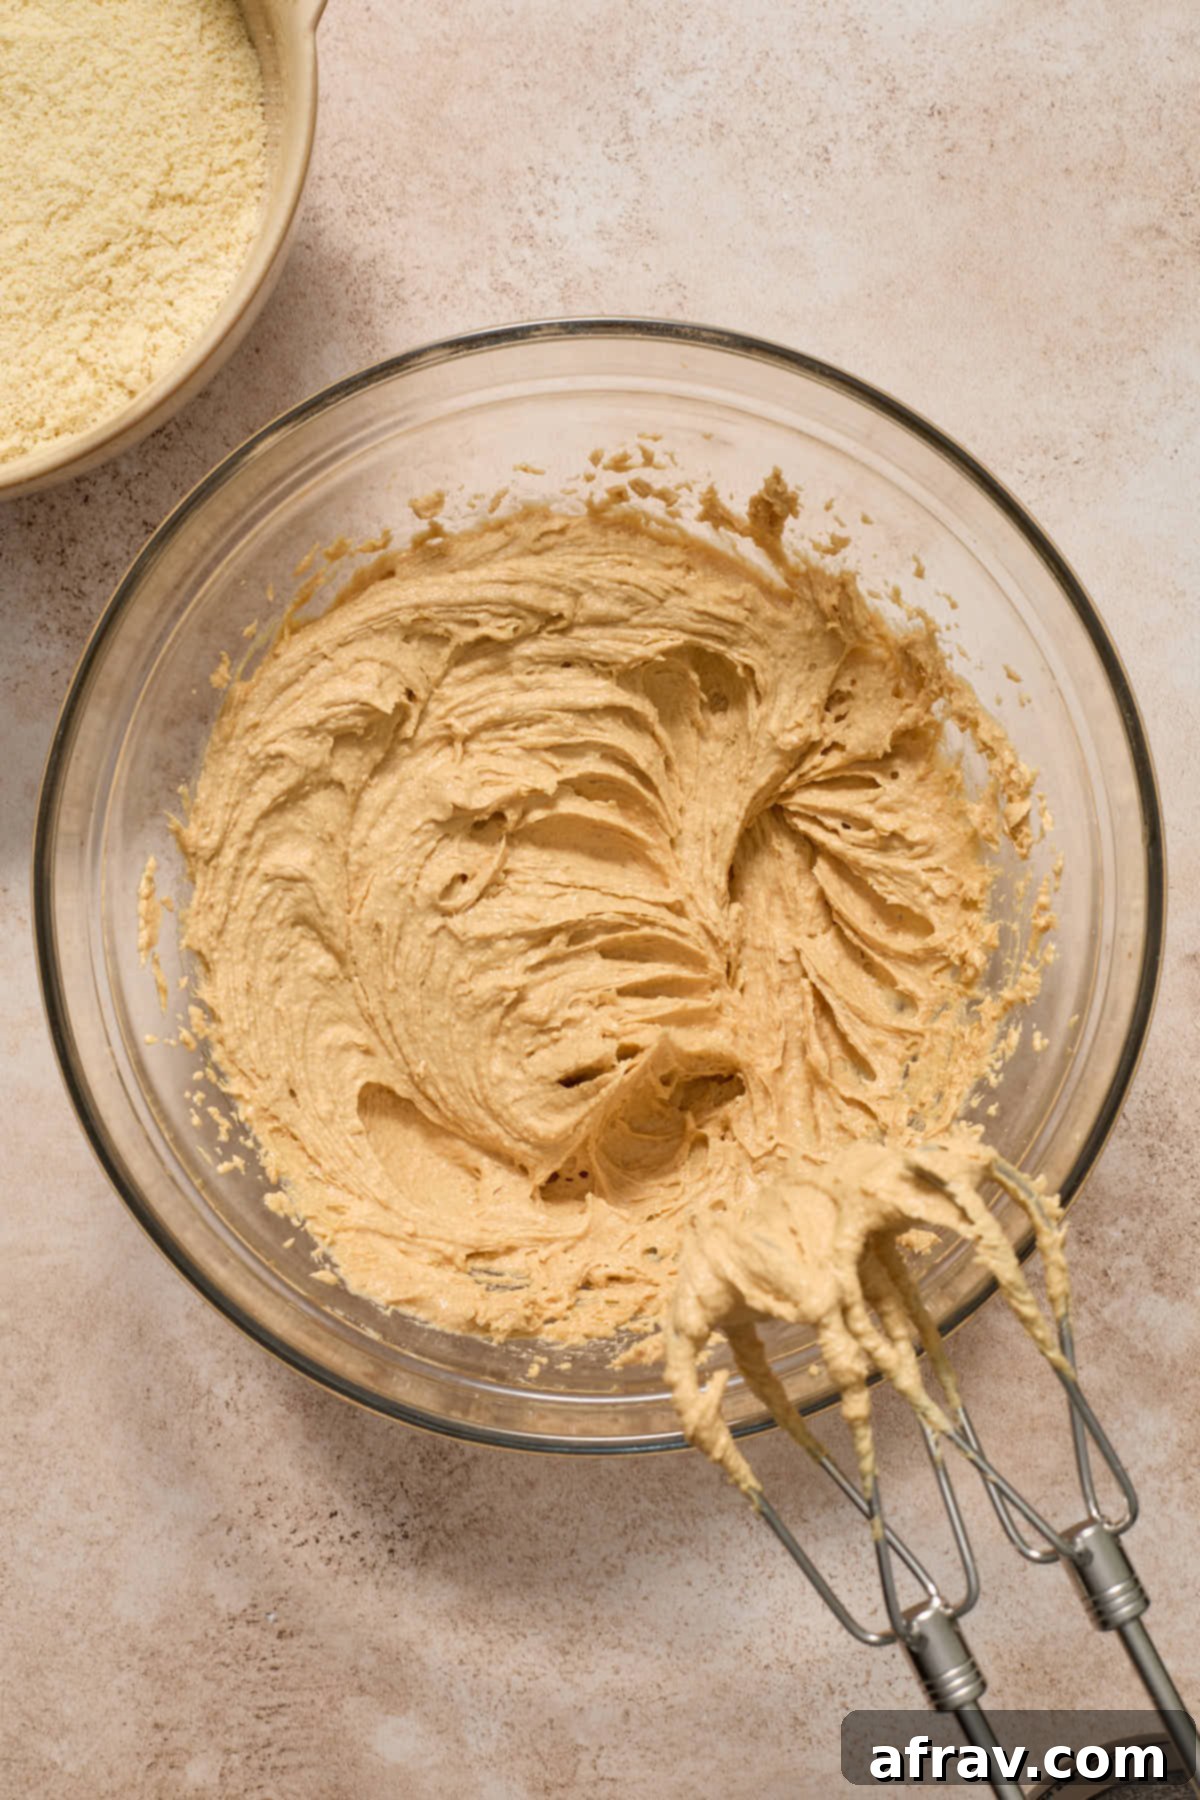
- In a large mixing bowl, using an electric mixer, cream together the shelf-stable peanut butter, softened unsalted butter, light brown sugar, and granulated sugar. Continue mixing for 2-3 minutes, periodically scraping down the sides of the bowl, until the mixture is light, fluffy, and well combined.
- Add the large egg and vanilla extract to the creamed mixture. Beat until these wet ingredients are fully incorporated, ensuring a smooth dough.
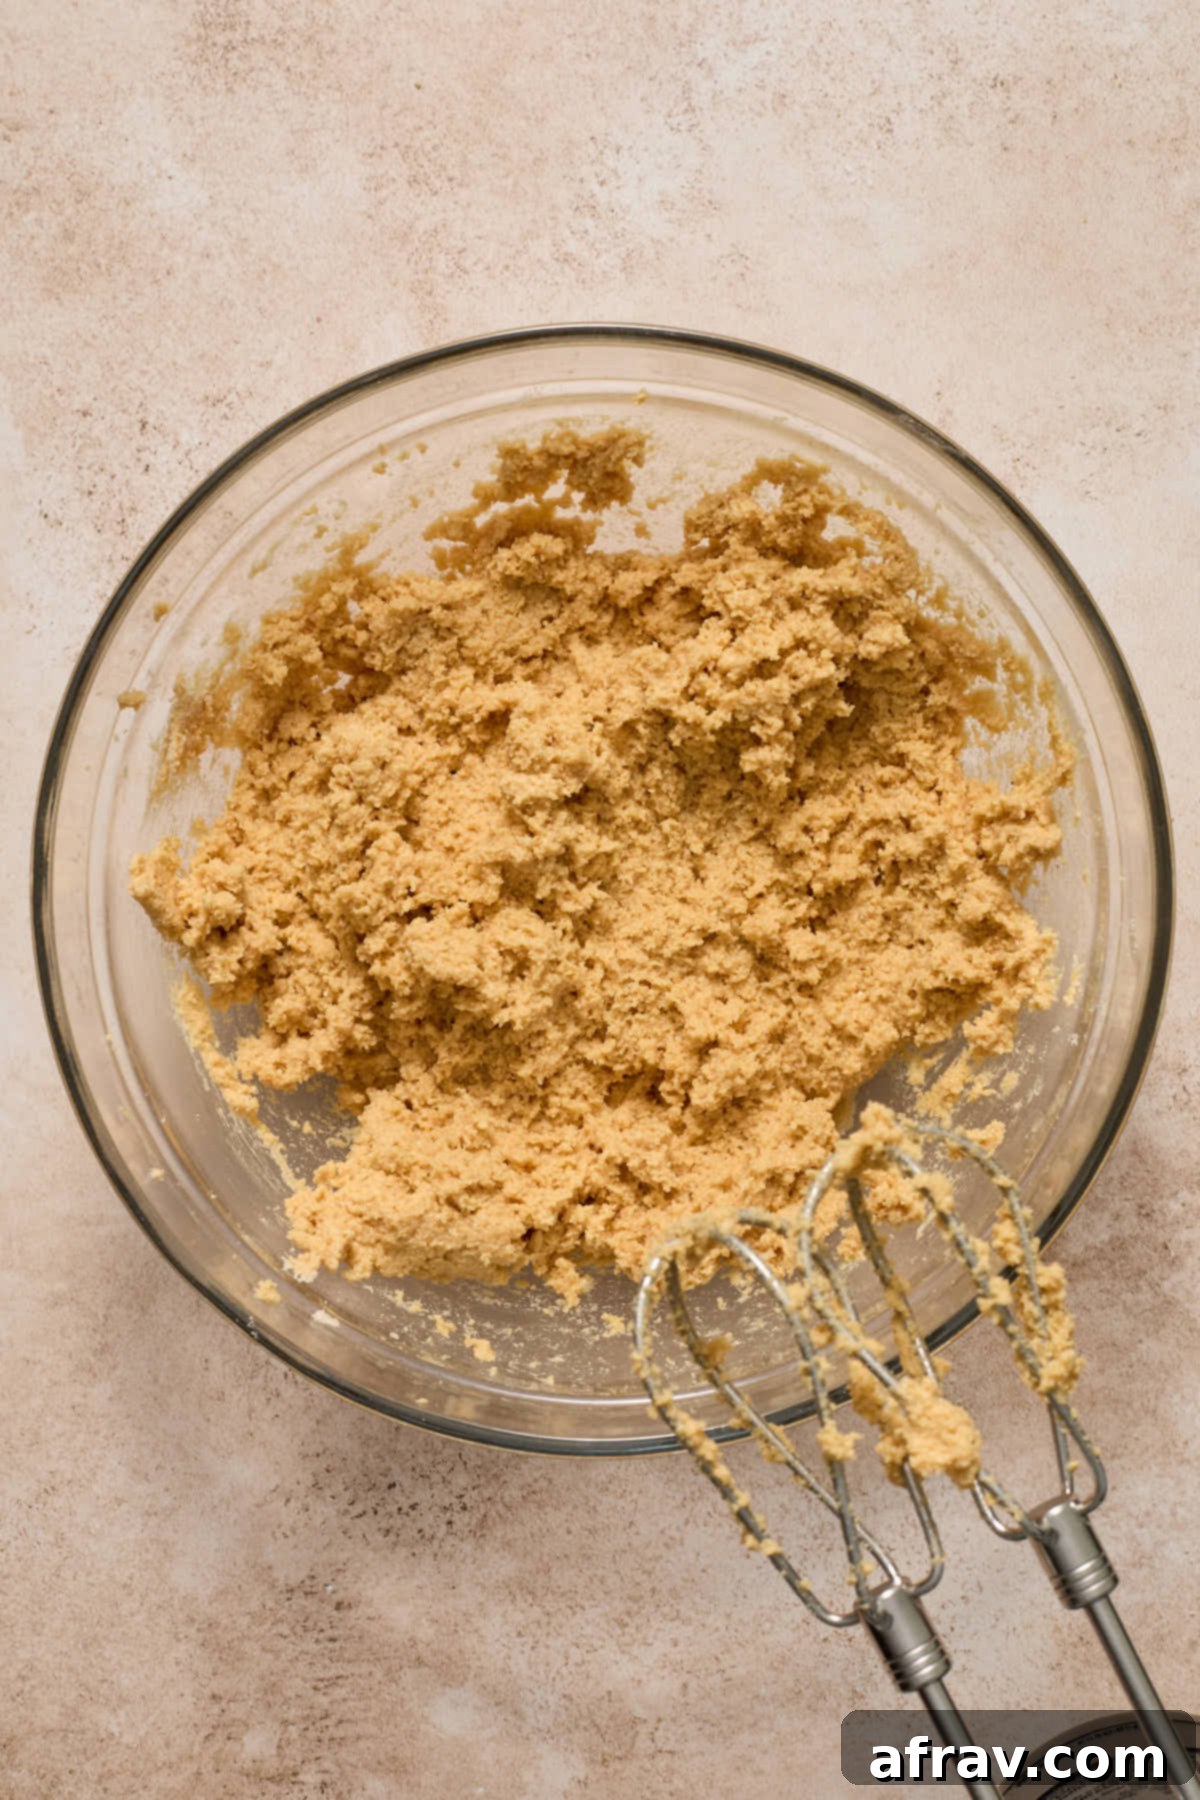
- On the lowest speed of your electric mixer, gradually add the whisked dry ingredient mixture to the wet ingredients. Mix just until everything is combined and no dry streaks remain. Be careful not to overmix the dough, as this can lead to tough cookies.
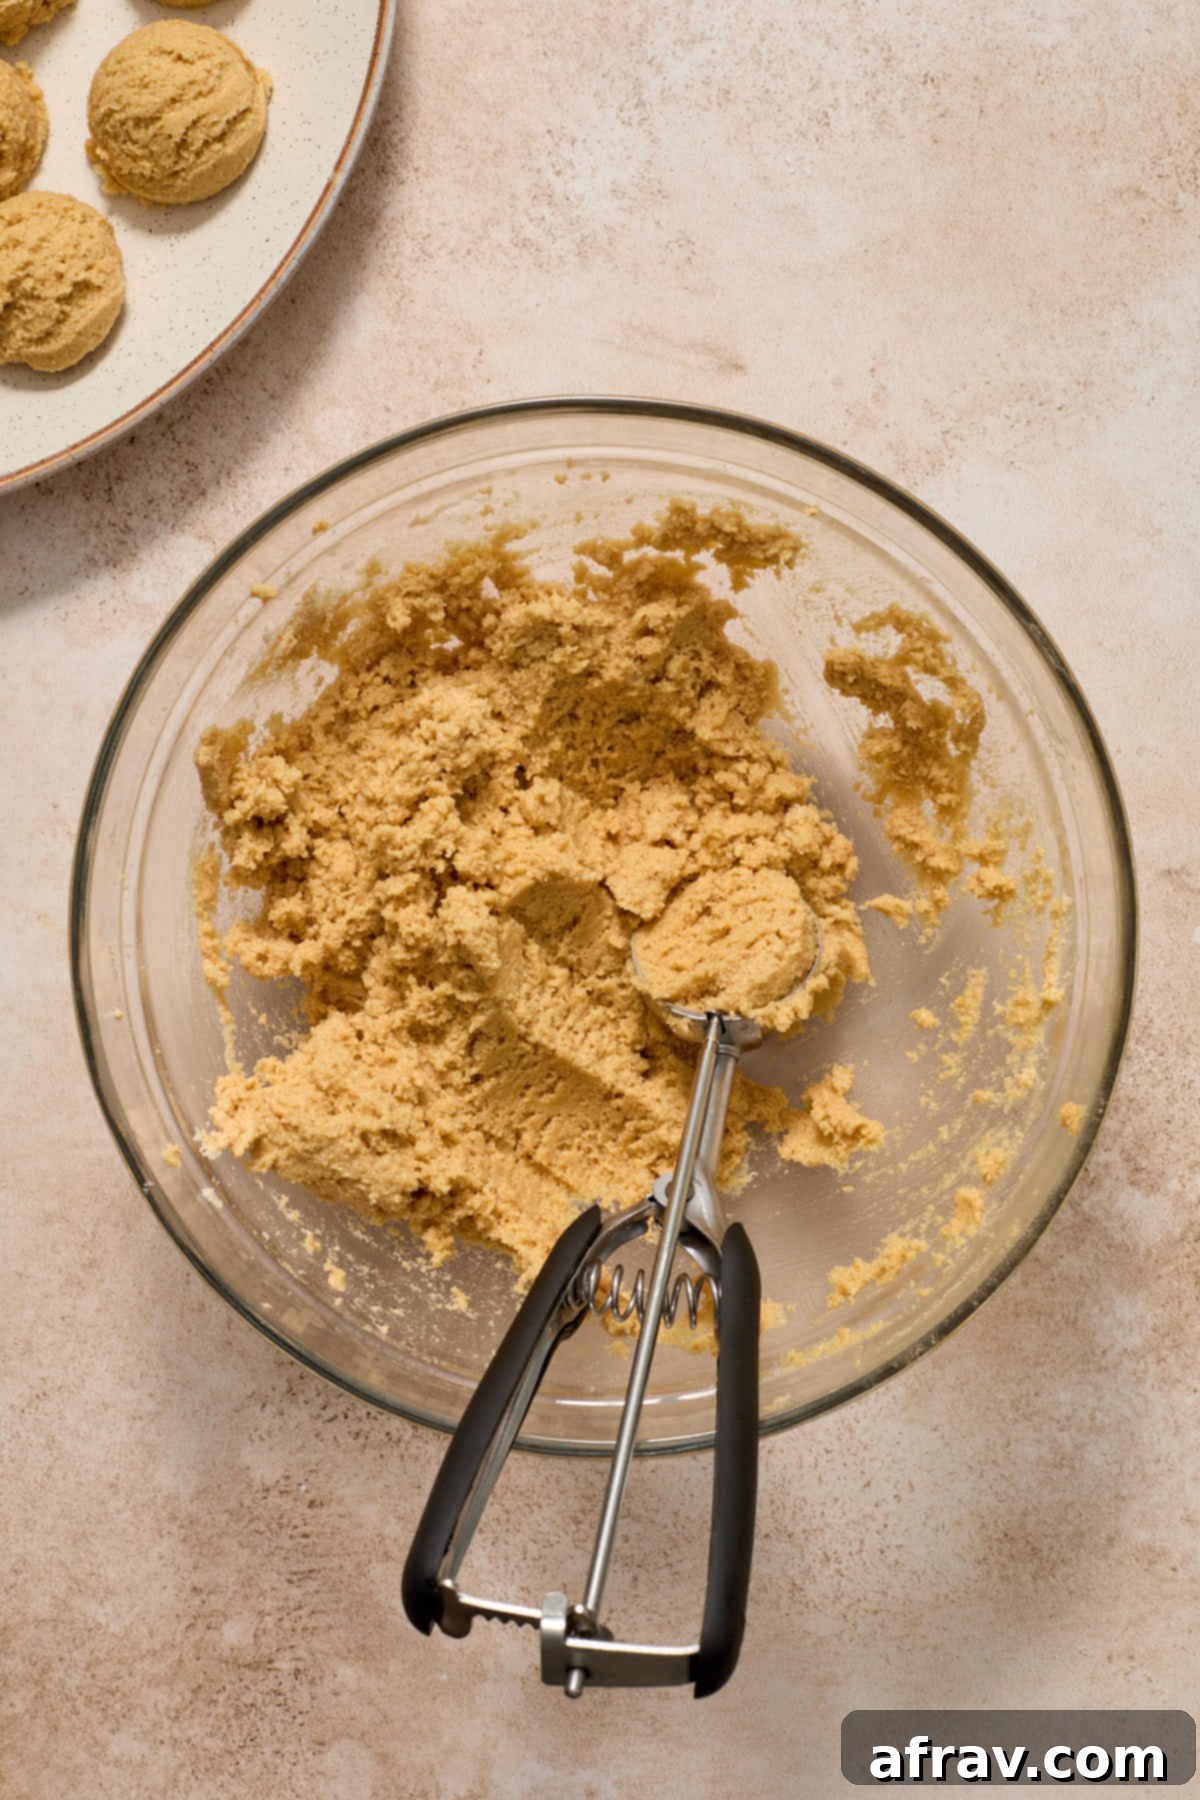
- Using a 1.5 tablespoon cookie scoop, portion out uniform balls of cookie dough onto a clean plate or a parchment-lined tray. Place the dough portions in the refrigerator to chill for at least 1 hour. This chilling step is crucial for the cookies to maintain their shape and prevent excessive spreading during baking.
- While the dough is chilling, pour the remaining 3 tablespoons of granulated sugar into a small bowl, which you’ll use for rolling the cookies.
- Once the dough is adequately chilled, take each portion and roll it smoothly into a perfect ball between your palms. Then, roll each dough ball generously in the granulated sugar prepared in Step 7, ensuring it’s fully coated.
- Arrange the sugar-coated cookie dough balls onto your prepared baking sheet. Make sure to leave about 2-3 inches of space between each cookie to allow for proper air circulation and slight expansion.
- Bake in the preheated oven for 9-11 minutes, or until the cookies appear nicely puffed up and their edges are just beginning to turn a light golden brown. Remember, slight underbaking is preferred for a softer cookie.
- After baking, remove the sheet from the oven. Allow the cookies to rest on the hot pan for just a few minutes (about 2-3 minutes) to firm up slightly. Then, gently press a single unwrapped chocolate kiss into the center of each warm cookie. Once all kisses are in place, carefully transfer the warm cookies to a separate plate or tray and immediately place them in the freezer for 10-15 minutes. This quick chill is vital to prevent the chocolate kisses from completely melting and to help them set beautifully.
- If you have more cookie dough, repeat steps 8-11 with the remaining portions until all your delicious Almond Flour Peanut Butter Blossoms are baked and kissed.
Notes
- For optimal accuracy in baking and to ensure your Almond Flour Peanut Butter Blossoms turn out perfectly, I highly recommend weighing your ingredients with a kitchen scale. If you do not have a kitchen scale, always use the “spoon and level” method when measuring dry ingredients to prevent packing too much into the cup.
- The chilling of the dough for at least one hour is not optional; it is a critical step to ensure these cookies remain thick, puffy, and resist excessive spreading in the oven, maintaining their classic blossom shape.
- When it comes to baking time, it is always better to slightly underbake these delicate cookies than to overbake them. Overbaking will quickly lead to dry, crumbly cookies, losing that desirable soft and chewy texture. Look for lightly golden edges and just set centers.
- I recommend utilizing a light-colored baking sheet. Darker baking sheets tend to absorb more heat, which can cause the bottoms of your cookies to brown too intensely or even burn before the tops are fully baked.
- Oven temperatures can often vary. To prevent over or under-baking, start checking on your cookies at around the 9-minute mark. Adjust baking time as necessary based on your oven’s performance.
- For more in-depth advice, including detailed ingredient explanations and troubleshooting tips, be sure to review the other sections of this post located above the recipe card. They offer valuable insights to help you master this recipe.
