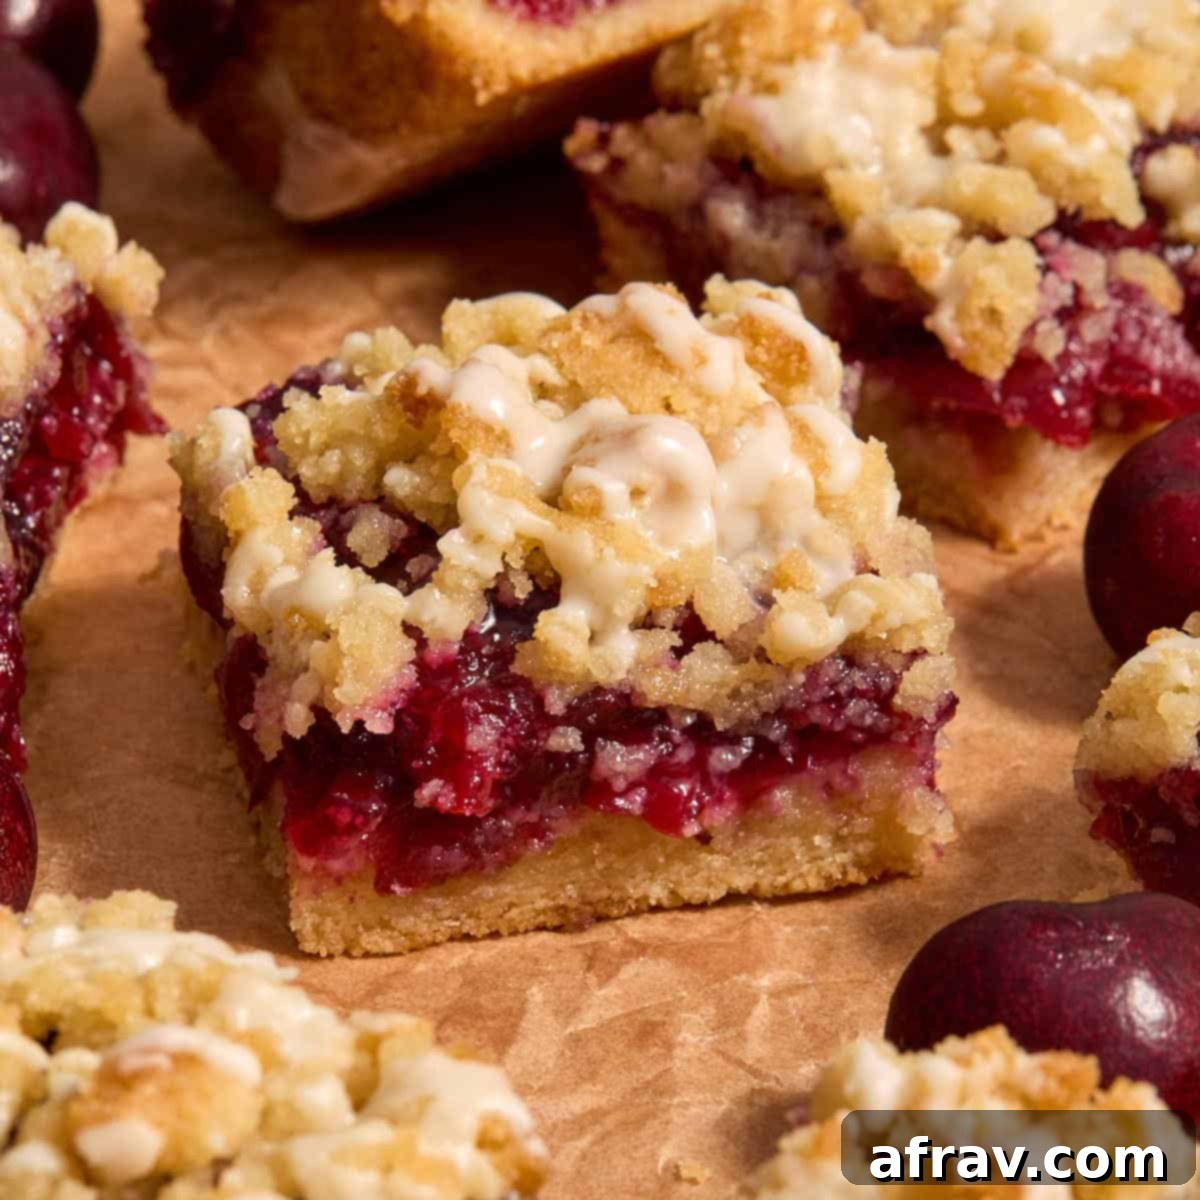
Irresistible Gluten-Free Almond Flour Cherry Pie Bars: Your New Favorite Dessert!
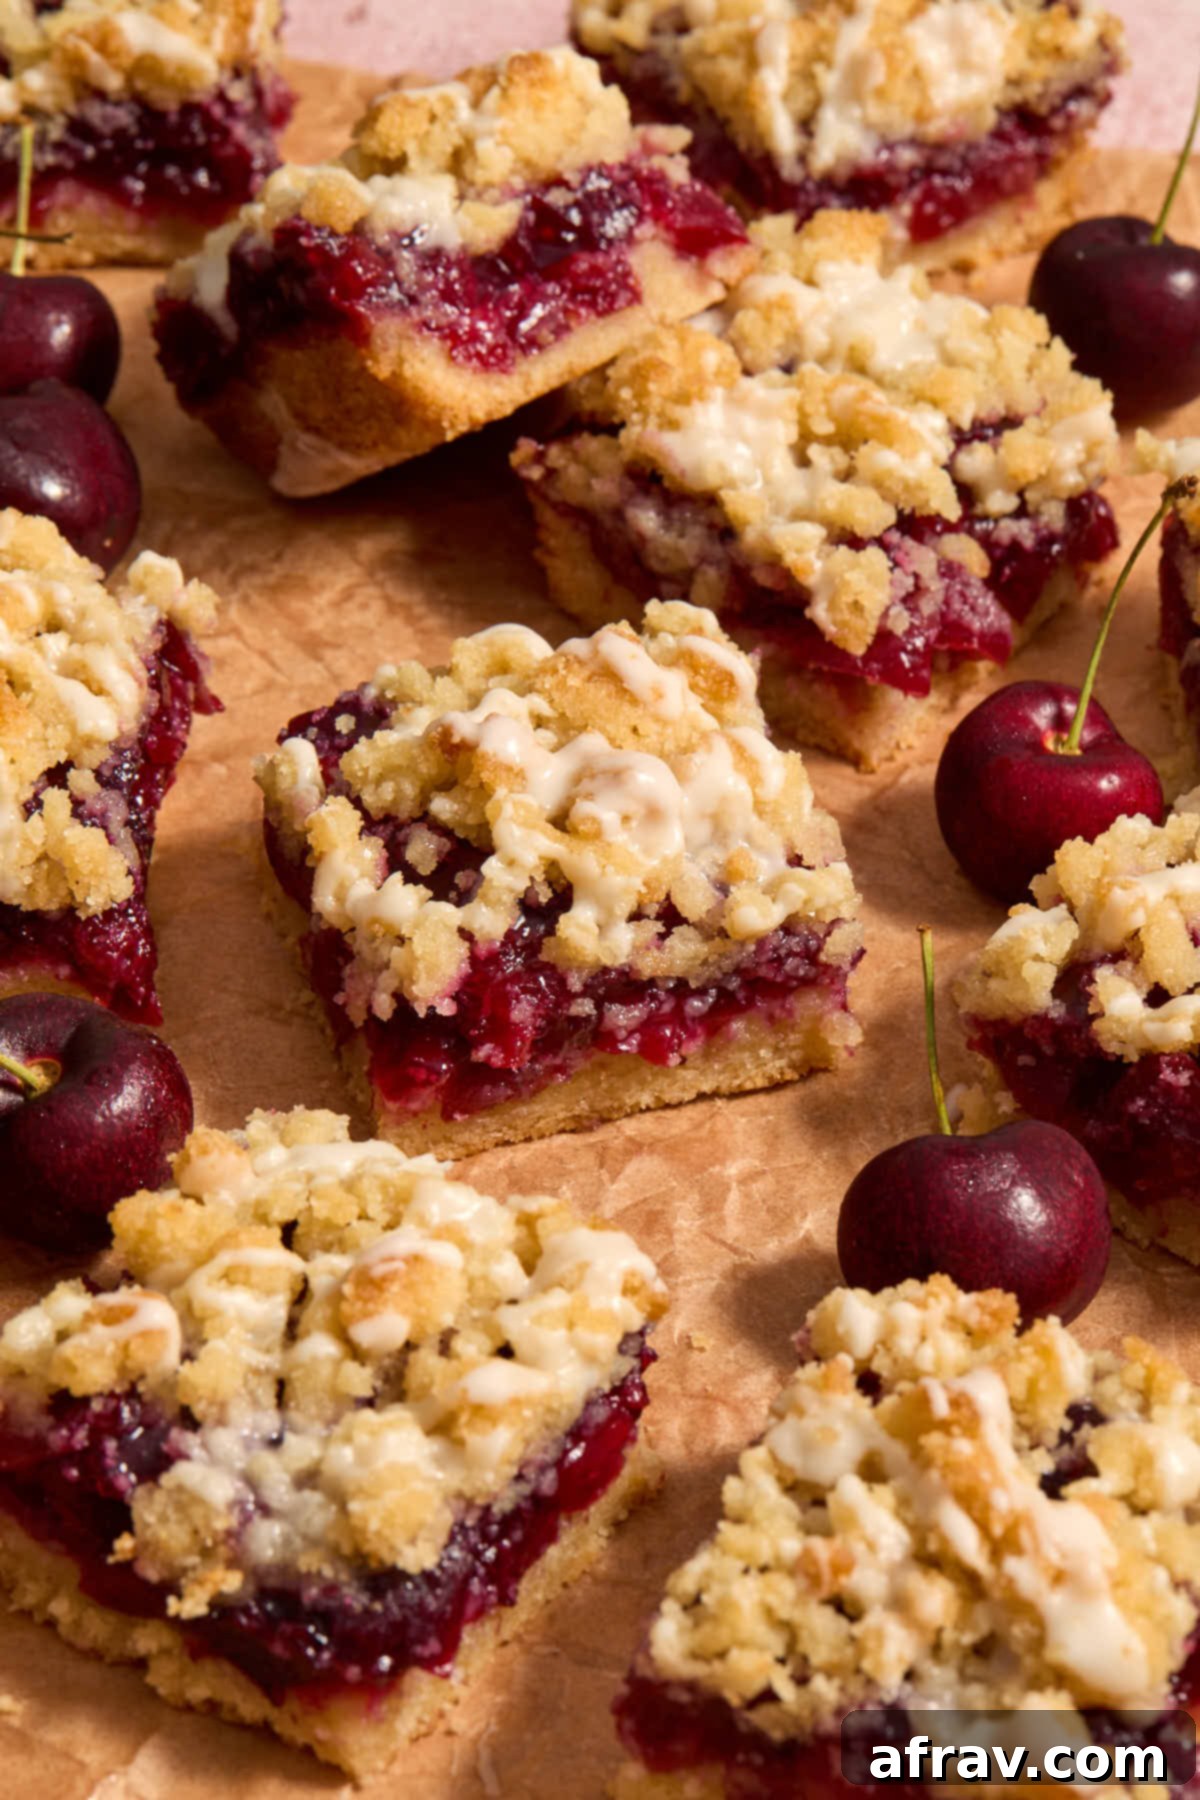
Prepare to fall in love with these utterly Almond Flour Cherry Pie Bars! They boast an exquisitely buttery, gluten-free crust and topping, perfectly complemented by a luscious homemade cherry pie filling. Each bite delivers a delightful shortbread-like texture that simply melts in your mouth, creating an experience that’s truly irresistible. What makes this recipe even more appealing is its simplicity: both the crust and the crumbly topping are made from the same adaptable dough, all mixed in a single bowl, streamlining your baking process. Tucked between these delightful layers is a vibrant, easy-to-make cherry pie filling, bursting with the natural sweetness of fresh dark cherries and a subtle hint of almond extract for depth of flavor. To complete this masterpiece, a simple, sweet powdered sugar glaze is drizzled over the top, adding a final touch of elegance and sweetness that will have everyone reaching for a second (or third!) bar. These bars are not just a dessert; they’re a celebration of simple, wholesome ingredients transformed into an unforgettable treat.
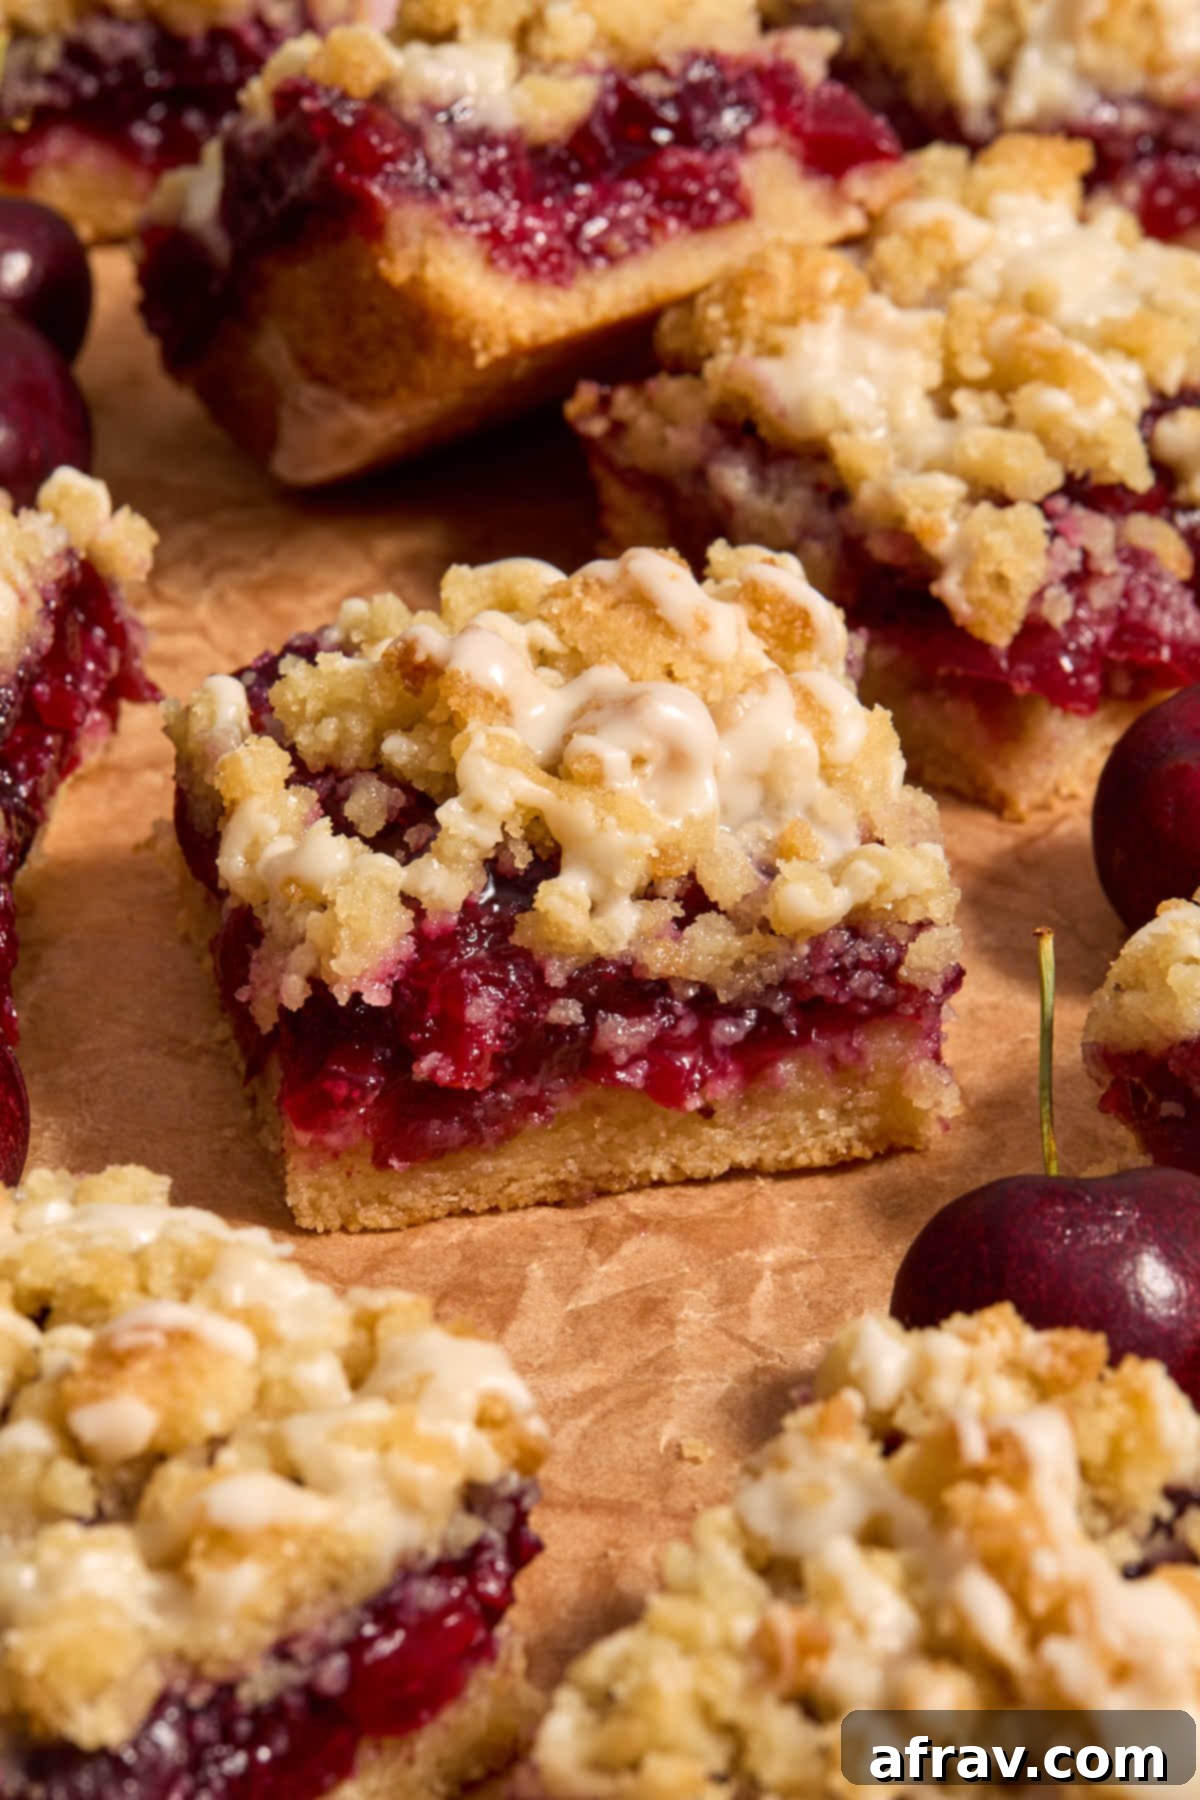
If you find yourself enchanted by the charm of these delightful cherry bars, you’ll also want to explore our equally tempting Almond Flour Peach Crisp Bars. They feature a similar gluten-free almond flour base and are filled with a juicy homemade peach filling, crowned with a satisfying oat crumble topping. Both recipes offer a wonderful way to enjoy fruit-filled desserts with a wholesome, gluten-free twist.
Table of Contents
- Why You’ll Adore These Almond Flour Cherry Bars
- Essential Ingredients and Smart Substitutions
- Step-by-Step Guide to Making Almond Flour Cherry Pie Bars
- Precision Measuring for Perfect Baking
- Storage and Freshness Tips for Your Pie Bars
- Pro Baking Tips for Flawless Cherry Bars
- Frequently Asked Questions About Cherry Pie Bars
- More Delightful Almond Flour Dessert Creations
Why You’ll Adore These Almond Flour Cherry Bars
These almond flour cherry pie bars aren’t just a treat; they’re a revelation in gluten-free baking, offering numerous reasons to make them a staple in your recipe collection. Let’s delve into why these bars stand out:
- **Effortless Melted Butter Crust & Topping:** One of the greatest conveniences of this recipe is the use of melted butter in both the crust and topping. Forget the tedious task of cutting in cold butter, which can be time-consuming and messy. Melted butter simplifies the process, making the dough incredibly easy to mix and press into the pan. This method ensures a consistently tender, shortbread-like base and a delightfully crumbly topping with minimal effort, perfect for busy bakers.
- **Superior Homemade Cherry Pie Filling:** While canned pie fillings are an option, our homemade cherry filling elevates these bars to a gourmet level. Made with fresh, ripe sweet cherries, a hint of lemon, and almond extract, it delivers a vibrant, authentic fruit flavor that simply can’t be matched by store-bought alternatives. The texture is perfectly jammy and rich, without the artificial sweetness or additives often found in canned versions. It’s a quick and rewarding step that makes all the difference.
- **Remarkably Fast Baking Time:** Despite their impressive appearance, these cherry bars bake up surprisingly quickly. The secret lies in pre-baking the crust while simultaneously preparing the filling. Once assembled, the entire dish bakes in just 15-17 minutes. This efficiency means you can enjoy a freshly baked dessert without spending hours in the kitchen, making them ideal for impromptu gatherings or when a sweet craving strikes.
- **Naturally Gluten-Free & Wholesome:** Utilizing almond flour makes these bars naturally gluten-free, catering to dietary needs without sacrificing flavor or texture. Almond flour lends a rich, nutty flavor and a tender crumb that’s far from the dry, crumbly texture often associated with gluten-free baked goods. It’s also packed with protein and healthy fats, making these a slightly more wholesome dessert option.
- **Perfect for Any Occasion:** From casual family desserts to elegant potluck contributions, these cherry pie bars are incredibly versatile. They slice beautifully into individual portions, making them easy to serve and share. Their vibrant color and comforting aroma make them a crowd-pleaser for summer picnics, holiday gatherings, or simply a cozy evening treat.
The hardest part of this entire process? Patiently waiting for them to cool completely before slicing into those perfectly set, delicious layers!
Essential Ingredients and Smart Substitutions
Achieving the perfect texture and flavor for these almond flour cherry pie bars starts with understanding each ingredient’s role. Below is a detailed overview of the key components and helpful substitution tips. The comprehensive recipe card at the end of this post provides exact measurements and the full list.
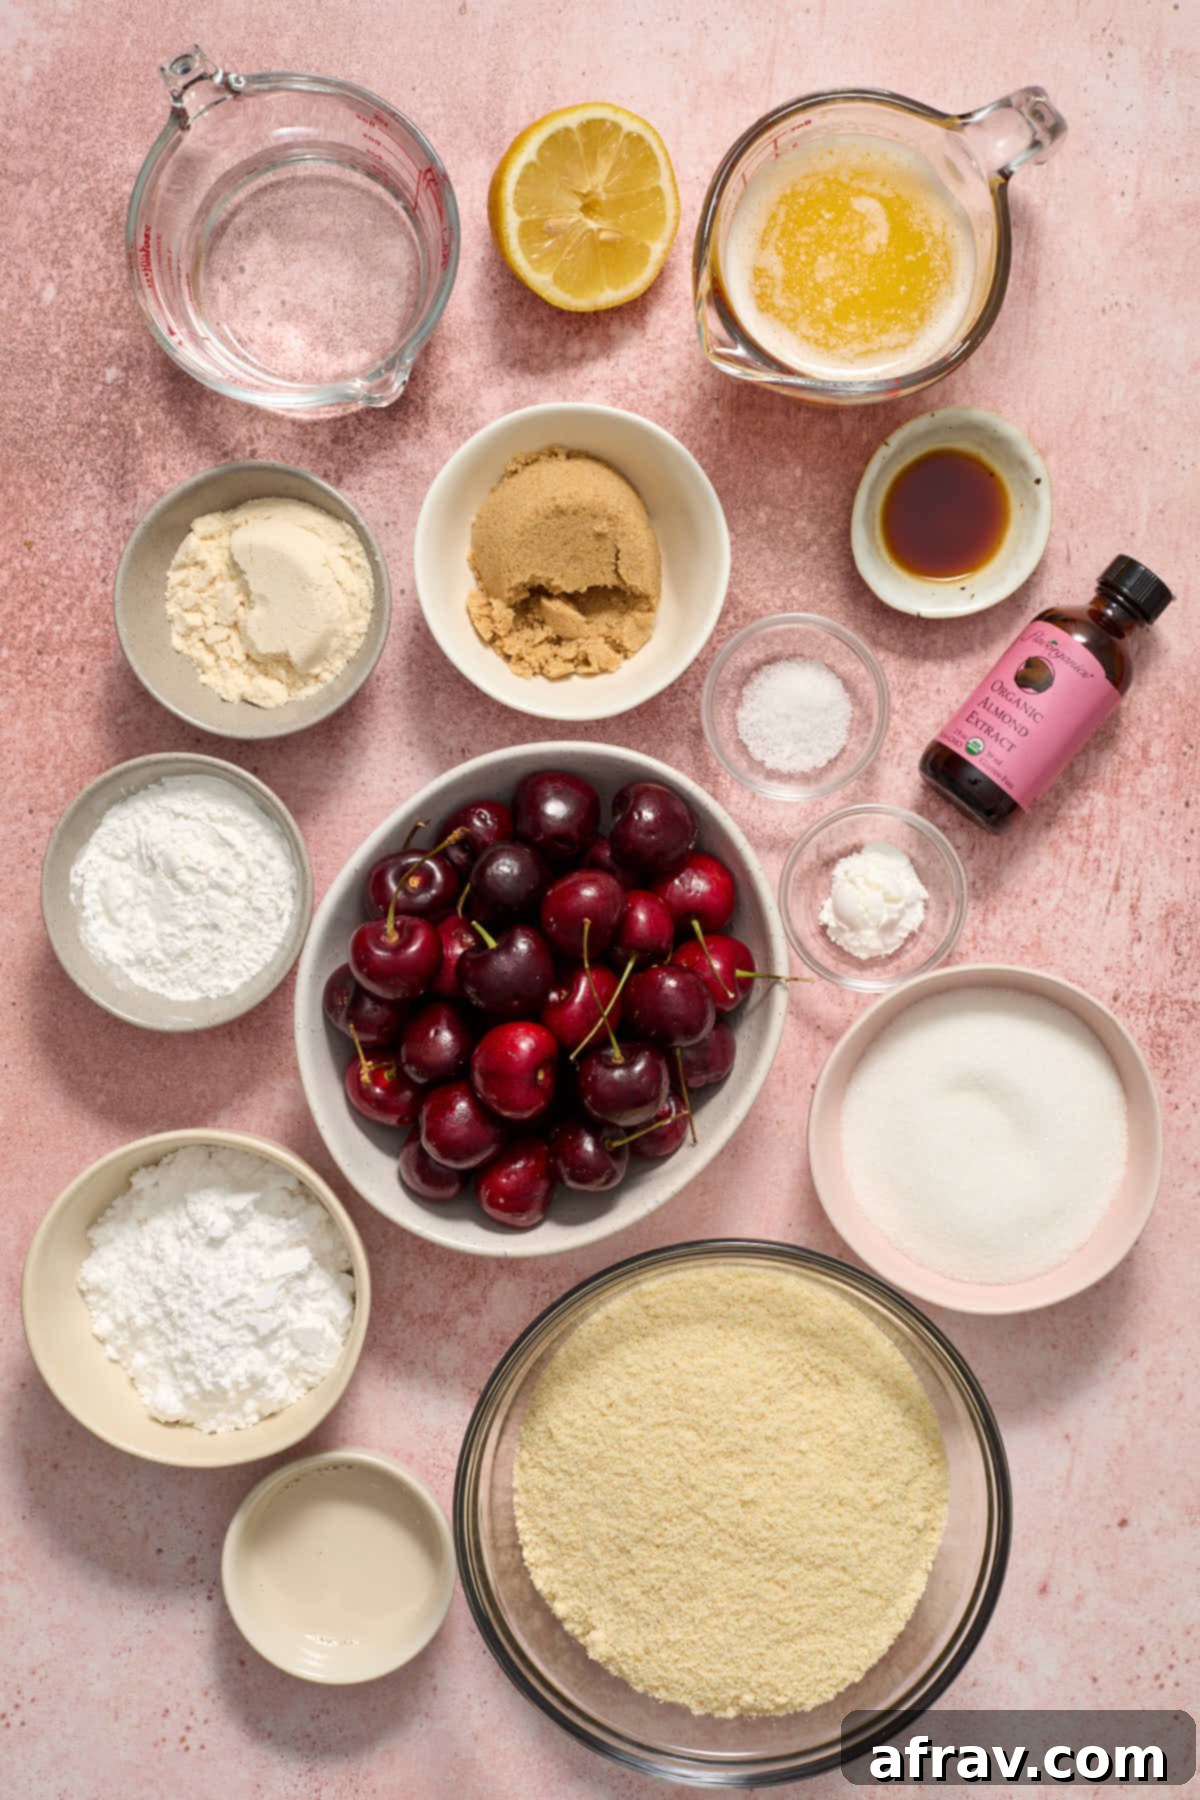
- Almond Flour: For optimal results in dessert recipes, I consistently recommend using fine blanched almond flour. Its fine, uniform texture contributes to a delicate, tender crumb in baked goods, making a significant difference compared to coarser almond meal, which can result in a more rustic or gritty texture. Blanched means the almond skins have been removed, leading to a lighter color and milder flavor.
- Cherries: This recipe shines with fresh dark sweet cherries, which offer a natural sweetness and beautiful color to the filling. If fresh cherries are out of season or unavailable, you can certainly use frozen pitted sweet cherries; just be sure to thaw them first and drain any excess liquid to prevent a watery filling. Should you opt for tart (sour) cherries, remember their tartness will require a small increase in granulated sugar in the filling to balance the flavor profile. Always ensure cherries are pitted and chopped into small, even pieces for the best texture in your bars.
- Butter: Unsalted melted butter is the hero in our crust and topping, effortlessly binding all the dry ingredients together. Its melted state simplifies mixing, eliminating the need for cold butter and pastry blenders, and it’s key to achieving that signature buttery, rich shortbread texture. If you only have salted butter on hand, that’s perfectly fine; just omit the additional fine sea salt specified in the recipe to prevent the bars from becoming too salty.
- Cornstarch: This versatile ingredient plays a crucial dual role. In the crust and topping mixture, it contributes to a more tender and delicate gluten-free base, enhancing the crumbly texture. In the cherry filling, cornstarch acts as a thickening agent, ensuring a perfectly jammy, set filling that holds its shape beautifully when sliced, preventing any sogginess.
- Coconut Flour: When working with almond flour and melted butter, the dough can sometimes be quite wet and oily due to the high fat content of almonds. A small amount of coconut flour is added to absorb this excess moisture and oil. It helps to create a more balanced dough consistency, resulting in a firmer, less greasy crust and topping, without imparting an overwhelming coconut flavor. It’s an essential component for the ideal texture balance in these gluten-free bars.
- Sugars (Granulated & Light Brown Sugar): A combination of granulated sugar and light brown sugar provides a balanced sweetness and depth of flavor. Granulated sugar offers clean sweetness, while brown sugar adds a subtle molasses note and contributes to the moistness and tender chewiness of the bars.
- Baking Powder: As a leavening agent, baking powder helps to create a slightly lighter, more tender crumb in the crust and topping, preventing them from being too dense.
- Fine Sea Salt: Salt is crucial for enhancing all the other flavors, balancing the sweetness, and bringing out the rich notes of the butter and cherries.
- Vanilla Extract: A staple in most baked goods, vanilla extract adds a warm, aromatic base note that complements the almond and cherry flavors beautifully.
- Lemon Juice: In the cherry filling, fresh lemon juice isn’t just for flavor; its acidity brightens the taste of the cherries, preventing the filling from tasting overly sweet and adding a pleasant tang.
- Almond Extract: This is the secret ingredient that truly makes the cherry filling sing! Almond extract has a natural affinity for cherries, intensifying their fruity notes and adding a sophisticated, slightly marzipan-like aroma that makes these bars uniquely delicious.
- Powdered Sugar & Milk: These two simple ingredients come together to form our easy, smooth glaze. The glaze adds a final touch of sweetness and a beautiful visual appeal, making the bars look professionally finished.
Step-by-Step Guide to Making Almond Flour Cherry Pie Bars
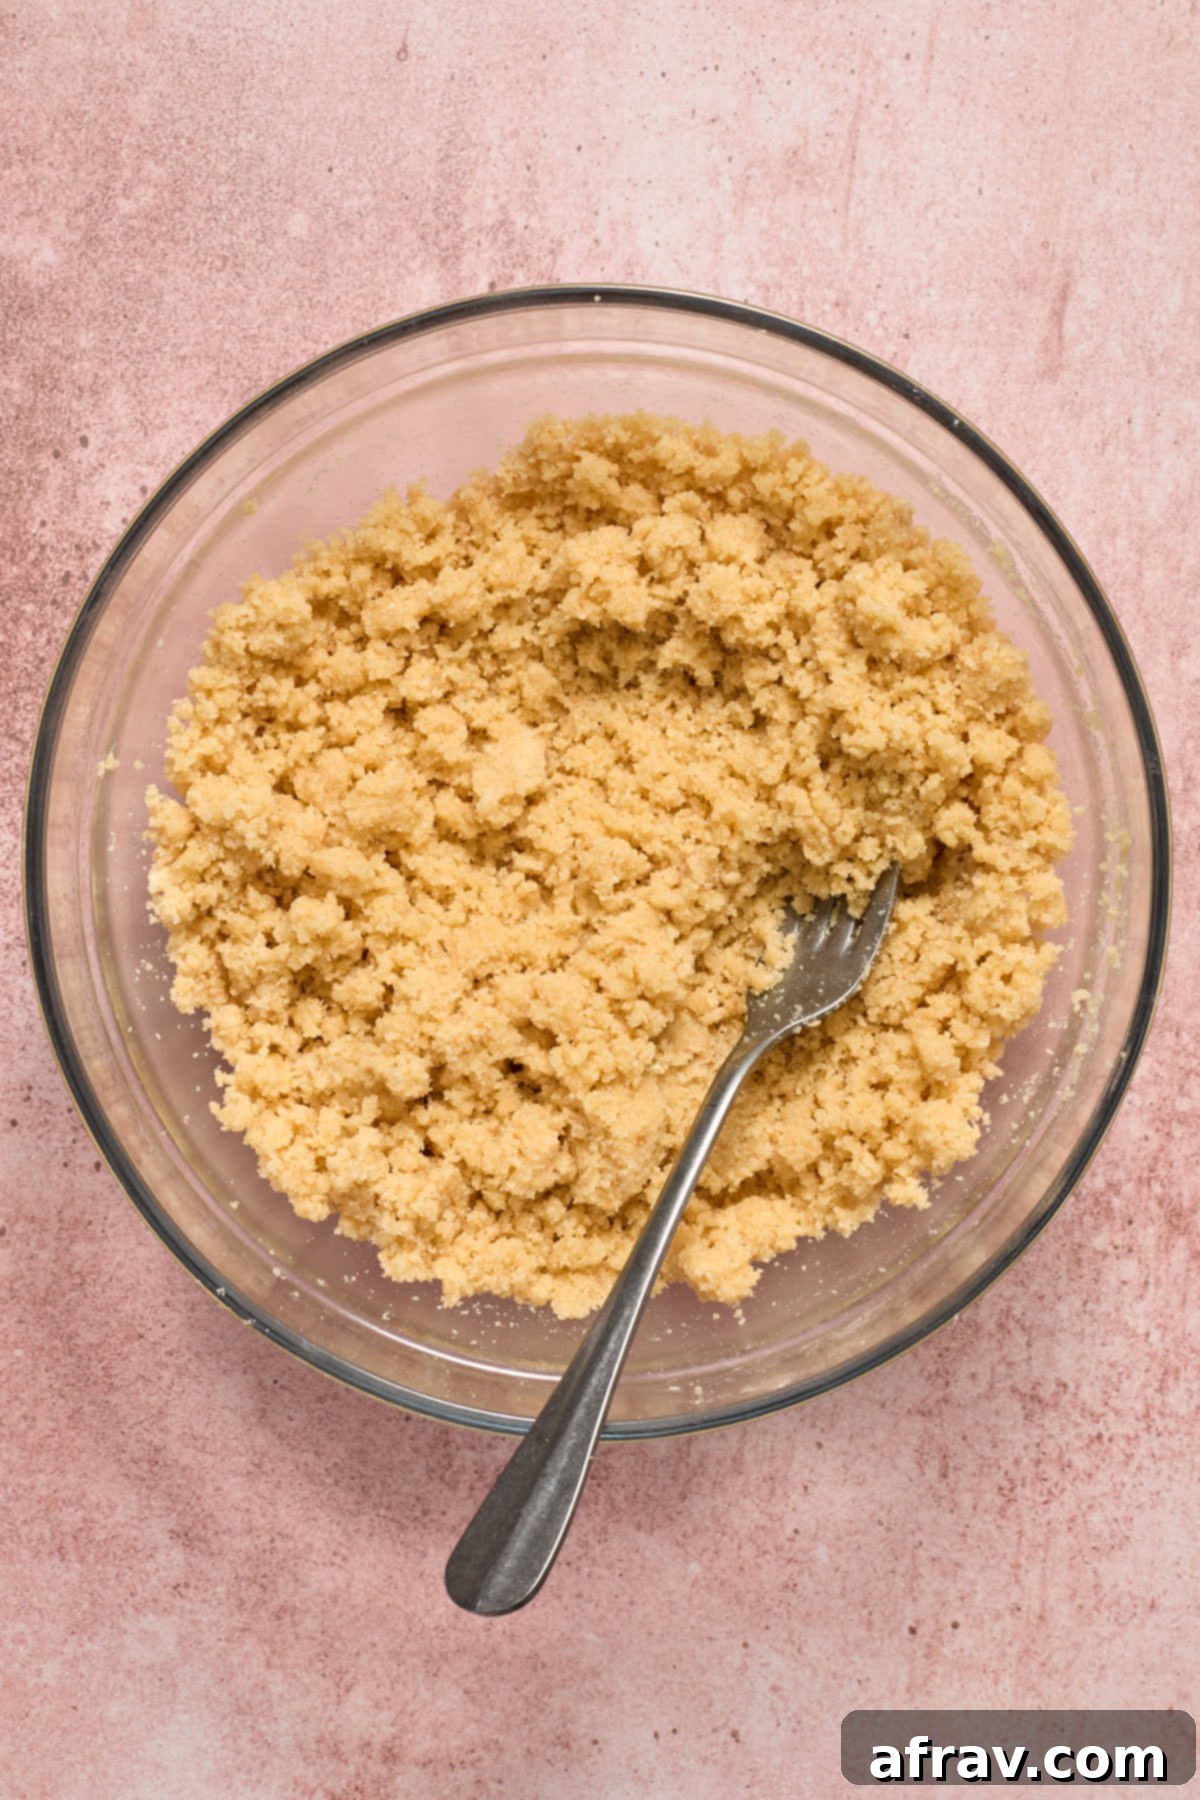
Creating these delightful cherry pie bars is a straightforward process, broken down into easy-to-follow steps. For your convenience, each step is accompanied by a visual guide, and more precise details can be found in the recipe card at the very end of this post.
Precision Measuring for Perfect Baking
In baking, especially when working with gluten-free flours like almond flour, accuracy in measuring ingredients is paramount for consistent and successful results. While for convenience, traditional US cup measurements are provided in the recipe card, we highly recommend using weight and volume measurements for greater precision.
- Weighing Dry Ingredients: For ingredients like almond flour, cornstarch, coconut flour, and sugars, using a kitchen scale to weigh them in grams (g) is always the most accurate method. Flour, in particular, can be easily over-measured when scooped directly into a cup, leading to a denser, drier baked good. Weighing ensures you use the exact amount specified, contributing to the perfect texture of your crust and topping.
- Measuring Liquids: For liquid ingredients such as water, milk, and melted butter, milliliters (ml) are best measured using a clear liquid measuring cup at eye level. This prevents any inconsistencies that can arise from using dry measuring cups for liquids.
- Small Quantities: For smaller quantities like baking powder, salt, vanilla extract, lemon juice, and almond extract, standard teaspoons and tablespoons are generally accurate enough and widely used. Ensure you level these measurements precisely to avoid overpowering or underwhelming flavors.
Investing in a reliable kitchen scale can significantly improve your baking consistency and eliminate common issues associated with volumetric measurements, particularly in sensitive gluten-free recipes like these almond flour cherry pie bars.
Storage and Freshness Tips for Your Pie Bars
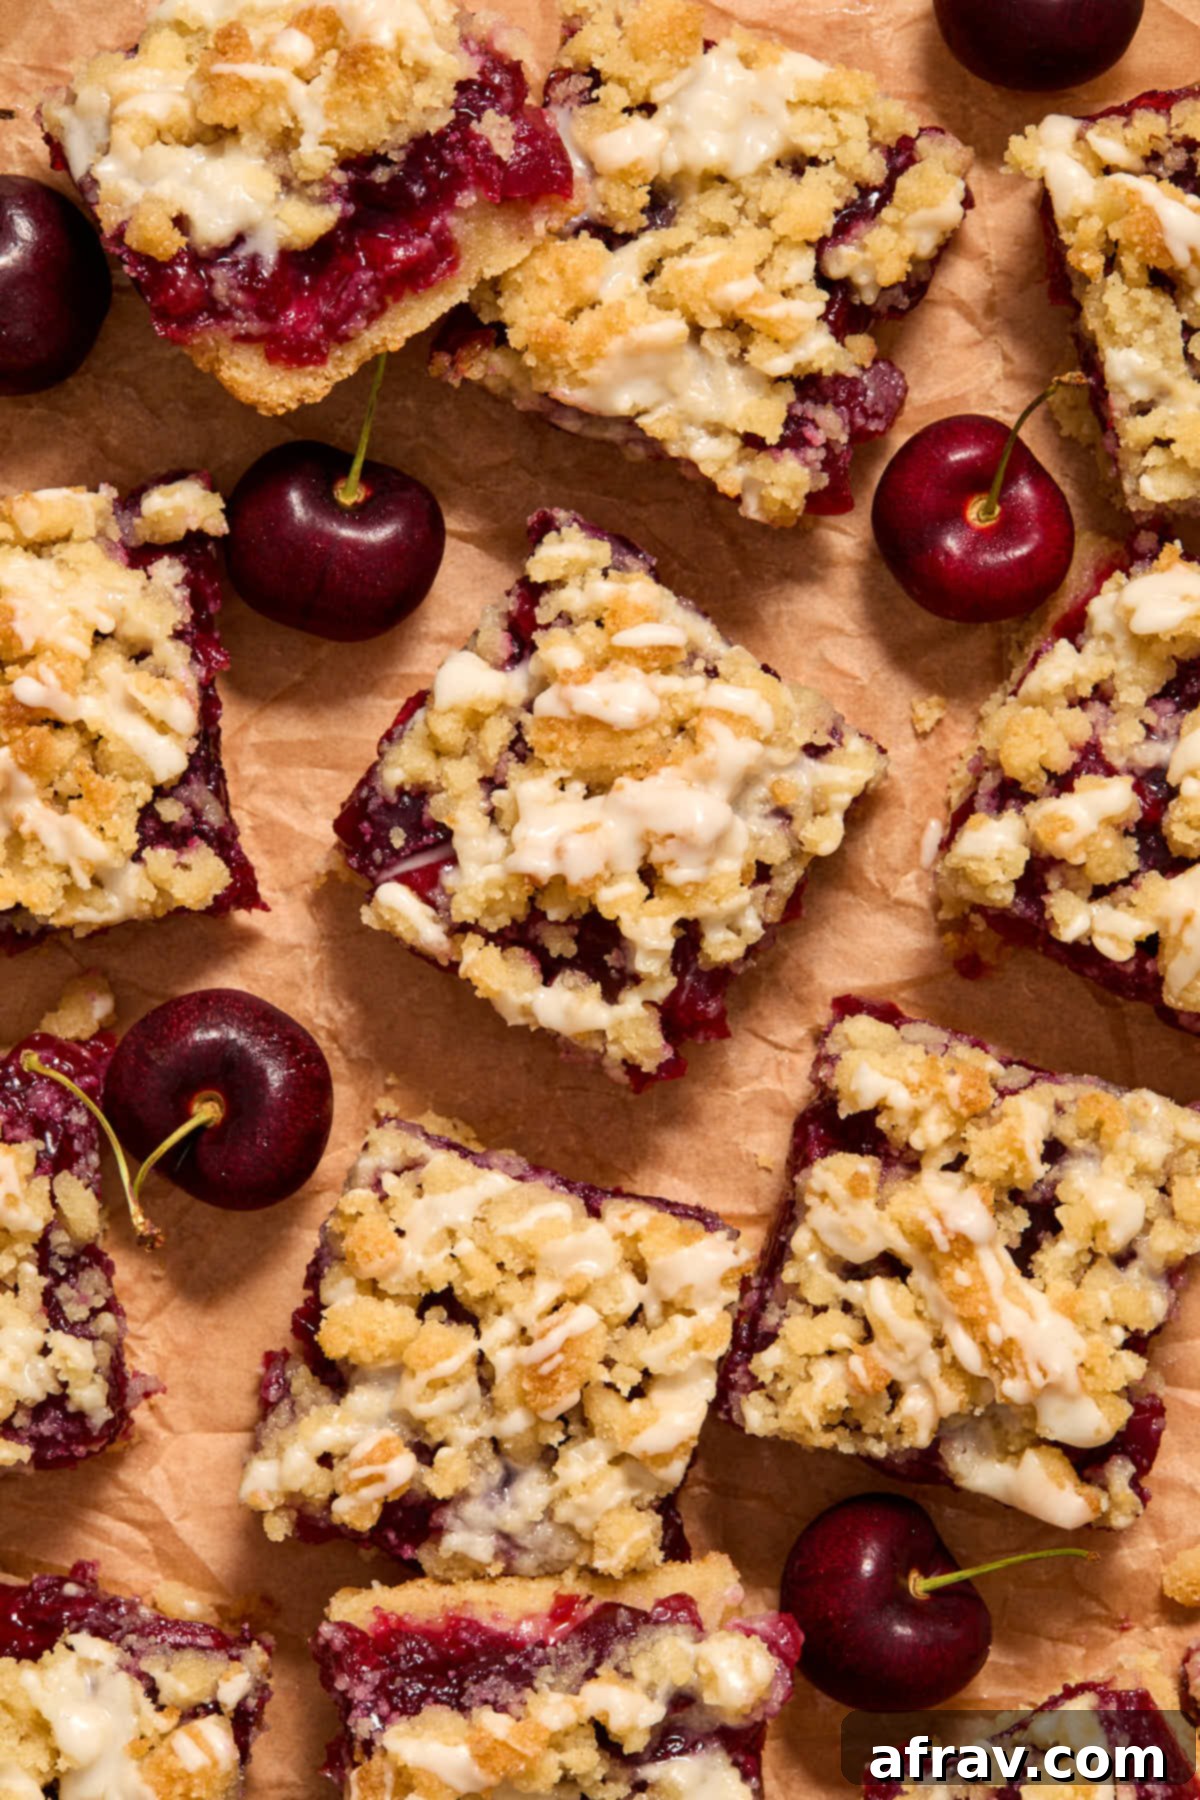
Proper storage is essential to maintain the delicious taste and perfect texture of your homemade almond flour cherry pie bars. Once you’ve cut them into individual squares, it’s crucial to transfer them to an airtight container. These bars should be stored in the refrigerator, where they will remain fresh and delightful for approximately 3-4 days.
Almond flour, by nature, retains a good amount of moisture. If the bars are left at room temperature, the delightful, jammy cherry pie filling can gradually soften the crisp, shortbread-like topping and crust. Refrigeration helps to firm up all the layers, keeping the crust buttery and crisp, and the filling perfectly set. This also prevents any potential spoilage from the fresh fruit filling.
However, I generally do not recommend freezing these cherry pie bars. In my experience, the delicate texture of both the almond flour base and the crumbly topping tends to degrade significantly upon thawing. They can become somewhat soggy or lose their signature crispness, detracting from the overall enjoyment. For the best experience, enjoy them fresh from the fridge within the recommended storage period.
Pro Baking Tips for Flawless Cherry Bars
To ensure your almond flour cherry pie bars turn out perfectly every time, keep these expert tips in mind:
- Chop Cherries Finely and Evenly: For the most harmonious cherry pie filling, make sure to chop your fresh cherries into small, consistent pieces. This not only helps the filling spread more smoothly and evenly across the crust but also ensures that each bite of your bar has a balanced cherry flavor without large, unwieldy chunks. It contributes to a more refined texture and prevents the bars from being difficult to cut.
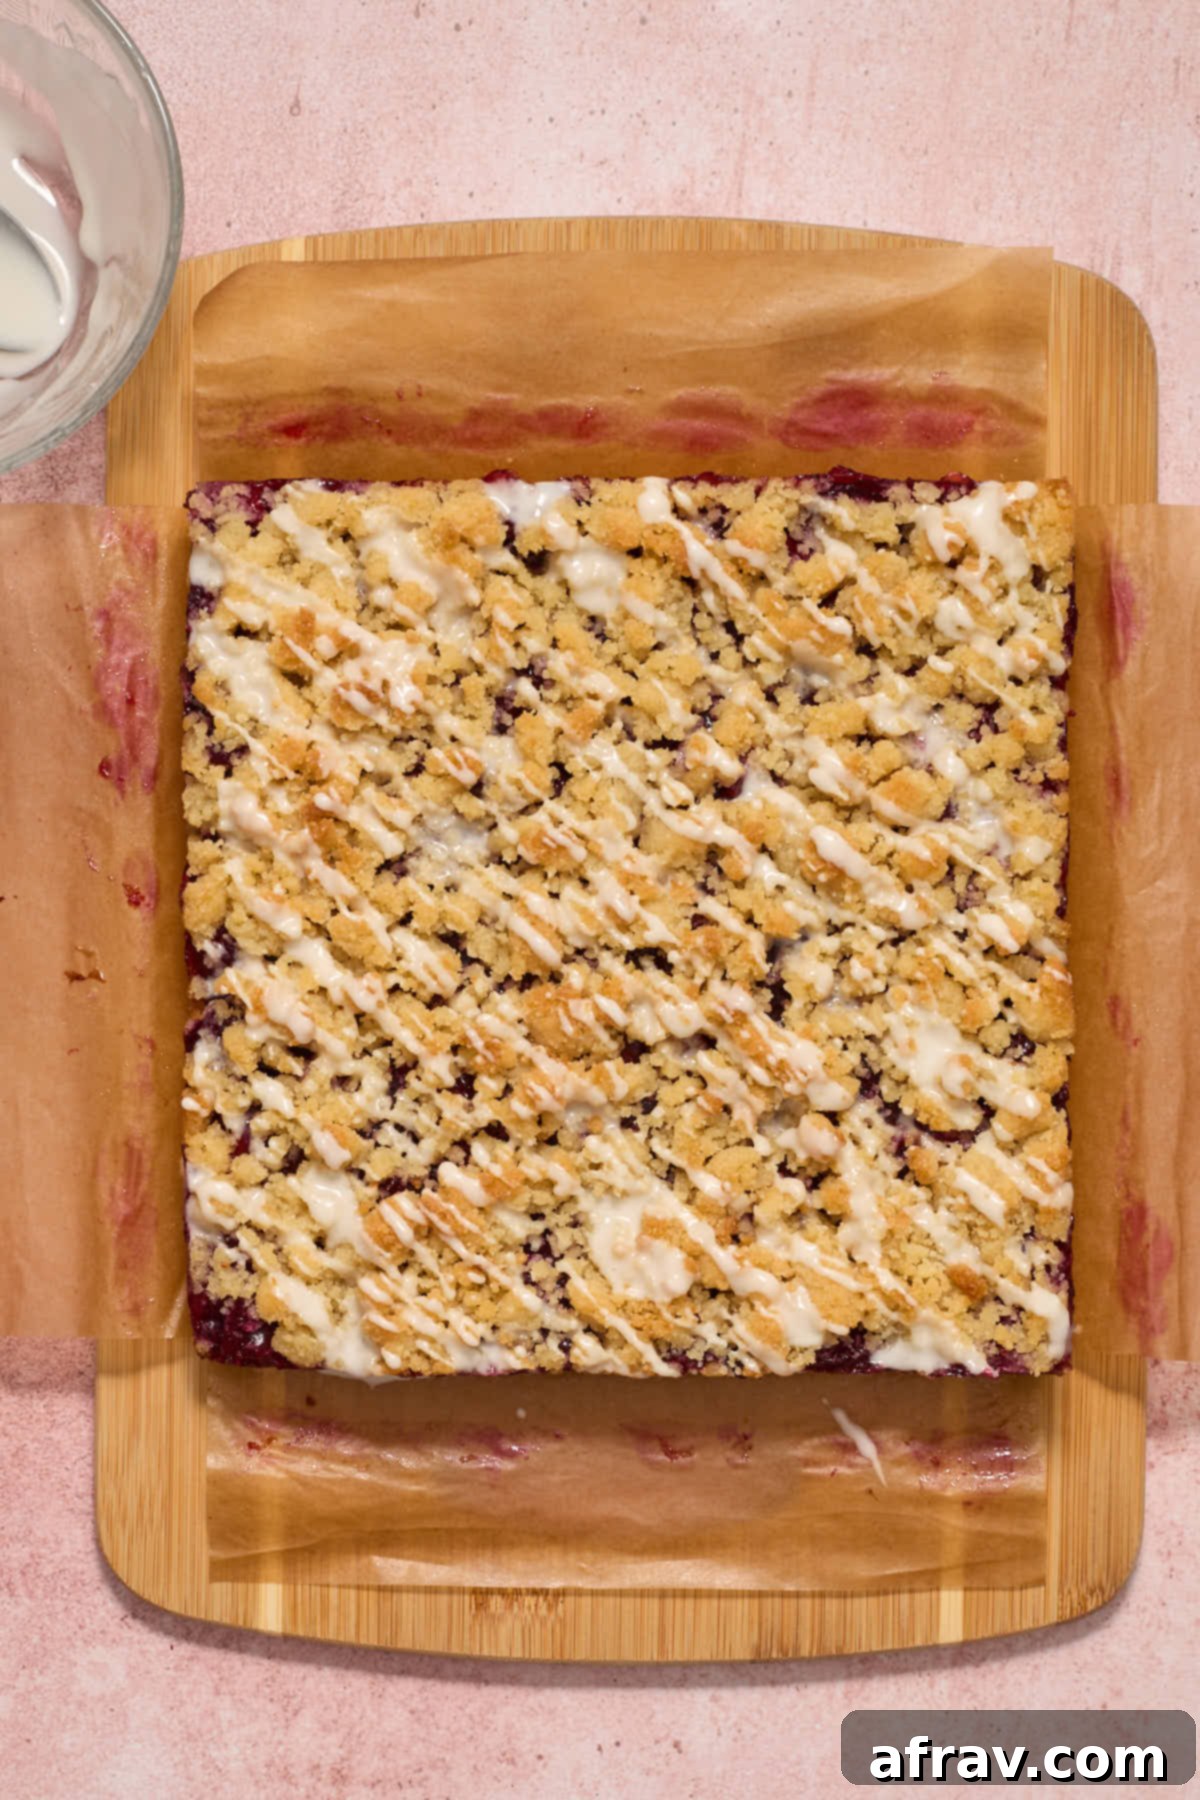
- Utilize Parchment Paper with Overhang: A simple yet effective trick is to line your baking pan with parchment paper, leaving an overhang on two sides. This creates convenient “handles” that allow you to easily lift the completely cooled and set bars out of the pan. This method minimizes breakage and makes cutting them into clean, perfect squares much simpler than trying to cut them directly in the pan.
- Cool the Crust Completely Before Adding Filling: After the initial bake, it’s vital to allow the crust to cool and firm up entirely before you spread the warm cherry filling over it. Adding warm filling to a warm crust can result in a soggy bottom layer, compromising the desired shortbread texture. A cool crust provides a sturdy, crisp foundation for the moist filling.
- Chill the Bars Thoroughly Before Cutting: Patience is a virtue when it comes to cutting these bars! Almond flour baked goods, especially those with a jammy filling, benefit immensely from a prolonged chilling period. Refrigerating the bars for at least 2-3 hours (or even longer) allows the buttery crust to firm up and the cherry filling to fully set. This step is crucial for achieving clean, neat slices and preventing the bars from crumbling or oozing, giving them a professional finish.
- Don’t Overmix the Dough: While the crust and topping are forgiving, avoid overmixing once the wet ingredients are added. Mix just until combined and crumbly to prevent a tough texture.
- Adjust Sugar for Tart Cherries: If using sour cherries, taste your filling mixture before cooking and adjust the sugar slightly upwards if needed. A little extra sugar will balance the tartness beautifully.
- Monitor Baking Closely: Almond flour can brown faster than traditional wheat flour. Keep an eye on the oven, especially during the second bake, to ensure the topping achieves a golden brown without burning.
Frequently Asked Questions About Cherry Pie Bars
Absolutely! Frozen cherries are a fantastic option, especially when fresh ones aren’t in season. Just make sure they are pitted, and it’s a good idea to thaw them completely and drain any excess liquid before chopping them into small pieces. This prevents the filling from becoming too watery. You might also want to slightly increase the cornstarch by half a teaspoon if your cherries seem particularly juicy, just to ensure the filling thickens nicely.
While I highly recommend the homemade cherry pie filling for its superior fresh flavor and natural ingredients, you can certainly use a good quality canned filling in a pinch. However, please be aware that canned fillings often contain added sugars, thickeners, and sometimes artificial flavors, which will result in a different taste and texture profile compared to our from-scratch version. If you do use canned, ensure it’s well-drained and chopped if the cherry pieces are too large, and omit the sugar and cornstarch additions from our filling recipe, as canned fillings are pre-sweetened and thickened.
Yes, pre-baking the crust is a crucial step for these almond flour cherry pie bars. This initial bake helps the gluten-free crust become firm and slightly golden, creating a robust foundation that can properly support the moist cherry pie filling. Without pre-baking, the crust would be more prone to becoming soggy from the filling. Additionally, the topping bakes relatively quickly and would brown too much if the bottom crust wasn’t already partially cooked, ensuring all layers are perfectly baked and textured.
More Delightful Almond Flour Dessert Creations
If you’ve enjoyed the versatility and deliciousness of almond flour in these cherry pie bars, you’ll be thrilled to explore more gluten-free baking adventures with these fantastic recipes:
- Cherry Almond Cake – A tender cake bursting with cherry and almond flavors.
- Cherry Galette with Almond Flour Crust – An elegant, rustic tart with a flaky almond flour crust.
- Almond Flour Lemon Poppy Seed Cake – A bright and zesty cake with a delightful texture.
- Almond Flour Lemon Blueberry Bread – A moist and flavorful quick bread, perfect for breakfast or a snack.
- Almond Flour Vanilla Cupcakes – Classic vanilla cupcakes made gluten-free with almond flour.
I genuinely hope you try this recipe and love it as much as I do! If you do, I’d be absolutely thrilled to hear what you think. Please share your thoughts and experiences in the comments section below!
HUNGRY FOR MORE? Follow Crumb Top Baking on Instagram, Pinterest and Facebook!
Print Recipe
Almond Flour Cherry Pie Bars
5 Stars
4 Stars
3 Stars
2 Stars
1 Star
No reviews
- Author: Leanne
Prep Time: 20 minutes
Chilling Time: 3 hours
Cook Time: 25 minutes
Total Time: 3 hours 45 minutes
Yield: 16 bars
Category: Dessert
Method: Bake
Cuisine: American, Canadian
Diet: Gluten Free
Description
These Gluten-Free Almond Flour Cherry Pie Bars are a true delight, featuring a rich, buttery crust and crumbly topping made with almond flour, a vibrant homemade sweet cherry pie filling with a hint of almond extract, and a finishing touch of powdered sugar glaze. They’re incredibly easy to make, irresistible, and perfect for sharing!
Ingredients
For the Buttery Almond Flour Crust and Crumbly Topping:
- 2 1/4 cups (234g) fine blanched almond flour
- 1/4 cup (30g) cornstarch
- 1/4 cup (25g) coconut flour
- 1/2 cup (110g) granulated sugar
- 1/4 cup (57g) light brown sugar, packed
- 1 teaspoon baking powder
- 1/2 teaspoon fine sea salt
- 1 teaspoon vanilla extract
- 3/4 cup (170g) unsalted butter, melted
For the Homemade Cherry Pie Filling:
- 3 cups (15 ounces) fresh sweet cherries, pitted and chopped into small pieces
- 1/2 cup (120ml) water
- 1/3 cup (70g) granulated sugar
- 2 1/2 tablespoons cornstarch
- 1 tablespoon fresh lemon juice
- 1 teaspoon almond extract
For the Simple Powdered Sugar Glaze:
- 1/2 cup (60g) powdered sugar, sifted if lumpy (plus more if necessary)
- 2–3 teaspoons milk (plant-based or dairy)
Instructions
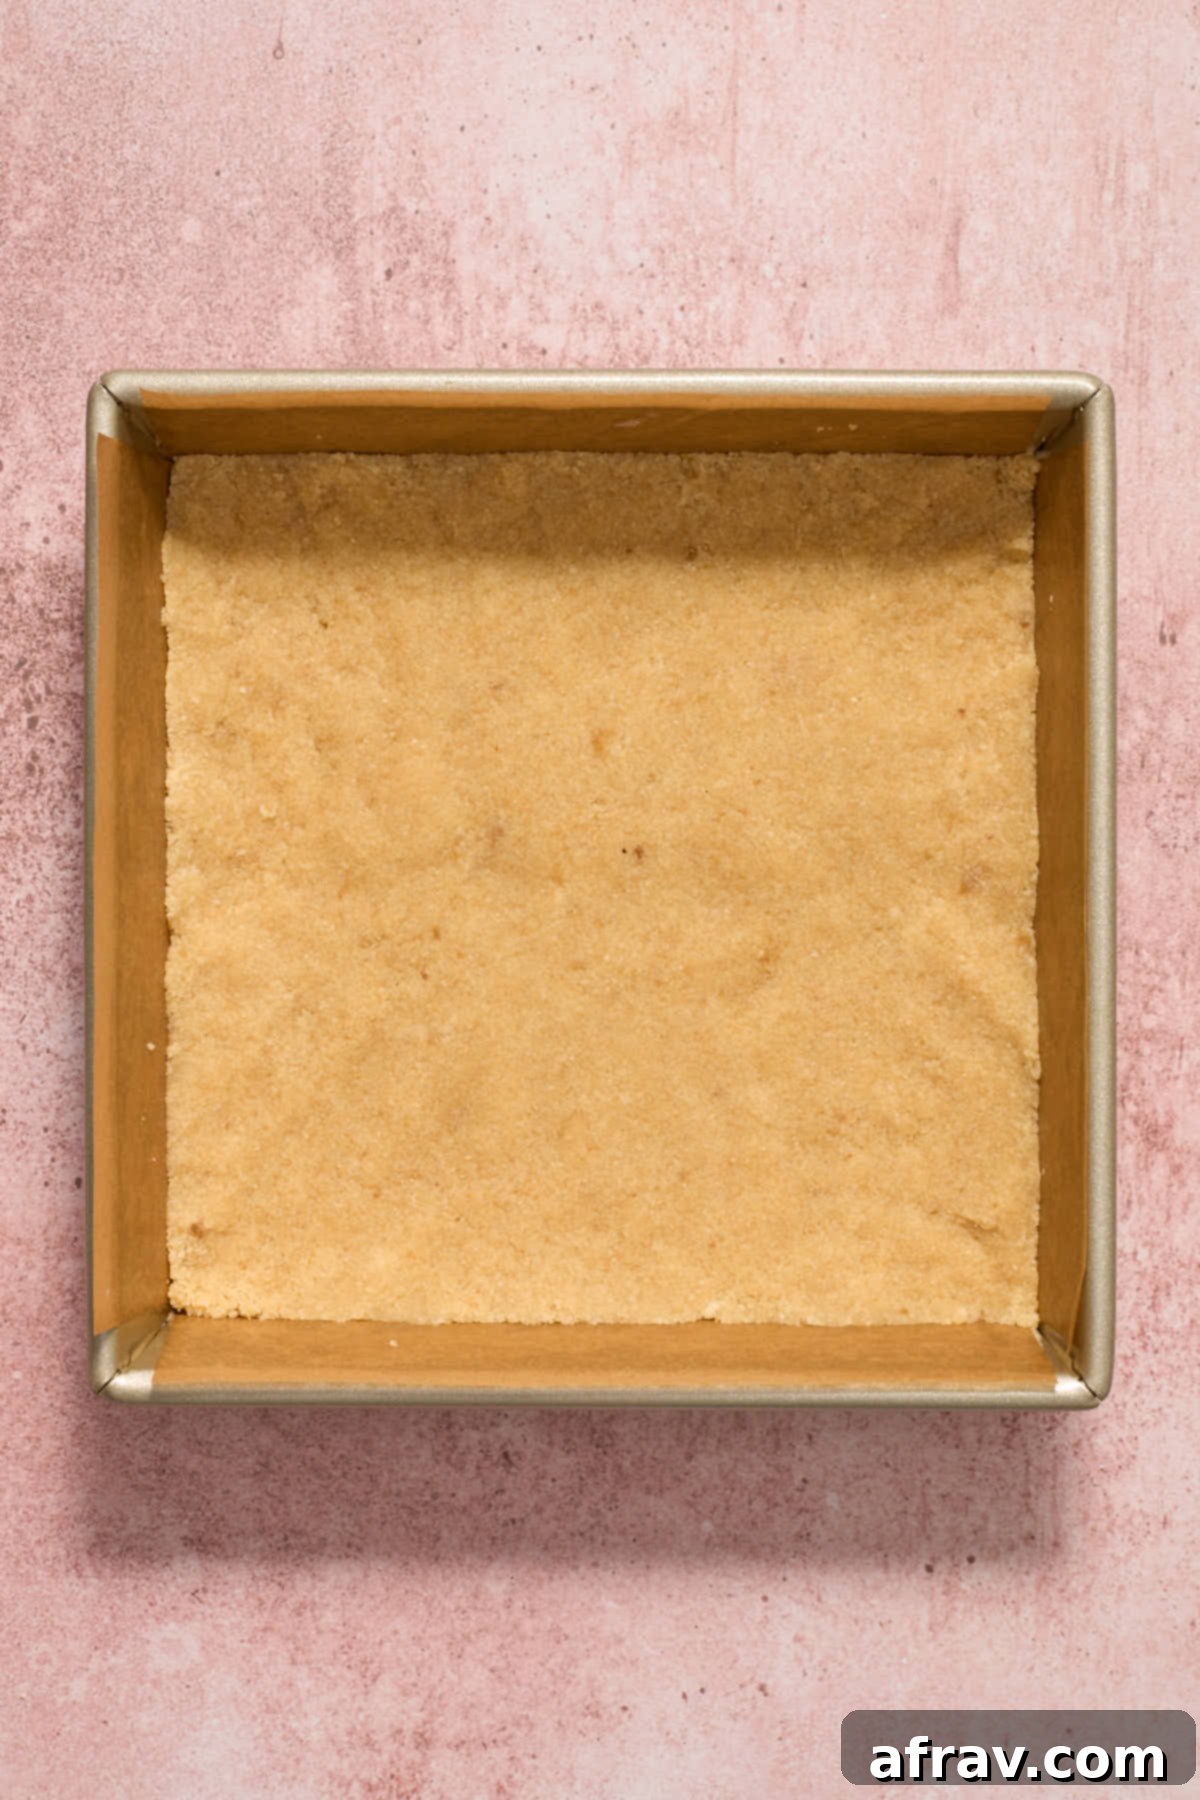
- Preheat your oven to 350°F (175°C). Prepare an 8-inch square baking pan by lightly greasing it, then lining it with parchment paper, allowing some overhang on two sides for easy removal later.
- In a large mixing bowl, whisk together the almond flour, cornstarch, coconut flour, granulated sugar, light brown sugar, baking powder, and fine sea salt until thoroughly combined. Pour in the melted unsalted butter and vanilla extract, then mix with a fork until the mixture is well incorporated and resembles moist, coarse crumbs that can be easily pinched together.
- Take about two-thirds of the dough mixture and press it firmly and evenly into the bottom of the prepared pan to form the crust. Place the remaining one-third of the dough into the refrigerator to chill while the crust bakes.
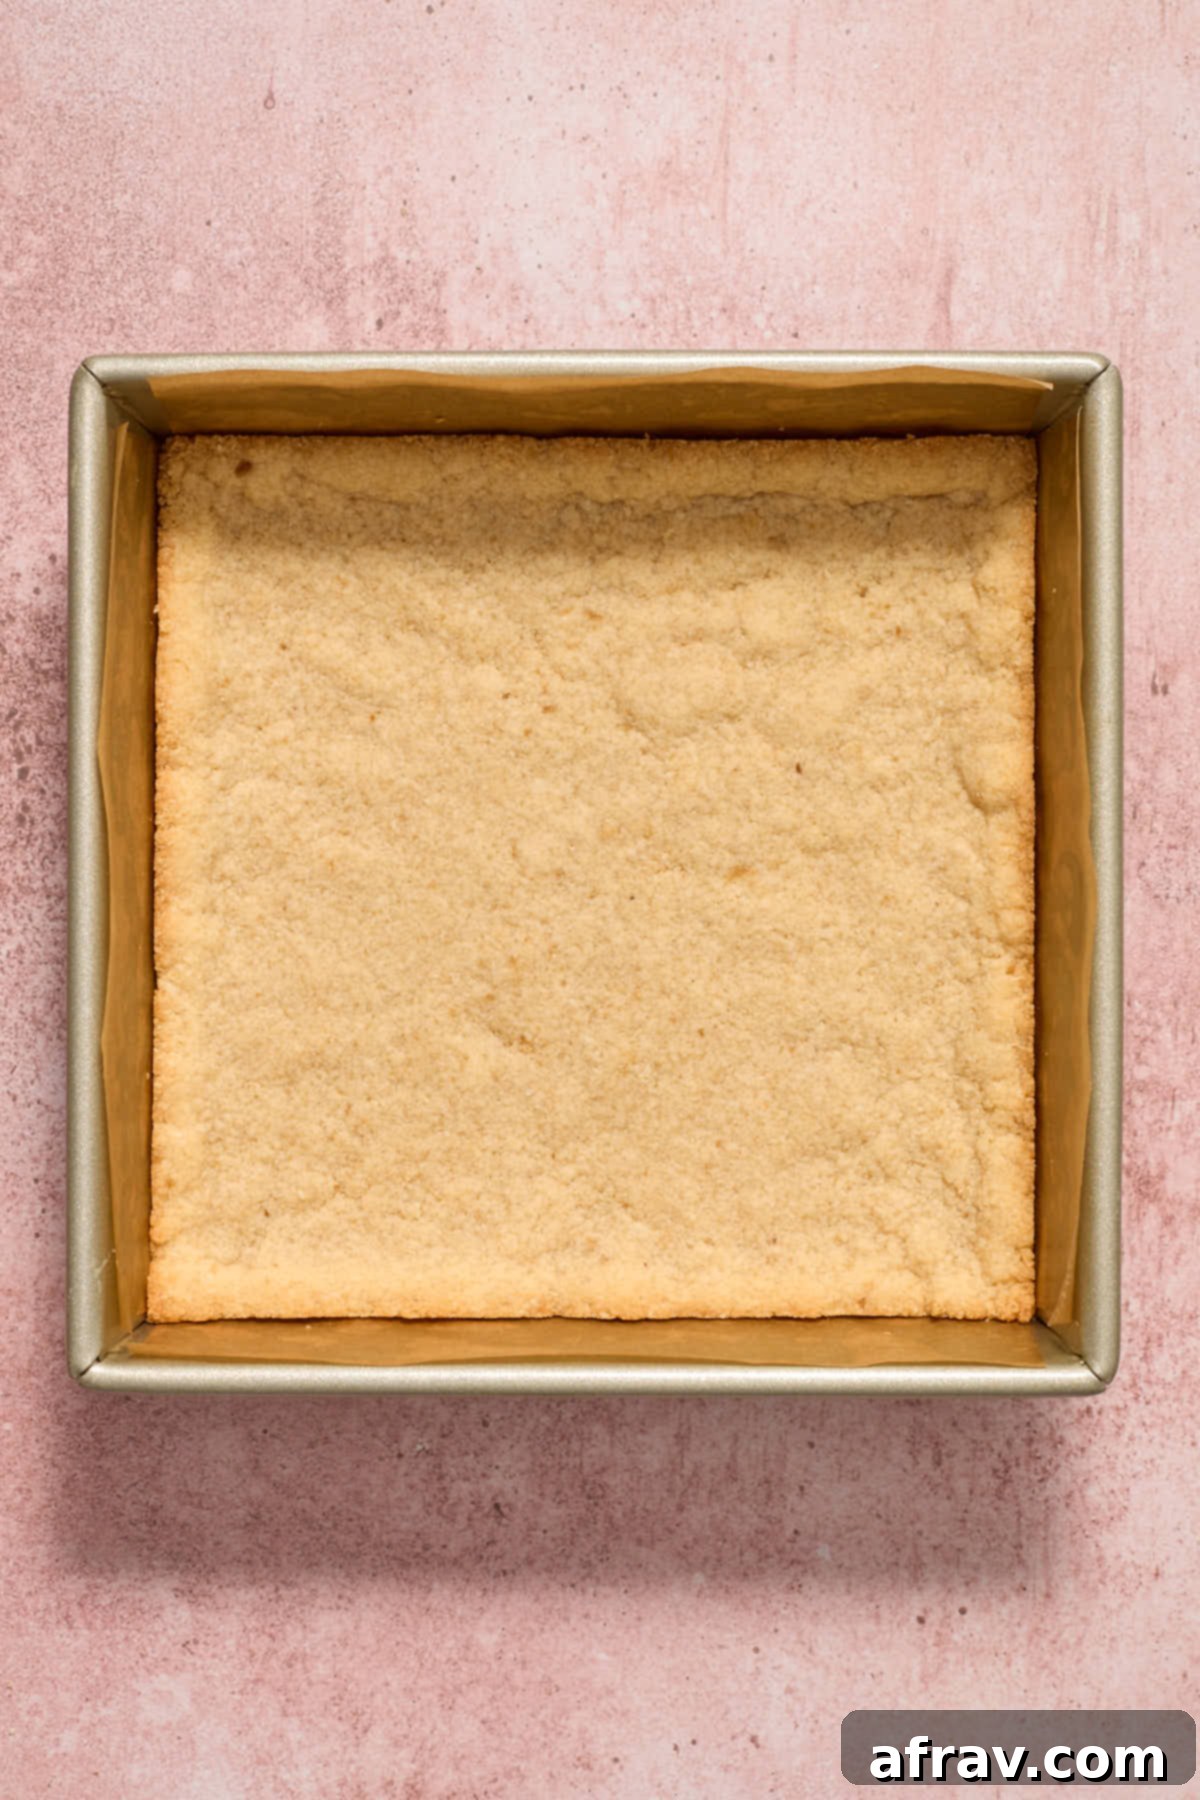
- Bake the pressed crust in the preheated oven for 9-11 minutes, or until the edges begin to turn a light golden brown and the center appears set. Remove the pan from the oven and set it aside to cool completely at room temperature.
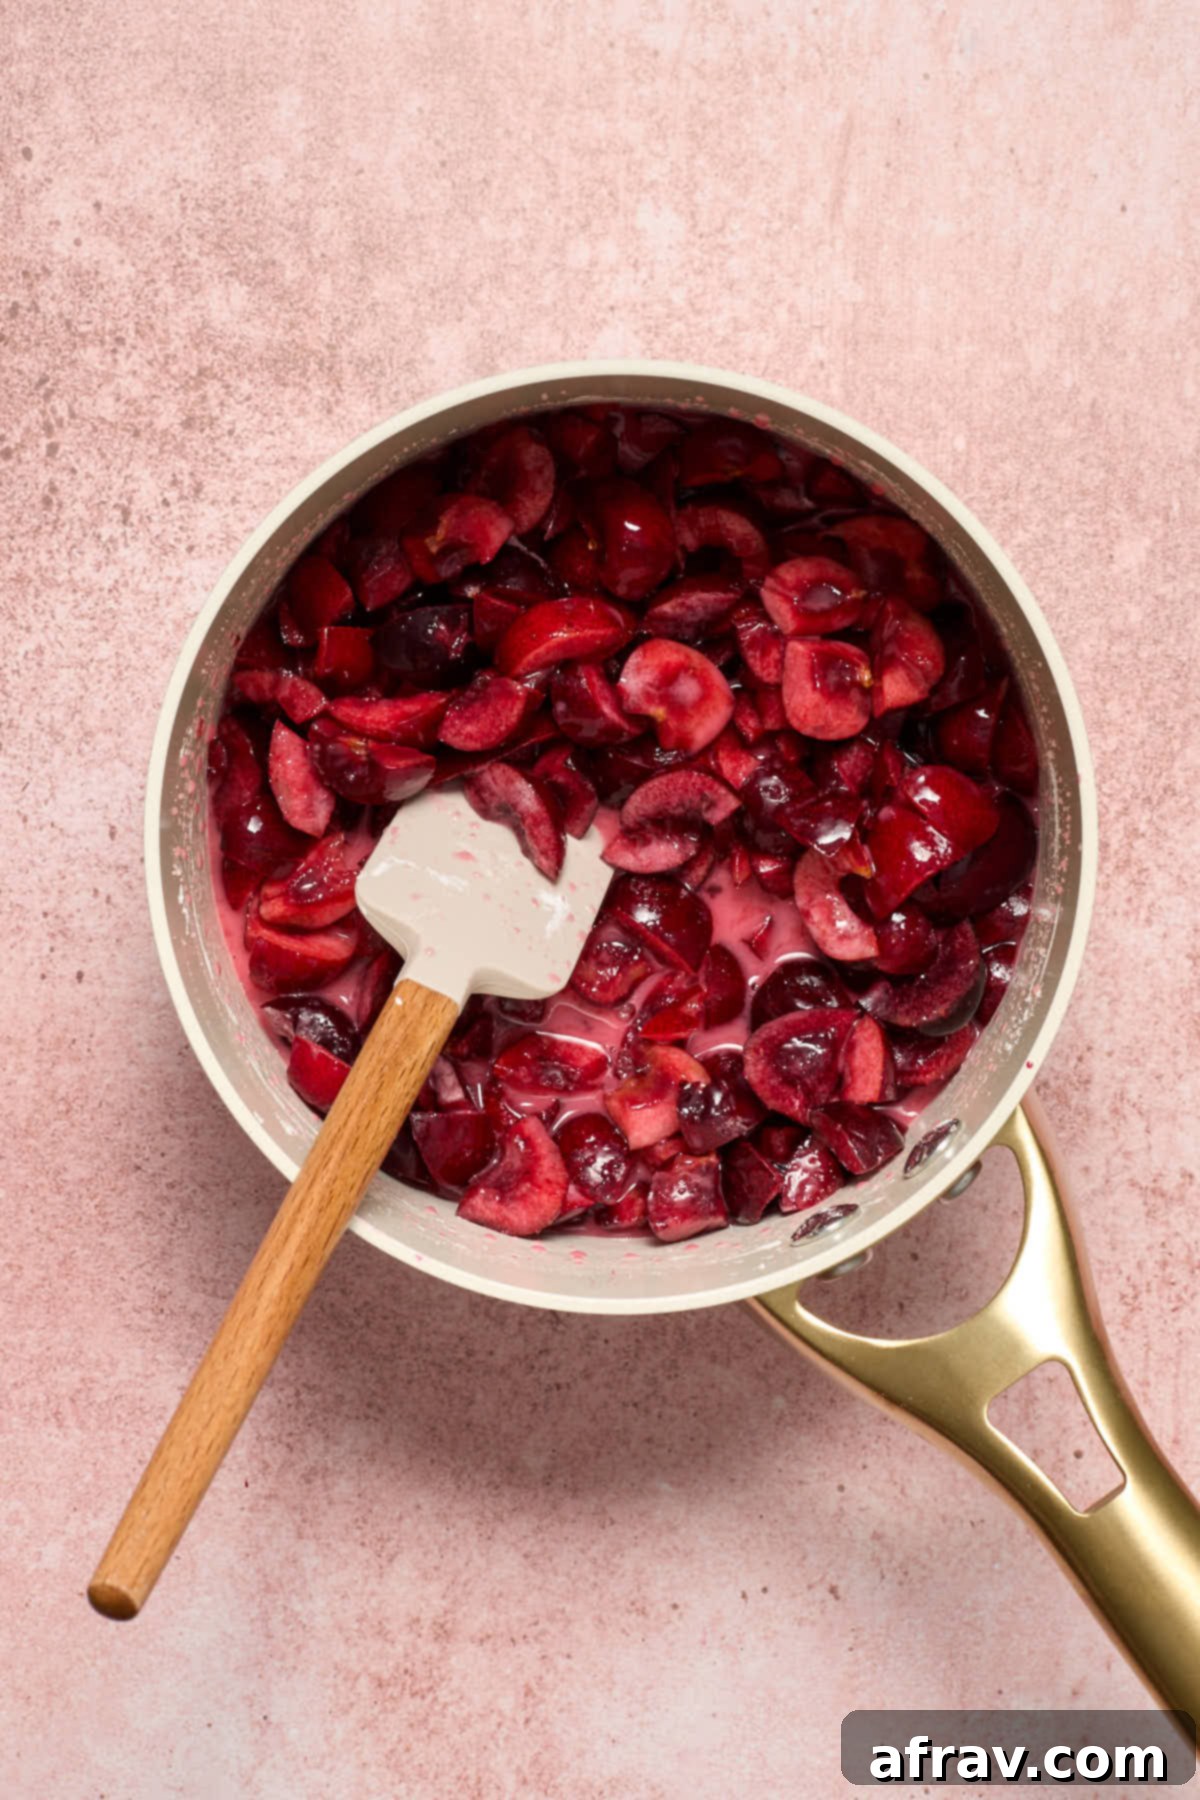
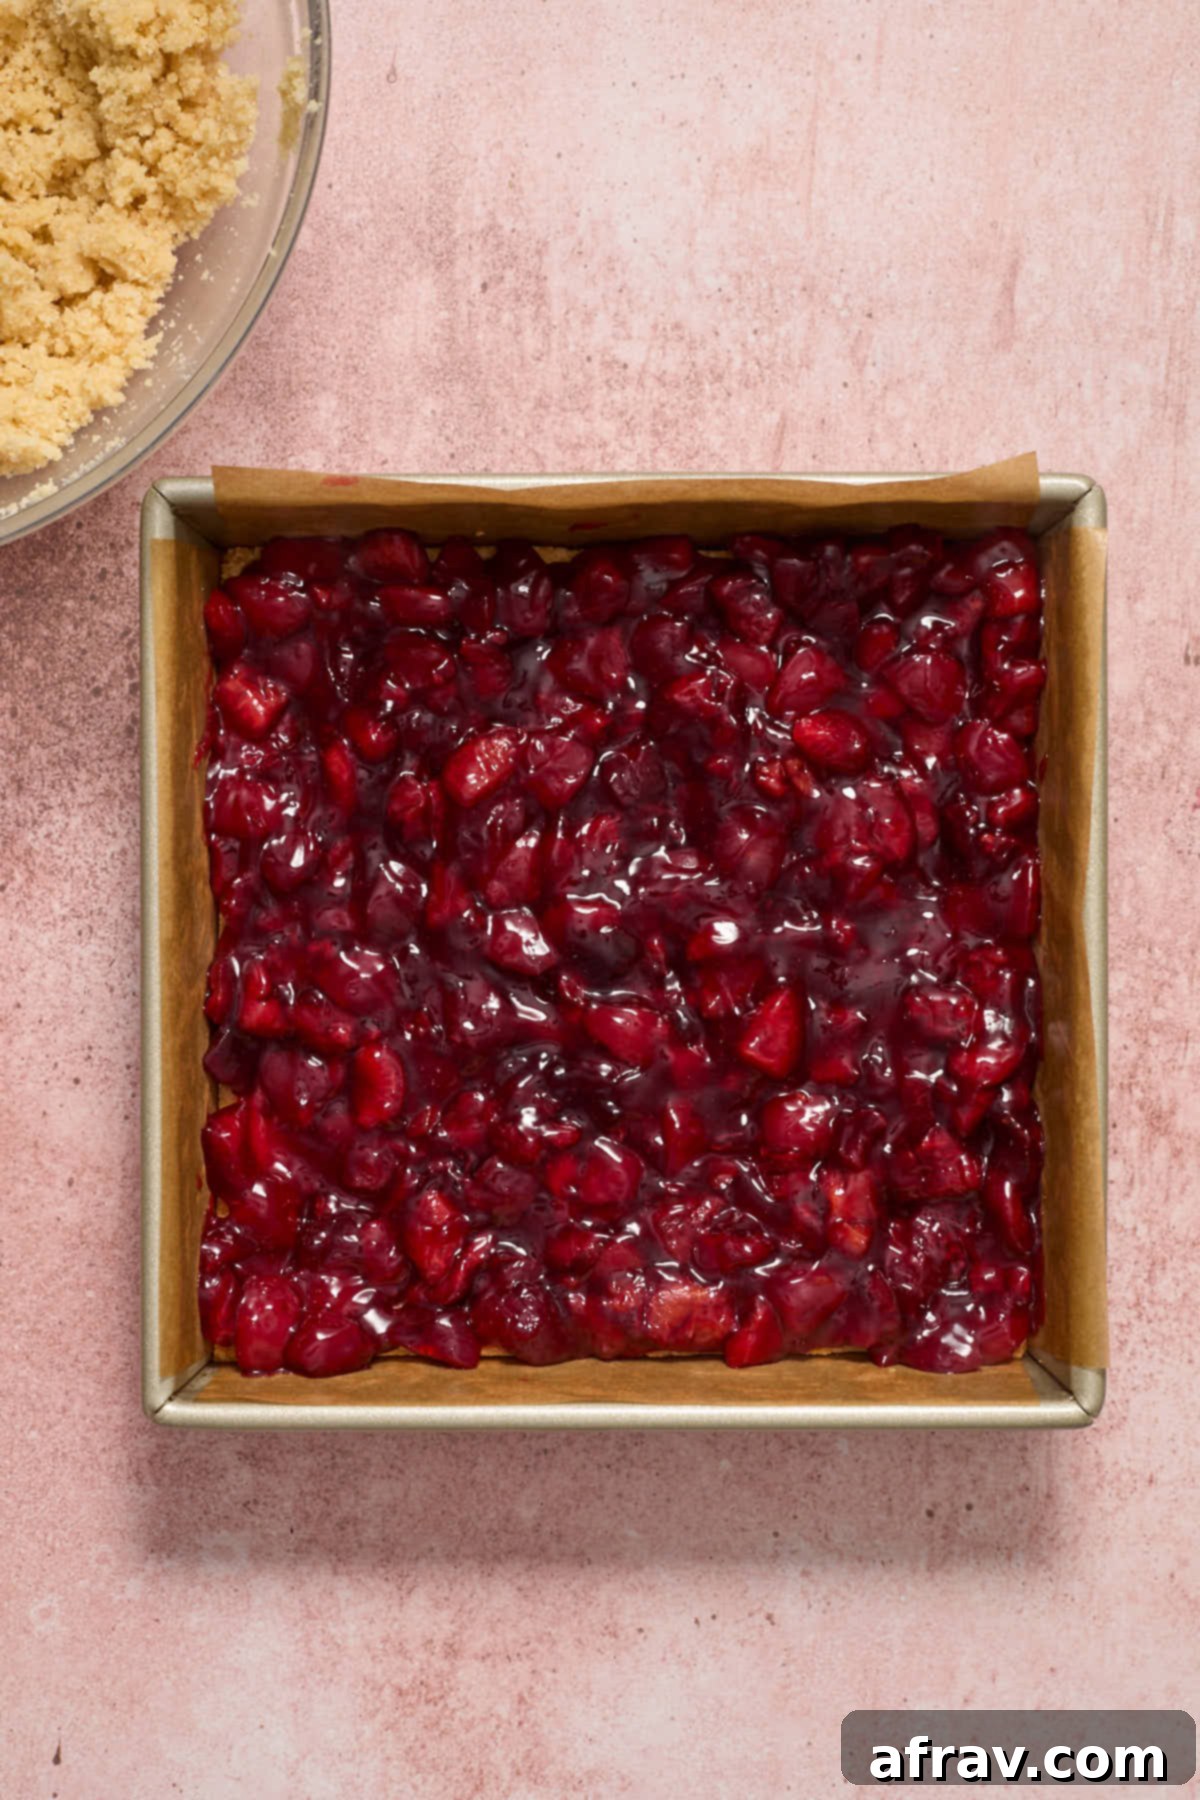
- While the crust cools, prepare the cherry filling. In a small saucepan, combine the chopped fresh sweet cherries, water, granulated sugar, cornstarch, fresh lemon juice, and almond extract. Stir everything together until the cornstarch is fully dissolved.
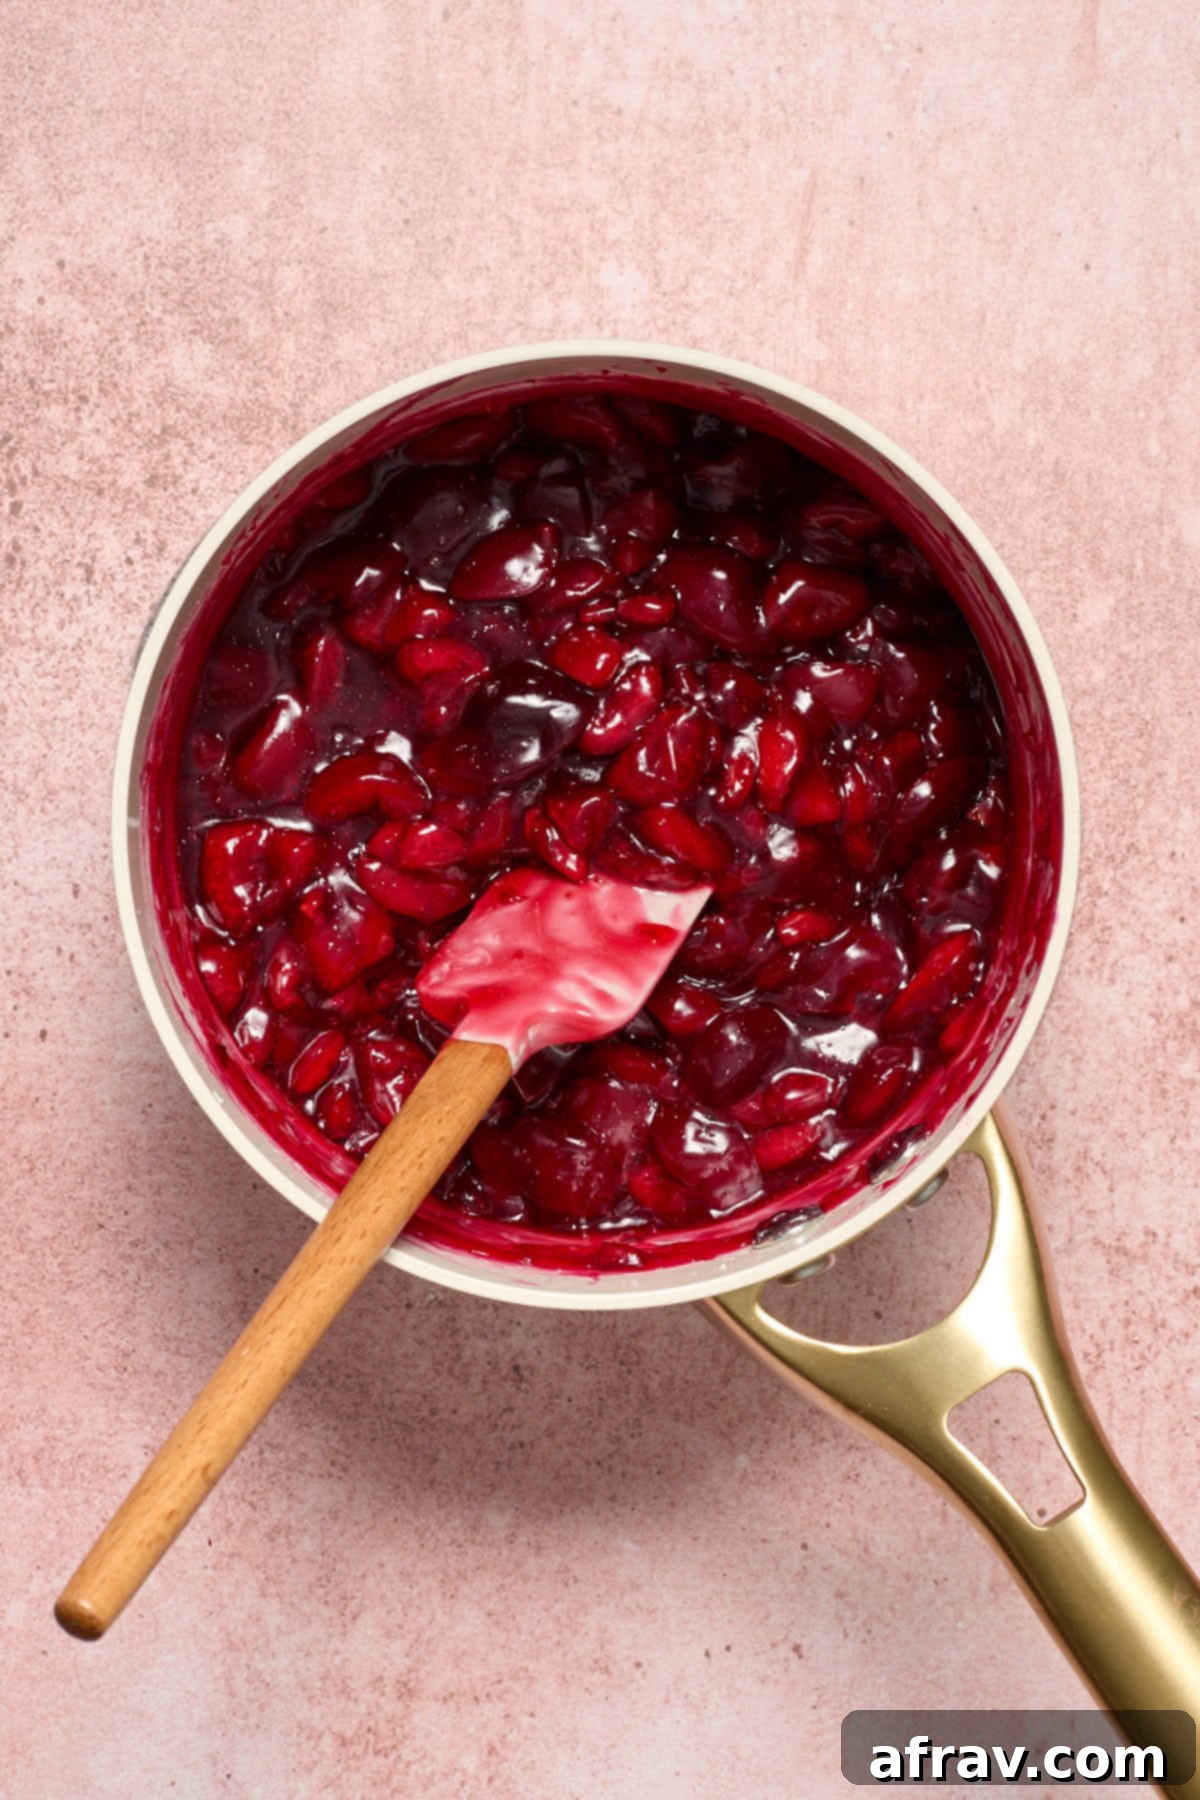
- Place the saucepan over medium heat and cook the cherry mixture, stirring frequently to prevent it from sticking or burning. Continue to cook for about 5-7 minutes, or until the mixture thickens into a glossy, jam-like consistency.
- Remove the cherry mixture from the heat and let it cool for a few minutes. Once slightly cooled, spread it evenly over the top of the completely cooled baked crust in the pan.
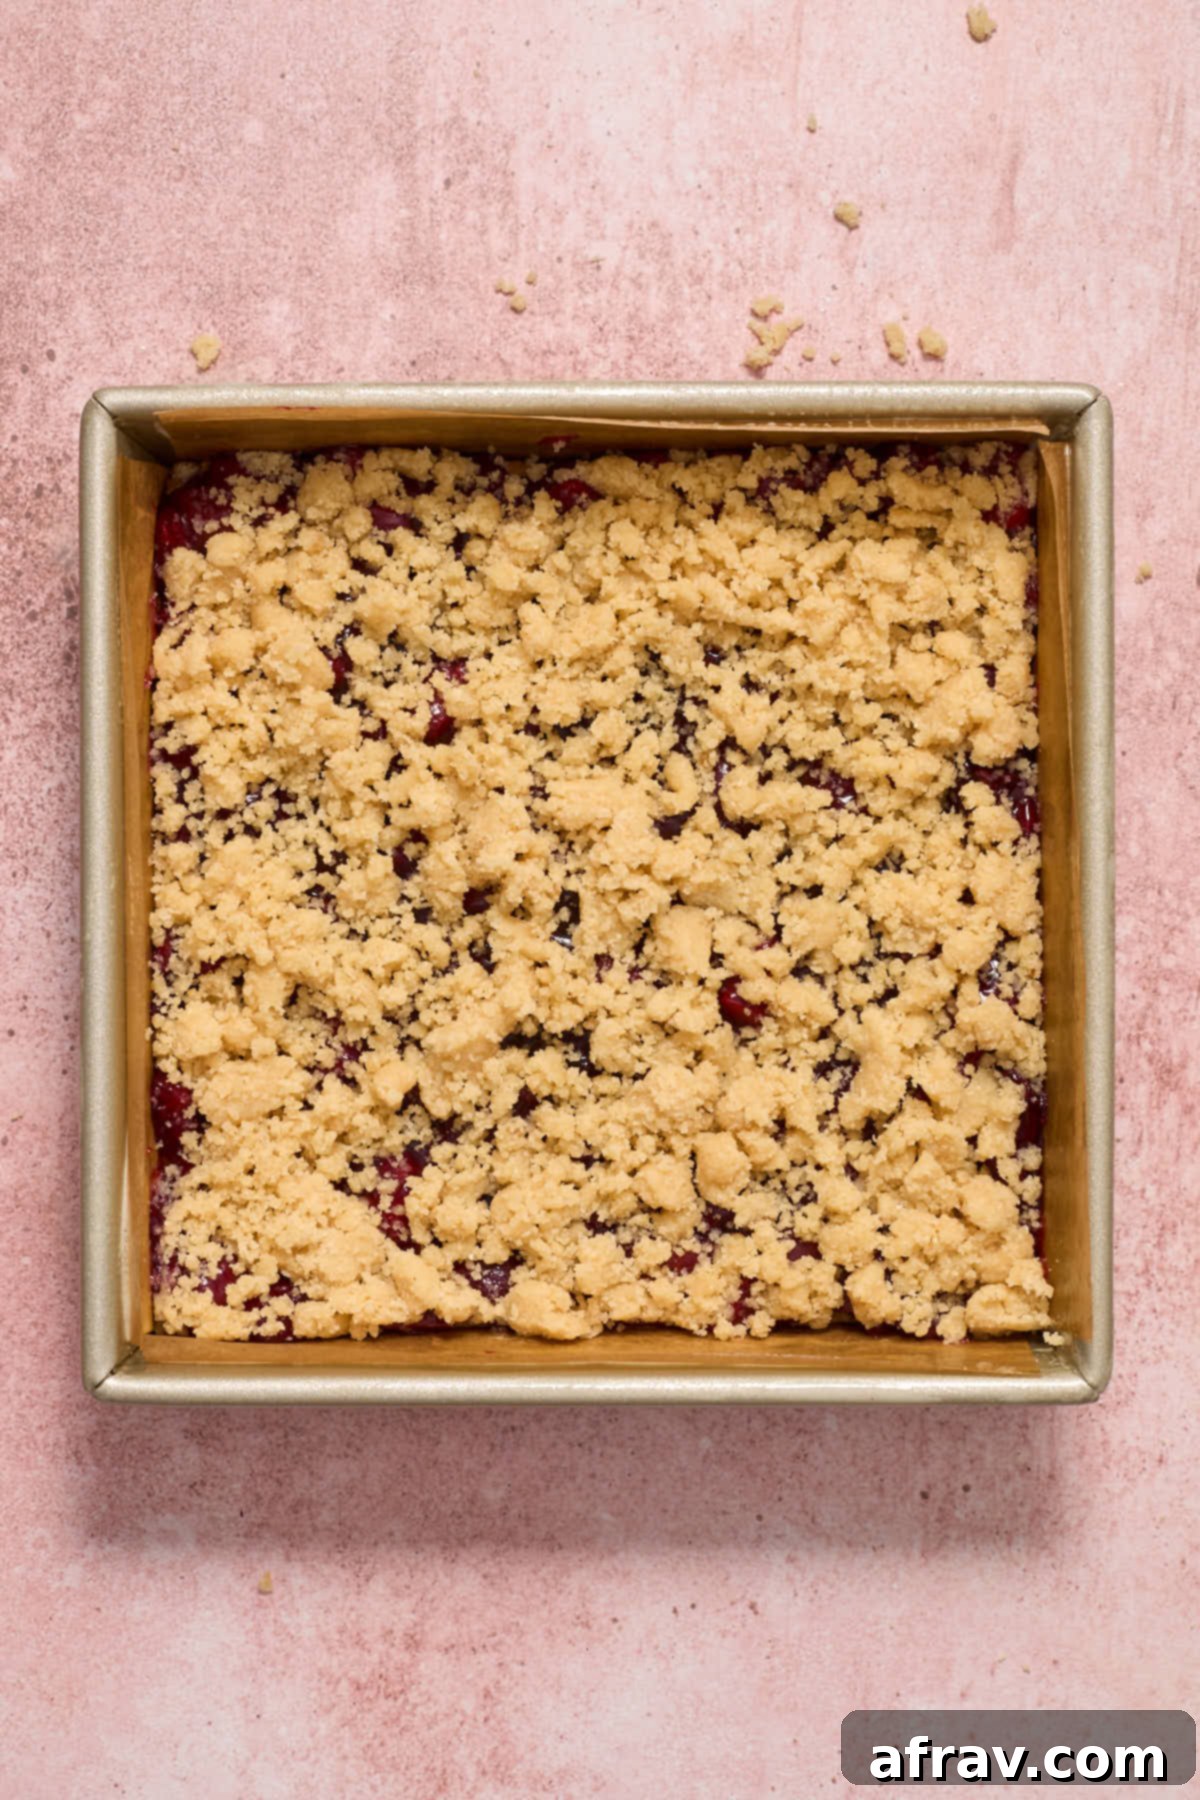
- Retrieve the reserved one-third of the dough mixture from the refrigerator. If it has become too firm, gently crumble it with your fingers. Sprinkle these crumbs evenly over the cherry filling to create the topping.
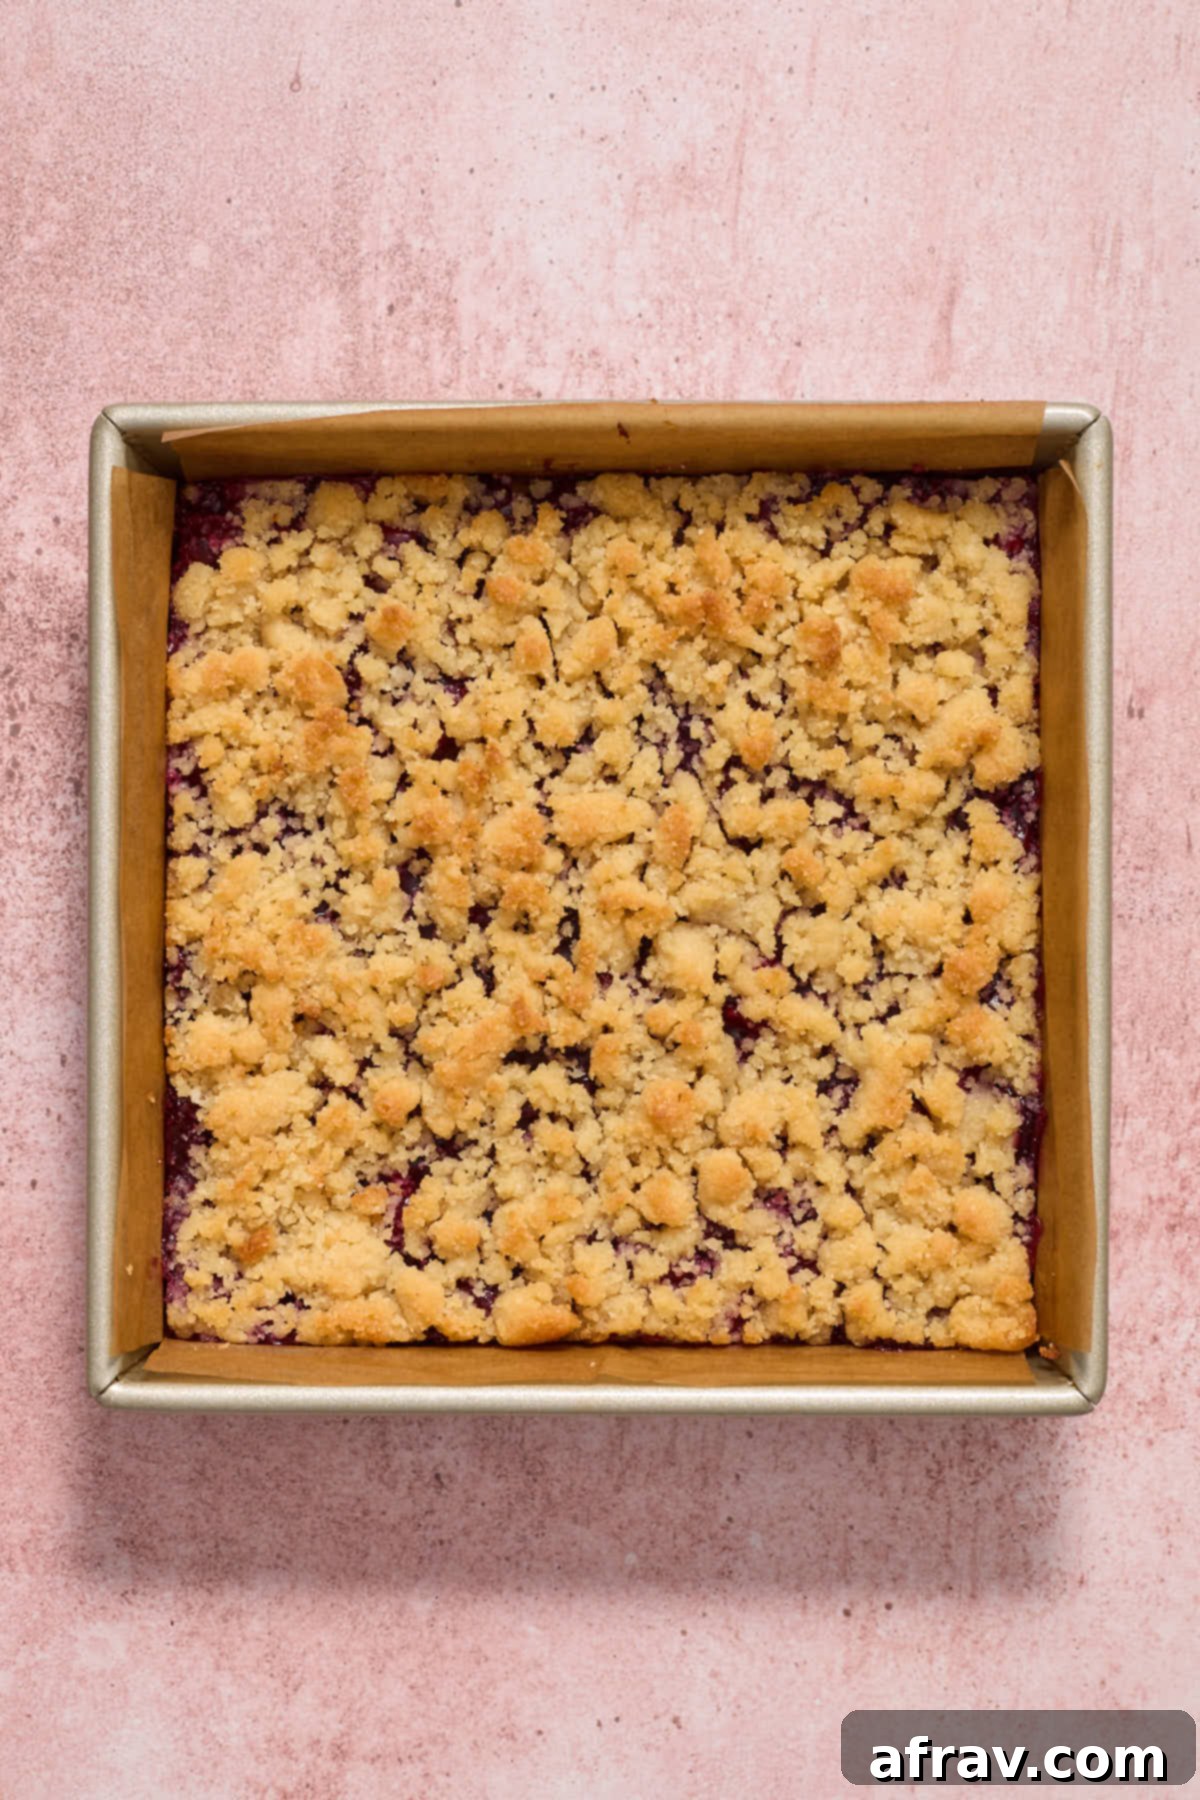
- Return the pan to the oven and bake for an additional 14-17 minutes, or until the crumb topping is golden brown and appears crisp. Once baked, remove the bars from the oven and let them cool completely at room temperature. For optimal firmness and clean slicing, transfer the pan to the refrigerator and chill for a minimum of 2-3 hours.
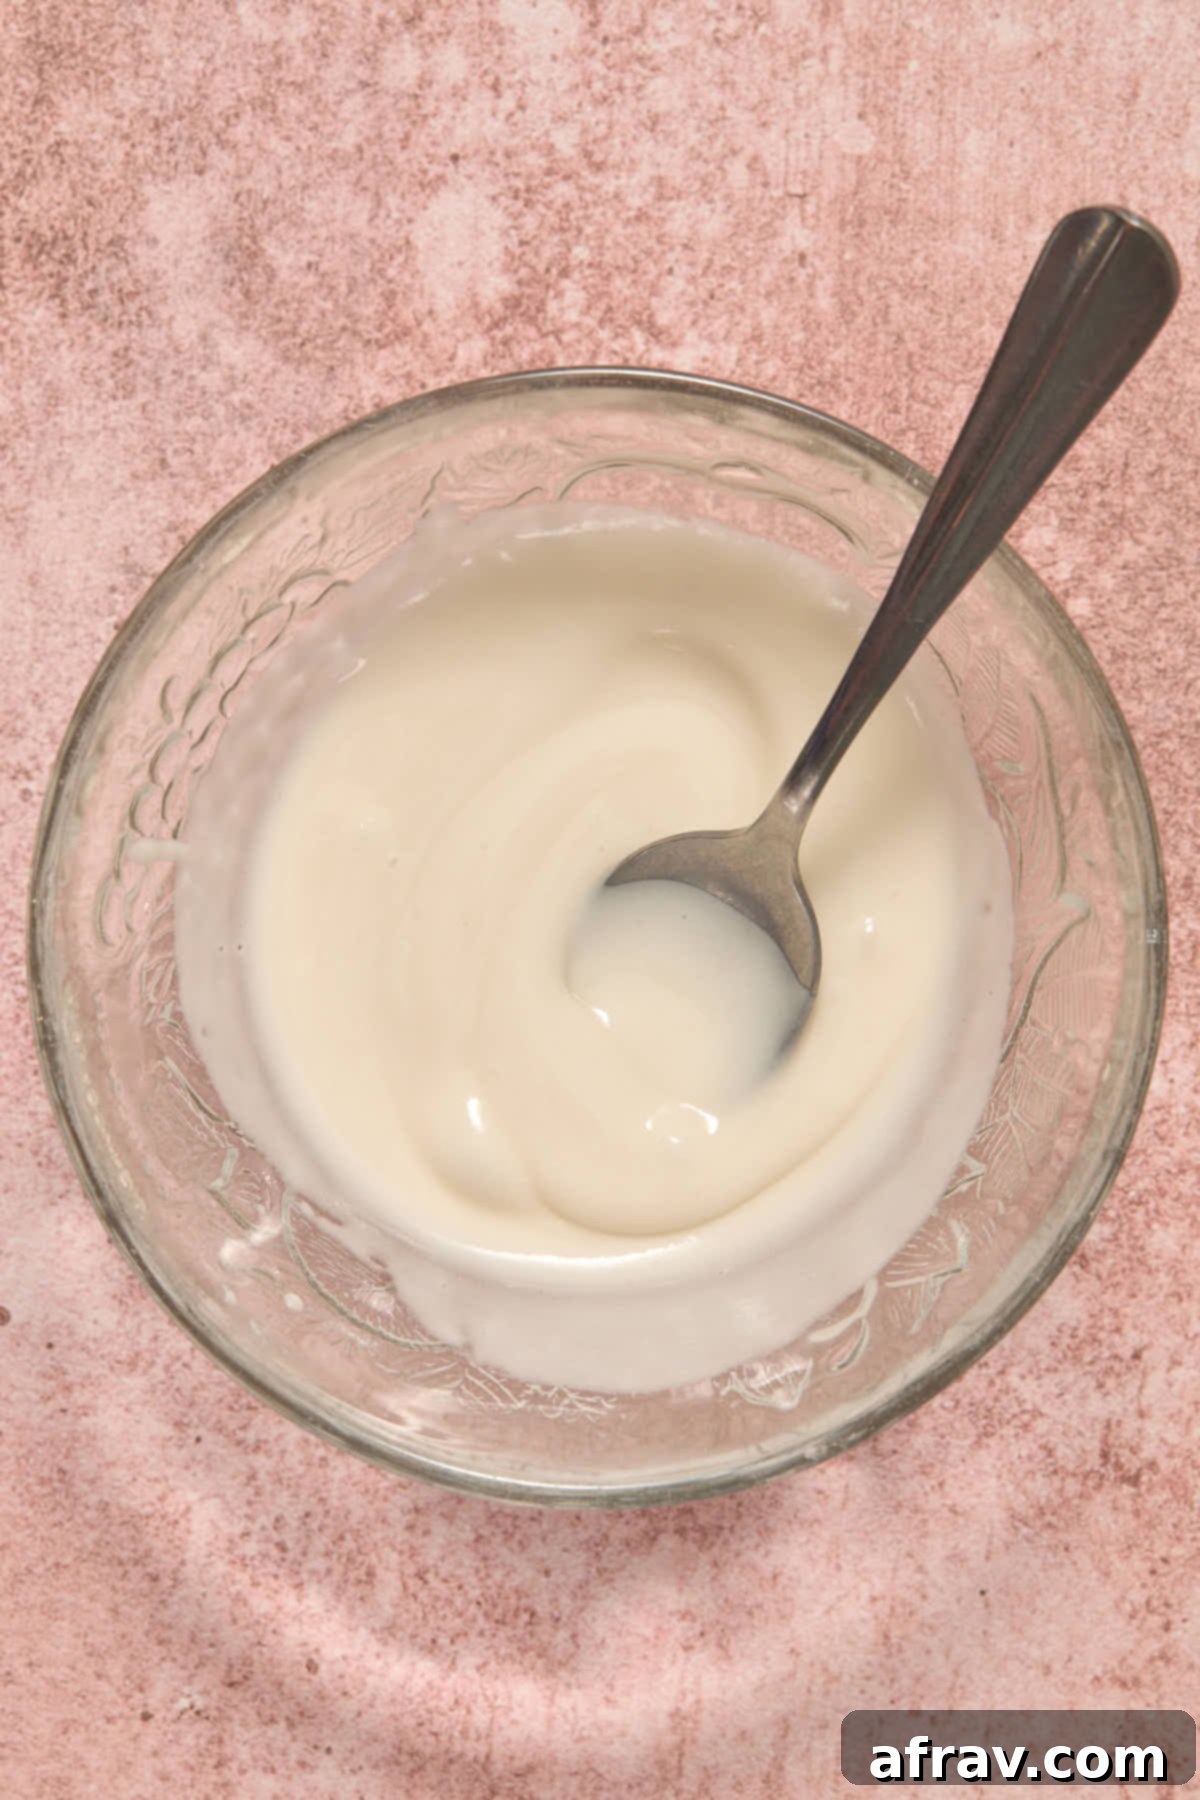
- Prepare the glaze by whisking together the powdered sugar and 2-3 teaspoons of milk in a small bowl until smooth and of a drizzling consistency. Add more milk sparingly if needed to reach desired thickness.
- Once the bars are thoroughly chilled, lift them out of the pan using the parchment paper overhang. Drizzle the prepared glaze over the top of the bars. Cut into desired squares and serve immediately, or store them in an airtight container in the refrigerator for up to 4-5 days.
Notes
- For the best texture and even distribution in the filling, ensure your cherries are chopped into small, consistent pieces. This prevents large chunks and makes the bars easier to eat and slice.
- Lining your baking pan with parchment paper and leaving an overhang is key! It makes lifting the cooled and set bars out of the pan incredibly easy, which is essential for achieving clean cuts.
- Always allow the pre-baked crust to cool and firm up completely before you add the warm cherry filling. This crucial step prevents the bottom crust from becoming soggy.
- Chilling these bars thoroughly (for at least 2-3 hours) before cutting is non-negotiable for almond flour baked goods. It allows the buttery crust and jammy filling to properly set, ensuring neat, firm squares.
