Deliciously Moist Almond Flour Chocolate Cake (Gluten-Free & Dairy-Free)
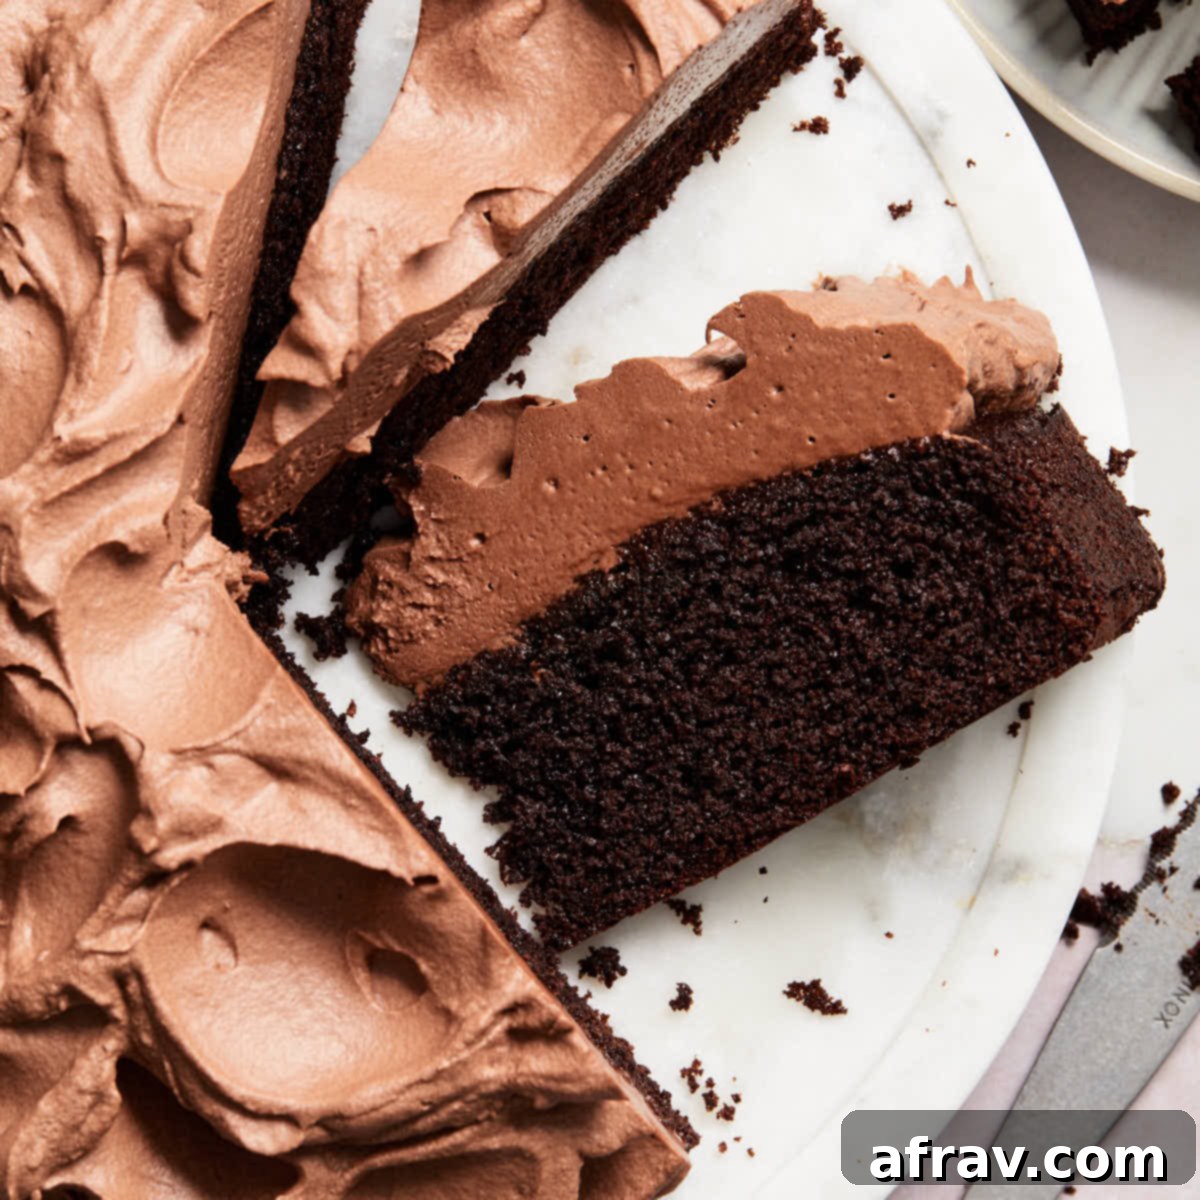
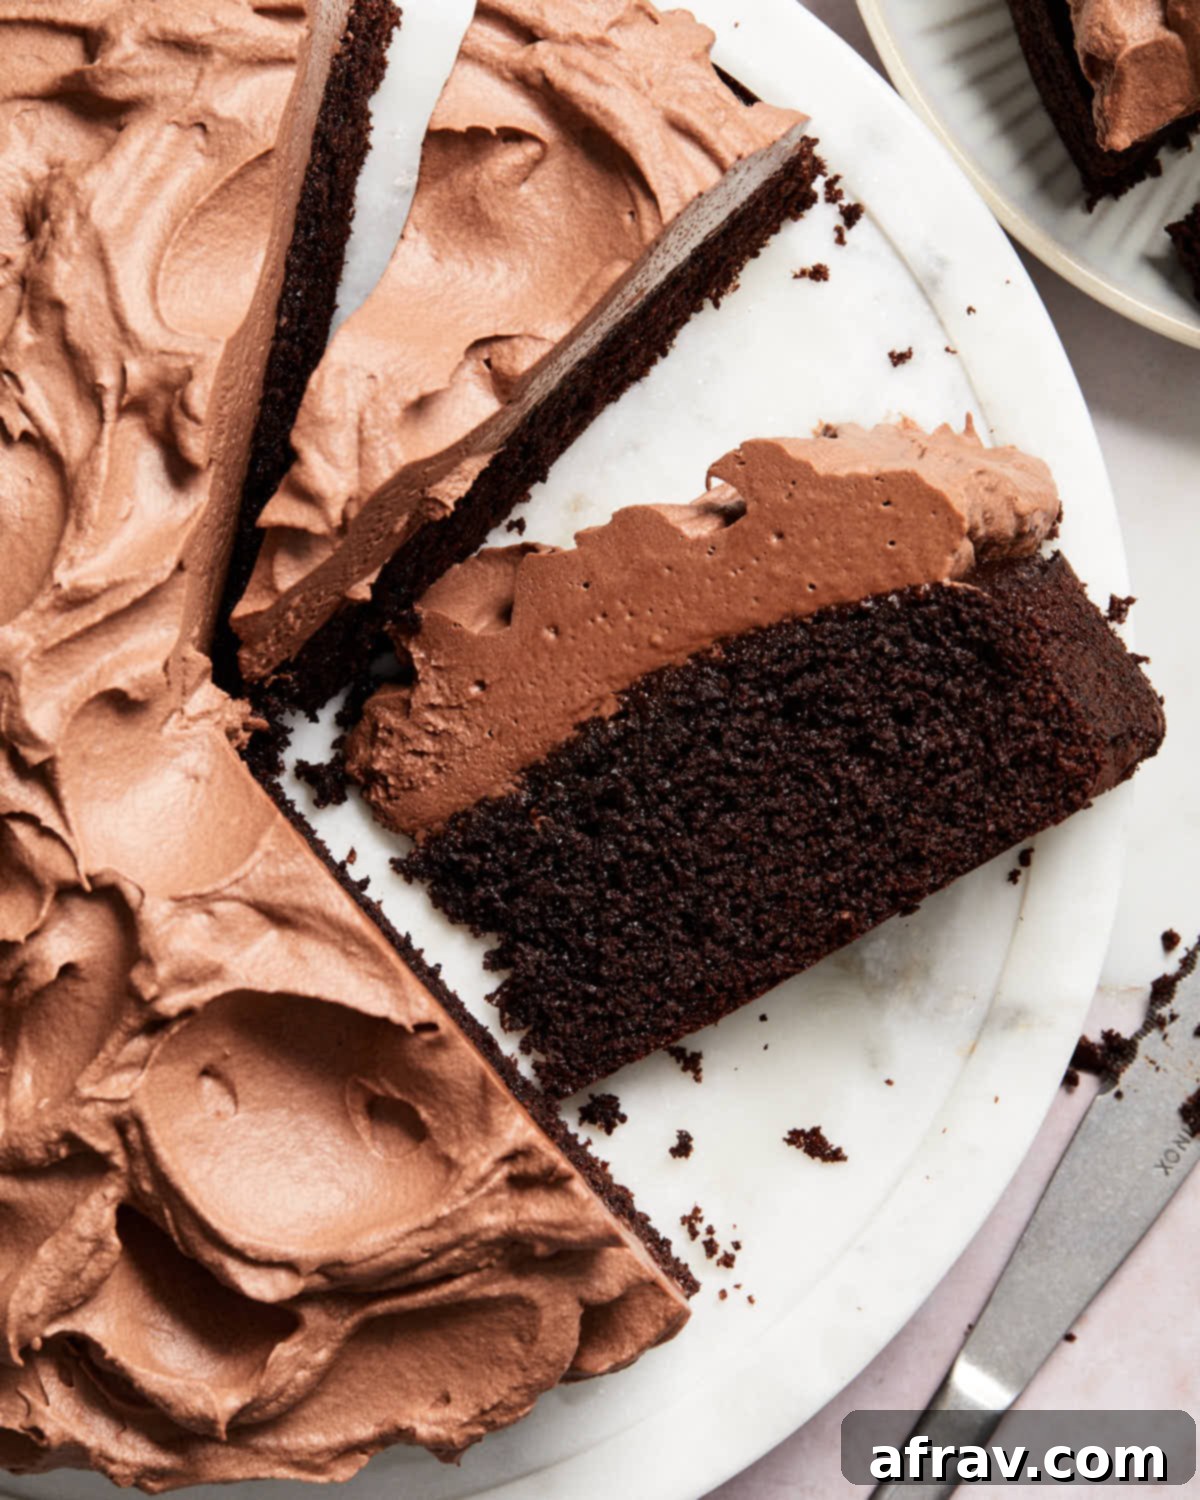
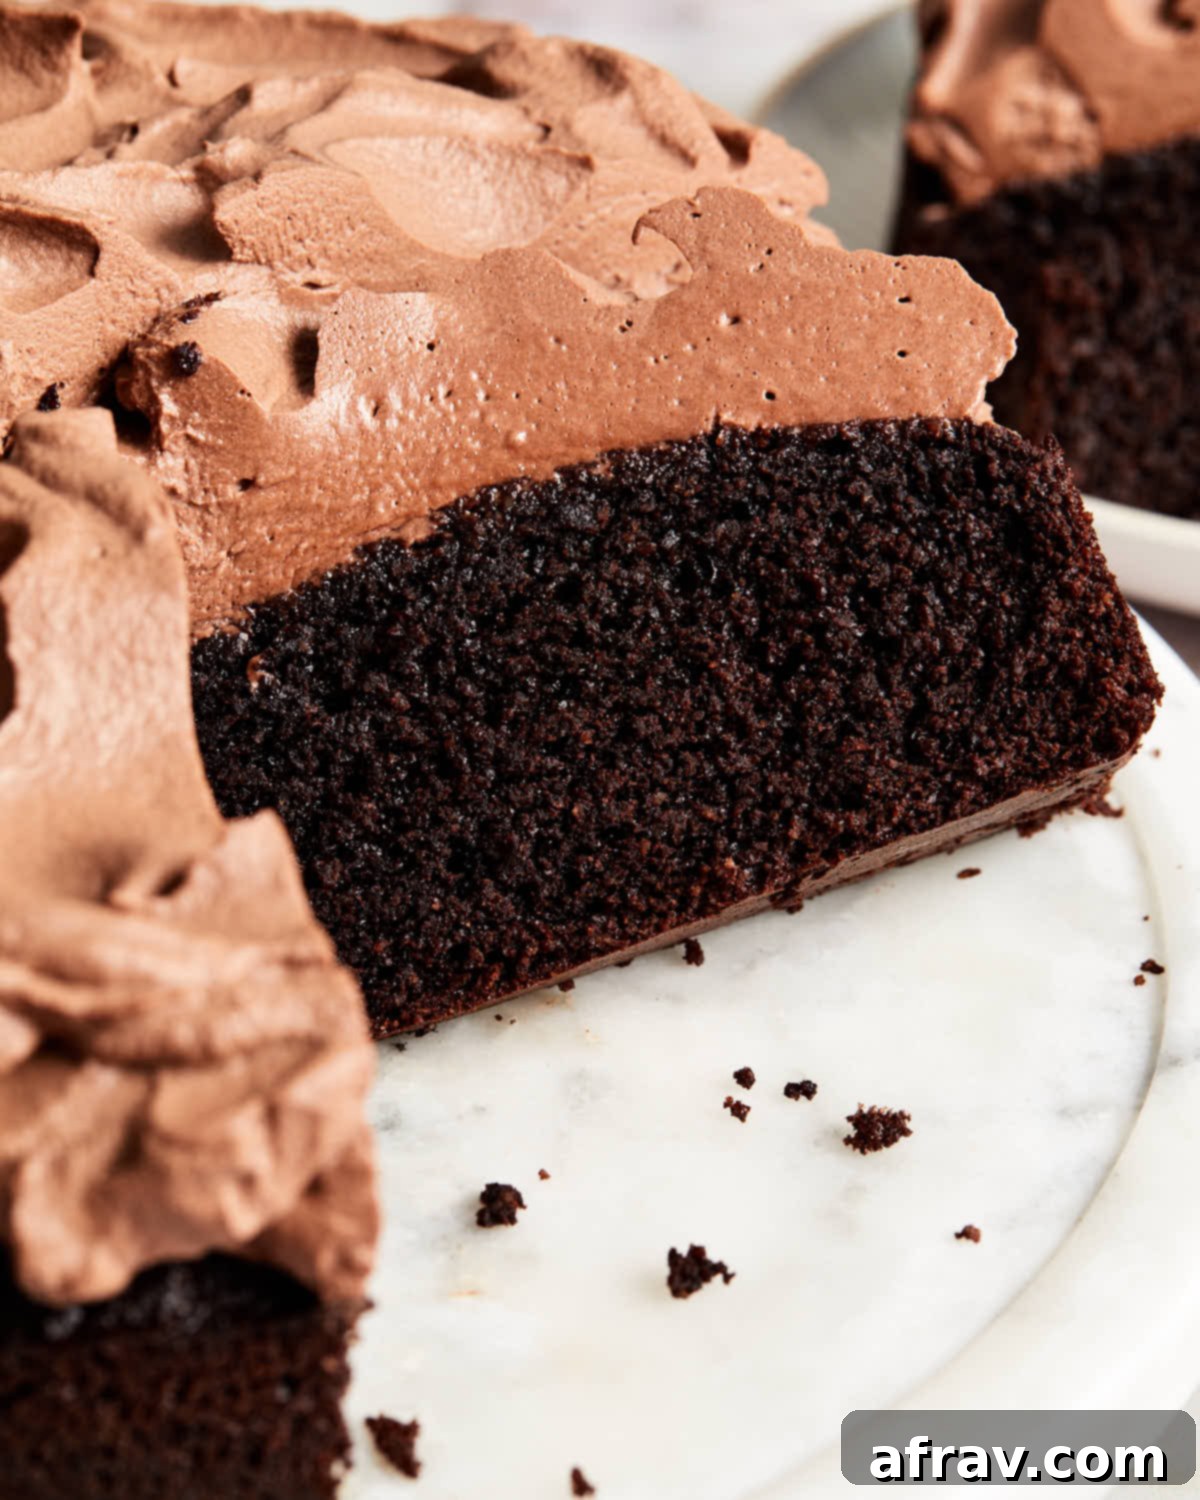
Prepare to fall in love with this incredible Almond Flour Chocolate Cake! This recipe delivers a truly rich, decadent chocolate experience while being completely gluten-free and dairy-free. Every bite promises a moist, tender crumb that melts in your mouth, perfectly complemented by a light and fluffy dairy-free chocolate whipped cream topping. Whether you’re navigating dietary restrictions or simply seeking a healthier, yet utterly delicious dessert, this cake is surprisingly easy to make and guaranteed to impress everyone who tries it.
Just like our highly acclaimed lemon almond flour cake and these delightful vanilla almond flour cupcakes, this chocolate almond flour cake has undergone extensive testing to achieve perfection. We understand that baking with almond flour can sometimes be tricky, and our goal was to ensure this recipe yields a consistently perfect texture, with just the right balance of sweetness and deep chocolate flavor. We are incredibly proud of the result – a chocolate cake that stands out for its exceptional taste and texture!
For those who appreciate the unique qualities of almond flour baking, you’ll also want to explore our other thoroughly tested recipes, including this vibrant almond flour carrot cake, refreshing almond flour strawberry cake, comforting almond flour banana cake, and zesty almond flour orange cake. Each one is crafted to deliver fantastic results every time!
Table of Contents
- Why You’ll Adore This Almond Flour Chocolate Cake
- Essential Ingredients Explained
- Almond Flour vs. Almond Meal: The Key Difference
- Dutch-Processed vs. Natural Cocoa: Understanding the Impact
- How to Bake the Perfect Chocolate Cake with Almond Flour
- Crafting Dairy-Free Chocolate Whipped Cream Frosting
- Precision in Measuring Ingredients
- Troubleshooting: Why Your Chocolate Almond Flour Cake Might Not Rise or Sink
- Frequently Asked Questions About the Recipe
- Storage and Freezing Recommendations
- Top Tips for Almond Flour Chocolate Cake Success
- The Benefits of Baking with Almond Flour
- Serving Suggestions and Variations
Why You’ll Adore This Almond Flour Chocolate Cake
This isn’t just another gluten-free cake; it’s a testament to how delicious and satisfying baking with alternative flours can be. Here’s why this almond flour chocolate cake will quickly become a favorite:
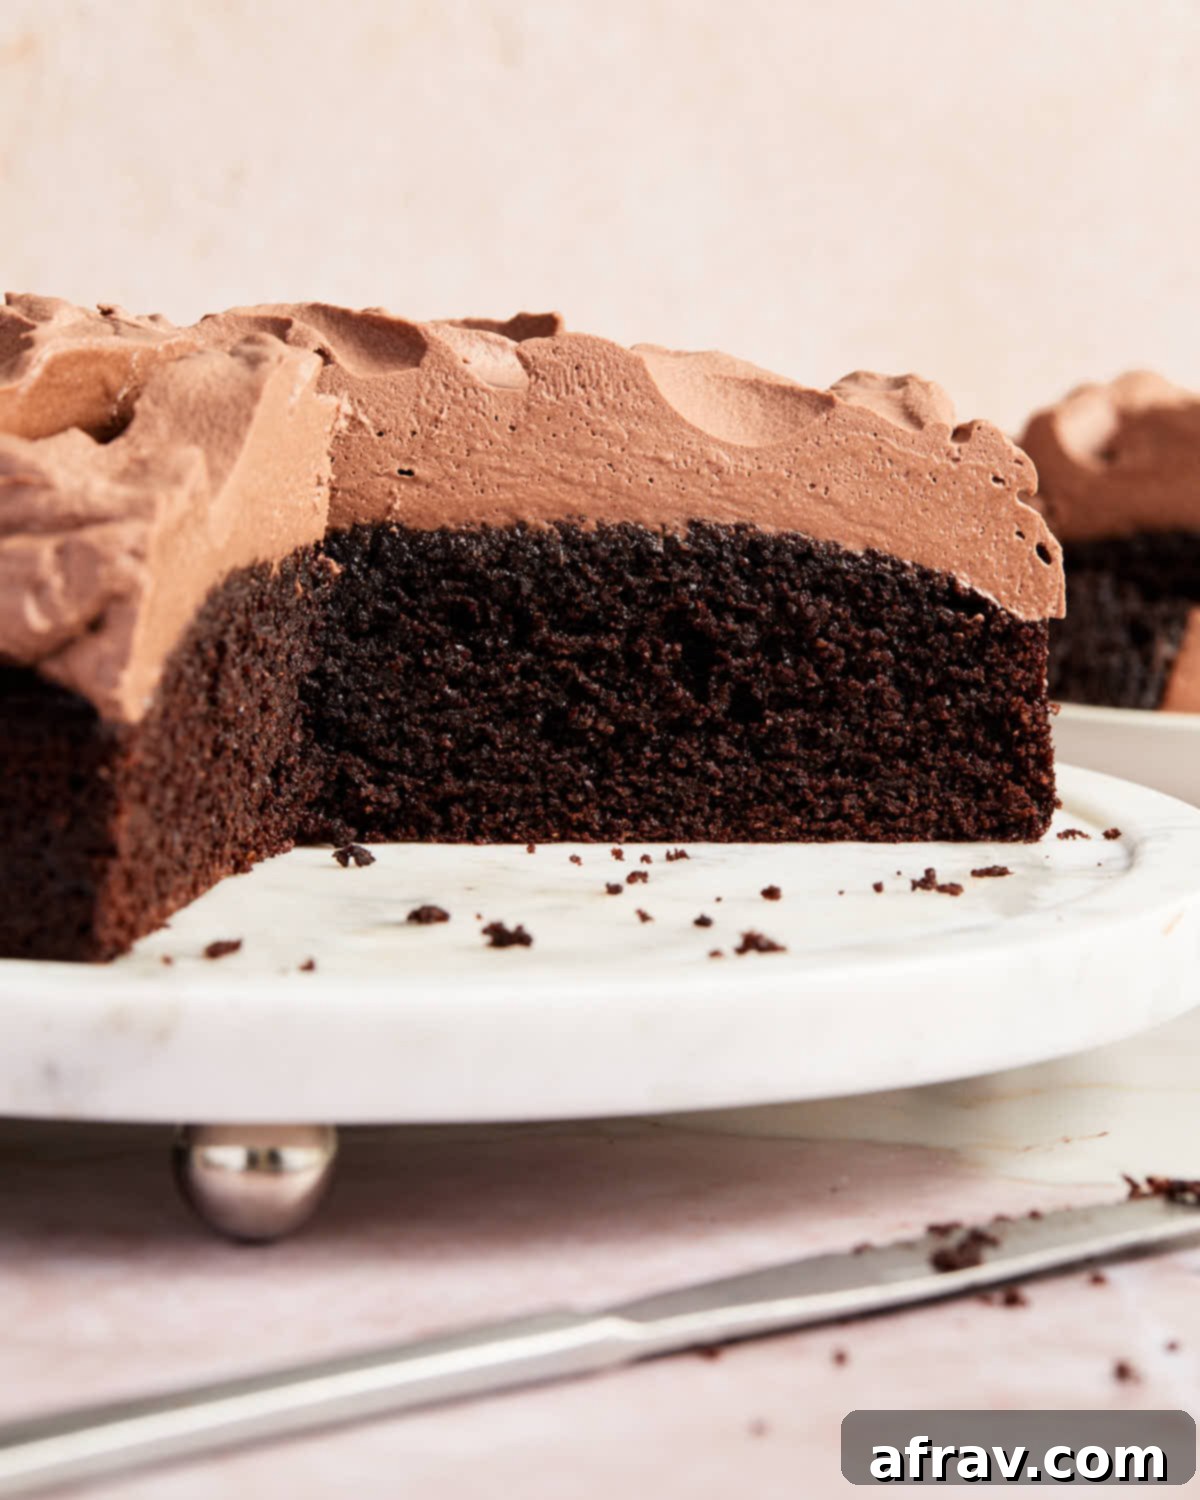
- Perfectly Light and Airy Texture: Unlike some gluten-free or almond flour cakes that can be dense and heavy, this recipe achieves a surprisingly light, tender, and airy crumb. We’ve worked to ensure it feels indulgent without weighing you down, making it perfect for any occasion.
- Enhanced Aeration for a Fluffy Result: A key secret to this cake’s success lies in beating the eggs and sugar together with an electric mixer until they become wonderfully frothy. This crucial step incorporates ample air into the mixture, contributing significantly to the cake’s lighter structure and delicate, fluffy texture.
- Remarkable Moisture and Freshness: One of the most impressive qualities of this cake is its incredible moisture. Even after five days stored in the fridge, it retains its soft, tender texture, tasting just as fresh as the day it was baked. This makes it an excellent make-ahead dessert!
- Balanced Sweetness, Rich Chocolate Flavor: While this cake incorporates both coconut sugar and maple syrup for sweetness, it’s never overly sweet. This careful balance allows the deep, rich flavor of the cocoa to truly shine, creating a sophisticated and satisfying chocolate experience that isn’t cloying.
- Naturally Gluten-Free and Dairy-Free: Catering to specific dietary needs, this cake is naturally free from both gluten and dairy. This makes it a fantastic option for those with allergies or intolerances, ensuring everyone can enjoy a slice of delicious chocolate cake without compromise.
Essential Ingredients Explained
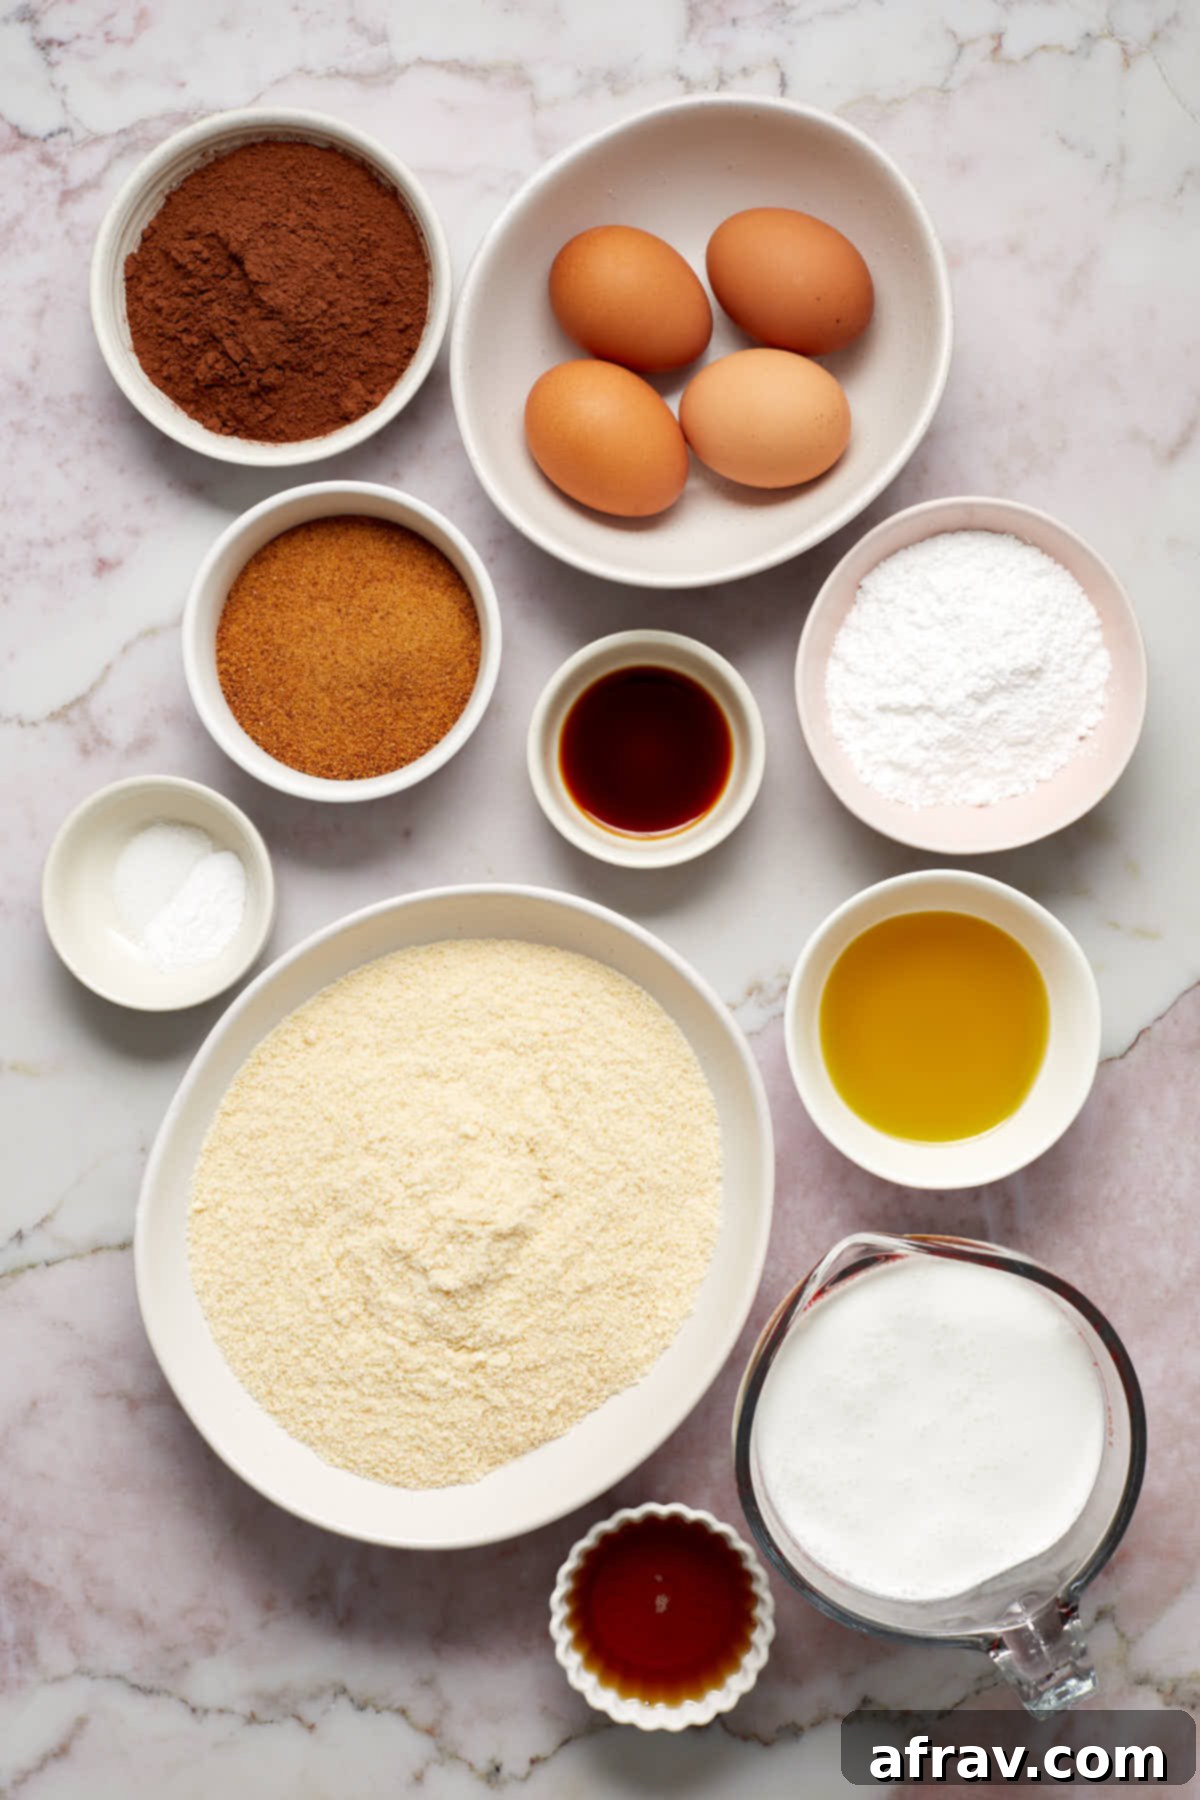
Each ingredient plays a vital role in achieving the perfect balance of flavor, texture, and rise in this gluten-free and dairy-free masterpiece. You’ll find the full details on ingredient quantities in the comprehensive recipe card located at the end of this post.
- Almond Flour: The star of our gluten-free cake! For the best results, it’s crucial to use fine, blanched almond flour. Blanched means the almond skins have been removed before grinding, resulting in a lighter color and finer texture. This fine texture is key to a tender, delicate crumb. Using almond meal or coarser ground almonds (which retain their skins) will likely result in a more crumbly or dense cake.
- Dutch-Processed Cocoa: To achieve that intense, deep chocolate flavor and a beautiful dark hue, Dutch-processed cocoa is our choice for both the cake and the frosting. This type of cocoa has been treated to neutralize its acidity, which not only deepens the flavor but also affects how it interacts with leavening agents. Natural cocoa, being acidic, would yield a lighter color and a milder, slightly different flavor profile, which we found less desirable in our tests for this specific recipe.
- Coconut Sugar: We’ve chosen coconut sugar for its wonderful caramel-like notes that beautifully complement the rich cocoa. It adds a nuanced sweetness that enhances, rather than overwhelms, the chocolate flavor. While brown sugar might be a potential substitute, please note that it typically contains more moisture and hasn’t been tested in this recipe, so results may vary.
- Maple Syrup: A touch of pure maple syrup serves a dual purpose here: it provides additional natural sweetness and, importantly, contributes extra moisture to ensure the cake remains incredibly moist and tender. Its subtle flavor also harmonizes perfectly with the chocolate and coconut sugar.
- Oil (Extra Virgin Olive Oil Recommended): A quality oil is essential for adding moisture and creating that wonderfully soft crumb. We used extra virgin olive oil for its mild flavor and beneficial properties, but other neutral oils like regular olive oil, canola oil, vegetable oil, or even avocado oil and liquid coconut oil (ensure it’s liquid at room temperature) can work equally well.
- Eggs: Eggs are absolutely fundamental in gluten-free baking, particularly for structure and leavening. You’ll need four large eggs for this recipe, acting as a binder and helping the cake rise beautifully without gluten. For optimal results, ensure your eggs are at room temperature before beating them with the sugar; this allows them to incorporate air more effectively.
- Baking Soda: Even with Dutch-processed cocoa, a small amount of baking soda is vital for providing the necessary lift and aeration. While Dutch-processed cocoa is non-acidic, the baking soda still interacts with other acidic components in the batter (even subtle ones) to ensure a good rise and a light texture.
- Vanilla Extract: Real vanilla extract is a non-negotiable flavor enhancer. It deepens and rounds out the chocolate notes in both the cake and the frosting, adding a layer of warmth and complexity that truly elevates the overall taste.
- Salt (Fine Sea Salt): Just a quarter teaspoon of fine sea salt is included to balance the sweetness and intensify all the other flavors. It’s a small addition that makes a significant difference in brightening the chocolate and caramel notes. Standard table salt can also be used.
- Dairy-Free Whipping Cream: To keep this cake completely dairy-free, the frosting is crafted using a high-quality dairy-free whipping cream. Brands like Silk (our personal preference, though not sponsored) work wonderfully. If dairy isn’t a concern for you, traditional heavy whipping cream can be used as a direct substitute.
- Powdered Sugar (Confectioners’ Sugar): Also known as confectioners’ sugar or icing sugar, this finely milled sweetener is essential for the frosting. It provides sweetness and, more importantly, helps thicken the whipped cream to achieve that perfect, stable frosting consistency.
Almond Flour vs. Almond Meal: The Key Difference
While both almond flour and almond meal originate from ground raw almonds, their preparation leads to distinct differences that are crucial for baking success. Almond flour, which we recommend for this recipe, is made from blanched almonds – meaning the almonds have had their skins meticulously removed before being finely ground. This process results in a very fine, light-colored flour that contributes to a delicate, tender, and uniform cake texture.
In contrast, almond meal is typically made from almonds with their skins still on, giving it a coarser texture and a slightly speckled appearance. While suitable for some recipes, the rougher consistency of almond meal can lead to a slightly crumbly or denser cake, and it won’t yield the same refined texture we’re aiming for in this particular chocolate cake. For the best, most consistent results with this recipe, always opt for fine blanched almond flour.
Dutch-Processed vs. Natural Cocoa: Understanding the Impact
The choice of cocoa powder significantly impacts both the flavor and color of your chocolate baked goods, as well as their leavening. Natural cocoa powder is inherently acidic, possessing a bright, somewhat fruity chocolate flavor and a lighter brown color. Recipes using natural cocoa typically rely on baking soda, which is alkaline, to react with the cocoa’s acidity to create lift.
Dutch-processed cocoa, on the other hand, has been treated with an alkalizing agent to neutralize its natural acidity. This process results in a darker color, a smoother, less bitter, and often more intense chocolate flavor. Traditionally, Dutch-processed cocoa is paired with baking powder, which contains its own acid to facilitate leavening.
Interestingly, for this almond flour chocolate cake, extensive testing revealed that the winning combination was Dutch-processed cocoa paired with baking soda. While this might seem unconventional to traditional bakers, it proved to be the perfect match for this specific gluten-free batter. This unique pairing resulted in a chocolate almond flour cake that boasted the absolute best flavor, darkest color, most tender texture, and an ideal rise – showcasing that sometimes, breaking traditional rules leads to the most delicious innovations!
How to Bake the Perfect Chocolate Cake with Almond Flour
Creating this delightfully moist and tender chocolate cake is simpler than you might think. The full, detailed process, including exact measurements, is laid out in the recipe card at the conclusion of this post. Here’s a step-by-step guide to ensure your baking success:
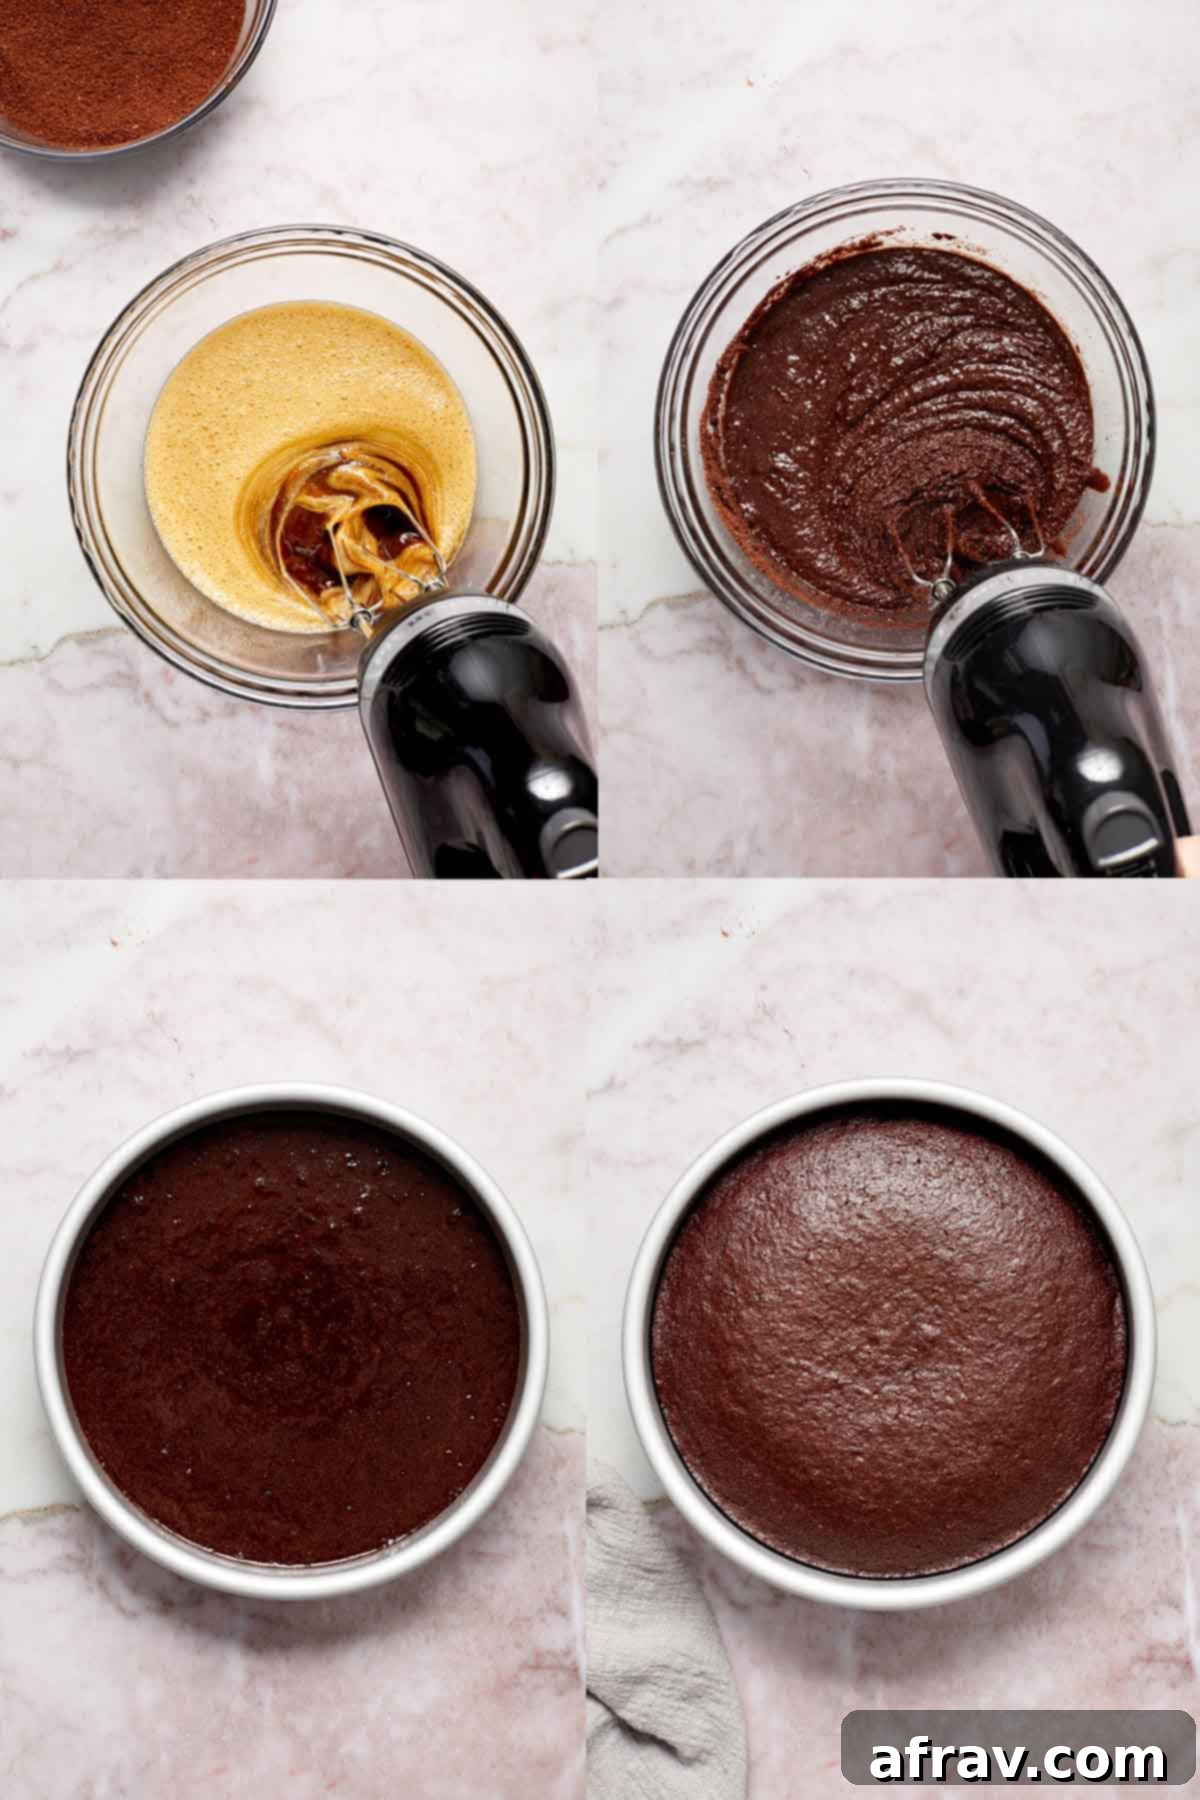
- Prepare Dry Ingredients: In a medium-sized bowl, combine your almond flour, Dutch-processed cocoa, baking soda, and a pinch of salt. Whisk these dry ingredients thoroughly until they are well combined and uniform. Set this mixture aside for later.
- Whip Eggs and Sugar: In a larger mixing bowl, add the room-temperature eggs and coconut sugar. Using an electric mixer set to medium-high speed, beat this mixture for approximately 20-30 seconds. The goal is to achieve a frothy consistency with a good layer of bubbles on top, indicating that air has been sufficiently incorporated, which is crucial for a light cake.
- Add Wet Ingredients: To the frothy egg and sugar mixture, carefully add the oil, maple syrup, and vanilla extract. Continue to beat with the electric mixer for another 15 seconds, just until all these wet ingredients are fully combined. Avoid overmixing at this stage.
- Combine Wet and Dry: Gently add your pre-whisked almond flour mixture to the wet ingredients. With your electric mixer on a low speed, mix until the dry and wet components are just combined. It’s very important not to overmix the batter once the flour is added, as this can lead to a tougher cake texture.
- Prepare for Baking: Pour the beautifully smooth batter into an 8-inch round cake pan that has been properly greased and lined with parchment paper on the bottom. To help release any trapped air bubbles, gently tap the bottom of the pan on your counter a few times. This simple step can prevent large air pockets in your finished cake.
- Bake to Perfection: Place the cake pan in a preheated oven at 350°F (175°C) and bake for 28-32 minutes. You’ll know it’s ready when a wooden toothpick inserted into the center of the cake comes out with only a few moist crumbs attached, or completely clean.
- Cooling Process: Once baked, allow the cake to cool in its pan for 10 minutes. This helps the cake firm up slightly before you attempt to remove it. After 10 minutes, carefully invert the cake onto a wire rack to cool completely. Ensure it’s entirely cool before applying any frosting to prevent melting.
Crafting Dairy-Free Chocolate Whipped Cream Frosting
This dairy-free chocolate whipped cream frosting is the perfect light and airy complement to the rich chocolate cake. Achieving stiff, stable peaks is key, and it all starts with a cold environment:
- Chill Your Tools: Begin by placing your mixing bowl (preferably metal or glass) and your electric mixer beaters in the freezer for about 5 minutes. A super-chilled bowl and beaters are crucial for helping dairy-free whipping cream achieve maximum volume and stability.
- Initial Mixing (Low Speed): Into your chilled bowl, pour the dairy-free whipping cream. Add the Dutch-processed cocoa, powdered sugar, and vanilla extract. Start beating on a medium-low speed for about 30 seconds. This initial slow mixing prevents the lightweight cocoa and powdered sugar from scattering everywhere when the mixer speed increases.
- Whip to Stiff Peaks: Once the dry ingredients are slightly incorporated, increase the mixer speed to medium-high. Continue beating until stiff peaks form. Stiff peaks mean that when you lift the beaters, the frosting holds its shape firmly. Be sure to stop occasionally to scrape down the sides of the bowl with a spatula, ensuring all ingredients are fully incorporated and whipped evenly.
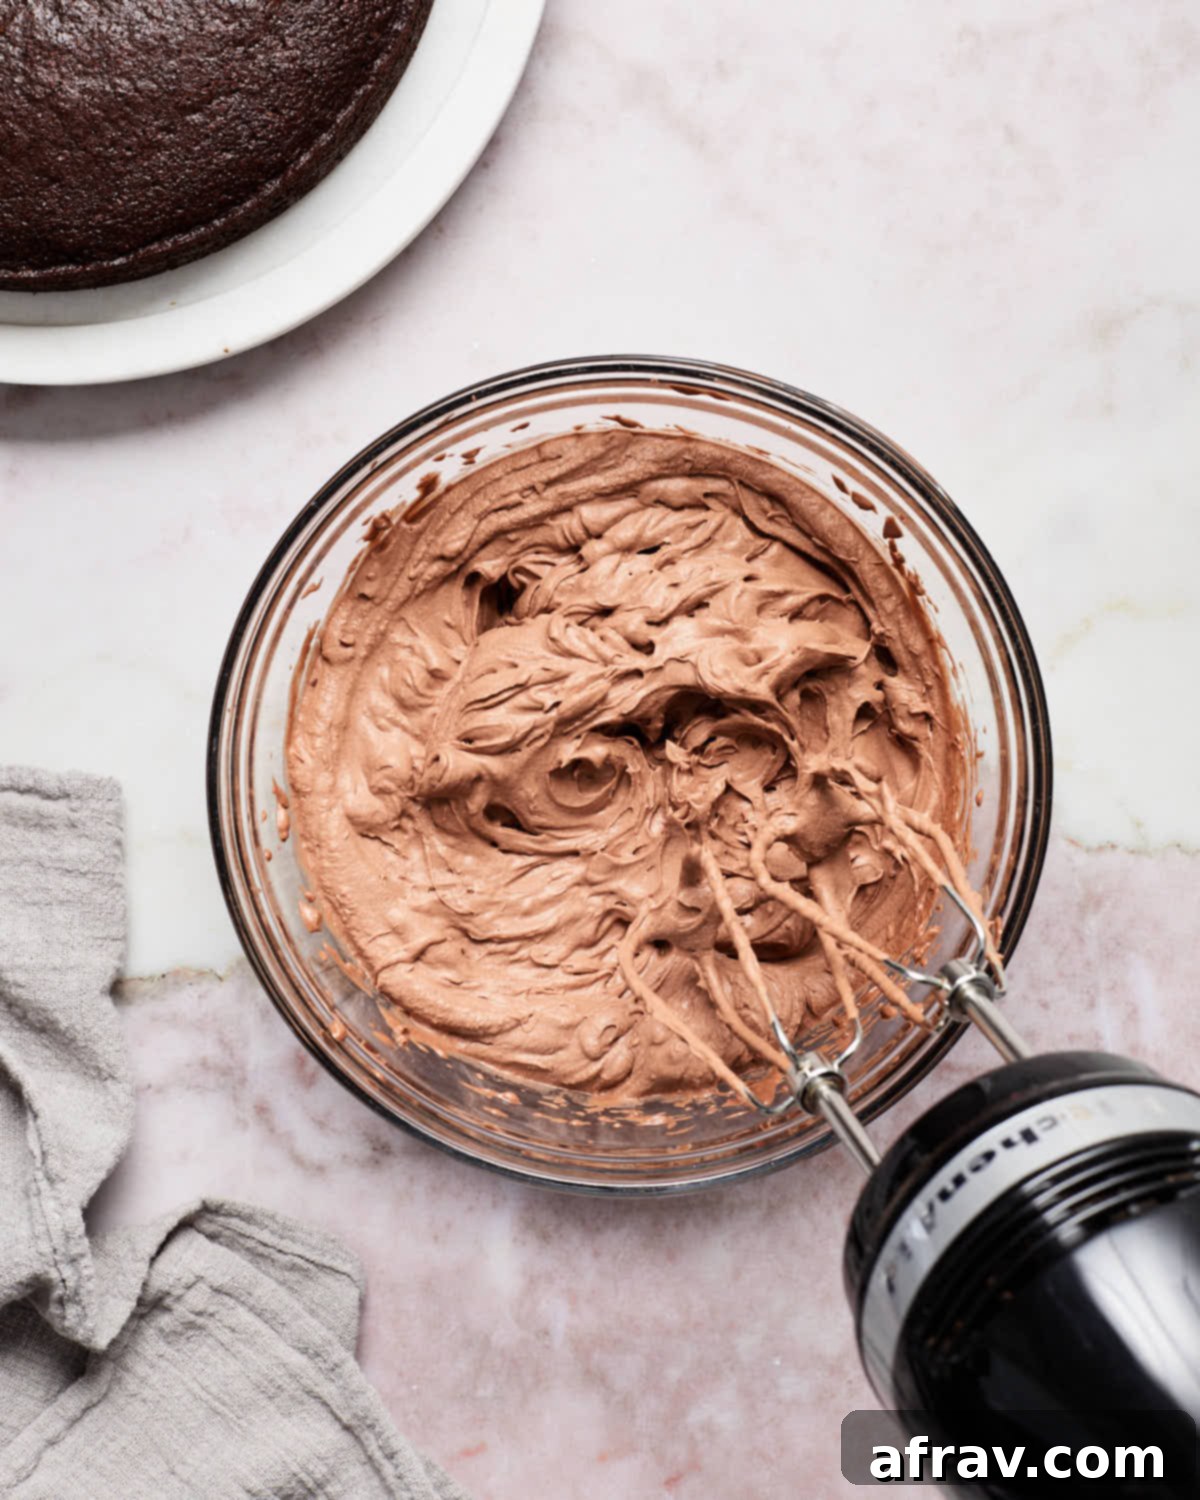
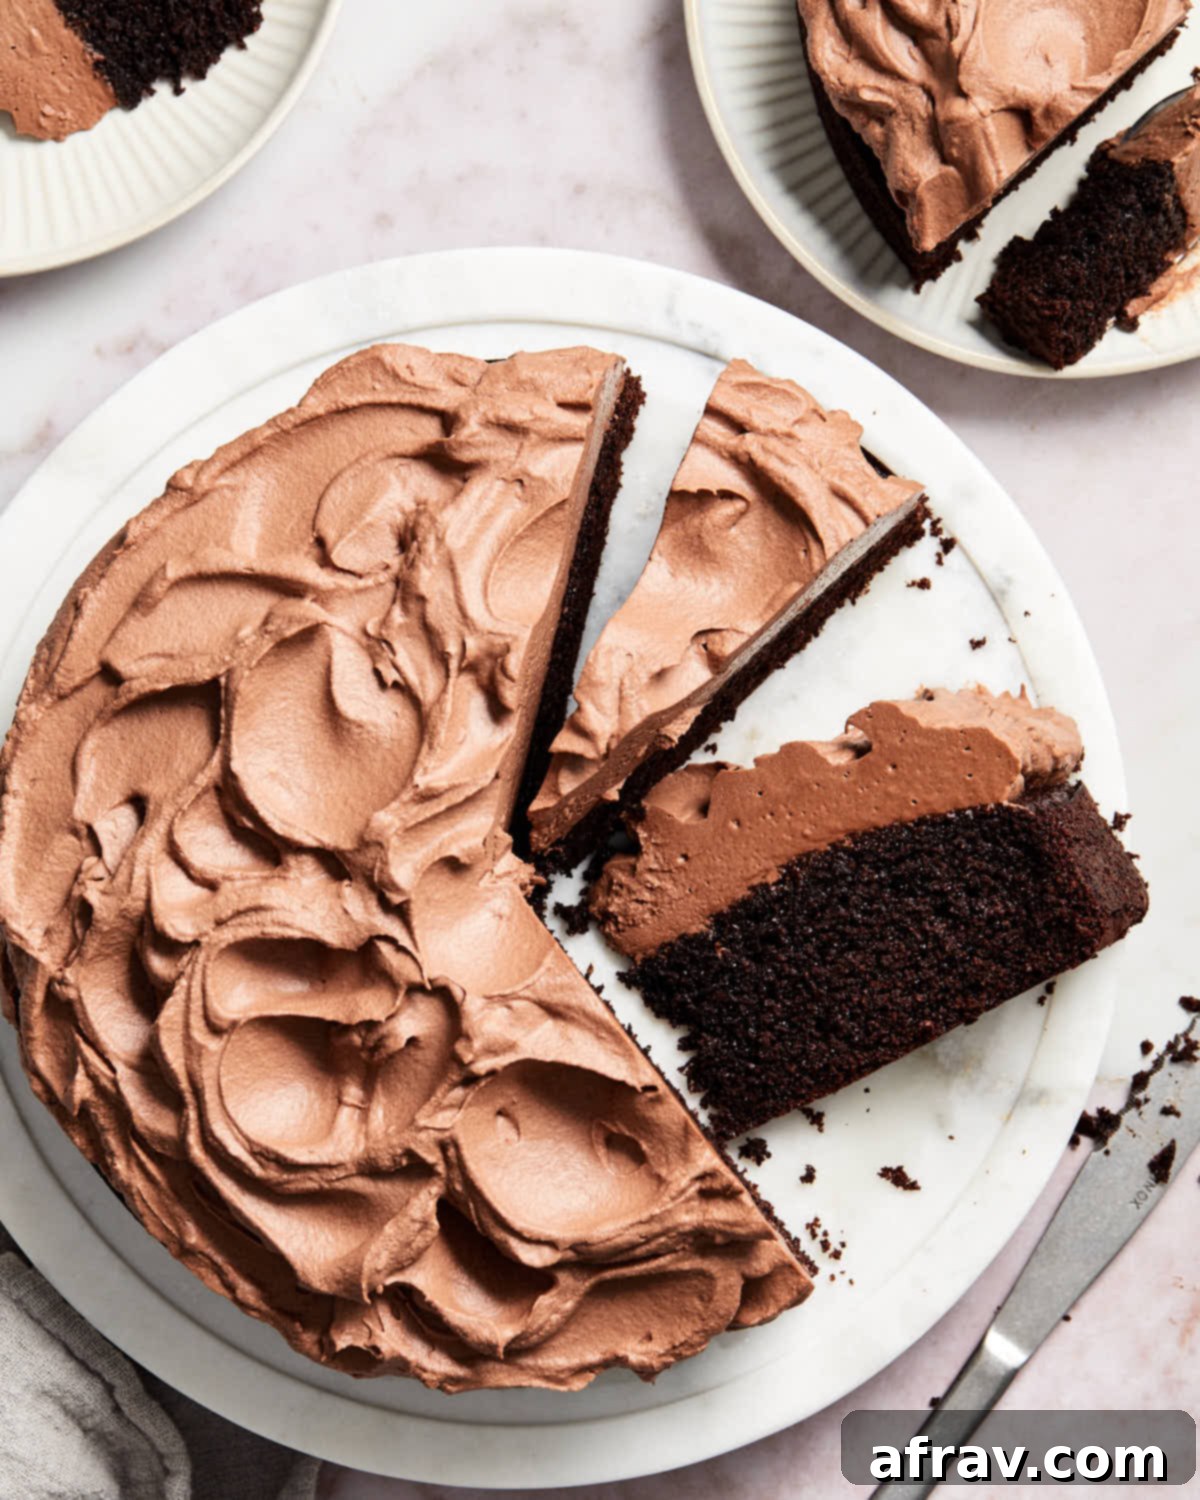
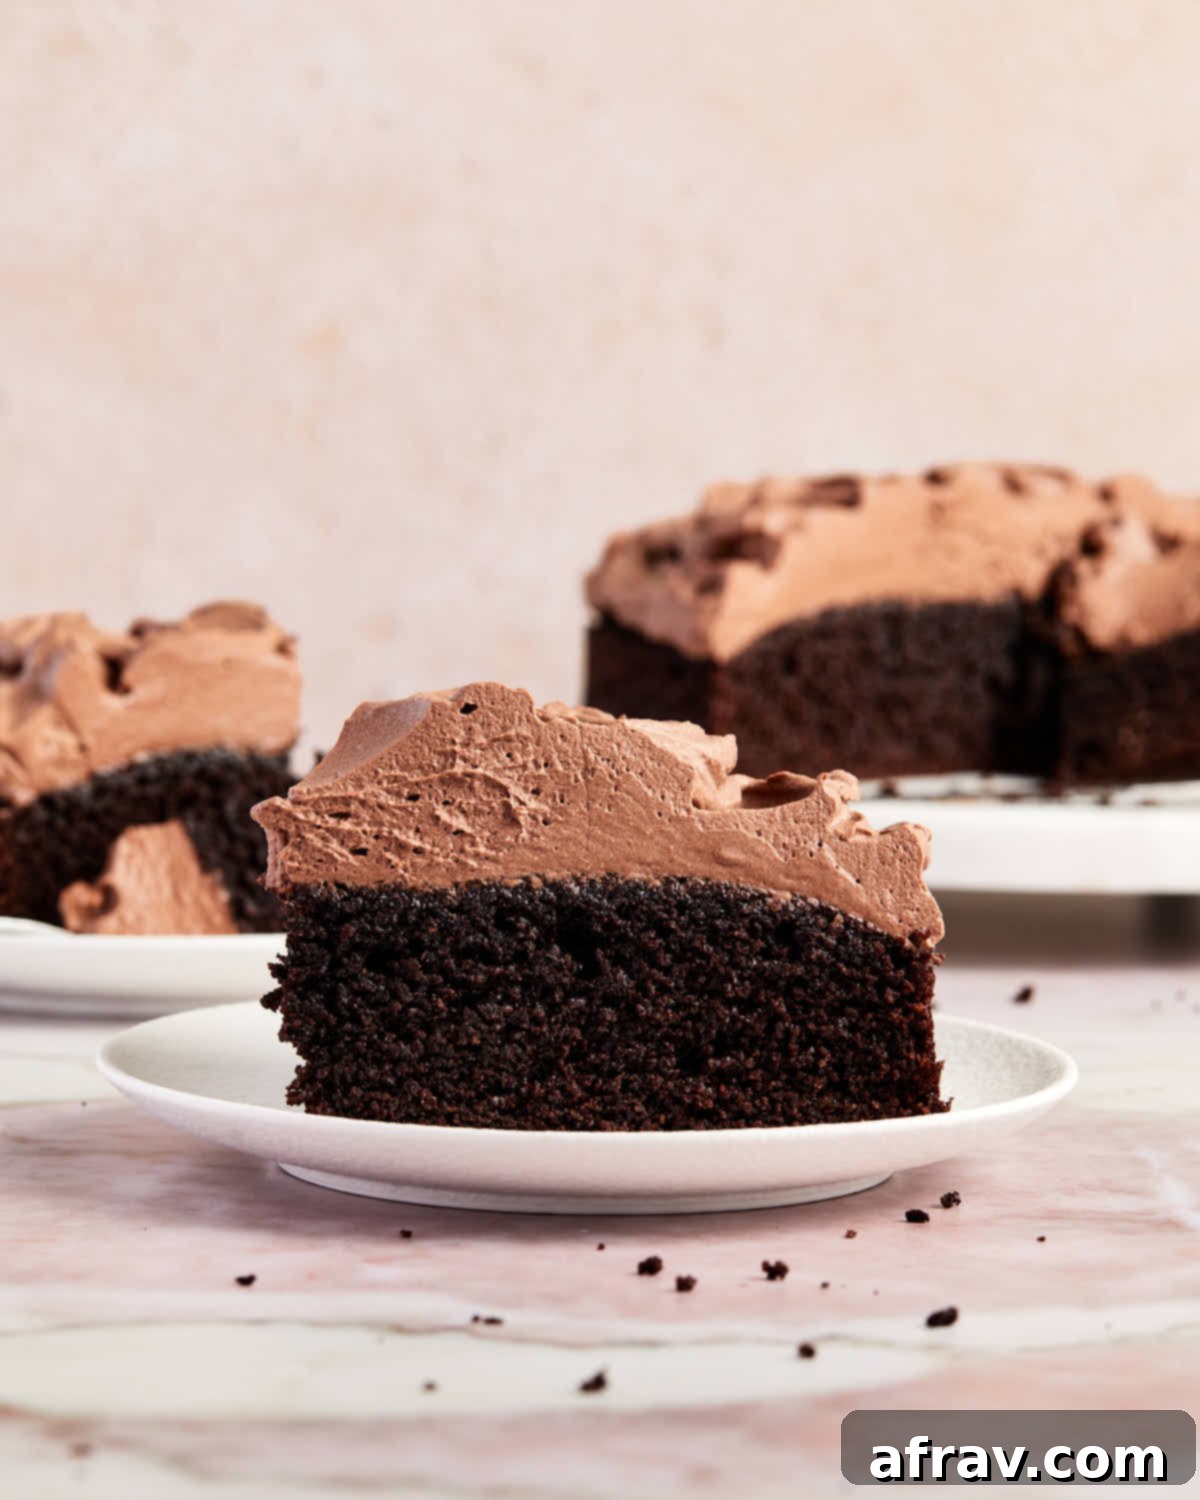
Once your cake has completely cooled, generously frost it with the freshly made dairy-free chocolate whipped cream. The cake can be served immediately, but for an even firmer and more refined topping, refrigerate the frosted cake for a few hours to allow the whipped cream to set properly before slicing. This extra step ensures clean, beautiful slices.
If you’re unable to find dairy-free whipping cream, or simply wish for a different kind of dairy-free frosting, our rich chocolate avocado frosting makes a delicious and equally decadent alternative. Additionally, for those who enjoy a nutty twist, our peanut butter cream cheese frosting and chocolate peanut butter frosting recipes also offer fantastic plant-based options that pair wonderfully with chocolate cake!
Precision in Measuring Ingredients
Accurate measurement is one of the most critical factors for successful baking, especially when working with gluten-free flours like almond flour. While US cup measurements are included in the recipe card for convenience, for unparalleled accuracy, we highly recommend using a digital kitchen scale to weigh your ingredients. This is why you’ll see grams (g) alongside cup measurements.
For liquid ingredients, milliliters (ml) are provided, and a liquid measuring cup should be used. Smaller quantities, such as leavening agents and flavorings, are given in teaspoons and tablespoons. Consistent and precise measurement ensures that the delicate balance of ingredients in this recipe, which has been meticulously tested, is maintained, leading to the best possible outcome for your cake every time.
Troubleshooting: Why Your Chocolate Almond Flour Cake Might Not Rise or Sink
Even with a well-tested recipe, baking can sometimes present challenges. If your almond flour chocolate cake didn’t rise as expected or sank in the middle, consider these common culprits:
- Incorrect Cake Pan Size: Using a cake pan that is too small for the amount of batter can cause the cake to rise too high and then collapse in the center, or overflow. This recipe is specifically designed for an 8×2 inch round pan, which will be filled about halfway. Using a smaller pan creates excessive volume for the batter, hindering proper structural support during baking.
- Premature Oven Door Opening: It’s tempting to peek, but opening the oven door too early, especially during the first two-thirds of the baking time, can lead to a sudden drop in temperature. This shock can cause the cake, which hasn’t yet fully set its structure, to deflate and sink in the middle. Resist the urge to check until near the end of the specified baking time.
- Overmixing the Batter: While aerating the eggs and sugar is important, overmixing the batter once the dry ingredients are added can incorporate too much air. This excess air can create large, unstable bubbles that expand rapidly in the oven and then collapse, resulting in a sunken or cratered cake with a coarse texture. Mix only until just combined.
- Improper Leavening Agent or Cocoa Combination: This recipe has been specifically formulated and extensively tested with Dutch-processed cocoa and baking soda. Deviating from this combination, such as using natural cocoa or baking powder, can drastically alter the cake’s chemistry. Other tests with different leavening/cocoa pairings resulted in sunken cakes, overly crumbly textures, or cakes with an undesirable number of large air bubbles. Stick to the specified ingredients for optimal rise and texture.
Frequently Asked Questions About the Recipe
No, coconut flour is not a suitable substitute for almond flour in this recipe. Coconut flour is exceptionally absorbent and would dramatically alter the moisture balance, resulting in a very dry, dense, and crumbly cake. These two flours behave very differently in baking and cannot be interchanged 1:1.
This particular cake recipe has been developed and tested exclusively with almond flour. Almond flour is gluten-free and has a higher fat and moisture content compared to all-purpose flour. A direct 1:1 substitution with all-purpose flour (or other wheat-based flours) would not yield satisfactory results without significant adjustments to the liquid, fat, and leavening agents in the recipe.
While we haven’t personally tested this cake with homemade almond flour, it should generally work well as long as you start with blanched almonds and grind them to a very fine, consistent flour-like texture. Ensure there are no large almond pieces that could affect the cake’s crumb.
Unfortunately, this cake is not designed to be vegan. The eggs are absolutely essential for providing structure, moisture, and the primary leavening in this gluten-free cake, as almond flour lacks the gluten network found in traditional flours. We have not tested this recipe with vegan egg replacements like flax eggs, and it’s unlikely to achieve the same texture and rise without the specific properties of real eggs.
This recipe is optimized for an 8×2 inch round cake pan. Using a smaller pan will result in too much batter for the pan’s volume, causing the cake to overflow or sink in the middle. If you opt for a 9-inch round pan, the cake will be slightly flatter, and you will need to reduce the baking time accordingly.
Absolutely! This cake recipe is the delicious foundation for our equally decadent almond flour chocolate cupcakes. They are a fantastic individual serving option that captures all the moist, rich flavor of the cake in a handheld treat!
Storage and Freezing Recommendations
Proper storage is key to enjoying your almond flour chocolate cake for as long as possible. Given its incredible moistness, this cake holds up exceptionally well:
- Frosted Cake: A frosted cake will remain fresh and delicious when stored in an airtight container in the refrigerator for up to 5 days. You’ll be amazed at how tender and soft it remains, even on day 5, showing no signs of staleness!
- Unfrosted Cake: If you prefer to frost the cake closer to serving time, an unfrosted cake can be kept at room temperature in an airtight container for 2-3 days. For longer storage, refrigeration is recommended.
- Freezing Instructions: To extend the life of your cake, it freezes beautifully. For best results, freeze the cake unfrosted. Once the cake has completely cooled, wrap it tightly in several layers of plastic wrap, then place it inside a freezer-safe bag or container. It can be stored in the freezer for up to 3 months.
- Thawing and Serving: When you’re ready to enjoy your frozen cake, simply thaw it at room temperature. Once thawed, you can then prepare a fresh batch of the dairy-free chocolate whipped cream frosting, top the cake, and serve!
Top Tips for Almond Flour Chocolate Cake Success
To ensure your almond flour chocolate cake turns out perfectly moist, rich, and tender every single time, keep these key tips in mind:
- Precise Ingredient Measurement: While cup measurements are provided for convenience, we cannot stress enough the importance of weighing your ingredients with a digital kitchen scale for superior accuracy. Especially with gluten-free flours like almond flour and cocoa powder, even slight variations in cup measurements can significantly impact the cake’s texture and structure. If using cups, employ the ‘spoon and level’ method: spoon the flour or cocoa into the measuring cup and then level it off with a straight edge, rather than scooping directly, which can compact the ingredient.
- Room Temperature Ingredients are a Must: Always ensure your eggs are at room temperature. Room temperature eggs emulsify much more effectively with sugar, incorporating air quicker and more evenly, which is vital for the cake’s light and airy texture. If your almond flour is stored in the fridge, bring it to room temperature as well; cold flour can make the batter stiffer and less homogenous.
- Avoid Overmixing the Batter: The initial beating of eggs and sugar until frothy is crucial for aeration and a fluffy cake. However, once the dry ingredients are added, stop mixing as soon as everything is just combined. Over-mixing the batter at this stage can develop too many air bubbles, which can expand excessively during baking and then collapse, leading to a cake with a crumbly texture or undesirable air pockets and holes.
- Thoroughly Grease Your Pan: To guarantee an easy release and prevent any sticking, thoroughly grease your cake pan with a non-stick cooking spray or butter (if not dairy-free). For an extra layer of insurance, you can also line the bottom of the pan with a circle of parchment paper. This step is a small effort that prevents big headaches.
- Completely Cool Before Frosting: Patience is a virtue when it comes to frosting! It is absolutely essential that your cake is completely cooled to room temperature before you even think about applying the whipped cream frosting. If the cake is still warm, the delicate whipped cream will melt or slide right off, resulting in a messy and unappealing finish.
The Benefits of Baking with Almond Flour
Beyond being naturally gluten-free, almond flour brings a host of benefits to your baking, making it a fantastic ingredient for a variety of treats. It’s a powerhouse of nutrition, rich in healthy fats, protein, and fiber, contributing to a more satisfying and blood-sugar-friendly dessert. Its fine texture and high fat content naturally create incredibly moist and tender baked goods, often without the need for additional fats. This makes it an ideal choice for cakes like this one, offering a superior texture that can sometimes be challenging to achieve with traditional gluten-free flour blends. Moreover, its mild, slightly nutty flavor complements chocolate beautifully, enhancing the overall taste profile.
Serving Suggestions and Variations
While this almond flour chocolate cake is absolutely divine on its own with the dairy-free chocolate whipped cream, you can elevate the experience with a few simple additions:
- Fresh Berries: A sprinkle of fresh raspberries, strawberries, or blueberries adds a beautiful burst of color and a delightful tart counterpoint to the rich chocolate.
- Chocolate Shavings or Curls: For an extra touch of elegance and chocolate intensity, garnish with finely grated chocolate or delicate chocolate curls.
- Dusting of Cocoa Powder: A light dusting of extra Dutch-processed cocoa powder over the whipped cream can enhance its visual appeal and deepen the chocolate aroma.
- Coffee or Espresso Powder: For an even richer, deeper chocolate flavor, consider adding 1-2 teaspoons of instant espresso powder or finely ground coffee to the dry cake ingredients. It won’t make the cake taste like coffee, but it will intensify the chocolate notes.
- Nutty Crunch: If not avoiding nuts, a light sprinkle of chopped toasted almonds or pecans on top of the frosting can add a delightful textural contrast.
More Almond Flour Recipes to Explore
- Chewy Almond Flour Peanut Butter Cookies
- Decadent Almond Flour Blondies
- Warm Blueberry Skillet Cookie
More Irresistible Chocolate Cake Recipes
- Quick Air Fryer Chocolate Cake
- Classic Easy Chocolate Sheet Cake
- Healthy Chocolate Zucchini Cake with Avocado Icing
- Charming Mini Chocolate Bundt Cakes
We truly hope you enjoy baking and savoring this magnificent almond flour chocolate cake. If you give this recipe a try, we would absolutely love to hear your thoughts and feedback in the comments section below!
HUNGRY FOR MORE? Follow Crumb Top Baking on Instagram, Pinterest, and Facebook for more delicious gluten-free and dairy-free recipes!
Print Recipe

Almond Flour Chocolate Cake
5 Stars 4 Stars 3 Stars 2 Stars 1 Star
5 from 3 reviews
- Author: Leanne
Prep Time: 20 minutes
Cooling Time: 2 hours
Cook Time: 30 minutes
Total Time: 2 hours 50 minutes
Yield: 10 slices
Category: Dessert
Method: Bake
Cuisine: American, Canadian
Diet: Gluten Free
Description
This Gluten-Free Almond Flour Chocolate Cake boasts a rich chocolate flavor, an incredibly moist and tender crumb, and is beautifully topped with a fluffy dairy-free chocolate whipped cream frosting. It’s an easy-to-make dessert that’s perfect for any occasion!
Ingredients
For the cake:
- 2 cups (208g) blanched almond flour
- 1/2 cup (50g) Dutch-processed cocoa, sifted if lumpy
- 1/2 teaspoon baking soda
- 1/4 teaspoon fine sea salt (or table salt)
- 4 large eggs, room temperature
- 1/2 cup (90g) coconut sugar
- 1/4 cup (60ml) extra virgin olive oil
- 1/4 cup (60ml) maple syrup
- 2 teaspoons vanilla extract
For the frosting:
- 1 small carton (473 ml) dairy-free whipping cream (almost 2 cups)
- 1/2 cup (70g) powdered sugar, sifted if lumpy
- 1/4 cup (25g) Dutch-processed cocoa, sifted if lumpy
- 1 teaspoon vanilla extract
Instructions
- Preheat oven to 350F (175°C). Grease an 8 x 2 inch round cake pan thoroughly and line the bottom with parchment paper for easy release.
- In a medium-sized bowl, whisk together the blanched almond flour, Dutch-processed cocoa, baking soda, and salt until well combined. Set this dry mixture aside.
- In a large mixing bowl, add the room temperature eggs and coconut sugar. Using an electric mixer set to medium-high speed (avoiding high), beat for just 20-30 seconds. The mixture should become light, frothy, and have small bubbles on top, indicating proper aeration.
- Add the oil, maple syrup, and vanilla extract to the frothy egg mixture. Beat for another 15 seconds, just until these wet ingredients are fully combined. Be careful not to overmix.
- Gradually add the reserved almond flour mixture to the wet ingredients. Mix on low speed with your electric mixer until the ingredients are just combined and no streaks of dry flour remain. Crucially, do not overmix the batter at this stage.
- Pour the prepared batter into the greased and lined cake pan. Gently tap the bottom of the pan against a hard surface a few times to help release any trapped air bubbles, ensuring a more uniform crumb.
- Bake for 28-32 minutes, or until a wooden toothpick inserted into the center of the cake comes out with just a few moist crumbs attached, or clean. Avoid overbaking to maintain moisture.
- Allow the cake to cool in the pan for 10 minutes. This helps it set and firm up. After 10 minutes, carefully invert the cake onto a wire rack to cool completely. Ensure it’s fully cooled before proceeding to the frosting step.
- To prepare the frosting, place a clean mixing bowl (preferably metal or glass) and your electric mixer beaters in the freezer for 5 minutes. This chilling step is vital for stable whipped cream.
- Remove the chilled bowl and beaters from the freezer. Add the dairy-free whipping cream, Dutch-processed cocoa, powdered sugar, and vanilla extract to the bowl. Beat on medium-low speed for approximately 30 seconds, or until the cocoa and powdered sugar begin to incorporate into the cream. This prevents a cloud of powder from escaping when the speed increases.
- Increase the mixer speed to medium-high and continue to beat the ingredients together until stiff peaks form. Stiff peaks mean the frosting holds its shape firmly when the beaters are lifted. Remember to stop and scrape down the sides of the bowl with a spatula as needed to ensure even whipping.
- Once the cake is completely cooled, generously frost it with the prepared dairy-free chocolate whipped cream. Serve immediately, or for a firmer frosting, place the cake in the fridge for a few hours to allow the whipped cream to set before slicing and serving.
Notes
- It is crucial to use blanched almond flour for this recipe, not almond meal. Almond meal has a coarser texture due to the almond skins being left on, which will significantly change the texture of the cake, potentially making it denser and more crumbly.
- For the most accurate results in baking, especially with gluten-free recipes, we highly recommend weighing your ingredients using a kitchen scale. If you are using cup measurements, please ensure you use the “spoon and level” method for both the almond flour and cocoa powder to avoid over-packing.
- Ensure that your eggs are at room temperature. This allows them to incorporate more easily and quickly with the sugar, creating a frothy mixture that contributes to the cake’s light and airy texture. If your almond flour is stored in the fridge, bring it to room temperature as well.
- While beating the eggs and sugar until frothy is important for aeration, avoid over-beating the batter once the dry ingredients are added. Excessive mixing can introduce too much air, which may create small air pockets or holes throughout the cake and lead to a less desirable texture.
- If you do not need this cake to be dairy-free or if you cannot find dairy-free whipping cream in your area, you can substitute it with an equal amount of traditional heavy whipping cream for the frosting.
- For the deepest chocolate flavor and desired texture, it is strongly recommended to use Dutch-processed cocoa in this recipe rather than natural cocoa. As detailed in the article, this choice significantly impacts the final outcome.
- For additional advice, detailed explanations on ingredients, and troubleshooting tips, please refer to the sections above the recipe card. These provide valuable insights to ensure your cake is a success.
