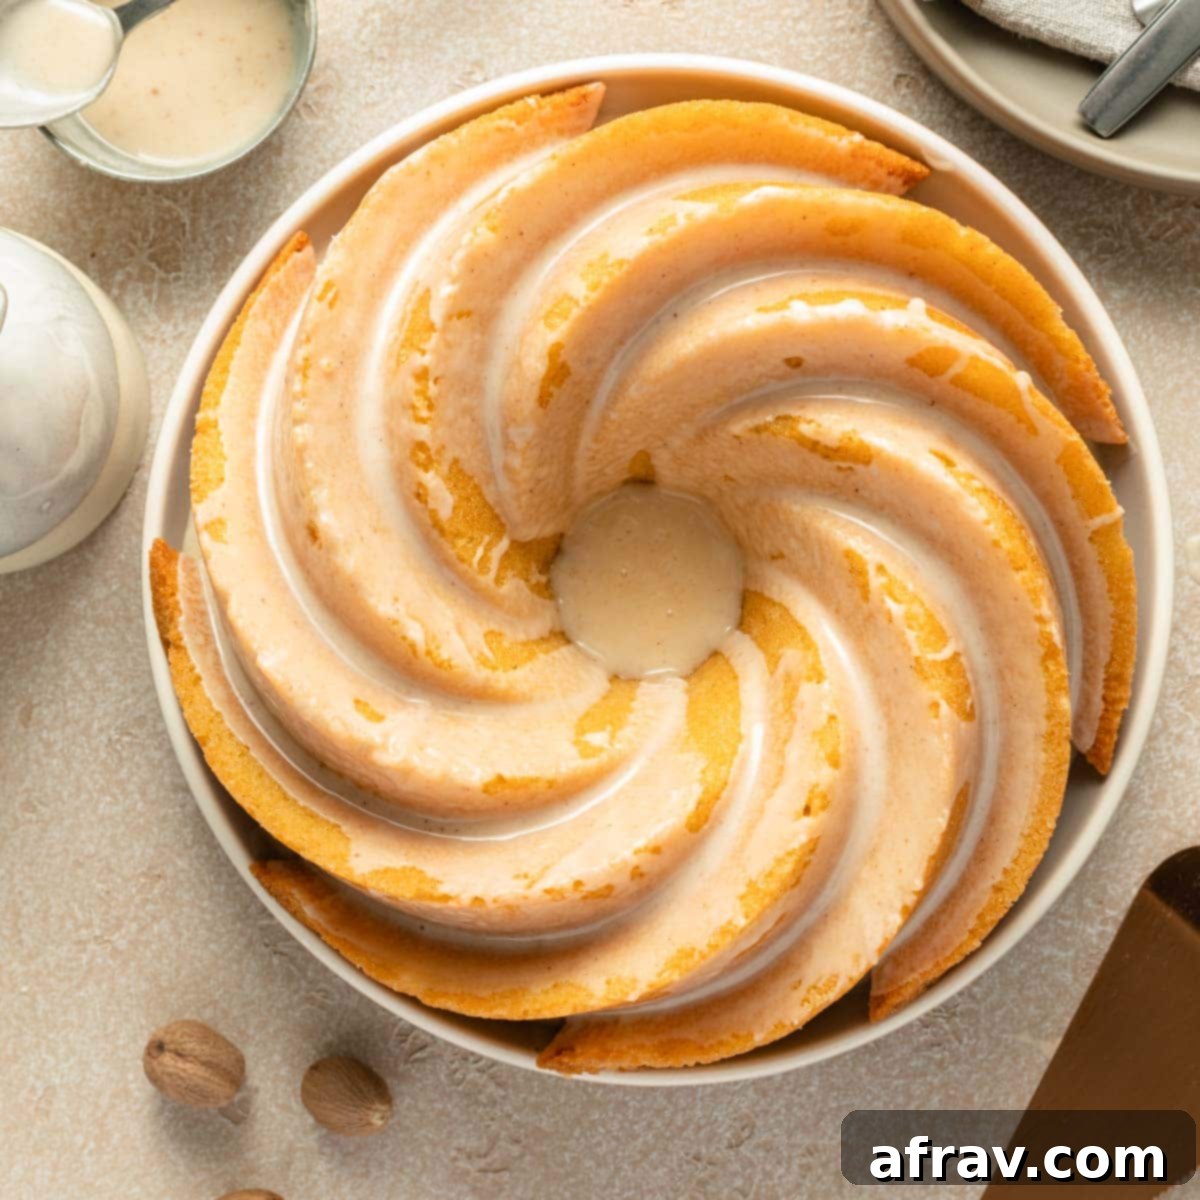
Dairy-Free Eggnog Bundt Cake: Your Ultimate Easy Holiday Dessert
Get ready to embrace the festive spirit with this incredibly simple yet utterly delicious Eggnog Bundt Cake! This recipe promises a holiday cake that’s both sweet and subtly spiced, boasting a moist texture and a tender crumb, all crowned with a luscious eggnog powdered sugar glaze. It’s the perfect centerpiece for your holiday table, and best of all, it’s remarkably easy to make!
Bundt cakes hold a special place in my heart, and for good reason. They offer all the elegance of a beautifully decorated cake without the fuss of intricate layering or elaborate frosting techniques. A simple, pourable glaze or even a delicate dusting of powdered sugar is often all it takes to elevate these charming cakes, making them ideal for home bakers looking for impressive results with minimal effort. Their unique fluted designs mean the pan does most of the decorative work for you!
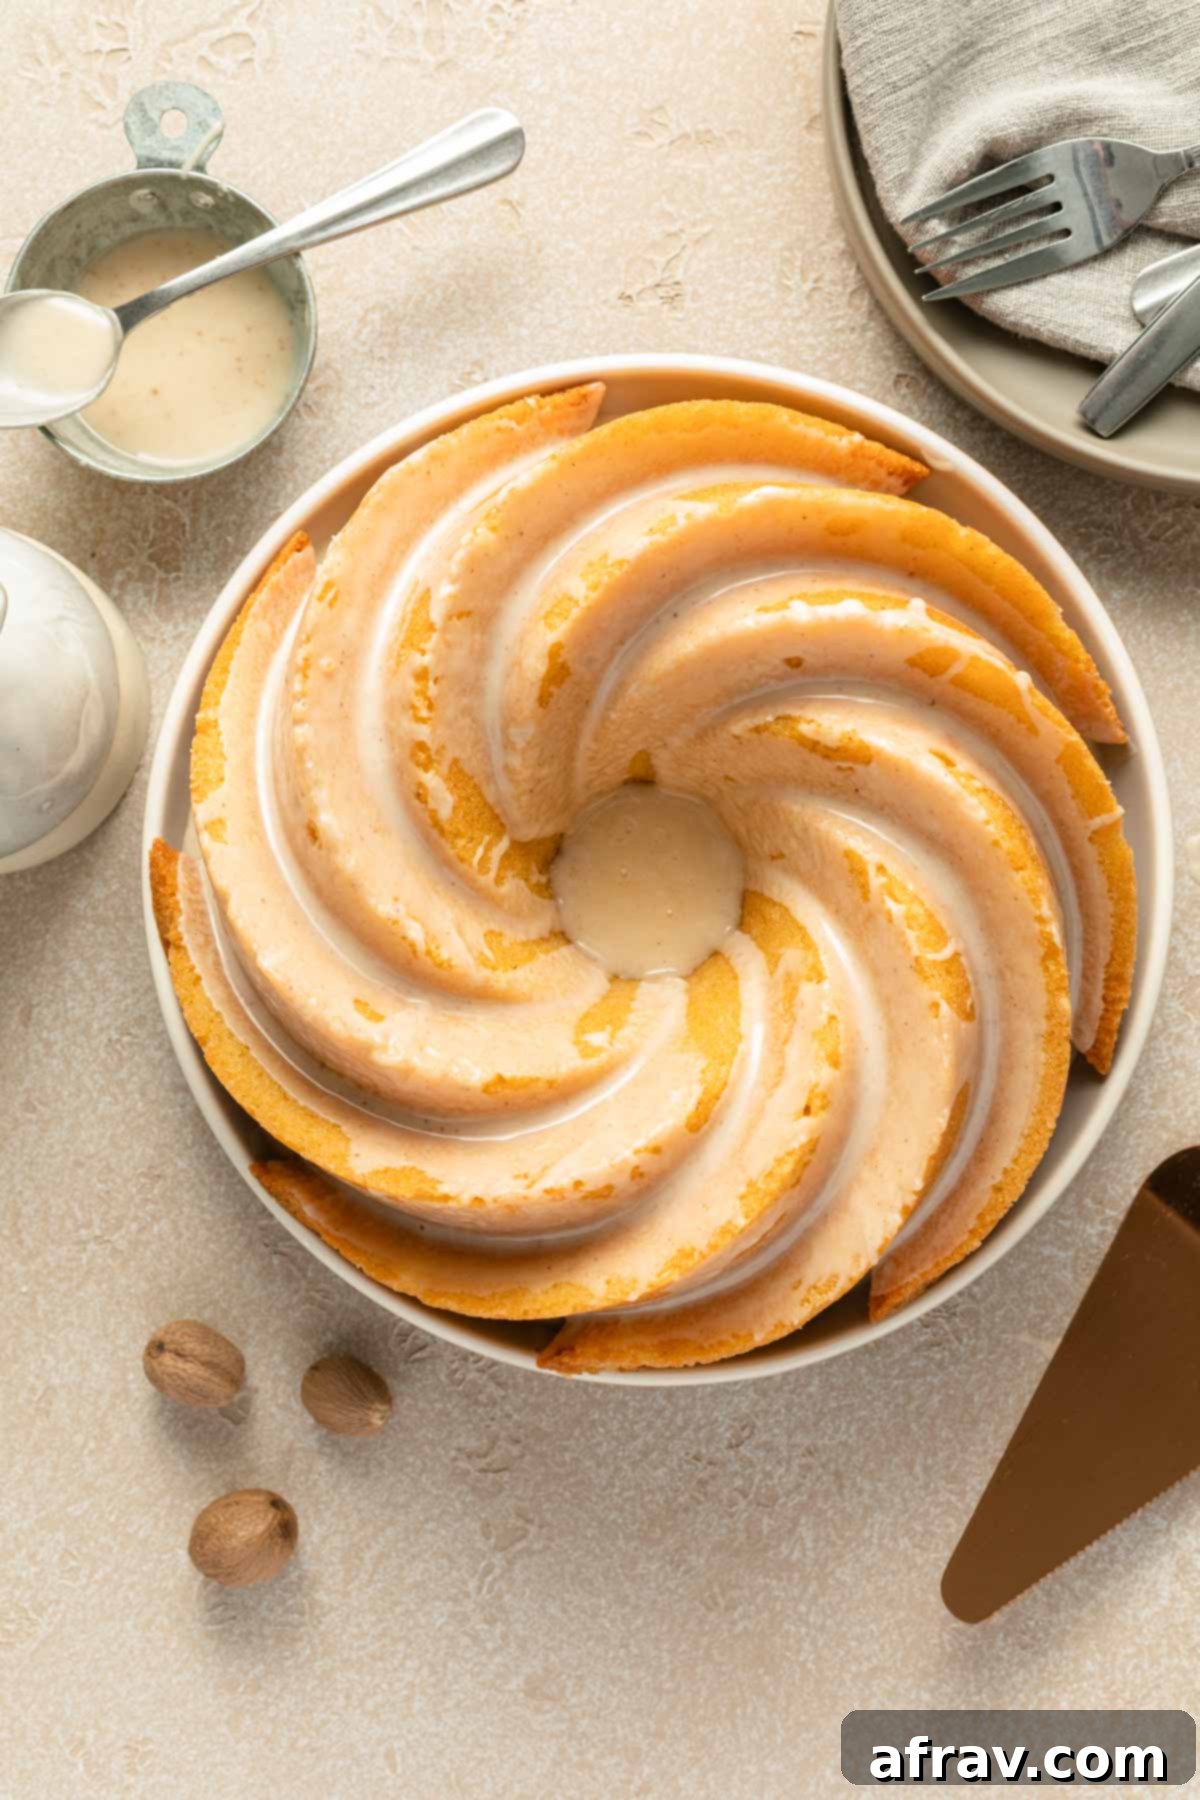
Holiday baking doesn’t have to be complicated to be spectacular. Just like our popular dark chocolate cranberry bundt cake, which has become a cherished Christmas tradition, or the visually stunning yet deceptively easy marbled chocolate pumpkin bundt cake, this eggnog rendition follows the same philosophy. It delivers maximum flavor and festive appeal with a straightforward process that even novice bakers can master, leaving you more time to enjoy the festivities.
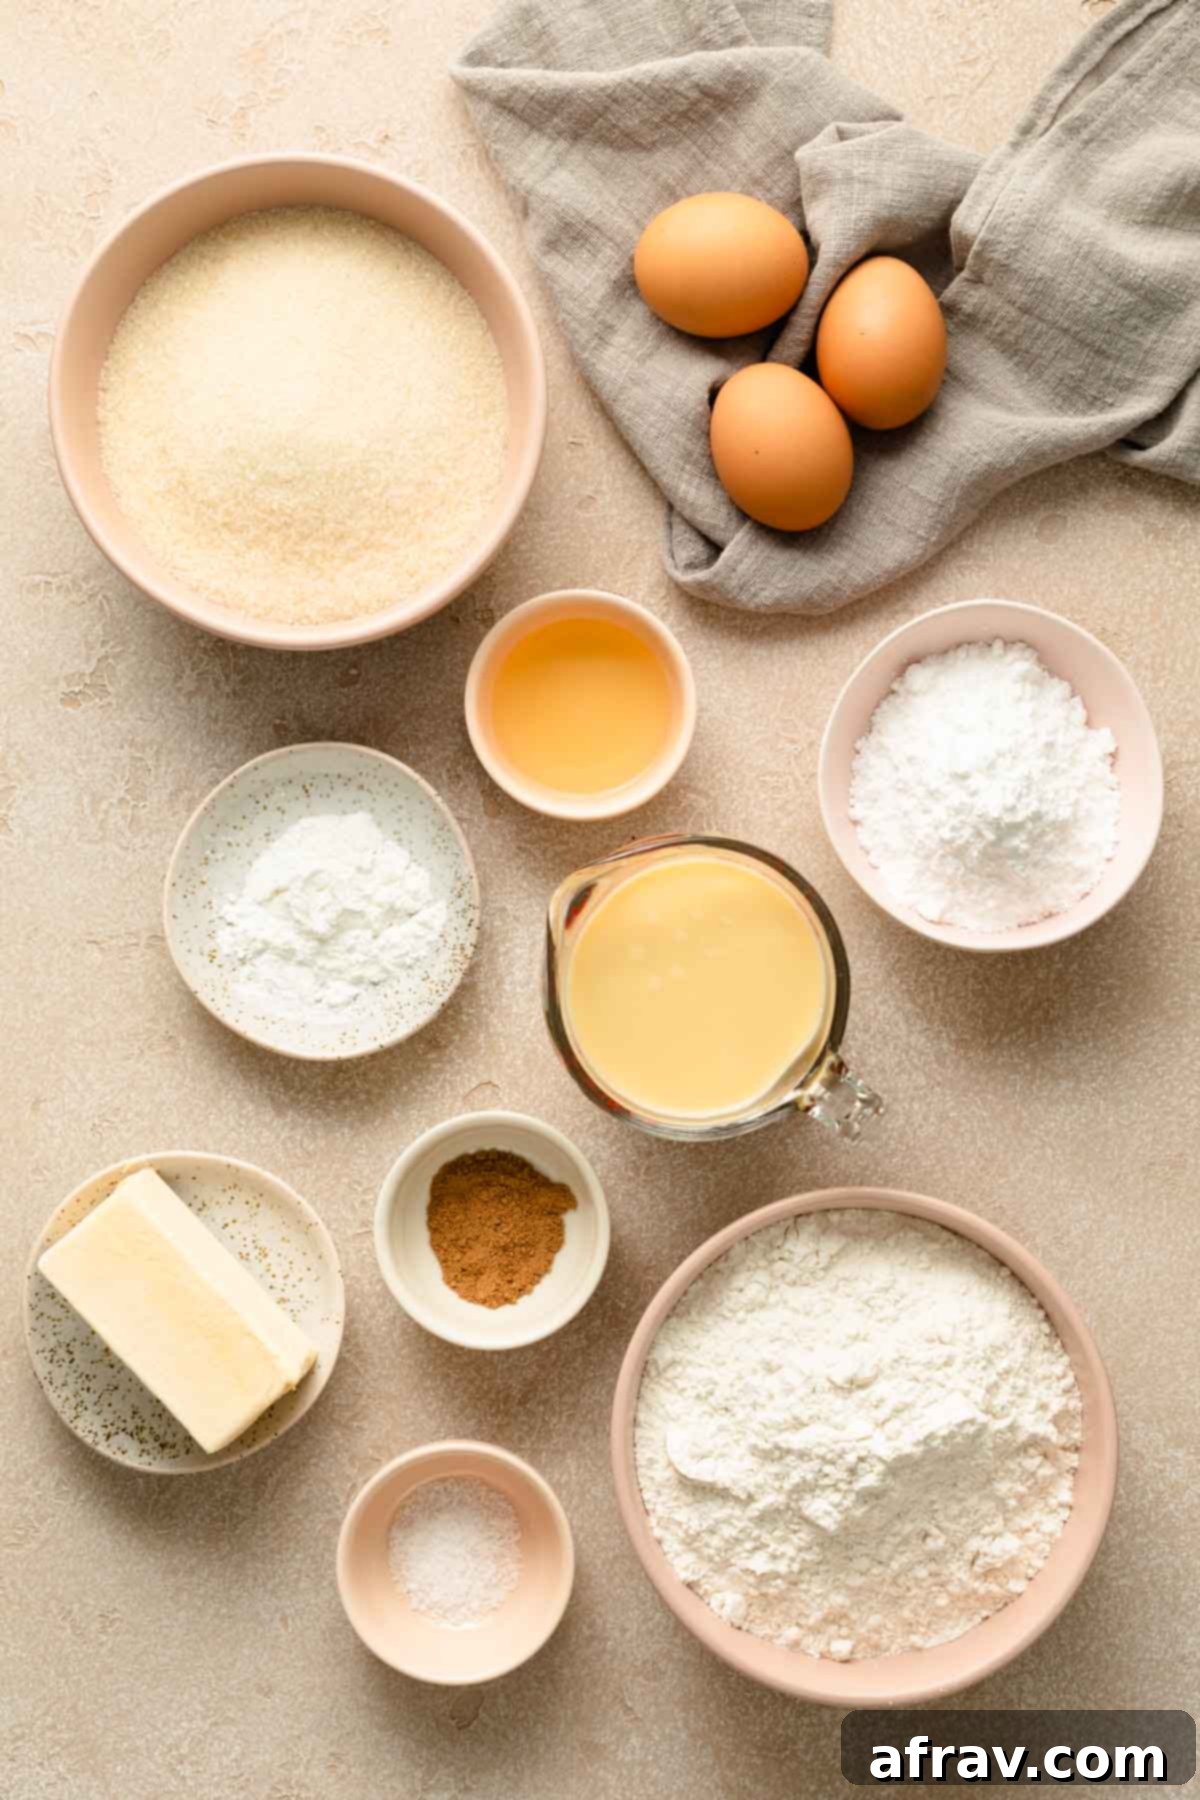
This particular eggnog cake requires just ten key ingredients, most of which you likely have in your pantry during the holiday season. While you’ll need your trusty electric mixer to achieve that perfect fluffy batter, the preparation is surprisingly quick, with active prep time being minimal. Pair it with a super-simple, three-ingredient glaze, and you’ll have a show-stopping Christmas dessert ready to delight your guests in no time. The true beauty of this recipe lies in its balanced flavors – the warmth of eggnog, a subtle hint of rum, and the cozy spice of nutmeg create a harmonious symphony that embodies the very essence of holiday cheer, making it an instant classic.
What truly sets this recipe apart, beyond its sheer simplicity and delicious taste, is its commitment to being dairy-free. We achieve this by using almond nog, a fantastic plant-based alternative to traditional eggnog. This means that everyone, regardless of dietary preferences, can indulge in a slice of this festive treat. Of course, if dairy isn’t a concern for you, feel free to use traditional eggnog – the cake will be equally delightful and rich. But if you’re searching for an inclusive, dairy-free eggnog dessert that doesn’t compromise on flavor or festive charm, this bundt cake is an absolute must-try this season, perfect for sharing with all your loved ones!
Demystifying Your Ingredients: Essential Details for a Perfect Bake
Understanding the role of each ingredient is key to successful baking. Here’s a closer look at some of the stars of our Eggnog Bundt Cake, along with tips for substitutions and selection:
- Eggnog: Our recipe specifically calls for almond nog to ensure it’s dairy-free, making this a truly inclusive holiday dessert. As the holiday season approaches, various brands of almond milk eggnog become widely available in most grocery stores, typically found in the refrigerated section alongside other plant-based beverages. Keep an eye out for them, as their availability can be seasonal. If, for any reason, you can’t locate almond nog and your dietary needs don’t require the cake to be dairy-free, traditional dairy-based eggnog can be used as a direct 1:1 substitute. Both options will yield a wonderfully festive flavor profile, though the traditional version will, of course, add dairy.
- Rum: A mere two tablespoons of rum are incorporated into the cake batter, providing a delightful depth of flavor without making the cake taste overtly alcoholic or “boozy.” It’s merely a nuanced hint that complements the rich, spiced notes of the eggnog beautifully. I personally prefer amber rum for its slightly richer and smoother notes, but white rum or dark rum will also work perfectly, each adding its own subtle character. For those who prefer a non-alcoholic version, rum extract is an excellent alternative – simply follow the extract bottle’s conversion for the equivalent flavor, usually about half the liquid amount for concentrated extract.
- Cane Sugar: This recipe utilizes 1 1/4 cups of cane sugar, which contributes to the cake’s perfect sweetness and helps achieve that signature moist crumb. Cane sugar typically has a finer texture and a slightly richer, more complex flavor than standard granulated sugar. However, if cane sugar isn’t readily available, standard granulated sugar (white sugar) can be used as a direct 1:1 substitute without significantly altering the final product’s texture or sweetness. Just ensure accurate measurement for optimal results, as too much or too little sugar can impact the cake’s moisture and structure.
- Butter: To keep this cake dairy-free, we opt for 1/2 cup of vegan butter, brought to room temperature for ideal creaming. Vegan butter alternatives have significantly improved in recent years and now mimic the texture and baking properties of dairy butter very closely, providing excellent results. If dairy-free isn’t a requirement for your cake, feel free to use high-quality dairy butter, also at room temperature. The key here is ensuring the butter is at room temperature, as it creams beautifully with sugar, incorporating essential air and creating a light, fluffy base for the cake batter, which translates to a tender cake.
- Nutmeg: While eggnog inherently contains nutmeg, we add an additional 1/2 teaspoon to the cake batter and a 1/4 teaspoon to the glaze. This extra touch isn’t excessive; it amplifies the classic, warm eggnog flavor, giving it a more pronounced festive spice and an inviting aroma that fills your kitchen. For the best, most aromatic flavor, consider using freshly grated nutmeg if you have a grater and whole nutmeg; otherwise, pre-ground nutmeg works perfectly well. It’s that little extra something that truly makes the cake sing with holiday cheer and enhances the overall sensory experience.
Baking Your Dairy-Free Eggnog Bundt Cake: A Step-by-Step Guide
Crafting this festive bundt cake is a straightforward process that yields impressive results. Follow these detailed steps to ensure a perfect bake, from preparation to glazing:
- Prepare Your Pan and Oven: Begin by preheating your oven to 350°F (175°C). This ensures the oven is at the correct temperature when the cake goes in, promoting even baking and a proper rise. Next, meticulously grease a 10-cup bundt pan. This step is absolutely critical for preventing your cake from sticking, especially with intricate bundt designs. You can use a non-stick baking spray (preferably one with flour in it), ensuring it gets into all the intricate crevices of the pan, or grease it thoroughly with softened vegan or dairy butter and then lightly dust with all-purpose flour, tapping out any excess. Don’t skip any spots!
- Combine Dry Ingredients: In a medium bowl, sift together the 2 cups of all-purpose white flour, 2 teaspoons of baking powder, 1/2 teaspoon of salt, and 1/2 teaspoon of ground nutmeg. Sifting helps to aerate the flour and ensures all the dry ingredients are evenly distributed, preventing lumps in your batter and contributing to a wonderfully tender and uniform crumb in the finished cake. Set this mixture aside, ready for incorporation.
- Cream Wet Ingredients: In a large mixing bowl, using an electric mixer (either a stand mixer with a paddle attachment or a hand mixer), cream together the softened vegan butter (or dairy butter) and the 1 1/4 cups of cane sugar (or granulated sugar) until the mixture is light, fluffy, and pale in color. This process incorporates air, which is essential for a tender cake structure. Next, add the three large eggs, one at a time, beating well after each addition until fully incorporated and the mixture is smooth. Finally, stir in the 2 tablespoons of rum (or rum extract) until just combined.
- Alternate Wet and Dry: With your electric mixer on low speed, begin adding the dry flour mixture to the wet ingredients, alternating with the 1 cup of dairy-free almond milk eggnog. Start and end with the flour mixture (e.g., 1/3 flour, 1/2 eggnog, 1/3 flour, 1/2 eggnog, 1/3 flour). Mix only until just combined – be careful not to overmix, as this can develop the gluten in the flour and lead to a dense, tough cake. A few small streaks of flour are acceptable, as they will disappear during baking.
- Fill and Prepare the Pan: Once your batter is perfectly mixed, pour it evenly into your thoroughly prepared 10-cup bundt pan. To help the batter settle into all the intricate designs and release any trapped air bubbles that could cause gaps in your cake, gently tap the bottom of the pan firmly against your kitchen counter a few times. This simple step ensures a beautifully formed bundt cake with a smooth exterior.
- Bake to Perfection: Transfer the bundt pan to your preheated oven and bake for approximately 40 minutes. The exact baking time may vary slightly depending on your oven’s calibration and the pan material, so begin checking for doneness around the 35-minute mark. To check if it’s ready, insert a wooden toothpick or skewer into the center of the cake. If it comes out clean or with a few moist crumbs attached (but no wet batter), your cake is perfectly baked.
- Cooling Process: Once baked, remove the cake from the oven and let it cool in the bundt pan for exactly 10 minutes on a wire rack. This crucial cooling period allows the cake’s delicate structure to firm up slightly and gently pull away from the sides of the pan, making it much easier to invert and release from the pan without sticking or breaking. After 10 minutes, carefully invert the cake onto the wire rack to cool completely. Allowing it to cool fully on a wire rack ensures even air circulation, preventing the bottom from becoming soggy and ensuring the cake is firm enough for glazing.
- Prepare the Eggnog Glaze: While the cake cools, prepare the simple yet irresistible eggnog glaze. In a small bowl, whisk together the 1 1/2 cups of powdered sugar, 2 tablespoons of dairy-free almond milk eggnog, and 1/4 teaspoon of ground nutmeg until the mixture is completely smooth and free of lumps. Adjust consistency by adding a tiny bit more eggnog (1/2 teaspoon at a time) for a thinner glaze, or a bit more powdered sugar for a thicker one, to achieve your desired pourable texture.
- Glaze and Serve: Once the bundt cake has cooled completely to room temperature (this is paramount to prevent the glaze from melting and absorbing into the cake), generously pour the prepared eggnog glaze over the top, allowing it to drip beautifully down the fluted sides. Let the glaze set for at least 15-20 minutes, or until it forms a slight crust. Then, slice and serve your magnificent dairy-free Eggnog Bundt Cake. Enjoy the festive flavors of the holiday season!
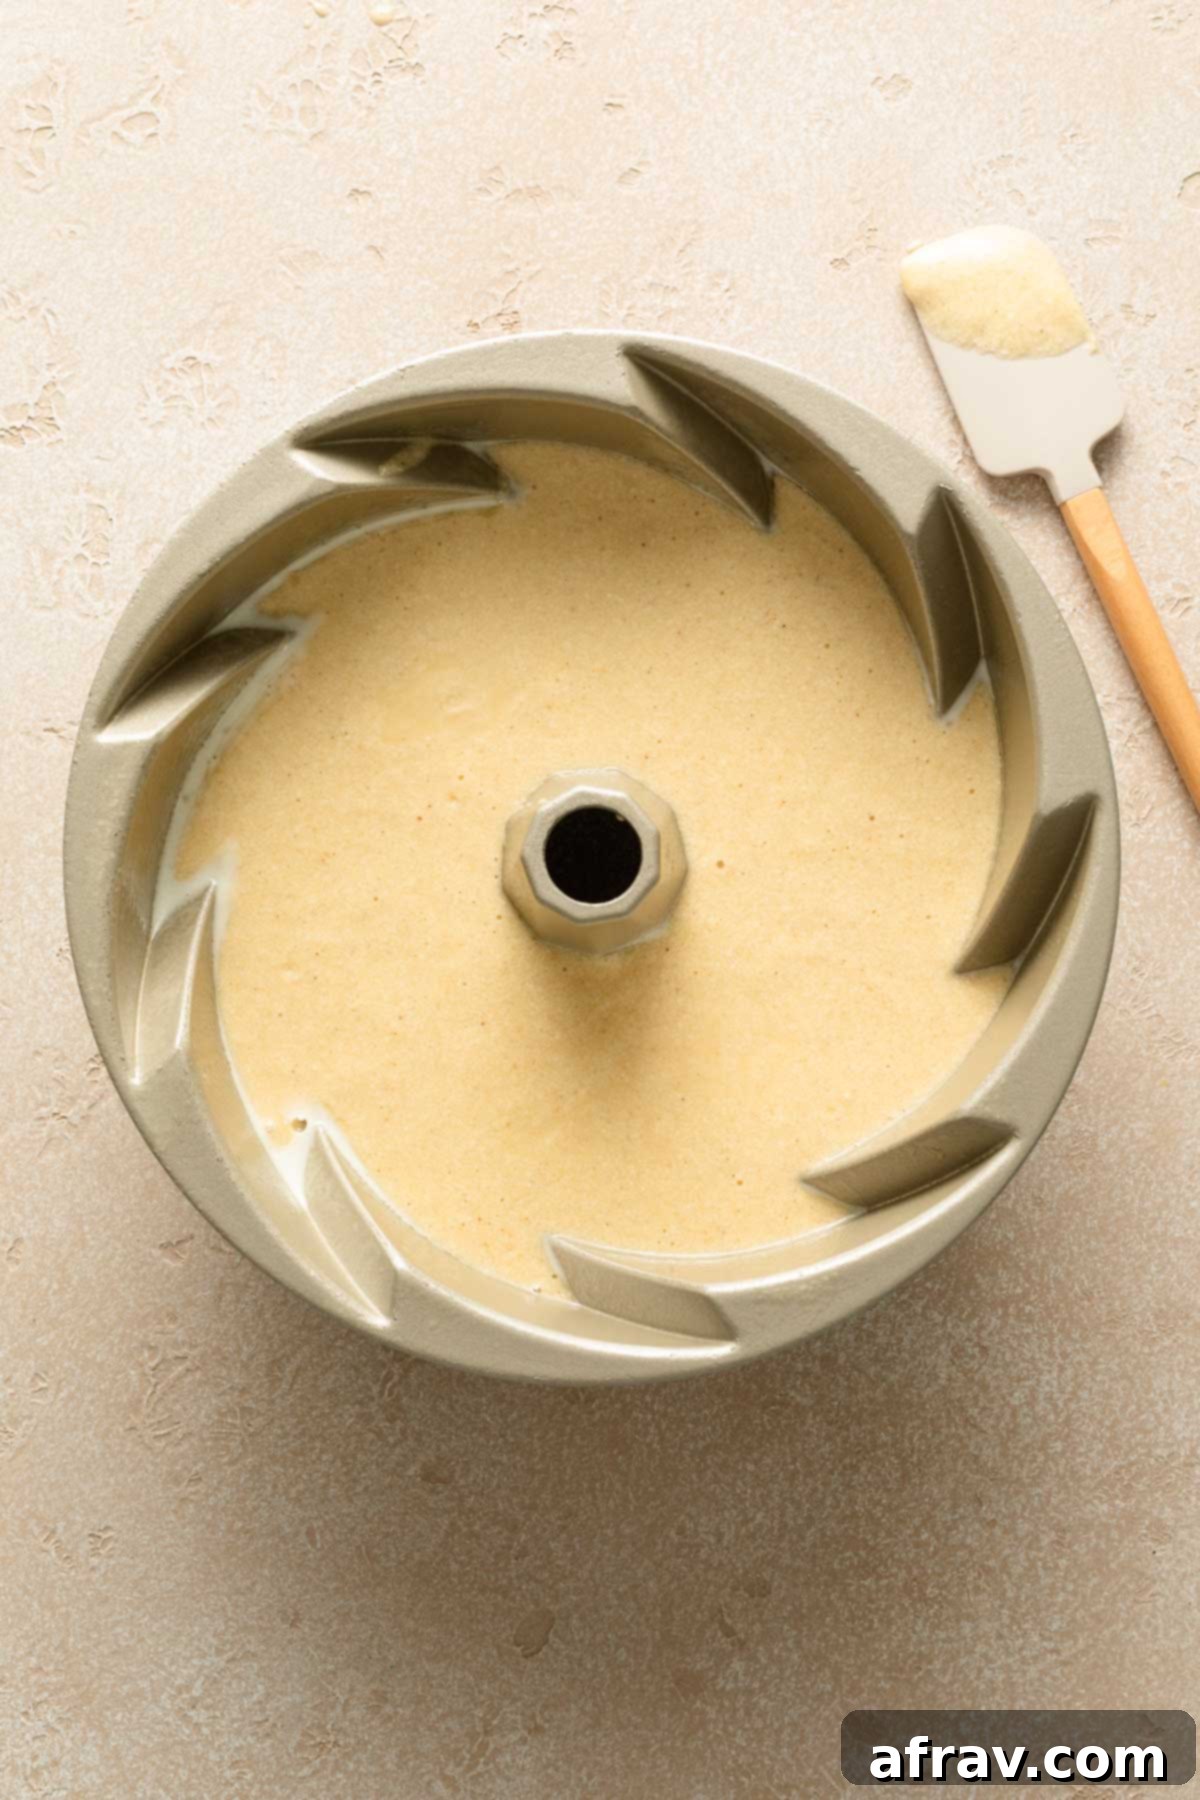
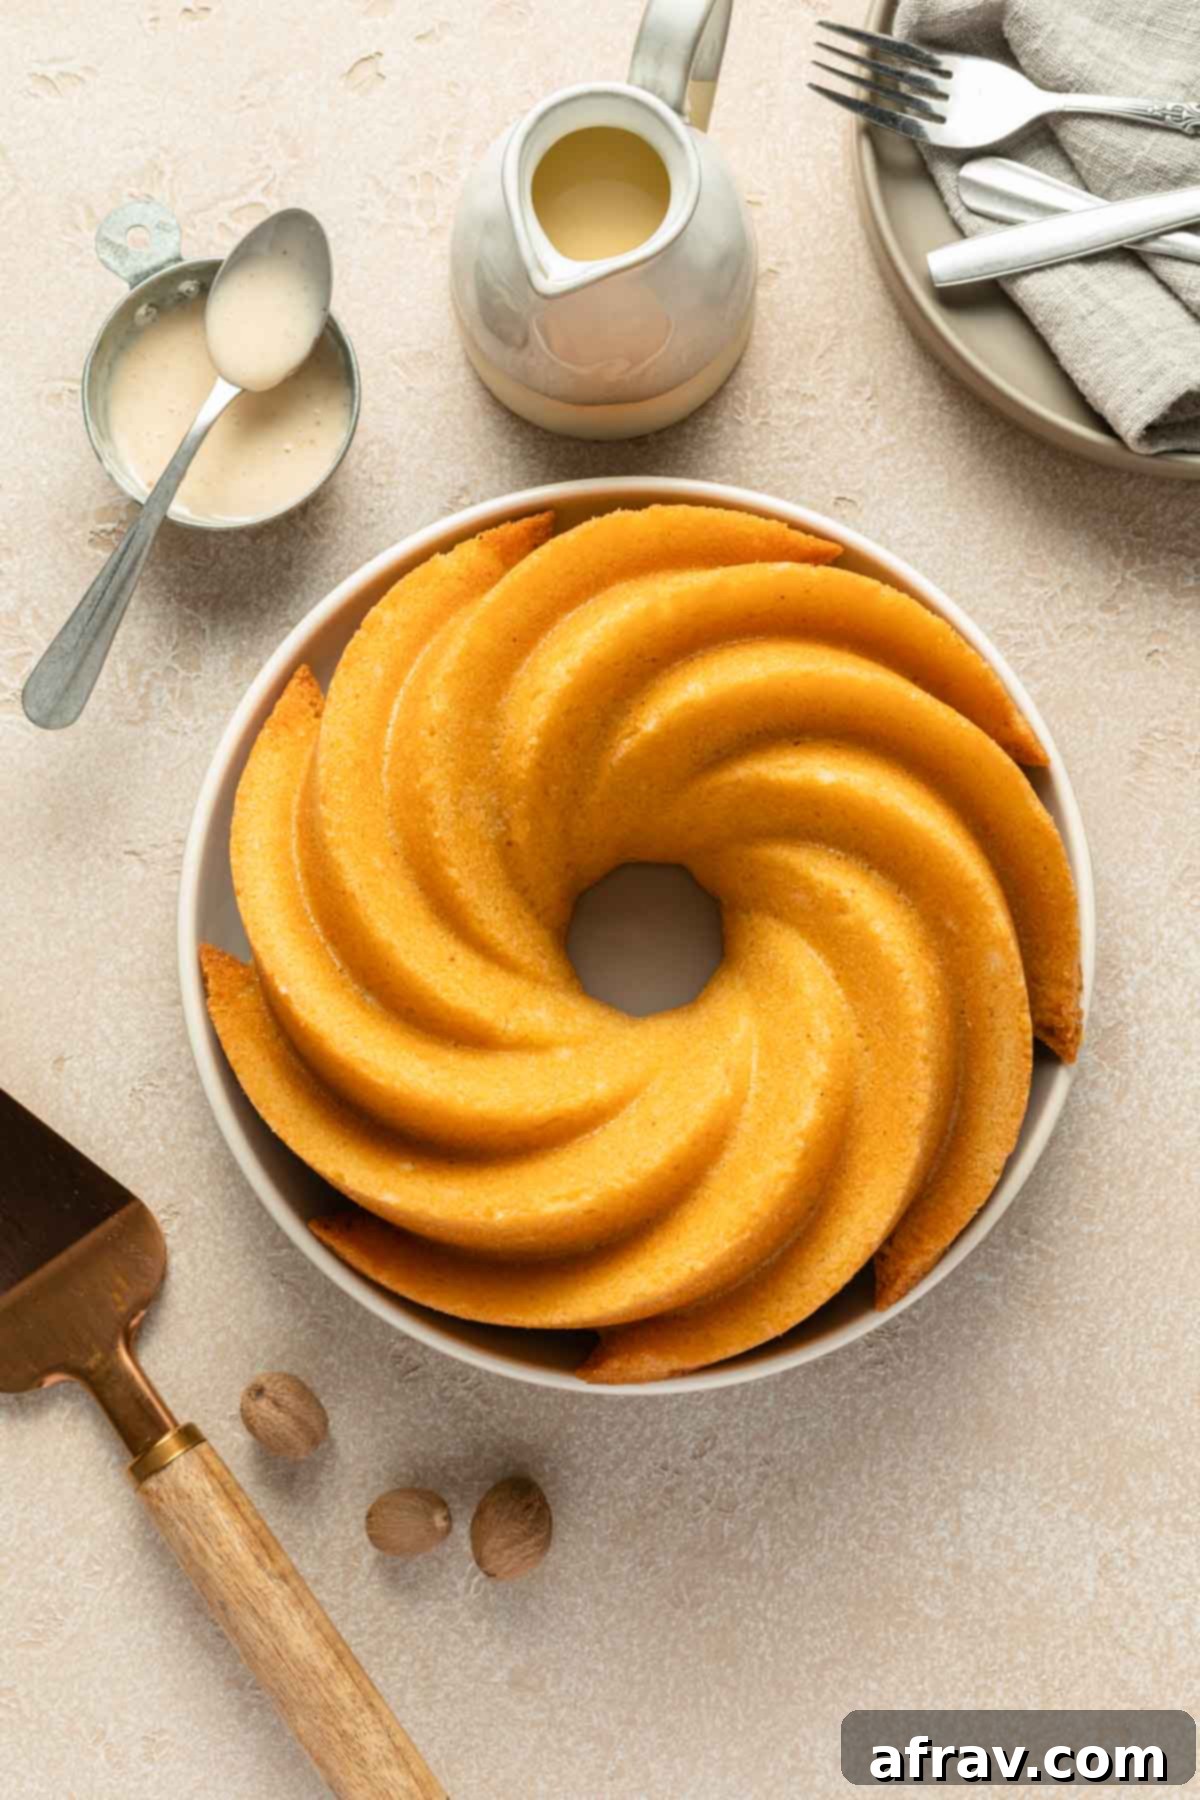
Mastering the Bundt Pan: Essential Tips to Prevent Sticking
A common concern for bundt cake bakers is getting the cake to release cleanly from the pan, preserving its beautiful, intricate design. Here are some indispensable tips to ensure your beautiful bundt cake doesn’t stick:
- Thorough Greasing is Key: The most crucial step is to grease your bundt pan meticulously. Don’t just spray it lightly; ensure every nook, cranny, and detailed design element of the pan is thoroughly coated. For pans with intricate patterns, use a pastry brush or your fingertips to work the shortening, butter, or baking spray into all the tiny grooves and indentations. A uniform coating is vital.
- Choose Your Greasing Method Wisely:
- Non-Stick Baking Spray (with Flour): A good quality non-stick cooking spray specifically designed for baking (often containing flour or “baking spray”) is an easy and highly effective option. Ensure you apply an even, generous coating that leaves no dry spots.
- Butter and Flour (or Cocoa Powder for Dark Cakes): If you prefer a more traditional method, generously coat the entire inside surface of your pan with softened butter or shortening. Then, dust it with a light, even layer of all-purpose flour, tapping out any excess. For chocolate bundt cakes, use cocoa powder instead of flour to avoid a noticeable white residue on your dark cake, maintaining its rich color.
- Don’t Forget the Cooling Period: Once your cake is out of the oven, resist the urge to immediately invert it. This is a critical error many new bakers make. Allow the cake to cool in the pan for approximately 10 minutes on a wire rack. This brief cooling period allows the cake’s structure to firm up slightly and gently pull away from the sides of the pan as it contracts, making for a much easier release. However, be cautious not to leave it in the pan for too long (e.g., more than 15-20 minutes) as condensation can build up, potentially making the bottom of the cake soggy or causing it to re-adhere and stick.
- The “Tap and Jiggle” Method: After the initial cooling period in the pan, place a wire rack squarely on top of the bundt pan. Holding both firmly together, quickly and confidently invert the pan. If the cake doesn’t immediately release, gently tap the bottom and sides of the pan on the counter. Sometimes a slight jiggle or a gentle rocking motion can encourage it to come free. Patience is a virtue here!
- Consider Your Pan Material and Condition: Older, scratched, or darker metal bundt pans tend to absorb more heat, which can sometimes lead to sticking or over-browning. Lighter-colored metal pans or newer, well-maintained non-stick pans often provide better release. Silicone bundt pans can also be effective, though they may require a slightly longer baking time due to their flexibility. Regardless of material, proper greasing remains paramount.
Preserving Your Eggnog Bundt Cake: Storage and Freezing Tips
Ensuring your delicious Eggnog Bundt Cake stays fresh and moist for as long as possible is important, whether you’re making it ahead or savoring leftovers. Here’s how to properly store and even freeze it:
Storage:
Whether your cake is glazed or unglazed, the best way to store it is in an airtight container at room temperature. Kept this way, away from direct sunlight and heat, it will remain wonderfully fresh and delightful for 3 to 4 days, with its tender crumb and rich flavor intact. If you wish to extend its shelf life by a few extra days, you can transfer it to the refrigerator. Just be aware that refrigeration can sometimes alter the texture of cakes, making them a little denser, so for the best experience, allow refrigerated cake to come back to room temperature for about 30 minutes before serving.
Freezing:
This eggnog bundt cake freezes beautifully, offering a convenient option for make-ahead holiday baking, managing portion sizes, or simply enjoying leftovers much later. You have two excellent options for freezing, depending on your needs:
- Freezing a Whole Cake (Unglazed): If you plan to freeze the entire cake, it’s highly recommended to do so before applying the glaze. Once the cake has completely cooled to room temperature (this is non-negotiable for freezing), wrap it very tightly in several layers of plastic wrap, ensuring no air can get in. Then, place the wrapped cake into a large, heavy-duty freezer-safe bag or wrap it again securely in aluminum foil. This double-layer protection helps prevent freezer burn and preserves moisture. It will maintain its excellent quality in the freezer for up to 3 months. When you’re ready to enjoy it, simply defrost the cake at room temperature for several hours or overnight, and then prepare and apply the fresh glaze just before serving for a perfectly presented dessert.
- Freezing Leftover Slices (Glazed): If you have leftover pieces of the glazed cake, freezing them is a great way to portion out future treats. Arrange the slices in a single layer in an airtight, freezer-safe container. If you need to stack layers, place a piece of parchment paper or wax paper between each layer to prevent them from sticking together. Freeze for 2 to 3 months. To serve, simply take out the desired number of slices and let them thaw at room temperature for 30-60 minutes. The glaze might soften slightly upon thawing, but the cake’s flavor and moisture will remain wonderful, making for a quick and easy indulgence.
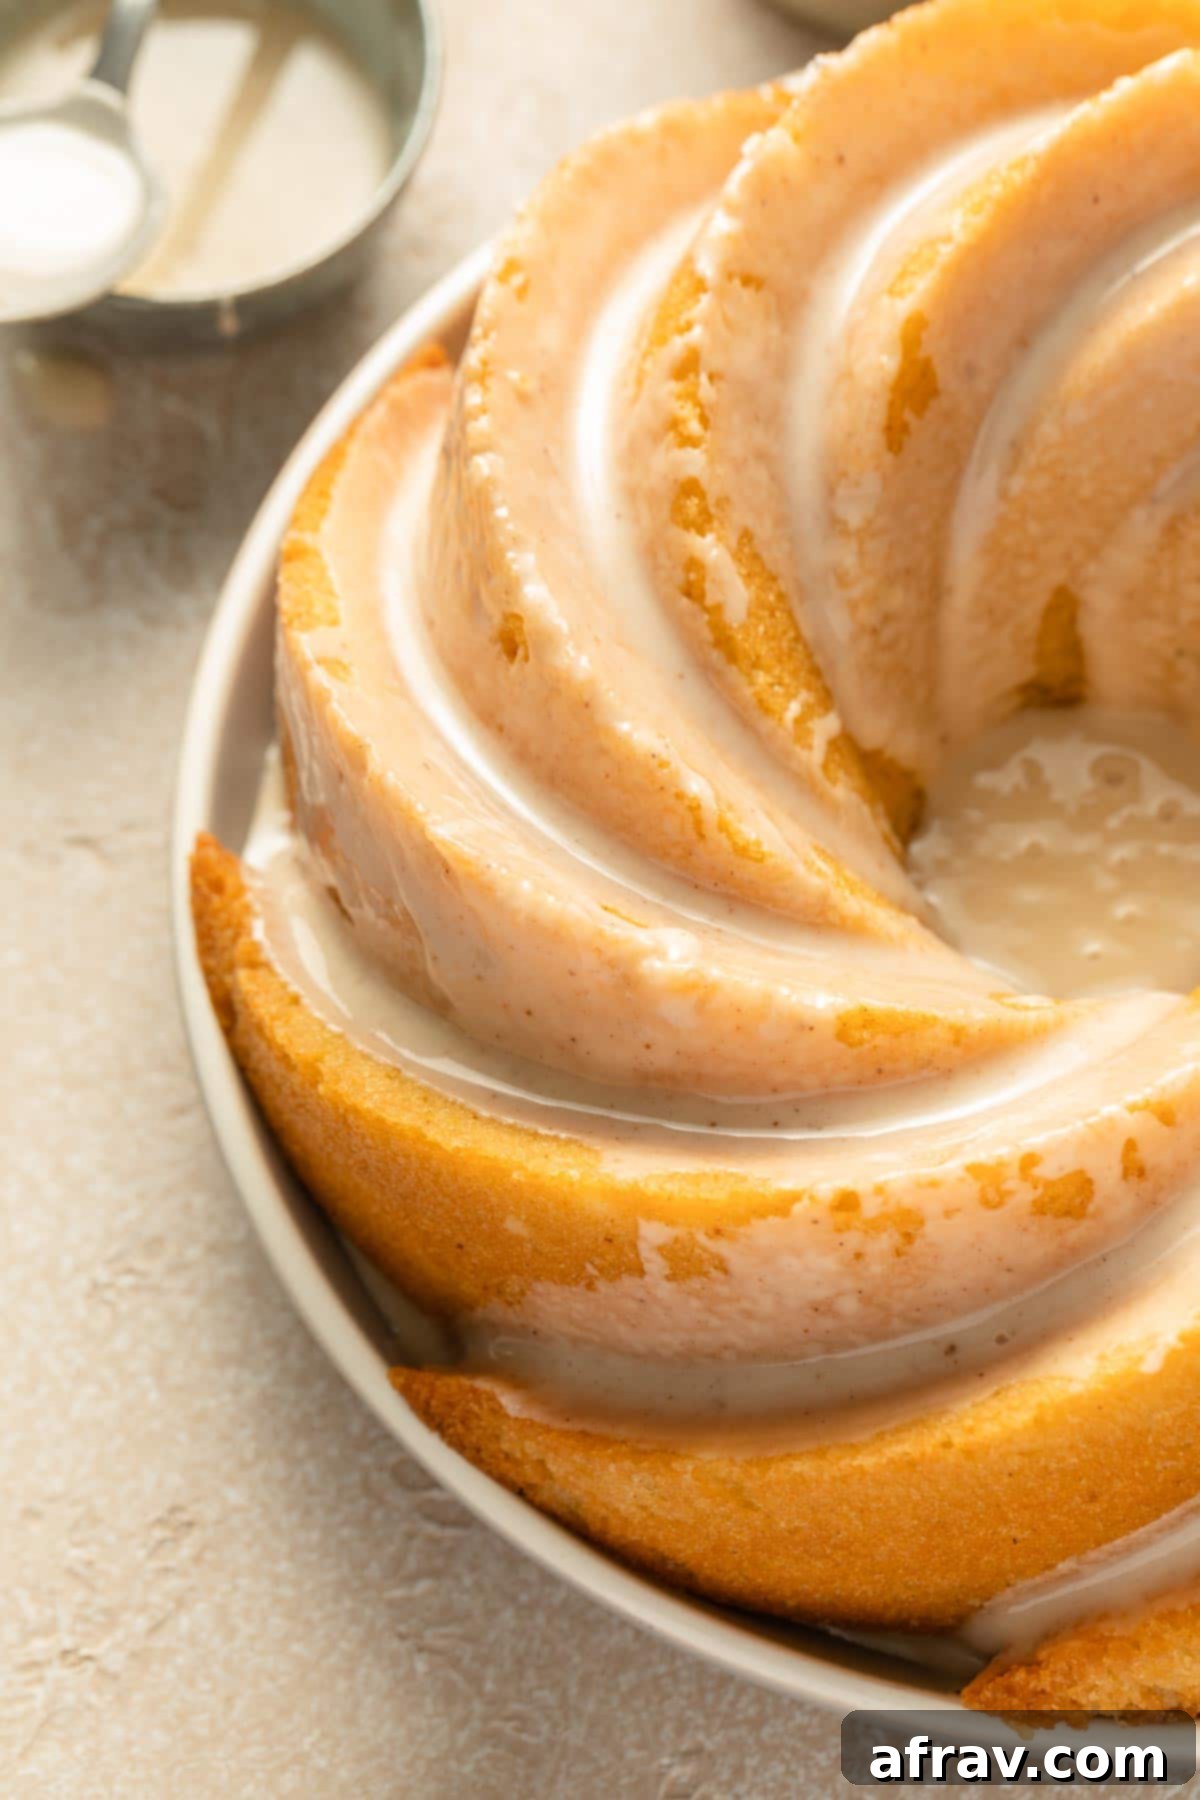
Expert Tips for a Flawless Eggnog Bundt Cake
Achieving a perfect bundt cake every time is easier with these insightful tips and tricks. Pay attention to these details for the best possible results:
- Bundt Pan Size Matters: This recipe is specifically designed for a 10-cup bundt pan. If you opt for a larger pan (e.g., a 12-cup pan), the batter will not completely fill it, resulting in a shorter cake that might look less impressive. If using a smaller pan, you might have excess batter that could overflow during baking, and you’ll definitely need to adjust and likely reduce the baking time significantly. Always ensure your pan is the correct size for the recipe.
- Grease, Grease, Grease! (Reiterated Importance): We can’t stress this enough. Thoroughly greasing your bundt pan, especially if it features a detailed design with many crevices, is paramount. This prevents the cake from sticking and ensures it retains its beautiful shape. Use a quality non-stick baking spray with flour or the butter-and-flour/cocoa powder method for guaranteed release.
- Room Temperature Ingredients: For the best results, ensure both your butter (vegan or dairy) and eggs are at room temperature. Room temperature butter creams together with sugar much more effectively, incorporating more air for a light texture. Room temperature eggs emulsify better into the batter, leading to a smoother, more uniform cake batter that bakes evenly. Plan ahead by taking them out of the fridge at least 30-60 minutes before you start baking.
- Dairy-Free Flexibility: This recipe is proudly dairy-free when using almond nog and vegan butter, making it accessible for those with dietary restrictions. However, if dairy is not a concern for your diet, feel free to substitute with traditional dairy butter and regular eggnog. The rich, festive flavors will still shine through beautifully.
- Almond Nog Specifics: The dairy-free eggnog used for testing this recipe was specifically almond nog. While other plant-based nogs, such as oat nog or coconut nog, might work due to their similar consistency, they have not been specifically tested in this recipe. Different brands and types of plant-based milks can affect consistency and flavor, so stick to almond nog for guaranteed results or experiment cautiously if you’re feeling adventurous.
- Non-Alcoholic Option: If you prefer to omit the alcohol for any reason, rum extract is a fantastic non-alcoholic substitute. It provides that characteristic rum flavor without the alcohol content, making the cake suitable for all ages and preferences. Consult the extract bottle for precise conversion ratios, as extracts are often more concentrated than actual spirits.
- Glaze Customization: The eggnog glaze is a wonderful addition and truly enhances the festive flavor, but it’s entirely optional. For a simpler finish, you can leave it off and opt for a light dusting of powdered sugar. Alternatively, if you desire a richer, more substantial topping, a creamy cream cheese frosting would also pair beautifully with the eggnog flavors.
- Adjusting Glaze Consistency: The provided glaze recipe yields a slightly thick consistency, which is perfect for a noticeable drip and a good coating. If you prefer a thinner glaze that spreads more easily or soaks in a bit, simply reduce the amount of powdered sugar slightly, or add a tiny bit more eggnog, one teaspoon at a time, until your desired pourable consistency is reached.
- Cool Cake Before Glazing: This is a crucial step! Always ensure your bundt cake has cooled completely to room temperature before applying the glaze. If the cake is still warm, even slightly, the glaze will melt and absorb into the cake rather than sitting beautifully on top. This results in a messy finish and loss of the distinct glaze layer. Patience here will be rewarded!
- Don’t Overmix the Batter: Once you start adding the flour and eggnog alternately, mix on low speed until *just* combined. Overmixing develops the gluten in the flour, which can lead to a dense, tough, and chewy cake instead of a light and tender one. Stop mixing as soon as the last streaks of flour disappear.
- Measure Flour Correctly: For accurate measurement, spoon flour into your measuring cup and then level it off with a straight edge (like the back of a knife). Scooping directly from the bag can compact the flour, leading to too much flour in your recipe, which will result in a dry, heavy cake.
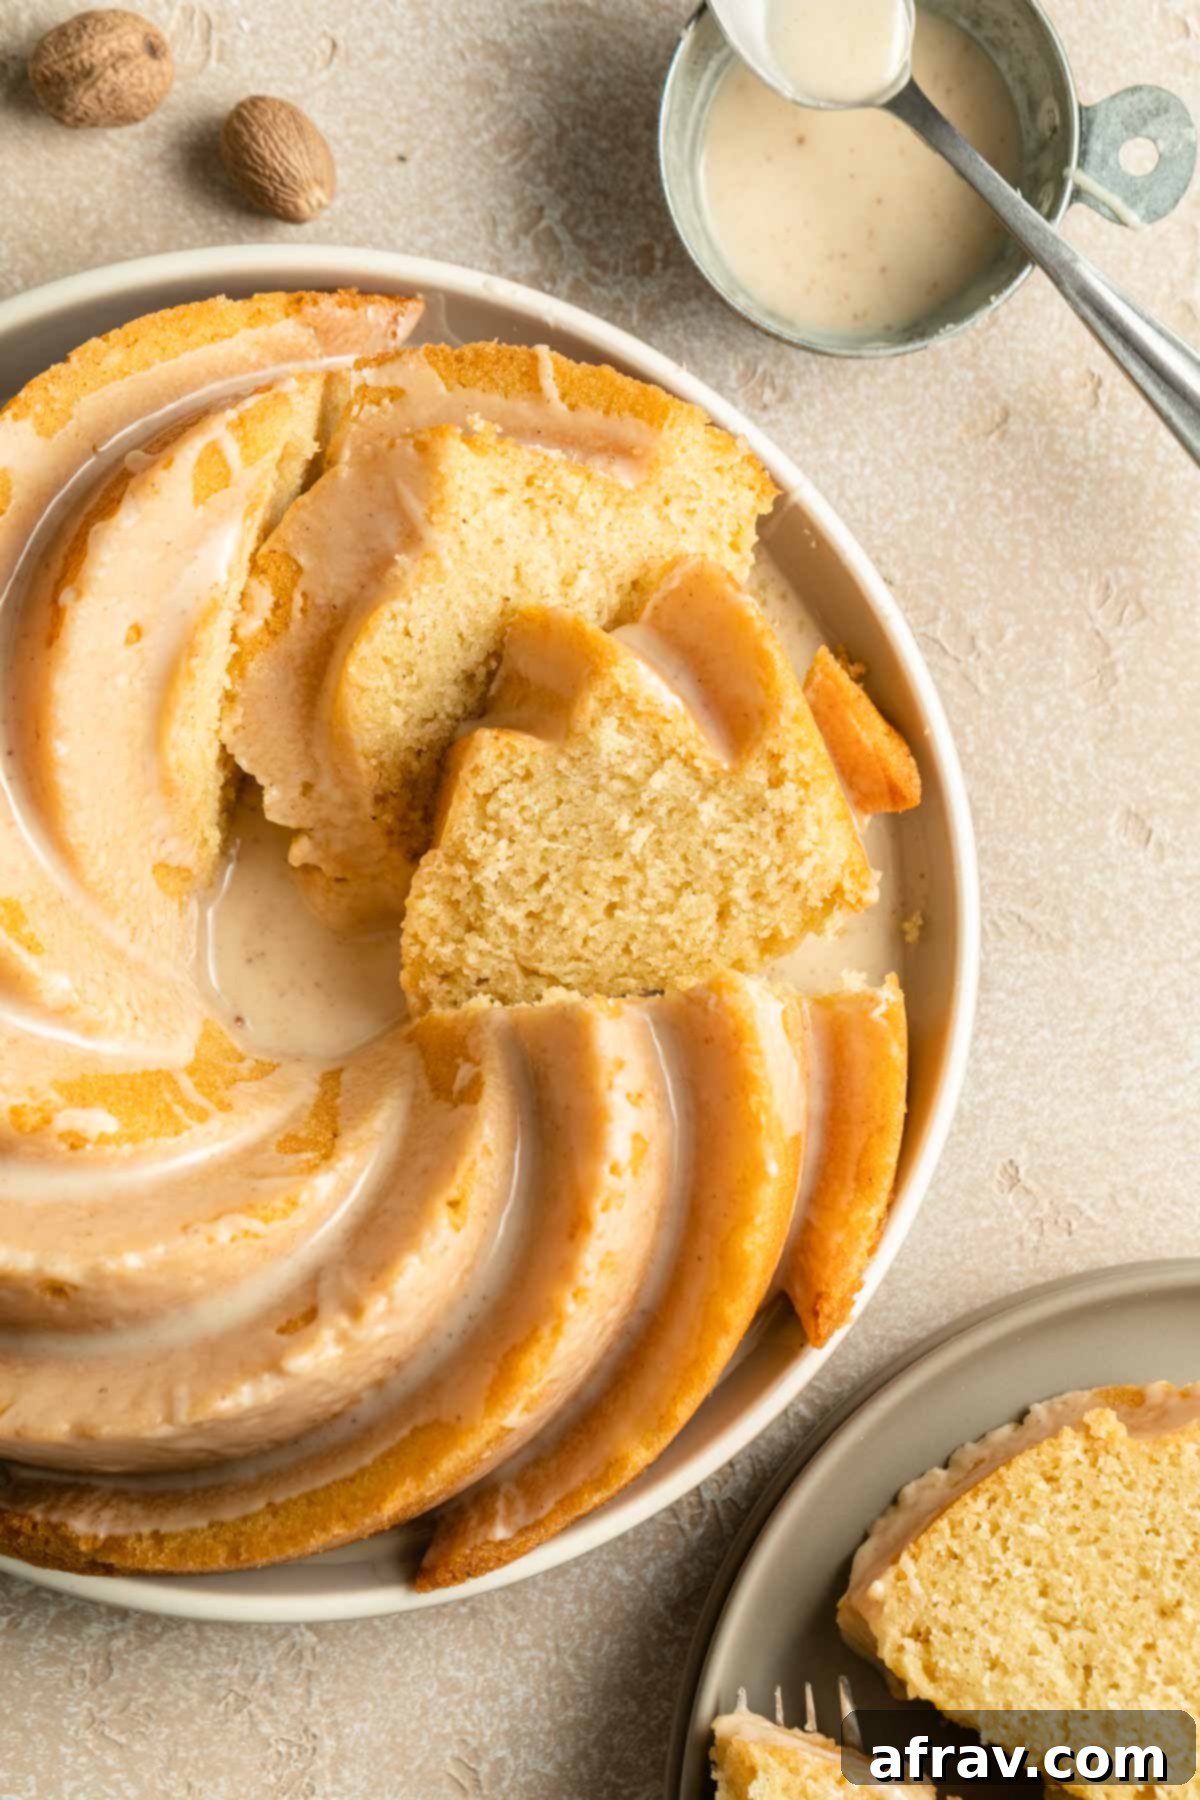
More Festive Bakes to Brighten Your Holidays
Looking for more delightful cake recipes to celebrate the holiday season or simply enjoy a comforting bake? Explore these other popular choices from our collection, each perfect for adding warmth and sweetness to your table:
- Easy Gingerbread Cake: A classic holiday flavor, warm, spicy, and wonderfully comforting.
- Chai Spice Cake with Orange Cardamom Frosting: An aromatic and unique twist on festive spices, with a bright citrusy frosting.
- Orange Spice Cake with Cream Cheese Frosting: Zesty, full of warming spices, and wonderfully decadent with a tangy cream cheese topping.
- Apple Spice Cake with Buttercream Frosting: A comforting autumn-winter classic, packed with fruity flavor and a smooth buttercream.
We absolutely love hearing from you! If you decide to make this delicious Eggnog Bundt Cake, please share your thoughts, experiences, and any creative adaptations in the comments section below! Your feedback means the world to us and helps other bakers.
HUNGRY FOR MORE? Follow Crumb Top Baking on Instagram, Pinterest and Facebook to stay updated with our latest delicious recipes and baking inspiration! Happy baking!
Print Recipe
Eggnog Bundt Cake
5 Stars
4 Stars
3 Stars
2 Stars
1 Star
5 from 3 reviews
- Author: Leanne
Prep Time: 15 minutes
Cooling Time: 3 hours
Cook Time: 40 minutes
Total Time: 3 hours 55 minutes
Yield: 12 slices
Category: Dessert
Method: Bake
Cuisine: Canadian
Description
This Dairy-Free Eggnog Bundt Cake is an easy-to-make, festive holiday dessert that captures the essence of Christmas in every moist, tender bite. Infused with sweet eggnog, a delicate hint of rum, and aromatic nutmeg, it’s beautifully crowned with a simple yet irresistible eggnog powdered sugar glaze. Perfect for holiday gatherings, this recipe ensures everyone can enjoy a slice of holiday cheer, even those with dairy sensitivities.
Ingredients
For the Cake:
- 2 cups all purpose white flour, spooned and levelled
- 2 teaspoons baking powder
- 1/2 teaspoon salt
- 1/2 teaspoon ground nutmeg
- 1 1/4 cups cane sugar (or granulated sugar)
- 1/2 cup vegan butter, room temperature
- 3 large eggs, room temperature
- 2 tablespoons rum (or rum extract for a non-alcoholic version)
- 1 cup dairy-free almond milk eggnog (or traditional dairy eggnog if not dairy-free)
For the Glaze:
- 1 1/2 cups powdered sugar
- 2 tablespoons dairy-free almond milk eggnog (adjust amount slightly for desired consistency)
- 1/4 teaspoon ground nutmeg
Instructions
- Preheat your oven to 350°F (175°C) and meticulously grease a 10-cup bundt pan, ensuring all crevices are coated to prevent sticking.
- In a medium bowl, sift together the flour, baking powder, salt, and ground nutmeg to ensure aeration and even distribution. Set aside.
- Using an electric mixer, cream together the softened butter and sugar in a large bowl until light and fluffy. Beat in the eggs one at a time until fully incorporated, then stir in the rum (or rum extract).
- With the mixer on low speed, gradually add the sifted flour mixture, alternating with the eggnog, starting and ending with the flour. Mix until just combined, being careful not to overmix.
- Pour the batter evenly into the prepared bundt pan. Tap the pan firmly on the counter a few times to settle the batter and release any trapped air bubbles for a flawless finish.
- Bake for approximately 40 minutes, or until a toothpick inserted into the center of the cake comes out clean or with a few moist crumbs.
- Let the cake cool in the pan for 10 minutes before carefully inverting it onto a wire rack to cool completely. This crucial step prevents sticking and ensures structural integrity.
- To make the glaze, whisk together the powdered sugar, eggnog, and nutmeg in a small bowl until completely smooth. Adjust consistency as desired with a tiny bit more eggnog or powdered sugar.
- Once the cake is fully cooled to room temperature, generously pour the glaze evenly over the top, allowing it to drip down the sides. Let the glaze set for a few minutes before slicing and serving this festive treat.
Notes
- I used a 10-cup bundt pan for this cake. If you use a larger bundt pan, the batter will not fill the pan completely, resulting in a shorter cake. You’ll also need to reduce the baking time accordingly. For a smaller pan, you may have excess batter.
- Make sure you grease your bundt pan thoroughly, especially in the crevices (if your pan has a detailed design) so the cake doesn’t stick. Using a baking spray with flour or butter and flour/cocoa powder is highly recommended.
- To ensure the butter and sugar cream together well, you’ll need to bring the butter to room temperature. The eggs should also be at room temperature for optimal emulsification and a smoother batter.
- If you don’t need this cake to be dairy-free, you can easily substitute with traditional dairy butter and regular eggnog.
- For the dairy-free eggnog, the recipe was tested with almond nog. Other types of plant-based nog, such as coconut nog, may work but have not been specifically tested in this recipe, so results may vary.
- For a non-alcoholic version, use rum extract instead of rum. Consult the extract bottle for precise conversion ratios, as extracts are more concentrated.
- The glaze is a little thick as written, perfect for a good coating. If you want it thinner, just reduce the amount of powdered sugar slightly or add a tiny bit more eggnog, one teaspoon at a time, until your desired consistency is reached.
- Let the cake cool fully before adding the glaze. If the cake is even slightly warm, the glaze will melt into the cake and not create the desired distinct, beautiful coating.
- Do not overmix the batter once the wet and dry ingredients are combined; overmixing develops gluten and can result in a dense, tough cake. Mix only until just combined.
- Measure flour correctly by spooning it into a measuring cup and leveling it off with a straight edge, rather than scooping directly from the bag. This prevents compacting too much flour, which can lead to a dry cake.
This recipe is adapted from Taste of Home.
