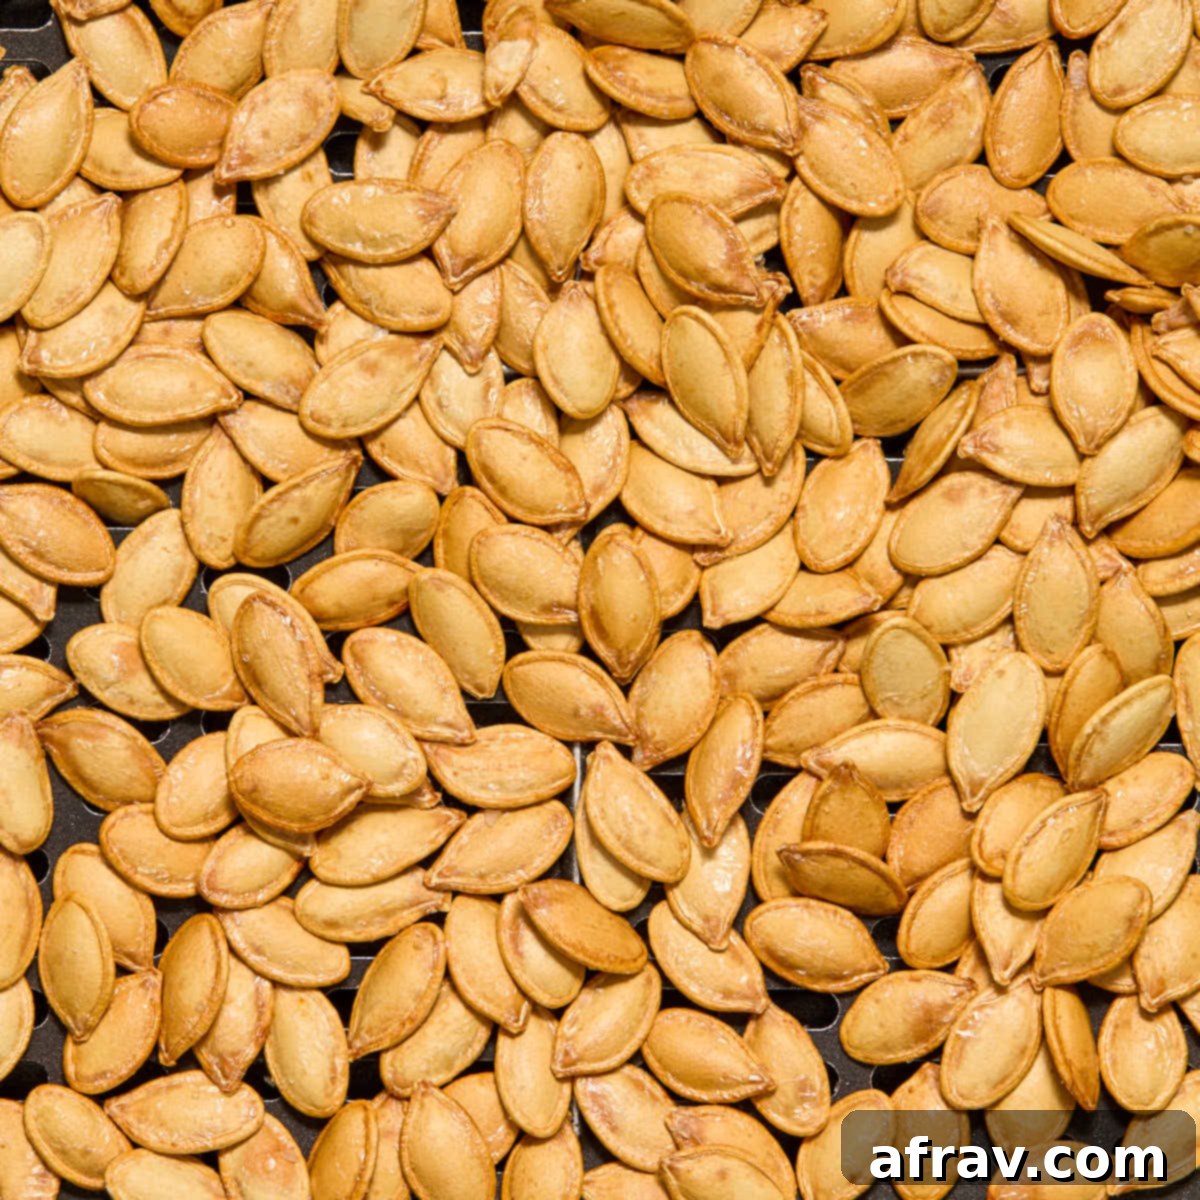
Perfectly Crispy Air Fryer Pumpkin Seeds: Your Ultimate Guide to a Delicious & Healthy Snack
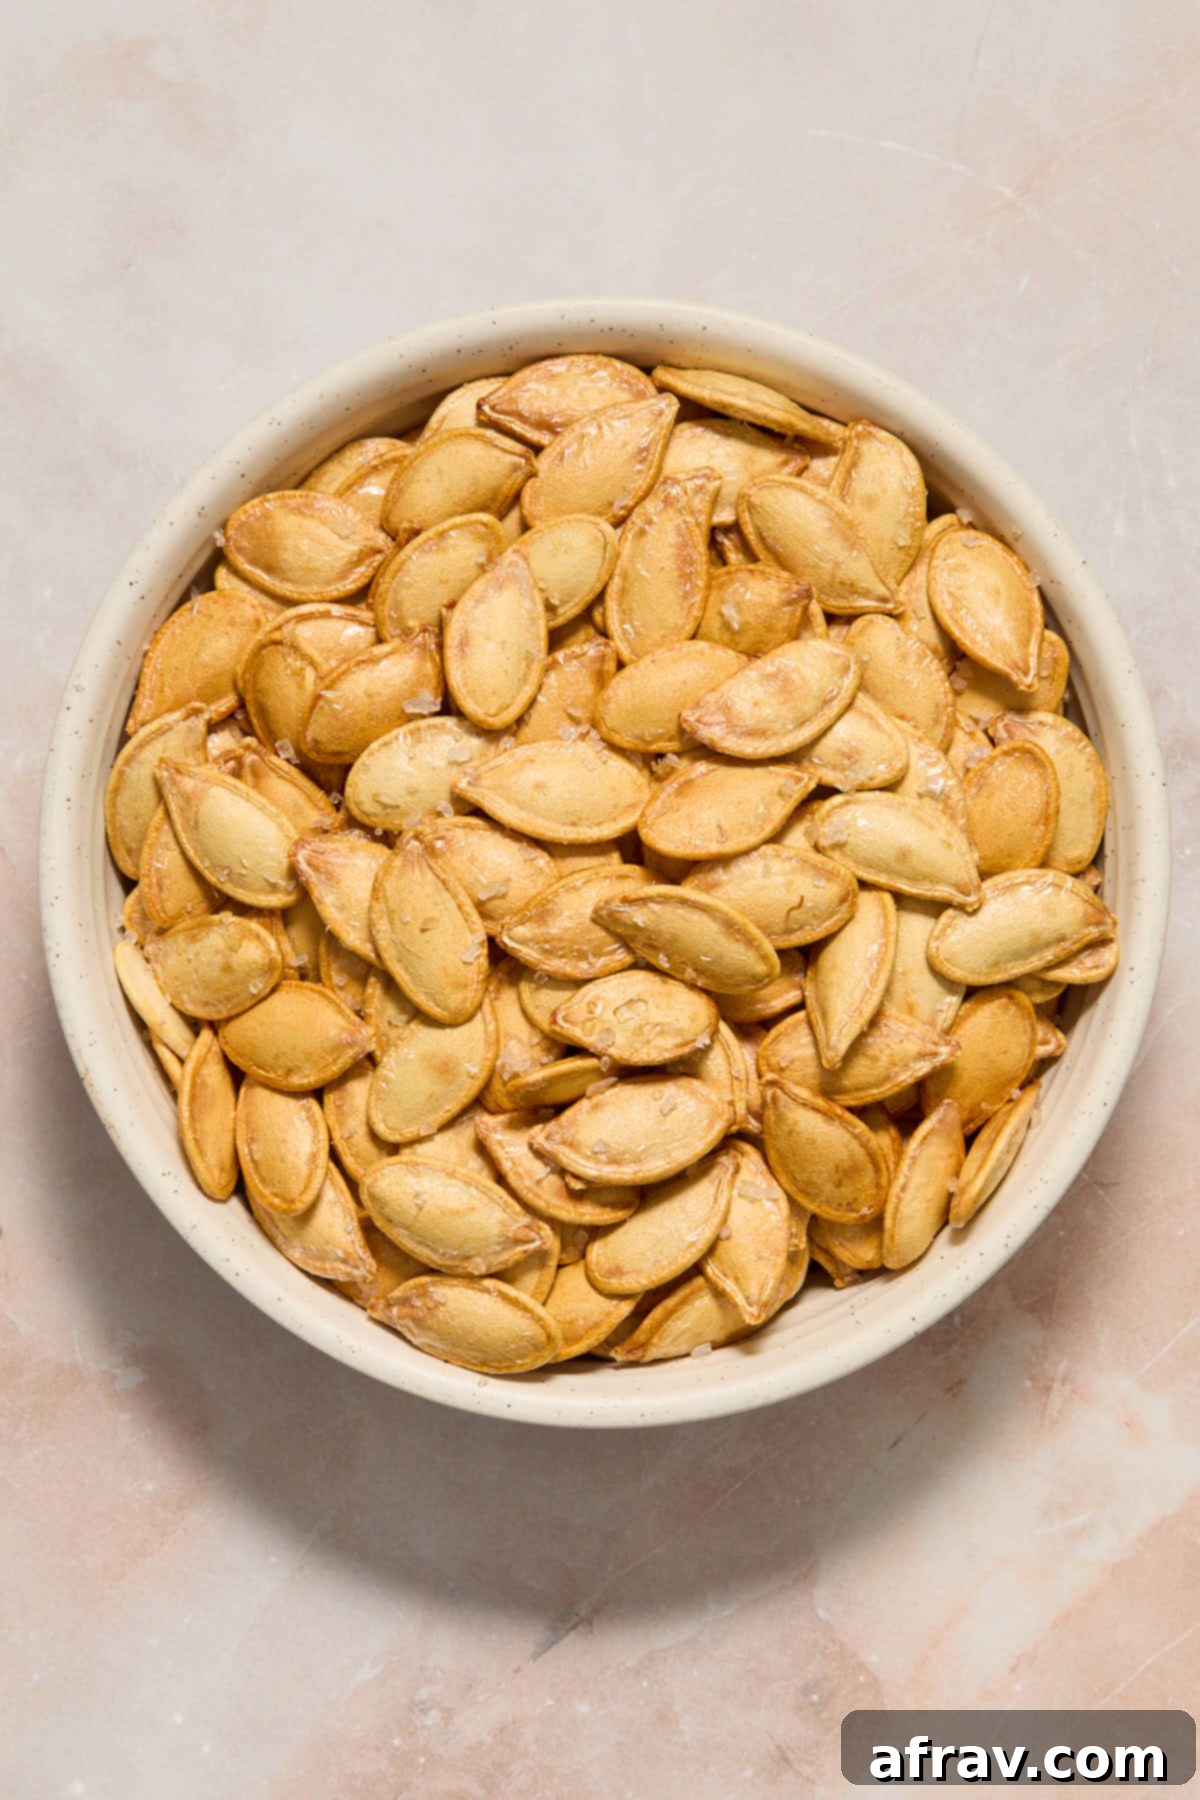
If you cherish the irresistible crunch of perfectly roasted pumpkin seeds, then you’re in for a treat with these effortlessly delicious Air Fryer Pumpkin Seeds. This simple recipe transforms humble pumpkin seeds into a fantastically crispy snack with just a touch of oil and salt. Whether you’re embracing the Halloween spirit by carving a festive pumpkin or preparing a savory pumpkin dish for a cozy meal, never again toss those valuable seeds!
Join us as we dive into my tried-and-true methods for cleaning, preparing, and air frying pumpkin seeds to achieve that coveted golden-brown crispness. This guide is packed with helpful tips and tricks to ensure your homemade pumpkin seeds are the crunchiest, most flavorful snack you’ll make all season!
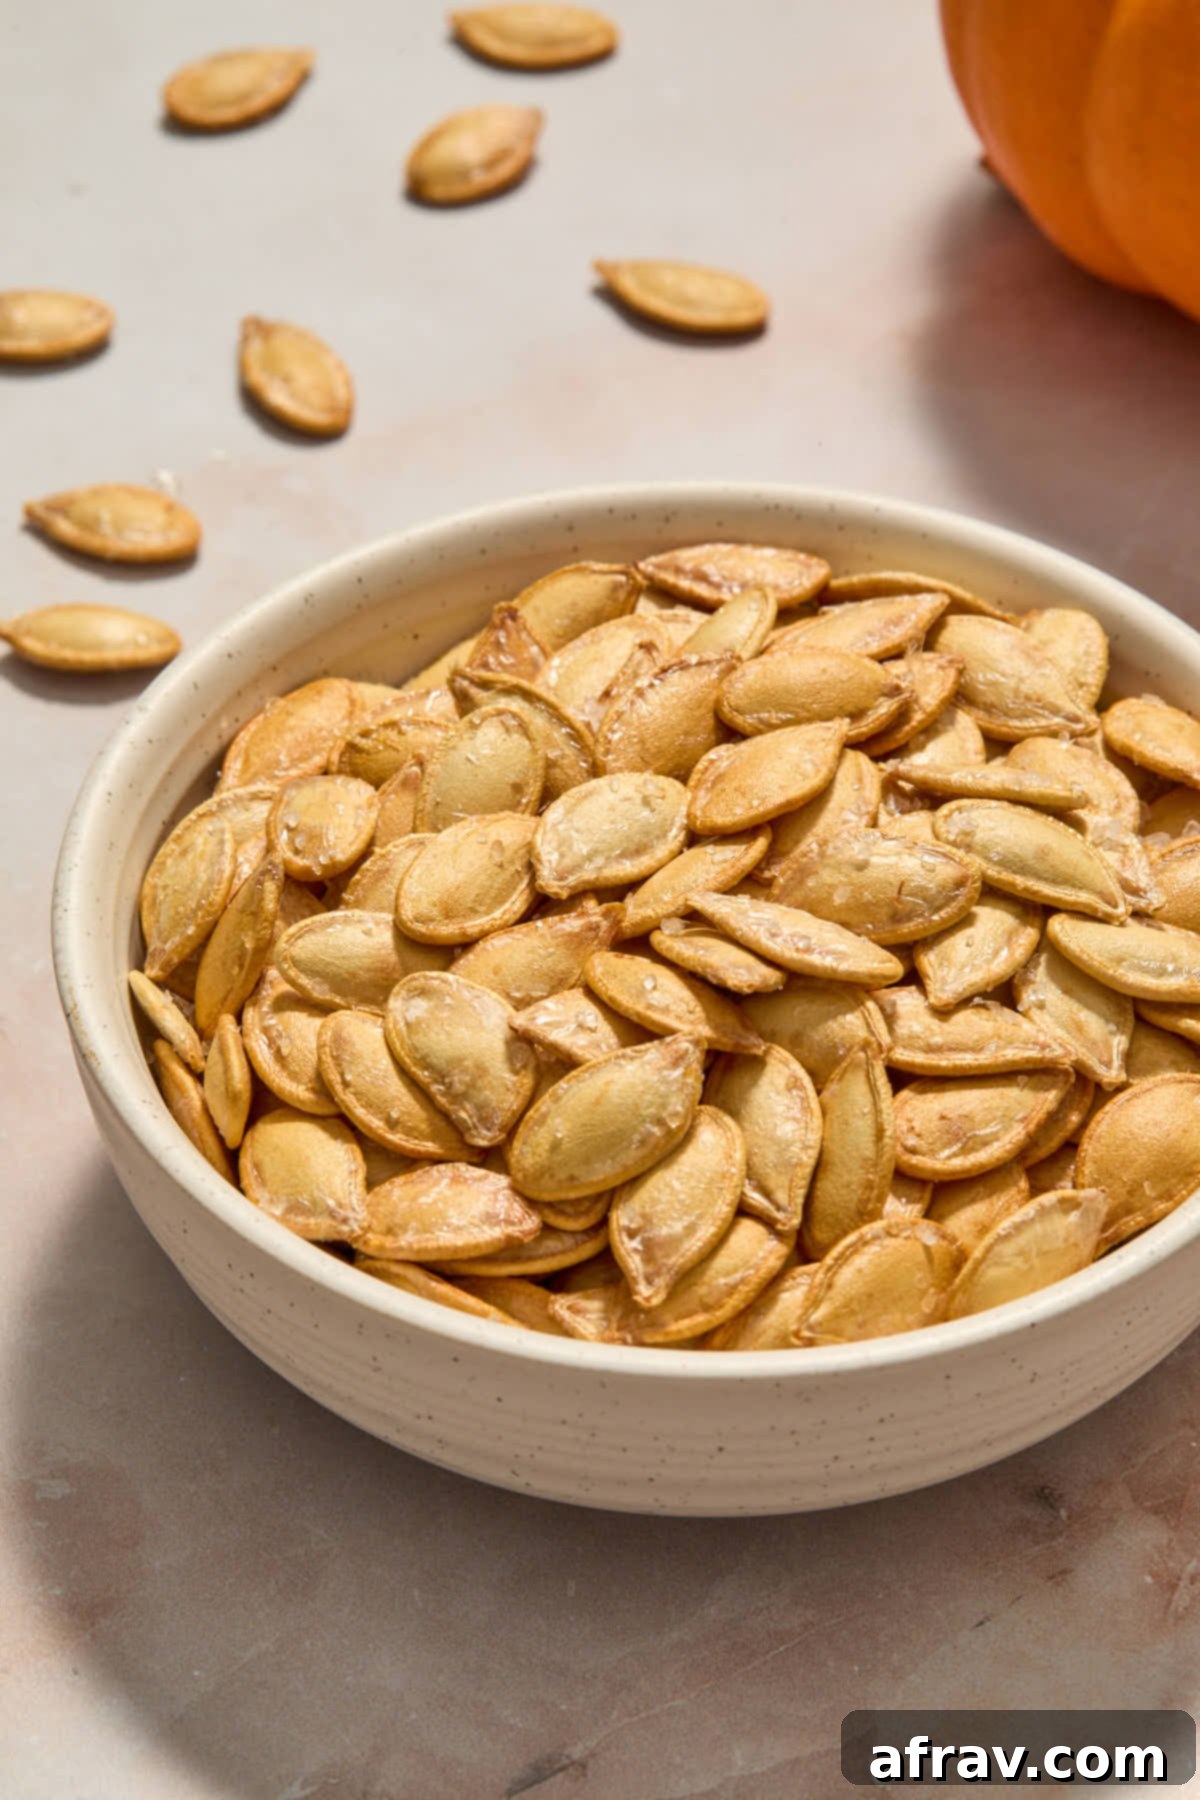
This beloved recipe was first published in September 2020. Since then, culinary technology has evolved, and so have my kitchen tools! I’ve updated this guide to reflect my current air fryer model, ensuring the most accurate and efficient cooking times for you. Beyond the updated timing, I’ve also captured stunning new photos and included even more comprehensive tips designed to guarantee the crispiest, most satisfying air-fried pumpkin seeds every single time. It’s truly a game-changer for anyone looking to make the most of their pumpkin harvest.
When I initially developed this recipe, I used seeds from a large carving pumpkin, which are typically robust and abundant. This year, my focus shifted from carving to cooking; I found myself with an ample supply of seeds from smaller, sweeter pie pumpkins (also known as sugar pumpkins) that I was roasting for homemade soup and purée. Rest assured, whether your seeds come from a gigantic jack-o’-lantern-to-be or a modest pie pumpkin, they are equally perfect for this recipe. The key is in the preparation!
Table of Contents
- Why You Will Love These Air Fryer Pumpkin Seeds
- Ingredients and Essential Substitutions
- How to Clean Pumpkin Seeds for Optimal Crispness
- How to Roast Pumpkin Seeds in the Air Fryer
- Storage and Re-Crisping Tips
- Pro Tips for Making Perfectly Crunchy Air Fried Pumpkin Seeds
- Flavor Variations and Additional Air Frying Advice
- Air Fryer Pumpkin Seed Recipe FAQs
- More Air Fryer Recipes to Explore
- Delicious Pumpkin Recipes You Must Try
Why You Will Love These Air Fryer Pumpkin Seeds
These aren’t just any pumpkin seeds; they’re the best you’ll ever make, thanks to the magic of the air fryer! Here’s what makes this recipe an absolute winner:
- Unrivaled Crunch in Record Time: Air frying provides an incredibly even and intense heat, resulting in wonderfully crispy seeds in significantly less time than traditional oven roasting. The circulating hot air ensures every seed gets perfectly toasted, making for a truly satisfying crunch with every bite.
- Sustainable & Zero-Waste Snacking: This recipe is a fantastic way to minimize food waste. Instead of discarding the seeds after scooping out the stringy pulp from your pumpkin, you can transform them into a delicious, nutrient-rich snack. It’s a small step that makes a big difference for the environment and your wallet!
- Versatile & Nutritious: Beyond being an addictive stand-alone snack, these roasted pumpkin seeds are incredibly versatile. Sprinkle them over salads for an added textural element, use them as a crunchy topping for creamy soups, or mix them into homemade granola or trail mix. Pumpkin seeds are also packed with beneficial nutrients, including magnesium, zinc, and healthy fats, making them a smart and wholesome choice.
- Effortlessly Simple: With just a few basic ingredients – pumpkin seeds, a little oil, and salt – this recipe is incredibly straightforward. The cleaning and drying process might take a little patience, but the actual air frying is quick and requires minimal effort, making it accessible for even novice cooks.
Ingredients and Essential Substitutions
You’ll be amazed at how few ingredients are needed to create such a flavorful and satisfying snack. Simplicity is key to letting the natural nutty flavor of the pumpkin seeds shine!
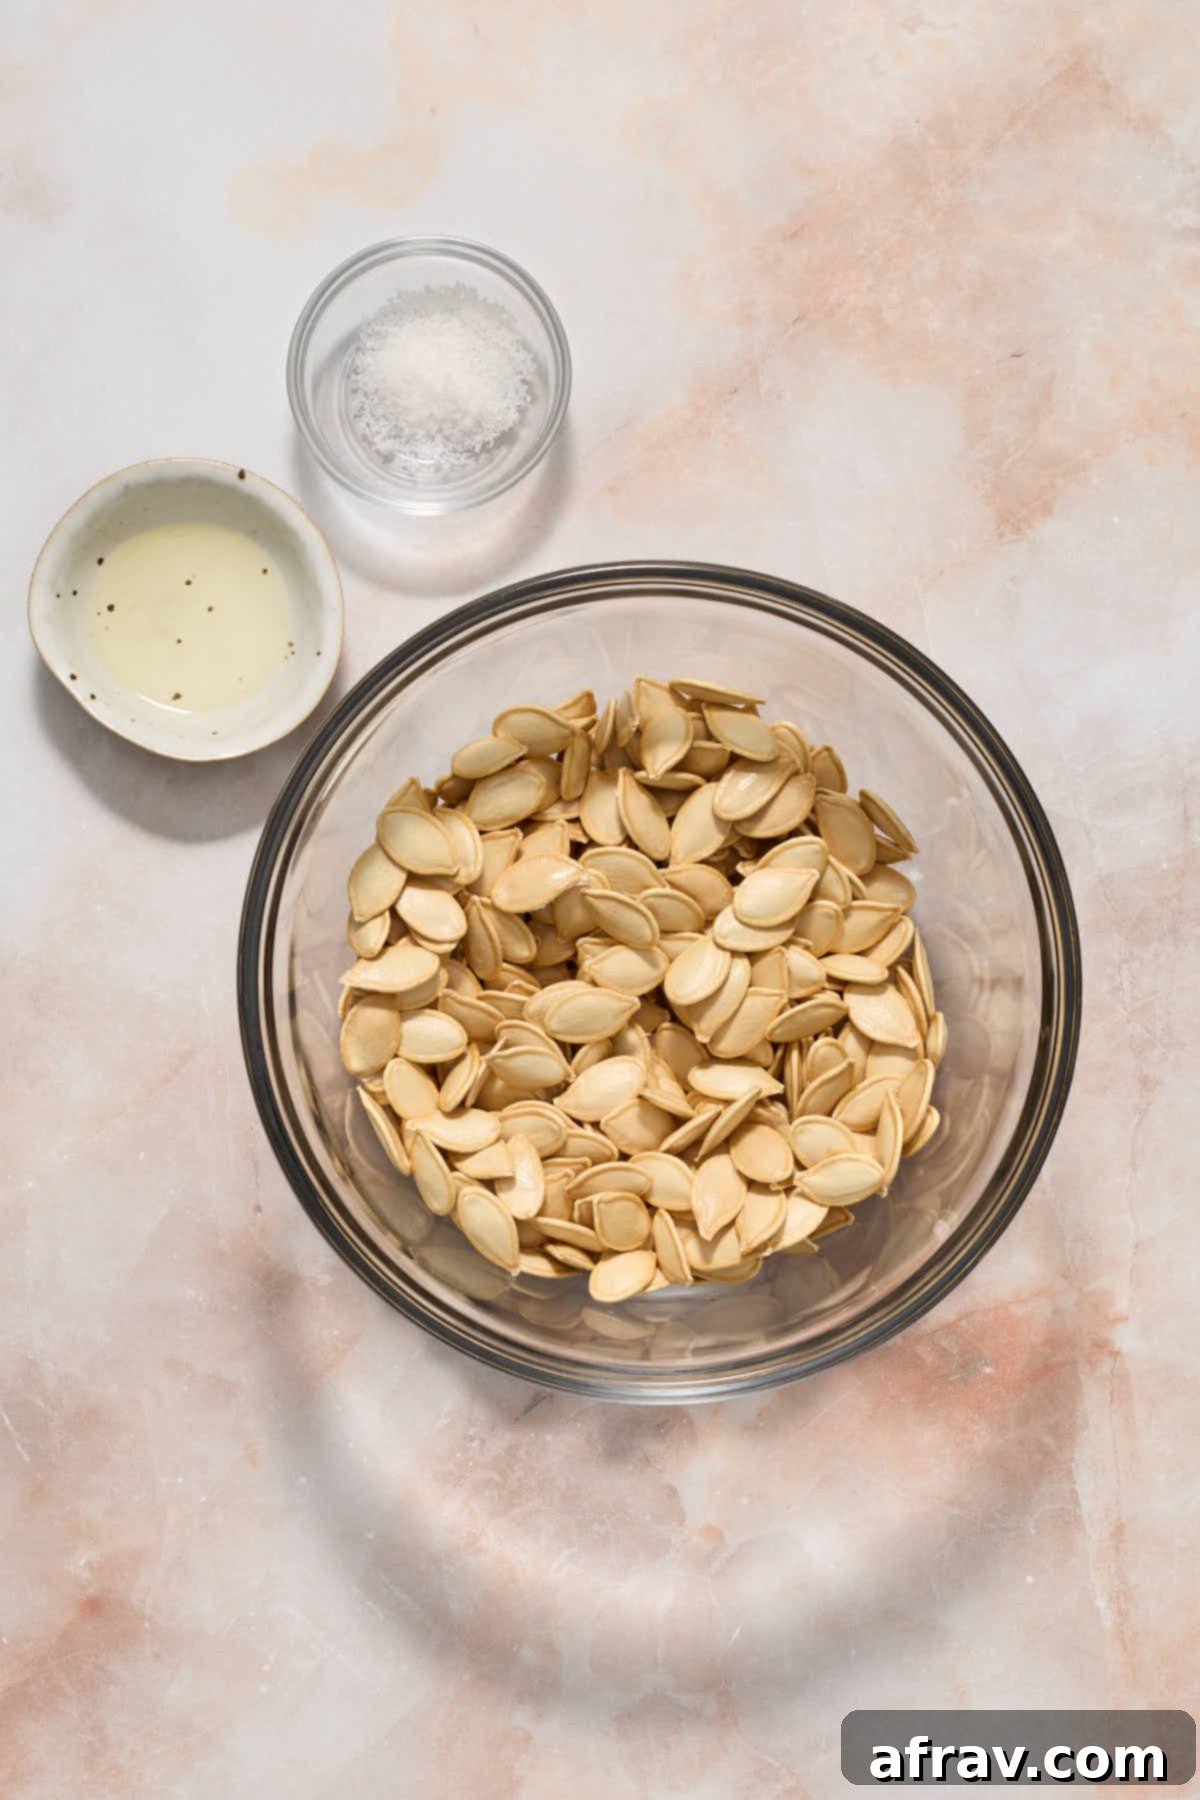
You only need three core ingredients for this basic recipe:
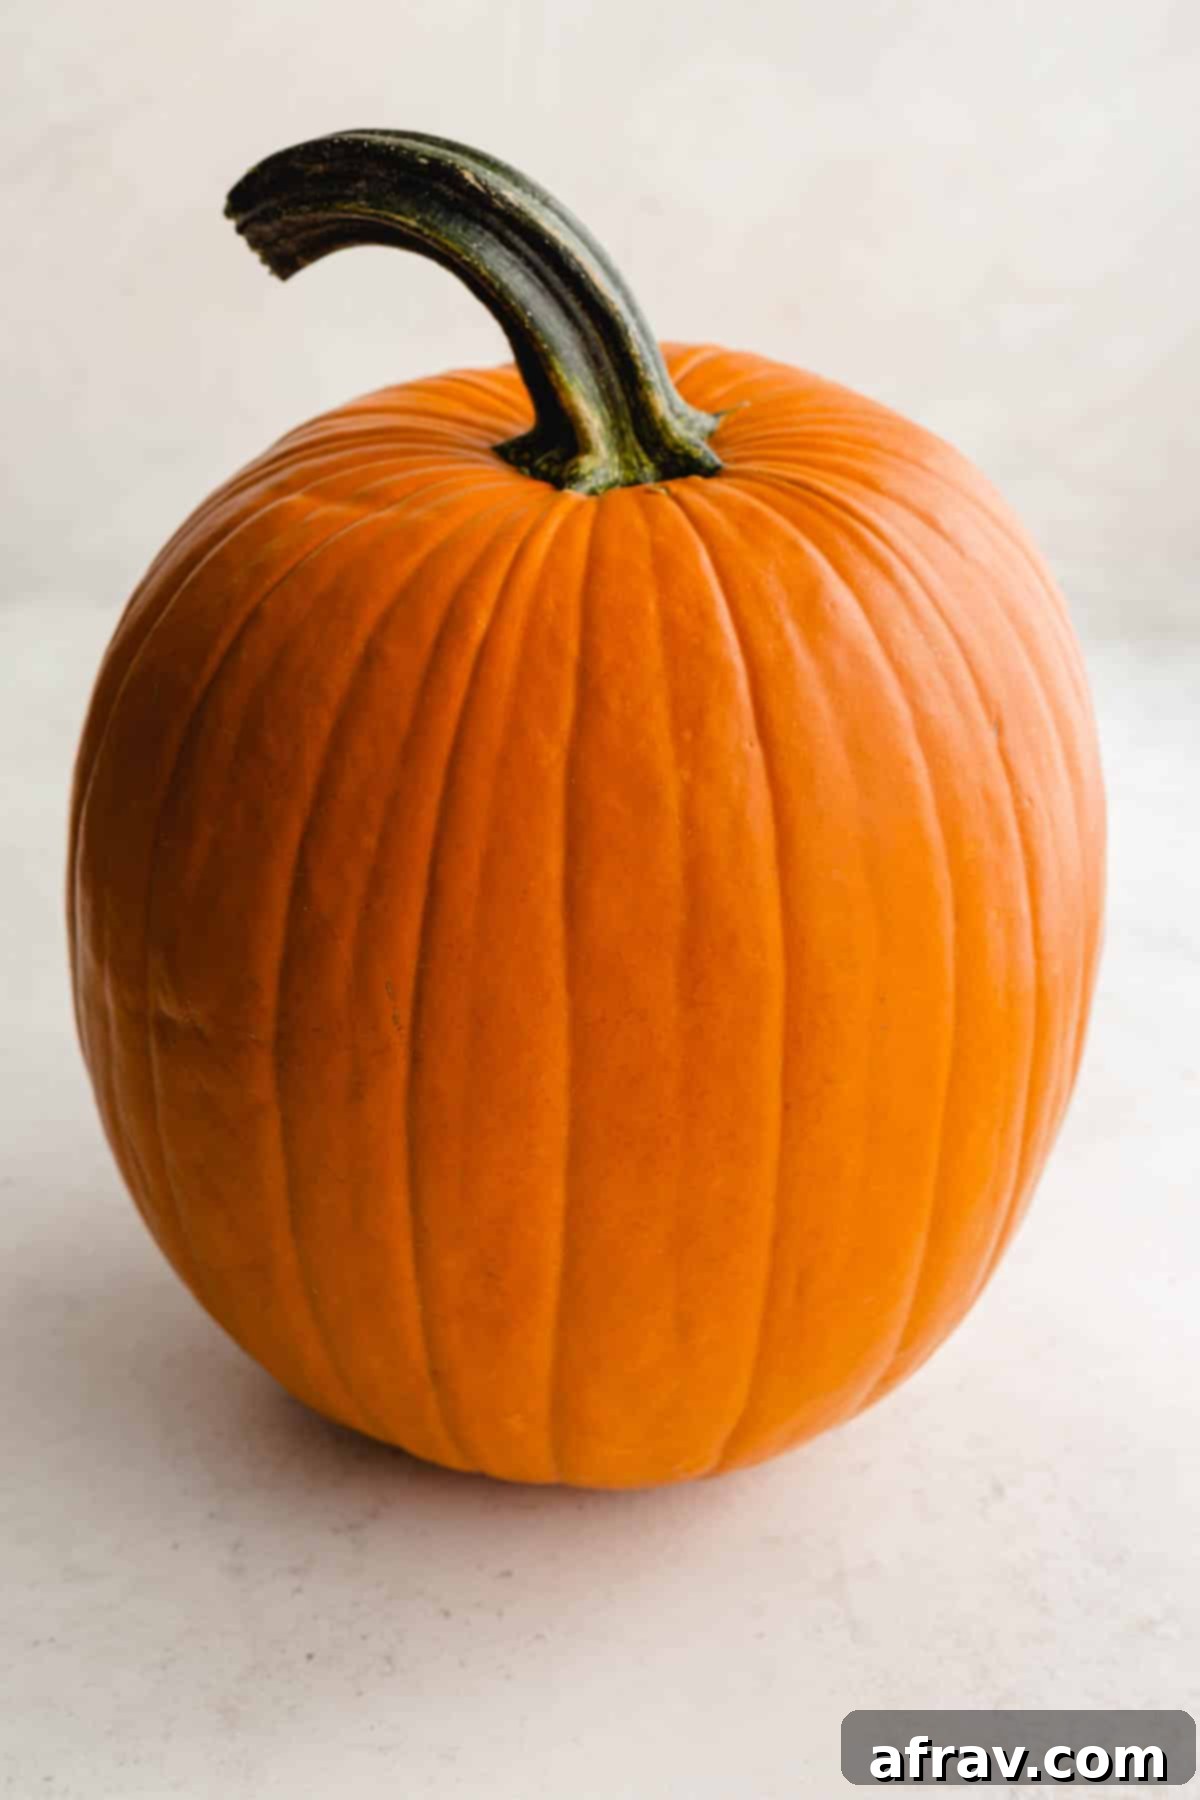
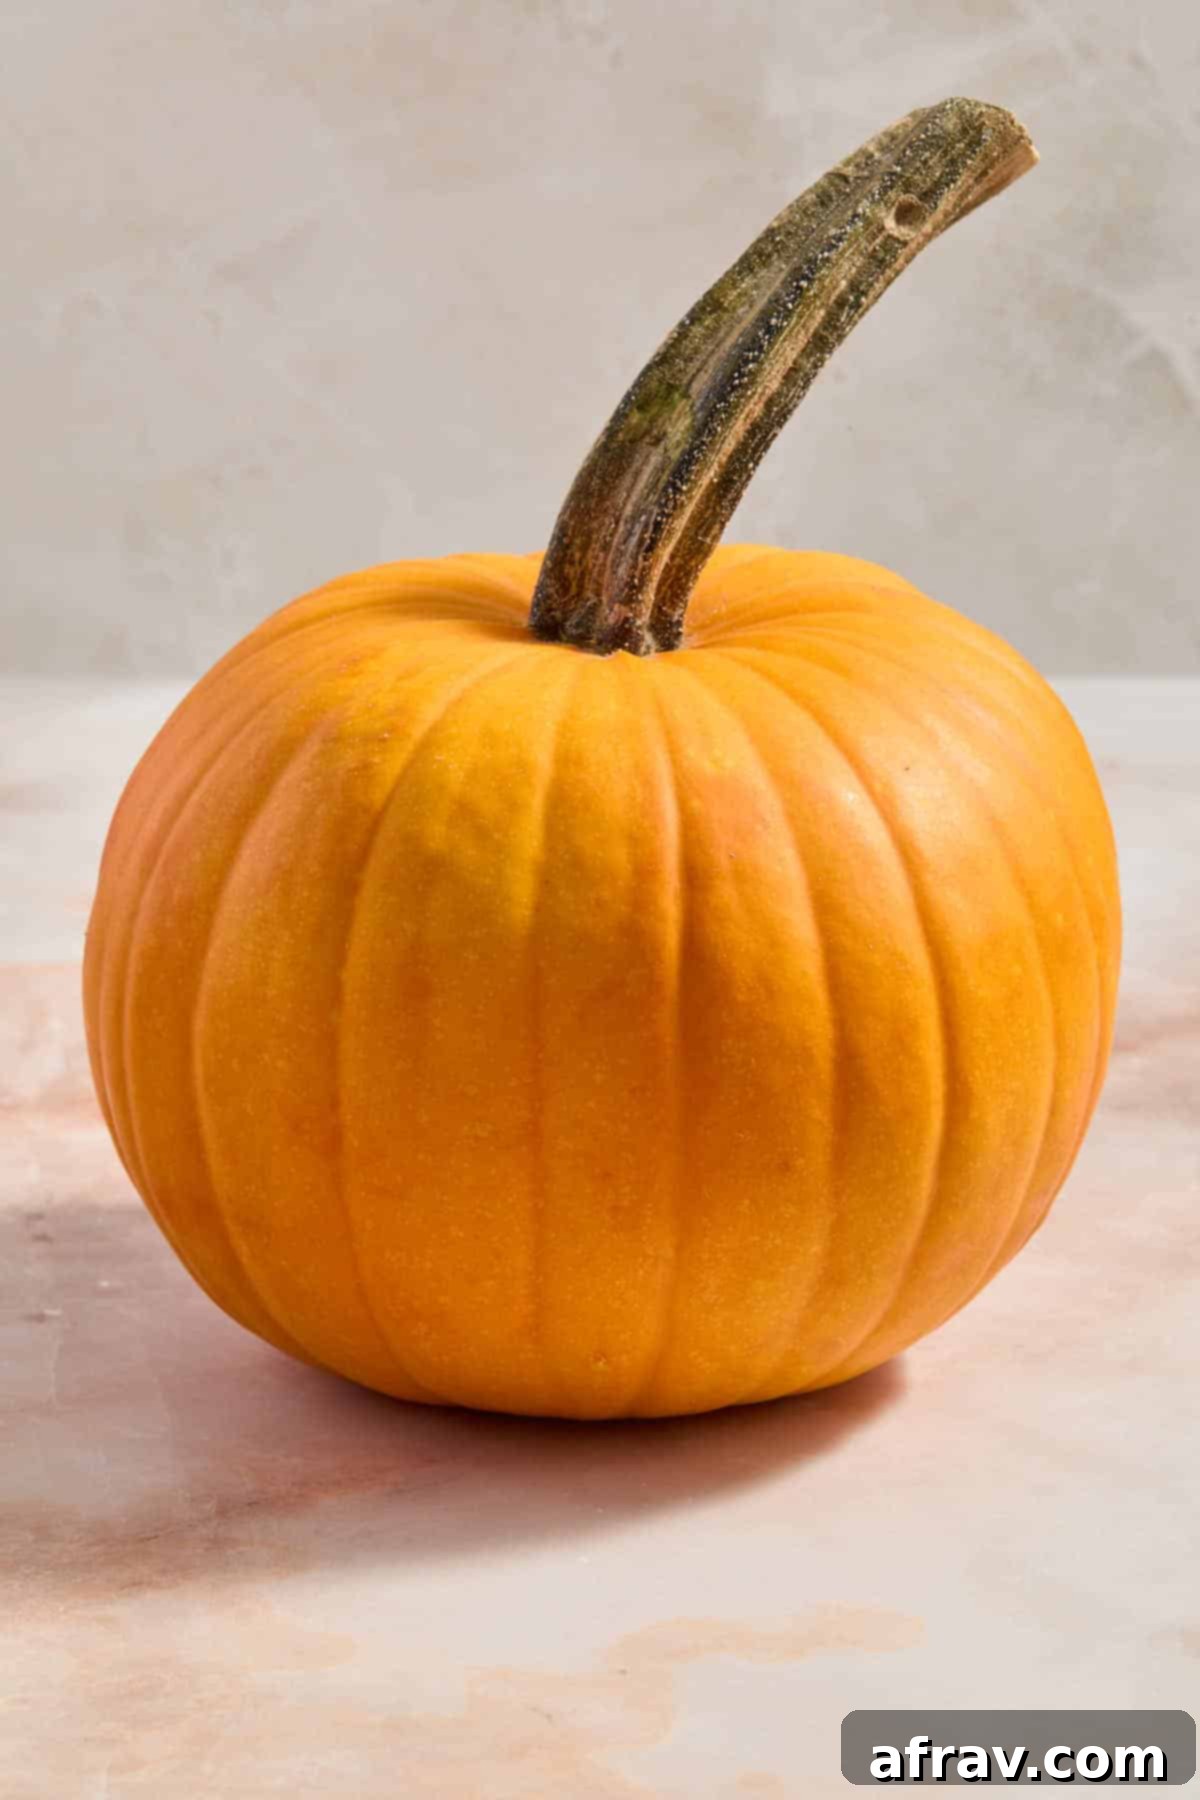
- Pumpkin: To yield approximately one full cup of fresh seeds suitable for roasting, I recommend choosing a larger pumpkin variety. Classic carving pumpkins (often labeled as jack-o’-lantern pumpkins) or pie pumpkins (also known as sugar pumpkins, typically used for baking) are excellent choices. While smaller decorative pumpkins can also provide seeds, you’ll likely need to process several of them to gather enough for a decent batch.
- Salt: Our recipe specifically calls for fine sea salt due to its even distribution and delightful flavor. However, feel free to substitute with kosher salt for a slightly coarser texture and milder taste, or even regular table salt if that’s what you have on hand. Remember, you can always adjust the amount of salt to perfectly suit your personal preference.
- Oil: A good quality oil is crucial for both achieving crispness and helping the salt adhere to the seeds. Olive oil, extra virgin olive oil, or avocado oil are all excellent choices. They have high smoke points suitable for air frying and impart a subtle, pleasant flavor. For a different profile, you could experiment with a neutral-tasting vegetable oil or even a tiny bit of melted coconut oil for a hint of sweetness.
Optional Seasoning Variations
While salt and oil create a classic, delicious snack, don’t hesitate to get creative with your seasonings! After coating with oil, you can add:
- Savory: Garlic powder, onion powder, a pinch of black pepper, smoked paprika, chili powder, cumin, or even a dash of everything bagel seasoning.
- Spicy: Cayenne pepper, red pepper flakes, or a blend of your favorite chili spices.
- Sweet & Salty: A sprinkle of cinnamon sugar, a tiny bit of maple syrup (use sparingly to avoid burning), or brown sugar along with your salt.
- Cheesy: Nutritional yeast or grated Parmesan cheese (add after cooking for best results).
Experiment to find your favorite flavor combinations!
How to Clean Pumpkin Seeds for Optimal Crispness
The secret to wonderfully crunchy air fryer pumpkin seeds lies in proper cleaning and thorough drying. Any lingering pumpkin flesh or moisture will prevent your seeds from achieving that perfect crisp texture. Follow these steps meticulously for the best results:
How to Roast Pumpkin Seeds in the Air Fryer
With your pumpkin seeds perfectly cleaned and dried, you’re now ready for the exciting part: seasoning and air frying them to golden, crunchy perfection!
Storage and Re-Crisping Tips
To maintain their delicious crunch and flavor, proper storage is essential for your homemade air fryer pumpkin seeds. Once roasted, follow these guidelines:
- Cool Completely: Before storing, ensure the roasted pumpkin seeds have cooled down entirely to room temperature. Storing them while still warm can trap moisture, leading to a loss of crispness and potentially spoilage.
- Airtight Container: Transfer the cooled seeds into an airtight container. A glass jar with a tight-fitting lid or a sealed plastic container works perfectly. This protects them from humidity and keeps them fresh.
- Room Temperature Storage: Store the container in a cool, dry place away from direct sunlight. A pantry shelf or kitchen cupboard is ideal.
- Optimal Freshness: For the absolute best crunch and flavor, I recommend enjoying your roasted pumpkin seeds within 3-5 days. While they can be stored for up to 1-2 weeks, you might notice a gradual decrease in their crispness over time.
- Re-Crisping Stale Seeds: If your seeds have lost some of their initial crunch after a few days, don’t despair! You can easily revive them. Simply spread them in a single layer in your air fryer basket and air fry at 300°F (150°C) for 2-4 minutes, shaking halfway through, until they are perfectly crispy again.
Pro Tips for Making Perfectly Crunchy Air Fried Pumpkin Seeds
Achieving that ultimate, satisfying crunch is easier than you think with these expert tips:
- Scrupulous Cleaning is Key: Ensure every single pumpkin seed is completely free of any sticky pumpkin flesh or stringy pulp. Even small bits can burn or become chewy, affecting the overall texture.
- Do Not Skip the Air Drying Step: This is arguably the most crucial step! Allowing the seeds to air dry for at least 2 hours (or even overnight) removes excess moisture, preventing them from steaming in the air fryer. Dry seeds are crunchy seeds!
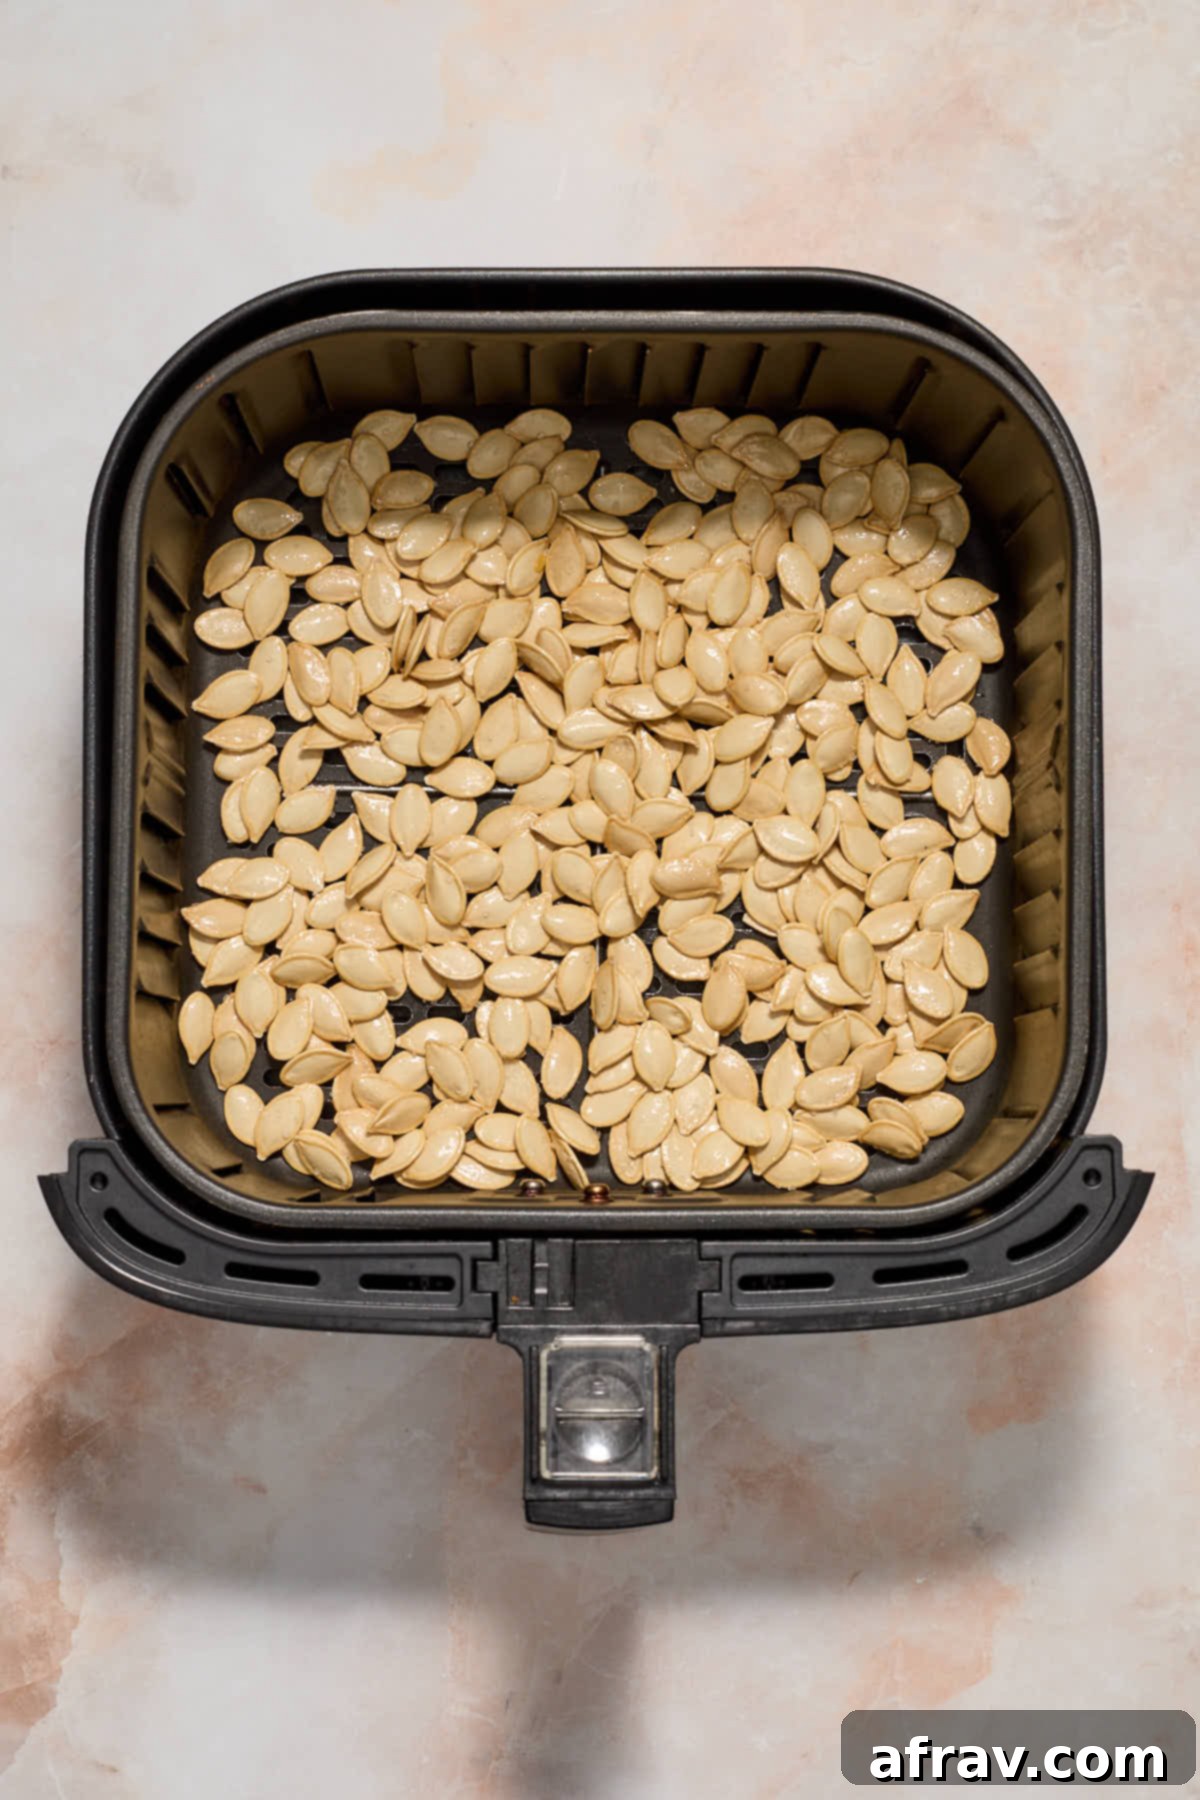
- Thin Layer for Maximum Airflow: Always spread the seasoned pumpkin seeds in a single, thin layer in the air fryer basket. Overcrowding inhibits proper air circulation, leading to uneven cooking and a less crispy result. If necessary, cook in multiple small batches.
- Shake, Shake, Shake! During the air frying process, make sure to shake the basket a few times (every 3-4 minutes) or stir the pumpkin seeds with a heat-proof spatula. This ensures that all sides of the seeds are exposed to the hot circulating air, promoting even roasting and uniform crispness.
- Patience Post-Frying: If the seeds still seem slightly soft or chewy immediately after the initial 10-12 minutes of air frying, don’t worry. Allow them to cool for a few minutes outside the air fryer basket. They often crisp up significantly as they cool. If, after cooling, they’re still not to your desired crispness, simply return them to the air fryer for another 2-3 minutes, keeping a close watch to prevent burning.
Flavor Variations and Additional Air Frying Advice
While the classic salt and oil combination is timeless, feel free to get creative! Here are more ways to elevate your air fryer pumpkin seeds, plus some general air fryer tips:
- Customize Your Seasonings: This base recipe uses a simple seasoning of salt and oil. I prefer a moderate amount of salt, but you are the chef! Feel free to add more salt to suit your taste, or explore other flavor profiles. Consider a generous grind of fresh black pepper, a sprinkle of garlic powder, onion powder, a dash of chili powder for a gentle warmth, or smoked paprika for a deeper, more complex flavor. For a sweet and salty twist, a pinch of cinnamon and sugar can be delightful.
- Know Your Air Fryer: Air fryers can vary significantly in terms of wattage, basket size, and overall heating efficiency. The cooking temperature and time provided in this recipe are based on my experience with a Cosori 5.8 quart basket-style air fryer. You may need to adjust the temperature or air frying time slightly to suit your specific model. Always keep an eye on your seeds, especially during the last few minutes of cooking, as they can go from perfectly golden to burnt very quickly.
- Preheating: While not strictly necessary for pumpkin seeds, preheating your air fryer for 3-5 minutes can help ensure a more consistent cooking temperature from the very start, which can contribute to more even browning and crisping.
Air Fryer Pumpkin Seed Recipe FAQs
For this recipe, you’ll ideally want a pumpkin that yields a good volume of seeds, approximately one cup of fresh seeds. Both large carving pumpkins (sometimes referred to as jack-o’-lantern pumpkins) and smaller pie pumpkins (or sugar pumpkins, commonly used for baking and culinary purposes) provide excellent seeds for roasting. Carving pumpkins tend to have larger, often thicker-shelled seeds, while pie pumpkins may have slightly smaller but equally flavorful seeds. The quality of the seed is more important than the pumpkin type, so choose a healthy, firm pumpkin.
While some traditional recipes suggest boiling or soaking pumpkin seeds, particularly to aid in digestion or promote extra crispiness, it’s generally not necessary for this air fryer method. The rapid, circulating hot air of the air fryer is highly efficient at drying and crisping the seeds. My method focuses on a thorough rinse in water to remove pumpkin flesh, followed by crucial air drying, which is sufficient for achieving a fantastic crunch without the extra step of boiling or soaking.
Yes, absolutely! Letting the seeds air dry is an absolutely essential step for achieving truly crispy pumpkin seeds. Any residual moisture will cause the seeds to steam rather than roast, resulting in a chewy texture instead of a crisp one. I recommend air drying them for at least 2 hours, or even overnight for the best results. Patting them dry with paper towels initially also helps speed up the process.
Chewy pumpkin seeds are usually a sign of one of two things: either the seeds still had some sticky pumpkin flesh clinging to them, or, more commonly, they were not thoroughly air dried before being placed in the air fryer. Moisture is the enemy of crispiness! Ensure diligent cleaning and drying. Also, remember that seeds often crisp up further as they cool. If they’re still chewy after cooling, simply return them to the air fryer for another 2-3 minutes, shaking the basket and monitoring closely.
No, you absolutely do not need to remove the shells! The entire pumpkin seed, including its outer shell, is edible and actually quite nutritious. The shell provides additional dietary fiber, complementing the healthy fats and minerals found within the seed itself. Roasting softens the shells, making them easy and pleasant to eat. Enjoy them whole!
While you can certainly prepare a large quantity of seeds, it’s crucial to air fry them in batches. Overcrowding the air fryer basket will prevent the hot air from circulating properly, leading to uneven cooking and less crispy results. For best crispness, ensure the seeds are spread in a single, thin layer. You might need to adjust cooking times slightly for different batch sizes, so always keep an eye on them.
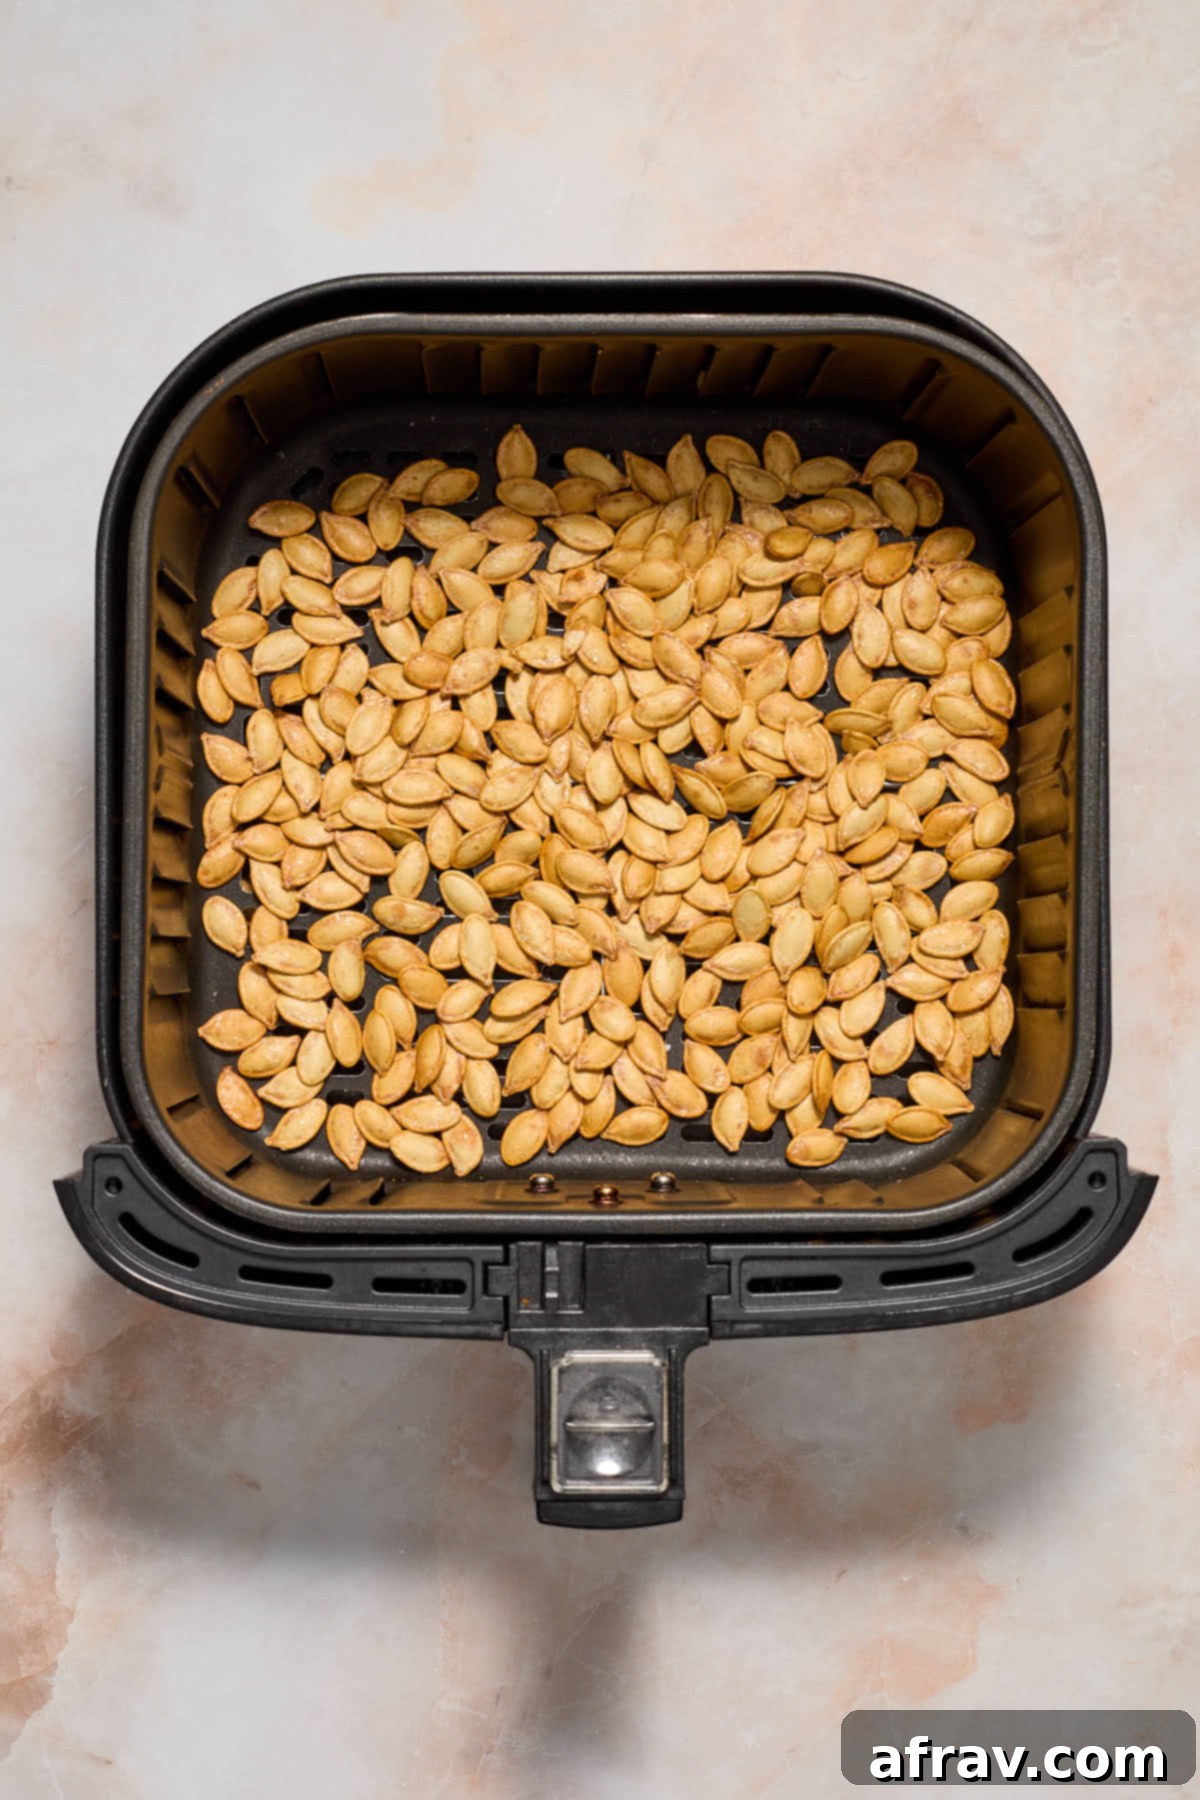
Perfectly air-fried pumpkin seeds will be golden brown in color, feel firm and dry to the touch, and should have an audible snap when bitten. You might even hear a subtle popping or crackling sound as they cook. Always let them cool for a few minutes before tasting, as they continue to crisp up as they cool down. If they still feel soft after cooling, they likely need another minute or two in the air fryer.
More Air Fryer Recipes to Explore
Love your air fryer as much as we do? Discover more quick, easy, and healthy recipes to make in this versatile appliance:
- Air Fryer Tortilla Chips
- Air Fryer Carrots
- Air Fryer Pumpkin Fries
- Air Fryer Butternut Squash
- Air Fryer Beets
Delicious Pumpkin Recipes You Must Try
Beyond the seeds, there’s a world of pumpkin deliciousness waiting for you. Dive into these fantastic pumpkin-centric recipes:
- Pumpkin Seed Pesto Pasta
- Whole Wheat Pumpkin Banana Muffins
- Decadent Pumpkin Bundt Cake
If you try this easy and delicious Air Fryer Pumpkin Seeds recipe, I would absolutely love to hear your thoughts and experiences in the comments section below! Your feedback means the world.
HUNGRY FOR MORE? Follow Crumb Top Baking on Instagram, Pinterest and Facebook for daily inspiration and delicious recipes!
Print Recipe
Air Fryer Pumpkin Seeds
5 Stars
4 Stars
3 Stars
2 Stars
1 Star
5 from 5 reviews
- Author: Leanne
Prep Time: 15 minutes
Drying Time: 2 hours
Cook Time: 12 minutes
Total Time: 2 hours 27 minutes
Yield: 1 cup (approximately)
Category: Snack, Appetizer
Method: Air Fry
Cuisine: American, Canadian
Diet: Gluten Free, Vegetarian, Vegan
Description
Whether you’re carving pumpkins for Halloween or cooking with pie pumpkins, don’t let those delicious seeds go to waste! This recipe shows you how to easily clean and transform them into perfectly crispy, golden-brown Air Fryer Pumpkin Seeds. They’re quick, healthy, and incredibly addictive, making them the ultimate zero-waste snack.
Ingredients
- 1 large pumpkin (yielding enough for 1 cup of fresh, cleaned pumpkin seeds)
- 1 teaspoon olive oil (or extra virgin olive oil, avocado oil)
- 1/2 teaspoon fine sea salt (or kosher salt, to taste)
Instructions
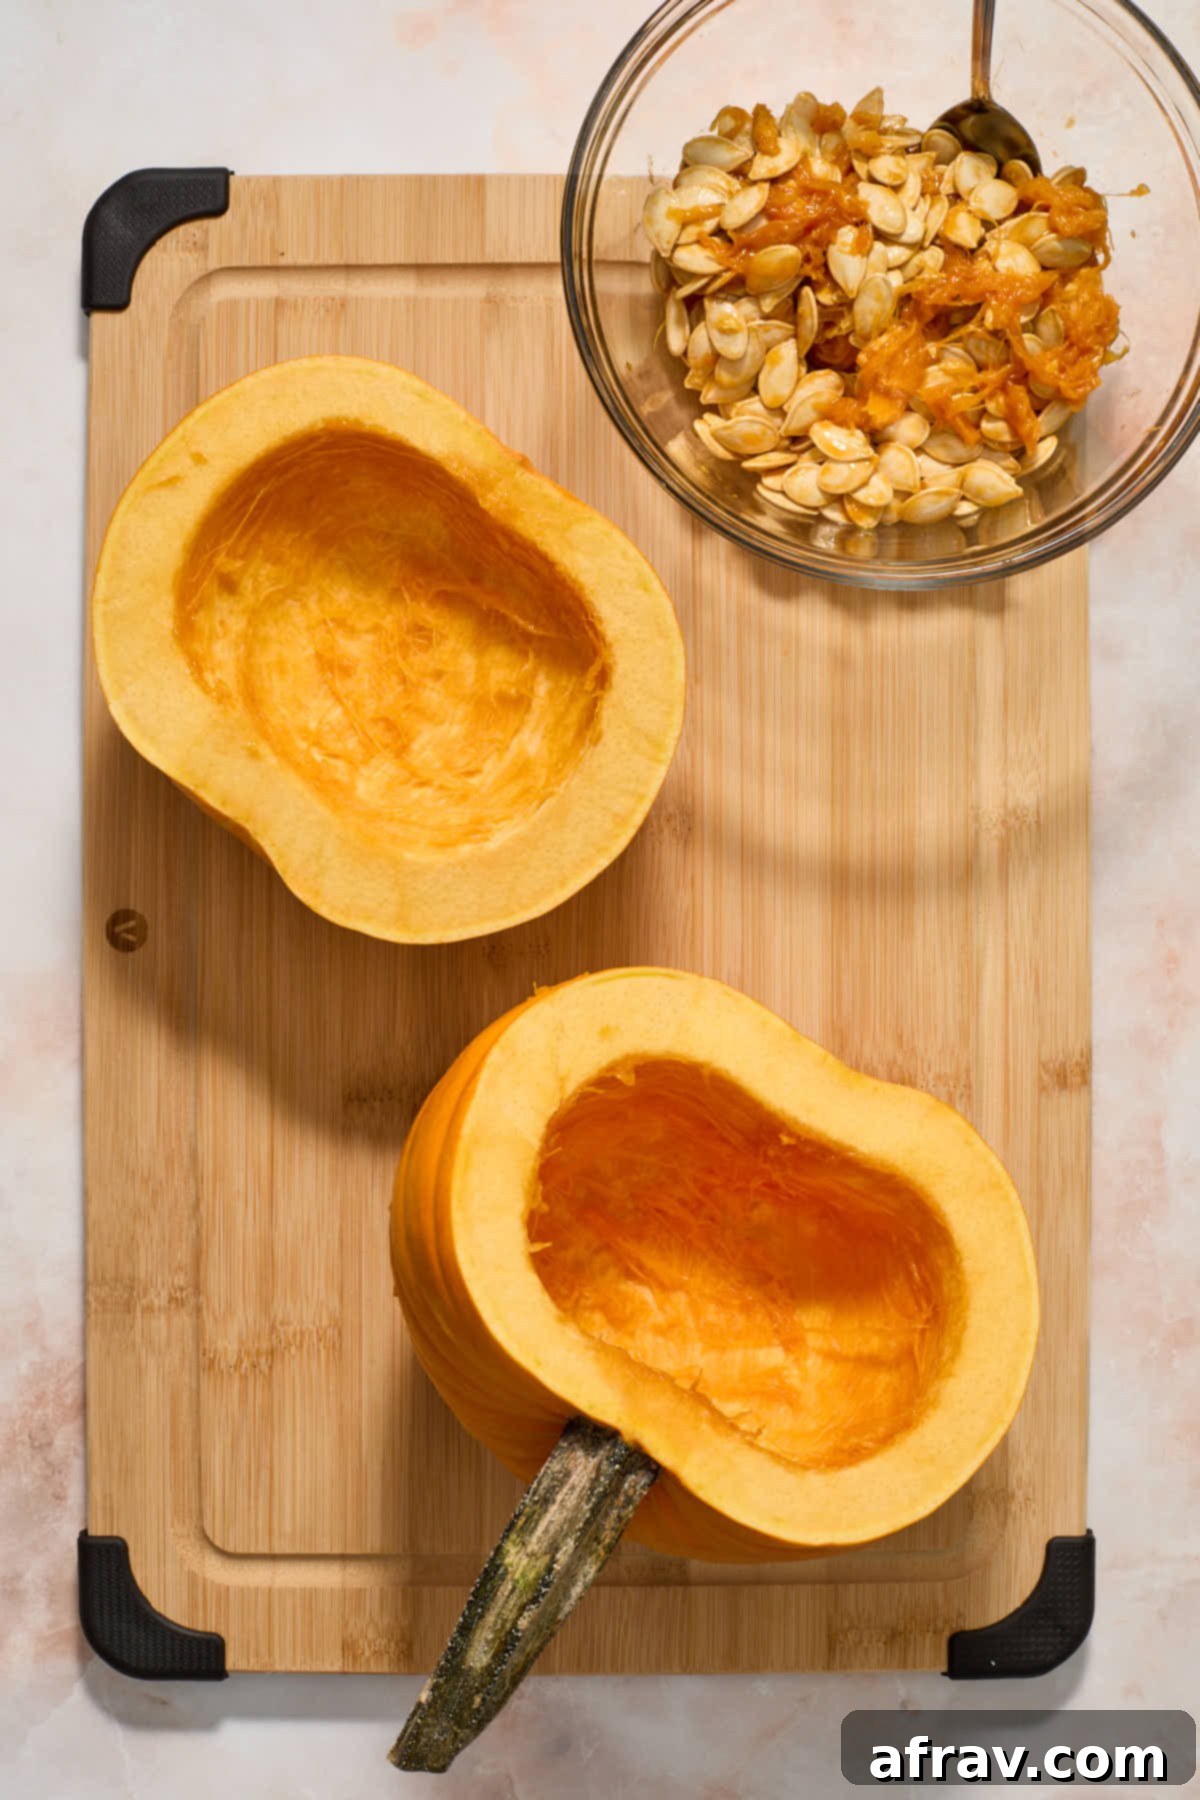
- On a large, stable cutting board, carefully cut off the top of the pumpkin or slice it cleanly in half.
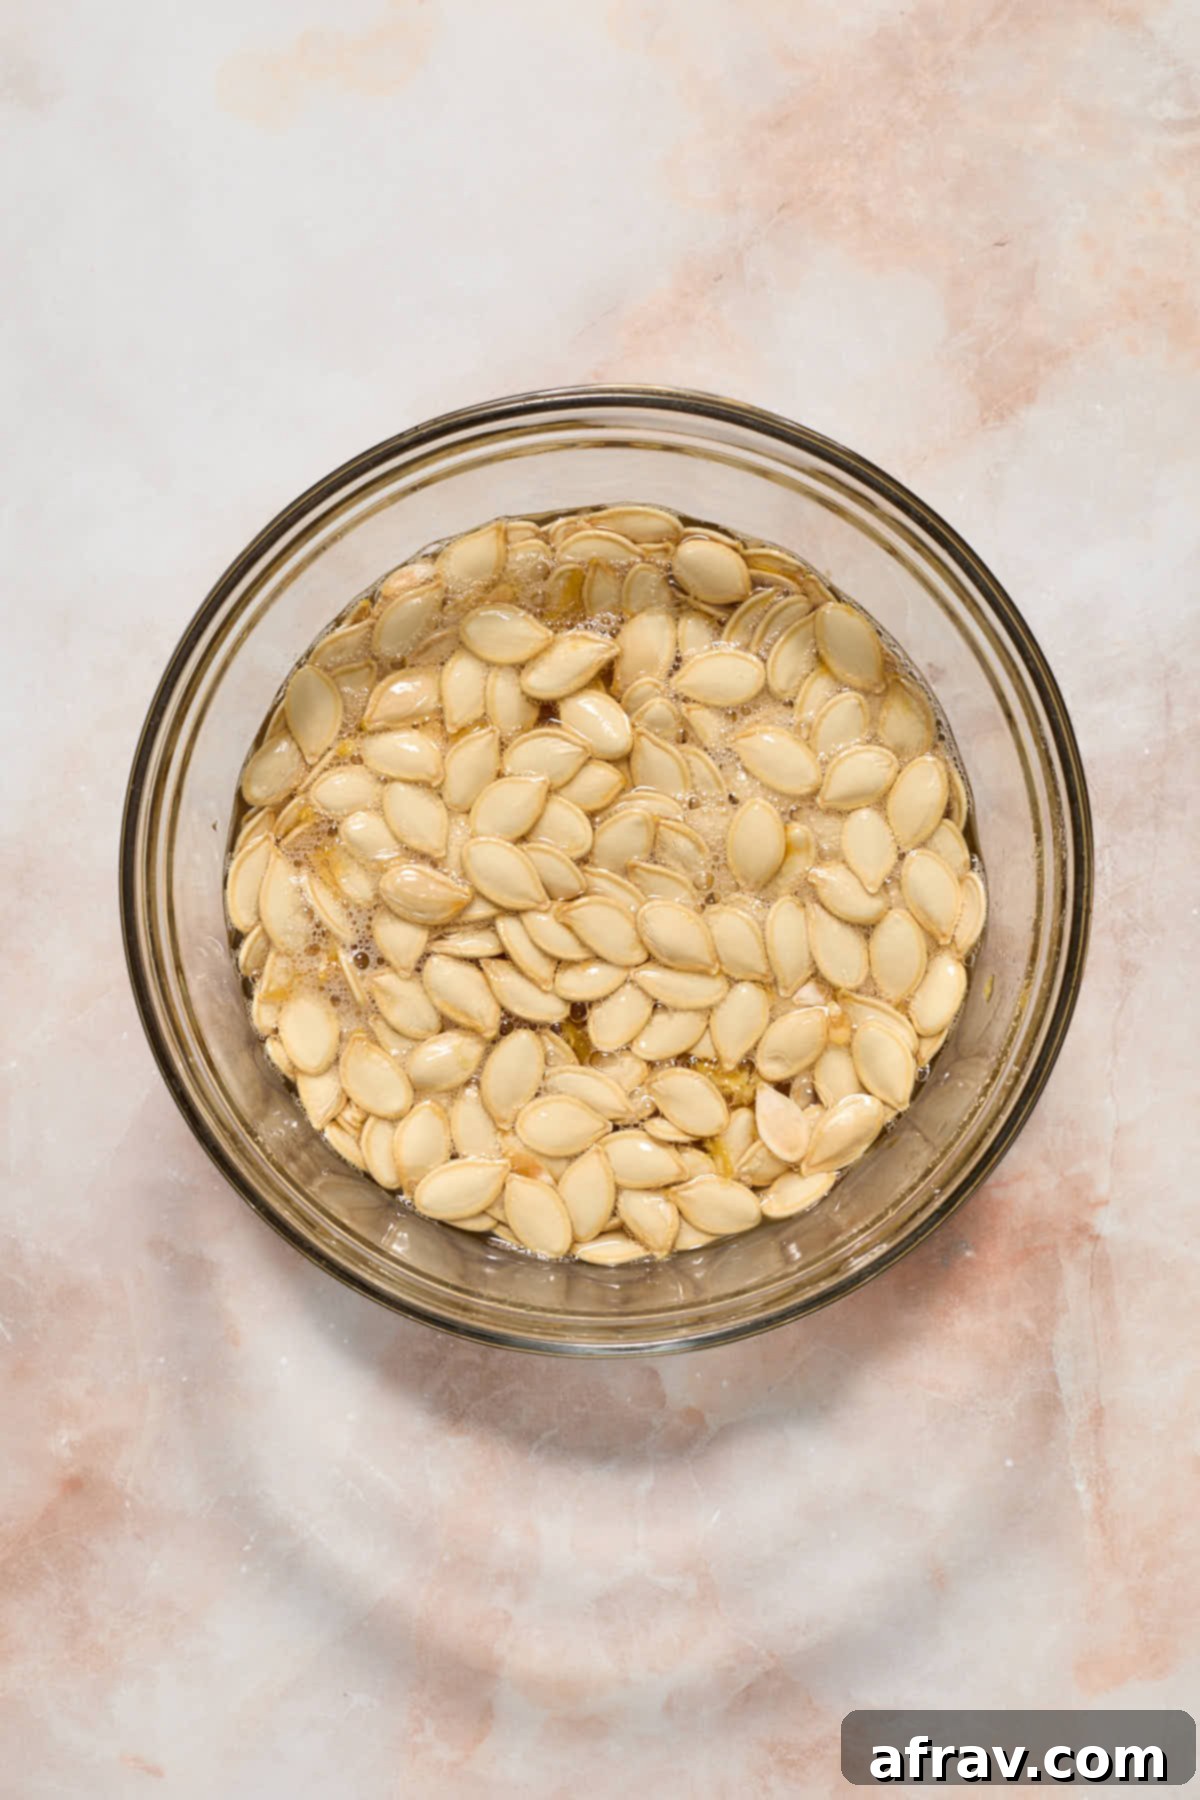
- Scoop out all the seeds and the surrounding stringy pulp into a large bowl. Add warm water to the bowl and use your fingers to vigorously agitate the seeds, helping to separate any clinging pumpkin flesh. The seeds will float to the top or sink.
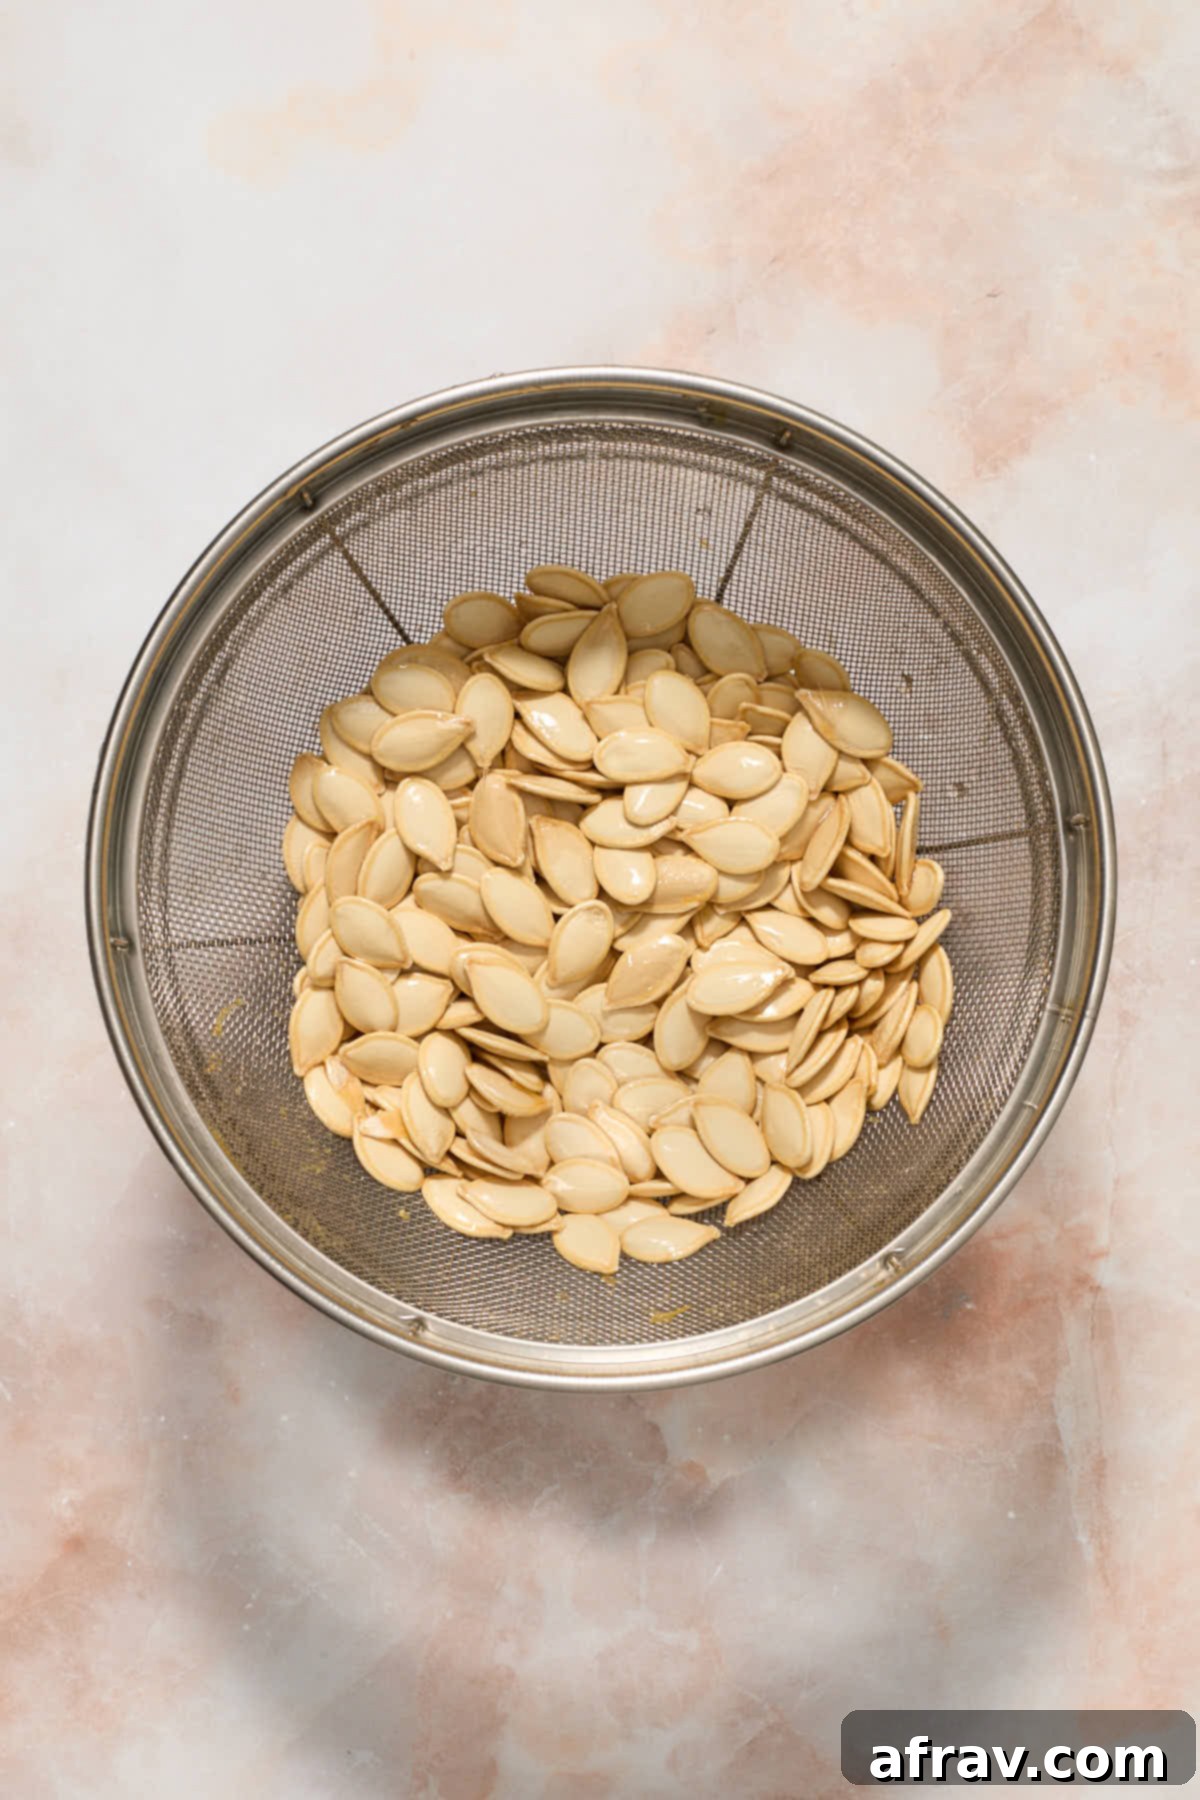
- Drain the separated seeds in a colander and rinse thoroughly under cold running water, continuing to rub them gently to ensure all remaining pieces of pumpkin flesh are removed.
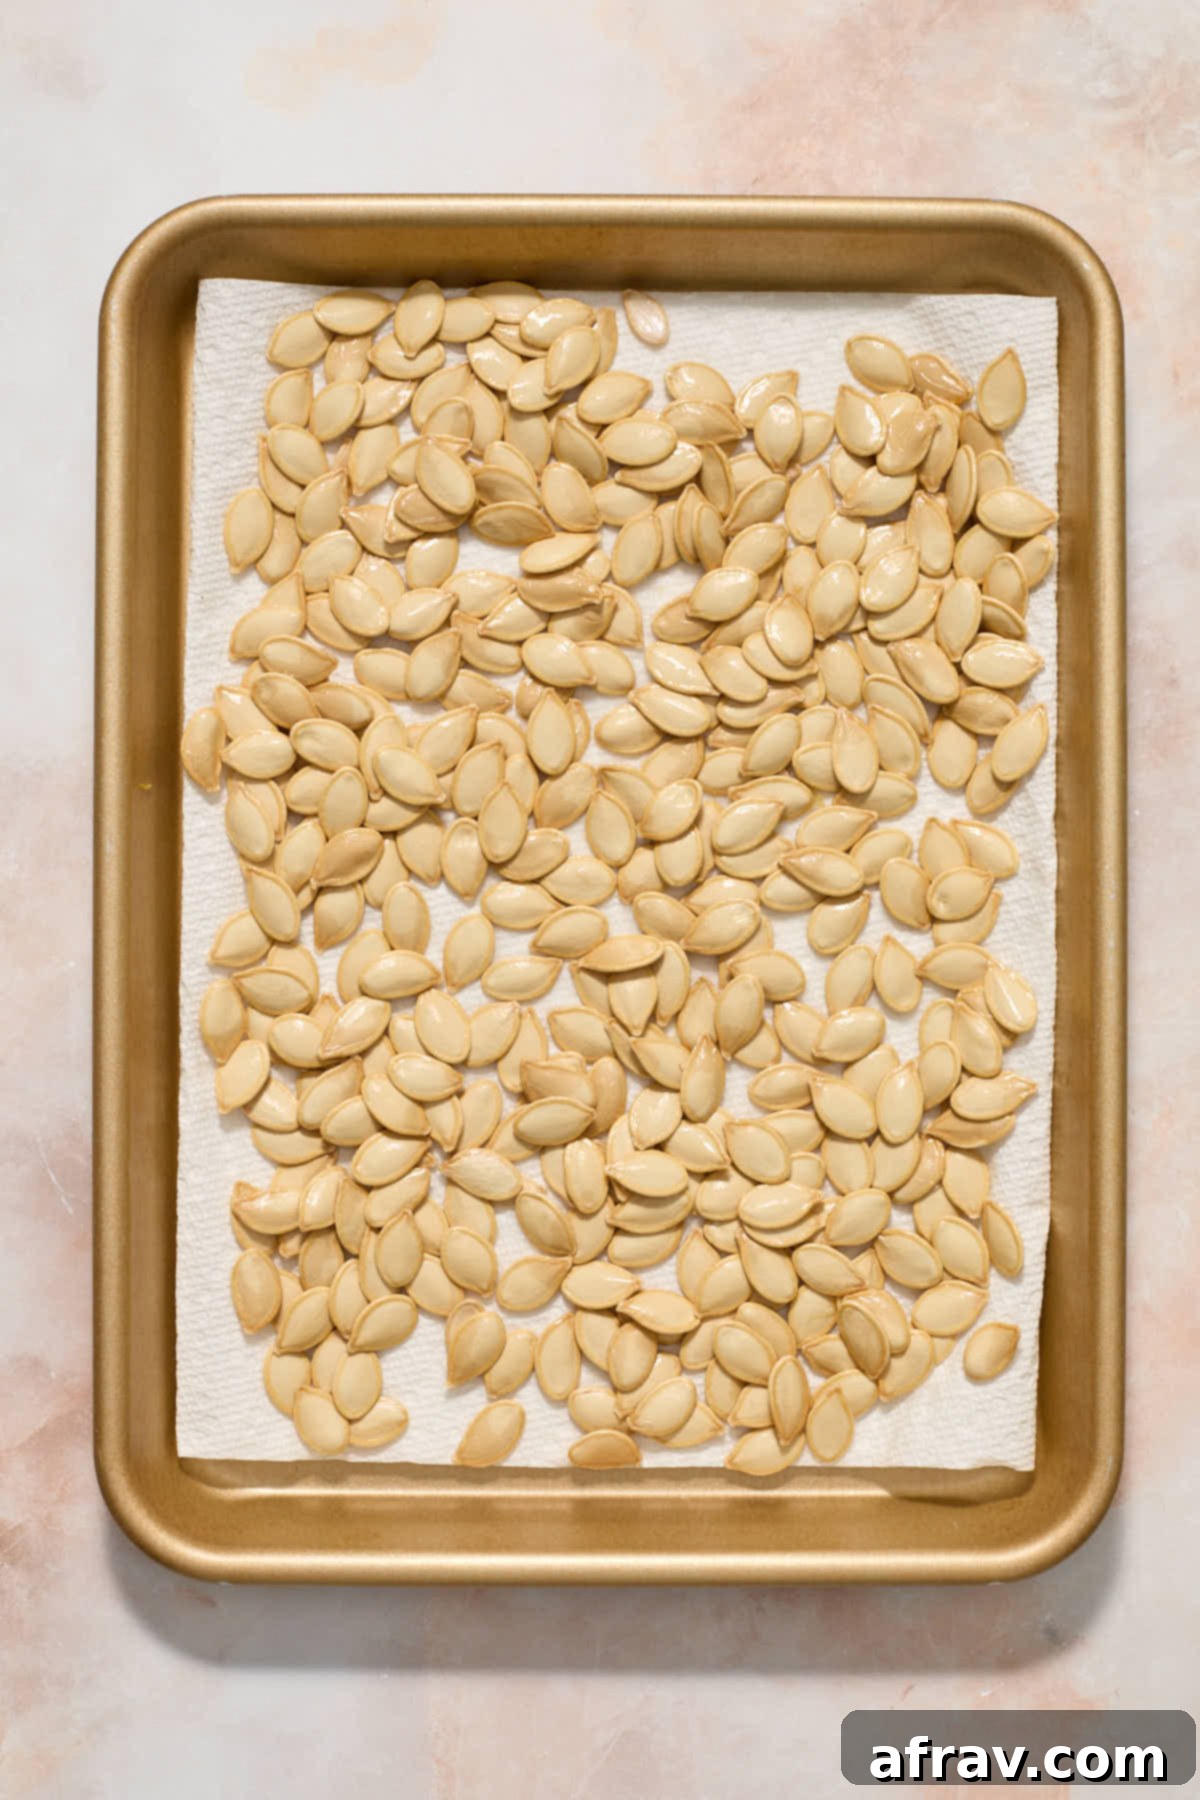
- Spread the clean seeds out in a single layer on a tray lined with several sheets of paper towel. Double-check for any missed flesh. Allow them to air dry at room temperature for a minimum of 2 hours, or until completely dry to the touch. This step is crucial for crispness!
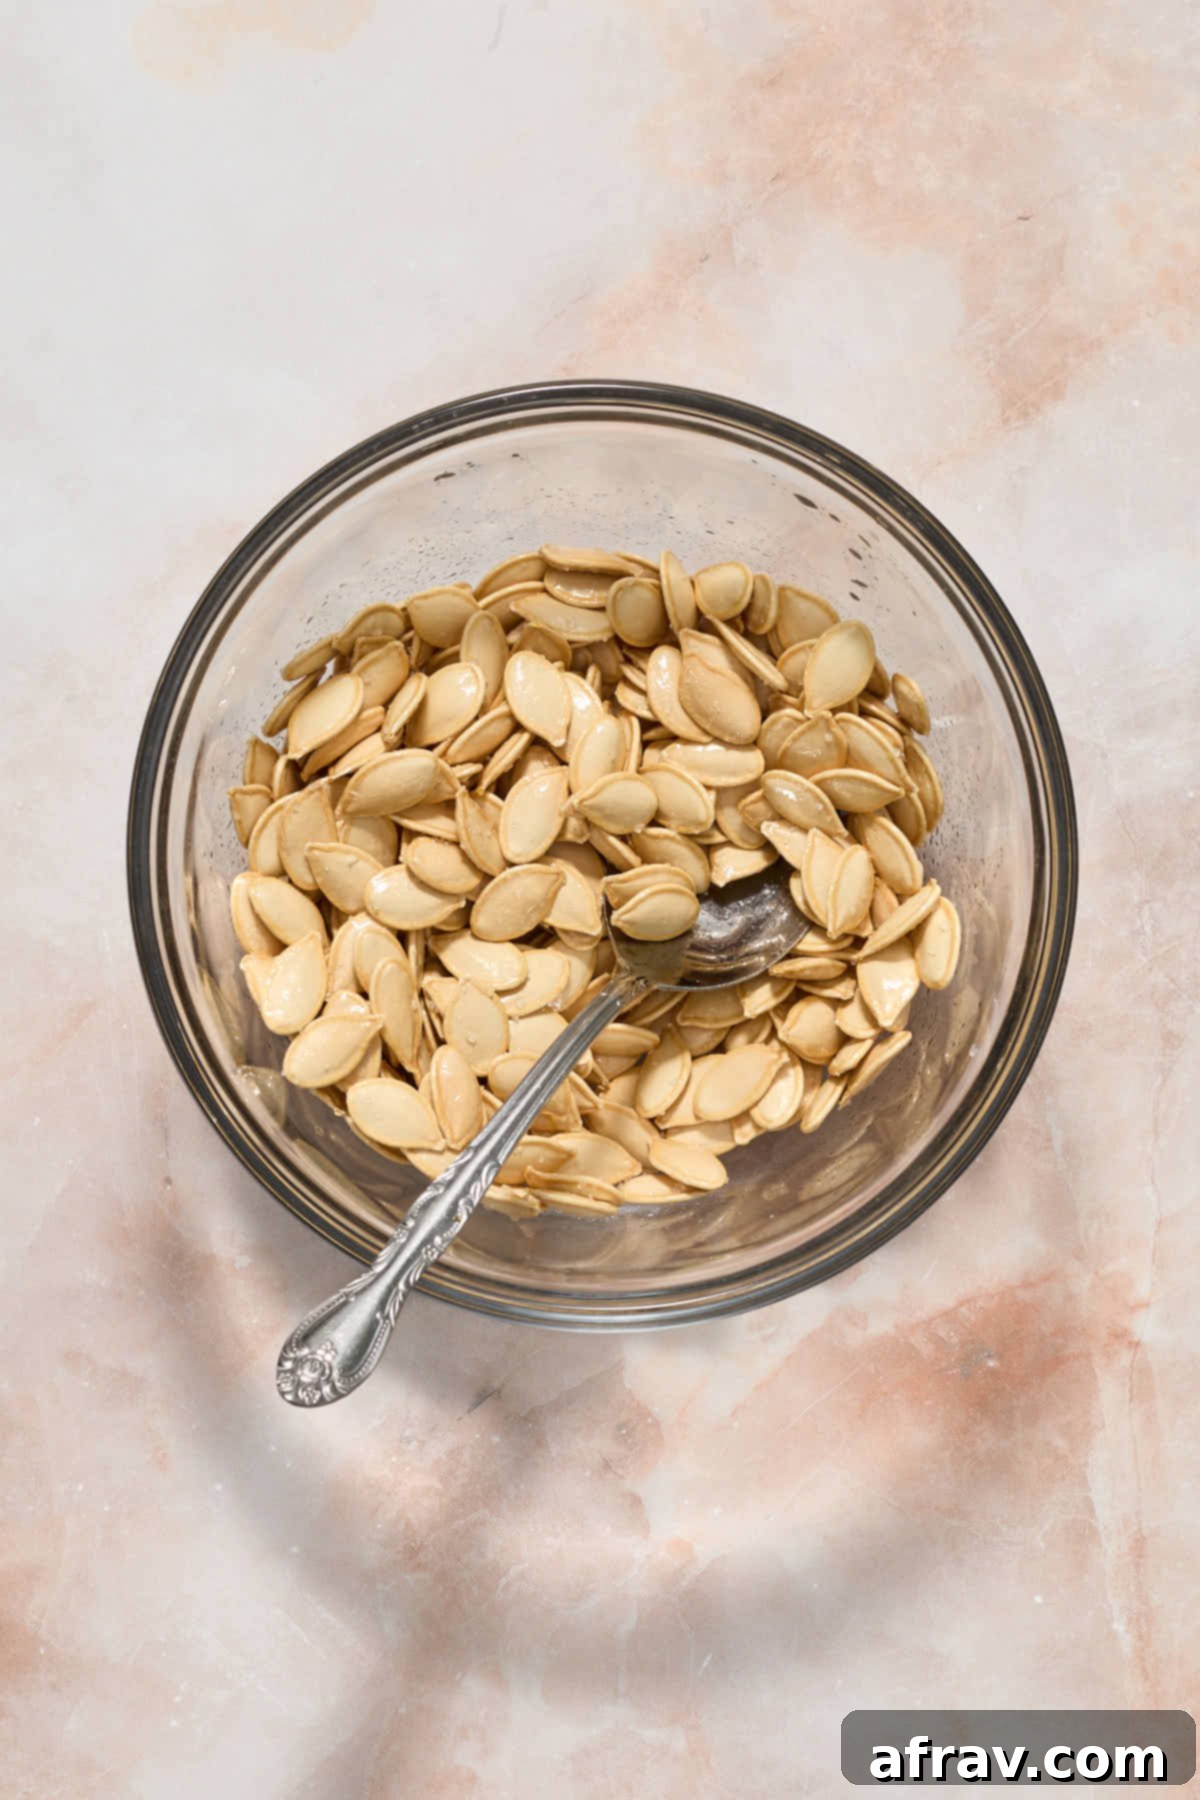
- Once the seeds are completely dry, transfer them to a medium-sized bowl. Add the olive oil and fine sea salt (and any other desired seasonings). Stir everything thoroughly until the seeds are evenly coated.
- Preheat your air fryer to 350°F (175°C) if recommended by your model. Spread the seasoned pumpkin seeds in a thin, single layer in the air fryer basket (do not overcrowd). Air fry for 10-12 minutes. Be sure to shake the basket a few times during cooking (every 3-4 minutes) to ensure even roasting. Start checking for doneness after 7-8 minutes to avoid burning.
- Remove the basket from the air fryer and let the seeds cool slightly on a plate or cooling rack before eating. As they cool, they will become even crispier. Store any leftovers in an airtight container at room temperature for up to a week. If they lose crispness, a quick re-fry for 2-3 minutes at 300°F will revive them.
Notes
- Thoroughly clean the seeds to remove all pumpkin flesh; any residue can lead to burning or chewiness.
- The air drying step is non-negotiable for crunchy seeds! Allow at least 2 hours for them to dry completely.
- Always cook in a single, thin layer in the air fryer basket to allow for optimal air circulation and even roasting. Cook in batches if necessary.
- Shake the air fryer basket frequently (every 3-4 minutes) during cooking to ensure all sides of the seeds toast evenly.
- If seeds are still soft or chewy after 12 minutes, let them cool a few minutes, as they crisp up more as they cool. If still chewy, air fry for another 2-3 minutes.
- Feel free to customize seasonings beyond salt and oil with garlic powder, smoked paprika, chili powder, or even a hint of cinnamon sugar.
- Air fryer models vary; adjust cooking time and temperature slightly based on your specific appliance (this recipe used a Cosori 5.8 quart basket air fryer).
- For more detailed advice on cleaning, drying, storage, and flavor variations, refer to the in-depth sections above the recipe card.
