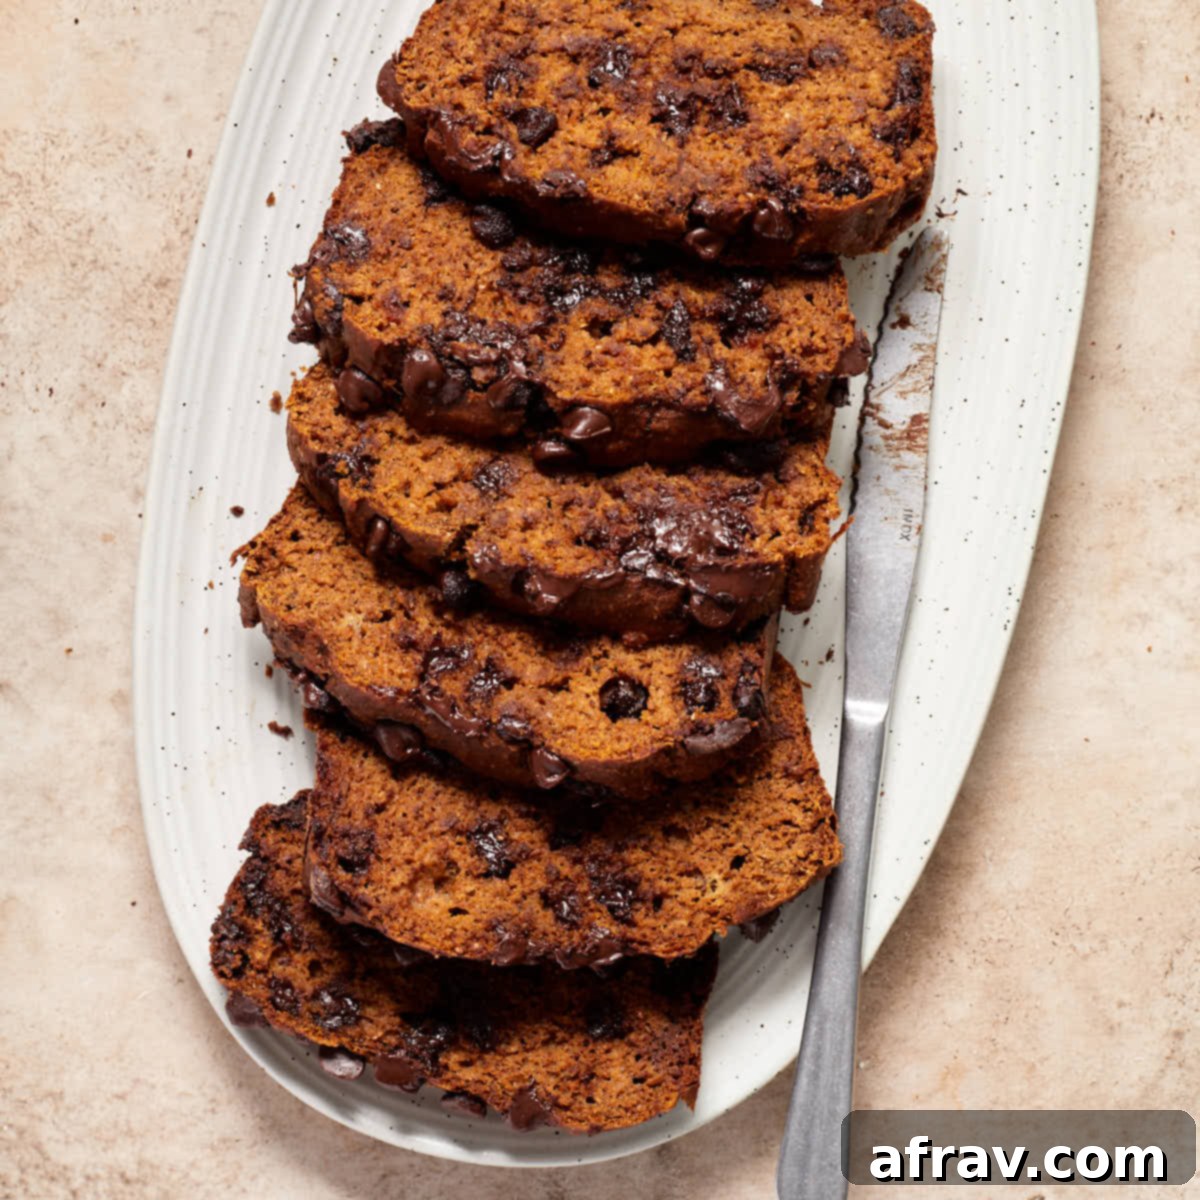
Healthy & Delicious Pumpkin Banana Bread: Your New Favorite Oil-Free & Dairy-Free Loaf
Prepare to fall in love with this incredibly soft, delightfully fluffy, and perfectly tender Pumpkin Banana Bread. Crafted with wholesome whole wheat flour and thoughtfully sweetened with just a touch of coconut sugar and decadent chocolate chips, this banana pumpkin loaf offers a guilt-free indulgence. What makes it truly special? It’s completely oil-free and dairy-free, making it a fantastic choice for those with dietary restrictions or anyone looking for a healthier twist on classic comfort baking.
If your heart beats for the comforting aroma of classic banana bread and the warm, spicy embrace of seasonal pumpkin bread, then this innovative mash-up is an absolute must-try. By combining both creamy mashed banana and rich pumpkin puree, we’ve created a bread that boasts an unbelievably moist texture, almost melting in your mouth. The subtle, sweet hint of banana harmoniously pairs with the inviting, warming flavors of pumpkin spice, creating a symphony of taste that’s perfect for autumn mornings, afternoon snacks, or a cozy evening dessert.
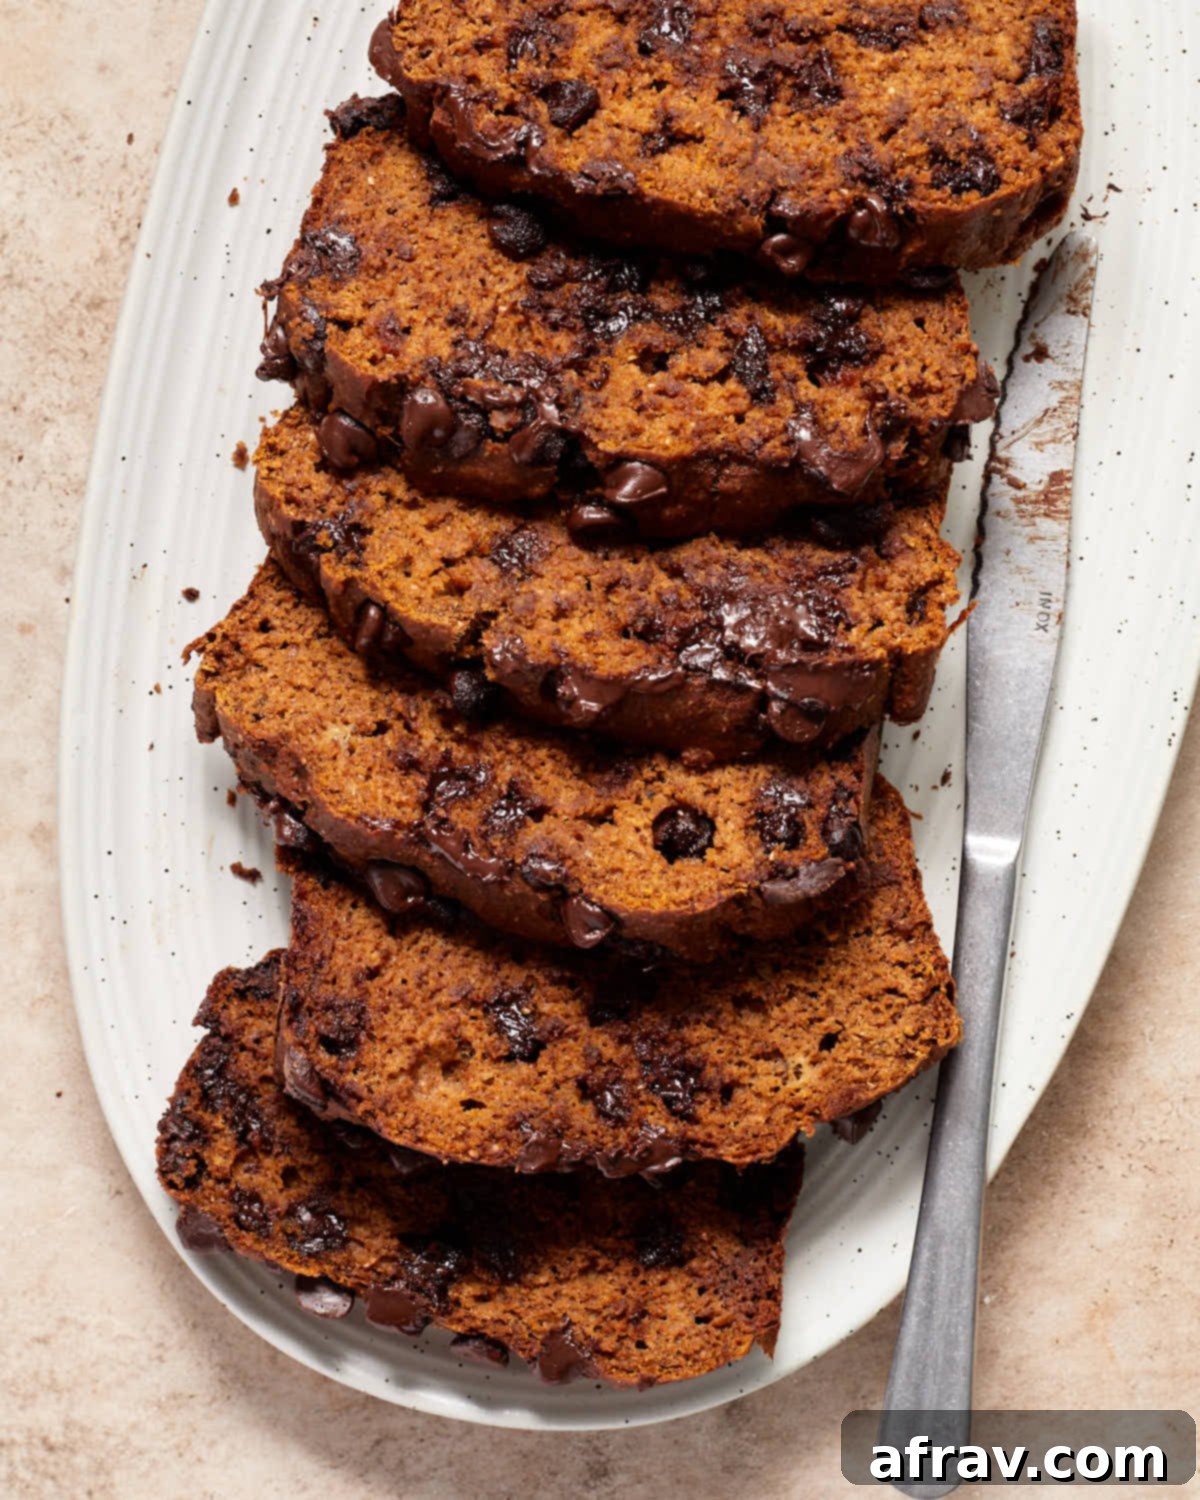
Table of contents
- Why you’ll love this recipe
- Ingredients and substitutions
- How to make pumpkin banana bread
- Recipe variations
- Measuring Ingredients Accurately
- Storage instructions
- Frequently asked questions
- Key recipe tips for perfect results
- More delightful pumpkin recipes
Why You’ll Fall in Love with This Healthy Pumpkin Banana Bread
This isn’t just another quick bread recipe; it’s a carefully crafted treat designed to be both delicious and accessible. Here’s why this pumpkin banana bread will quickly become a staple in your kitchen:
- Dairy-Free Delight: For those managing lactose intolerance, following a vegan diet, or simply aiming to reduce dairy intake, this recipe is a dream come true. We’ve replaced traditional dairy with wholesome plant-based alternatives like almond milk and optional plant-based chocolate chips, ensuring a rich flavor without any compromise.
- Oil-Free & Wholesome: Say goodbye to added oils! Instead of relying on butter or vegetable oil for moisture and richness, we’ve ingeniously incorporated natural, creamy almond butter. This smart swap not only reduces the fat content but also infuses the bread with healthy fats, protein, and a wonderfully tender, moist crumb. It’s a healthier fat source that contributes significantly to the bread’s delightful texture.
- Naturally Sweetened Perfection: Unlike many quick bread recipes that can be overly sweet, this pumpkin banana bread strikes a perfect balance. Beyond just a modest 1/4 cup of coconut sugar and the occasional chocolate chip, the primary sweetness comes from the natural sugars in ripe bananas and pumpkin puree. This makes it a great option for those looking to manage sugar intake without sacrificing flavor.
- Effortlessly Easy to Make: Forget about needing an electric mixer or complicated techniques. This recipe is designed for simplicity, requiring just two bowls, a whisk, and a spatula. It’s a straightforward process that even novice bakers can master, yielding impressive results every time. Perfect for a relaxed weekend baking session!
Essential Ingredients and Smart Substitutions for Your Loaf
Creating this flavorful and healthy pumpkin banana bread relies on a few key ingredients. Below is a detailed look at what you’ll need and some recommended substitutions to ensure your baking experience is seamless and successful. The complete list of exact ingredients and quantities can always be found in the recipe card at the end of this post.
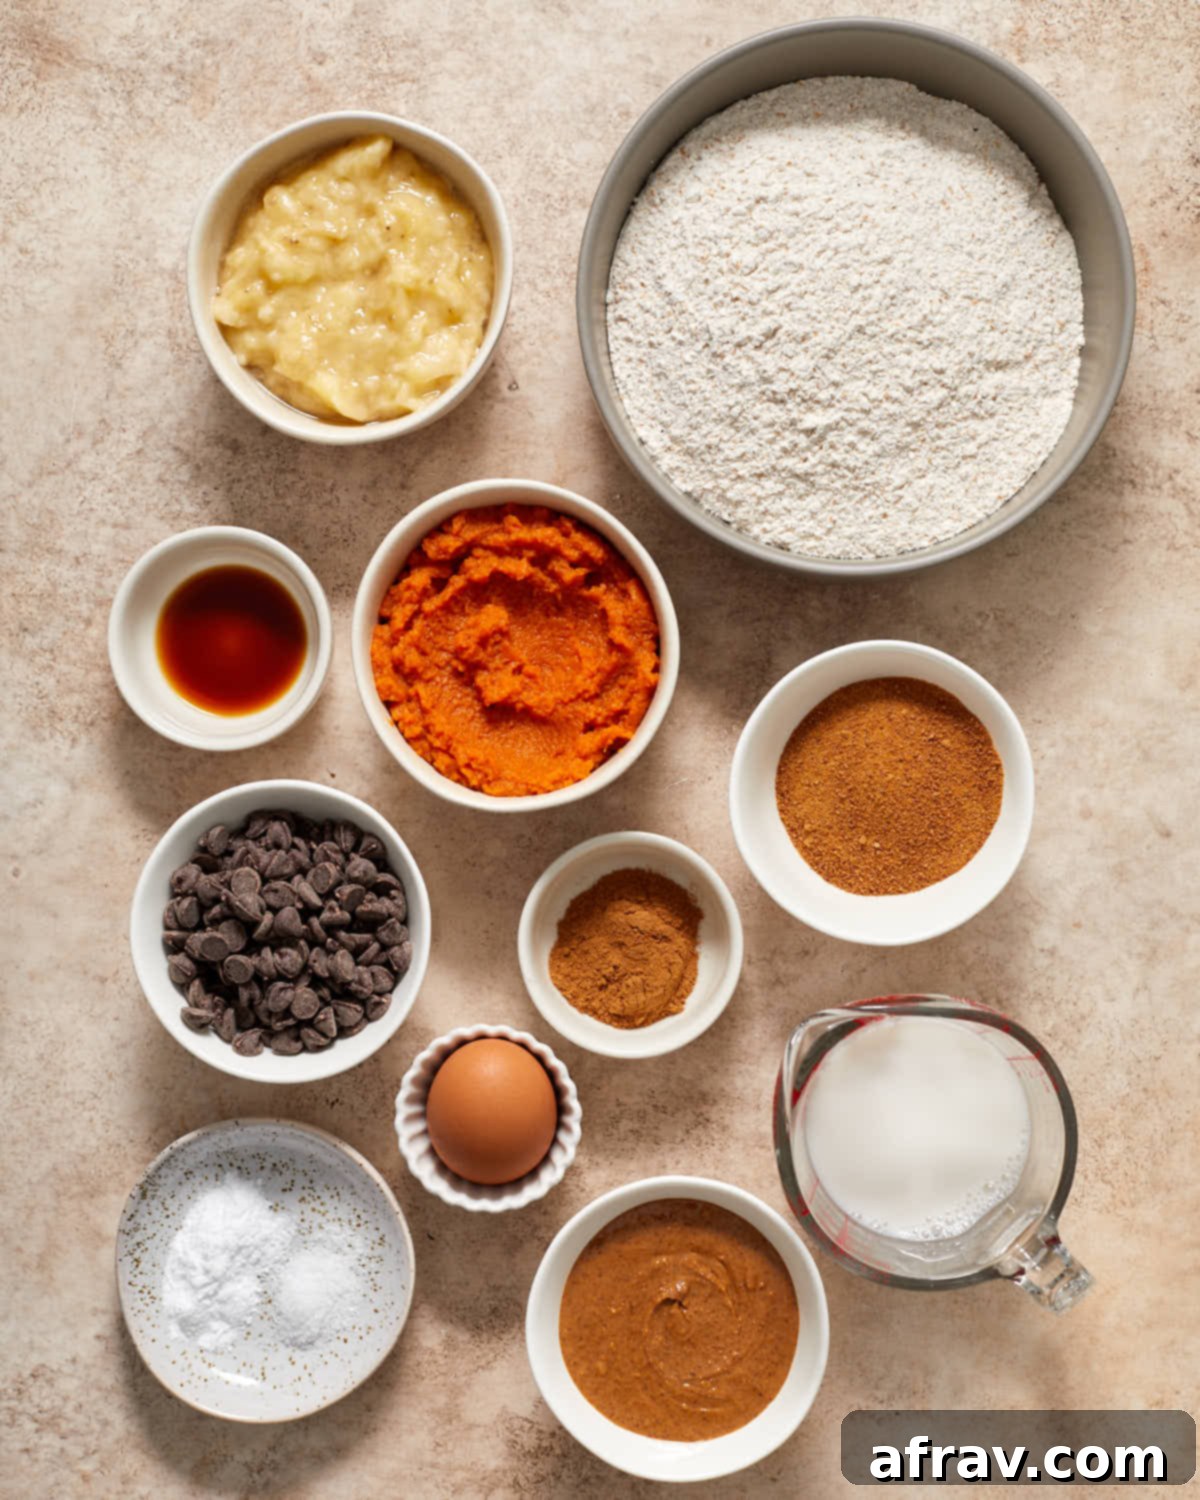
- Pumpkin Puree: You absolutely need pure pumpkin puree for this recipe, not pumpkin pie filling. Pumpkin pie filling comes pre-sweetened and pre-spiced, which would throw off the flavor balance of our bread. Pure pumpkin provides essential moisture and that classic autumnal flavor.
- Ripe Bananas: Mashed ripe bananas are crucial for both their natural sweetness and incredible moisture contribution. They also impart a subtle, delightful banana flavor that beautifully complements the pumpkin spice. For the best results, use bananas that are very ripe, ideally with plenty of brown spots on their peel – these are the sweetest and easiest to mash.
- Pumpkin Spice Blend: While you can purchase pre-mixed pumpkin pie spice, I’ve found that blends can vary greatly in taste. For a consistently delicious and robust flavor, I often recommend a homemade pumpkin pie spice recipe. This allows you to control the freshness and proportion of spices like cinnamon, nutmeg, ginger, and cloves.
- Natural Almond Butter: This is our star ingredient for healthy fats and supreme moisture, replacing traditional oils or butter. Opt for a natural, drippy almond butter with minimal added ingredients. If your almond butter has separated or hardened in the fridge, warm it gently or let it come to room temperature so it mixes smoothly into the batter. Peanut butter can also be a delicious alternative!
- Whole Wheat Flour: To enhance the nutritional value and give this bread a satisfying, hearty texture, we use whole wheat flour. It provides more fiber and nutrients compared to all-purpose white flour. While it yields a slightly denser crumb, it’s still wonderfully soft in this recipe.
- Coconut Sugar: As a healthier, less processed alternative to refined sugar, coconut sugar adds a lovely caramel-like sweetness. Since bananas and pumpkin contribute natural sweetness, only a small amount (1/4 cup) is needed. Lightly packed brown sugar can be used as a 1:1 substitute if preferred.
- Chocolate Chips: These are entirely optional but highly recommended for an extra layer of indulgence. To maintain the dairy-free nature of this recipe, choose plant-based chocolate chips. Dark chocolate chips tend to complement the pumpkin and banana flavors exceptionally well.
Step-by-Step Guide: How to Bake Your Perfect Pumpkin Banana Bread
Baking this delicious loaf is remarkably simple and doesn’t require any fancy equipment. Just follow these easy steps for a perfectly moist and flavorful bread:
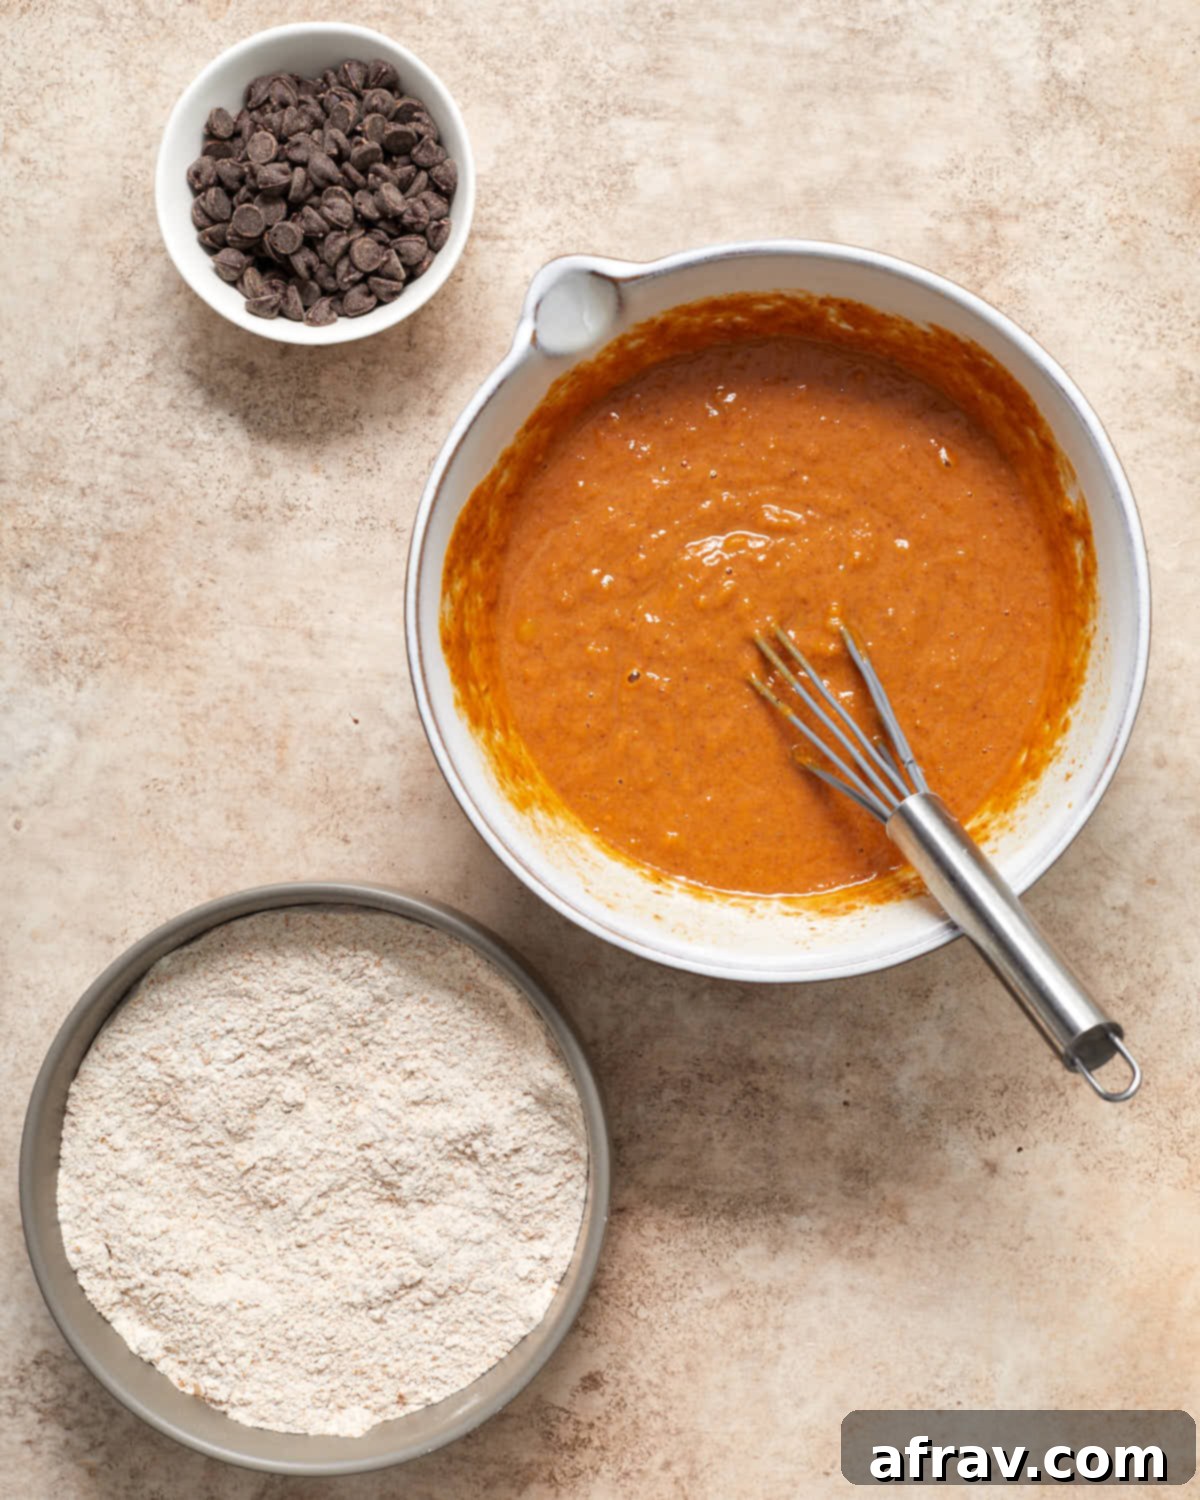
- **Prepare Your Dry Ingredients:** In a medium-sized mixing bowl, combine all your dry ingredients: the whole wheat flour, pumpkin spice, baking soda, and fine sea salt. Whisk them together thoroughly until they are well combined and there are no clumps. This ensures even distribution of the leavening agents and spices.
- **Mix Your Wet Ingredients:** In a separate, larger bowl, it’s time to whisk together the wet components. Add the mashed banana, pumpkin puree, unsweetened almond milk, room-temperature natural almond butter, coconut sugar, large egg, and vanilla extract. Whisk vigorously until the mixture is smooth and well emulsified. Ensure the almond butter is fully incorporated.
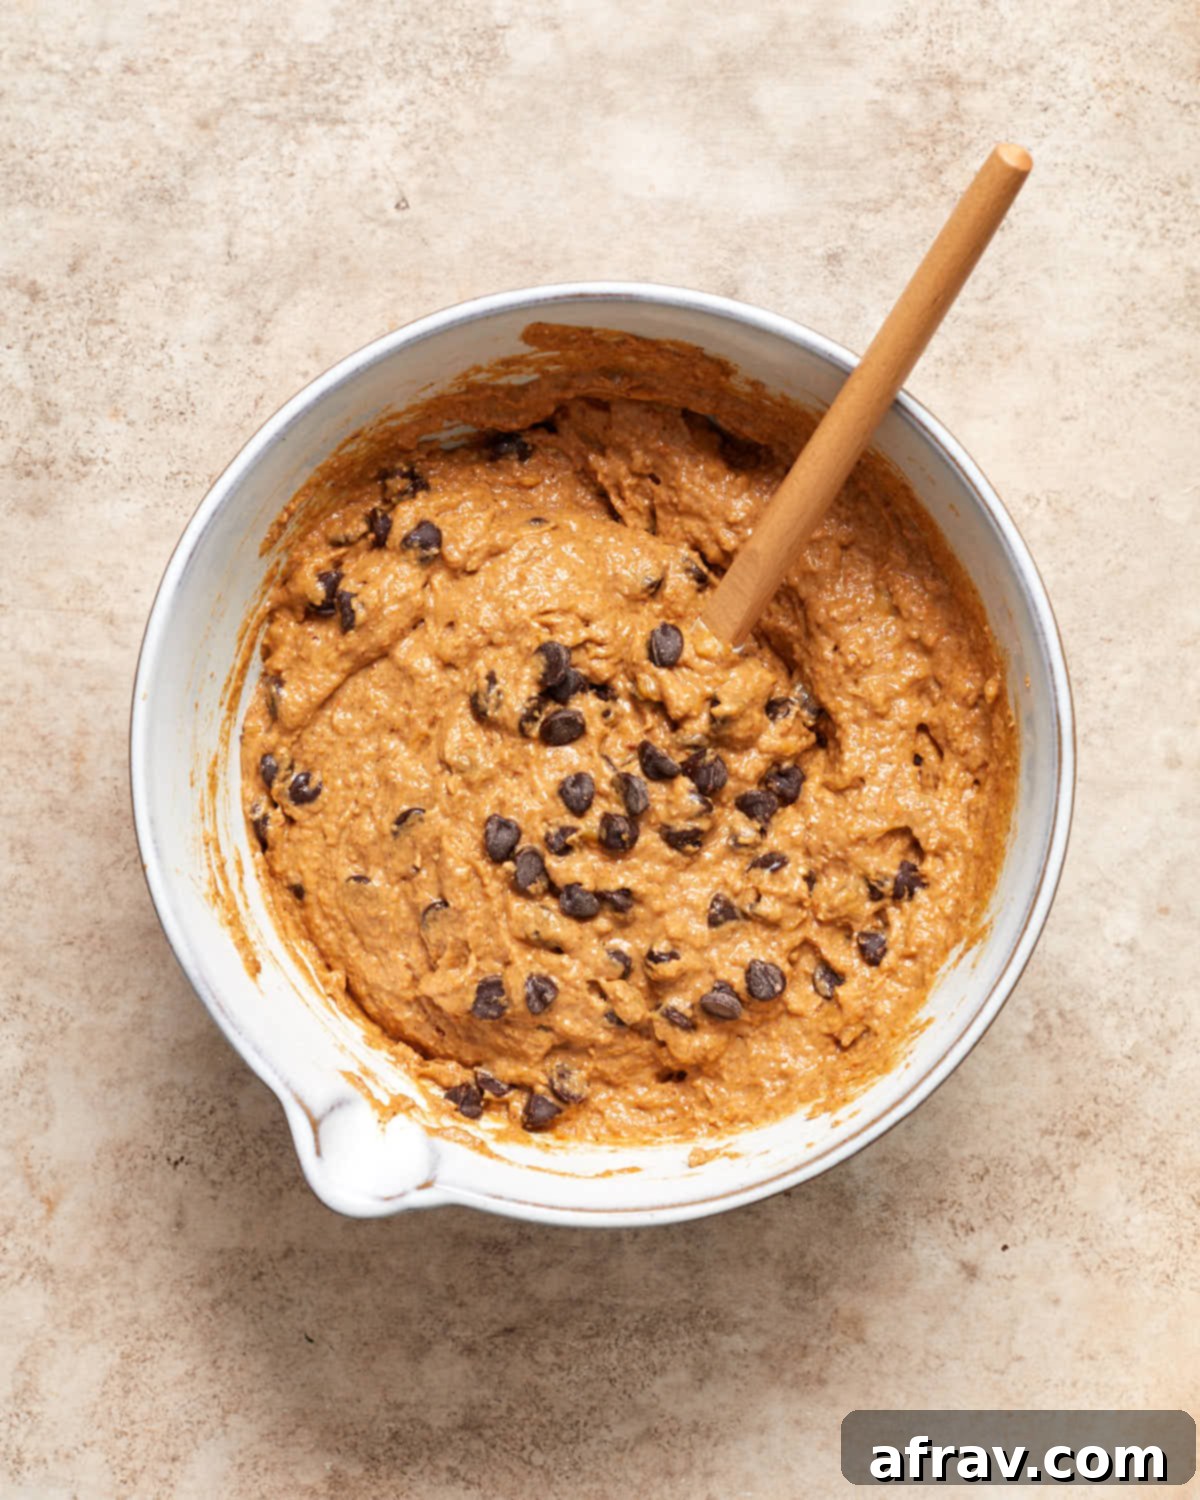
- **Combine Wet and Dry:** Gently add the dry ingredient mixture into the large bowl with the wet ingredients. Using a spatula, carefully stir until the ingredients are just combined. The key here is to avoid overmixing, as this can lead to a tough and dense bread. A few small streaks of flour are perfectly fine.
- **Fold in Chocolate Chips:** Once the batter is nearly combined, gently fold in the chocolate chips. If you wish to decorate the top of your loaf, reserve a small handful of chips for sprinkling later.
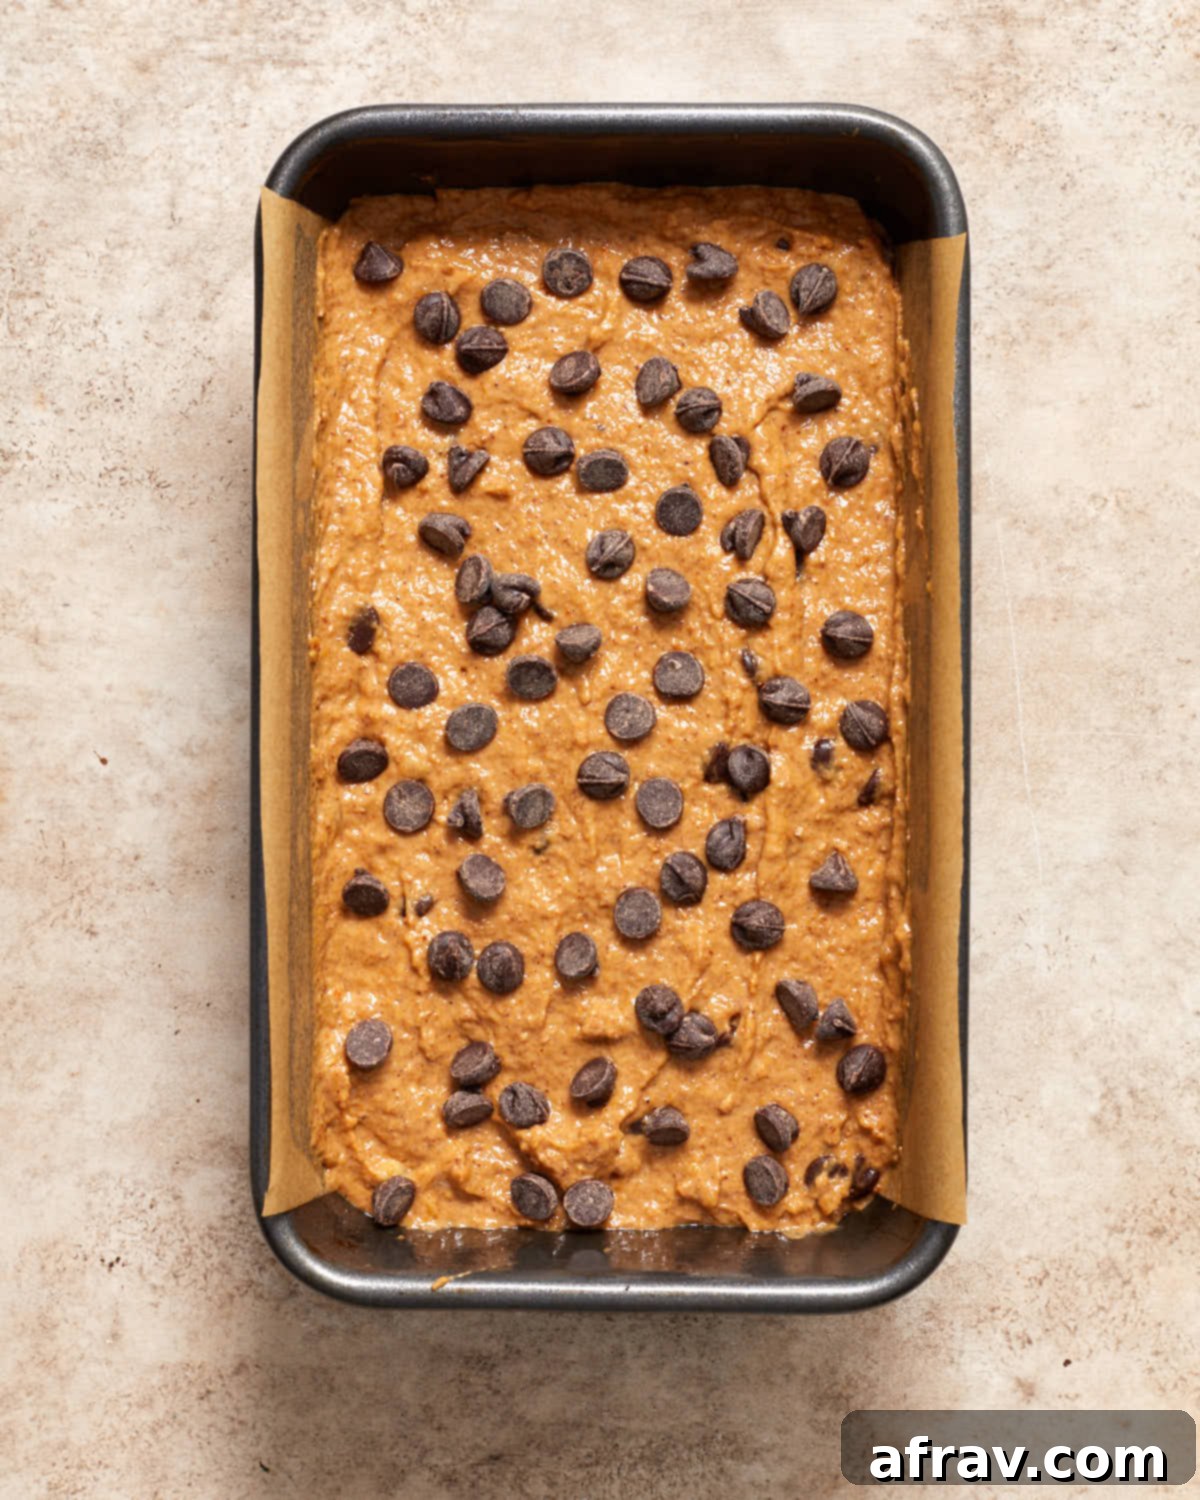
- **Prepare for Baking:** Pour the prepared batter into your greased and parchment-lined loaf pan. If you reserved any chocolate chips, scatter them evenly over the top of the batter for a beautiful presentation.
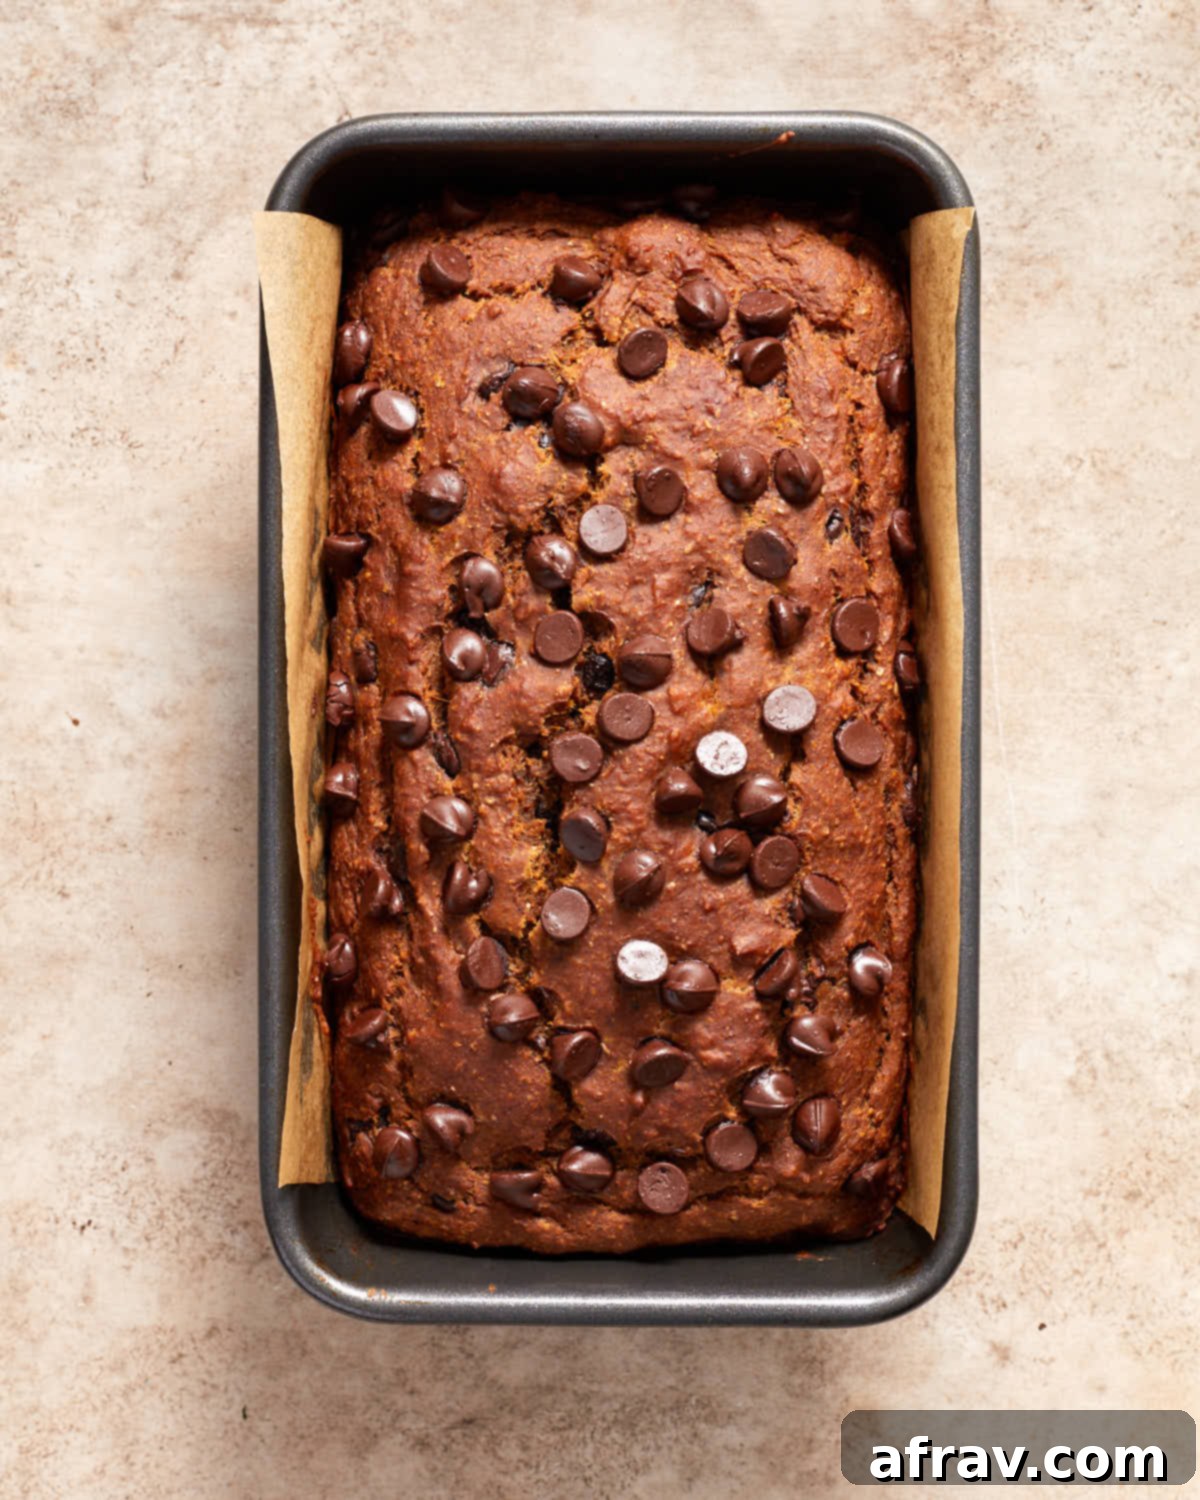
- **Bake to Golden Perfection:** Bake the loaf in a preheated oven at 350°F (175°C) for approximately 48-52 minutes. Baking times can vary between ovens, so begin checking for doneness around the 45-minute mark. Insert a toothpick into the center of the loaf; it should come out clean or with only a few moist crumbs attached.
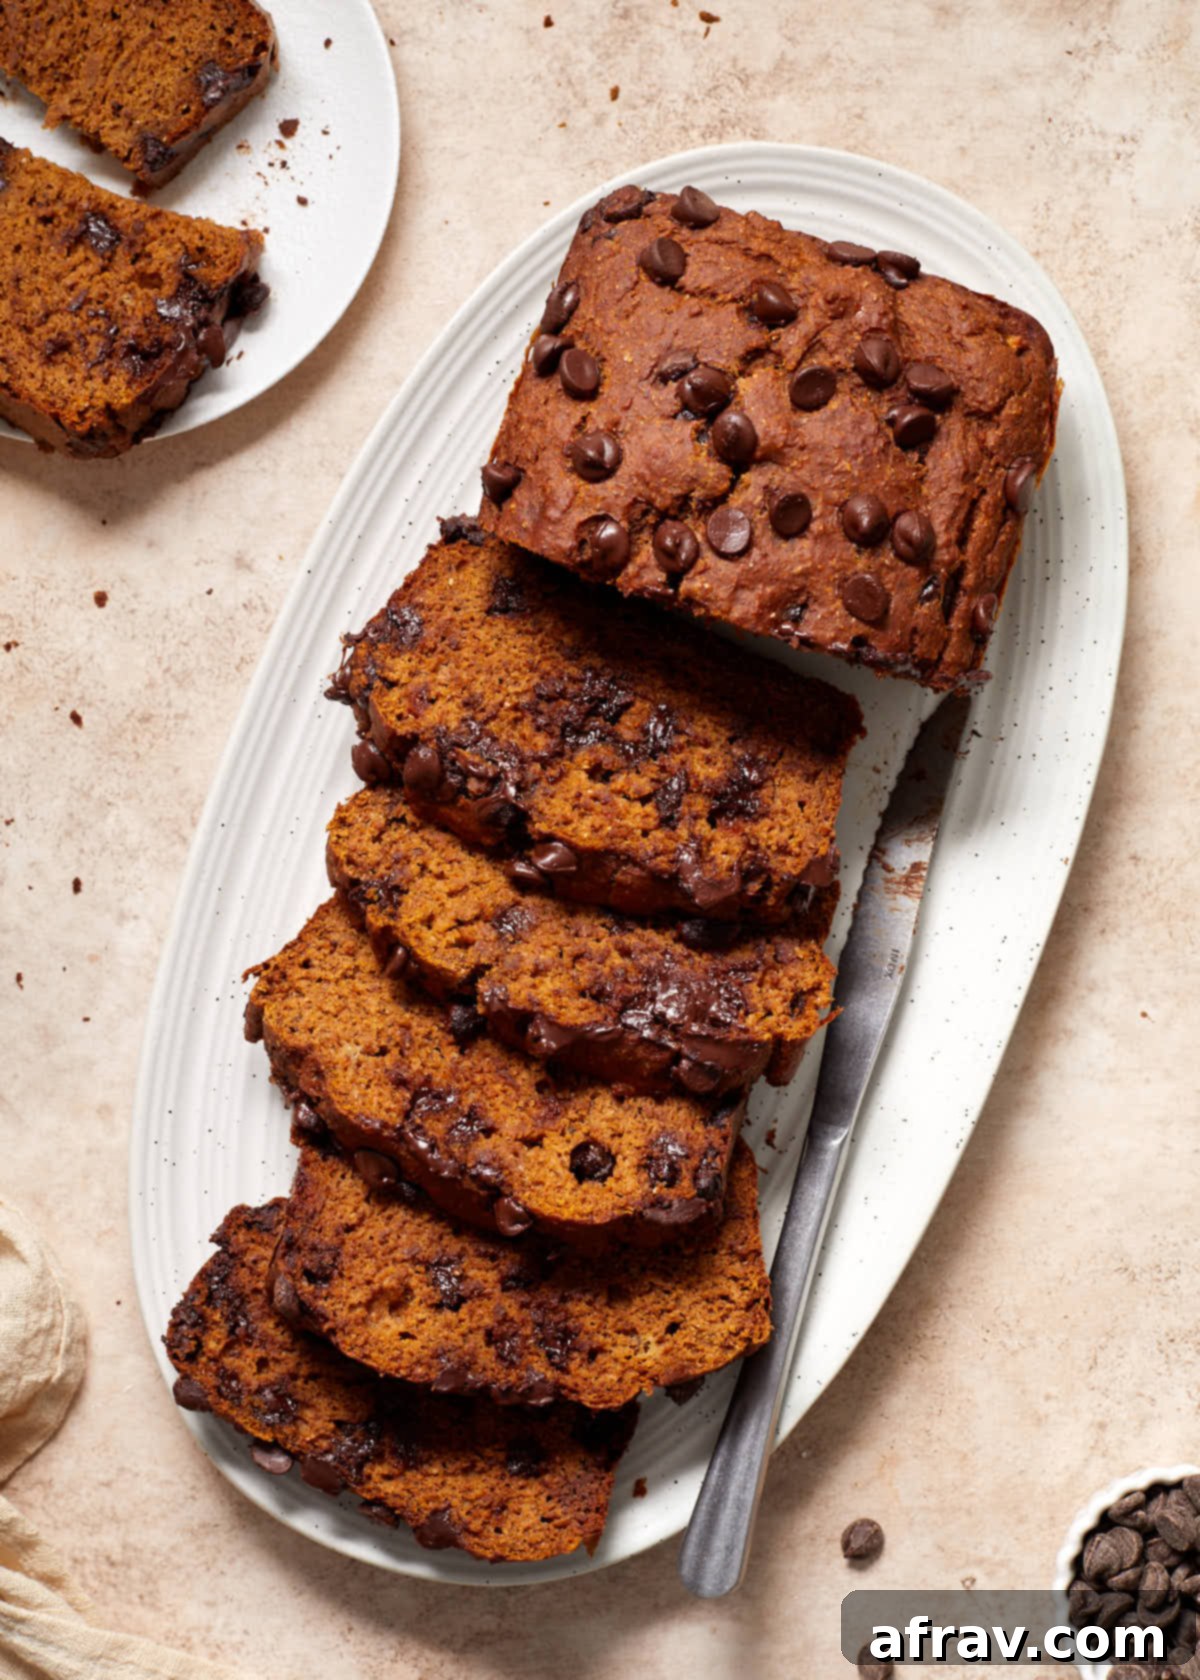
- **Cool and Serve:** Once baked, remove the loaf from the oven and allow it to cool in the pan for about 10 minutes. This resting period helps the bread firm up and prevents it from sticking. After 10 minutes, carefully lift the bread out of the pan using the parchment paper overhang and transfer it to a wire rack to cool completely. Slicing too early can result in a gummy texture.
Exciting Recipe Variations to Customize Your Loaf
This pumpkin banana bread recipe is wonderfully versatile, allowing you to easily adapt it to your preferences or what you have on hand. Don’t hesitate to experiment with these delicious variations:
- Milk Alternatives: While almond milk is recommended for its neutral flavor and dairy-free status, you can easily swap it for other plant-based milks like creamy cashew milk or rich oat milk. If dairy isn’t a concern for you, regular dairy milk will also work perfectly.
- Nut Butter Swaps: If almond butter isn’t available or you prefer a different flavor, natural peanut butter makes an excellent substitute. It will impart a distinct, delicious nutty flavor that pairs well with pumpkin and banana. Just ensure it’s natural and drippy for the best texture. SunButter is also a great option for nut allergies!
- Sweetener Options: In place of coconut sugar, you can use an equal amount of lightly packed brown sugar. This will provide a similar depth of flavor and moisture. For an even less sweet bread, you could slightly reduce the sugar or omit the chocolate chips.
- Add-ins Galore: Feel free to customize your loaf with other delightful additions. Instead of or in addition to chocolate chips, try stirring in chopped walnuts or pecans for a delightful crunch. Dried cranberries, raisins, or even a sprinkle of shredded coconut would also make fantastic additions.
- Extra Spice: If you’re a spice lover, consider adding a pinch of ground ginger or a dash of extra cinnamon to the dry ingredients for an even bolder flavor profile.
The Importance of Accurate Ingredient Measurement
While baking might seem like an art, it’s very much a science, and precise ingredient measurements are key to achieving consistent, delicious results. For your convenience, traditional US cup measurements are provided in the recipe card. However, to guarantee greater accuracy and the best possible outcome for this healthy pumpkin banana bread, weight and volume measurements (in grams and milliliters) are also included.
If you see measurements in grams (g), I highly recommend using a digital kitchen scale. This is the most accurate way to measure dry ingredients like flour and sugar, preventing errors that can significantly impact the bread’s texture. For liquid ingredients measured in milliliters (ml), a liquid measuring cup is ideal. Smaller quantities, such as leavening agents and spices, are given in teaspoons and tablespoons, where precision is still important but less susceptible to variation than larger dry ingredient measures.
Pay particular attention to measuring flour. If you don’t own a kitchen scale, use the “spoon and level” method: gently spoon flour into your measuring cup until it overflows, then level off the excess with a straight edge (like the back of a knife). Scooping flour directly from the container can compact it, leading to significantly more flour than needed and resulting in a dry, dense bread.
Storing Your Pumpkin Banana Bread for Lasting Freshness
To keep your delicious pumpkin banana bread fresh and moist for as long as possible, proper storage is essential. Here are the best practices for both short-term and long-term enjoyment:
Room Temperature Storage: Once the bread has completely cooled (this is crucial to prevent condensation and sogginess), store it in an airtight container at room temperature. A bread box or a sealed plastic container works wonderfully. Stored this way, your pumpkin banana bread should remain fresh and delicious for 3-4 days. For optimal freshness, you can also wrap the cooled loaf tightly in plastic wrap before placing it in the airtight container.
Freezing for Later: This bread freezes beautifully, making it perfect for meal prepping or enjoying a slice whenever a craving strikes. To freeze, ensure the loaf is entirely cooled. Then, wrap it tightly first in plastic wrap, followed by a layer of aluminum foil or place it in a resealable freezer bag or a freezer-safe container. This double-layer protection helps prevent freezer burn. It can be stored in the freezer for up to 3 months. When you’re ready to enjoy, simply defrost the bread at room temperature, either whole or in individual slices, before serving.
Your Questions Answered: Pumpkin Banana Bread FAQ
We’ve gathered some of the most common questions about making this delightful pumpkin banana bread to help you achieve perfect results every time.
This recipe was specifically developed and tested using whole wheat flour, which absorbs liquids differently than all-purpose white flour. Therefore, a direct 1:1 substitution of white flour for whole wheat flour is not recommended, as it will likely result in a much wetter batter and a denser, less risen bread. You might need to adjust the liquid content if you experiment, but for best results, stick to whole wheat flour as specified.
No, it’s crucial to use pure pumpkin puree, also sometimes labeled as ‘100% pure pumpkin.’ Pumpkin pie filling is a completely different product; it already contains added sugars, spices, and sometimes other ingredients. Using pumpkin pie filling instead of pure pumpkin puree would make this bread far too sweet, overpoweringly spiced, and could alter its texture significantly. Always double-check the label!
While I haven’t personally tested this specific pumpkin banana bread recipe with homemade pumpkin puree, it can generally be used in place of store-bought canned pumpkin. However, homemade puree can sometimes be a bit more watery. If you decide to use it, I highly recommend draining any excess liquid by placing it in a fine-mesh sieve lined with cheesecloth for 15-30 minutes. This will help prevent the bread from becoming too wet or dense.
This recipe, as written, is dairy-free but not fully vegan because it includes one large egg. I haven’t attempted to make this specific version vegan myself. However, if you are looking for a delicious plant-based option, I highly recommend checking out this recipe for vegan pumpkin bread, which uses flax eggs or other egg substitutes.
For optimal results and proper rising, you’ll need a standard 9×5 inch (23×13 cm) loaf pan for this recipe. Using a smaller 8.5×4.5 inch pan will result in too much batter for the pan. This can cause the bread to overflow during baking and prevent it from cooking through properly in the center, leading to a raw or underbaked core and an unappealing texture.
Absolutely! This recipe is incredibly adaptable to muffin form. In fact, I have a very similar recipe specifically for whole wheat pumpkin banana muffins that you might find helpful. The baking time will be significantly shorter for muffins, typically 20-25 minutes, so keep an eye on them. You’ll want to fill muffin liners about two-thirds full.
Key Recipe Tips for Achieving Perfect Results Every Time
To ensure your pumpkin banana bread turns out perfectly soft, moist, and flavorful, keep these essential baking tips in mind. They address common pitfalls and will help you achieve a professional-quality loaf:
- Embrace Your Kitchen Scale: For unparalleled accuracy, particularly with dry ingredients like flour, I cannot recommend weighing your ingredients enough. The grams (g) measurements included in the recipe card are your best friend here. Cup measurements can vary widely depending on how ingredients are scooped, leading to inconsistent results. A kitchen scale eliminates this variability, ensuring precise ratios every time.
- Master the Flour Measurement: If you don’t have a kitchen scale, precise flour measurement is still vital. Always use the “spoon and level” method. Gently spoon the whole wheat flour into your measuring cup until it’s overflowing, then use the straight edge of a knife or a flat ruler to level off the excess. Never scoop flour directly from the bag or container with your measuring cup, as this compacts the flour, adding too much to your recipe and resulting in a dry, dense, or crumbly bread.
- Room Temperature Ingredients are Key: This seemingly small detail makes a big difference in baking. Ensure your natural almond butter (if refrigerated), egg, and almond milk are at room temperature. Room temperature ingredients emulsify and combine much more smoothly and evenly, creating a uniform batter. This leads to a better texture and a more consistent rise in your baked goods.
- Resist the Urge to Overmix: Once you combine the wet and dry ingredients, stir just until they are incorporated and no streaks of dry flour remain. Overmixing develops the gluten in the flour excessively, which can result in a bread that is tough, chewy, and dense instead of soft and tender. A few lumps in the batter are perfectly fine, even desirable!
- Avoid the Dreaded Underbake: This pumpkin banana bread is incredibly moist, which means it requires sufficient baking time to cook through properly. An underbaked loaf will be gummy and unpleasant. Begin checking for doneness around the 45-minute mark, but be prepared for it to take up to 55 minutes, or even a few minutes longer, depending on your oven. The toothpick test is your reliable indicator: it should come out clean or with only a few moist crumbs attached. Every oven is different, so trust your judgment and the toothpick!
Discover More Delicious Pumpkin Recipes
If you’ve fallen for the flavors of this pumpkin banana bread, you’re in for a treat! The versatility of pumpkin in baking is endless. Explore these other fantastic pumpkin-inspired recipes that are perfect for any occasion, especially during the fall season:
- Baked Pumpkin Pecan Protein Donuts
- Decadent Pumpkin Bundt Cake
- Easy & Moist Pumpkin Snack Cake
- Irresistible Pumpkin Spice Rice Krispie Treats
- Gluten-Free Almond Flour Pumpkin Cake
We truly hope you enjoy baking and savoring this healthy pumpkin banana bread. If you give this recipe a try, we’d absolutely love to hear your thoughts and experiences in the comments section below! Your feedback helps us and other bakers in our community.
HUNGRY FOR MORE? Follow Crumb Top Baking on Instagram, Pinterest and Facebook to stay updated with our latest delicious creations!
Print

Pumpkin Banana Bread (Dairy-Free & Oil-Free)
5 Stars
4 Stars
3 Stars
2 Stars
1 Star
No reviews
- Author: Leanne
Prep Time: 15 minutes
Cook Time: 50 minutes
Total Time: 1 hour 5 minutes
Yield: 10 slices
Category: Dessert
Method: Bake
Cuisine: American, Canadian
Description
This Pumpkin Banana Bread is a truly exceptional treat: dairy-free and oil-free, made with wholesome whole wheat flour, and naturally sweetened with a perfect balance of coconut sugar and delightful chocolate chips. It’s the ideal healthy quick bread for any occasion.
Ingredients
- 1 3/4 cup (234g) whole wheat flour
- 2 1/2 teaspoons pumpkin spice
- 1 teaspoon baking soda
- 1/2 teaspoon fine sea salt
- 3/4 cup (193g) mashed banana (about 2 very ripe bananas)
- 3/4 cup (190g) pure pumpkin (not pumpkin pie filling)
- 1/2 cup (120 ml) unsweetened almond milk
- 1/3 cup (90g) natural almond butter, room temperature
- 1/4 cup (40g) coconut sugar
- 1 large egg, room temperature
- 1 teaspoon vanilla extract
- 3/4 cup (145g) plant-based chocolate chips
Instructions
- Preheat oven to 350F (175°C). Grease and line a 9×5 inch loaf pan with overhanging parchment paper. This parchment sling will make removing the baked loaf much easier.
- In a medium-sized bowl, whisk together the whole wheat flour, pumpkin spice, baking soda, and fine sea salt until well combined.
- In a large bowl, whisk together the mashed banana, pumpkin puree, unsweetened almond milk, room-temperature natural almond butter, coconut sugar, large egg, and vanilla extract until smooth.
- Add the dry ingredients to the wet mixture. Using a spatula, stir until just combined. Be very careful not to overmix; a few small lumps are perfectly acceptable.
- Gently stir in the plant-based chocolate chips. If desired, reserve about a quarter of the chocolate chips to sprinkle on top of the batter before baking.
- Pour the prepared batter evenly into the lined loaf pan. If you reserved chocolate chips, sprinkle them over the top for a lovely visual appeal.
- Bake for 48-52 minutes, or until a wooden toothpick inserted into the center of the loaf comes out clean (or with just a few moist crumbs attached). Baking times may vary by oven.
- Remove the loaf from the oven and let it cool in the pan for 10 minutes. This helps it set. After 10 minutes, use the parchment paper overhang to carefully lift the bread from the pan and transfer it to a wire rack to cool completely before slicing and serving.
Notes
- For optimal results, use a 9×5 inch loaf pan. Using a smaller 8.5×4.5 inch pan will result in too much batter, causing the bread to overflow or bake unevenly.
- For greater accuracy in baking, especially with dry ingredients, use a kitchen scale to measure ingredients in grams. Cup measurements can often be inconsistent.
- If you don’t have a kitchen scale, always measure flour using the spoon and level method. Scooping flour directly from the container compacts it, leading to too much flour and a dry loaf.
- Ensure all cold ingredients like natural almond butter (if refrigerated), egg, and almond milk are at room temperature before mixing. This promotes better emulsification and a smoother batter.
- Avoid overmixing the batter once wet and dry ingredients are combined. Overmixing can develop gluten too much, resulting in a dense and chewy texture rather than a tender one.
- This bread is very moist, so proper baking is essential. It’s better to slightly overbake than underbake. Start checking with a toothpick around 45 minutes; it might take up to 55 minutes or more depending on your oven.
- For more detailed advice, common questions, and delicious variations, be sure to review the expanded sections above the recipe card!
