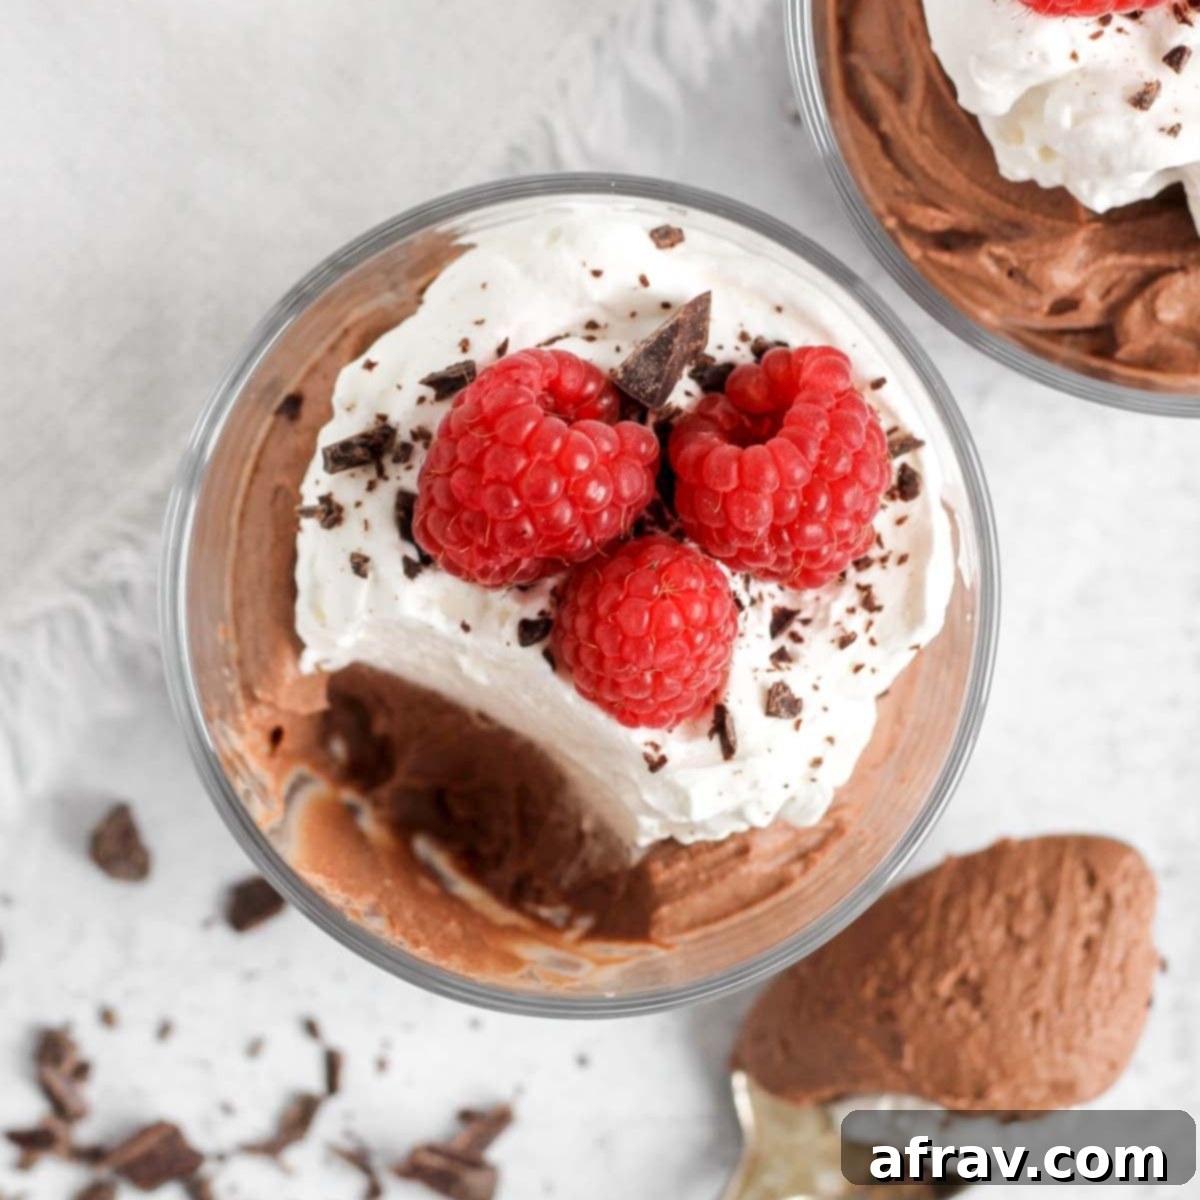
Irresistibly Silky & Easy Vegan Chocolate Mousse (4 Ingredients, 5 Minutes Prep!)
Prepare to indulge in the most exquisite vegan chocolate mousse you’ve ever tasted! This dessert is unbelievably smooth, wonderfully airy, and delightfully light, all thanks to the magic of coconut cream. This simple chocolate recipe delivers a truly silky, decadent, and melt-in-your-mouth experience that will impress even the most discerning palates. The absolute best part? It demands just 4 readily available ingredients and comes together in an astonishing 5 minutes of active prep time!
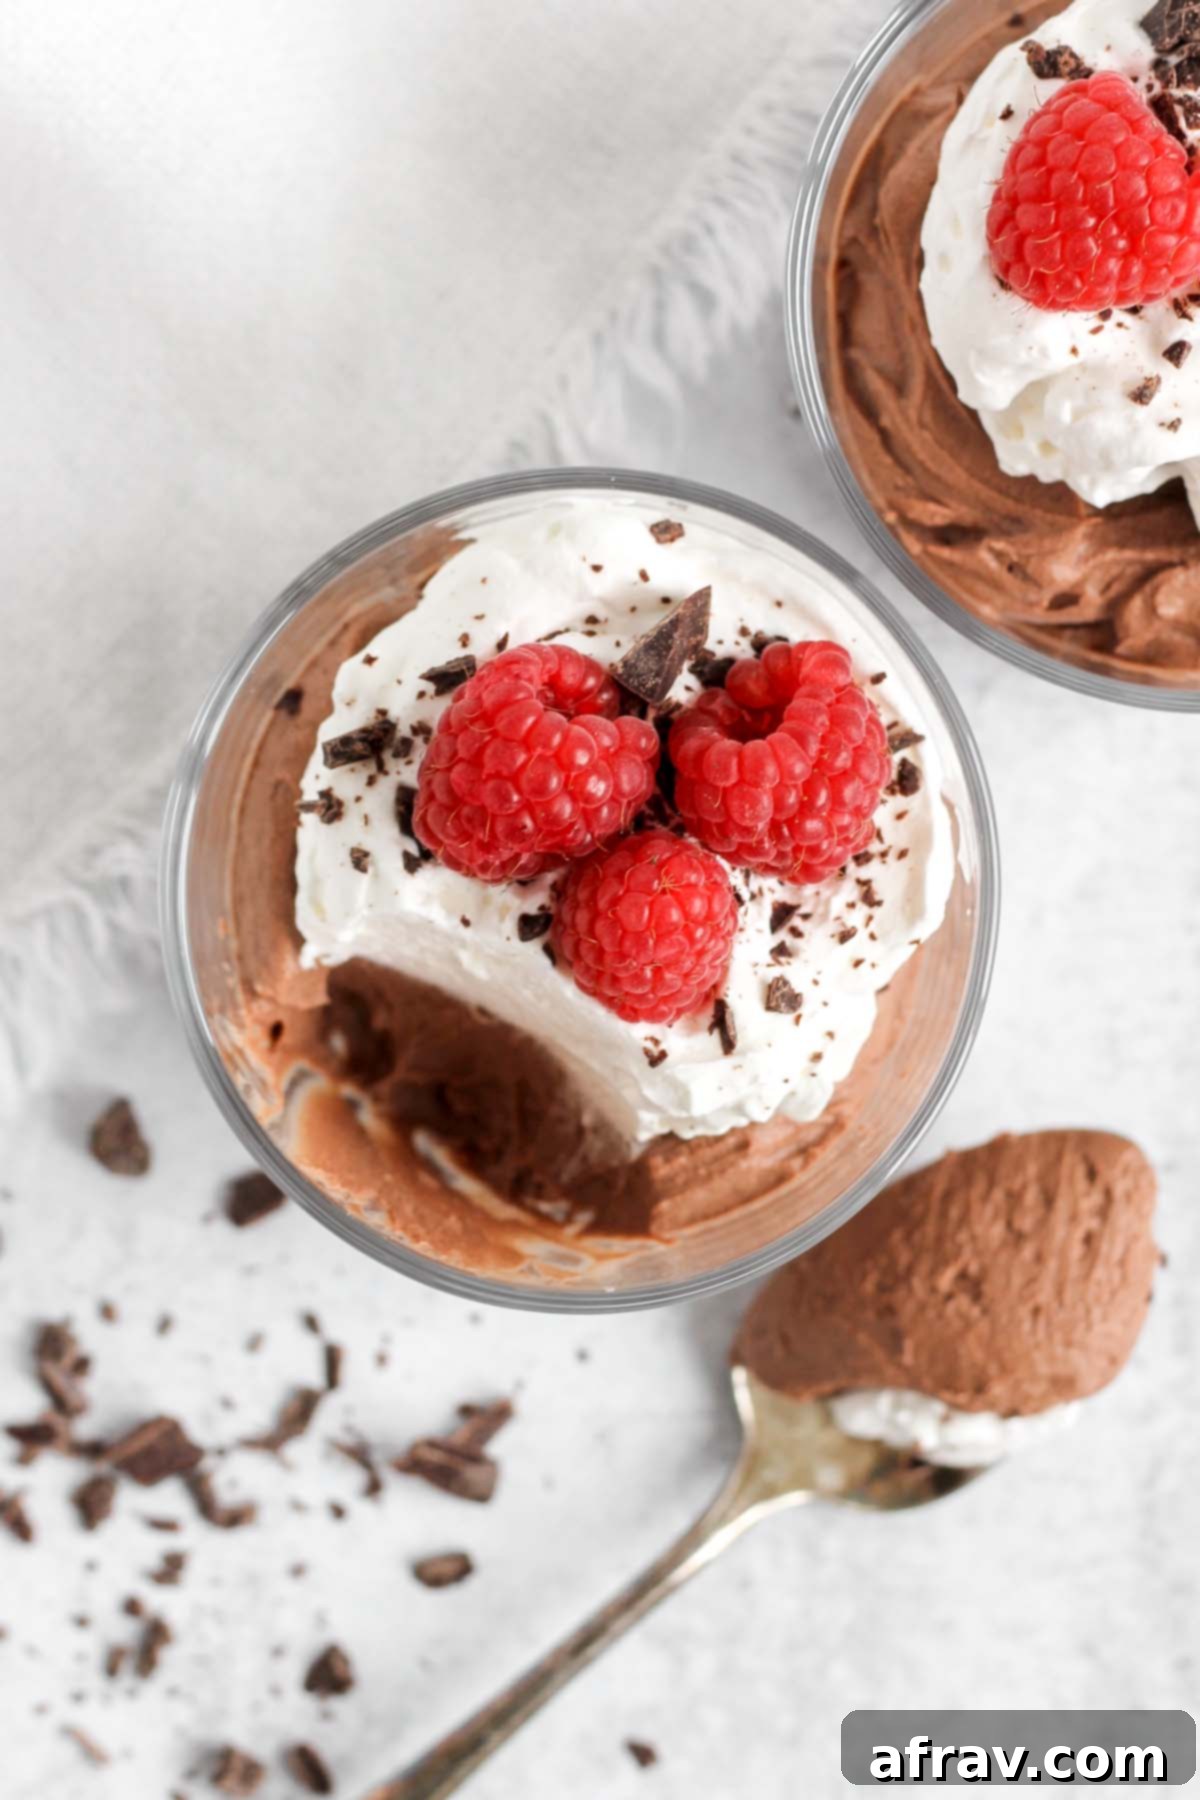
Get ready to be enchanted by the rich, velvety taste of chocolate with this incredibly easy vegan chocolate mousse. Whether you’re planning a romantic date night at home or hosting a sophisticated dinner party, this delicious plant-based dessert is your perfect go-to. The recipe is easily scalable, allowing you to effortlessly double or even triple the quantities to serve a larger crowd without any added stress.
What truly sets this dessert apart are the simple, wholesome, and clean ingredients used in its creation. As someone who appreciates delicious food made from natural components, I find great joy in discovering recipes like this one. While I might not be strictly vegan myself, I frequently seek out and adore desserts crafted from straightforward vegan ingredients. If you share this sentiment and are eager to explore more delightful vegan treats, you’re in luck! Be sure to check out my other fantastic recipes, including my healthy Samoa cookies, refreshing no-bake vegan fruit tarts, nutritious carrot cake energy balls, irresistible vegan chocolate turtles, and delightful dark chocolate peanut butter balls. Each offers a unique way to enjoy plant-based goodness!
Why You’ll Fall in Love with This Vegan Chocolate Mousse Recipe
This isn’t just another dessert; it’s a game-changer for anyone seeking a quick, delicious, and diet-friendly treat. Here’s why this vegan chocolate mousse will quickly become a staple in your recipe repertoire:
- Intense Chocolate Flavor – Who doesn’t adore the rich, deep taste of chocolate? This mousse delivers an incredibly satisfying cocoa punch that’s both creamy and luxurious. It’s the perfect way to satisfy your chocolate cravings in a wholesome way.
- No Refined Sugar – Say goodbye to guilt! This recipe uses only pure maple syrup for a touch of natural sweetness. This means you can indulge in a decadent dessert without any of the processed sugars often found in traditional mousse recipes, making it a healthier choice.
- Surprisingly Easy to Make – Forget the complex techniques and multiple steps often associated with classic chocolate mousse. Our vegan version simplifies the process dramatically. With just a few quick mixing sessions using coconut cream and the other core ingredients, you’ll have a beautifully textured dessert ready in minutes. It’s perfect for beginner bakers or those short on time.
- Just 4 Simple Ingredients – Yes, you read that correctly! You only need four basic ingredients to create this gourmet-tasting dessert. This minimal ingredient list makes grocery shopping a breeze and proves that extraordinary flavor doesn’t require a complicated pantry.
- Accommodates Various Dietary Needs – This recipe is a dream come true for many. It’s crafted entirely with gluten-free, vegan, and Paleo-friendly ingredients. This makes it a fantastic option for guests with different dietary preferences or allergies, ensuring everyone can enjoy a slice of dessert heaven.
- Quick & Convenient – From start to finish, the active preparation time is less than 5 minutes. While it benefits from a short chill, the hands-on time is incredibly minimal, making it ideal for spontaneous dessert cravings or busy schedules.
Essential Ingredient Notes for Perfect Mousse
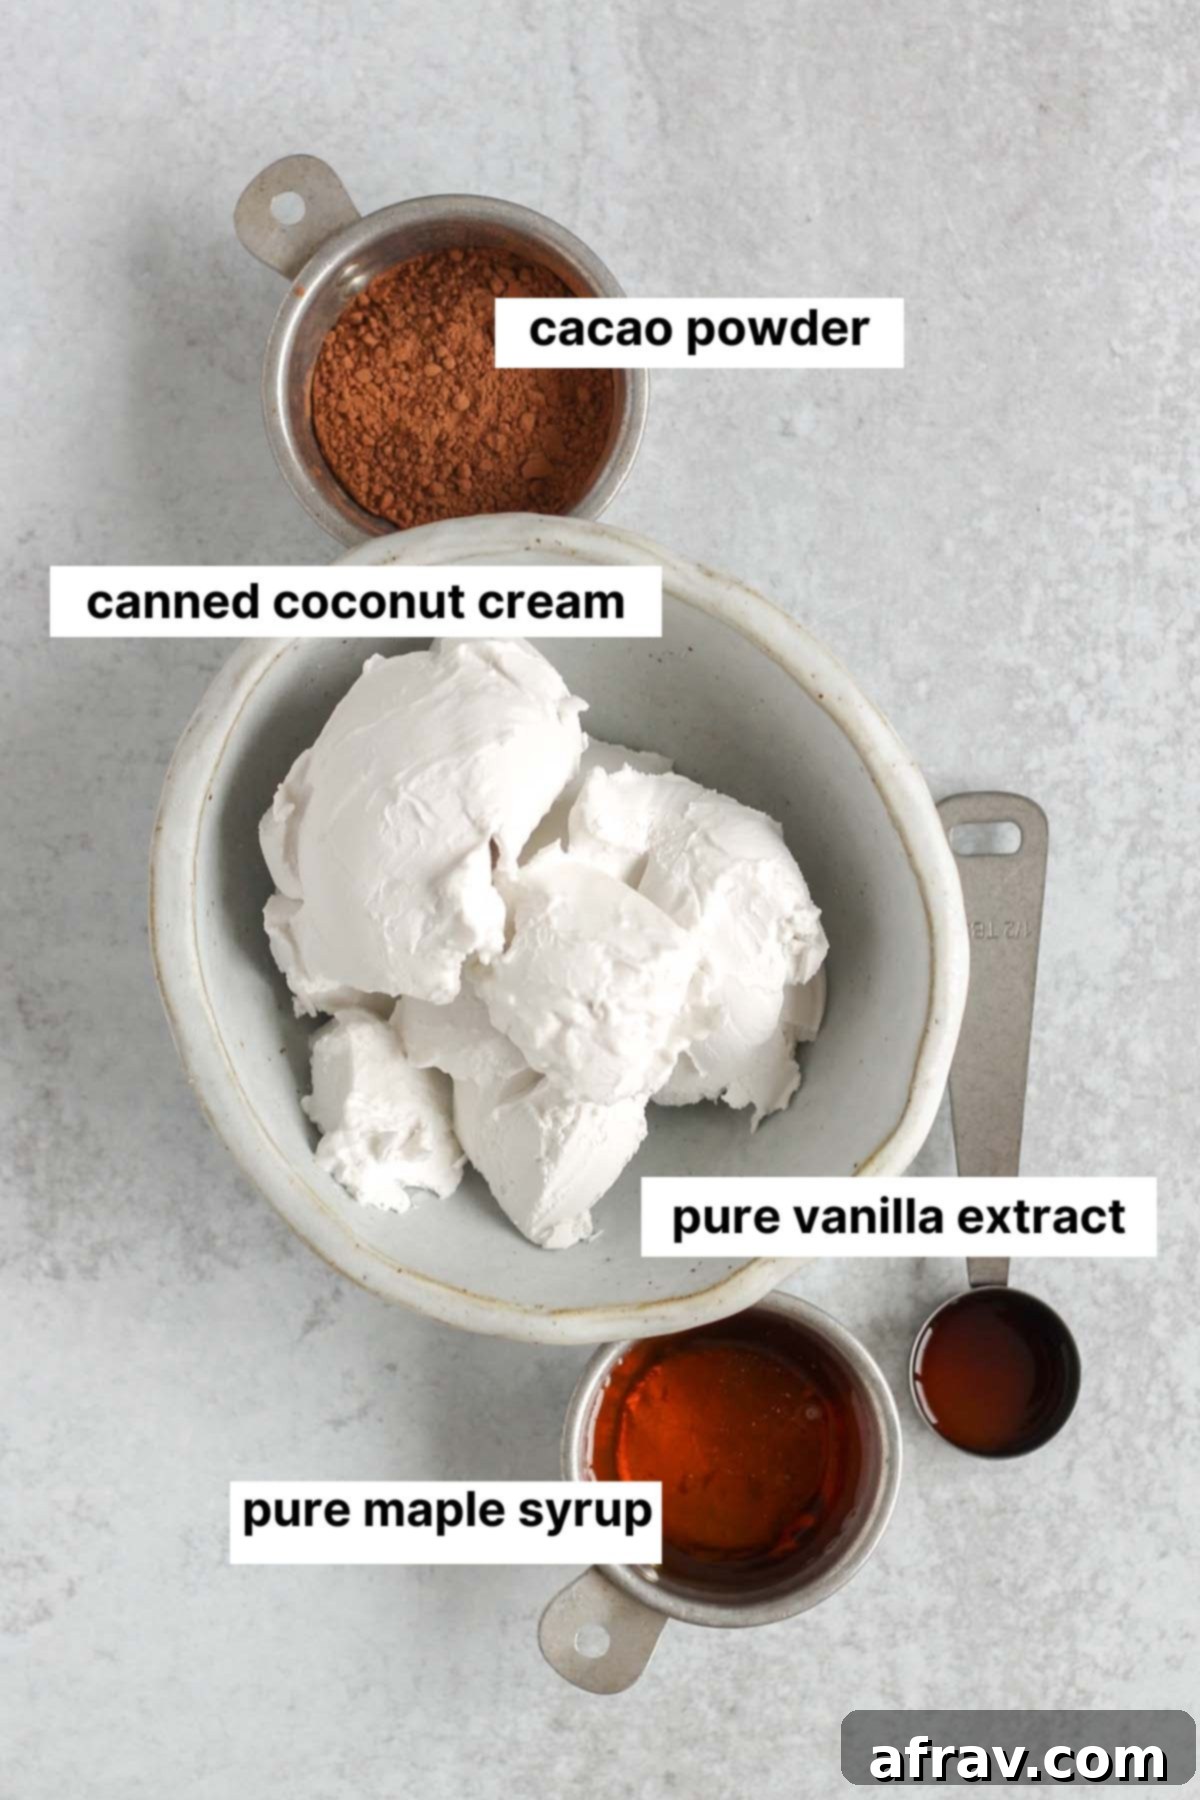
For a precise list of all ingredients and their exact quantities, please refer to the detailed recipe card located further below. However, here are some crucial notes and tips to help you select the best ingredients for an exceptionally smooth and delicious vegan chocolate mousse.
- Canned Coconut Cream: The Foundation of Your Mousse – This is the star ingredient that gives our mousse its incredibly rich, creamy, and airy texture. I cannot stress enough the importance of using high-quality canned coconut cream over coconut milk. Coconut cream has a much higher fat content, which is essential for achieving that light, whipped consistency. If you absolutely cannot find canned coconut cream, full-fat canned coconut milk can be used as a substitute, but be aware that the final mousse might be slightly less firm. Under no circumstances should you use “light coconut milk,” as it lacks the necessary fat content and will not whip properly. Most importantly, remember to chill the can of coconut cream (or full-fat coconut milk) in your fridge overnight. This crucial step allows the thick, solid cream to separate from the watery liquid, making it easy to scoop out the desired cream for whipping.
- Cacao Powder: For Rich Flavor and Health Benefits – I always opt for cacao powder rather than cocoa powder for this recipe, and here’s why. Cacao is made by cold-pressing raw cocoa beans, a process that minimizes heat exposure. This helps preserve the beans’ natural enzymes, antioxidants, and a richer nutritional profile, making it a more nutrient-dense choice. Cocoa powder, on the other hand, is typically roasted at high temperatures, which can diminish some of its beneficial enzymes and antioxidant content. While cacao offers superior nutritional benefits and a deeper, more complex chocolate flavor, you can certainly substitute it with unsweetened cocoa powder if that’s what you have on hand. The flavor will still be delicious, but cacao elevates it to another level.
- Pure Maple Syrup: Natural Sweetness Done Right – We use pure maple syrup as our natural sweetener, aligning perfectly with the refined sugar-free aspect of this recipe. Choose a good quality, pure maple syrup for the best flavor. Avoid artificial maple-flavored syrups, which contain corn syrup and artificial ingredients. Maple syrup adds a subtle, earthy sweetness that complements the rich chocolate beautifully.
- Vanilla Extract: A Touch of Aromatic Depth – A good quality vanilla extract is key to enhancing the overall flavor profile of your chocolate mousse. It rounds out the chocolate notes and adds a warm, aromatic depth that makes the dessert truly irresistible. Opt for pure vanilla extract over imitation vanilla for the best taste.
Easy Step-by-Step Instructions for Vegan Chocolate Mousse
Creating this rich and creamy vegan chocolate mousse is surprisingly simple. Follow these straightforward steps to achieve a dessert that looks and tastes gourmet, all with minimal effort.
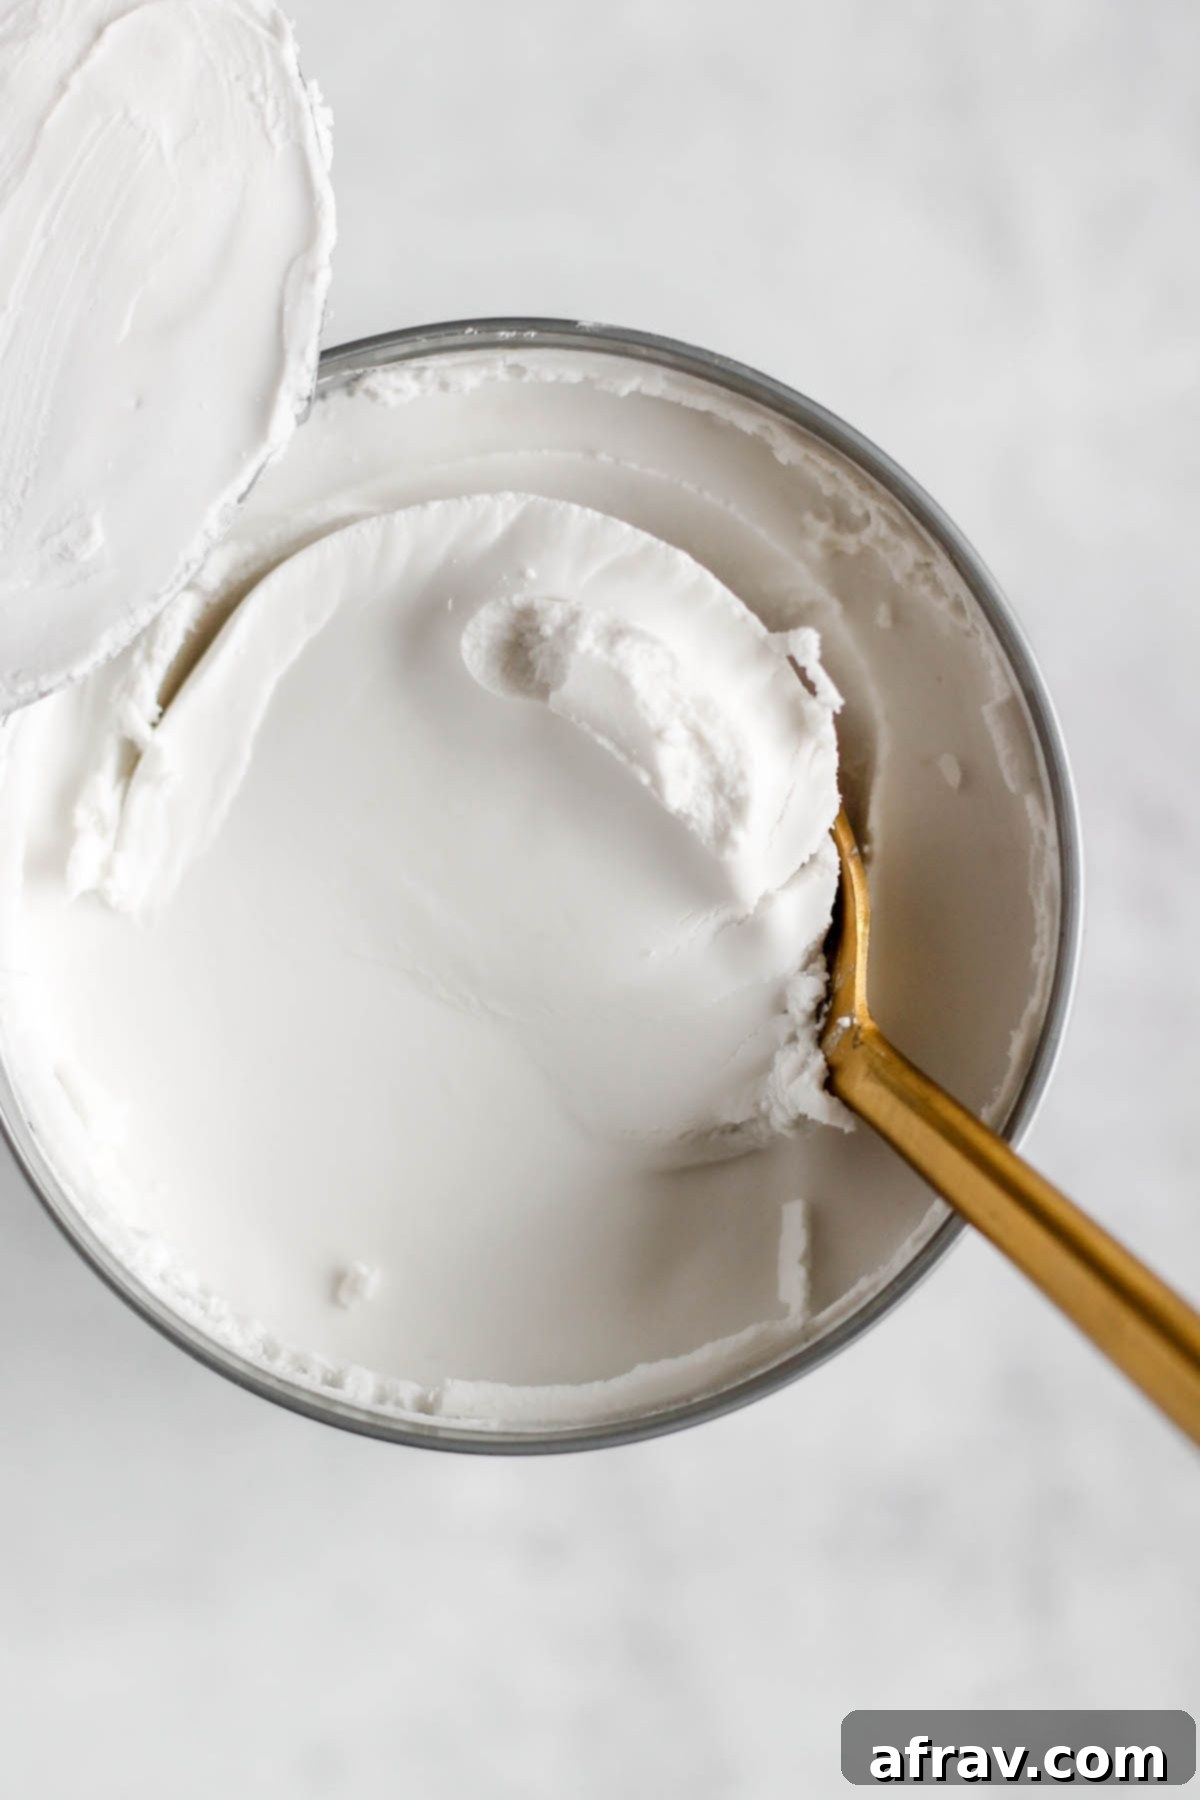
Step 1: Extract the Coconut Cream. First, carefully open your thoroughly chilled can of coconut cream. It’s essential not to shake or mix the can beforehand, as you want the solid cream to remain separated from the liquid. Using a clean spoon, gently scoop the thick, solid cream from the top of the can and transfer it into a medium-sized mixing bowl. You can discard the watery liquid at the bottom, or save it for smoothies or other recipes.
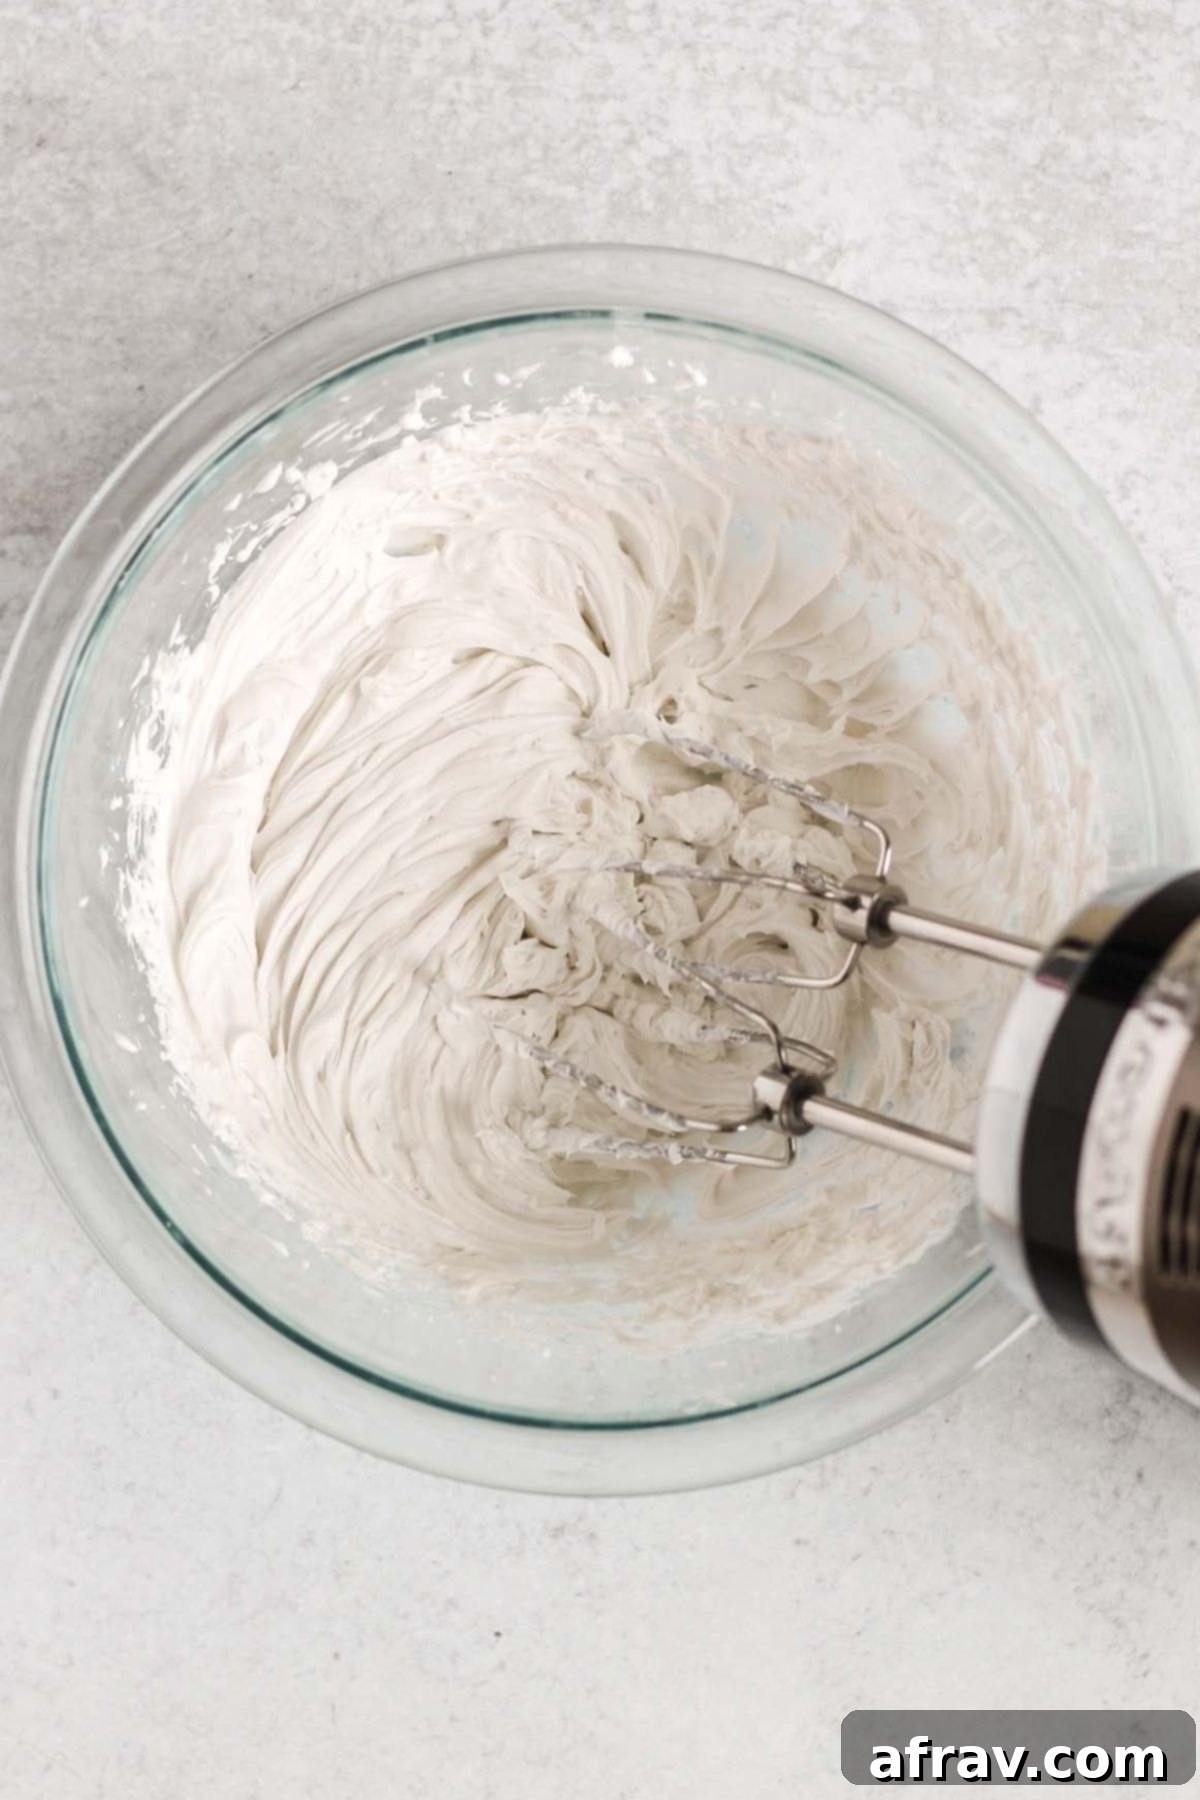
Step 2: Whip the Coconut Cream. Now, using a hand-held mixer (or a stand mixer with a whisk attachment), begin to beat the solid coconut cream on medium-high speed. Continue beating until the cream becomes light, fluffy, and soft peaks start to form. This usually takes only about 20-30 seconds. Be careful not to overbeat, as it can cause the cream to become grainy.
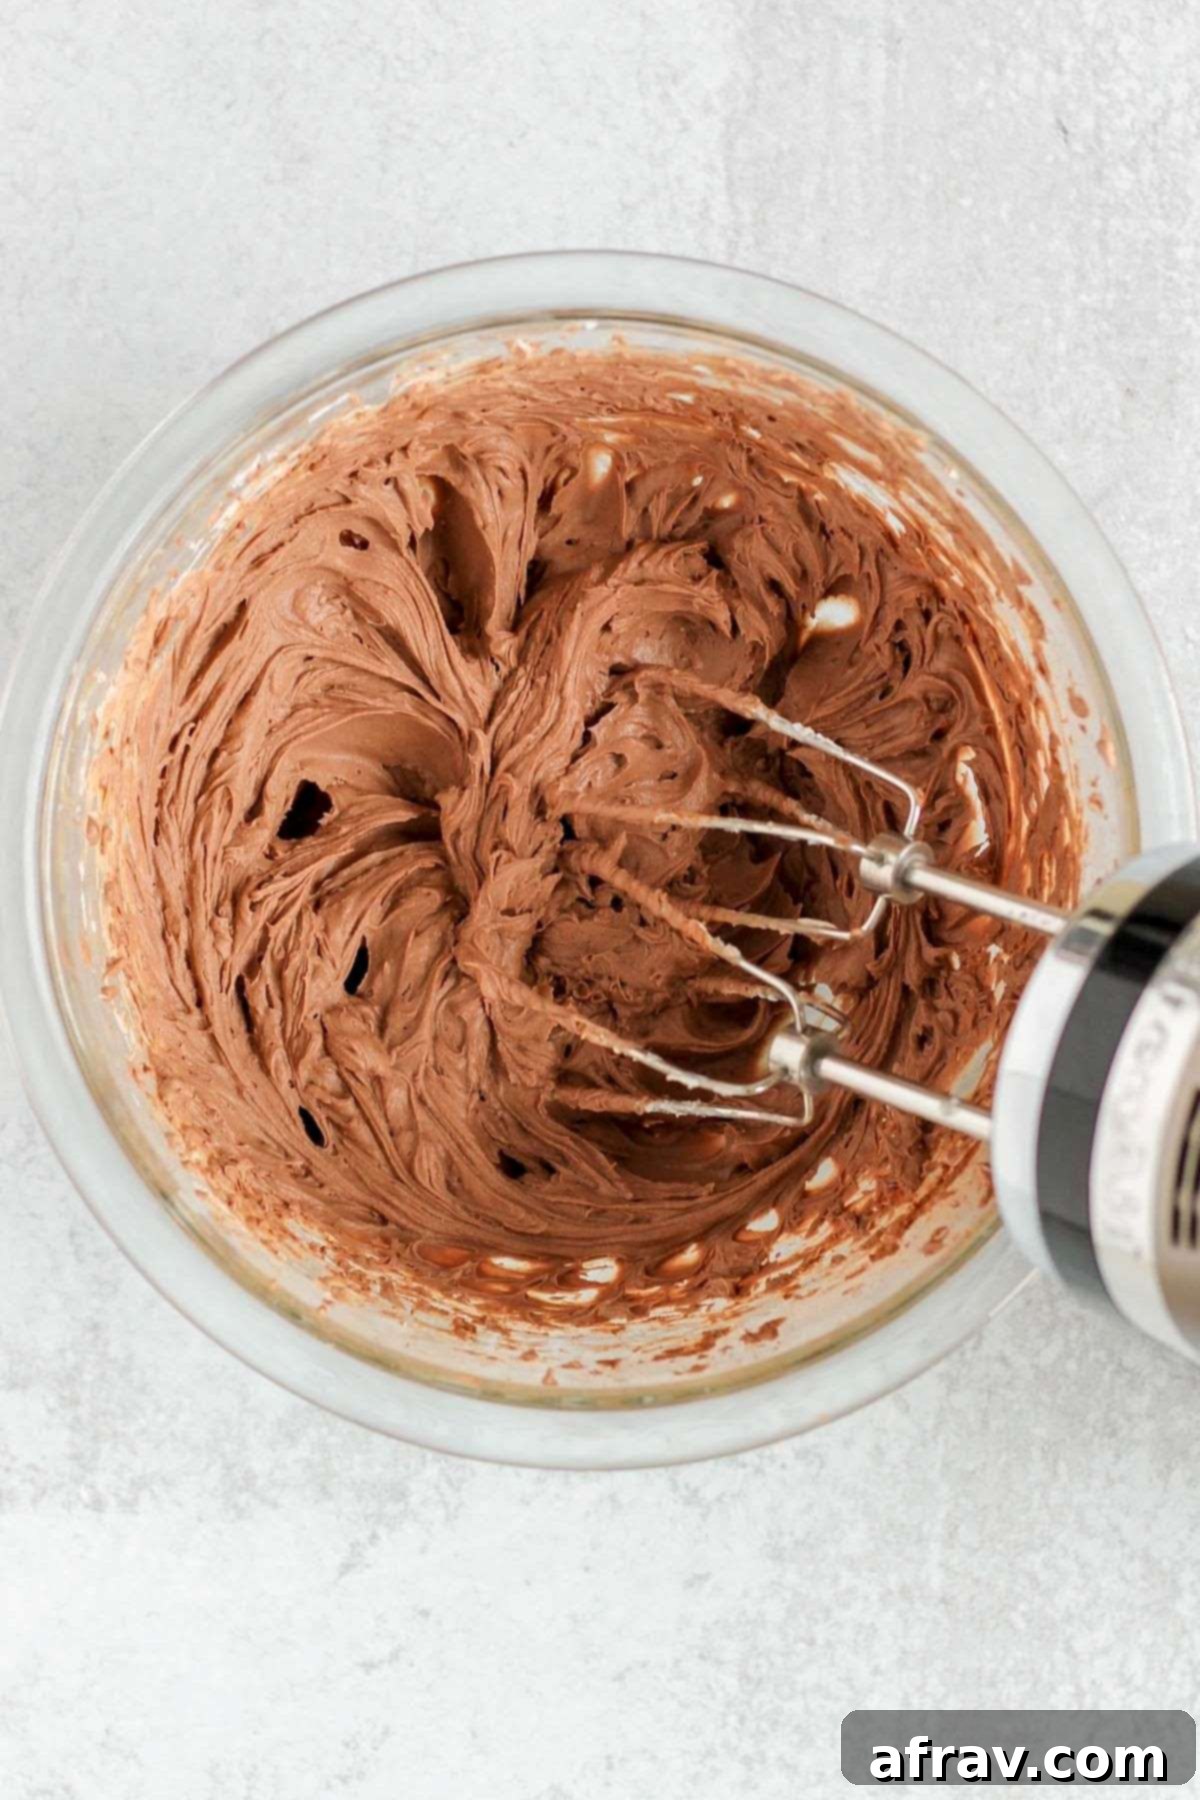
Step 3: Incorporate Chocolate and Sweetness. Add the cacao powder, vanilla extract, and pure maple syrup to the whipped coconut cream. Start by beating on a low speed, just enough to gently incorporate the cacao powder without creating a cloud of cocoa dust. Once mixed, increase the speed to medium-high and continue beating until the mousse becomes thick, creamy, and wonderfully uniform. This should take approximately 30-45 seconds. Taste a small spoonful and adjust the sweetness or chocolate intensity if desired by adding a tiny bit more maple syrup or cacao powder.
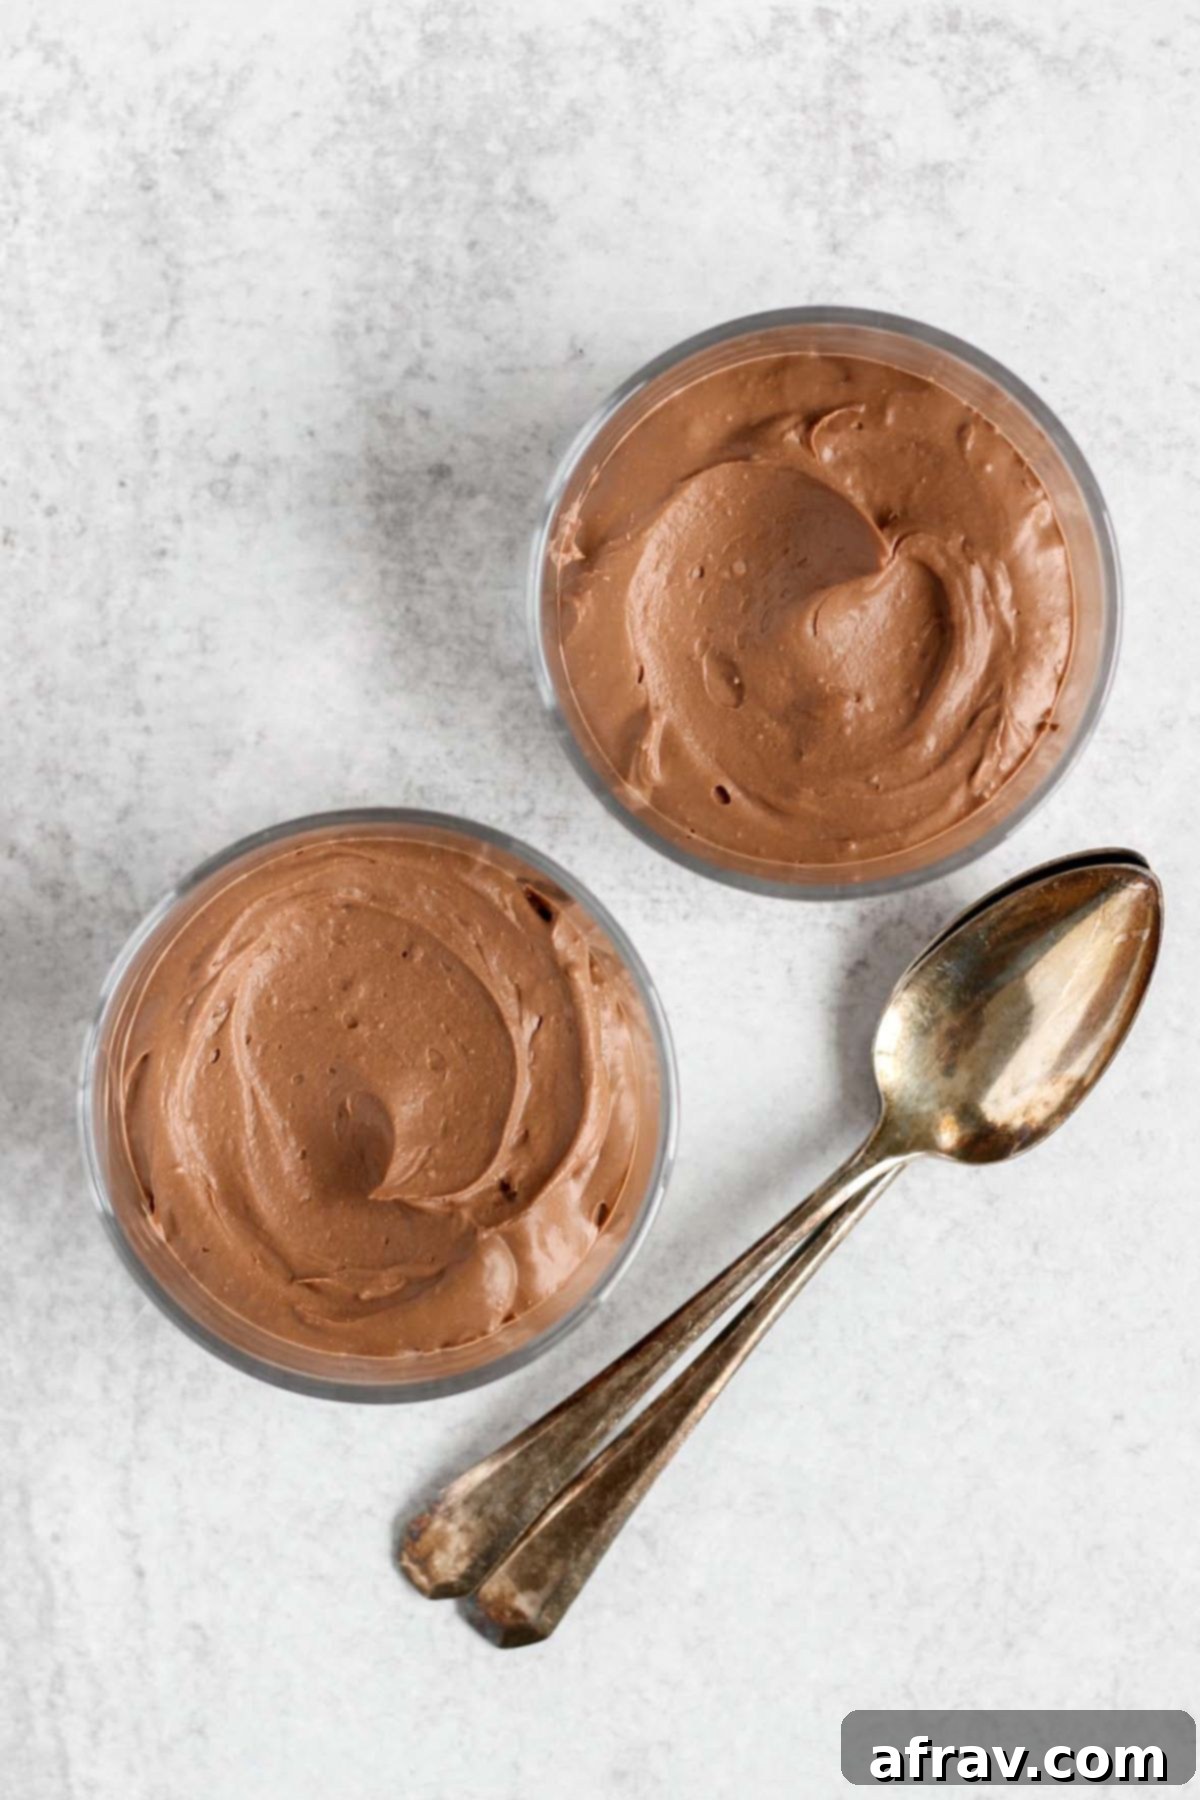
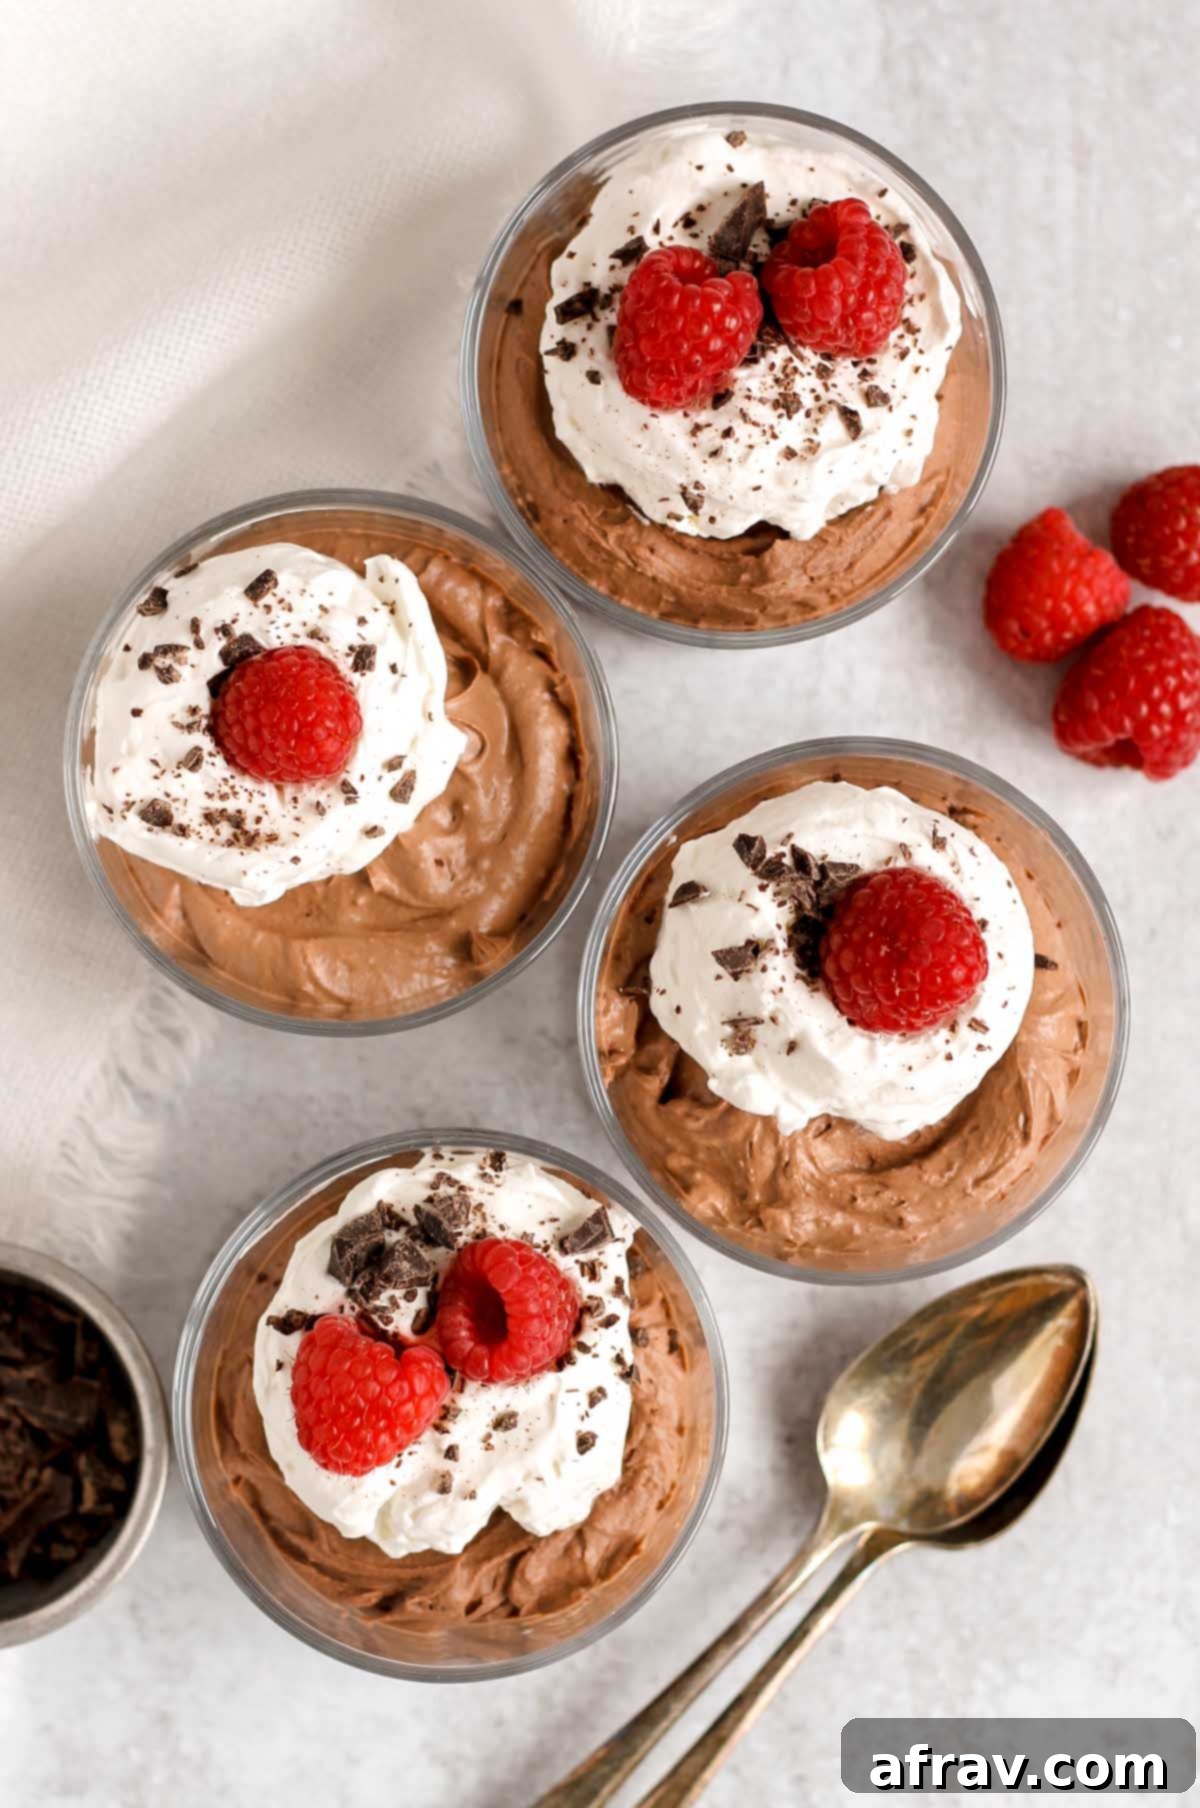
Step 4: Chill and Serve. Once your mousse is perfectly whipped, equally divide it between two small dessert bowls or ramekins. For the best texture and flavor, place the bowls back into the fridge and allow them to chill for a minimum of 15 minutes. This setting time helps the mousse firm up beautifully. Before serving, unleash your creativity! Top your luscious vegan chocolate mousse with a dollop of homemade coconut whipped cream, a handful of fresh berries like raspberries or strawberries, delicate chocolate shavings, or even a sprinkle of sea salt flakes for an exquisite flavor contrast.
Expert Tips for the Most Delicious Vegan Chocolate Mousse Every Time
Invest in Quality Canned Coconut Cream. The brand of coconut cream you choose makes a significant difference in the final texture of your mousse. Some brands can be slightly grainy or too watery, which will prevent your mousse from achieving that signature smooth, airy consistency. From my experience, Thai Kitchen and Let’s Do Organic are consistently the best options for a super smooth result (though I recommend sourcing Let’s Do Organic from a local grocer to avoid inflated online prices). Absolutely avoid brands like Good and Gather (Target’s brand), as it tends to be notably grainy.
Chill Your Coconut Cream Overnight. This step is non-negotiable for success. Placing the canned coconut cream in the fridge overnight (or for at least 8 hours) allows the rich, solid coconut cream to fully separate and rise to the top, leaving the watery liquid below. This separation is crucial for easily scooping out the thick cream needed for whipping into a fluffy mousse.
Avoid Overbeating the Coconut Cream. Once you start whipping the coconut cream, keep a close eye on it. Beat just until it reaches a light, creamy, and slightly fluffy consistency with soft peaks forming. Overbeating can cause the coconut cream to curdle and separate, resulting in a grainy or oily texture instead of a smooth mousse. It’s better to underbeat slightly than to overbeat.
Sift Your Cacao Powder. For an even smoother mousse and to prevent any lumps, it’s a good idea to sift your cacao powder before adding it to the whipped coconut cream. This simple step ensures better integration and a perfectly uniform texture.
Customize Your Flavor Profile. While delicious as is, you can easily experiment with additional flavors. Try incorporating ½ tsp. of espresso powder (or more to taste) to deepen the chocolate notes, or add ¼ tsp. of mint or peppermint extract (adjust to your preference) for a refreshing twist. A pinch of sea salt can also enhance the chocolate flavor.
Adjust Sweetness and Chocolate Intensity. After the initial mix, always taste your mousse! If you prefer it sweeter, add a little more maple syrup. For an even richer chocolate experience, a small amount of additional cacao powder can be stirred in. Remember to do this gradually, tasting as you go.
Frequently Asked Questions About Vegan Chocolate Mousse
Absolutely! All the ingredients used in this easy vegan chocolate mousse recipe are naturally gluten-free, making it a safe and delicious option for those with gluten sensitivities or dietary preferences.
While the base is coconut cream, the chocolate and vanilla flavors are quite dominant. There might be a very slight, subtle coconut undertone, which many people find pleasant. However, if you’re sensitive to coconut flavor, you can always increase the amount of cacao powder and/or maple syrup slightly to further mask it and enhance the rich chocolate taste.
Canned coconut cream is significantly thicker and contains a higher concentration of coconut meat and less water compared to canned coconut milk. This higher fat content is crucial for achieving the desired thick, airy, and whipped consistency that defines a perfect mousse. For the best results in this recipe, I highly recommend using canned coconut cream.
A grainy texture is almost always due to the brand or quality of coconut cream you’ve used. To ensure a silky-smooth mousse, it’s vital to use a high-quality canned coconut cream. Based on my tests, brands like Thai Kitchen or Let’s Do Organic (when purchased fresh, not necessarily online at inflated prices) consistently yield the best results. These brands separate well and whip up beautifully smooth. Avoid brands that are known to be grainy, like Target’s Good and Gather.
Yes, you can. For a Paleo option, date syrup could work, though it might alter the color and add a distinct flavor. Agave nectar is another vegan alternative. If not strictly Paleo, a liquid sweetener like a simple syrup (cooled) or a sugar-free syrup could also be considered, but adjust quantities to taste as sweetness levels vary.
Beyond choosing a good brand and chilling it overnight, make sure your mixing bowl and beater attachments are clean and dry. Any residual grease can hinder the whipping process. Also, ensure your kitchen isn’t excessively warm, as coconut cream can soften quickly.
Making Ahead and Serving Your Vegan Chocolate Mousse
One of the fantastic advantages of this vegan chocolate mousse is how easily it can be prepared in advance, making it a perfect stress-free dessert for entertaining or simply for having a treat ready for later. Once prepared, simply store it in the fridge until you’re ready to serve. For optimal freshness, flavor, and texture, I highly recommend enjoying this delightful mousse within 24 hours of making it. While it will keep longer, the texture is at its peak within the first day.
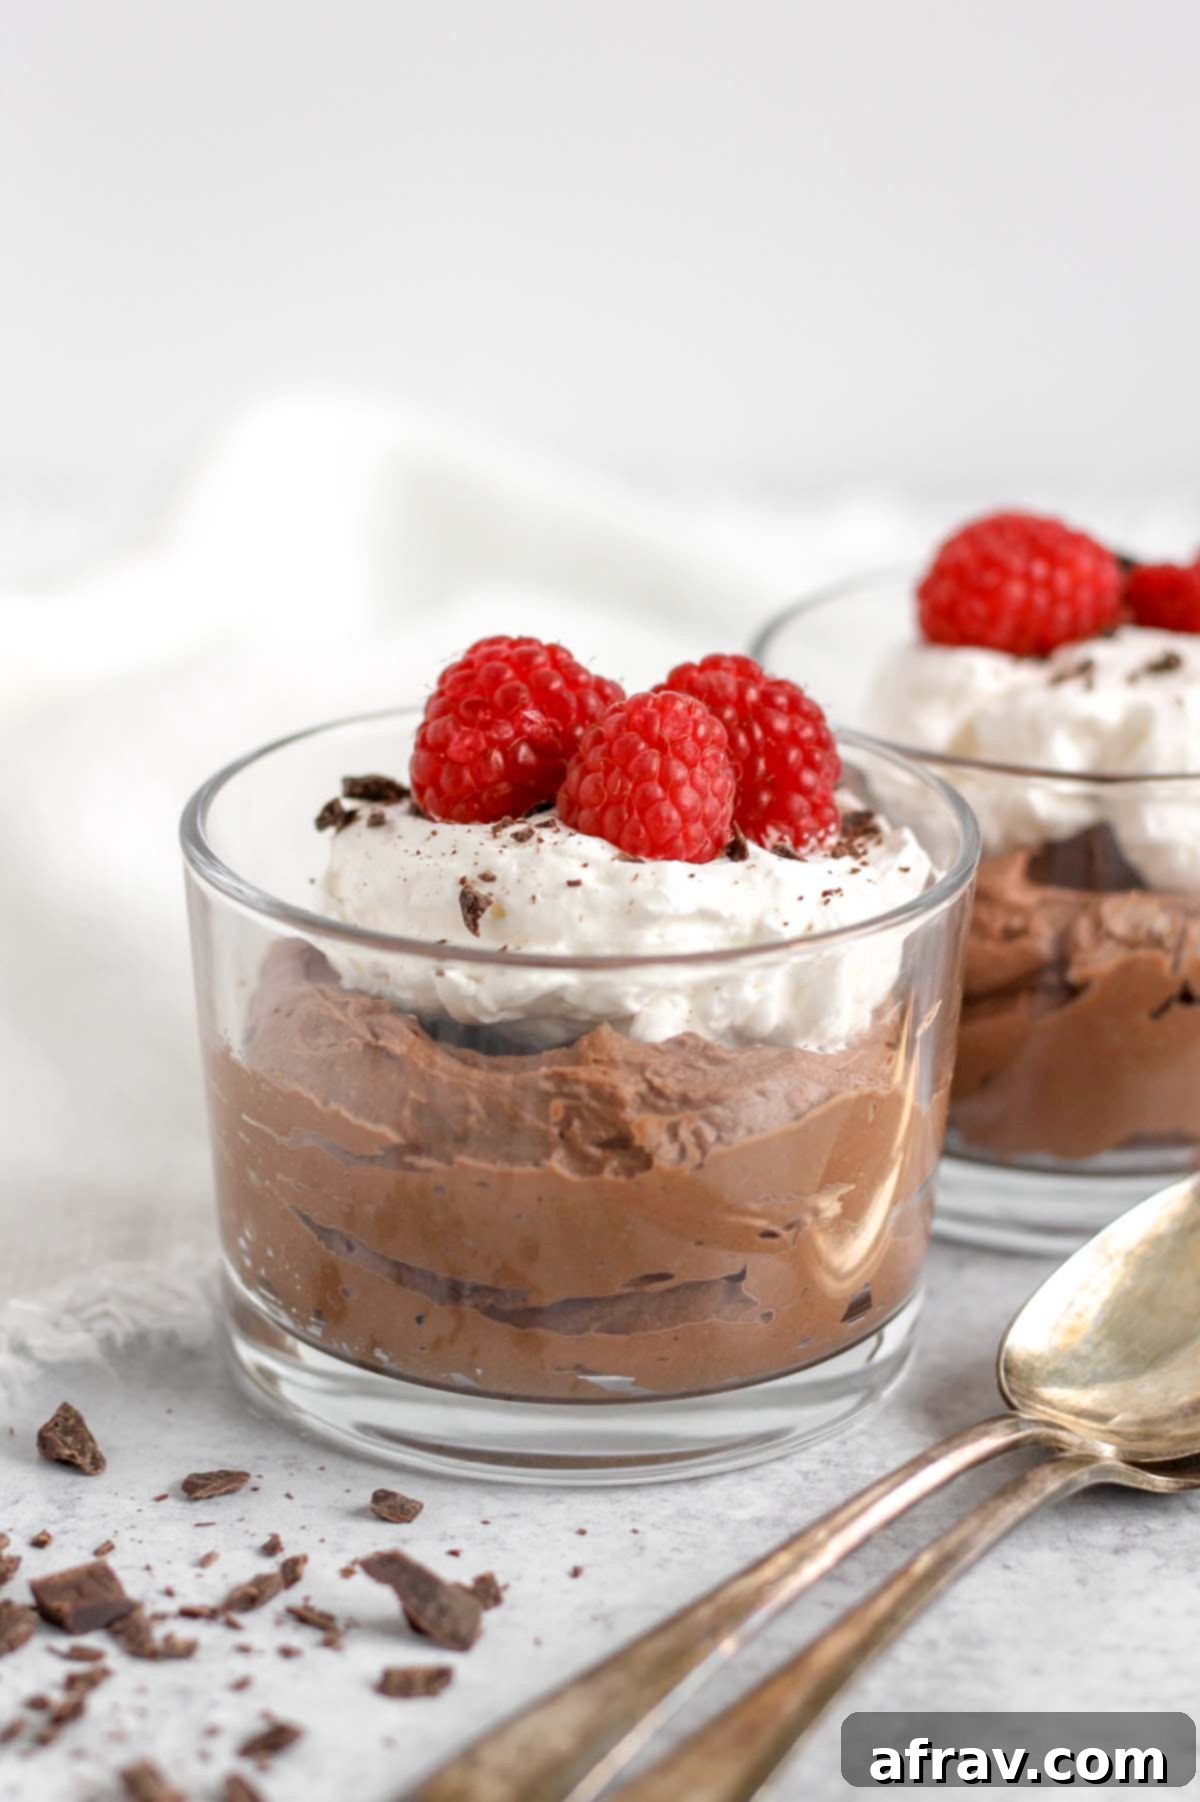
Elegant Serving Ideas: Presentation can elevate any dessert, and this mousse is no exception. I personally adore serving this rich vegan treat in these charming small glass dessert bowls, which perfectly showcase its luscious texture. Alternatively, you can use classic small ramekins for a more traditional look. The key is to use individual portions for a touch of elegance and convenience.
Irresistible Topping Suggestions: Enhance your chocolate mousse with a variety of delicious toppings. A cloud of homemade coconut whipped cream (or your favorite store-bought vegan whipped cream) is a classic choice. Fresh fruit, especially vibrant raspberries or sweet strawberries, pairs exquisitely with the rich chocolate and adds a burst of freshness. For an extra layer of decadence, sprinkle with delicate sea salt flakes to contrast the sweetness, or adorn with some freshly chopped high-quality dark chocolate shavings for an added textural and flavor dimension. A few mint leaves can also provide a beautiful garnish and a refreshing aroma.
Storing Your Leftover Vegan Chocolate Mousse
This recipe is perfectly portioned to yield two generous servings, so you might not have many leftovers! However, if you do find yourself with extra mousse, it stores beautifully. Simply cover the dessert bowls tightly with plastic wrap or transfer any remaining mousse to an airtight container. It can be safely stored in the refrigerator for 3-4 days. While it remains delicious, the texture might soften slightly over time, so enjoying it fresh is always recommended.
Explore More Delicious Chocolate Recipes
If you’re a true chocolate lover, your journey doesn’t have to end with this incredible vegan chocolate mousse. Dive into a world of rich, decadent, and wholesome chocolate creations with these other fantastic recipes:
- Chocolate Protein Banana Bread
- Chocolate Protein Pancakes
- Fudgy Oat Flour Brownies
- Chocolate Baked Oats (no banana)
If you whip up this fantastic vegan chocolate mousse recipe, please let me know what you think! Your feedback is invaluable, and I would be incredibly grateful if you could leave a star rating and/or a comment below to share your experience. And don’t forget to capture a photo of your beautiful creation and share it on Instagram or Facebook, making sure to mention @CleanPlateMama! I love seeing your culinary masterpieces.
Eat Clean. Be Well!
-Sara

Vegan Chocolate Mousse
Print
Pin
Rate
Save This Recipe For Later!
We’ll email this post to you, so you can come back to it later. Plus, enjoy weekly clean eating recipes as a bonus.
Equipment
-
1 Mixing bowl
-
1 hand-held mixer
Ingredients
- 1 can coconut cream, chilled overnight in the fridge (see notes)
- 3 tbsp. cacao powder
- 3 tbsp. pure maple syrup
- 1 tsp. vanilla extract
Instructions
-
Carefully open the chilled can of coconut cream, without shaking. Scoop the thick, solid cream from the top of the can into a medium-sized mixing bowl. Discard the clear liquid at the bottom (or save it for another use like smoothies).
-
Using a hand-held mixer, beat the coconut cream on medium-high speed until it becomes light and fluffy, and soft peaks begin to form. This should take about 20-30 seconds. Be cautious not to overbeat.
-
Add the cacao powder, pure maple syrup, and vanilla extract to the whipped cream. Beat on low speed initially to combine the cacao, then increase to medium-high and continue beating until the mousse is thick, creamy, and evenly mixed (approximately 30-45 seconds). Taste and adjust sweetness or chocolate intensity by adding more maple syrup or cacao powder if desired.
-
Divide the mousse equally into two separate dessert dishes, or keep it in one bowl for chilling. Place the mousse back in the refrigerator for a minimum of 15 minutes to allow it to set and become even more chilled.
-
Once chilled, serve your delicious vegan chocolate mousse. Enhance it with toppings such as coconut whipped cream (or your preferred whipped cream), fresh fruit like raspberries or strawberries, a sprinkle of sea salt flakes, and/or delicate chocolate shavings. Enjoy your decadent, homemade treat!
Notes
- The brand of canned coconut cream truly matters for the best results. Some brands can be slightly grainy or too watery, which will prevent your mousse from achieving its optimal smooth texture. Thai Kitchen and Let’s Do Organic are two of the best brands I’ve personally tried for a consistently smooth mousse. Steer clear of Good and Gather (Target brand) as it’s often quite grainy.
- It is absolutely essential that your coconut cream is chilled in the fridge for at least 8 hours, preferably overnight. This allows the thick, solid cream to separate from the liquid, making it easy to scoop out the firm cream needed for whipping.
- You should yield approximately 1 cup of thick cream from a standard can of coconut cream after chilling and separating. The other ingredient amounts in this recipe are balanced for this quantity.
- Do NOT overbeat the mousse! Once the coconut cream is light and fluffy, and the chocolate and other ingredients are fully mixed into a thick, creamy consistency, stop beating. Overbeating can cause the coconut cream to curdle and become grainy.
- For a perfect complement to this mousse, here is my homemade coconut whipped cream recipe.
Final step: When you’ve tried the recipe, please click the stars to rate it and feel free to leave a comment below to let me know what you think. I absolutely love hearing from you!
Nutrition
Tried this Recipe? Tag me Today!Mention @CleanPlateMama or tag #CleanPlateMama!
