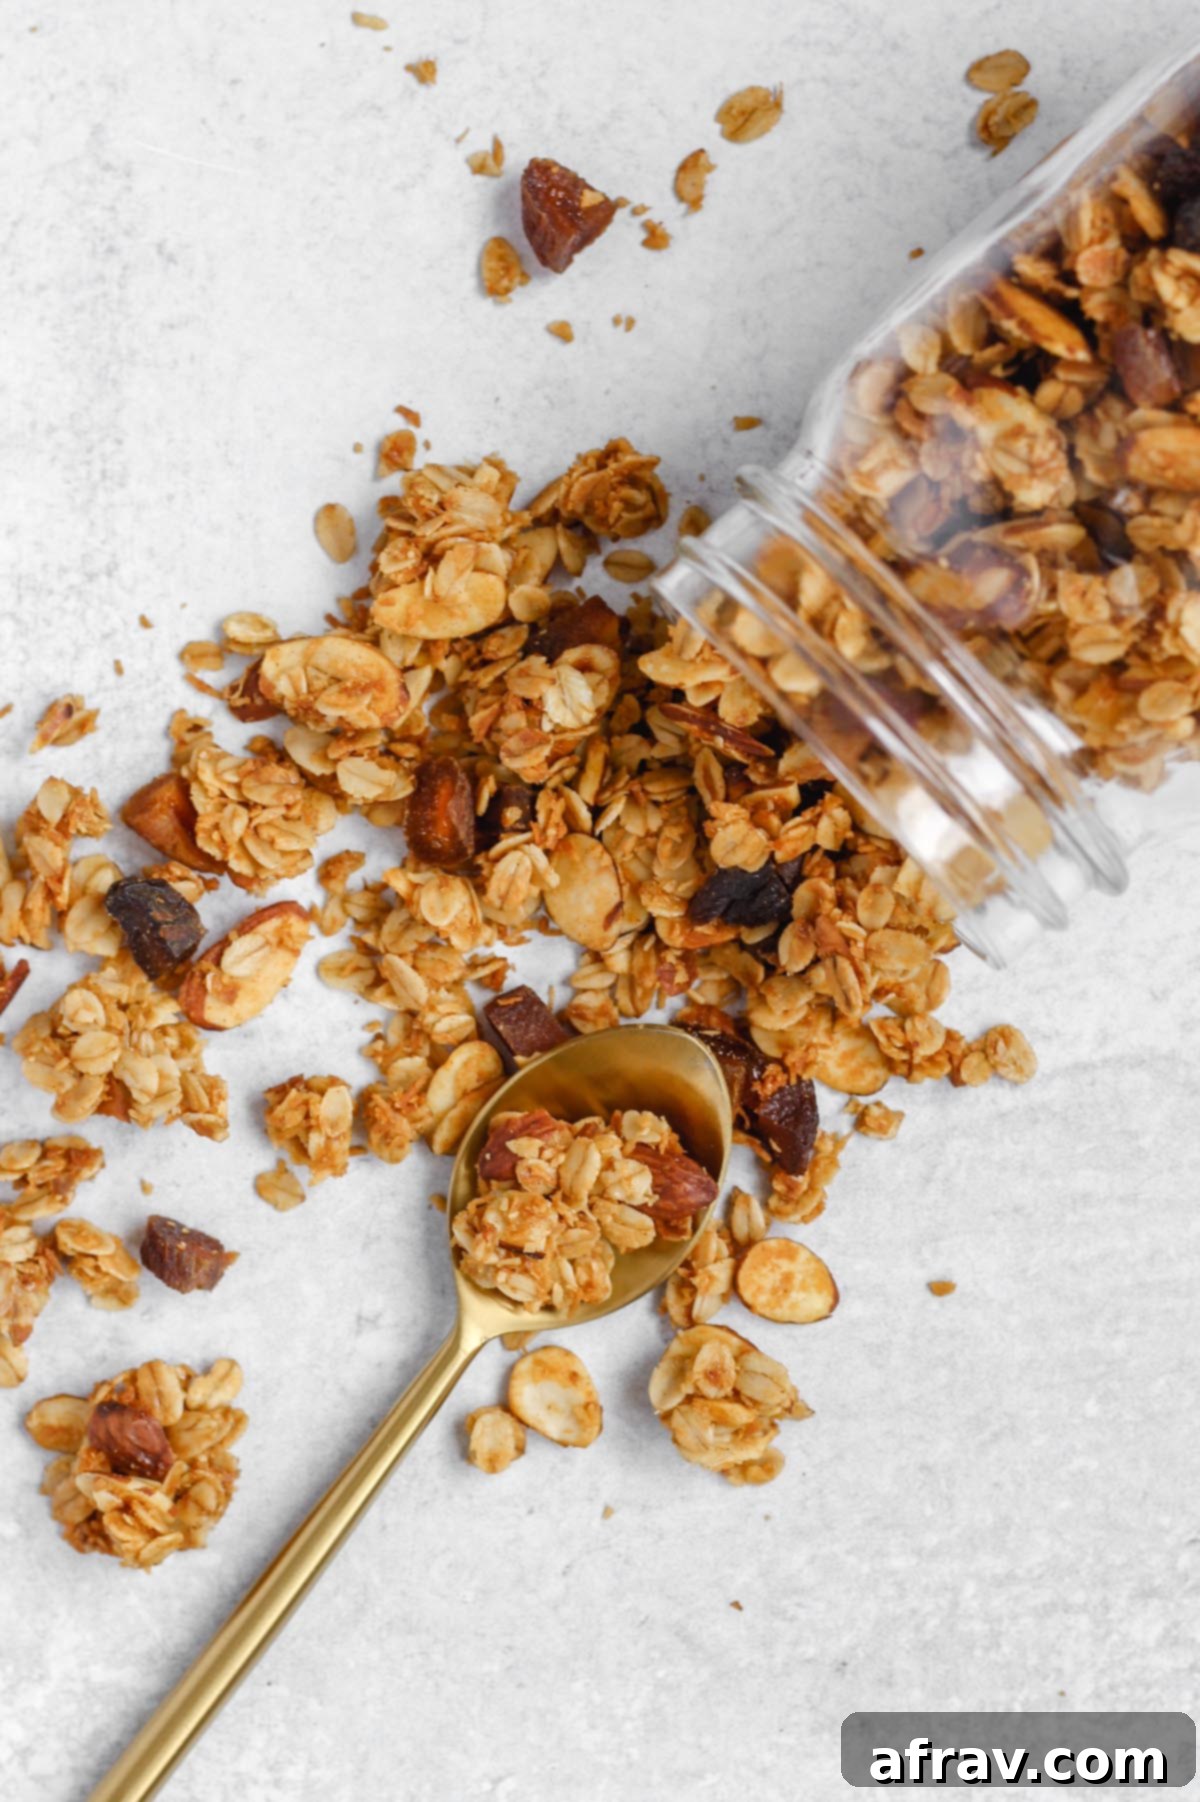
Easy Homemade Gluten-Free Oat and Honey Granola: Your Perfect Healthy Breakfast & Snack
Embark on a culinary journey to create the most delightful and wholesome oat and honey granola right in your own kitchen! This incredibly easy-to-make recipe is not just a breakfast staple but also an ideal snack that perfectly fits into a healthy lifestyle. With just 10 minutes of hands-on preparation before it goes into the oven, you’ll be on your way to enjoying a batch of the best gluten-free granola you’ve ever tasted. Naturally sweetened with honey and featuring an array of wholesome ingredients, this granola caters to various dietary needs without compromising on flavor or crunch.
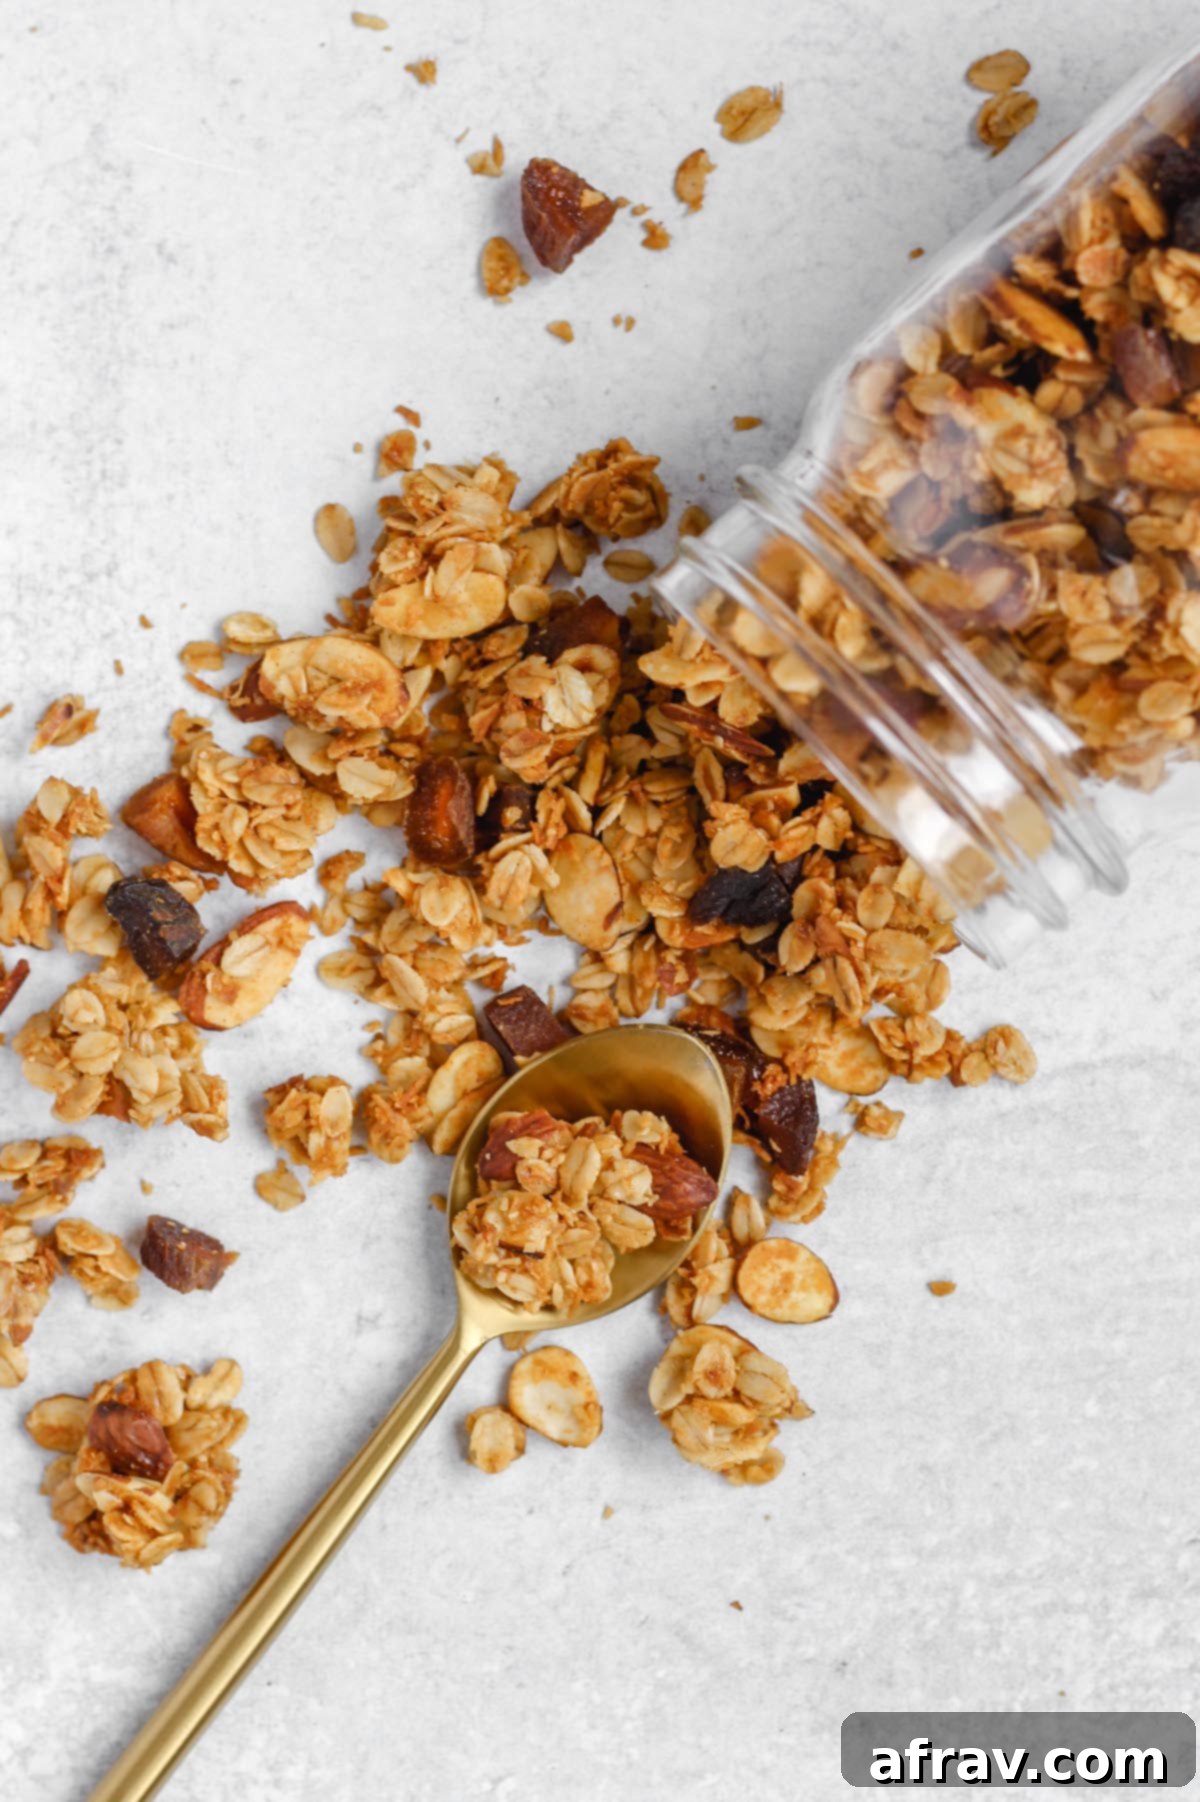
Why This Homemade Granola Recipe is a Must-Try
This oat and honey granola recipe isn’t just another item to add to your breakfast rotation; it’s a game-changer. Here’s why it stands out and why you’ll find yourself making it again and again:
- Effortless Preparation: Forget complicated steps or lengthy ingredient lists. This recipe is designed for simplicity, requiring only about 10 minutes of your time for preparation. Once everything is mixed, the oven takes over, slowly baking your granola to crispy perfection. It’s perfect for busy mornings or meal prepping on the weekend.
- Infinitely Customizable: While the base recipe uses classic ingredients, it serves as an excellent canvas for your creativity. Whether you’re in the mood for different nuts, various dried fruits, or even a nut-free alternative, this recipe can be easily adapted to suit your preferences and what you have in your pantry. It’s truly a granola that can be made entirely to your liking.
- Accommodates Diverse Dietary Needs: We understand the importance of catering to specific dietary requirements. This granola is naturally gluten-free (ensure certified oats are used), dairy-free, and free of refined sugars. Plus, we offer clear instructions for making it completely nut-free, making it a safe and delicious option for almost everyone.
- Wholesome & Healthy: Prioritizing your health doesn’t mean sacrificing taste. This recipe uses only clean, unrefined ingredients, free from highly processed oils and artificial sweeteners. It’s a nourishing option that fuels your body with good carbohydrates, healthy fats, and fiber, making it a guilt-free indulgence.
Key Ingredients for Your Delicious Granola
Crafting the perfect batch of granola starts with selecting the right ingredients. Below is a visual guide to the core components of this recipe, followed by important notes on each one to ensure you achieve the best results.
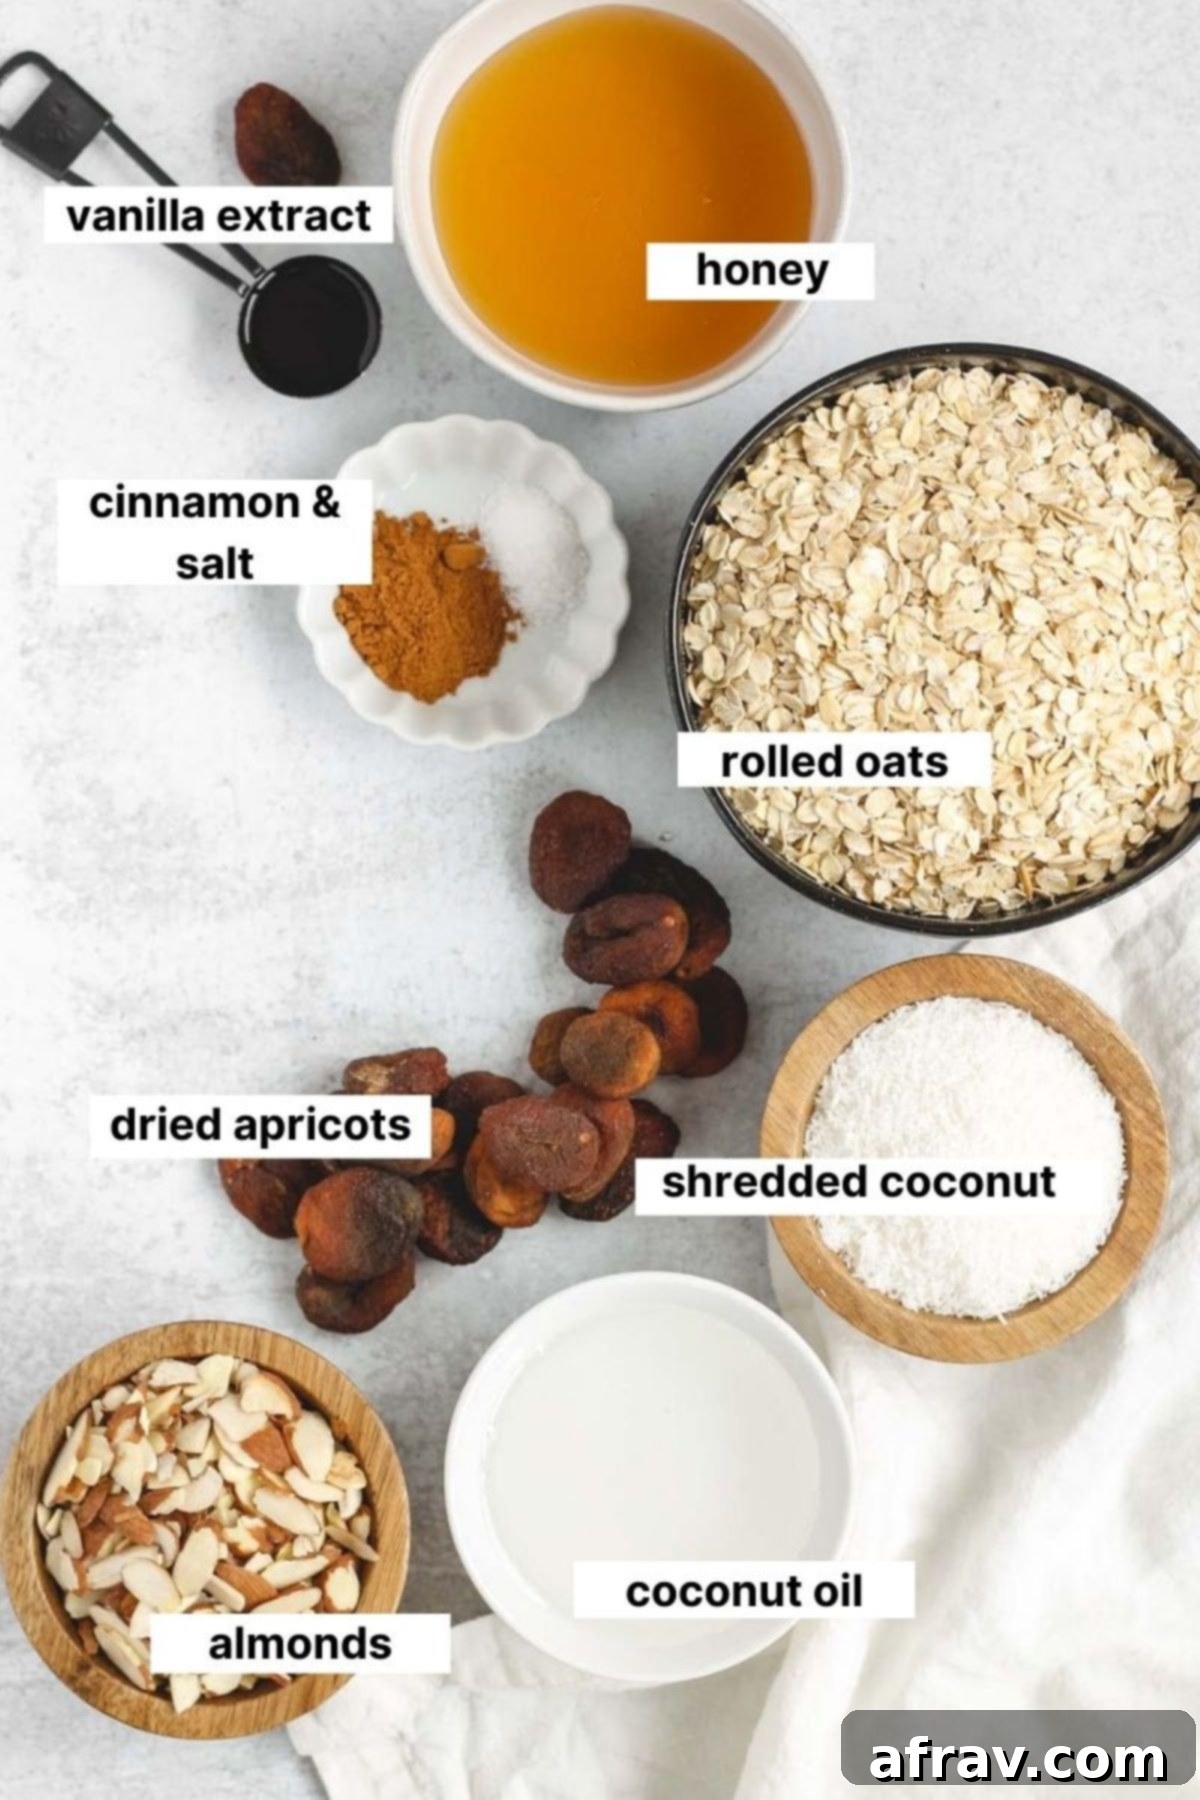
Ingredient Notes for Optimal Results
Understanding the nuances of each ingredient can elevate your granola from good to truly exceptional. Here are some detailed notes to guide your choices:
OATS: For this granola, the type of oats you choose matters significantly for texture. You should always use **old-fashioned or rolled oats**. These oats retain their shape and provide that satisfying chewiness we love in granola. Avoid using quick-cooking or instant oats, as they tend to become mushy and won’t give you the desired crunchy texture after baking. If you are following a strict gluten-free diet, make sure to purchase oats that are explicitly certified gluten-free to avoid cross-contamination.
ALMONDS: Sliced almonds are my preference for their delicate crunch and even distribution throughout the granola. However, feel free to experiment! You can use whole almonds (roughly chopped), or explore other nuts like pecans, walnuts, or even cashews for different flavor profiles and textures. Each nut brings its unique character to the mix.
HONEY: Honey is the star natural sweetener in this recipe, providing a beautiful golden hue and a complex sweetness. While regular honey works perfectly well, I personally prefer using **raw honey**. Raw honey is less processed, retaining more of its natural enzymes and antioxidants. If your raw honey is solidified, a quick 10-second zap in the microwave will bring it back to a pourable consistency. The choice between raw and regular honey won’t drastically alter the final taste, but raw offers additional nutritional benefits.
NUT-FREE OPTION: If you or someone you’re baking for has a nut allergy, don’t worry! This recipe is easily adaptable. Simply replace the sliced almonds with an equal quantity of seeds. Excellent nut-free alternatives include pumpkin seeds (pepitas), sunflower seeds (shelled), sesame seeds, or even a mix of these. These seeds add a fantastic crunch and a boost of nutrients without any nuts.
COCONUT: Both dried shredded coconut and dried coconut chips work wonderfully in this granola. The key is to ensure that whatever form of coconut you choose, it is **unsweetened**. Many commercially available shredded coconuts have added sugars, which would make the granola overly sweet and potentially affect its baking. Unsweetened coconut contributes a subtle tropical flavor and satisfying texture without unnecessary sugar.
DRIED APRICOTS: Dried apricots add a lovely burst of tart-sweet flavor and a chewy texture that complements the crunchy granola. While I love the simplicity and taste of apricots, this is another area for customization. Feel free to swap them out for your favorite dried fruit, such as cranberries, raisins, cherries, or diced dates. Just make sure to chop larger dried fruits so they mix well and distribute evenly.
COCONUT OIL: When it comes to coconut oil, I always opt for virgin (also known as unrefined) coconut oil. Unrefined coconut oil is minimally processed and retains more of its natural characteristics and flavor. However, rest assured, you won’t taste a strong coconut flavor in the final granola; it blends beautifully with the other ingredients. If refined coconut oil is all you have on hand, it will still work, but unrefined is generally preferred for “clean eating” purposes due to its purity and less processed nature. It helps bind the granola and achieve that desirable crispiness.
Emphasizing Clean Eating: Ingredient Sourcing Tips
While the recipe will taste great regardless, for those who prioritize a “clean eating” approach, here are specific considerations for purchasing your ingredients. These recommendations aim to minimize exposure to certain chemicals and maximize nutrient retention. If these aren’t accessible or don’t fit your budget, the recipe will still be delicious and healthy.
Oats – A significant concern with conventional oats and many other grains is the common practice of spraying them with glyphosate (a widely used herbicide) shortly before harvest. This desiccation process can lead to glyphosate residues in your food, which some studies have linked to increased cancer risk and other health concerns. To avoid this, I strongly recommend choosing **organic certified gluten-free rolled oats**. Organic certification helps ensure that the oats have not been treated with glyphosate or other synthetic pesticides, giving you a cleaner, more natural product.
Almonds – Conventional almonds, particularly those grown in California, are often fumigated with propylene oxide (PPO) to prevent bacterial contamination. While considered safe by regulatory bodies, some prefer to avoid PPO exposure. Additionally, conventional almonds can also be exposed to glyphosate. To steer clear of these potential contaminants and ensure a purer product, I always opt for **organic almonds**. Organic farming practices prohibit the use of PPO and synthetic pesticides, making organic almonds a cleaner choice for your granola.
Honey – Honey is a wonderful natural sweetener, but its nutritional value can vary depending on how it’s processed. Many commercial “regular” honeys are pasteurized and heavily filtered, a process that involves heating the honey to high temperatures. This extensive processing can destroy beneficial enzymes, pollen, and some of the delicate antioxidants present in raw honey, significantly reducing its nutrient content. For maximum health benefits, always choose **raw honey**. Raw honey is minimally processed, retaining its natural goodness and providing a more nutrient-dense sweetening agent for your granola.
Coconut Oil – When shopping for coconut oil, you’ll typically find two main types: refined and unrefined (virgin). The distinction lies in their processing. Unrefined coconut oil is extracted from fresh coconut meat without the use of high heat or chemicals, making it less processed and “cleaner.” It retains more of its natural flavor and beneficial compounds. Refined coconut oil, on the other hand, often undergoes deodorizing and bleaching processes. I prefer **Nutiva Virgin Coconut Oil** for its quality and purity, as it aligns with a clean eating philosophy. Opting for unrefined helps ensure you’re getting a product closer to its natural state.
Dried Apricots – The primary concern with many dried fruits is the addition of sugars, sulfur dioxide (a preservative), or other artificial additives. These can detract from the natural goodness of the fruit. When selecting dried apricots or any other dried fruit for your granola, always check the ingredient label. The only ingredient listed should be the fruit itself. Look for **unsulphured and unsweetened dried apricots** to ensure you’re getting a truly clean and natural product that is free from unnecessary chemicals and added sugars.
Simple Step-by-Step Guide to Making the Best Granola
Creating this delicious gluten-free oat and honey granola is straightforward. Follow these easy steps to bake up a batch of crunchy, wholesome goodness:
Step 1: Prepare Your Workspace and Mix Dry Ingredients
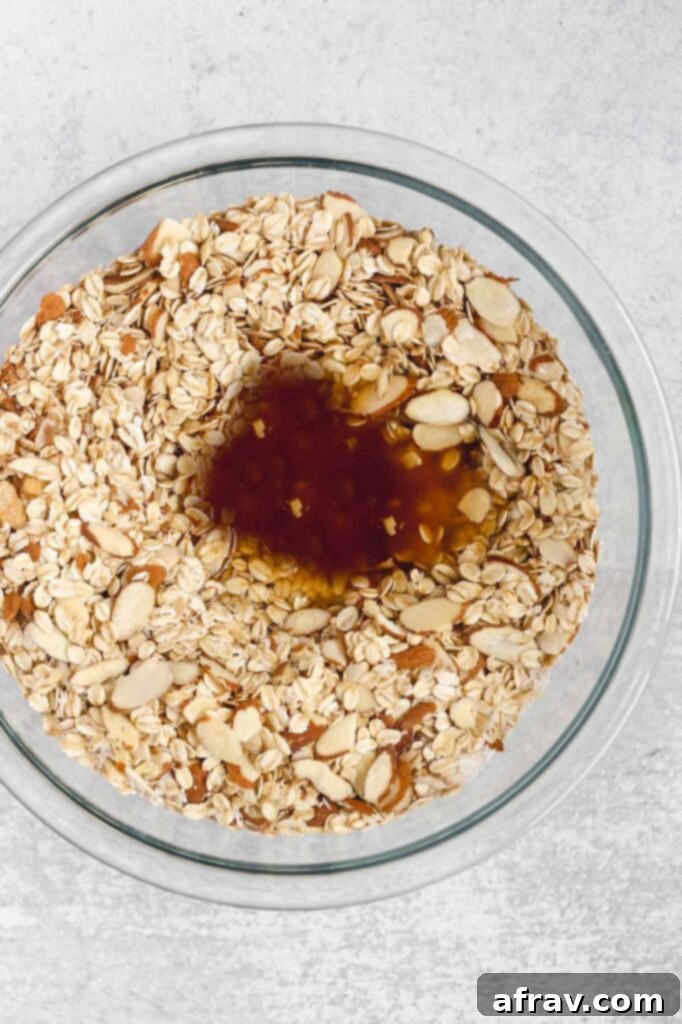
Begin by preheating your oven to 250°F (120°C) and lining a large baking sheet with parchment paper. This prevents sticking and makes cleanup a breeze. In a spacious mixing bowl, combine all your dry ingredients: the gluten-free rolled oats, sliced almonds, unsweetened shredded coconut, cinnamon, and fine sea salt. Give them a good toss to ensure they are evenly distributed. In a separate, smaller bowl, whisk together your wet ingredients: pure vanilla extract, melted coconut oil, and raw honey until well combined. This ensures the wet ingredients are uniformly distributed when added to the dry mixture.
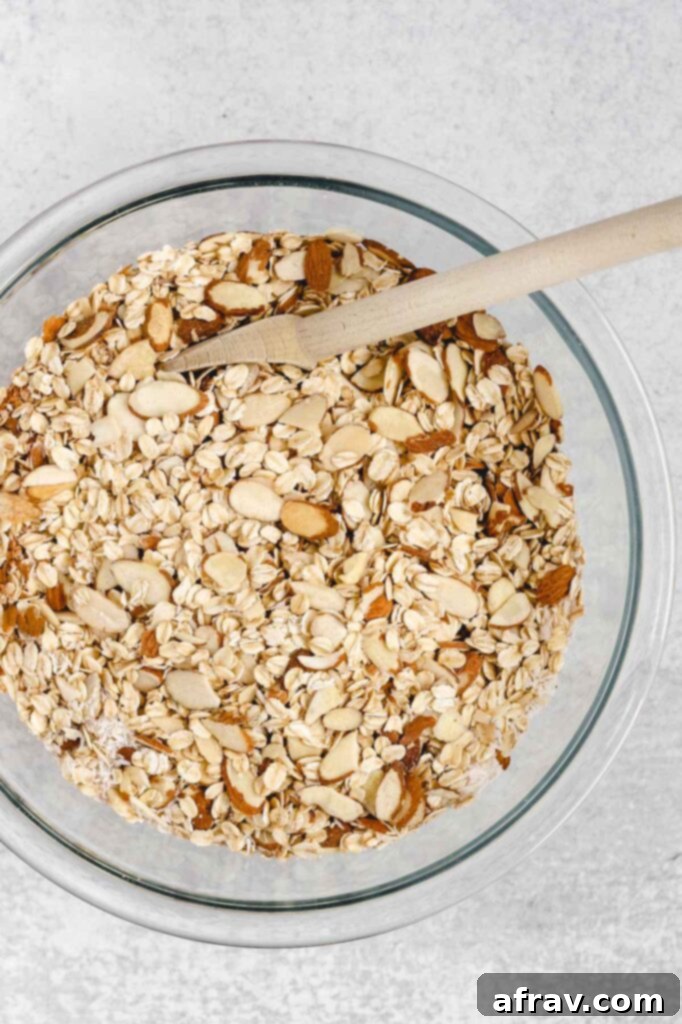
Step 2: Combine Wet and Dry Ingredients Thoroughly
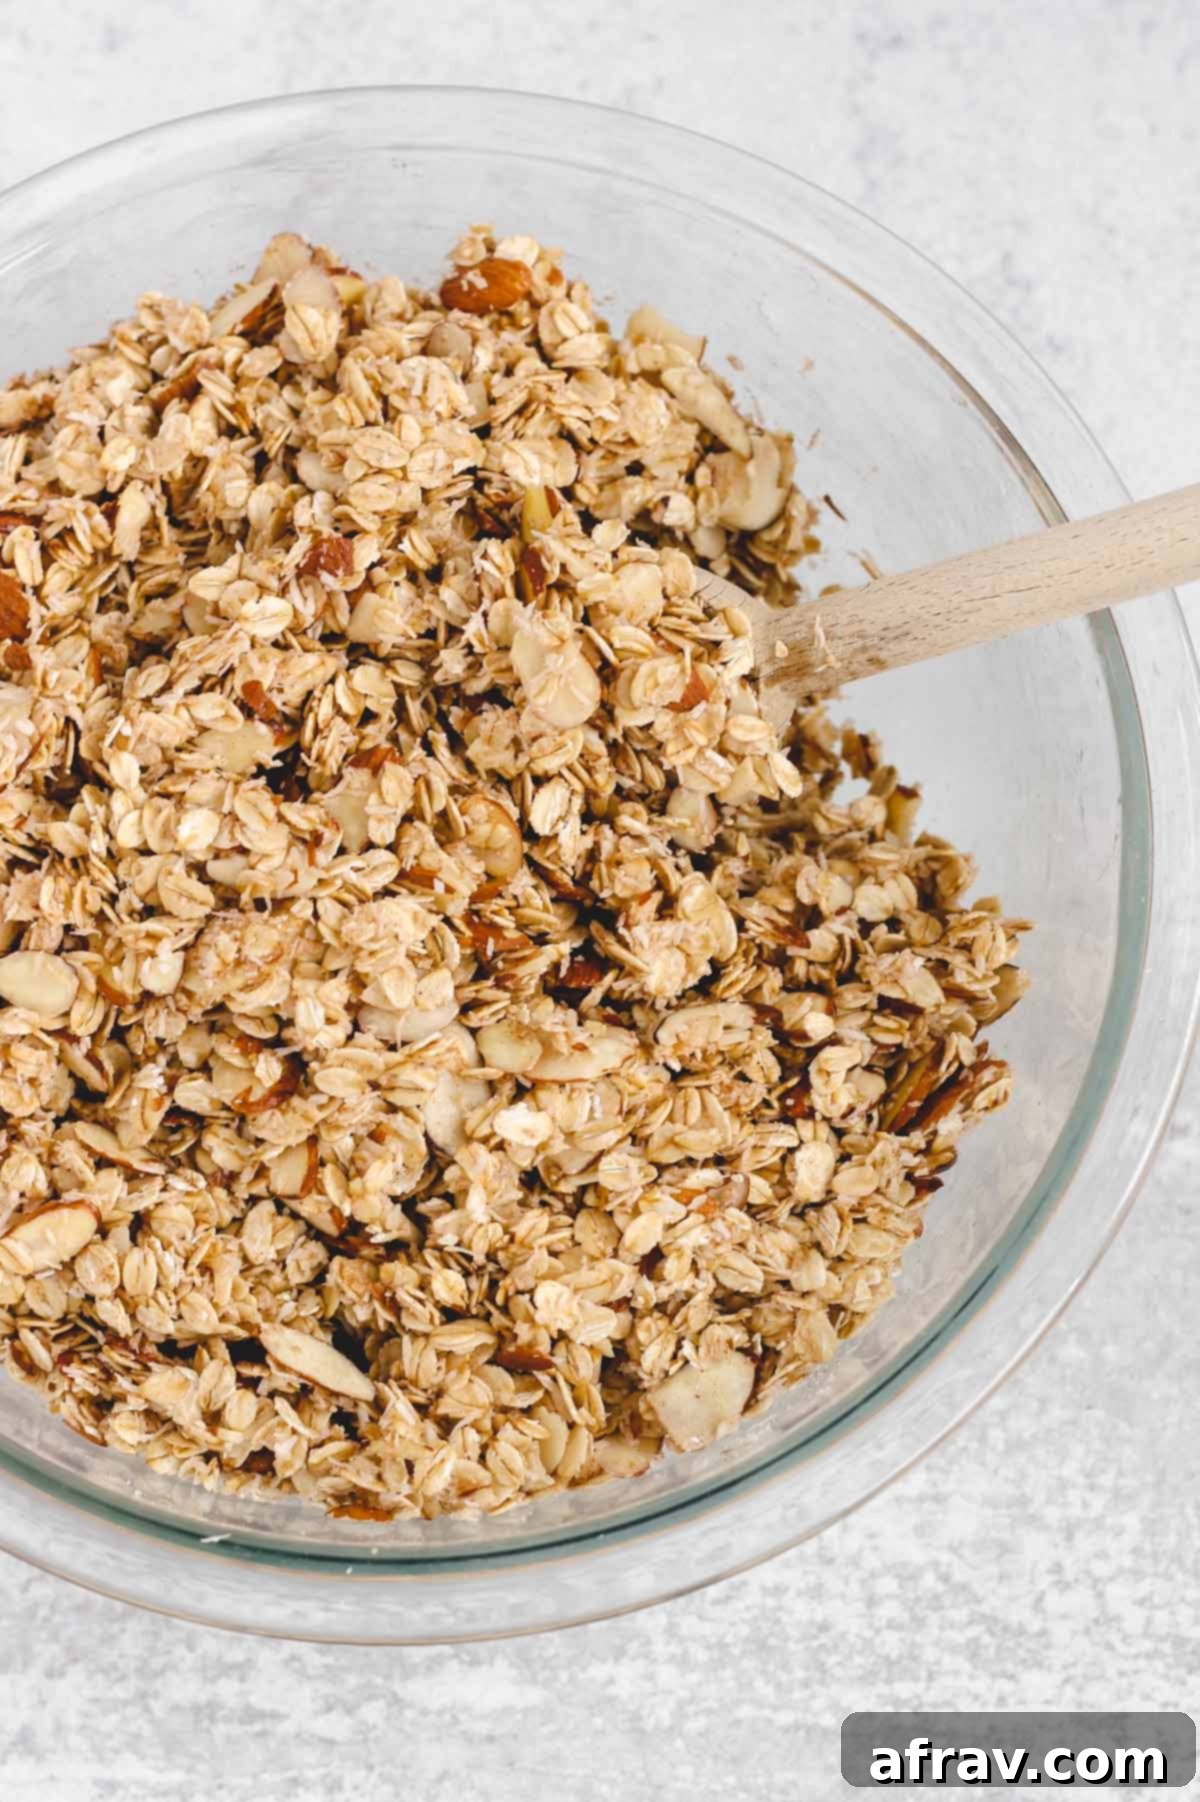
Pour the wet ingredients mixture directly into the large bowl containing the dry ingredients. Using a sturdy spatula or your hands (if you prefer!), mix everything together thoroughly. Ensure that every oat flake and almond sliver is generously coated with the honey-coconut oil mixture. This uniform coating is crucial for developing that desirable golden brown color and crispy texture during baking.
Step 3: Spread and Press for Granola Clusters
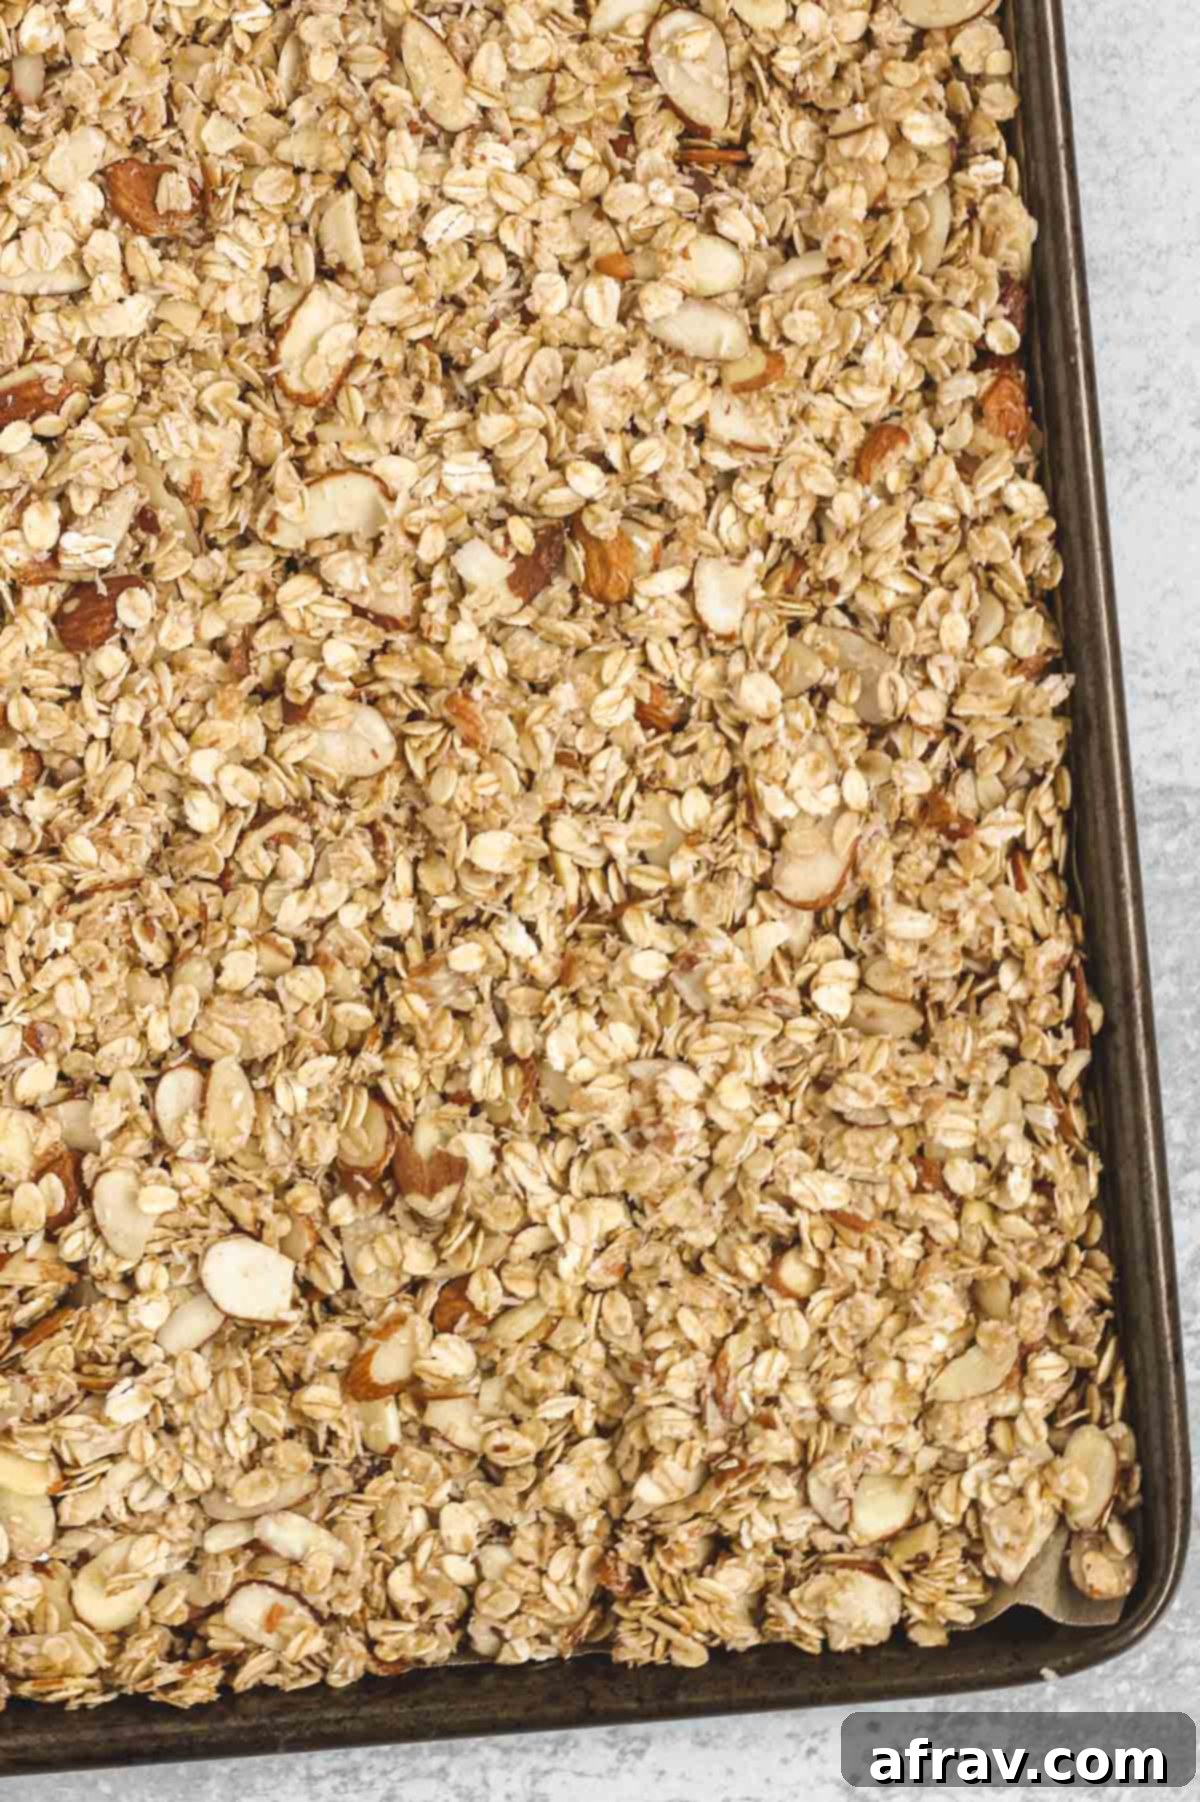
Transfer the mixed granola onto the prepared baking sheet. Spread it out into an even layer across the entire pan. This even distribution is important for consistent baking. To encourage the formation of those delightful, sought-after granola clusters, lightly press the granola down into the pan using the back of a spoon or a spatula. Don’t press too hard, just enough to gently compact it.
Step 4: Bake to Golden Perfection & Chop Apricots
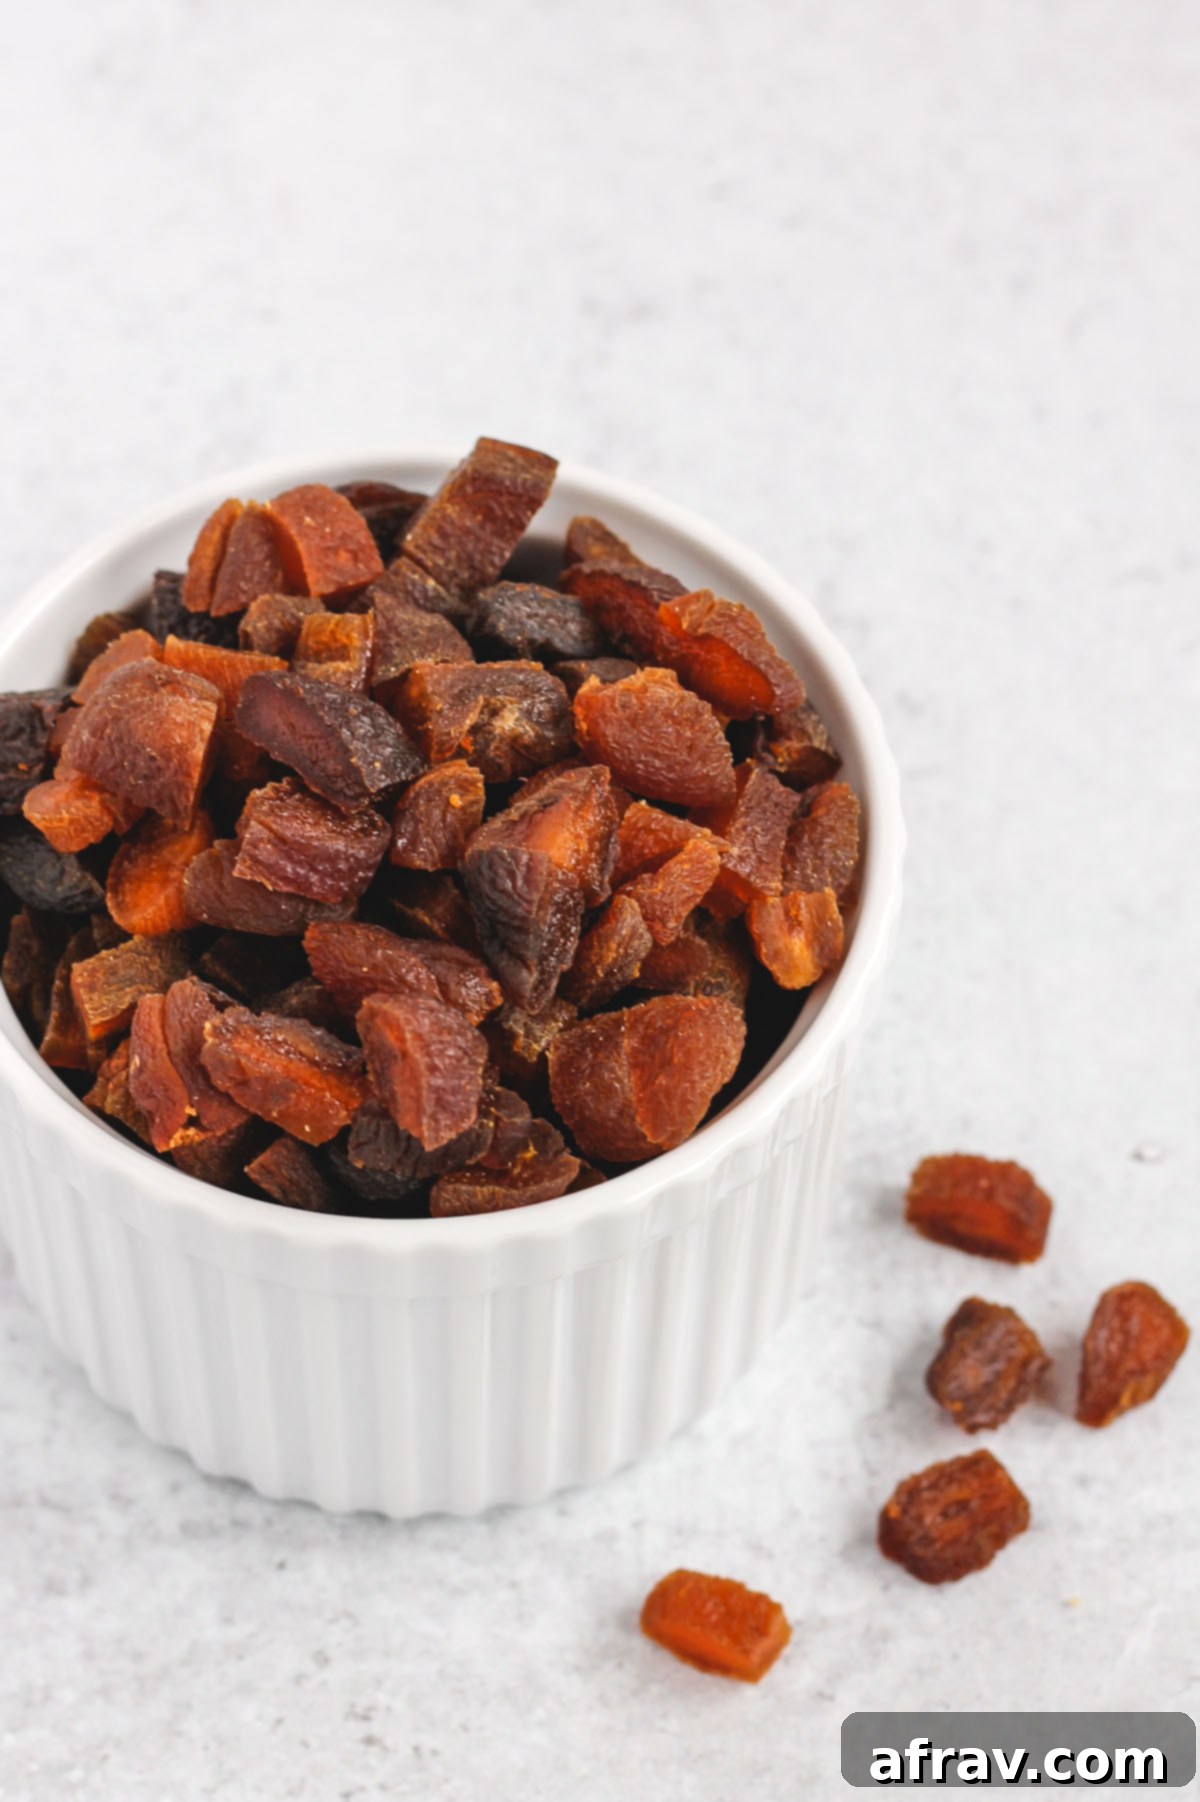
Bake the granola in your preheated oven at 250°F (120°C) for approximately 60-70 minutes. It’s vital to stir the granola every 20 minutes to ensure even baking and prevent burning. After each stir, remember to gently press the granola back down to aid in cluster formation. You’ll know it’s done when the granola around the edges begins to turn a light golden brown and your kitchen is filled with a wonderfully fragrant aroma. While the granola is baking, take this time to finely chop your dried apricots so they are ready to be added later.
Step 5: Cool Completely for Ultimate Crunch and Clusters
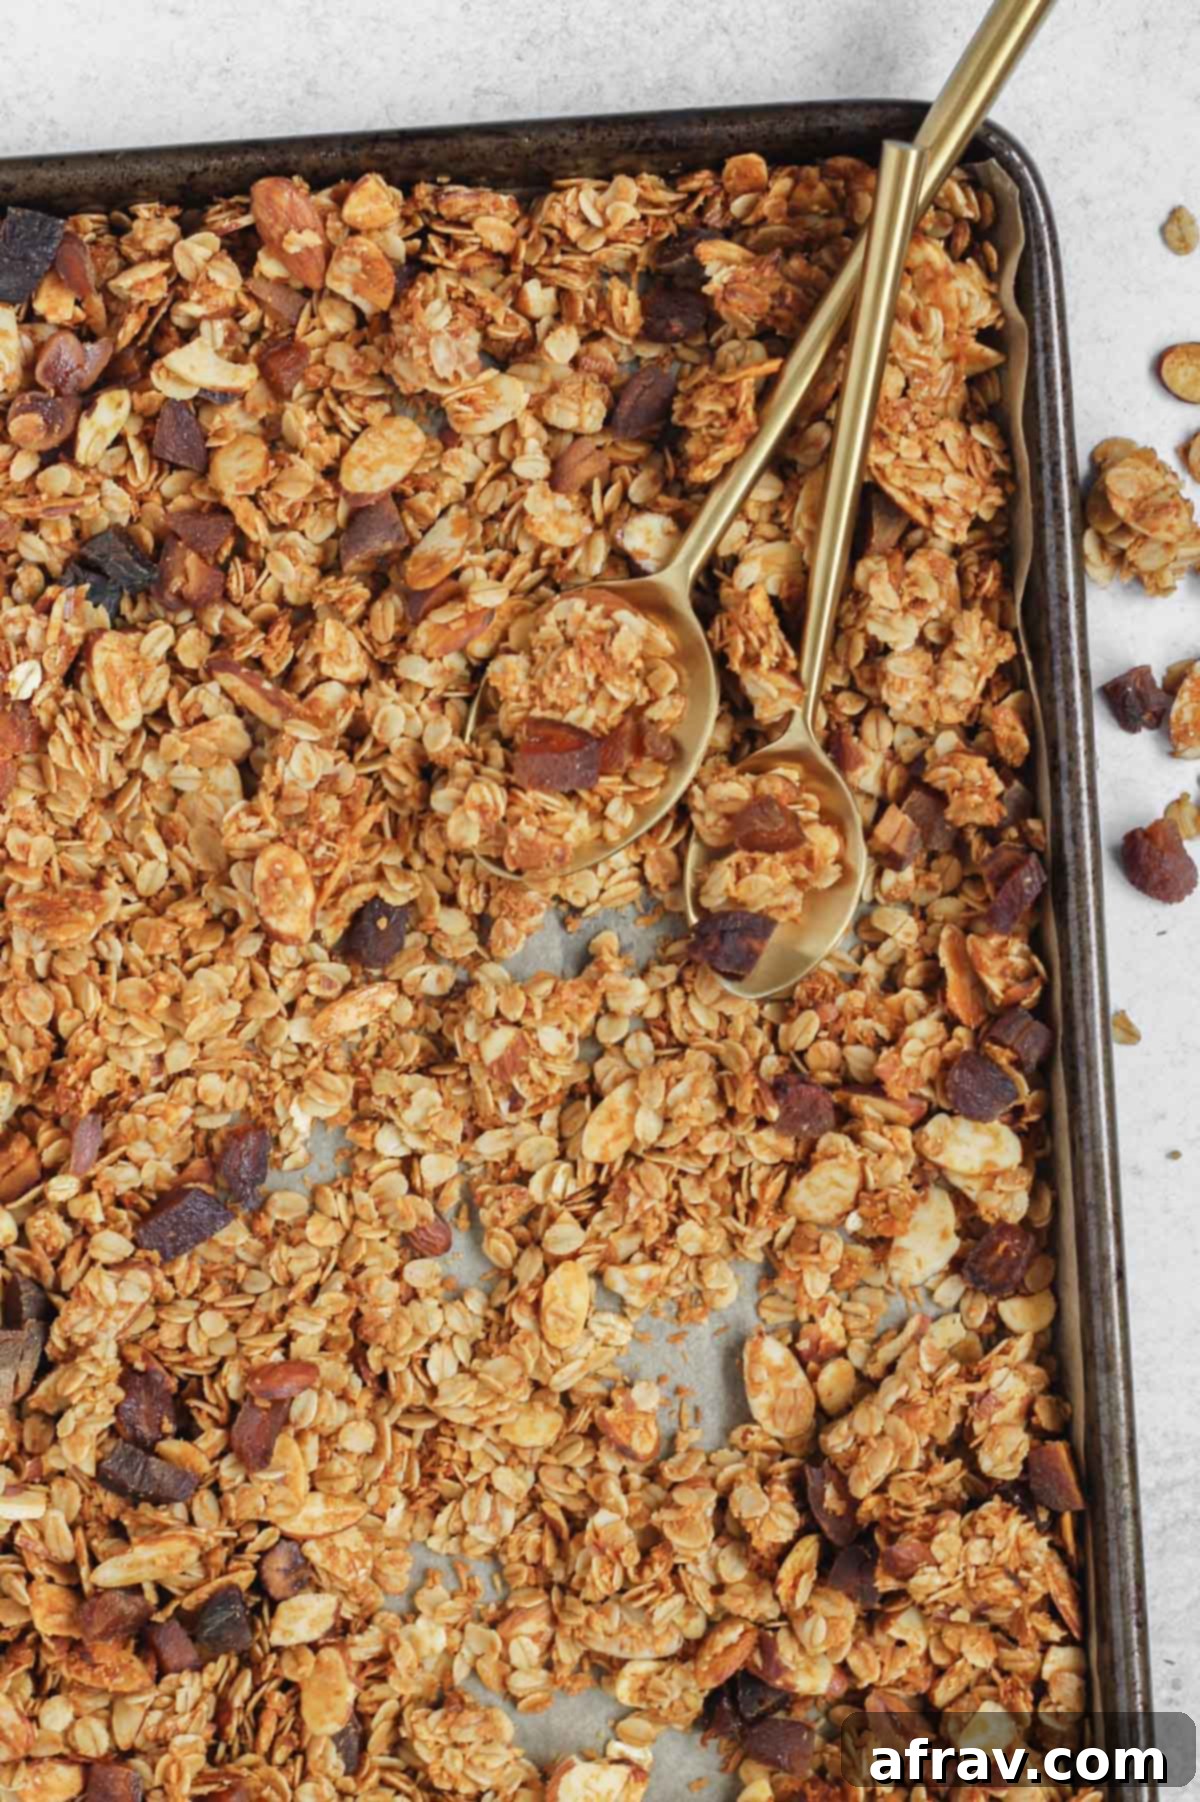
Once baked, remove the granola from the oven. This next step is crucial for achieving that perfect crunchy texture and well-formed clusters: allow the granola to cool completely to room temperature on the baking sheet. This usually takes about 30-45 minutes. The granola will still feel soft when hot, but it will harden and crisp up as it cools. Resist the temptation to touch or mix it while it’s warm!
Step 6: Incorporate Dried Apricots and Enjoy!
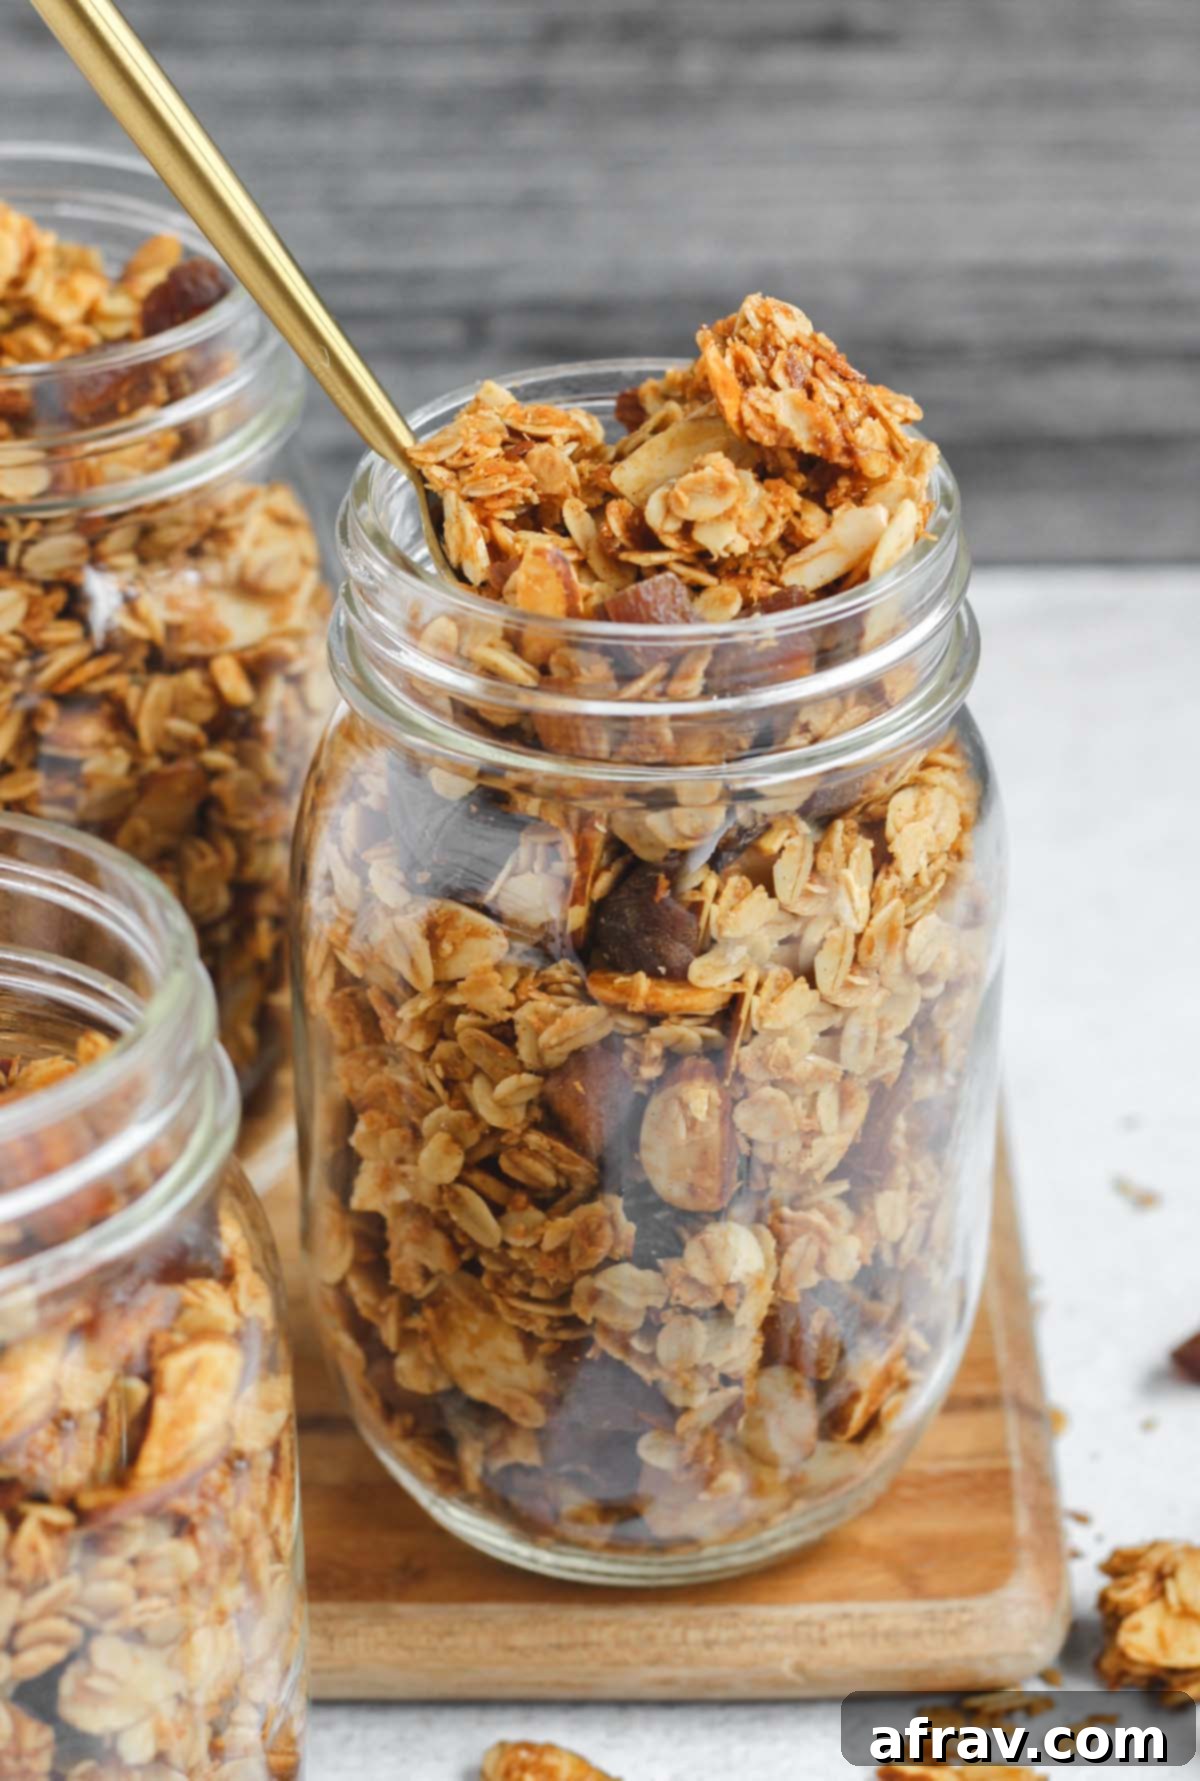
Once the granola has fully cooled and hardened, gently break it apart with your hands. Now is the time to mix in your chopped dried apricots. Their chewiness provides a lovely contrast to the crunchy granola. Store your homemade oat and honey granola in an airtight container at room temperature for up to two weeks. Enjoy it as a quick breakfast, a satisfying snack, or a delightful topping!
Frequently Asked Granola Questions
Here are answers to some common questions about making homemade granola, helping you achieve the best results every time:
Achieving those satisfying granola clumps is simpler than you might think, but it requires a bit of patience! The most important trick is to **gently press the granola down into the pan** both before baking and every time you stir it during the baking process. Use the back of a spoon or a spatula to lightly compact the mixture. Secondly, and equally crucial, is to **allow the granola to cool completely on the baking sheet without disturbing it** before you mix in any dried fruit or break it apart. It can be incredibly tempting to taste it right out of the oven, but resisting this urge allows the sugars to set and the clusters to form properly. This waiting period is truly worth it for that perfect crunchy, clumpy granola!
Homemade granola, when stored correctly, has a surprisingly good shelf life. To keep it fresh and crunchy for as long as possible, make sure to store it in an **airtight container** at room temperature. A glass jar with a tight-fitting lid or a sealed plastic container works perfectly. Avoid refrigerating it, as the moisture can make it lose its crispness. Stored this way, your delicious oat and honey granola will maintain its quality and flavor for up to two weeks, providing you with plenty of healthy breakfast and snack options!
Expert Notes & Essential Tips for Granola Success
To help you master this oat and honey granola recipe and customize it to your heart’s content, here are some additional insights and tips:
- Achieving Baking Perfection: Granola can be quite sensitive to baking time. A few minutes too long, and you risk burnt, bitter granola; too short, and you’ll end up with soft, chewy oats instead of the desired crisp. The key is monitoring. You’ll know your granola is done when the edges begin to turn a light golden brown, and your kitchen is filled with a wonderfully warm, nutty, and sweet aroma. Remember to stir every 20 minutes to promote even browning.
- The Magic of Cooling: It’s critical to understand that granola will not be fully crunchy when it first comes out of the oven; it will still be quite soft. Do not be alarmed! The magic happens during the cooling process. As the granola cools to room temperature, the honey and coconut oil solidify, causing the granola to harden and become delightfully crisp. Allow it to cool for at least 30-45 minutes – this also significantly contributes to the formation of those irresistible clusters.
-
Unleash Your Creativity: This recipe is incredibly versatile. Don’t hesitate to customize it with your favorite add-ins!
- Dried Fruits: Beyond apricots, try chopped dates, figs, cranberries, blueberries, or golden raisins. Add them after the granola has cooled.
- Nuts & Seeds: Experiment with different types of nuts like chopped walnuts, pecans, or cashews. For a nut-free version, use a variety of seeds such as sunflower, pumpkin, hemp, or even chia seeds.
- Spices: Enhance the flavor with a pinch of nutmeg, cardamom, or even a touch of ginger powder.
- Extracts: A few drops of almond extract or orange extract can add an interesting twist.
- Chocolate Chips: For a sweeter treat, stir in some dark chocolate chips, white chocolate chips, or mini chocolate chips once the granola is completely cool to prevent melting.
-
Versatile Serving Suggestions: The possibilities for enjoying this granola are endless!
- Classic Breakfast: Serve it with your favorite milk (dairy or non-dairy).
- Yogurt Parfait: Layer it with Greek yogurt and fresh berries for a wholesome parfait.
- Healthy Snack: Grab a handful straight from the jar for a quick energy boost.
- Dessert Topping: Sprinkle it over ice cream, baked apples, or fruit crisp for added texture and flavor.
- Pancake/Waffle Topping: Elevate your weekend brunch by adding a generous sprinkle to your pancakes or waffles.
- Fruit Nachos: Combine apple slices with a drizzle of peanut butter and a sprinkle of granola for a fun and nutritious “apple nacho” snack.
- Smoothie Bowl Topping: Add crunch and flavor to your favorite smoothie bowl.
Easy Oat and Honey Granola
Print
Pin
Rate
Save This Recipe For Later!
We’ll email this post to you, so you can come back to it later. Plus, enjoy weekly clean eating recipes as a bonus.
Ingredients
- 4 cups gluten-free rolled oats
- 1 ½ cups sliced almonds
- 1 cup unsweetened shredded coconut
- 1 tsp. cinnamon
- ¾ tsp. fine sea salt (½ tsp. is using regular table salt)
- 2 tsp. pure vanilla extract
- ½ cup coconut oil, melted
- ½ cup raw honey
- 1 ½ cups dried apricots, chopped
Instructions
-
Preheat oven to 250 and line a baking sheet with parchment paper.
-
Mix oats, almonds, coconut, cinnamon, and salt in a large bowl.
-
In a separate bowl, combine the vanilla, coconut oil, and honey. Add this to the bowl with the oats.
-
Mix ingredients together until all oats are coated and wet ingredients are fully incorporated.
-
Evenly spread granola mixture onto the lined baking sheet. Lightly push the granola into the pan (this will help to create some nice clusters in the finished granola).
-
Bake for 60-70 minutes, stirring the granola every 20 minutes. After stirring, evenly push the granola back onto the pan (see recipe notes). You’ll know it’s done when the granola on the outer edges of the pan begin to turn light golden brown and the granola is very fragrant.
-
Let cool to room temperature (about 30/45 minutes) and then mix in the dried apricots. Allowing granola to completely cool before mixing will keep some granola chunks in the mix.
-
Store in an airtight container and enjoy!
Notes
- If not gluten free, you can use regular oats. Do not use quick cooking oats.
- For the coconut, you can use either shredded coconut or coconut chips. Just make sure it’s dried and unsweetened.
- If you’re honey isn’t completely smooth or liquid, you can throw it in the microwave for about 10 seconds before mixing with the oil and vanilla (raw honey can sometimes be little more solid).
- Regular honey will work too if you don’t have raw honey.
- To get some nice clusters in your granola, push granola back into the pan each time you stir (you can use a spatula or the back of a spoon).
- The granola will still be soft when it’s done; don’t’ worry about this. The granola will continue to harden as it cools.
Nutrition
More Wholesome Recipes You’ll Love!
If you enjoyed this homemade oat and honey granola, you’ll surely love these other healthy and delicious recipes:
- Homemade Pumpkin Granola (gluten free + vegan)
- Blueberry Chia Overnight Oats
- Dairy-free Vegetable Frittata (gluten free)
- Air Fryer Apples
