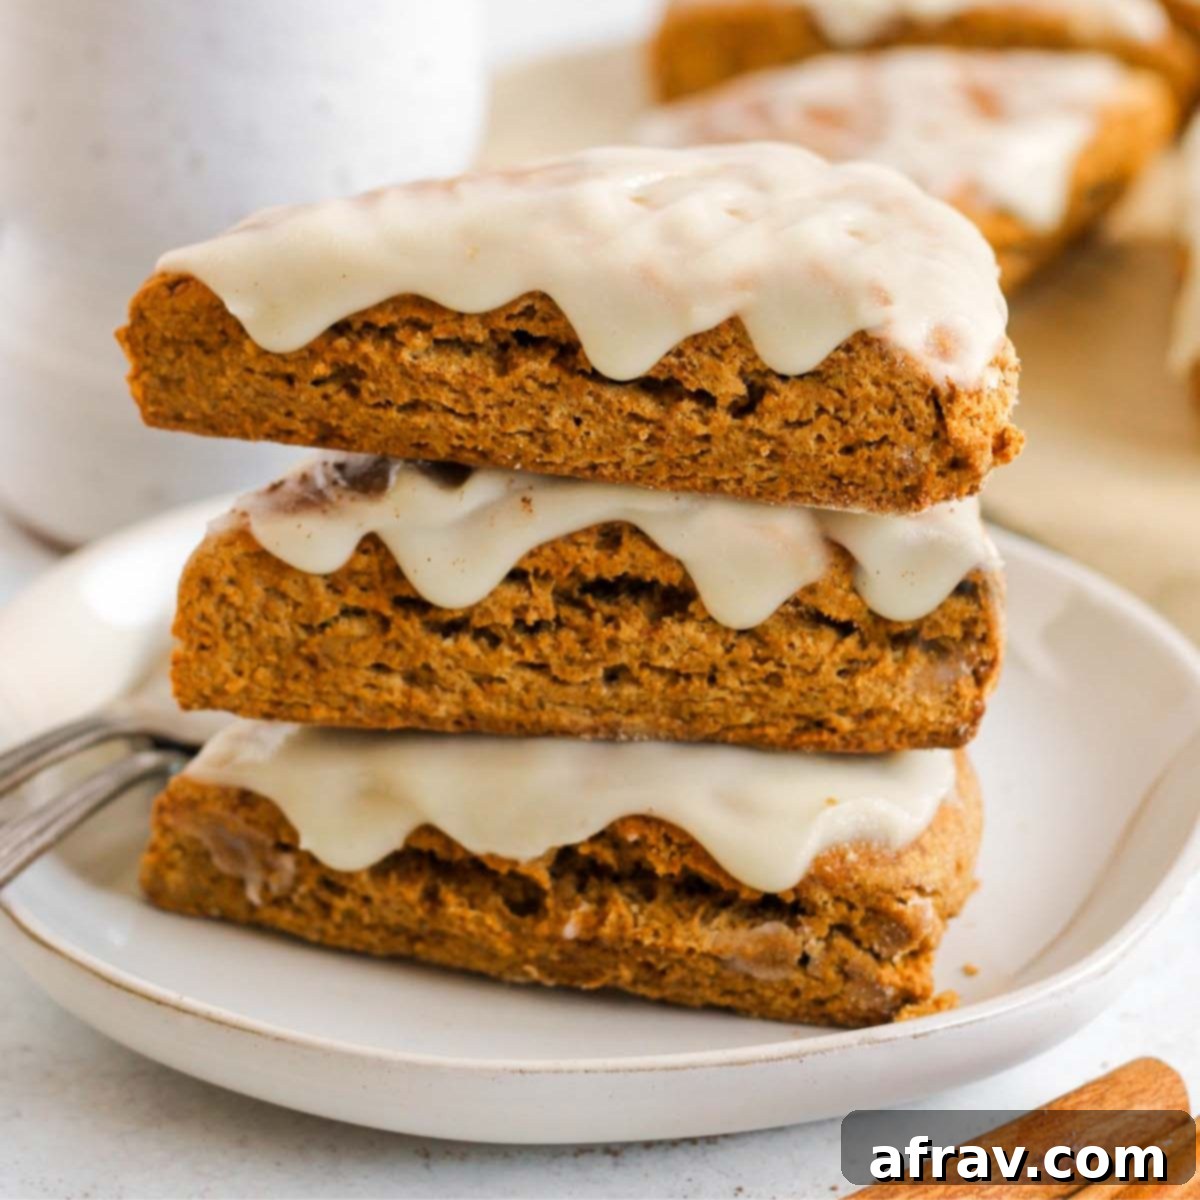
Irresistible Gluten-Free Pumpkin Scones: Your New Favorite Fall Baking Recipe
These incredibly soft and fluffy gluten-free pumpkin scones are truly the quintessential fall treat. Imagine starting your morning with a warm scone, a hint of pumpkin spice, and a steaming cup of coffee – pure bliss! They are wonderfully easy to prepare, making them an ideal choice for all your autumn baking adventures. Get ready to embrace the flavors of fall with every delicious bite.
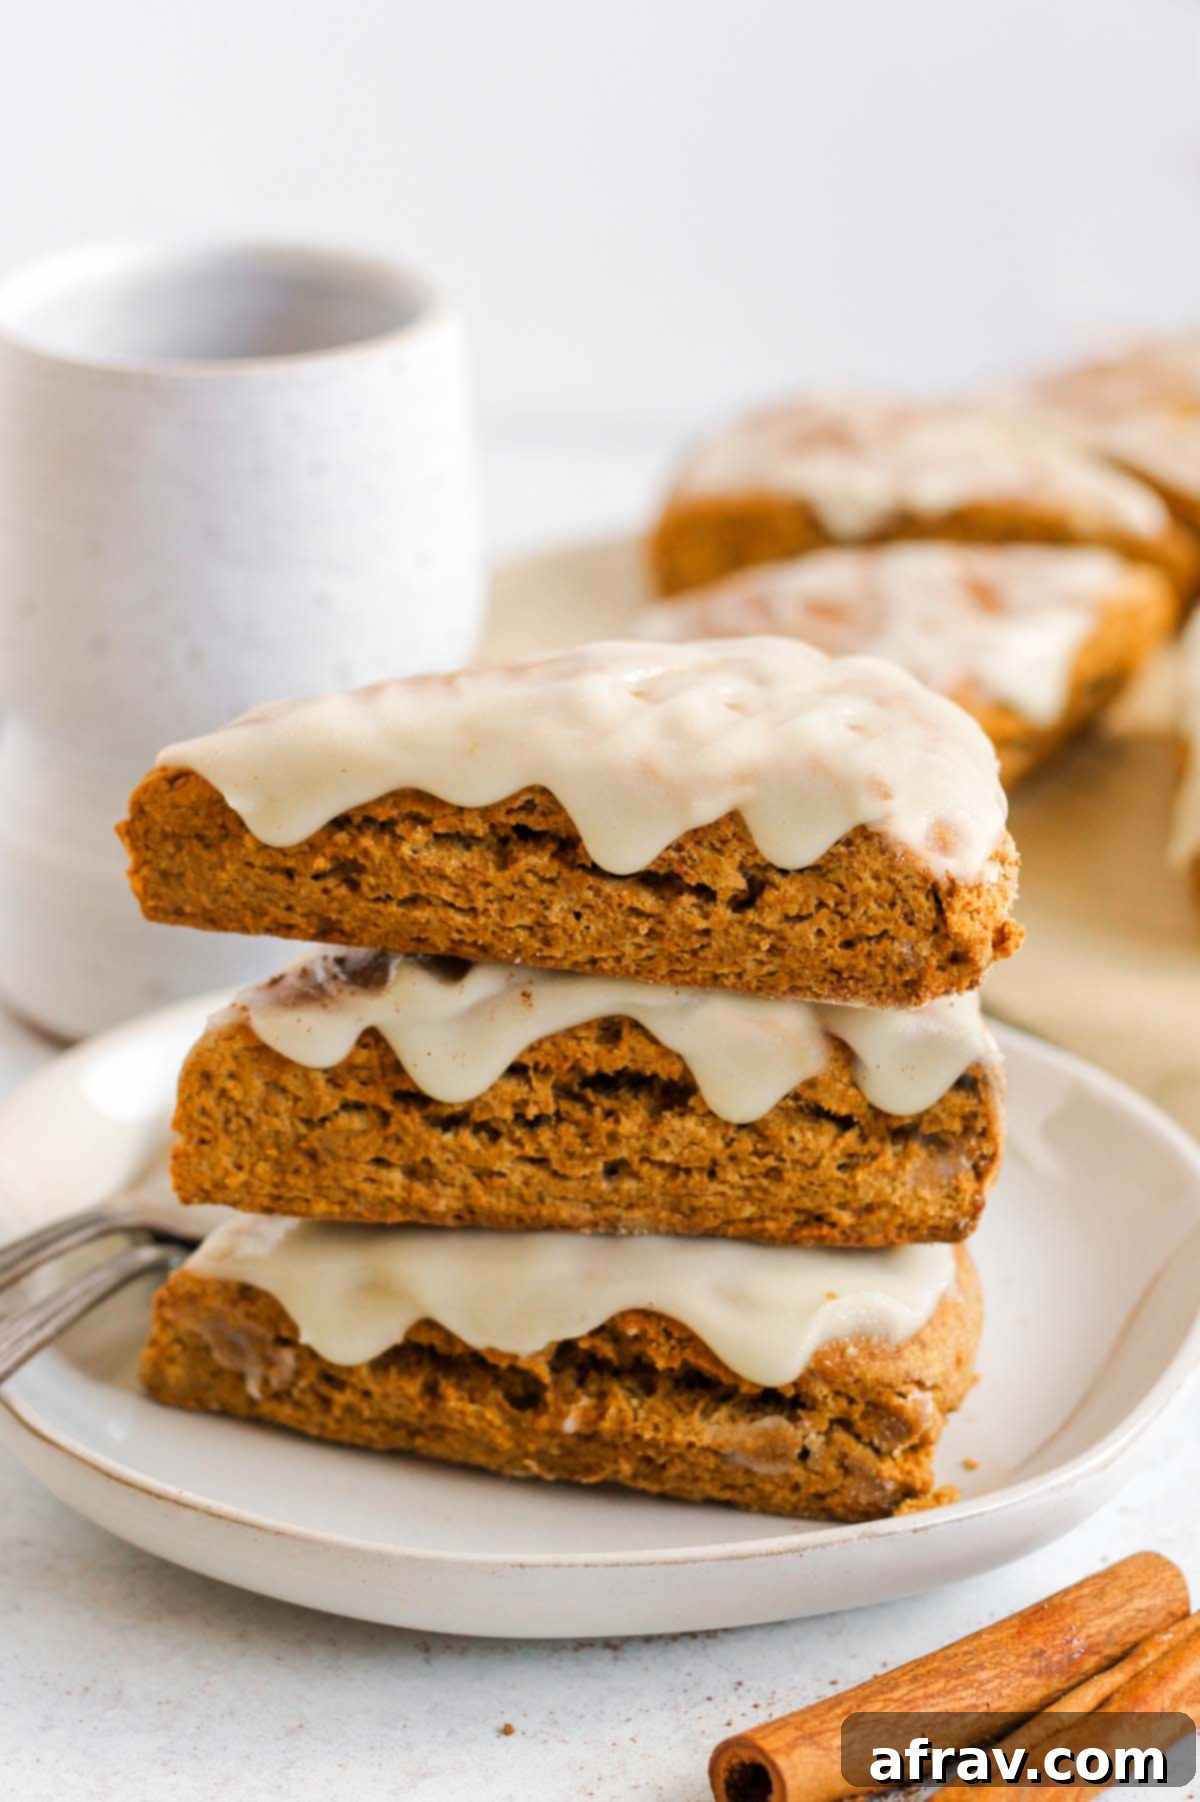
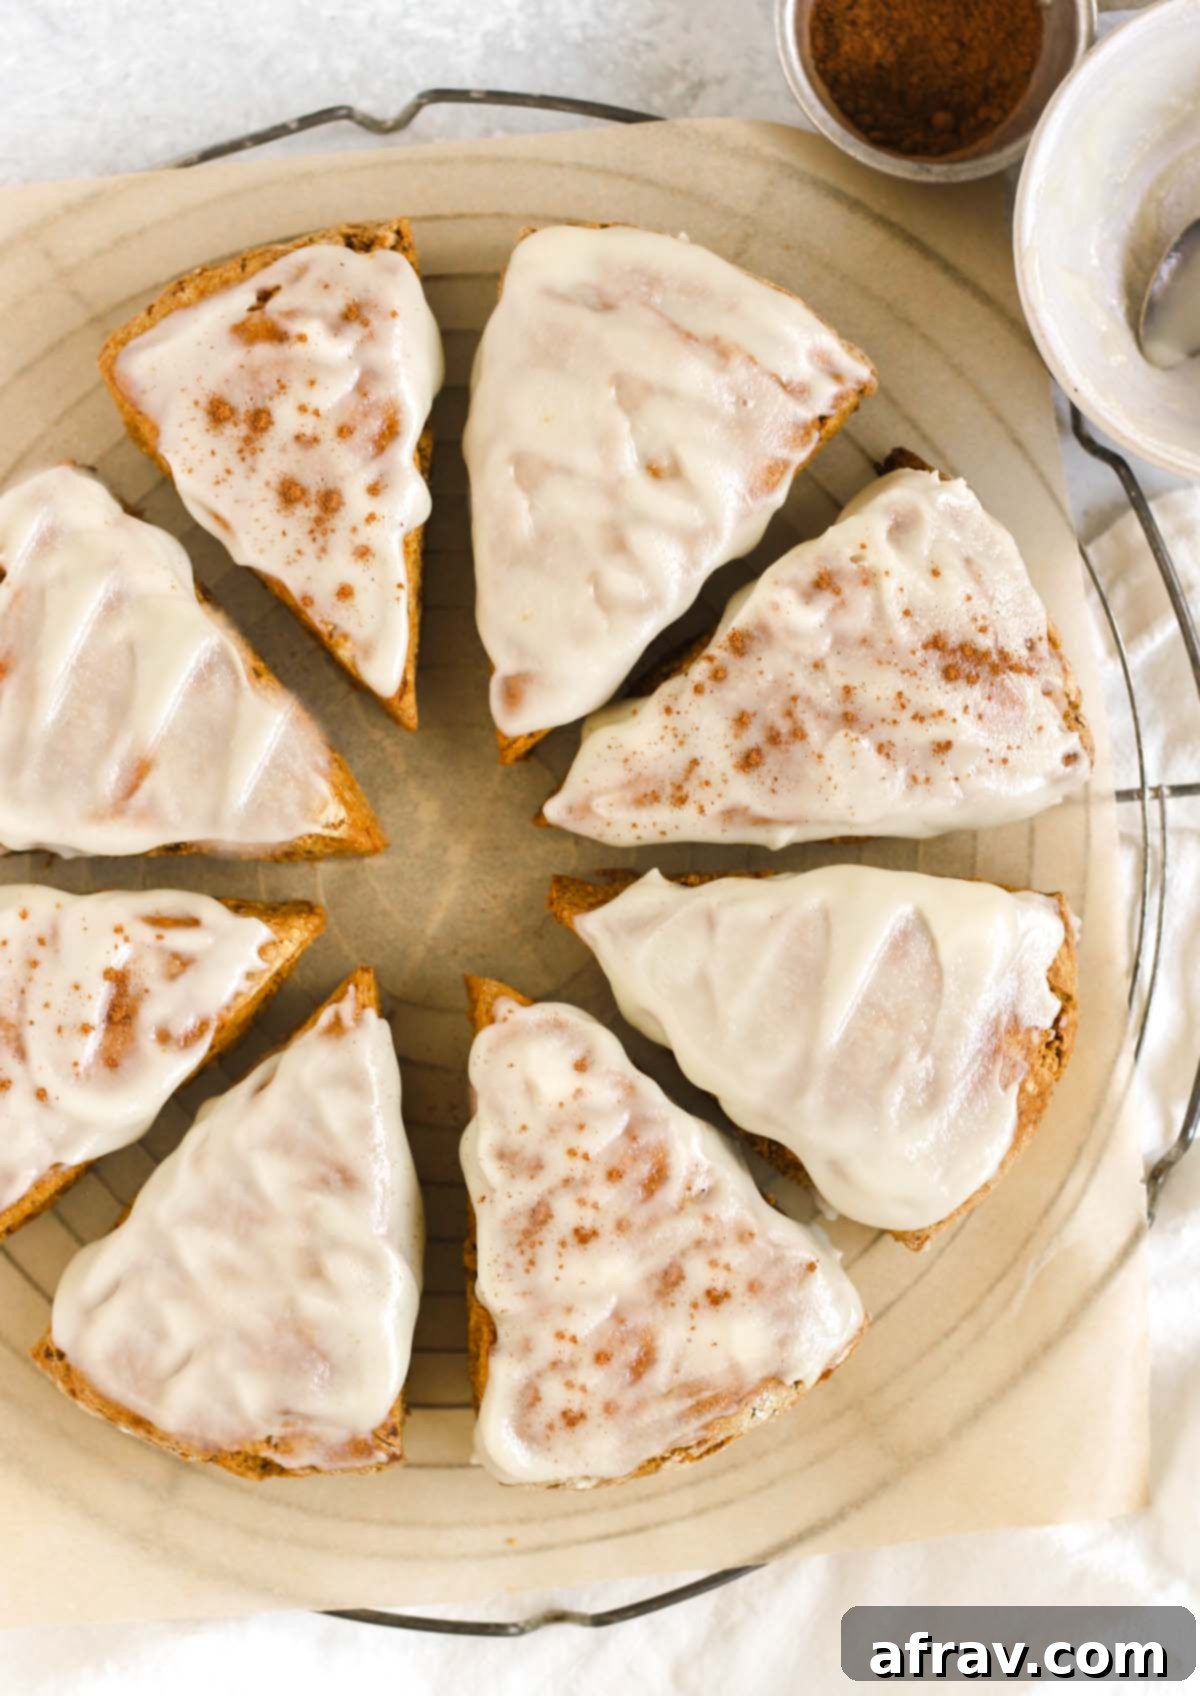
Prepare to fall in love with these gluten-free pumpkin scones. They’re destined to become your go-to seasonal indulgence, perfect whether you enjoy them as a delightful breakfast, a satisfying snack, or a sweet finish after dinner. Each scone is bursting with aromatic fall spices and crowned with an utterly delicious and remarkably easy homemade healthy glaze. This recipe combines comfort and flavor in a way that truly captures the spirit of autumn.
If you’ve hesitated to bake scones before, now is the perfect moment to dive in! You’ll be pleasantly surprised by how straightforward they are. These pumpkin scones can be mixed and ready for the oven in under 20 minutes, making them a fantastic option for busy bakers. Easy fall baking recipes that deliver incredible results are definitely my favorite kind!
When I’m not whipping up a batch of these glorious pumpkin scones, you’ll likely find my kitchen filled with the warm aromas of other fall favorites. Some of my other beloved seasonal recipes include tender chocolate chip pumpkin bread, crunchy pumpkin spice granola, wholesome pumpkin breakfast cookies, chewy gluten-free apple blondies, comforting healthy apple cinnamon bread, or delightful apple cinnamon oat muffins. There’s truly something for every fall craving!
Why You’ll Adore These Gluten-Free Pumpkin Scones
- Perfect Texture: Prepare for a delightful textural experience. These scones boast a subtly crisp, golden-brown exterior that gives way to a wonderfully crumbly and tender interior. This exquisite contrast creates a truly delectable treat that melts in your mouth. The secret lies in the cold butter and precise mixing, ensuring that signature scone flakiness.
- Diet-Friendly Indulgence: We believe delicious baking should be accessible to everyone. This recipe is naturally gluten-free, using a carefully selected blend of flours for optimal results. It’s also refined sugar-free, sweetened with natural coconut sugar, and includes an easy option to make them completely dairy-free. Enjoy a guilt-free pleasure that caters to various dietary needs without compromising on flavor.
- Cozy Fall Flavors: Get ready to be enveloped by the warm, comforting tastes of autumn. Each scone is infused with a rich blend of pumpkin spice and warm cinnamon, perfectly complemented by a luscious maple-kissed glaze. It’s like a cozy autumn hug in every bite, invoking memories of crisp leaves and festive gatherings.
- Surprisingly Simple to Make: Don’t let the elegant appearance fool you – scones are much easier to make than you might think! This recipe requires no stand mixer, no tedious rolling, and no chilling time for the dough. With minimal fuss and a few basic tools, you can have these delicious pumpkin scones ready for the oven in minutes, making them ideal for even novice bakers.
Essential Ingredient Notes for Perfect Pumpkin Scones
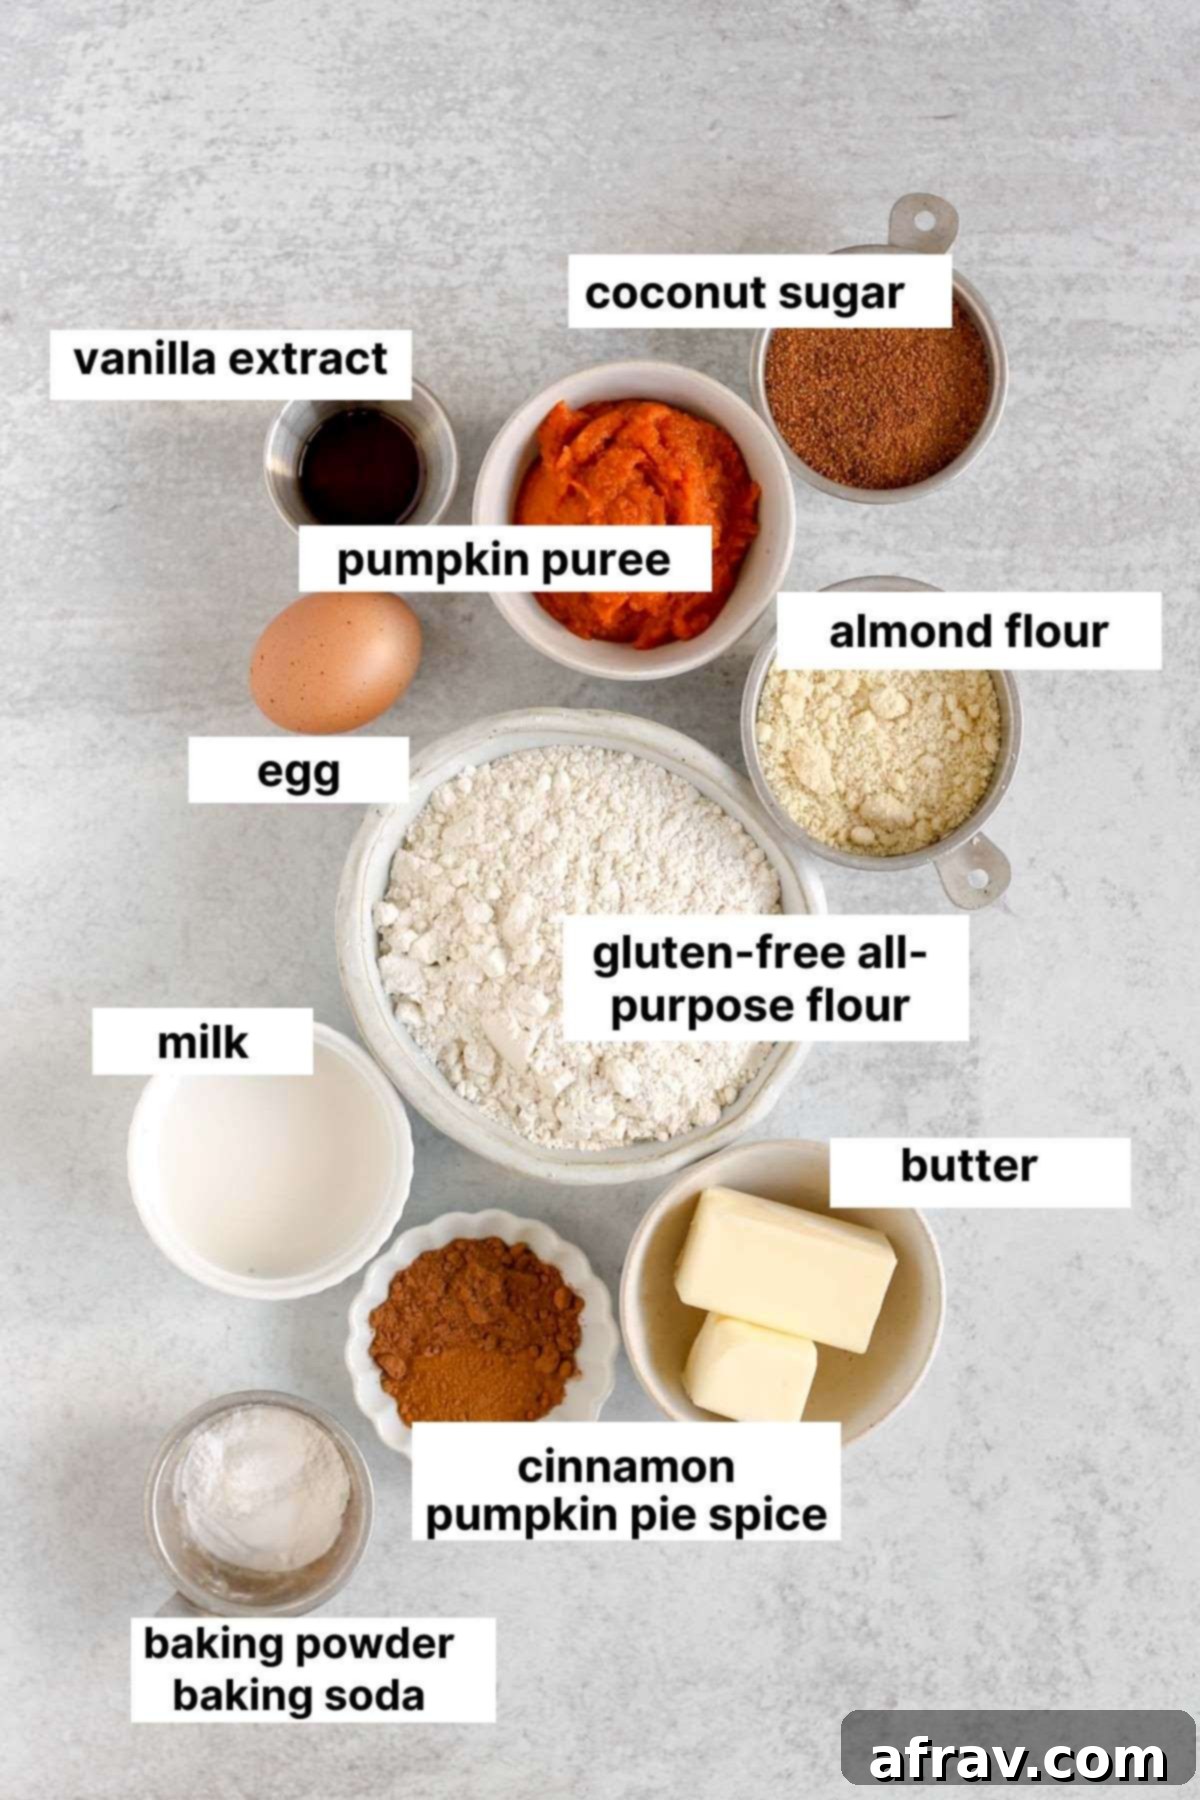
While a complete list of ingredients and their precise amounts can be found in the detailed recipe card below, here are some important notes and tips to ensure your gluten-free pumpkin scones turn out perfectly, focusing on clean ingredient choices where applicable.
- Gluten-Free All-Purpose Flour: The type of gluten-free flour blend you use can significantly impact the final texture. I’ve had great success with both King Arthur’s Gluten-Free All-Purpose Flour and Bob’s Red Mill Gluten-Free 1-to-1 Baking Flour for this recipe. While my personal favorite for general baking is Namaste Organic Perfect Flour Blend, I specifically tested this scone recipe with the former two brands to ensure broader accessibility and consistent results. Ensure your chosen blend is formulated for baking, as some are better for savory applications.
- Almond Flour: It’s crucial to use fine-ground almond flour, not almond meal. Almond meal has a coarser texture, often with flecks of almond skin, which can result in a heavier, denser scone. Almond flour, being finely milled, contributes to the tender crumb and light texture we’re aiming for.
- Pumpkin Puree: Always opt for pure pumpkin puree. This is simply cooked, mashed pumpkin. Avoid using “pumpkin pie mix,” which comes pre-spiced and pre-sweetened. The added sugars and spices in pie mix will throw off the carefully balanced flavors and sweetness level of this recipe. Look for cans that list only “pumpkin” as the ingredient.
Clean Food Tip: For optimal flavor and nutritional benefits, I highly recommend using grass-fed or pasture-raised butter. This type of butter typically contains a higher concentration of beneficial nutrients and healthy fats, such as Omega-3s and Conjugated Linoleic Acid (CLA), compared to conventional butter. Beyond the health advantages, supporting brands that prioritize natural habitats and ethical treatment for cows is a choice I deeply value.
Helpful Ingredient Substitutions for Your Scones
For dairy-free pumpkin scones, you can easily adapt this recipe. Simply substitute the frozen butter with an equal amount of solid coconut oil (ensure it’s chilled and solid, as the cold fat is key to scone texture). Additionally, use your preferred dairy-free milk in place of regular milk. When choosing dairy-free milk, I suggest opting for brands that contain minimal ingredients – ideally just the milk source (like almonds or oats) and water, avoiding unnecessary additives and gums. My top recommendations for clean dairy-free milks are Malk and Three Trees.
To make these vegan pumpkin scones, follow all the dairy-free substitutions mentioned above. In addition, you will need to use a vegan egg replacement for the single egg in the recipe. There are several options available, such as flax eggs (1 tbsp ground flaxseed + 3 tbsp water, let sit for 5 minutes) or commercial egg replacers. Please note that I have not personally tested this recipe with a vegan egg substitute, so results may vary slightly. If you do try a vegan egg replacement, I would love to hear how they turn out!
If coconut sugar isn’t available or you prefer an alternative, white sugar, cane sugar, or light brown sugar can be used as a direct 1:1 substitute. I personally favor baking with coconut sugar because it is considered an unrefined sugar and has a lovely caramel-like note, but any granulated sugar will work to achieve the desired sweetness in these scones.
Step-by-Step Guide: How to Make Gluten-Free Pumpkin Scones
Follow these straightforward instructions to create the most delicious gluten-free pumpkin scones you’ve ever tasted. Remember, precision in scone making leads to the best flaky results!
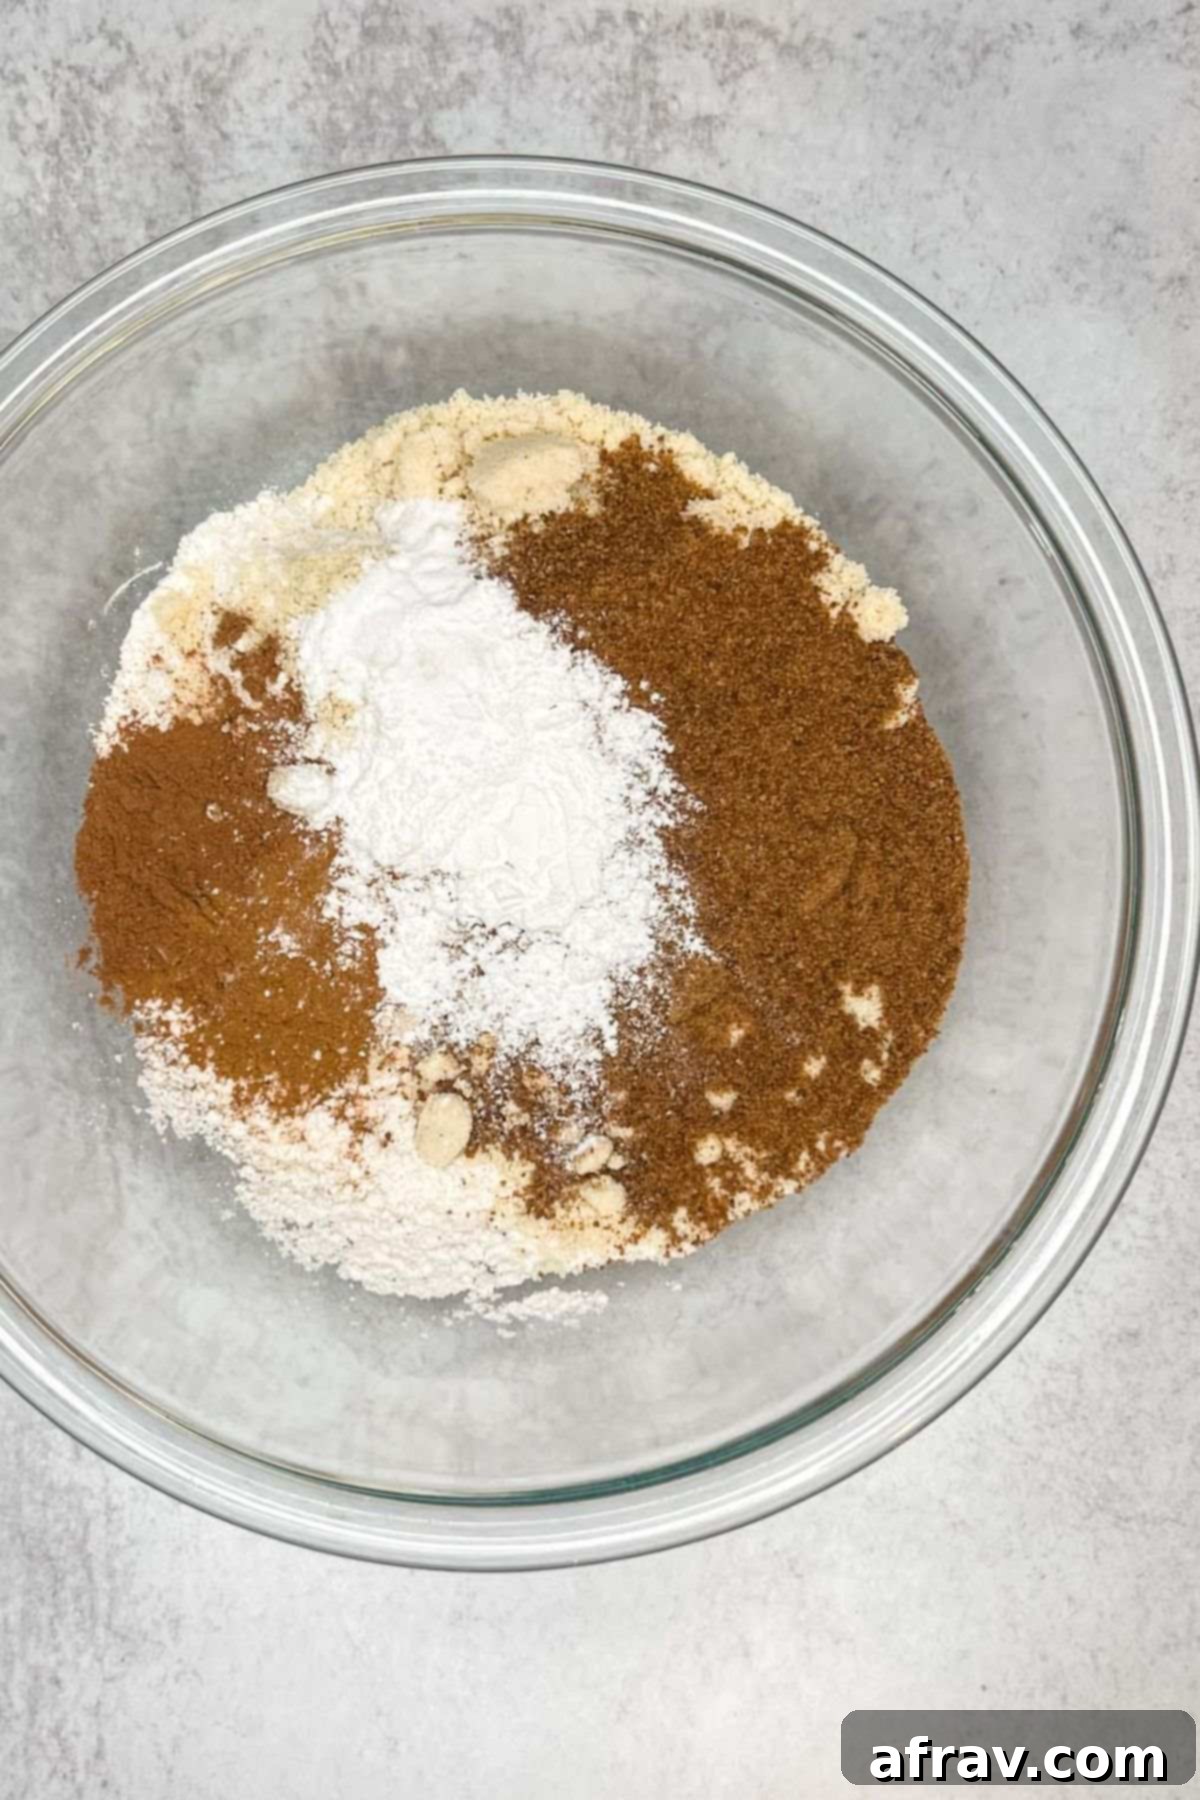
Step 1: Combine Dry Ingredients. In a spacious mixing bowl, thoroughly whisk together all the dry ingredients: gluten-free all-purpose flour, almond flour, baking powder, baking soda, ground cinnamon, pumpkin pie spice, and coconut sugar. Ensure everything is well combined to distribute the leavening agents and spices evenly.
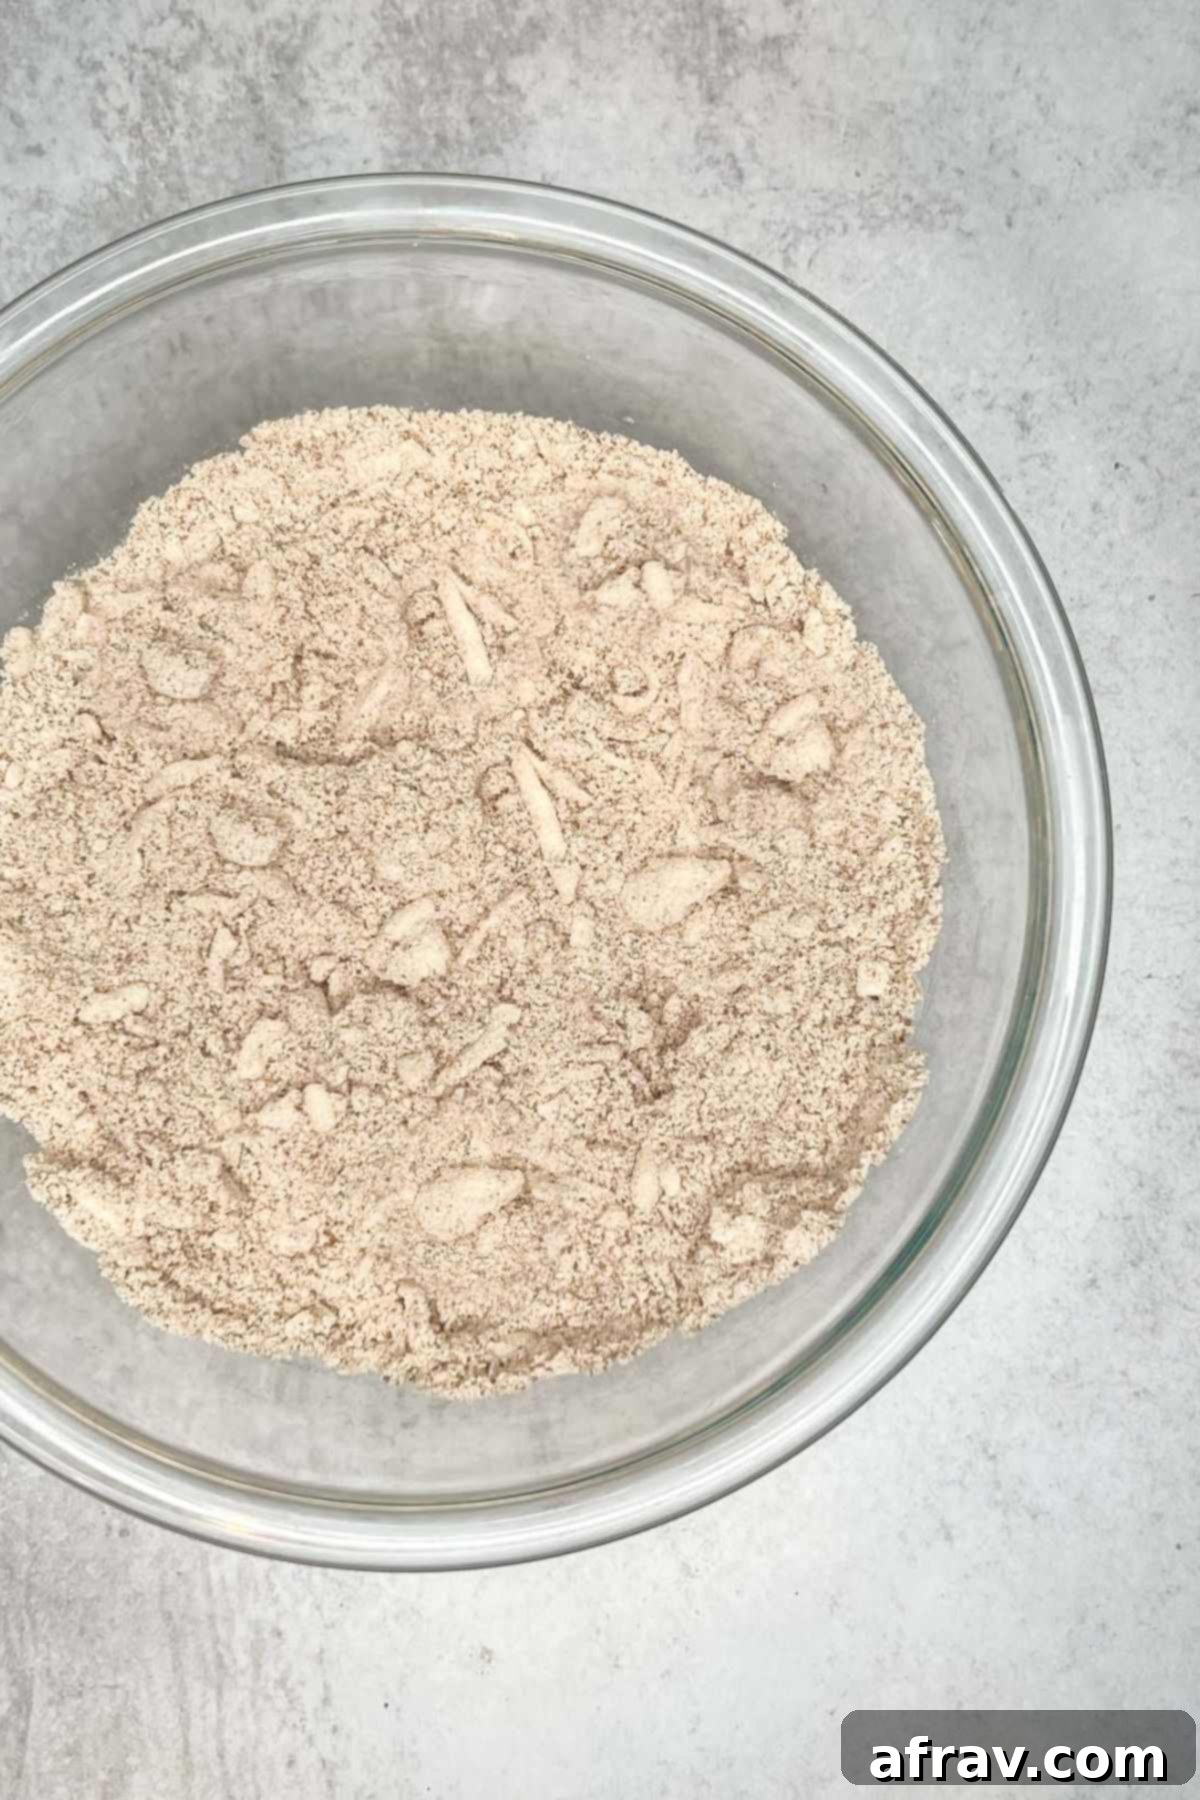
Step 2: Incorporate Frozen Butter. Grate the frozen butter directly into the bowl with the dry ingredients. Immediately use a pastry cutter, or the tines of a fork, to cut the butter into the flour mixture. Work quickly until the butter pieces are about the size of small peas. This technique is key for flaky scones!
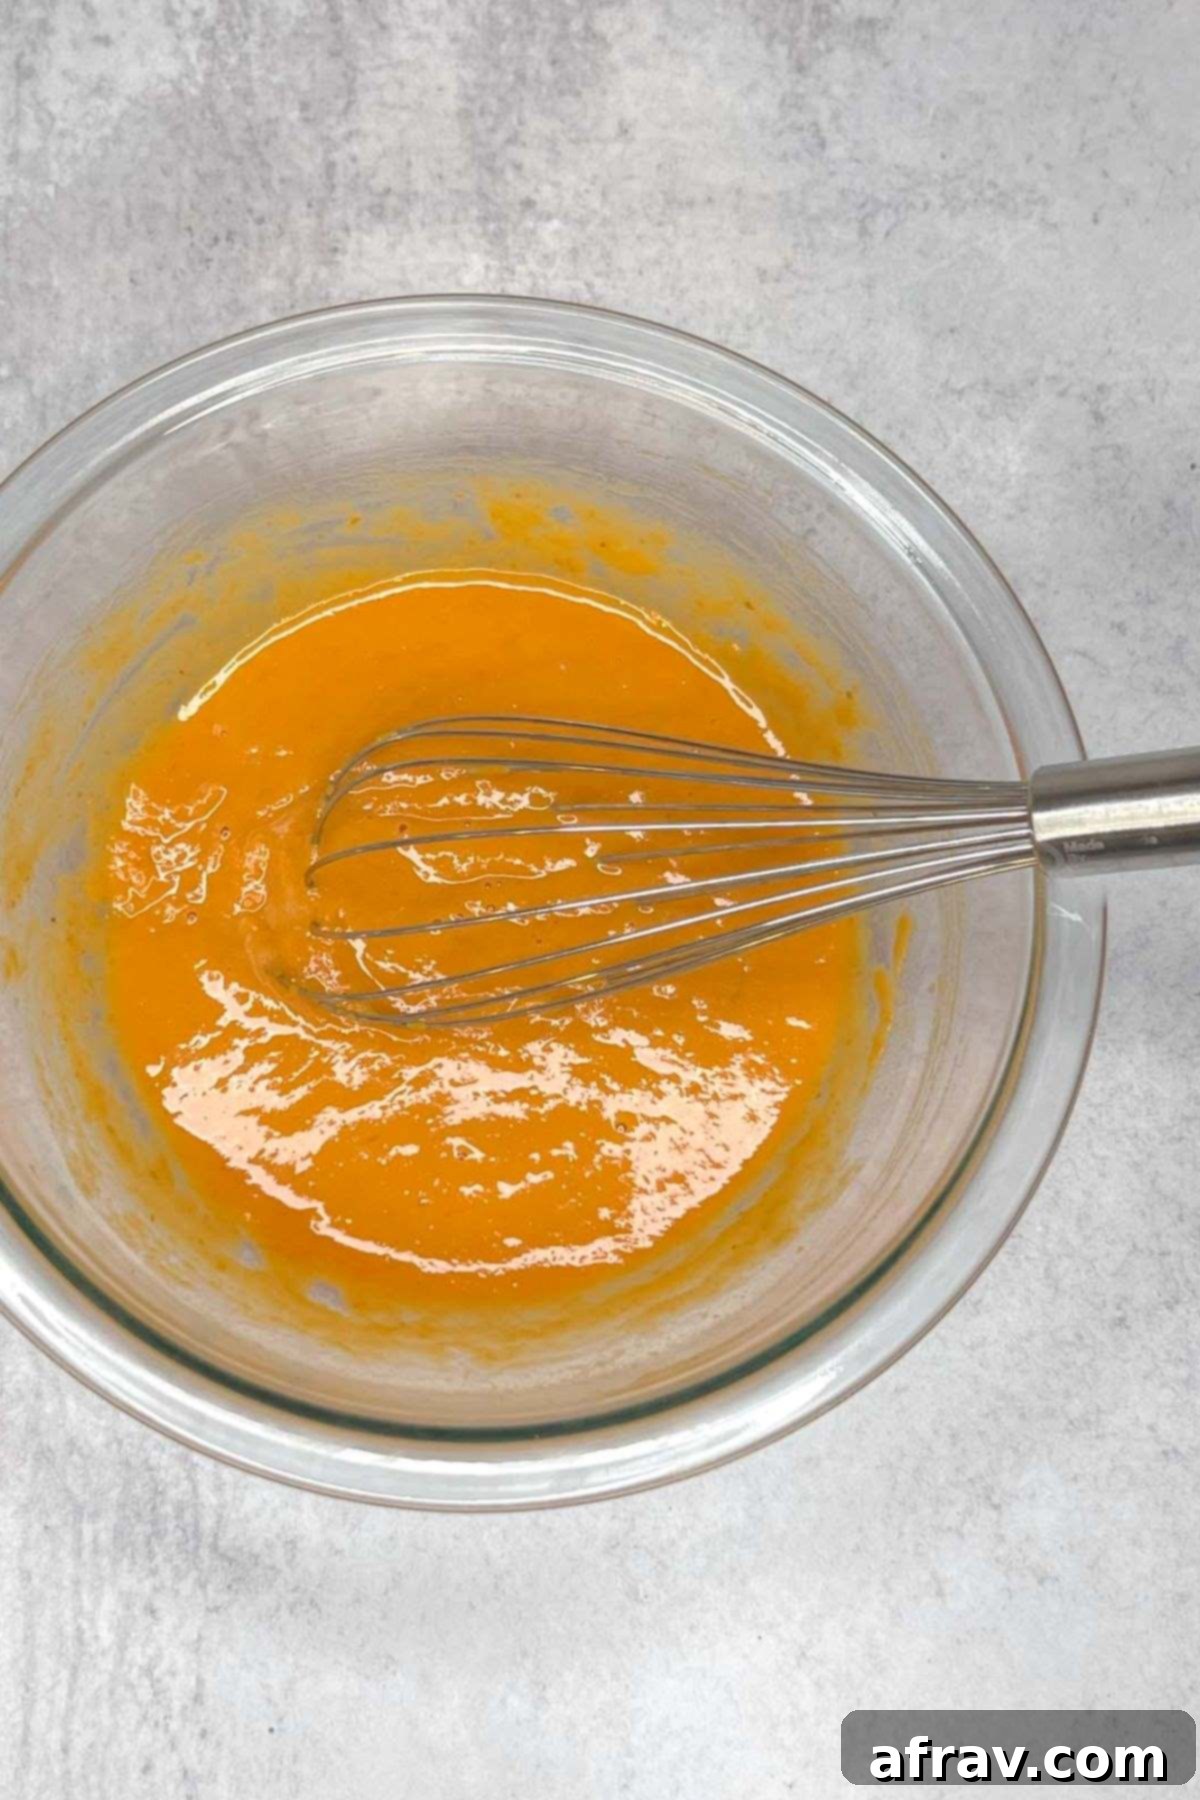
Step 3: Prepare Wet Ingredients. In a separate, smaller bowl, whisk together the egg, pumpkin puree, pure vanilla extract, and milk until completely smooth and uniformly combined. This ensures even distribution of flavor and moisture throughout the dough.
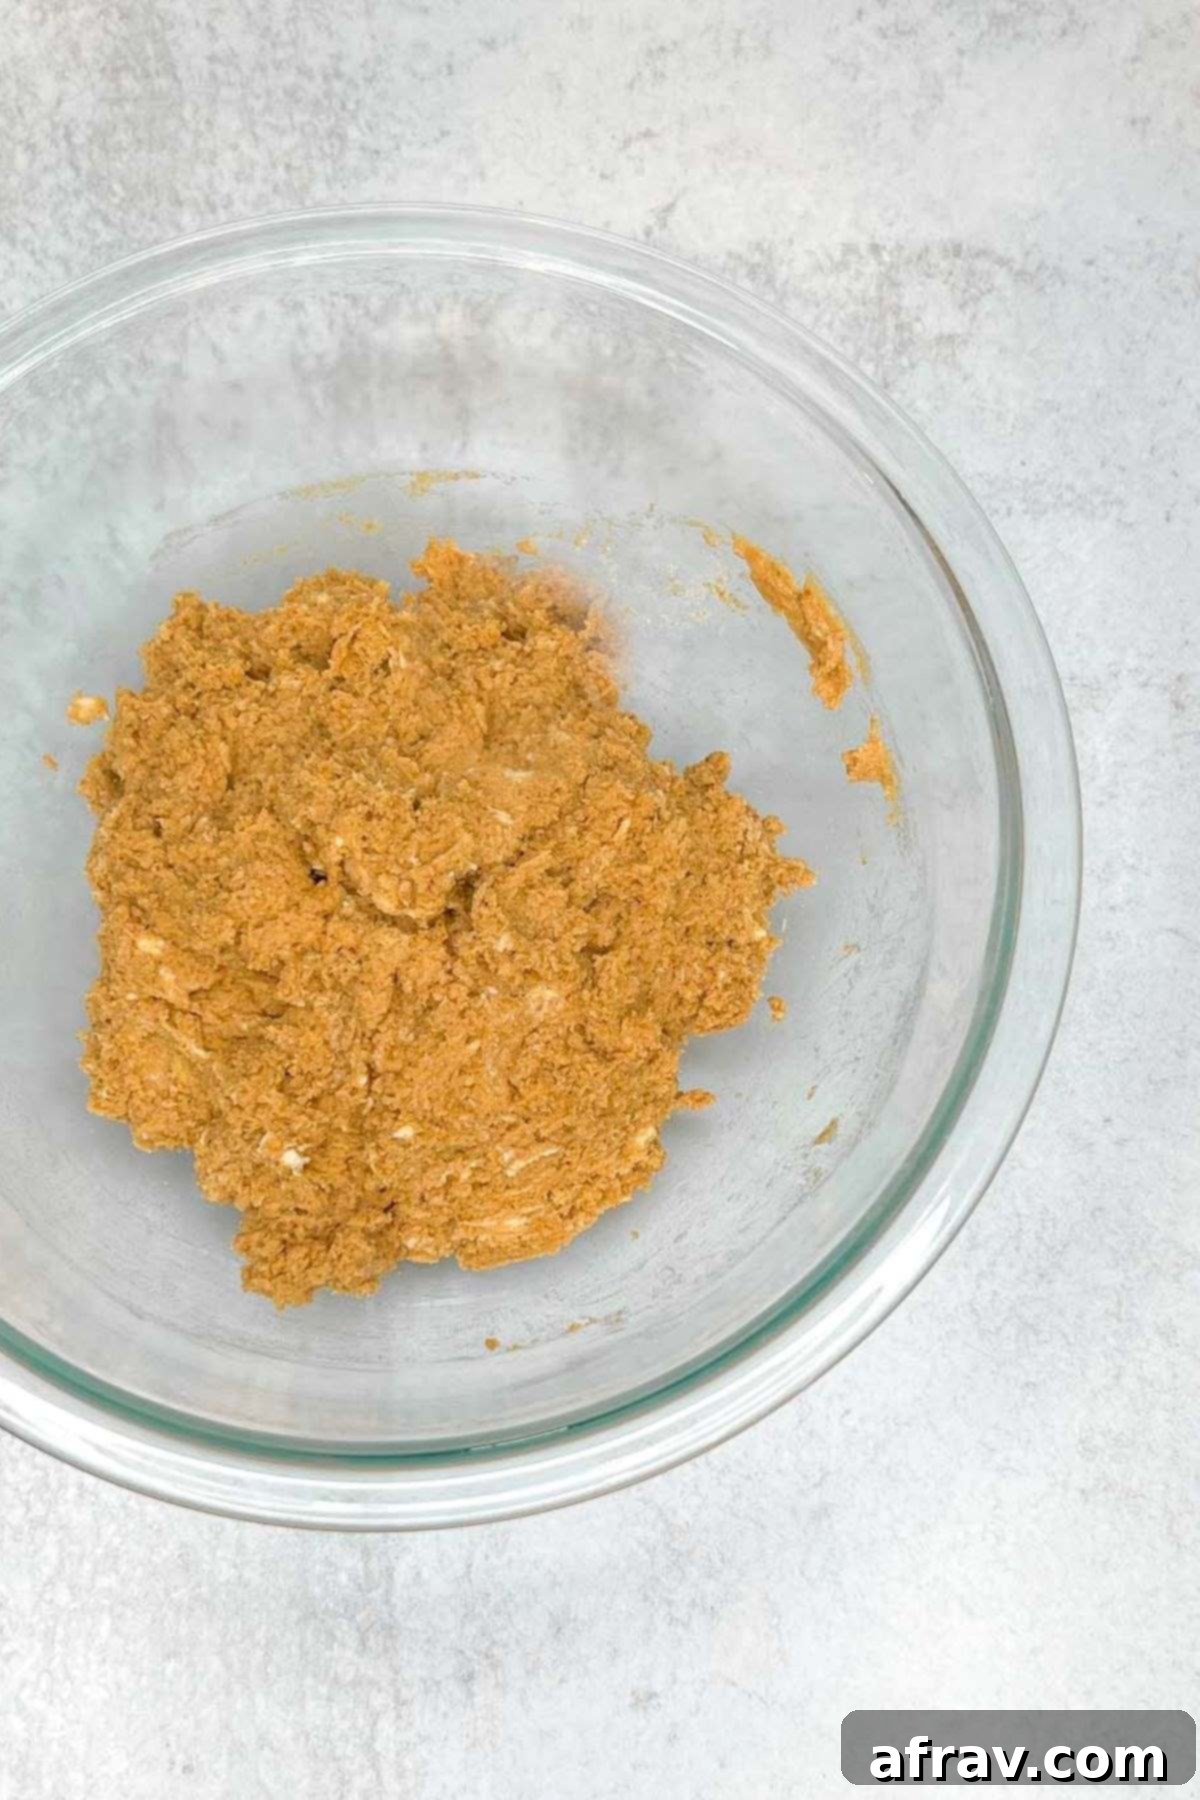
Step 4: Combine Wet and Dry. Pour the wet ingredients into the bowl containing the flour and butter mixture. Stir gently with a wooden spoon until just combined. The dough will be sticky, and you may need to use your hands to fully bring it together into a cohesive, shaggy ball. Be careful not to overmix!
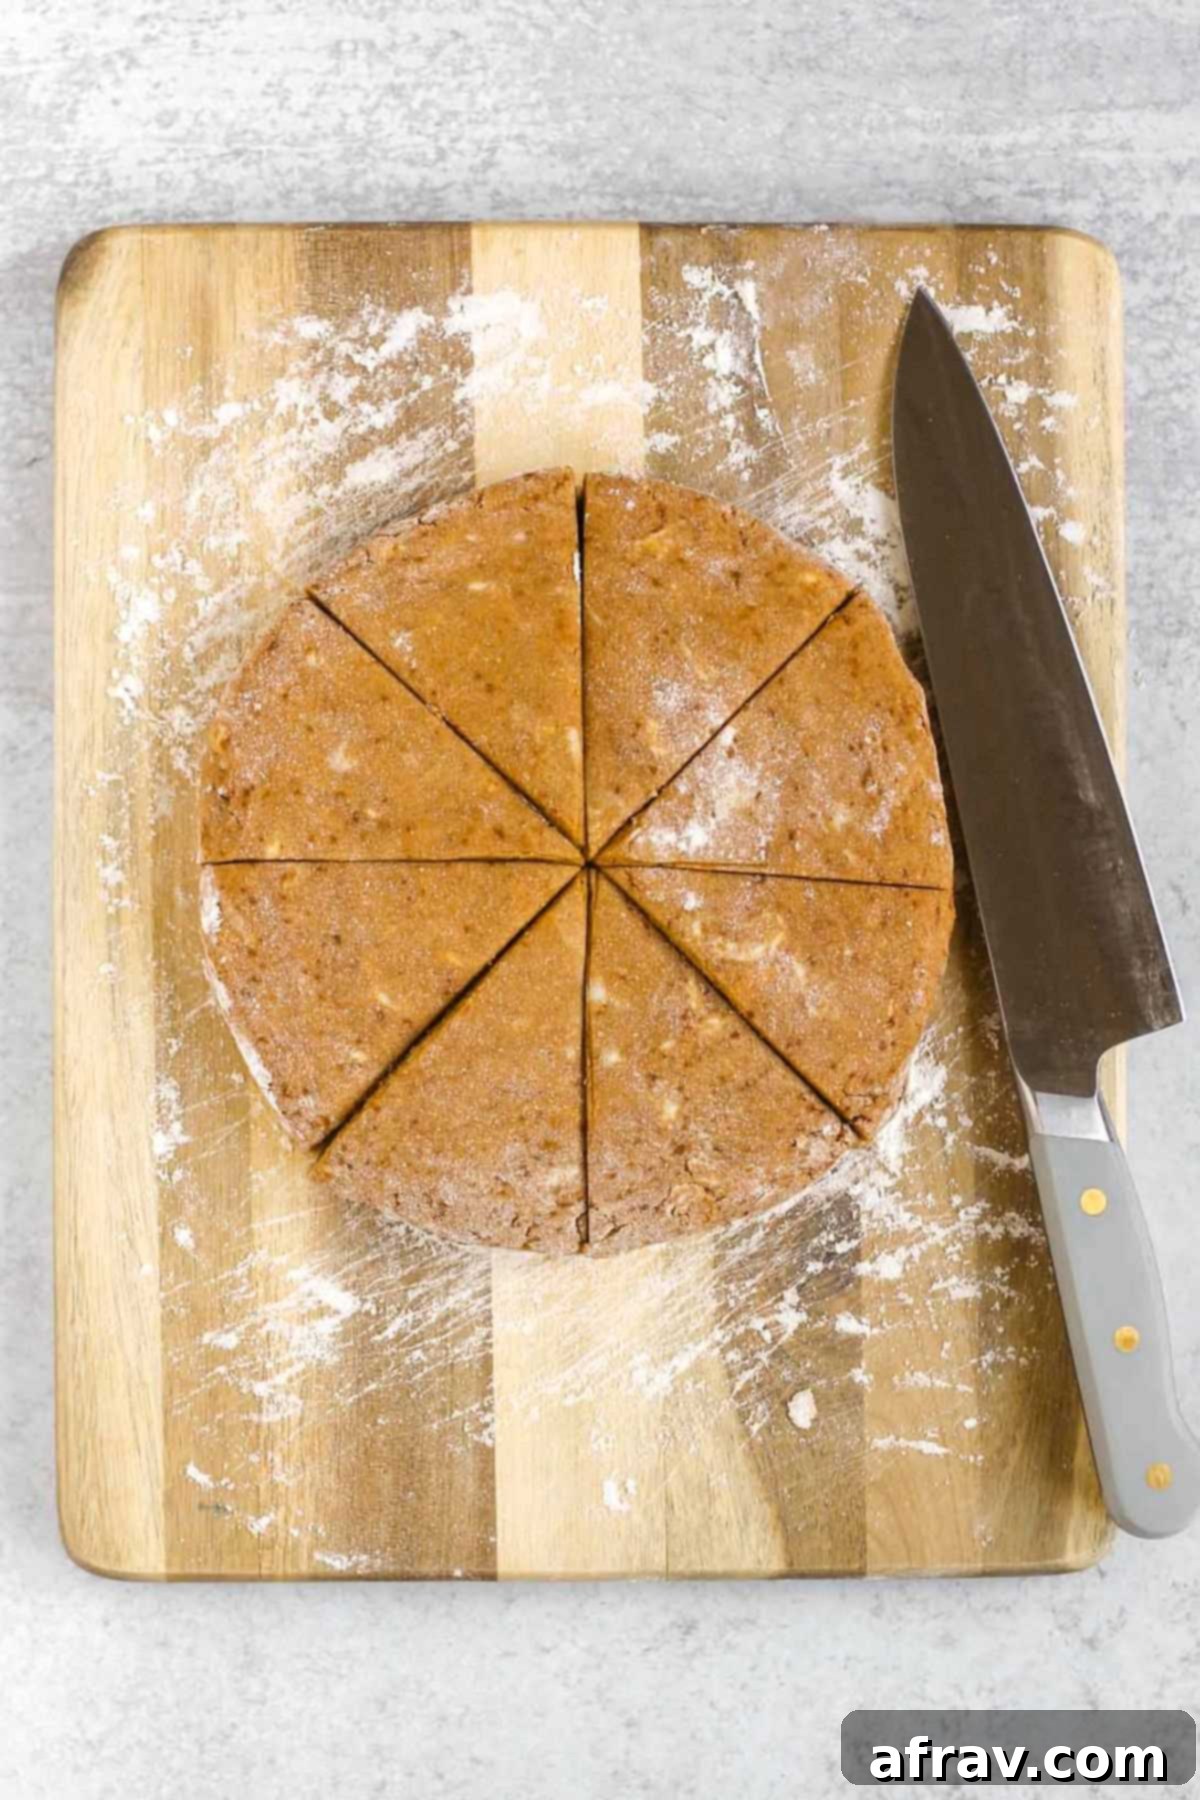
Step 5: Shape and Cut Scones. Lightly flour a clean work surface with gluten-free flour. Transfer the sticky dough to this surface and gently shape it into a ball. Then, flatten the dough ball into a uniform disc, approximately ¾ inch high and about 6 inches wide. Using a sharp knife or a bench scraper, cut the disc into 8 even triangular wedges.
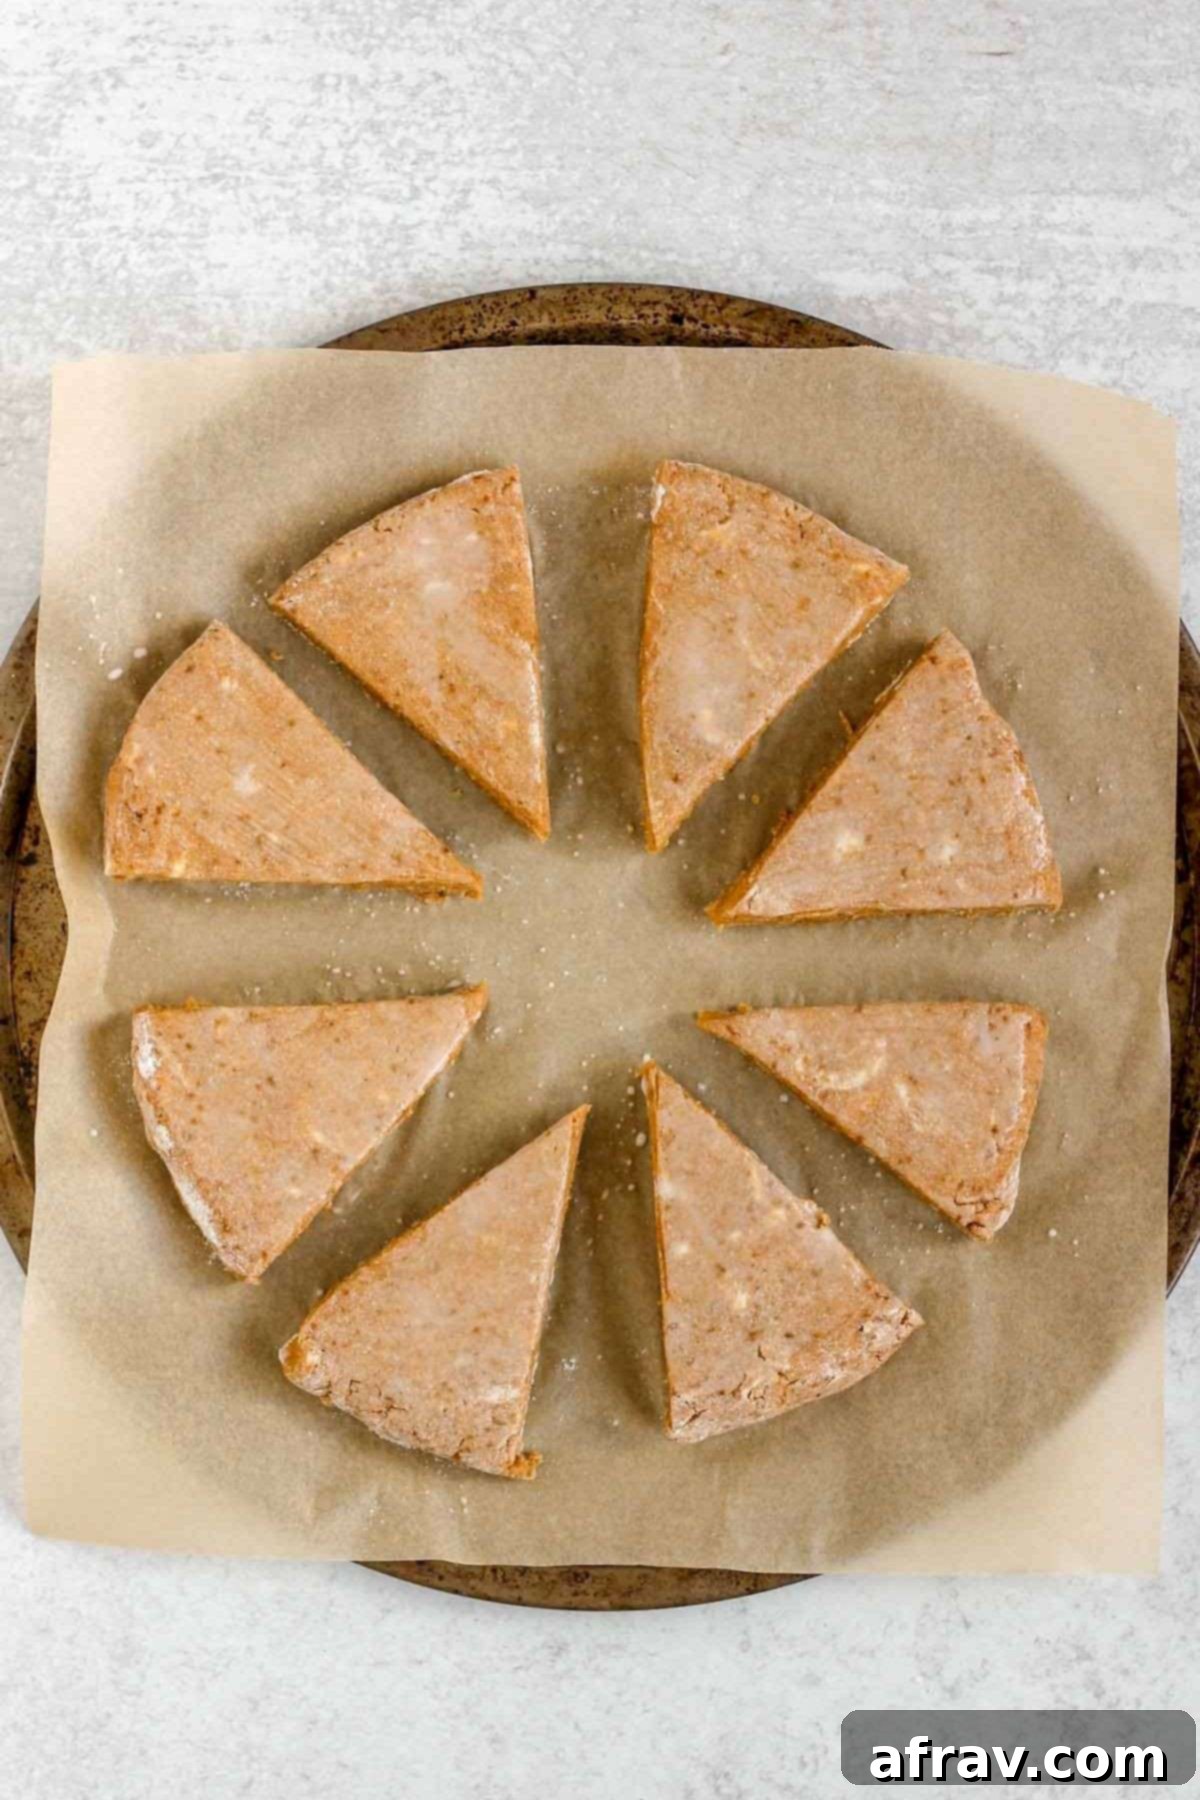
Step 6: Bake to Golden Perfection. Carefully transfer the triangular dough wedges to a baking sheet lined with parchment paper, leaving about an inch of space between each scone to allow for even baking. Brush the tops of each scone lightly with a little extra milk (this helps them brown beautifully). Bake in a preheated 400-degree F oven for 18-20 minutes, or until the edges are golden brown and the centers are set.
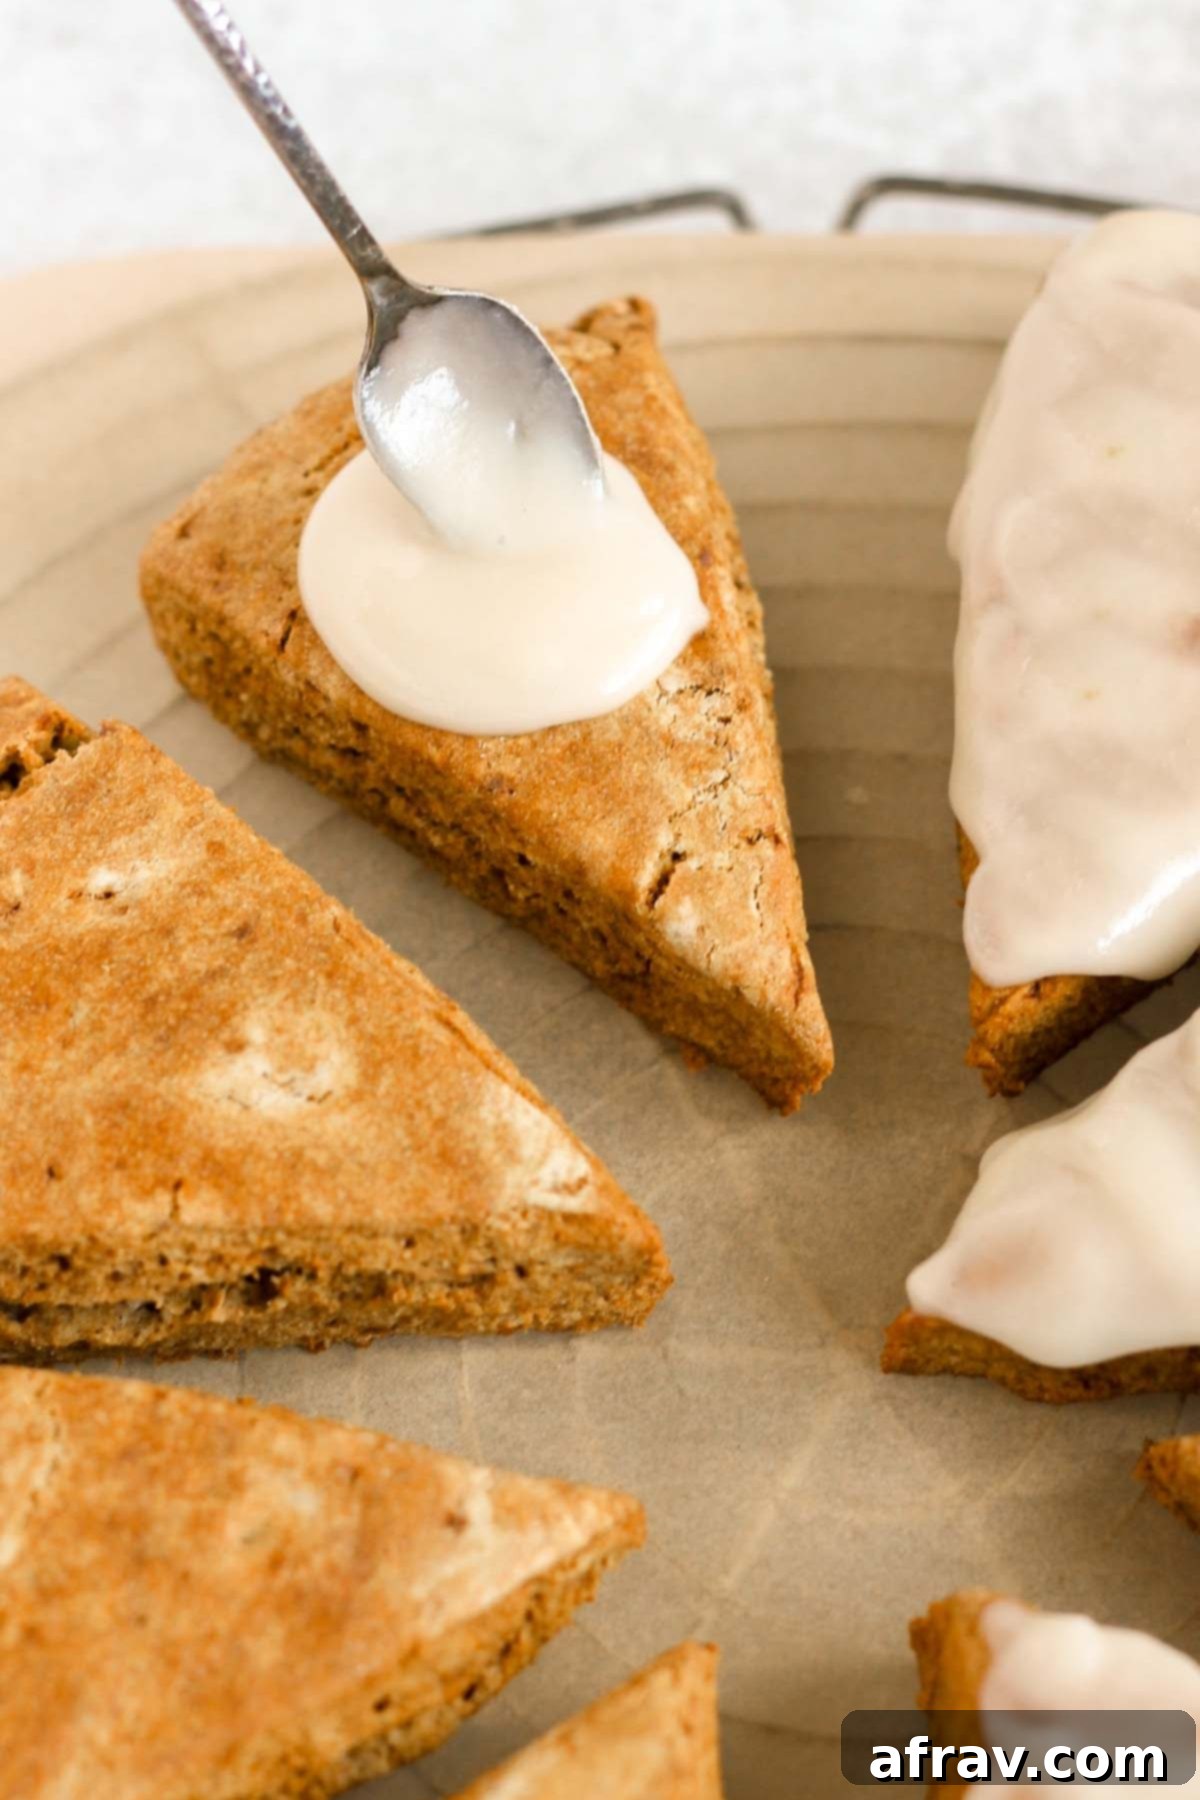
Step 7: Prepare the Coconut Butter Glaze. To make the healthy and delicious coconut butter glaze, gently soften the coconut butter in the microwave until it’s pliable but not fully melted (usually about 30 seconds). Then, add the pure maple syrup and milk, whisking vigorously until the mixture is completely smooth and reaches a thick yet spreadable consistency. If it’s too thick, add a tiny bit more milk.
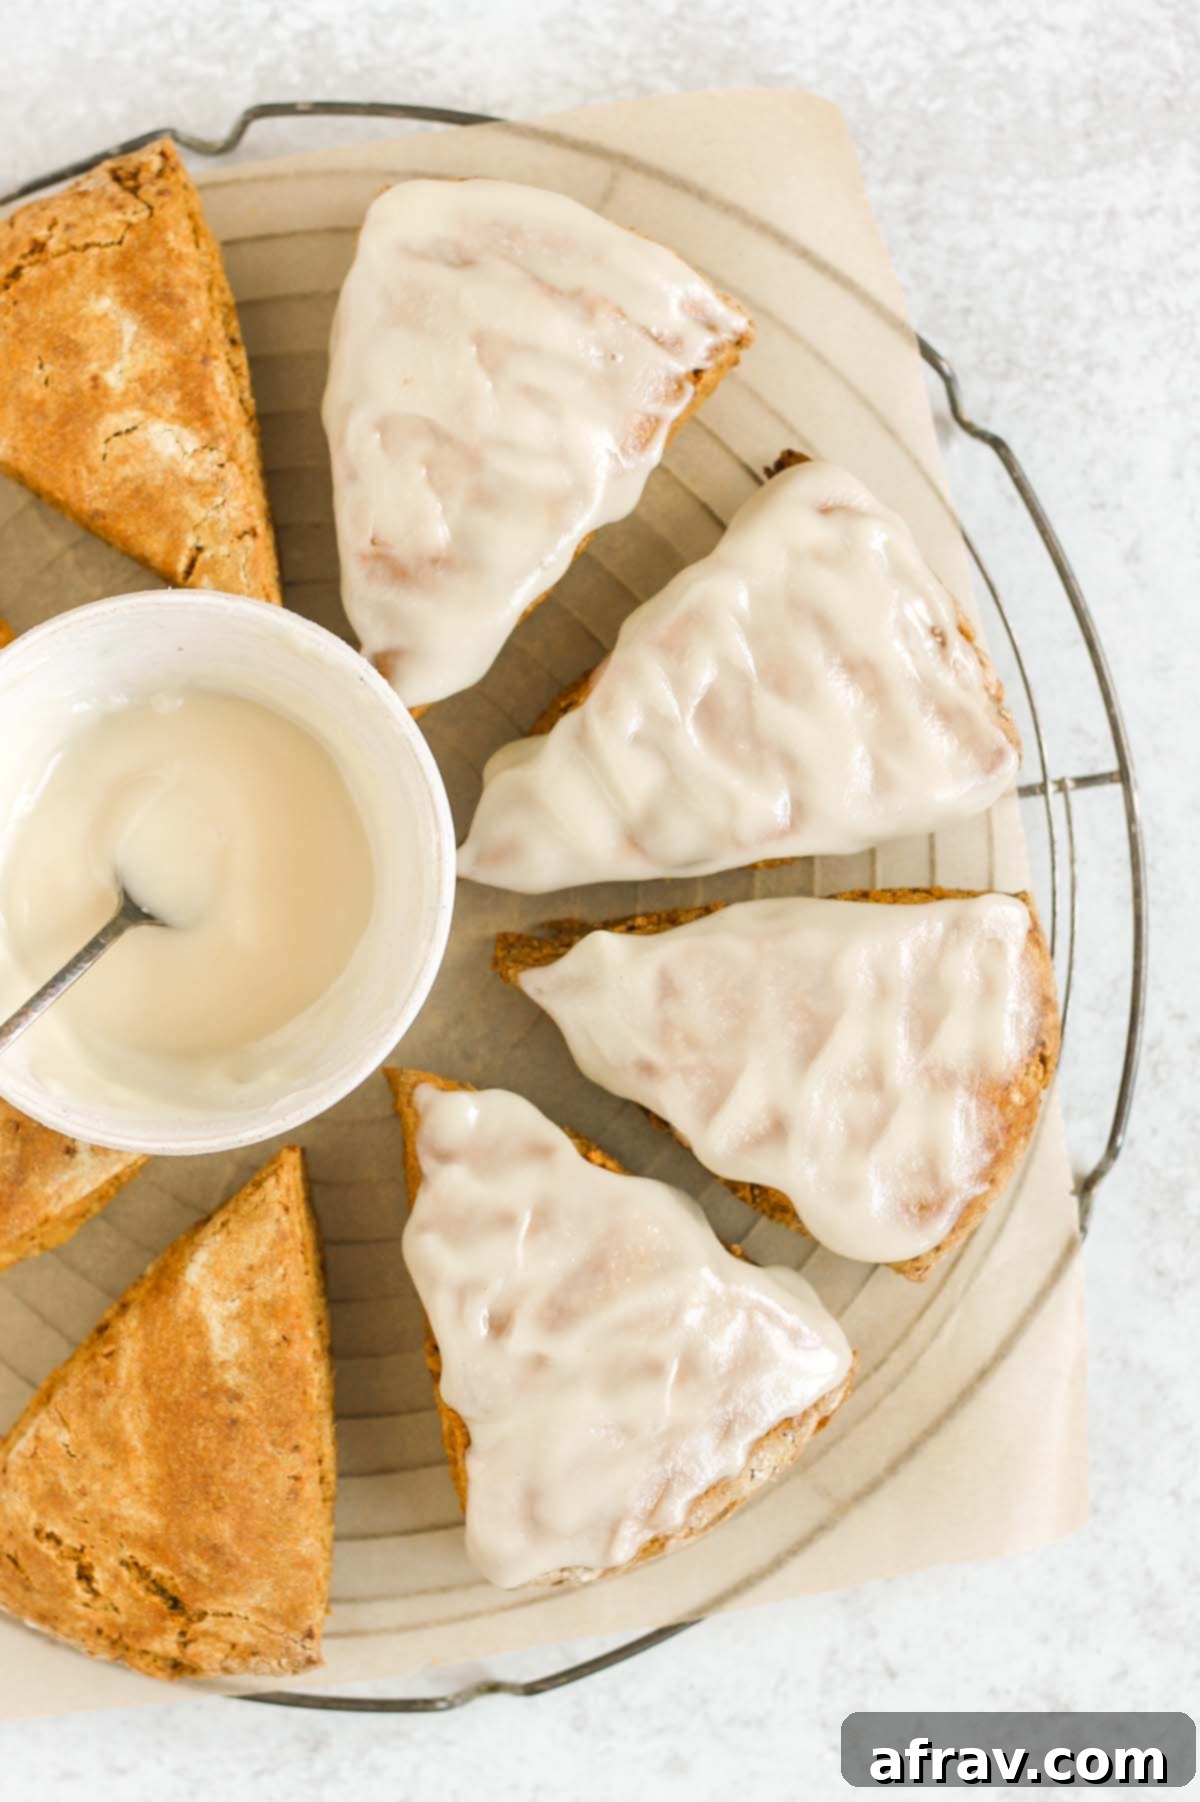
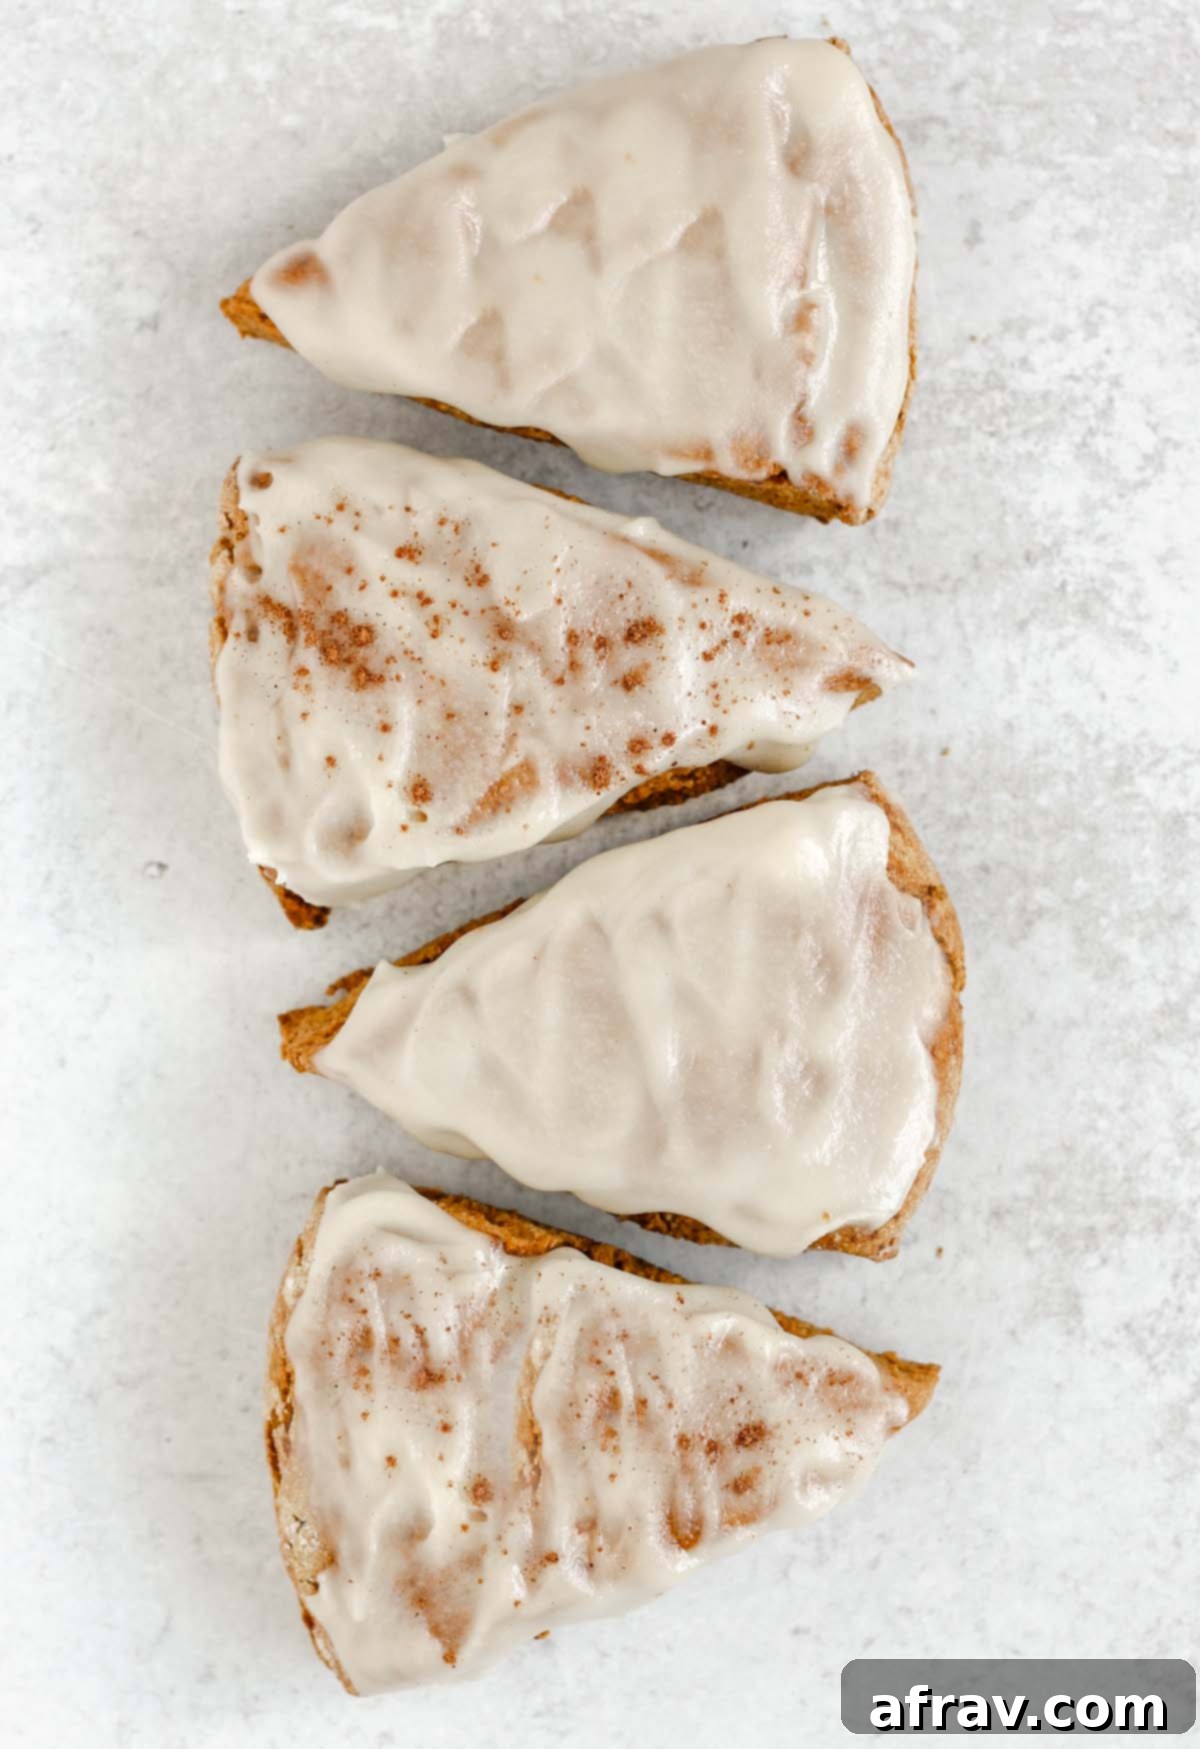
Step 8: Glaze and Serve. Once the baked scones have cooled slightly, spread or artfully drizzle the prepared glaze over each scone. The glaze will set as it cools, creating a beautiful finish and an extra layer of sweetness. For an alternative, see the directions below in the recipe card for making a classic powdered sugar glaze. Serve warm and enjoy!
Expert Baking Tips for Flawless Gluten-Free Scones
Always use frozen butter: This is perhaps the most crucial tip for achieving that signature flaky, tender scone texture. The colder the butter, the better! When frozen butter is cut into the flour, it creates tiny pockets of butter that melt in the oven, releasing steam and creating those desirable flaky layers. If your butter isn’t frozen, cut it into very small cubes and then freeze for at least 30 minutes before incorporating.
It’s often best to mix the dough by hand. Using your hands allows you to feel the dough’s consistency and ensures you don’t overmix. However, be mindful of the warmth of your hands. Work quickly to prevent the butter from warming up and fully integrating into the dough, which would result in a less flaky texture.
For best results, I highly recommend using specialized tools. A pastry cutter (or pastry blender) is invaluable for efficiently cutting the cold butter into the dry ingredients without overworking the dough. Additionally, a pastry brush is perfect for delicately applying milk to the scones before baking, ensuring an even golden-brown crust.
Properly measuring your flours is essential for gluten-free baking. Always spoon and level both the gluten-free flour and almond flour. To do this, use a spoon to lightly scoop the flour into your measuring cup, then use the back of a knife or straight edge to level off the top. This prevents you from overpacking the measuring cup, which can lead to too much flour and result in dense, dry scones instead of light and fluffy ones.
Storing and Freezing Your Gluten-Free Pumpkin Scones
Storing: For the absolute best flavor and texture, these gluten-free pumpkin scones are truly a delight when served within a few hours of baking. However, any delicious leftovers can be stored at room temperature in an airtight container for up to 24 hours. To extend their freshness even further, you can place them in an airtight container in the refrigerator for up to 3 days. When you’re ready to enjoy them, a quick warm-up in the microwave for 15-30 seconds will help soften them back to their tender best.
Freezing: These scones freeze beautifully, allowing you to enjoy a taste of fall anytime! To freeze, individually wrap each cooled scone tightly in tin foil or plastic wrap. Then, place the wrapped scones in a freezer-safe bag or container to protect them from freezer burn. They will maintain their quality in the freezer for up to 3 months. When you’re ready to indulge, simply allow the scones to thaw at room temperature for a few hours. For that freshly baked warmth, pop them into an oven preheated to 300-degrees F for about 5-7 minutes until they are heated through and slightly crisp on the outside.
If you plan on freezing your scones, I recommend doing so before adding any glaze. You can always prepare a fresh batch of glaze and drizzle it over the thawed and warmed scones just before serving for the perfect finish.
Common Questions About Gluten-Free Pumpkin Scones
Absolutely! The recipe is already gluten-free as written. To make them completely dairy-free, simply substitute the unsalted butter with an equal amount of solid, chilled coconut oil, and use your favorite dairy-free milk (such as almond milk or oat milk) in place of regular milk. Be sure to keep the coconut oil very cold for the best scone texture.
While these pumpkin scones are undeniably at their peak freshness and flavor within a few hours of baking, you can certainly prepare them ahead of time. They will keep well at room temperature in an airtight container for one day. If you need to prepare them further in advance, I recommend storing them in the refrigerator in an airtight container for up to 3 days and then gently warming them in the microwave or oven before serving to restore their tender texture.
It’s been quite a long time since I’ve sampled a baked good from Starbucks, so I can’t directly compare these to their pumpkin scones. However, I can confidently tell you that these homemade gluten-free pumpkin scones are incredibly flavorful, perfectly sweet without being overly so, and absolutely “drool-worthy.” Whether you choose the healthy coconut butter glaze or the classic powdered sugar glaze, these scones are sure to become a beloved fall favorite in your home!
More Delicious Fall Recipes to Try!
- Harvest Chicken Apple Sausage Sheet Pan Dinner
- Apple Cinnamon Baked Oatmeal
- Cold Wild Rice Salad with Dried Cranberries and Pecans
- Air Fryer Apples
If you make this amazing gluten-free pumpkin scone recipe, please let me know what you think! Your feedback truly means a lot to me. I would be so grateful if you could leave a star rating and/or a comment below. And don’t forget to share a photo of your beautiful creations on Instagram or Facebook, making sure to mention @CleanPlateMama! Happy baking!
Eat Clean. Be Well!
-Sara
Gluten-free Pumpkin Scones
Print
Pin
Rate
Breakfast, brunch, Snack
American
Gluten Free
15 minutes
20 minutes
35 minutes
8
scones
Sara
Save This Recipe For Later!
We’ll email this post to you, so you can come back to it later. Plus, enjoy weekly clean eating recipes as a bonus.
Equipment
-
2 mixing bowls -
1 Baking sheet -
1 pastry cutter -
1 pastry brush
Ingredients
Ingredients for the Scones
-
1 ½
cups
gluten-free all-purpose flour -
¾
cup
almond flour -
2
tsp.
baking powder -
½
tsp.
baking soda -
1
tsp.
ground cinnamon -
2
tsp.
pumpkin pie spice -
⅓
cup
coconut sugar -
6
tbsp.
unsalted butter, frozen
(see notes) -
1
egg
-
½
cup
pumpkin puree
(not pumpkin pie mix) -
1
tsp.
pure vanilla extract -
¼
cup
milk
(plus more for brushing on scones)
Ingredients for Coconut Butter Glaze
-
¼
cup
coconut butter -
1
tbsp.
pure maple syrup -
1
tbsp.
milk
Ingredients for Powdered Sugar Glaze
-
½
cup
powdered sugar -
1-2
tbsp.
milk -
½
tsp.
pure vanilla extract
Instructions
-
Pre-heat oven to 400-degrees F (200°C). Line a baking sheet with parchment paper and set aside.
-
In a large mixing bowl, whisk together the dry ingredients: gluten-free flour, almond flour, baking powder, baking soda, cinnamon, pumpkin spice, and coconut sugar until well combined.
-
Using a box grater, grate the frozen butter into the dry ingredients. With a pastry cutter or the back of a fork, cut the butter into the flour mixture until it resembles coarse crumbs with some pea-sized pieces of butter remaining.
-
In a separate small bowl, whisk together the egg, pumpkin puree, vanilla extract, and milk. Add this wet mixture to the flour/butter mixture and stir with a wooden spoon until a dough just begins to form. You may need to use your hands to gently bring all the ingredients together; be careful not to overmix. Note: the dough will be sticky!
-
Lightly flour your hands with gluten-free flour, then shape the sticky dough into a large ball. Transfer the dough to a lightly floured surface and sprinkle the dough ball with additional gluten-free flour. Gently flatten the dough into a disc that is roughly 6 inches (15 cm) wide and ¾ inch (2 cm) high. Using a sharp knife or bench scraper, cut the disc into 8 equal triangles.
-
Carefully transfer the dough triangles to the prepared baking sheet, ensuring about an inch of space between each scone. Brush the tops of each scone with a little additional milk for a golden finish.
-
Bake for 18-20 minutes, or until the scones are golden brown around the edges and feel fully set in the center.
-
Remove from oven and allow to cool on the baking sheet for a few minutes before transferring to a wire rack. If adding glaze, drizzle it over the scones once they have cooled to at least warm. Enjoy your delicious homemade gluten-free pumpkin scones!
Instructions for Coconut Butter Glaze
-
Add coconut butter to a small microwave-safe bowl. Warm the coconut butter in the microwave in 15-second intervals until it is soft and pliable, but NOT completely melted. This should take approximately 30-45 seconds, depending on your microwave.
-
Using a fork or small whisk, mix in the pure maple syrup and milk. Start with 1 tablespoon of milk and add a tiny bit more if needed, until the glaze is thick but still easily spreadable or able to be drizzled.
-
Evenly spread or drizzle the prepared glaze over each scone. The glaze will harden as it sets, creating a lovely finish.
Instructions for Powdered Sugar Glaze
-
In a small bowl, combine the powdered sugar with the pure vanilla extract and 1 tablespoon of milk. Stir with a fork or small whisk until smooth. Add additional milk, a teaspoon at a time, until the glaze reaches a thick but drizzly consistency.
-
Evenly drizzle the glaze over each cooled scone.
Notes
- Spoon and level (both the gluten-free flour and almond flour) when measuring the flours. This ensures you don’t overpack the measuring cup and end up with too much flour/dense scones.
- I like using frozen butter as it keeps the butter nice and cold when mixed in with the other ingredients, which is crucial for flaky scones. However, butter straight from the fridge can also be used. If your butter isn’t frozen, make sure to cut it into very small cubes or grate it, then chill it in the freezer for about 15-20 minutes before incorporating it into the dry ingredients.
- Estimated nutritional value is based on the scones with the coconut butter glaze, and is an approximation.
Nutrition
Calories:
296
kcal
|
Carbohydrates:
30
g
|
Protein:
6
g
|
Fat:
18
g
|
Saturated Fat:
7
g
|
Polyunsaturated Fat:
1
g
|
Monounsaturated Fat:
3
g
|
Trans Fat:
0.4
g
|
Cholesterol:
45
mg
|
Sodium:
314
mg
|
Potassium:
72
mg
|
Fiber:
5
g
|
Sugar:
8
g
|
Vitamin A:
2710
IU
|
Vitamin C:
1
mg
|
Calcium:
149
mg
|
Iron:
2
mg
Tried this Recipe? Tag me Today!
Mention @CleanPlateMama or tag #CleanPlateMama!
