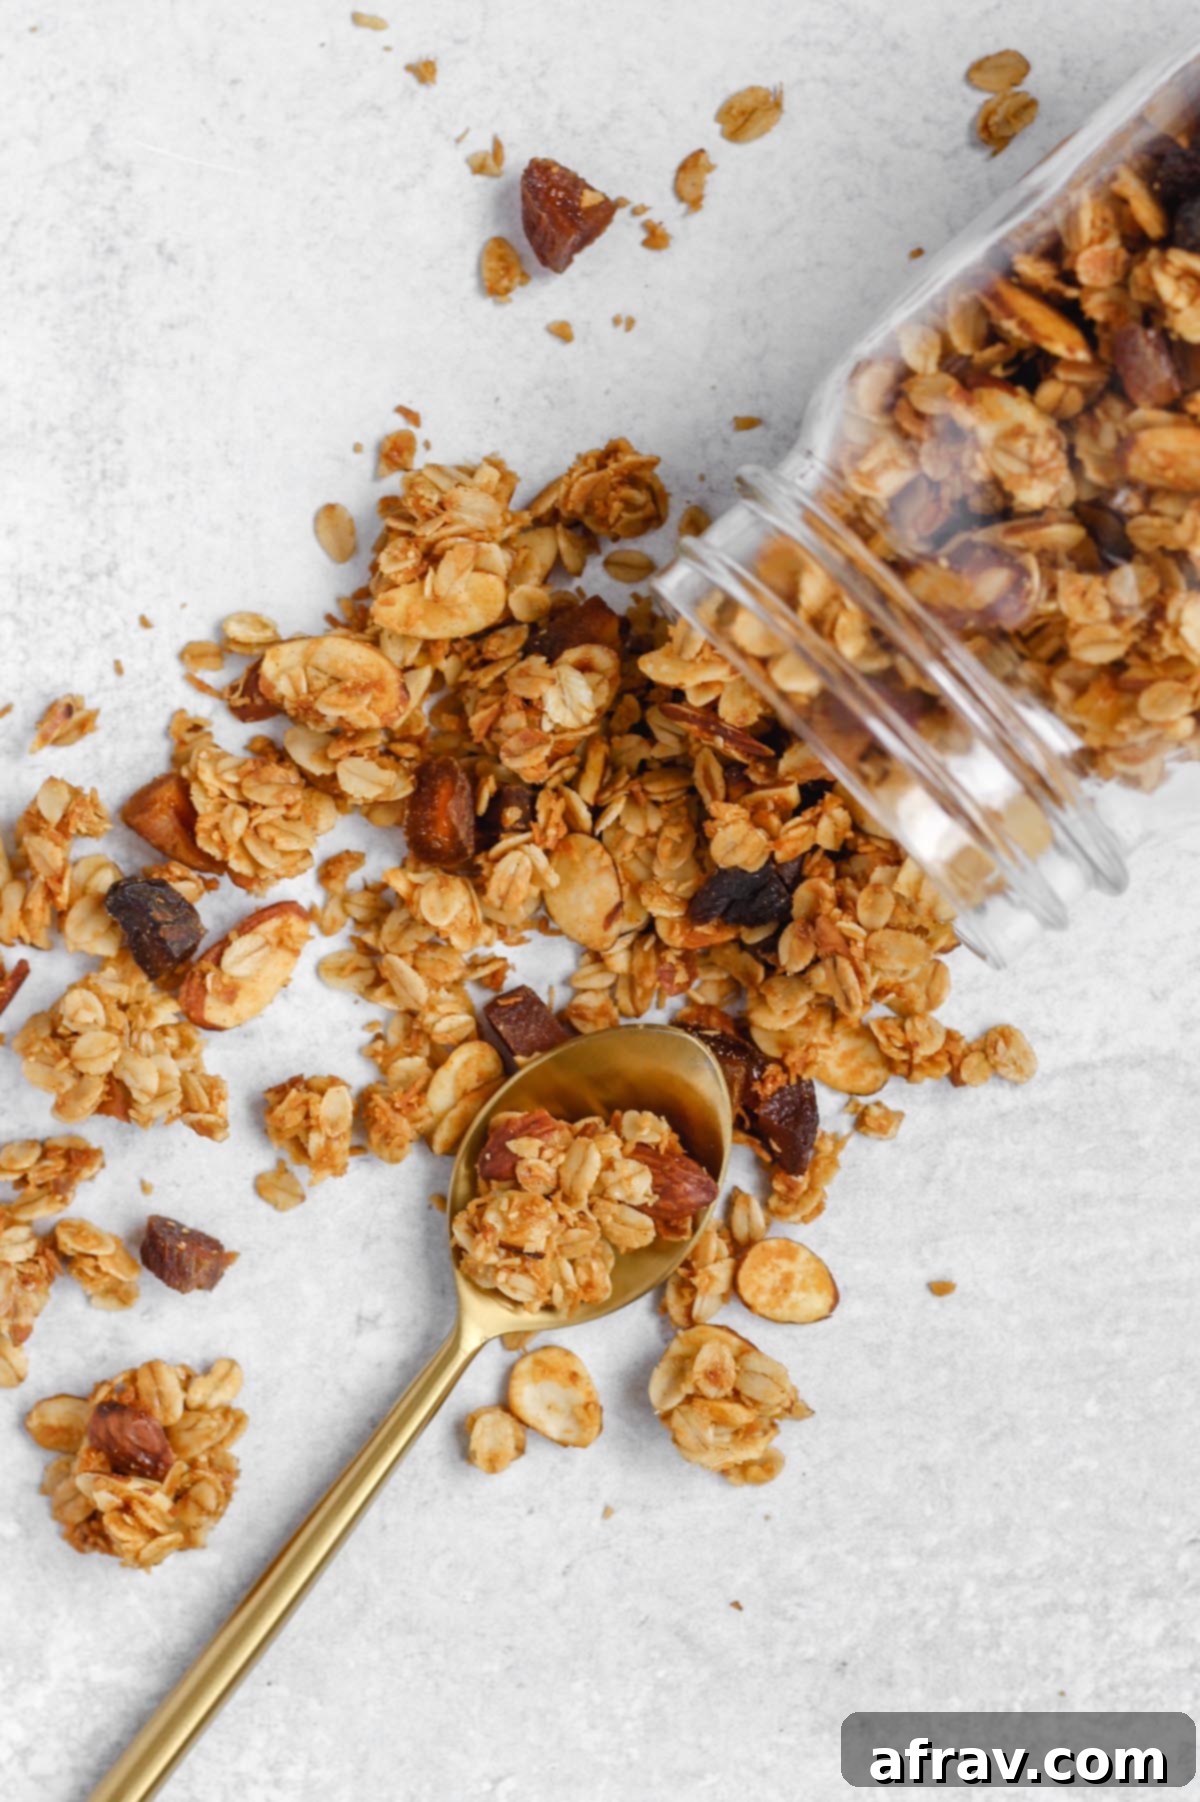
The Ultimate Gluten-Free Oat and Honey Granola: Easy, Healthy & Customizable
Indulge in the irresistible crunch of homemade granola with this incredibly easy and healthy oat and honey recipe. Perfect for a quick breakfast or a satisfying snack, this gluten-free and naturally sweetened granola requires just 10 minutes of hands-on preparation before it goes into the oven. It’s truly the best gluten-free granola recipe you’ll ever make, designed for a wholesome and delicious start to your day or a delightful pick-me-up.
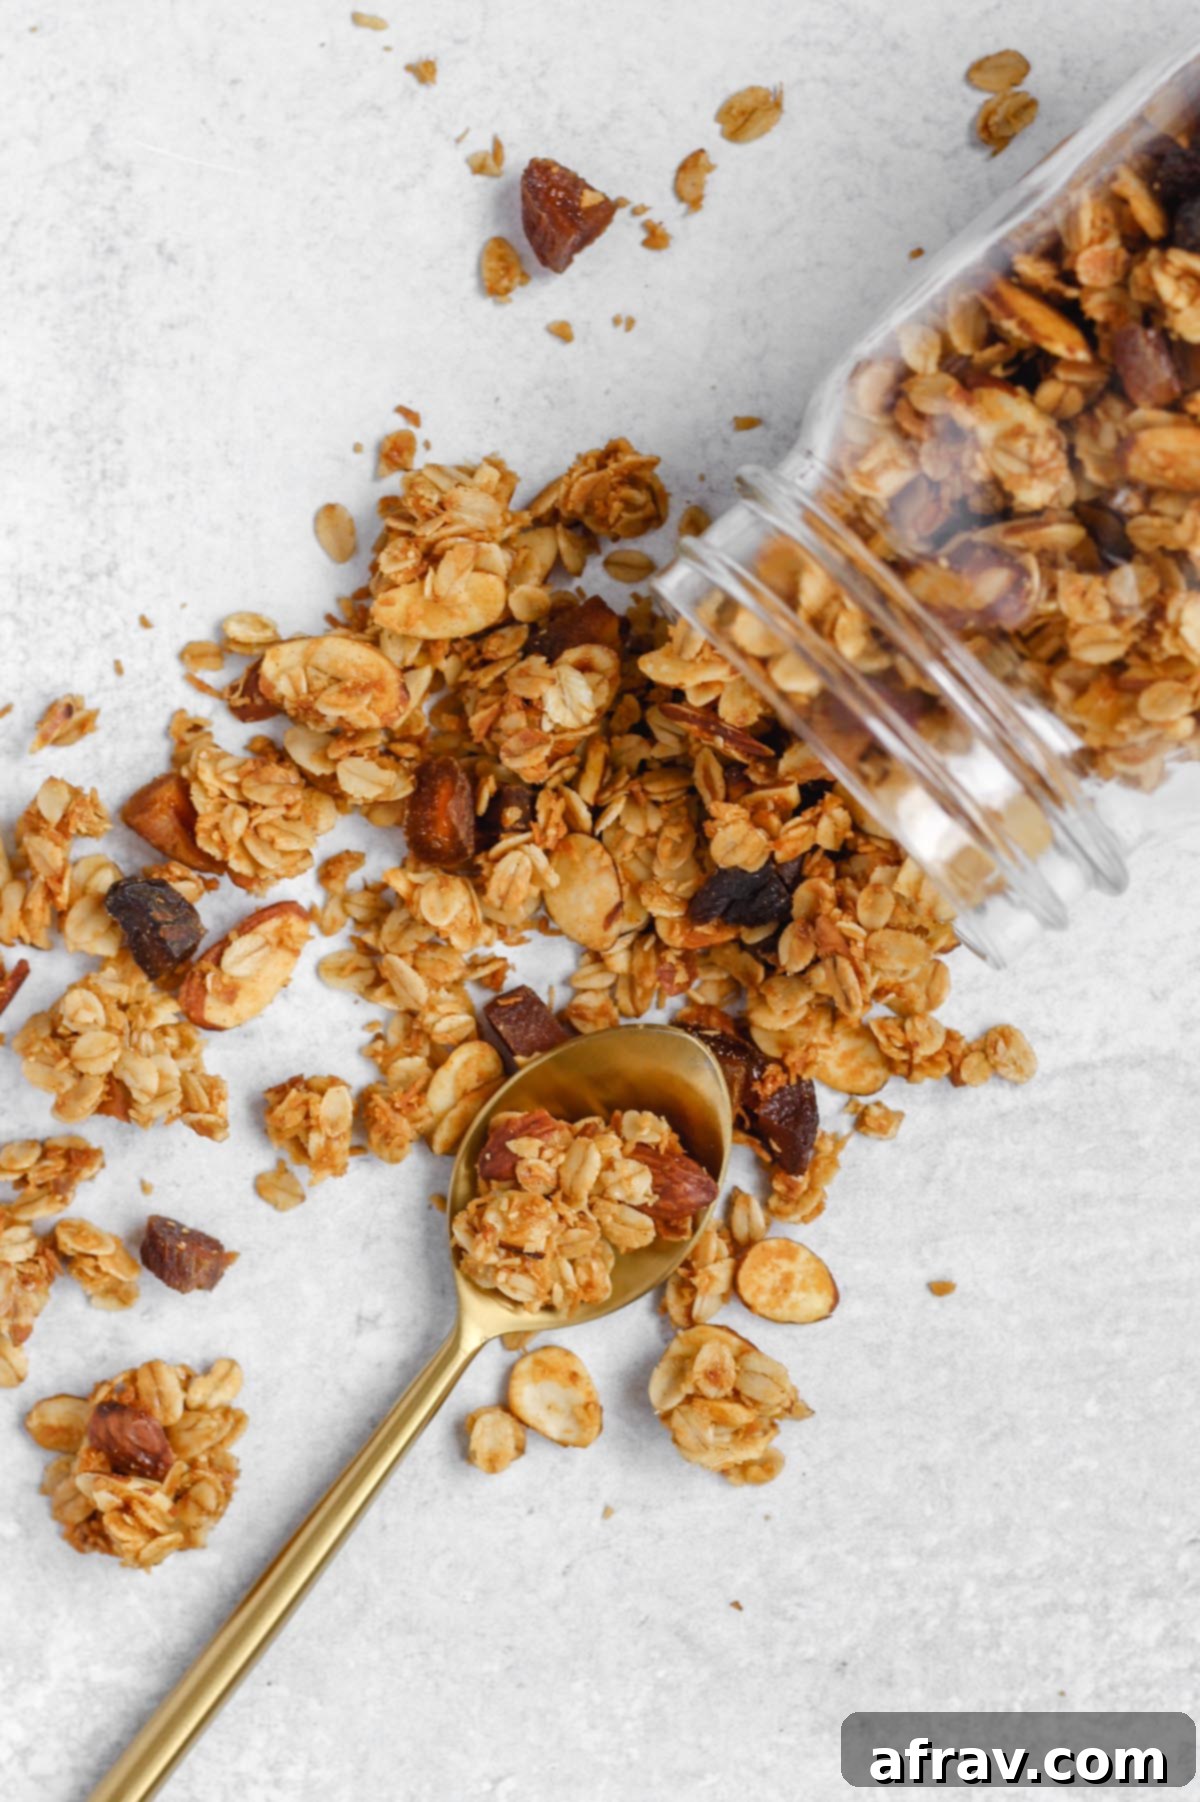
Why This Homemade Granola Recipe Works So Well
This oat and honey granola isn’t just another recipe; it’s a game-changer for anyone seeking a delicious, healthy, and easy-to-make breakfast or snack option. Here’s why this recipe stands out:
- Effortlessly Easy & Quick Prep: Forget complicated steps or lengthy kitchen sessions. This recipe comes together in just 10 minutes of active prep time. Simply combine your ingredients, spread them on a baking sheet, and let your oven do the rest. It’s perfect for busy mornings or when you need a wholesome treat without the fuss.
- Infinitely Customizable: While our recipe provides a fantastic base, its true beauty lies in its adaptability. This simple granola recipe uses basic ingredients, but it’s a blank canvas for your culinary creativity! Want a nut-free option? Skip the almonds and add a mix of seeds. Prefer different dried fruits? Swap out the apricots for cranberries, cherries, or even chopped mango. You can also experiment with various spices like nutmeg or cardamom, or add chocolate chips after baking for an extra treat.
- Accommodates Diverse Dietary Needs: We understand the importance of catering to various dietary requirements. This granola is naturally gluten-free (when using certified GF oats), dairy-free, and free from refined sugars. Plus, with simple substitutions, it can easily be made completely nut-free, making it a safe and delicious choice for many.
- Wholesome and Healthy Ingredients: Our recipe prioritizes health without sacrificing flavor. It’s completely free of refined oils and refined sugars, relying instead on the natural sweetness of honey and the goodness of whole grains, nuts, and dried fruit. Enjoy a snack that fuels your body with fiber, healthy fats, and sustained energy.
Gather Your Wholesome Ingredients
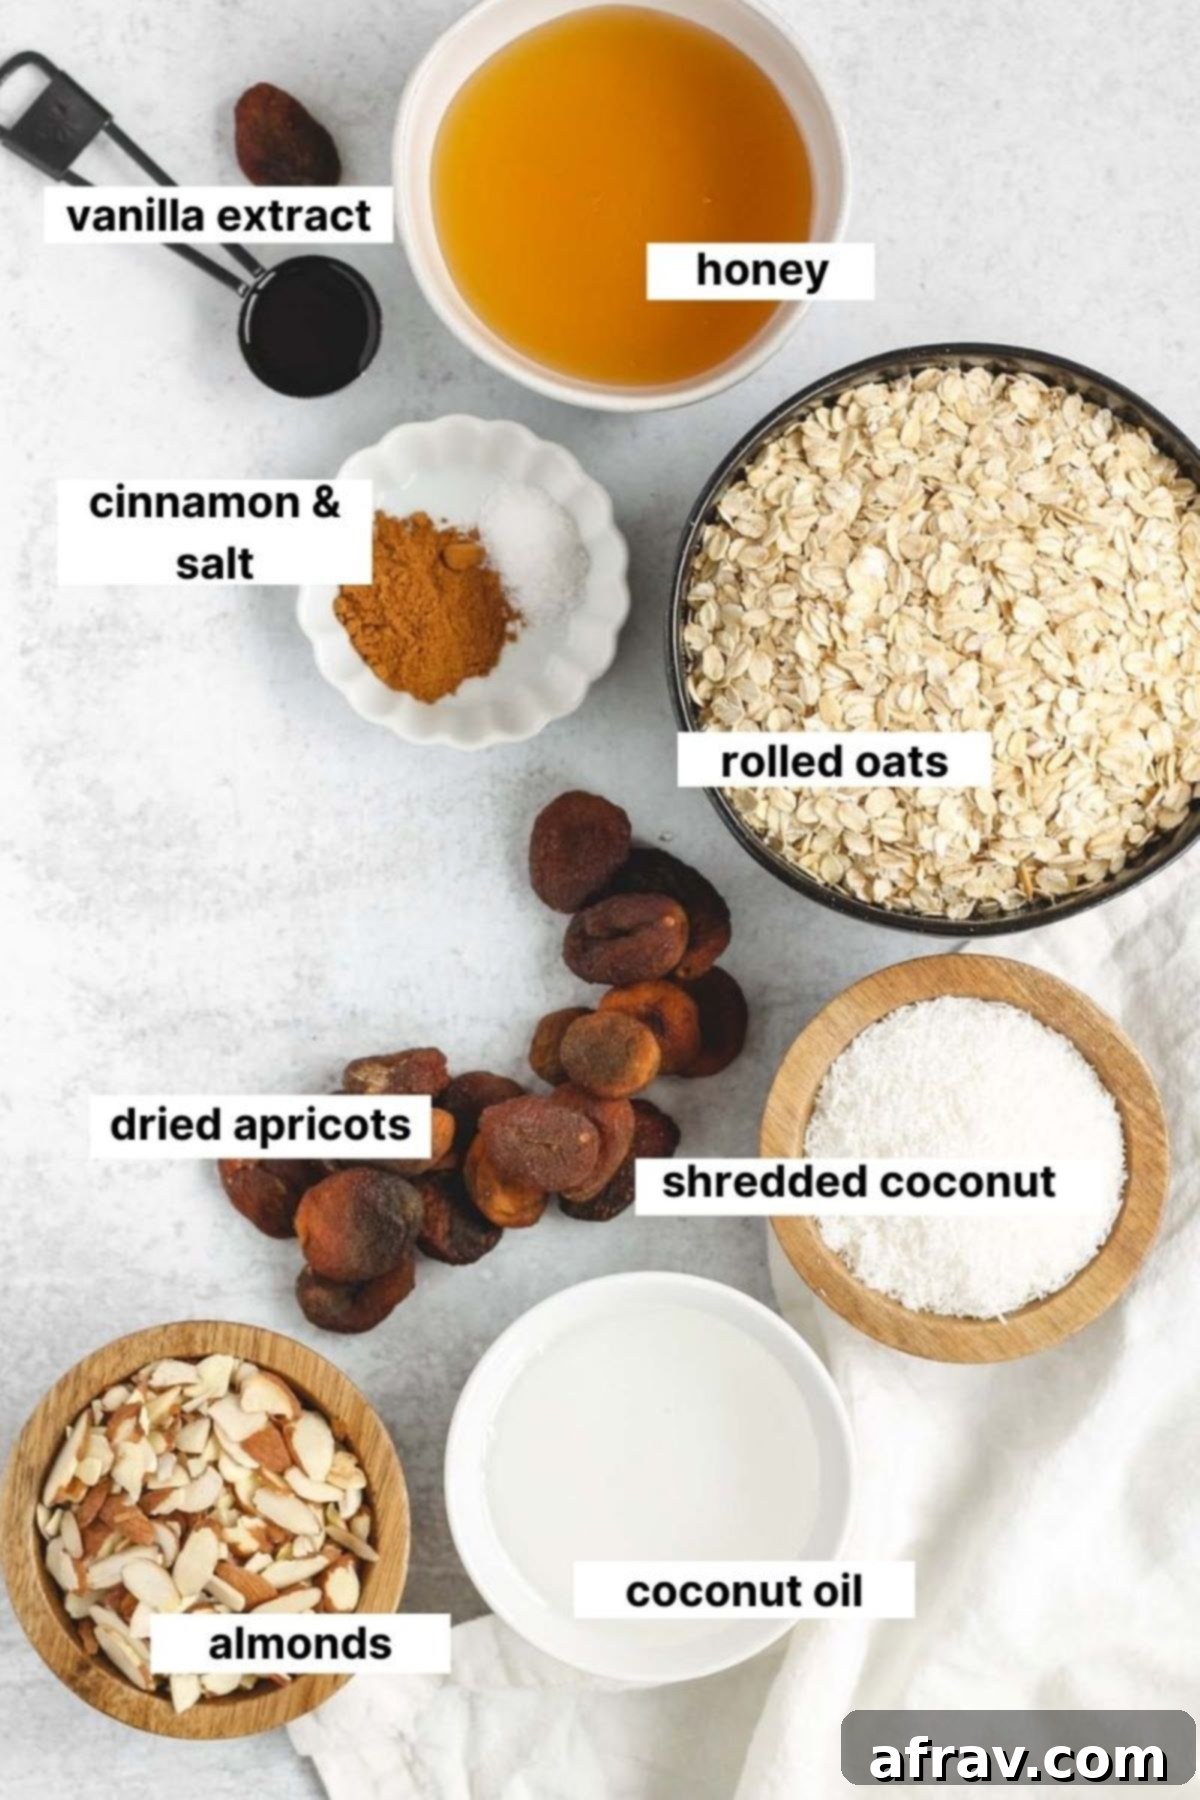
Crafting the perfect oat and honey granola starts with selecting high-quality, nourishing ingredients. This recipe focuses on simple, pantry-friendly items that come together to create a delightful and wholesome treat. Below is a list of what you’ll need, along with some helpful notes to ensure your granola turns out perfectly every time.
Ingredient Notes and Substitution Ideas
Understanding your ingredients is key to successful baking and allows for easy customization to fit your preferences and dietary needs. Here’s a closer look at the components of this delicious granola:
OATS: For this granola, you’ll want to use old-fashioned or rolled oats. These two terms refer to the same type of oat, which is whole and relatively flat, providing the ideal chewy-crisp texture for granola. It’s crucial to avoid quick-cooking or instant oats, as their finer texture will not bake up in the same way, often resulting in a mushy or overly crumbly granola. If you follow a gluten-free diet, make sure to purchase oats that are certified gluten-free to avoid cross-contamination that can occur during processing.
ALMONDS: I personally love the delicate crunch and flavor of sliced almonds in this recipe. However, feel free to use whole almonds, chopped almonds, or even different types of nuts entirely. Pecans or walnuts would offer a wonderful earthy flavor, while cashews provide a buttery note. For an extra toasted flavor, you can lightly toast your nuts before adding them to the mixture, but this step is entirely optional.
HONEY: Honey serves as our primary natural sweetener, providing both delicious flavor and a sticky binder for those coveted granola clusters. I prefer to use raw honey due to its unfiltered nature, which means it retains more natural enzymes, antioxidants, and beneficial pollen. Regular honey works perfectly fine in this recipe too; just be aware that it’s often pasteurized and more processed, which can slightly reduce its nutrient content. If your raw honey is particularly thick or crystallized, warming it gently for about 10 seconds in the microwave can make it easier to mix.
NUT-FREE OPTION? If you or someone you’re baking for has a nut allergy, don’t worry! This granola can easily be made nut-free. Simply replace the sliced almonds with a combination of seeds. Excellent choices include pumpkin seeds (pepitas), sunflower seeds (shelled), and sesame seeds. You can use an equal amount or adjust to your preference. These seeds will still provide a satisfying crunch and a boost of nutrients without any nuts.
COCONUT: You can use either dried shredded coconut or dried coconut chips in this recipe. The key is to ensure it is unsweetened to avoid adding unnecessary refined sugars and to keep the natural flavor profile intact. Coconut adds a lovely tropical hint and an additional layer of texture to the granola, complementing the oats and honey beautifully.
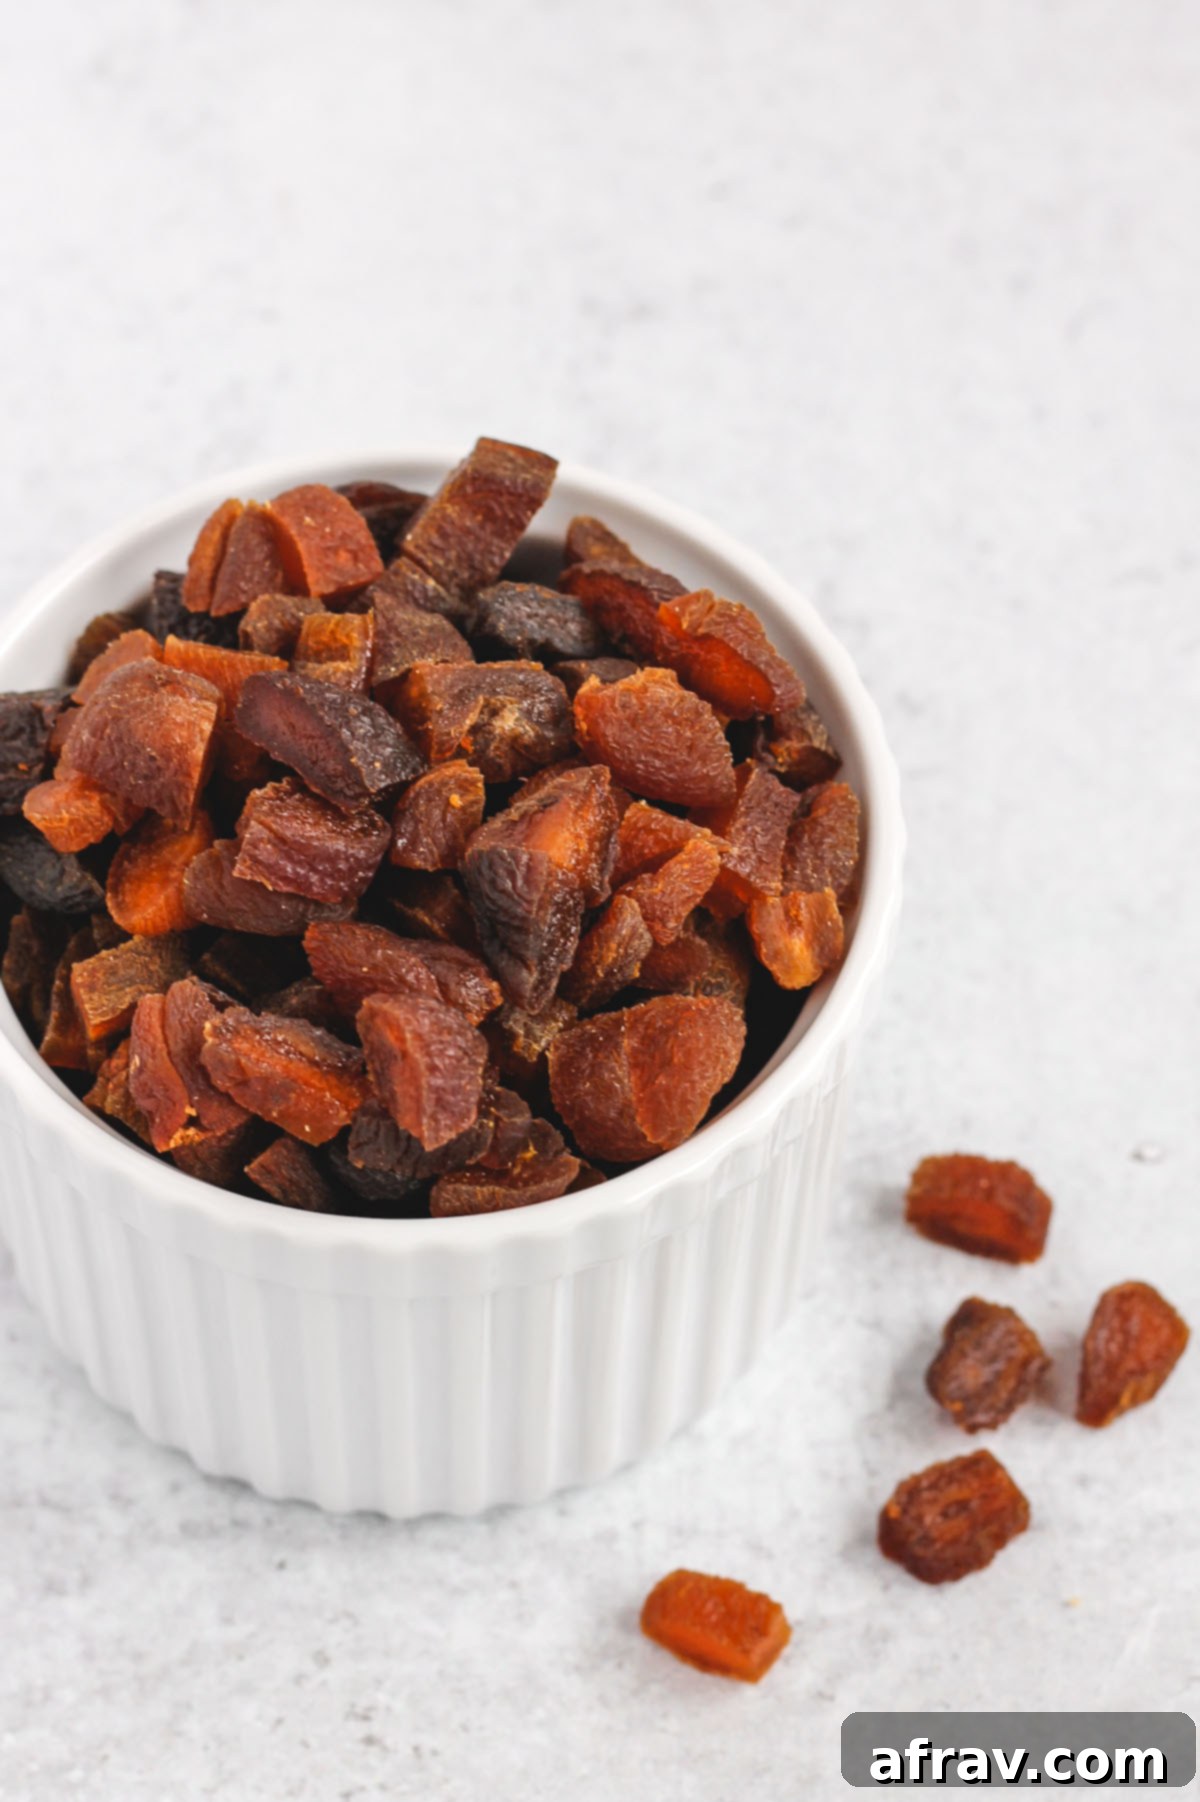
DRIED APRICOTS: Dried apricots add a burst of sweetness and a pleasant chewiness that perfectly balances the crunch of the granola. While I love the distinct flavor of apricots, any dried fruit will work! Consider swapping them for dried cranberries, raisins, chopped dried cherries, or even a mix of your favorite fruits. Just remember to chop larger fruits into smaller, bite-sized pieces for even distribution and easier eating. Always ensure your dried fruit has no added sugars or preservatives.
COCONUT OIL: Coconut oil helps bind the granola and contributes to its crisp texture. I prefer using virgin coconut oil (also known as unrefined) because it undergoes less processing, retaining more of its natural benefits. Many people worry about a strong coconut flavor, but rest assured, you will not be able to distinctly taste the coconut in the finished granola as its flavor becomes very subtle during baking. However, if you only have refined coconut oil, or prefer to use it, that will also work perfectly well. Refined coconut oil has a neutral flavor and a higher smoke point.
Tips for Sourcing Cleaner Ingredients for Your Granola
For those mindful of ingredient purity, here are specific recommendations to ensure the components of your oat and honey granola are as clean as possible. While these are suggestions for optimal health, please note that this recipe will still turn out wonderfully if you use ingredients that don’t meet these specific guidelines.
Oats: It’s important to be aware that conventional oats, like many other grains that are not genetically engineered, are often sprayed with glyphosate (a widely used herbicide) before harvesting. Glyphosate has been linked to increased cancer risk and other health concerns. To minimize exposure to this chemical, opting for certified organic oats is the best choice, as organic farming practices prohibit the use of synthetic herbicides like glyphosate. This ensures your granola base is as pure as possible.
Almonds: Conventional almonds can sometimes be treated with harmful chemicals, including Propylene Oxide (PPO) and glyphosate, during processing. For this reason, I highly recommend choosing organic almonds. Organic certification ensures that the almonds have been grown and processed without these potentially harmful chemicals, providing a cleaner and safer nut for your granola. You can find more information about conventional almond processing here.
Honey: Honey is a fantastic natural sweetener, but not all honey is created equal. To reap the maximum nutritional benefits, always look for raw honey. Regular, conventionally processed honey is typically pasteurized (heated to high temperatures) and often filtered. This extensive processing can reduce the natural enzymes, antioxidants, and beneficial compounds that make honey so good for you. Raw honey, on the other hand, is minimally processed, preserving its natural goodness.
Coconut Oil: When shopping for coconut oil, you’ll encounter two main types: refined and unrefined (virgin). For a cleaner ingredient profile, I consistently choose unrefined (virgin) coconut oil. Unrefined coconut oil is extracted from fresh coconut meat without high heat or chemical processes, meaning it is less processed and retains more of its natural nutrients and distinct flavor (though as noted, the coconut flavor is very mild after baking). I often use Nutiva Virgin Coconut Oil.
Dried Apricots: The most important factor when buying dried apricots (or any dried fruit) is to check the ingredient list. Ensure that the only ingredient is the fruit itself. Many commercially dried fruits contain added sugars, sulfites (as preservatives), or other unnecessary additives. Opt for naturally dried fruits with no added sweeteners or preservatives to keep your granola as clean and wholesome as possible.
Easy Step-by-Step Instructions for the Best Granola
Creating this gluten-free oat and honey granola is incredibly straightforward. Follow these simple steps, and you’ll be enjoying perfectly crunchy, naturally sweetened granola in no time! Remember, the key is even mixing and patient baking.
Step 1: Prepare the Dry and Wet Ingredients. In a large mixing bowl, combine your rolled oats, sliced almonds, unsweetened shredded coconut, cinnamon, and fine sea salt. Whisk them together thoroughly to ensure all the dry ingredients are evenly distributed. In a separate, smaller bowl, whisk together the pure vanilla extract, melted coconut oil, and raw honey until well combined and smooth. Then, pour the wet mixture over the dry ingredients in the large bowl.
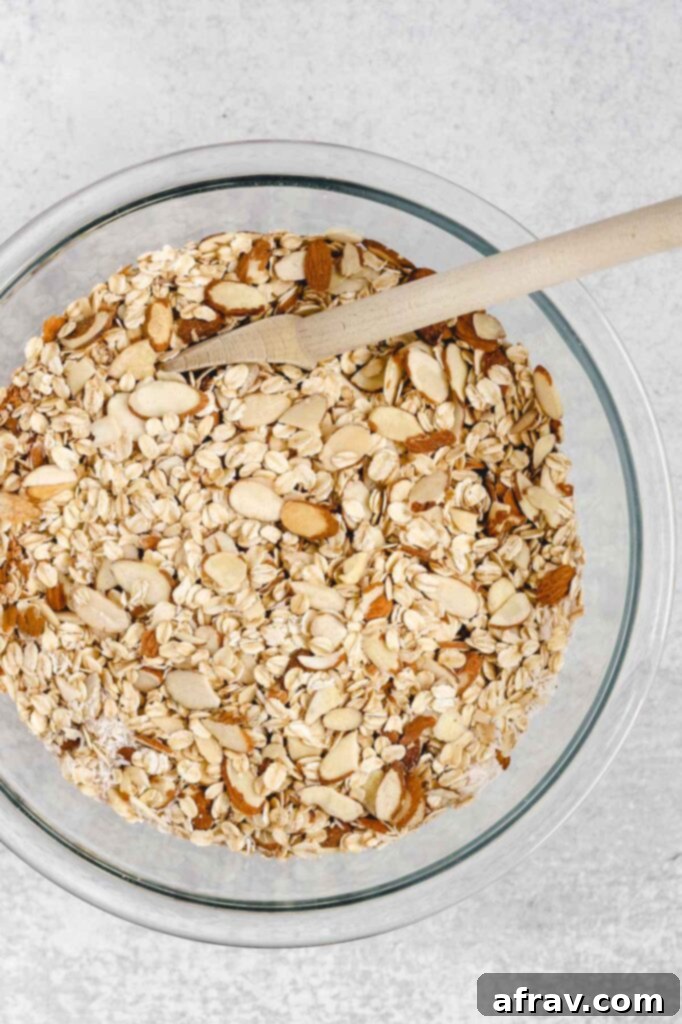
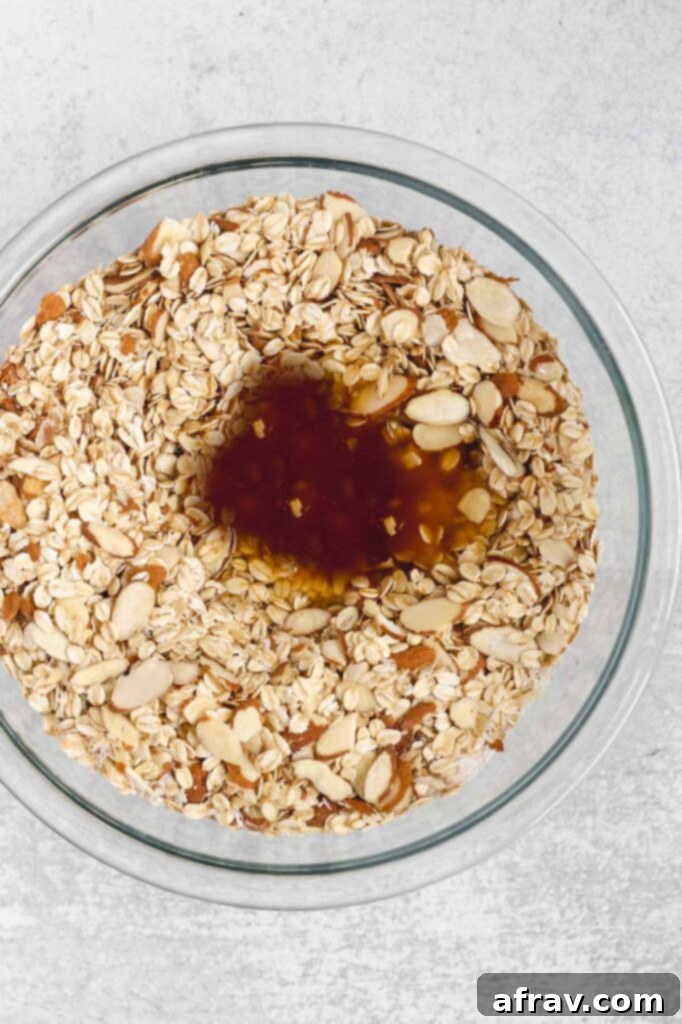
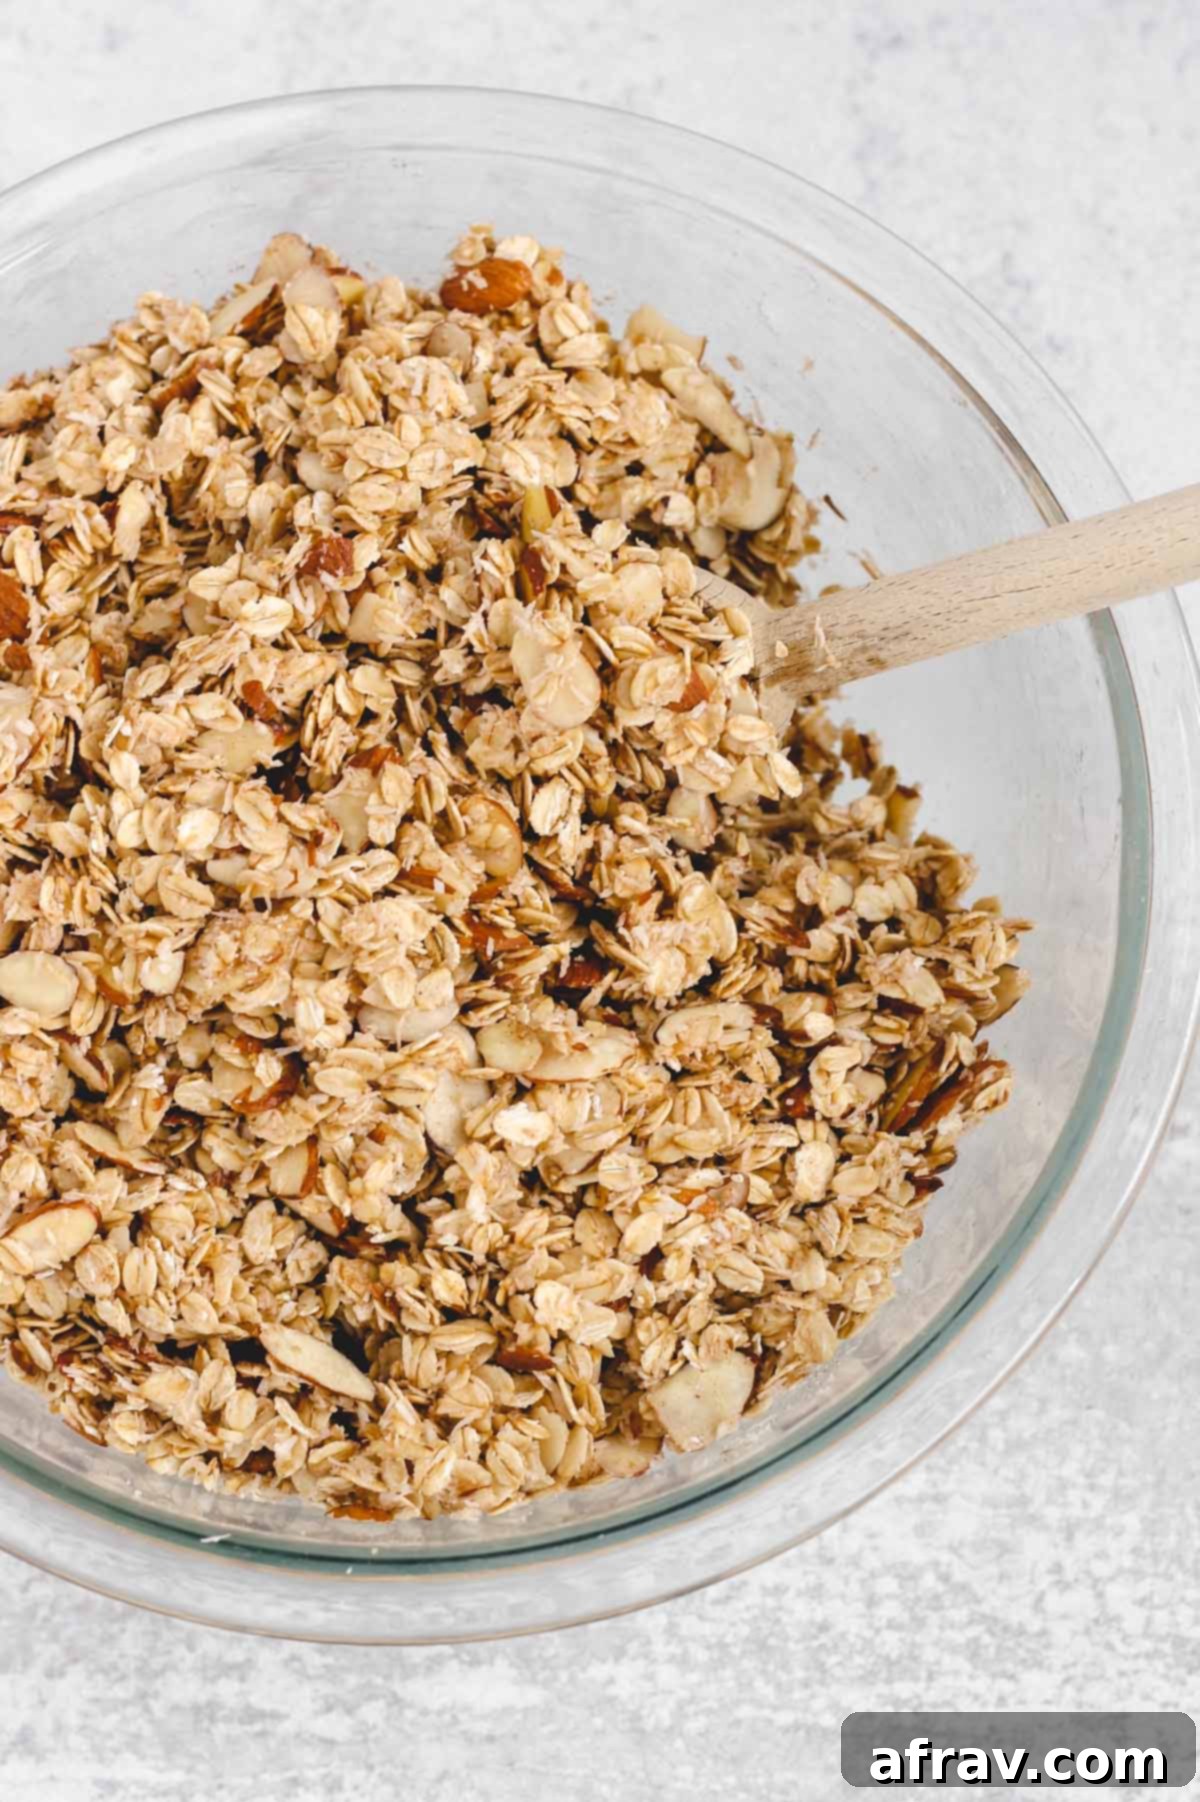
Step 2: Fully Incorporate Wet and Dry Ingredients. Use a large spoon or spatula to mix everything thoroughly. Continue mixing until all the oats and other dry ingredients are completely coated with the honey and coconut oil mixture. There should be no dry spots remaining, ensuring an even bake and delicious flavor throughout. This step is crucial for achieving those desirable crunchy clusters.
Step 3: Spread on Baking Sheet and Press Down. Preheat your oven to 250°F (120°C). Line a large baking sheet with parchment paper to prevent sticking and make cleanup a breeze. Evenly spread the granola mixture onto the prepared pan in a single layer. Then, using the back of a spoon or a spatula, gently but firmly push the granola down into the pan. This compression helps to create those lovely clusters and ensures the granola bakes evenly.
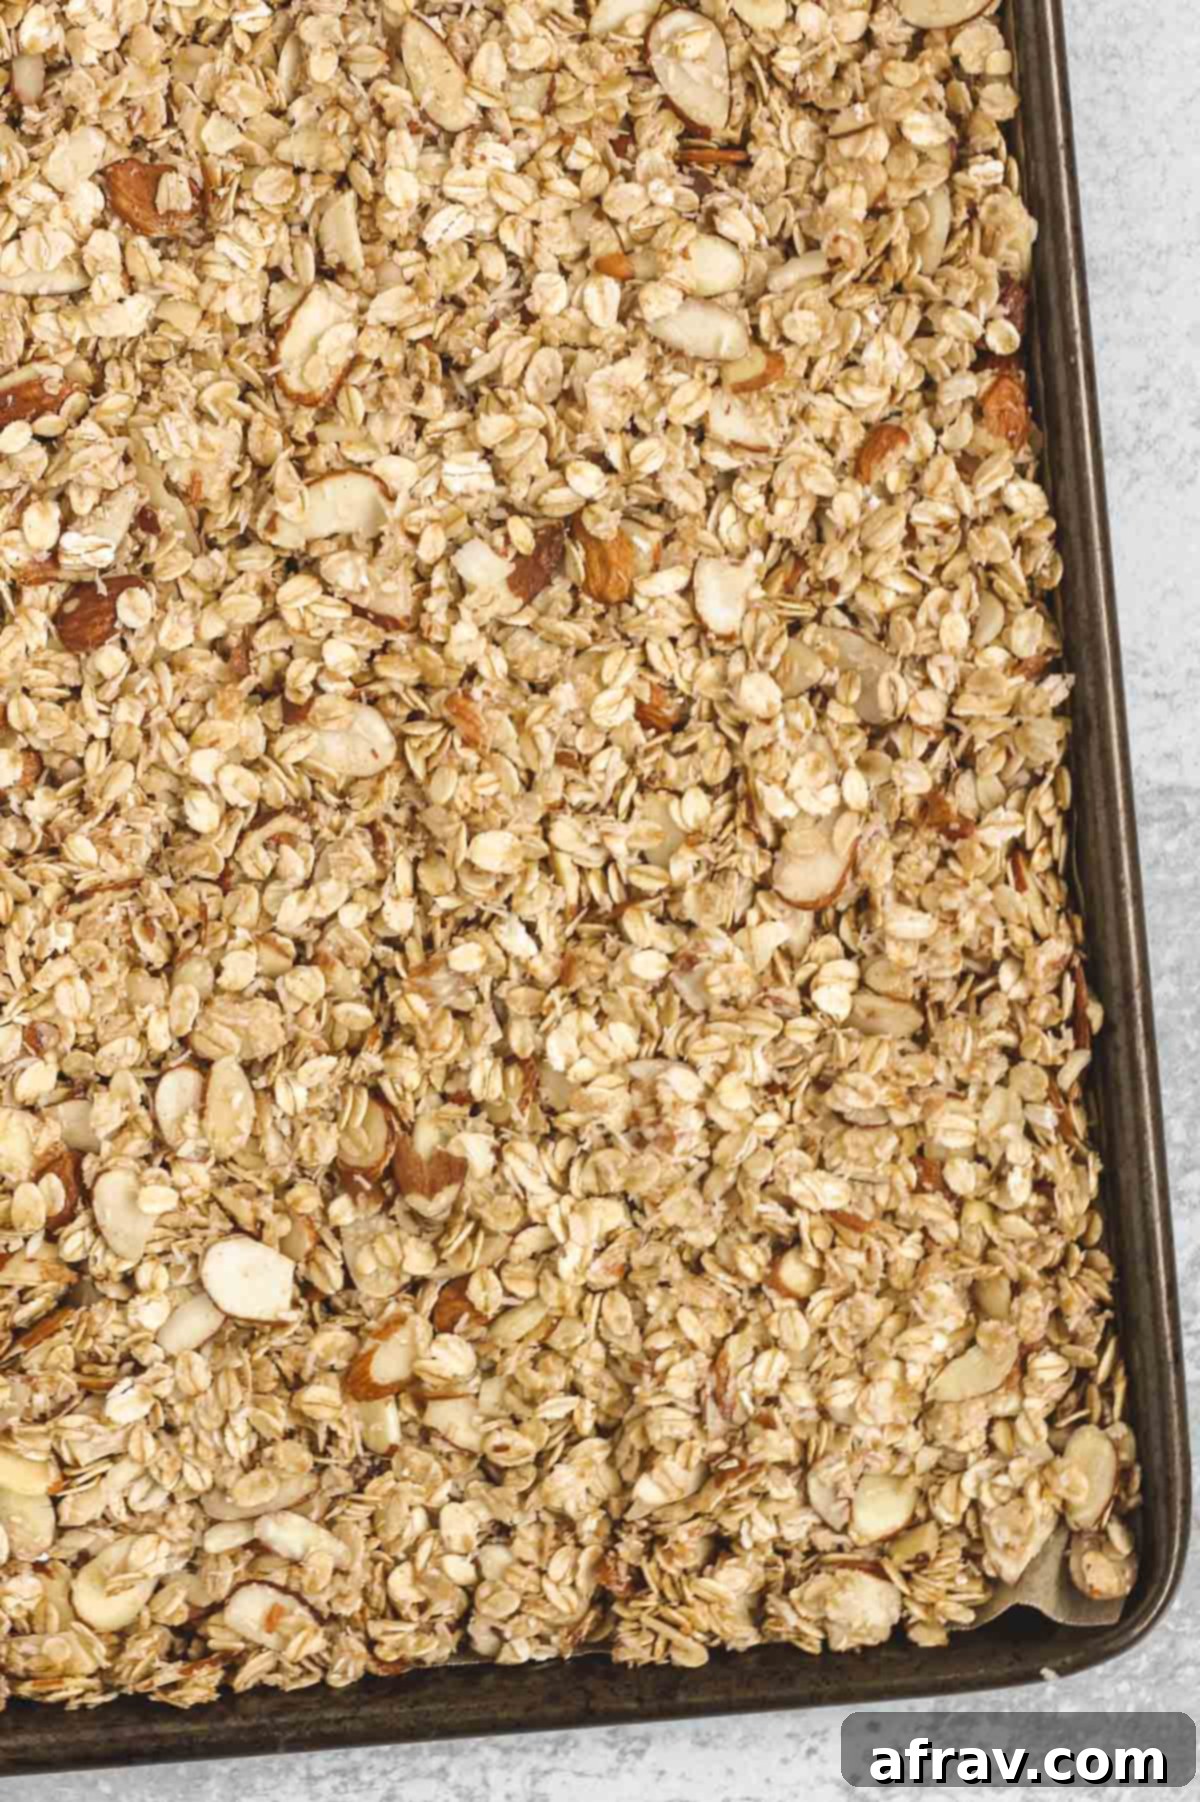
Step 4: Bake and Prepare Dried Fruit. Place the baking sheet in the preheated oven and bake for about 60-70 minutes. Throughout the baking process, make sure to stir the granola every 20 minutes. After each stir, gently press the granola back down onto the pan to encourage cluster formation. While the granola is baking, take this time to chop your dried apricots (or chosen dried fruit) into small, uniform pieces. Set them aside until the granola has completely cooled.
Step 5: Cool Completely. Once the granola is done baking, it will still feel soft. This is completely normal! Remove the baking sheet from the oven and allow the granola to cool completely to room temperature on the pan. This cooling process is vital; as the granola cools, it will harden and become wonderfully crunchy, and this is also when the clusters truly set. Resist the urge to mix or sample it too soon—the wait is truly worth it for the best texture!
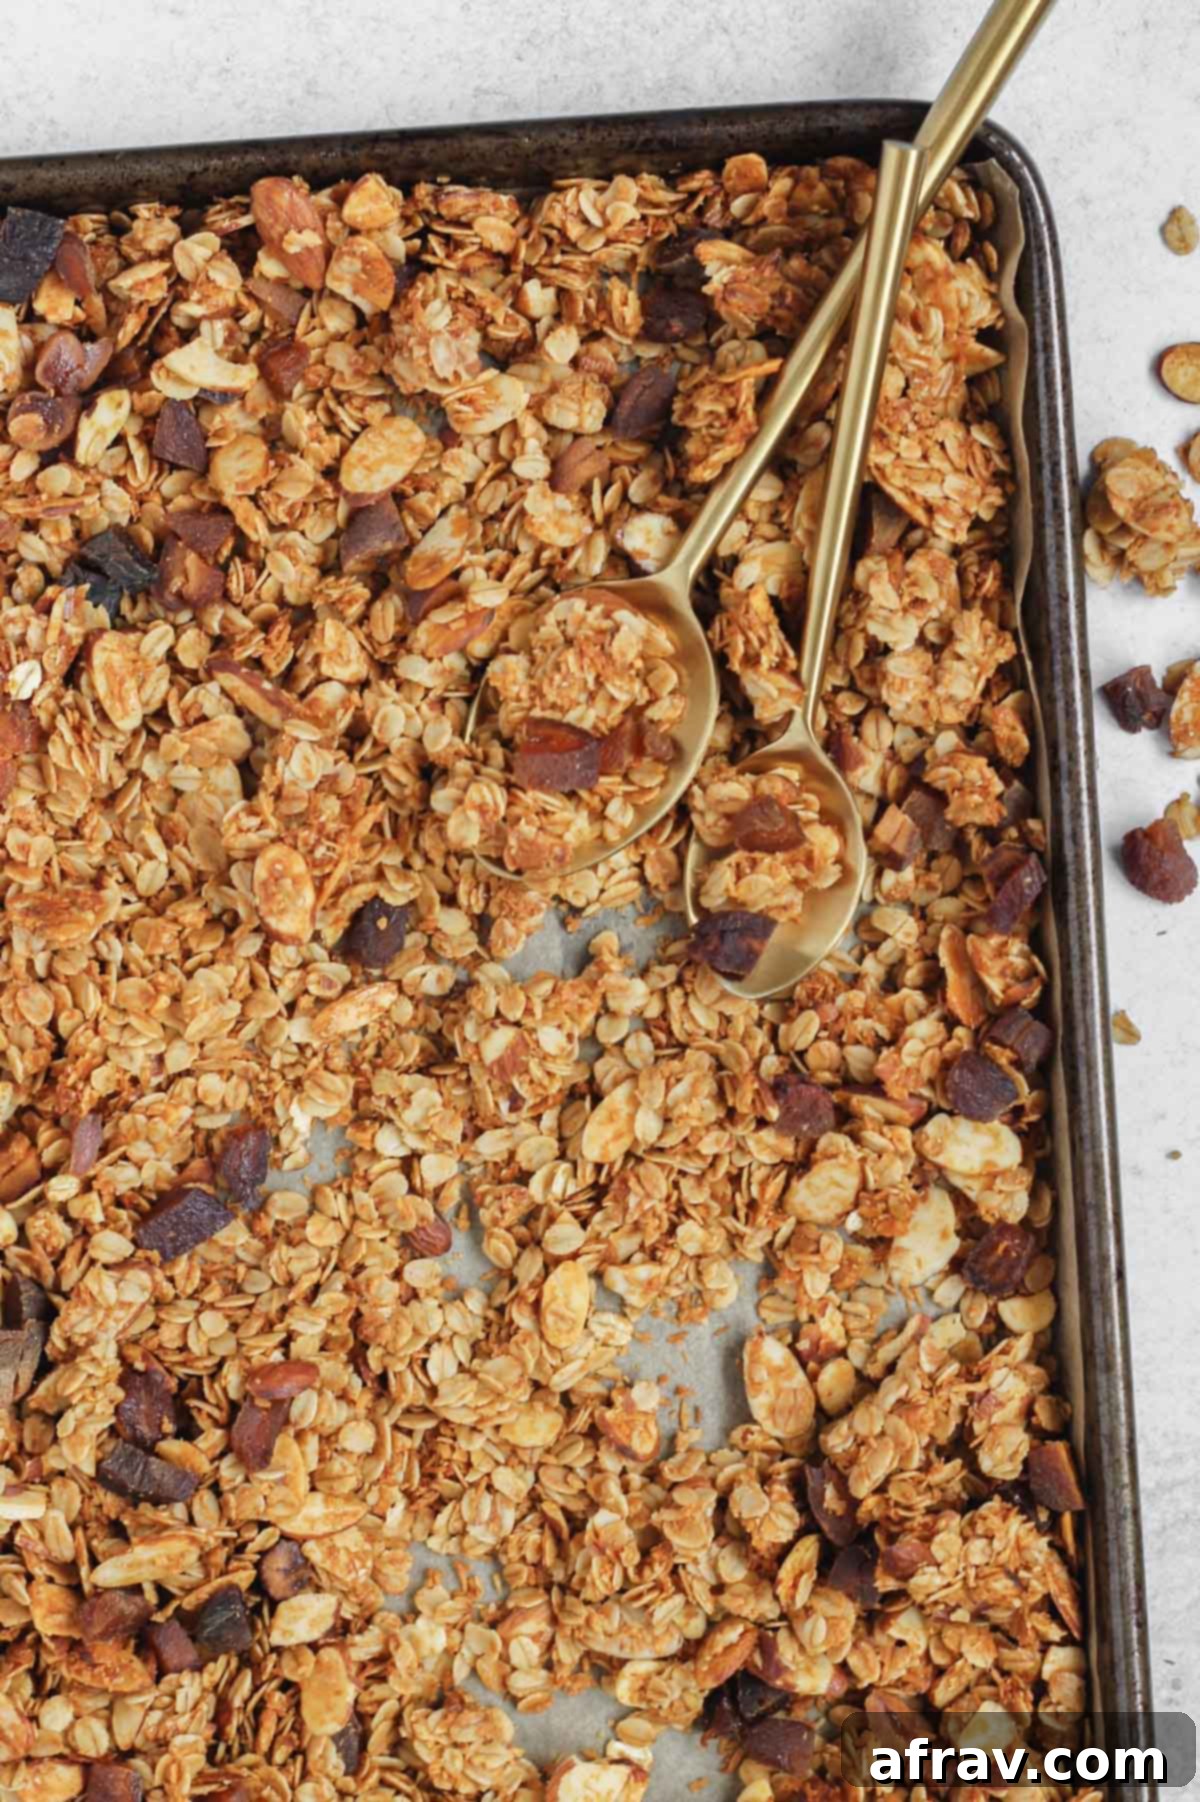
Step 6: Mix in Dried Apricots and Enjoy! Once the granola is entirely cool and crisp, gently break it into chunks and transfer it to a large bowl. Now, add the chopped dried apricots and mix them in. The granola is now ready to be enjoyed! Serve it immediately or store it for later.
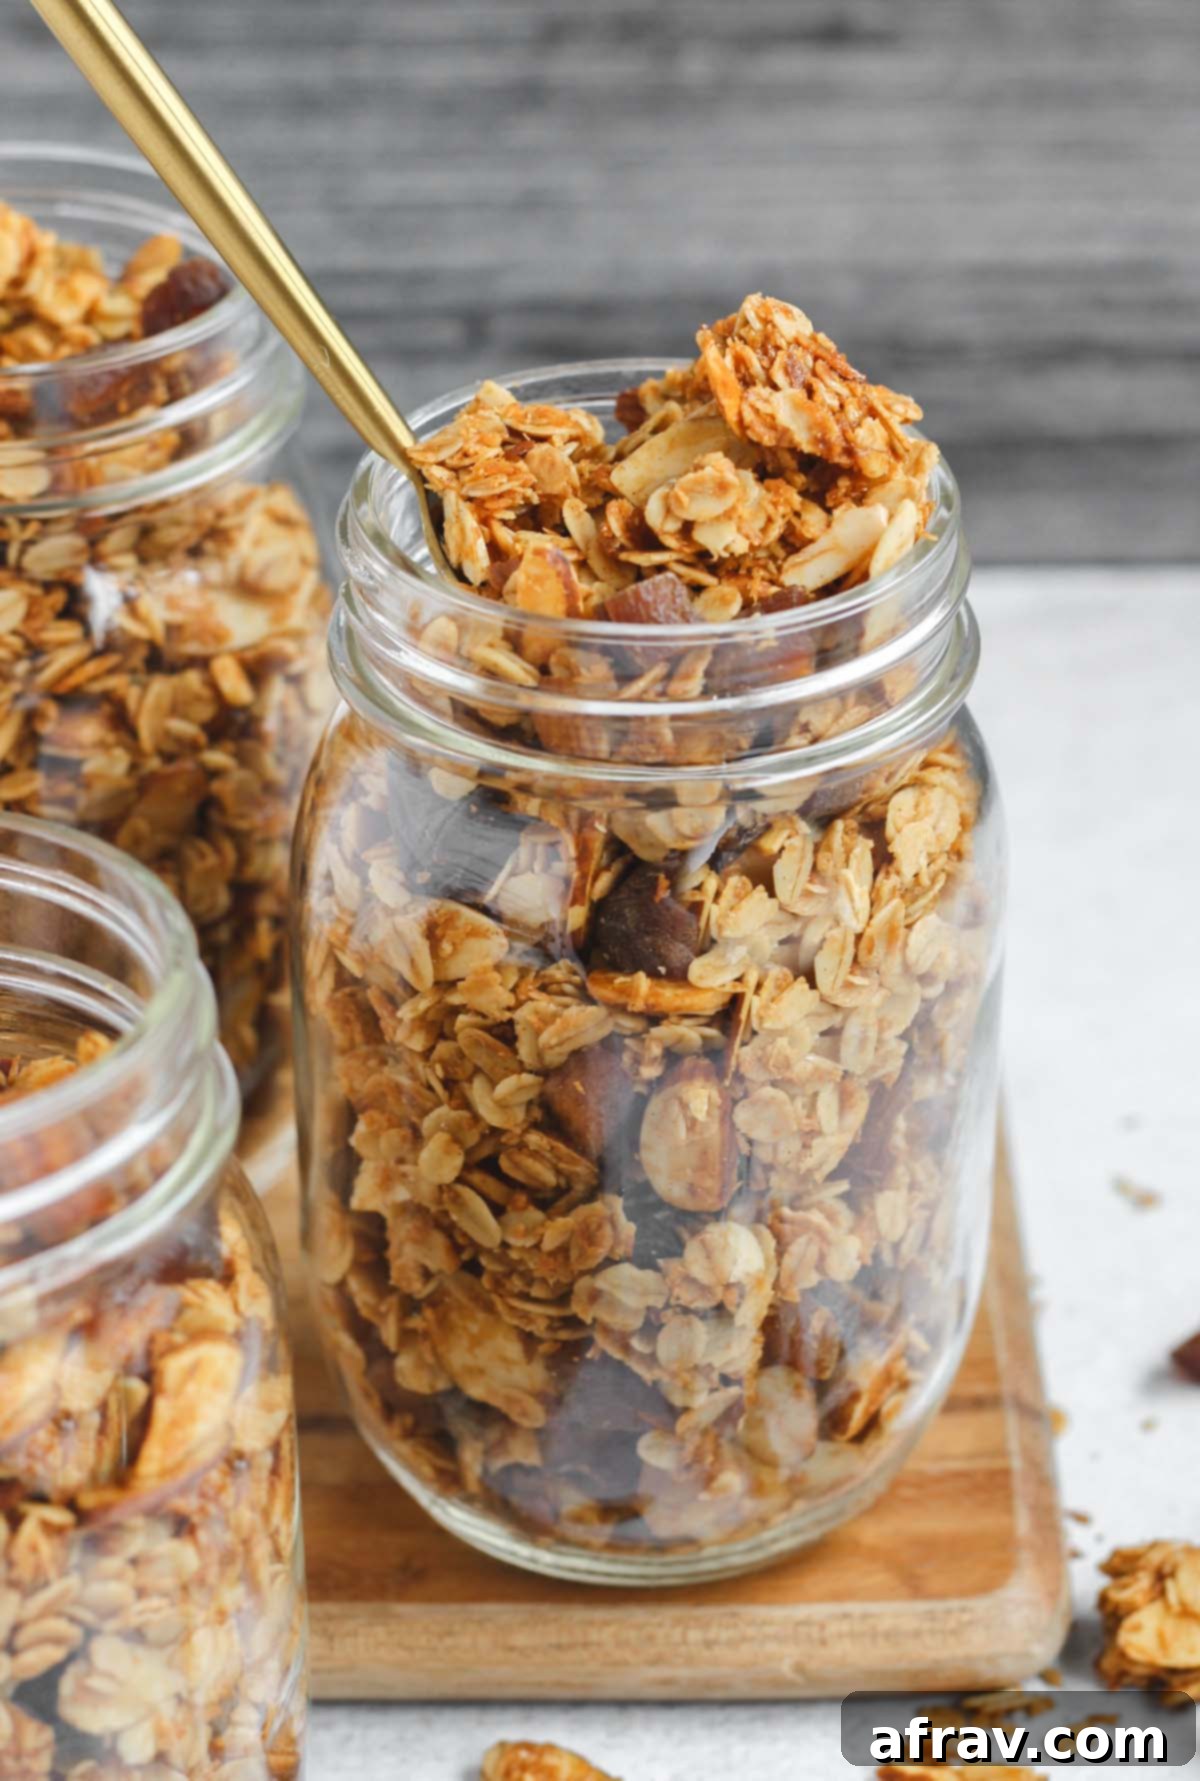
Step 7: Store and Savor! Enjoy your freshly made oat and honey granola! It’s delicious on its own, with milk, yogurt, or as a topping for desserts. Store any leftovers in an airtight container to maintain freshness and crunch.
Granola Recipe Frequently Asked Questions
Achieving those satisfying clusters in your granola is a common goal, and it’s quite simple! The primary trick is to gently but firmly push the granola mixture down into the pan before baking. This initial compression helps the ingredients adhere to each other. Additionally, each time you stir the granola during baking, make sure to gently push it back onto the pan. The final, and perhaps most crucial, step is allowing the granola to cool completely and undisturbed on the baking sheet to room temperature before adding dried fruit or breaking it apart. It can be tempting to dig in right away, but resisting that urge is key to letting those beautiful, crunchy clusters fully form and set. Patience truly pays off here!
When stored properly in an airtight container at room temperature, your homemade oat and honey granola will stay fresh and deliciously crunchy for up to two weeks. For even longer storage, you can transfer it to a freezer-safe bag or container and freeze it for up to 3-4 months. Just allow it to thaw at room temperature before enjoying.
While honey provides a unique flavor and binding quality, you can certainly experiment with other natural liquid sweeteners. Maple syrup is an excellent alternative for a vegan option and provides a rich, distinct flavor. Agave nectar could also be used. Keep in mind that different sweeteners might slightly alter the final taste and texture of the granola, but generally, a 1:1 substitution should work. Adjust to your taste preferences.
Important Notes & Expert Tips for Perfect Granola
To ensure your homemade oat and honey granola is nothing short of perfect, keep these essential notes and tips in mind. From baking techniques to serving suggestions, these insights will help you achieve the best results and truly enjoy your creation.
- Precise Baking is Key: Granola is quite sensitive to baking time and temperature. A few minutes too long, and you risk burnt, bitter granola; too short, and it won’t achieve that ideal crunch. Keep a close eye on it, especially towards the end of the baking cycle. You’ll know your granola is done when the pieces on the outer edges of the pan begin to turn a light golden brown, and your kitchen is filled with a wonderfully fragrant, toasted aroma. Trust your senses!
- Allow Granola to Cool Completely: It’s crucial to understand that granola will still be soft when you first remove it from the oven. Do not be concerned! The magic happens during the cooling process. As the granola cools to room temperature, it will continue to harden and crisp up, developing that satisfying crunch you desire. Allowing it to cool undisturbed on the baking sheet for at least 30-45 minutes also significantly helps in the formation of those coveted crunchy clusters. Resist the urge to disturb it too soon.
- Unleash Your Creativity with Customization: This recipe is incredibly versatile! Don’t hesitate to make it your own.
- Dried Fruit Swaps: Replace the dried apricots with your favorite dried fruits such as cranberries, raisins, chopped dates, or even tropical mango.
- Nut-Free Options: For a nut-free version, simply substitute the almonds with an equal amount of seeds like pumpkin seeds, sunflower seeds, or sesame seeds.
- Different Nuts: Explore other nut varieties; walnuts, pecans, or even chopped cashews would add fantastic flavor and texture.
- Spice It Up: Add a pinch of nutmeg, cardamom, or ginger for a different flavor profile.
- Extracts: A touch of almond extract can enhance the flavor, or try orange zest for a brighter note.
- Chocolate: For an indulgent treat, stir in some chocolate chips or chunks after the granola has completely cooled.
- Versatile Serving Suggestions: This homemade granola is delicious in so many ways!
- Classic Breakfast: Enjoy it with your favorite milk (dairy or non-dairy) or sprinkled over a bowl of yogurt.
- Energy-Boosting Snack: Grab a handful for a quick and satisfying snack on the go.
- Dessert Topping: Sprinkle it over ice cream, fruit crisps, or baked apples for added crunch and flavor.
- Pancake & Waffle Enhancement: Add a sprinkle to your pancakes or waffles for extra texture and a hint of sweetness.
- Apple Nachos: Elevate sliced apples with a dollop of peanut butter and a generous sprinkle of this granola for a fun and healthy “apple nacho” snack!
- Smoothie Bowls: Use it as a crunchy topping for your morning smoothie bowl.
More Wholesome Recipes You’ll Love!
If you enjoyed making and eating this oat and honey granola, we’re confident you’ll appreciate these other clean-eating, healthy, and delicious recipes. Expand your repertoire with more nourishing options for breakfast, snacks, and beyond!
- Homemade Pumpkin Granola (gluten-free + vegan)
- Blueberry Chia Overnight Oats
- Dairy-free Vegetable Frittata (gluten-free)
- Air Fryer Apples
Easy Oat and Honey Granola
Print
Pin
Rate
Save This Recipe For Later!
We’ll email this post to you, so you can come back to it later. Plus, enjoy weekly clean eating recipes as a bonus.
Ingredients
- 4 cups gluten-free rolled oats
- 1 ½ cups sliced almonds
- 1 cup unsweetened shredded coconut
- 1 tsp. cinnamon
- ¾ tsp. fine sea salt (½ tsp. if using regular table salt)
- 2 tsp. pure vanilla extract
- ½ cup coconut oil, melted
- ½ cup raw honey
- 1 ½ cups dried apricots, chopped
Instructions
-
Preheat oven to 250°F (120°C) and line a large baking sheet with parchment paper. This low temperature helps the granola dry out and get crispy without burning.
-
In a large mixing bowl, combine the rolled oats, sliced almonds, unsweetened shredded coconut, cinnamon, and fine sea salt. Whisk these dry ingredients together thoroughly.
-
In a separate, smaller bowl, combine the pure vanilla extract, melted coconut oil, and raw honey. Whisk until the wet ingredients are well combined. Add this wet mixture to the large bowl with the dry ingredients.
-
Mix all ingredients together using a sturdy spoon or spatula. Continue mixing until every oat flake and almond sliver is thoroughly coated and the wet ingredients are fully incorporated with the dry. This ensures even flavor and texture.
-
Evenly spread the granola mixture onto the prepared parchment-lined baking sheet. Then, lightly but firmly push the granola down into the pan with the back of a spoon or a spatula. This crucial step helps to create those delicious, chunky clusters in the finished granola.
-
Bake for 60-70 minutes, stirring the granola gently every 20 minutes. After each stir, ensure you evenly push the granola back onto the pan and press it down lightly (refer to the recipe notes for more tips on clustering). You’ll know it’s perfectly done when the granola on the outer edges of the pan begins to turn a beautiful light golden brown and your kitchen smells wonderfully fragrant and toasty.
-
Once baked, remove the granola from the oven and allow it to cool completely to room temperature (this typically takes about 30-45 minutes). Letting the granola cool entirely on the baking sheet is essential for it to become wonderfully crunchy and to maintain those delightful chunks. Only once it’s completely cooled, mix in the chopped dried apricots.
-
Transfer the cooled and mixed oat and honey granola to an airtight container. It’s now ready to be enjoyed as a wholesome breakfast, a satisfying snack, or a delightful topping!
Notes
- If you are not adhering to a gluten-free diet, you can use regular rolled oats instead of certified gluten-free ones. However, under no circumstances should you use quick-cooking or instant oats, as their texture is too fine and will not yield the desired crunchy granola.
- For the coconut, both unsweetened shredded coconut and unsweetened coconut chips are suitable. The crucial part is to ensure it is dried and contains no added sugars, which can burn easily and compromise the health profile.
- If your raw honey is particularly thick or has crystallized, you can warm it gently in the microwave for about 10 seconds. This will make it more liquid and easier to combine with the coconut oil and vanilla extract for a smooth mixture.
- While raw honey is recommended for its natural benefits, regular honey can absolutely be used if that’s what you have on hand. The recipe will still be delicious!
- To achieve those coveted granola clusters, remember to gently but firmly press the granola mixture back into the pan each time you stir it during baking. A spatula or the back of a spoon works perfectly for this.
- Don’t be alarmed if the granola still feels soft when you take it out of the oven. This is normal! The granola will continue to harden and become wonderfully crisp as it cools completely to room temperature on the baking sheet.
Nutrition
Carbohydrates: 31g |
Protein: 6g |
Fat: 17g |
Saturated Fat: 9g |
Trans Fat: 1g |
Sodium: 84mg |
Potassium: 310mg |
Fiber: 5g |
Sugar: 15g |
Vitamin A: 391IU |
Vitamin C: 1mg |
Calcium: 52mg |
Iron: 2mg
