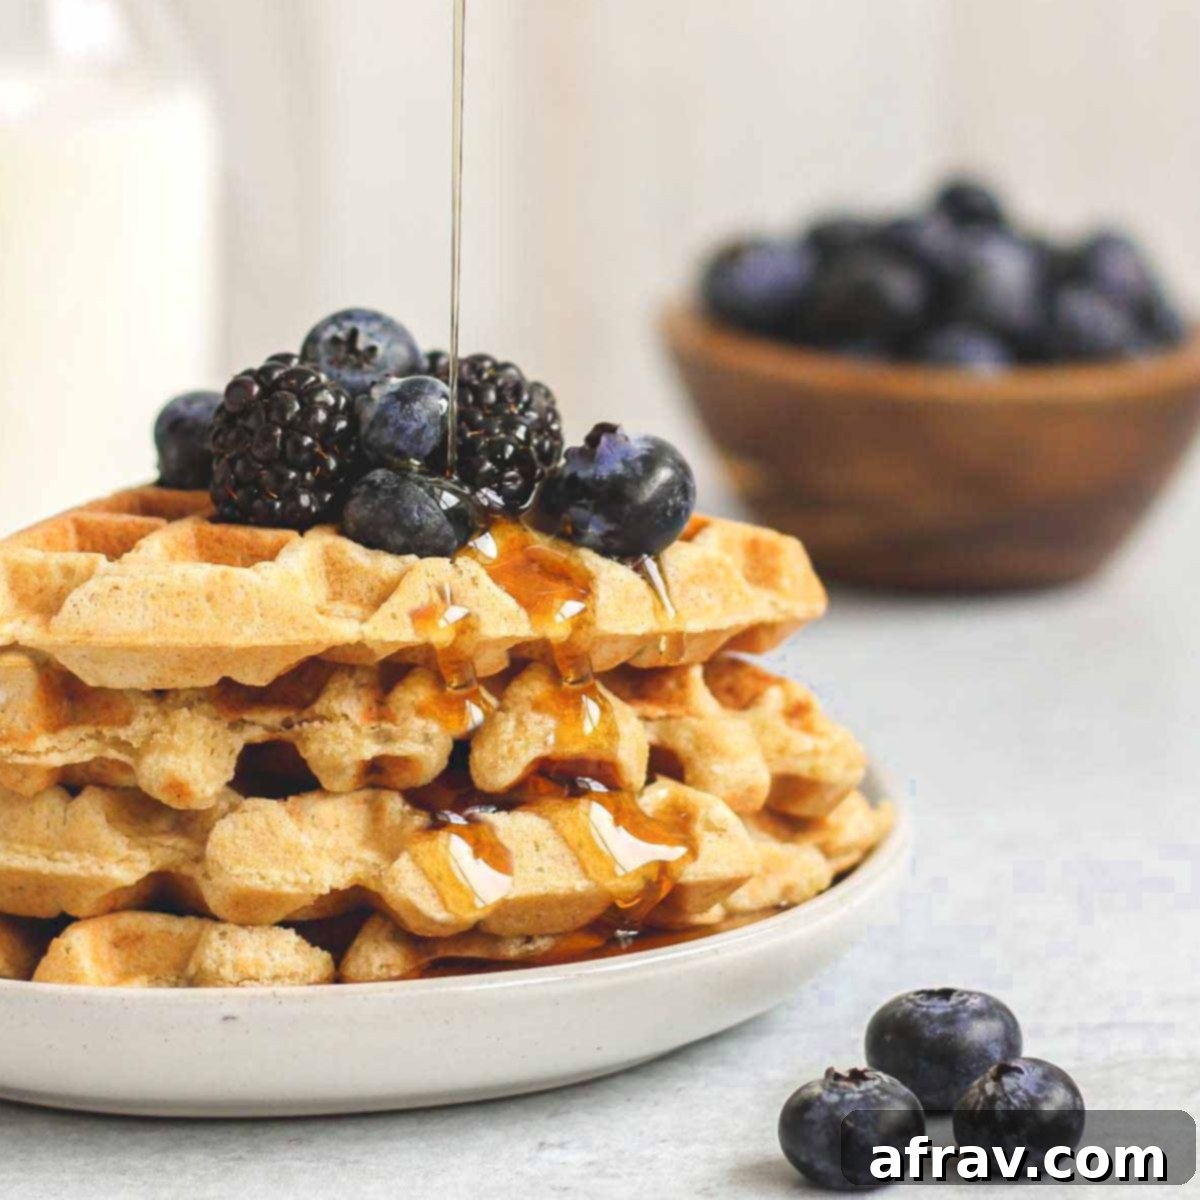
The Ultimate Guide to Fluffy & Crispy Gluten-Free Dairy-Free Waffles (No Added Sugar!)
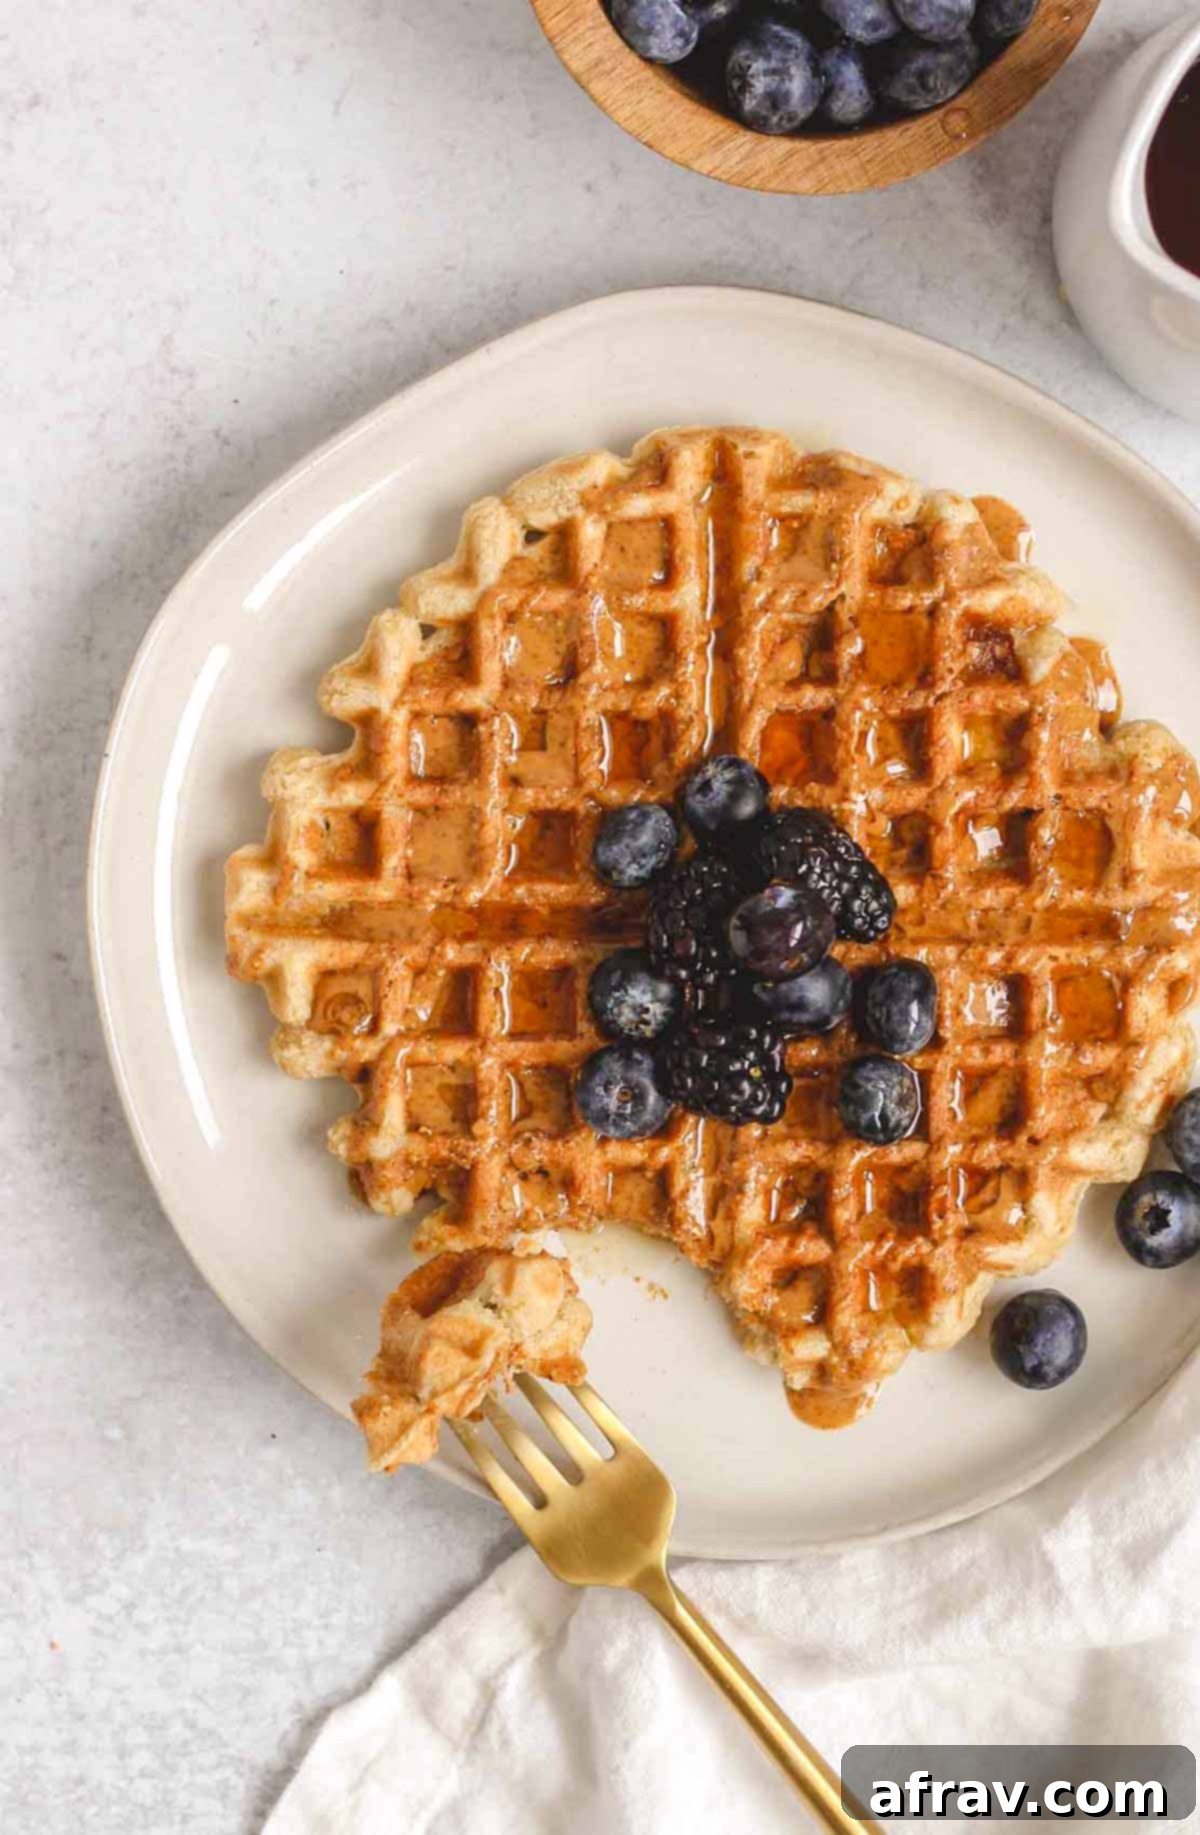
Wake up to the delightful aroma of freshly made waffles, knowing they are not only incredibly delicious but also nourishing and accommodating to dietary needs. This ultimate gluten-free and dairy-free waffle recipe stands out, crafted meticulously using only simple, wholesome, real food ingredients, completely free from added sugars. Prepare to be amazed by their perfectly fluffy interior and irresistibly crisp exterior – a texture dream come true! Best of all, these healthy waffles come together in under 30 minutes and surprisingly require only one bowl for mixing, making cleanup a breeze.
Whether you’re looking for a quick weekday breakfast or a leisurely weekend brunch, these healthy waffles are incredibly versatile. Serve them alongside a savory quiche with a sweet potato crust, a vibrant dairy-free vegetable frittata, and a medley of fresh seasonal fruit for a truly well-rounded, satisfying, and wholesome breakfast experience. They are guaranteed to become a family favorite, catering to everyone’s tastes and dietary preferences without compromising on flavor or enjoyment.
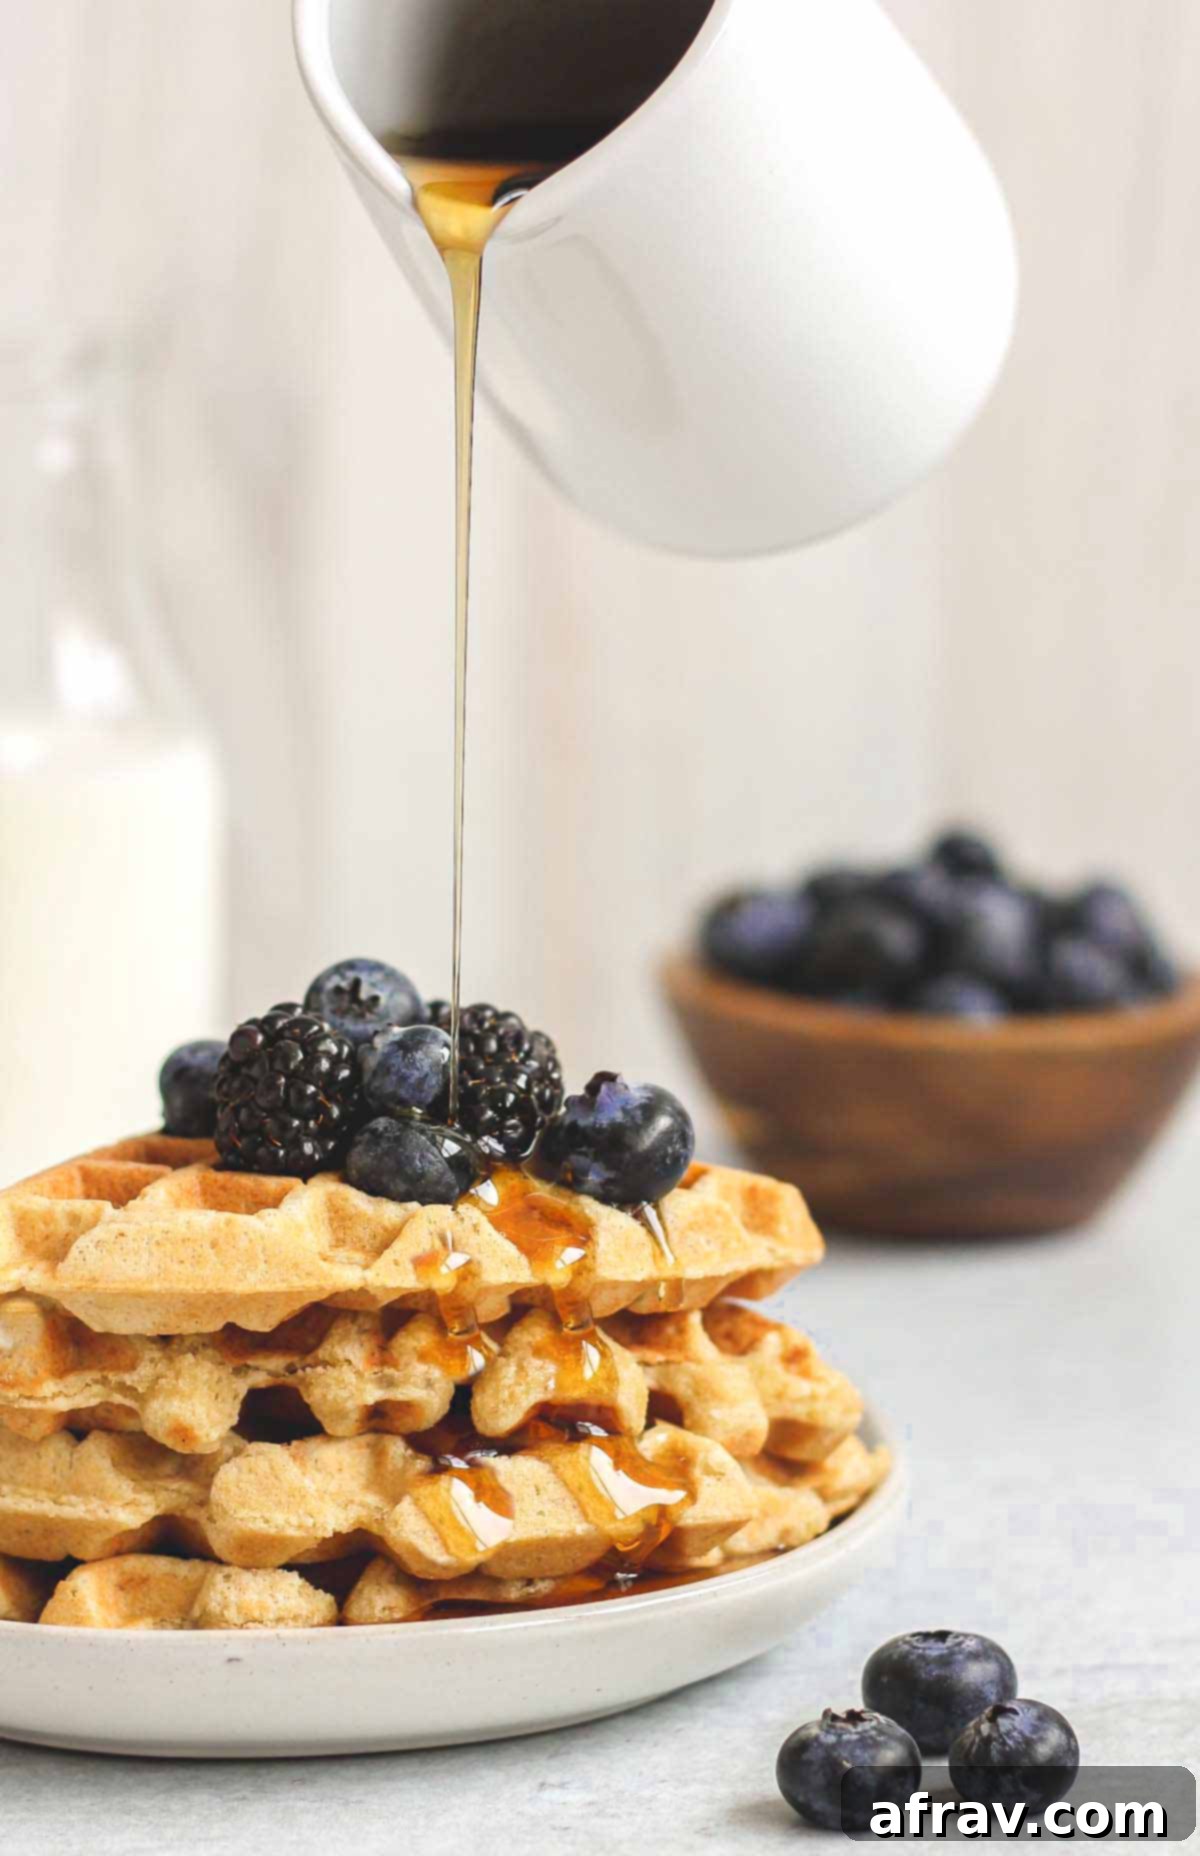
One delighted reader shared:
“Absolutely the best gluten-free waffles I’ve ever had!!” – Ann
Why These Gluten-Free & Dairy-Free Waffles Will Become Your New Go-To
I’ve spent a considerable amount of time perfecting this recipe, experimenting with various ingredient combinations to achieve what I genuinely believe are the best gluten-free and dairy-free waffles. They’re soft and cakey on the inside, yet wonderfully crisp on the outside – embodying everything a perfect waffle should be. Here are some key reasons why this recipe will quickly become a cherished part of your healthy eating routine:
- No Refined Flours or Gluten Here! Instead of conventional all-purpose flour, these waffles utilize a powerful combination of oat flour and almond flour. Oat flour, especially homemade oat flour, brings a delightful chewiness and subtle sweetness, while almond flour contributes a tender texture and a boost of healthy fats. This blend creates a perfect balance, ensuring a fantastic taste and texture without any gluten. If you need a completely nut-free option, my oat flour pancake recipe can easily be adapted for delicious waffles!
- Naturally Sweetened, No Added Sugar. Say goodbye to refined sugars! The delightful sweetness in these waffles comes entirely from one simple ingredient: a ripe banana. The natural sugars in the banana not only provide a gentle sweetness but also contribute to the moistness and tender crumb of the waffles. It’s a healthy way to satisfy your sweet tooth without any guilt.
- Packed with Protein to Keep You Full. Thanks to the thoughtful blend of almond flour and oat flour, each serving of these waffles delivers an impressive 13 grams of protein! That’s right, no need for protein powder to get a substantial protein boost at breakfast. Protein is crucial for sustained energy and satiety, making these waffles an excellent choice to start your day strong. If you’re keen on more protein-rich options, check out my chocolate protein pancakes and banana protein muffins.
- Perfect for Meal Prep and Freezing. These aren’t just delicious; they’re incredibly practical for busy lifestyles. This recipe yields waffles that are ideal for food prepping. They freeze beautifully and, surprisingly, are often just as good, if not better, after a quick toast from frozen. Imagine having healthy, homemade waffles ready in minutes on any given morning! My almond flour blackberry muffins are another excellent freezer-friendly option you might enjoy.
I truly believe this is the absolute best gluten-free and dairy-free waffle recipe you’ll find. I’ve been experimenting with different combinations for a long time, and I’ve finally landed on a winner that I’m thrilled to share. These waffles strike the perfect balance between soft, cakey insides and a wonderfully crisp exterior – everything a truly great waffle should be.
Essential Ingredient Notes for Perfect Waffles
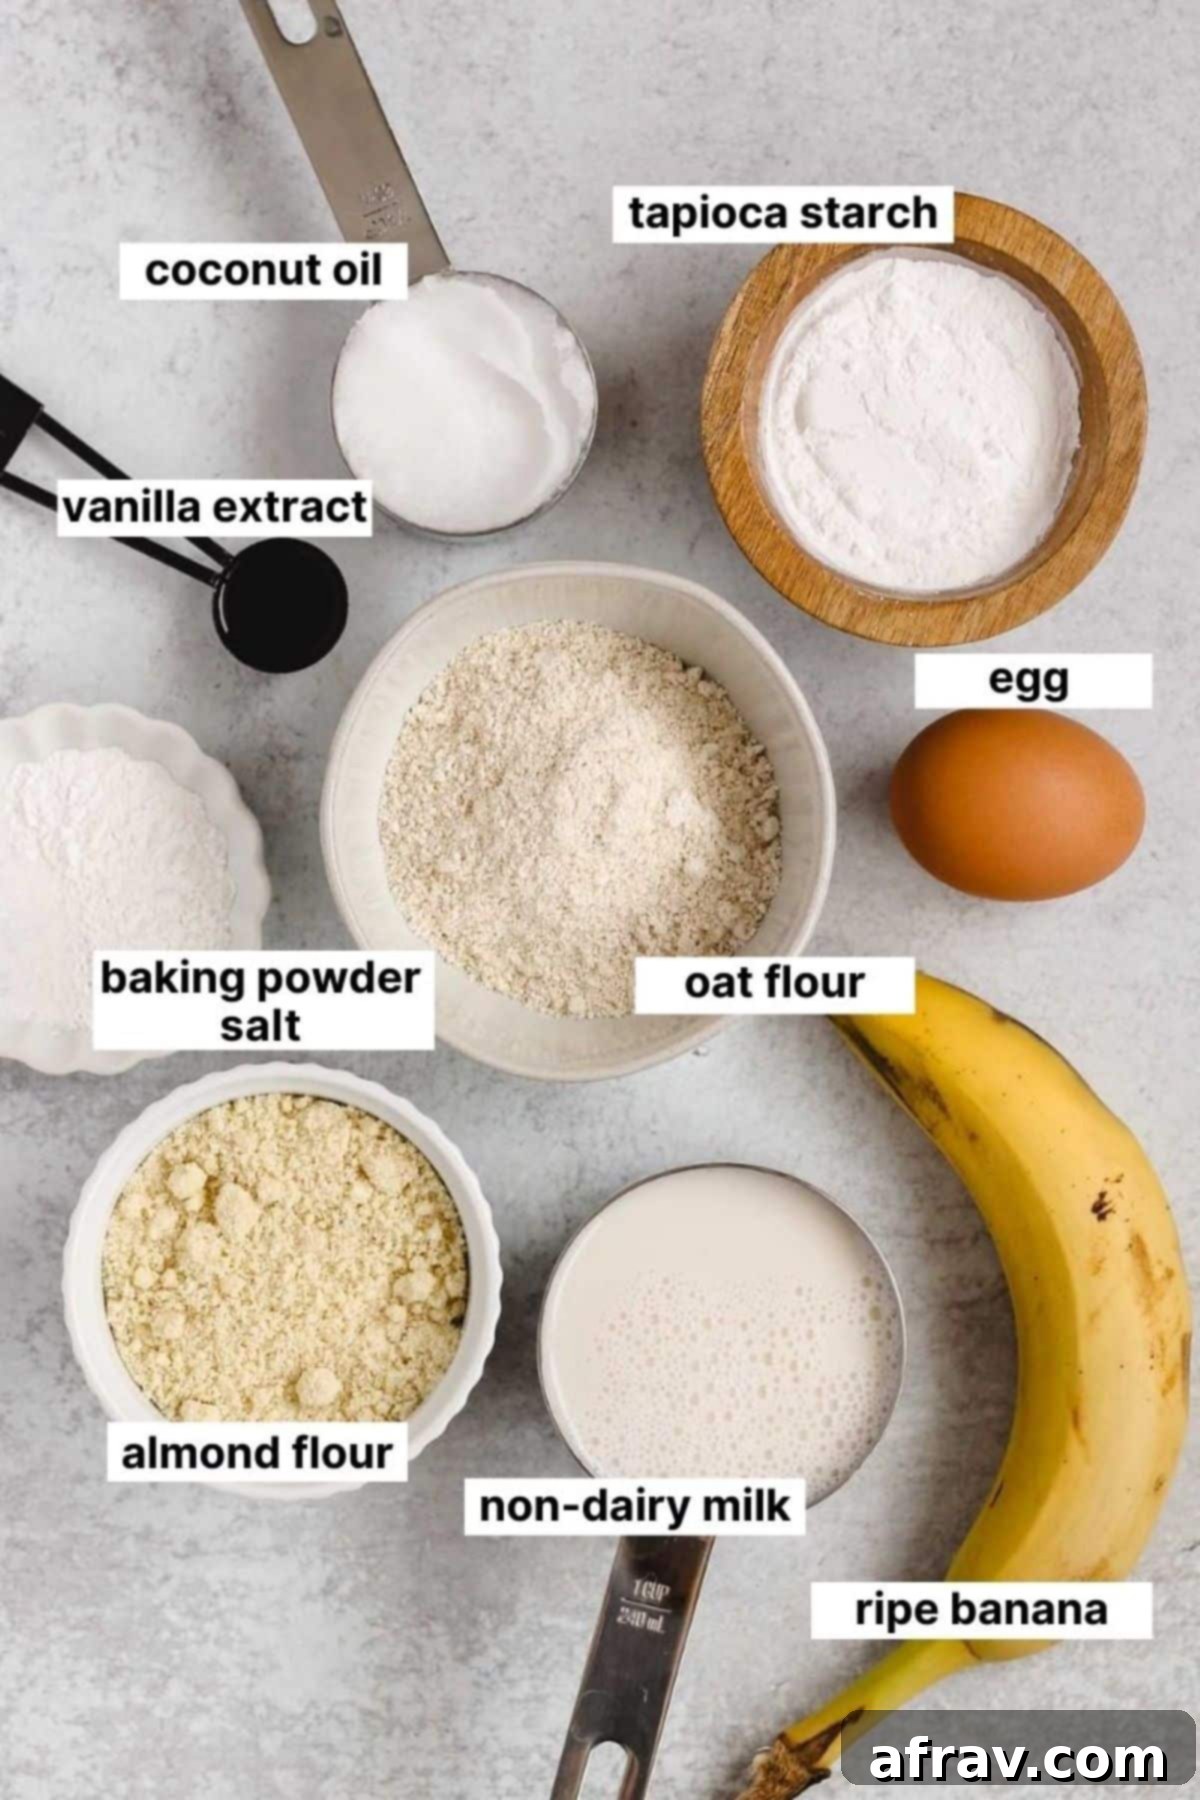
Understanding your ingredients is key to success in any recipe. Here are some specific notes and tips to help you select the best ingredients for these fluffy, crispy gluten-free and dairy-free waffles. Paying attention to these details will ensure your waffles turn out perfectly every time.
- Almond Flour: It’s crucial to use fine-ground almond flour, not almond meal. Almond flour is made from blanched almonds (skins removed) and is more finely ground, resulting in a smoother, more delicate texture in your waffles. Almond meal, on the other hand, is coarser and includes the almond skins, which can make your waffles denser and affect the overall crumb.
- Non-Dairy Milk: While I typically opt for unsweetened almond milk, this recipe is quite flexible! Feel free to use any plain, unsweetened non-dairy milk you prefer, such as soy milk, oat milk, or cashew milk. The key is to ensure it’s unsweetened and unflavored to avoid altering the taste of your naturally sweet waffles. If you don’t follow a dairy-free diet, regular cow’s milk works perfectly well too.
- Oat Flour: For those with celiac disease or gluten sensitivities, it’s absolutely essential to use certified gluten-free oat flour. While oats are inherently gluten-free, they are often processed in facilities that also handle wheat, barley, and rye, leading to cross-contamination. Always look for the “certified gluten-free” label. Furthermore, I find it incredibly simple and cost-effective to make my own oat flour at home using rolled oats!
- Banana: The riper the banana, the better! Brown spots on your banana are a sign of increased natural sweetness, which is exactly what we want for these no-added-sugar waffles. A very ripe, mashed banana contributes significantly to the flavor and moistness. For an even sweeter and often creamier result, I love to use a frozen banana that has been thawed and mashed – it adds an extra dimension of natural sweetness.
- Coconut Oil: When shopping for coconut oil, you’ll notice options for “refined” or “unrefined” (also known as virgin). I personally prefer unrefined coconut oil because it undergoes less processing, retaining more of its natural nutrients and subtle coconut flavor. However, either refined or unrefined coconut oil will work beautifully in this recipe. I often purchase Nutiva Virgin Coconut Oil.
A comprehensive list of all ingredients with exact measurements can be found in the detailed recipe card below. These notes are provided to offer additional guidance for ingredient selection.
Handy Ingredient Substitutions
Don’t have a specific ingredient on hand or need to accommodate another dietary restriction? No problem! This recipe is adaptable. Here are some common substitutions you can make without significantly altering the delicious outcome:
- Tapioca Starch/Flour: If you can’t find tapioca starch, also sometimes labeled as tapioca flour, an excellent 1:1 substitute is arrowroot starch. Both starches help to achieve that desired crispy exterior and light, airy interior.
- To Make Vegan: This recipe can easily be made completely vegan! Simply replace the chicken egg with a flax-egg (1 tbsp ground flaxseed mixed with 3 tbsp water, let sit for 5 minutes) or any other commercial egg replacement product designed for baking.
- Coconut Oil: While coconut oil provides a lovely richness, it can be swapped out for other fats. Vegan butter is a fantastic alternative for a similar rich flavor. Avocado oil or extra-virgin olive oil (for a more savory flavor profile) also work well as neutral-tasting fat options.
Step-by-Step: How to Make Irresistible Gluten-Free & Dairy-Free Waffles
Creating these delightful waffles is a straightforward process, perfect for even beginner bakers. The beauty of this recipe lies in its simplicity and the minimal equipment required – just one bowl for mixing! Follow these steps for golden-brown, perfectly cooked waffles every time.
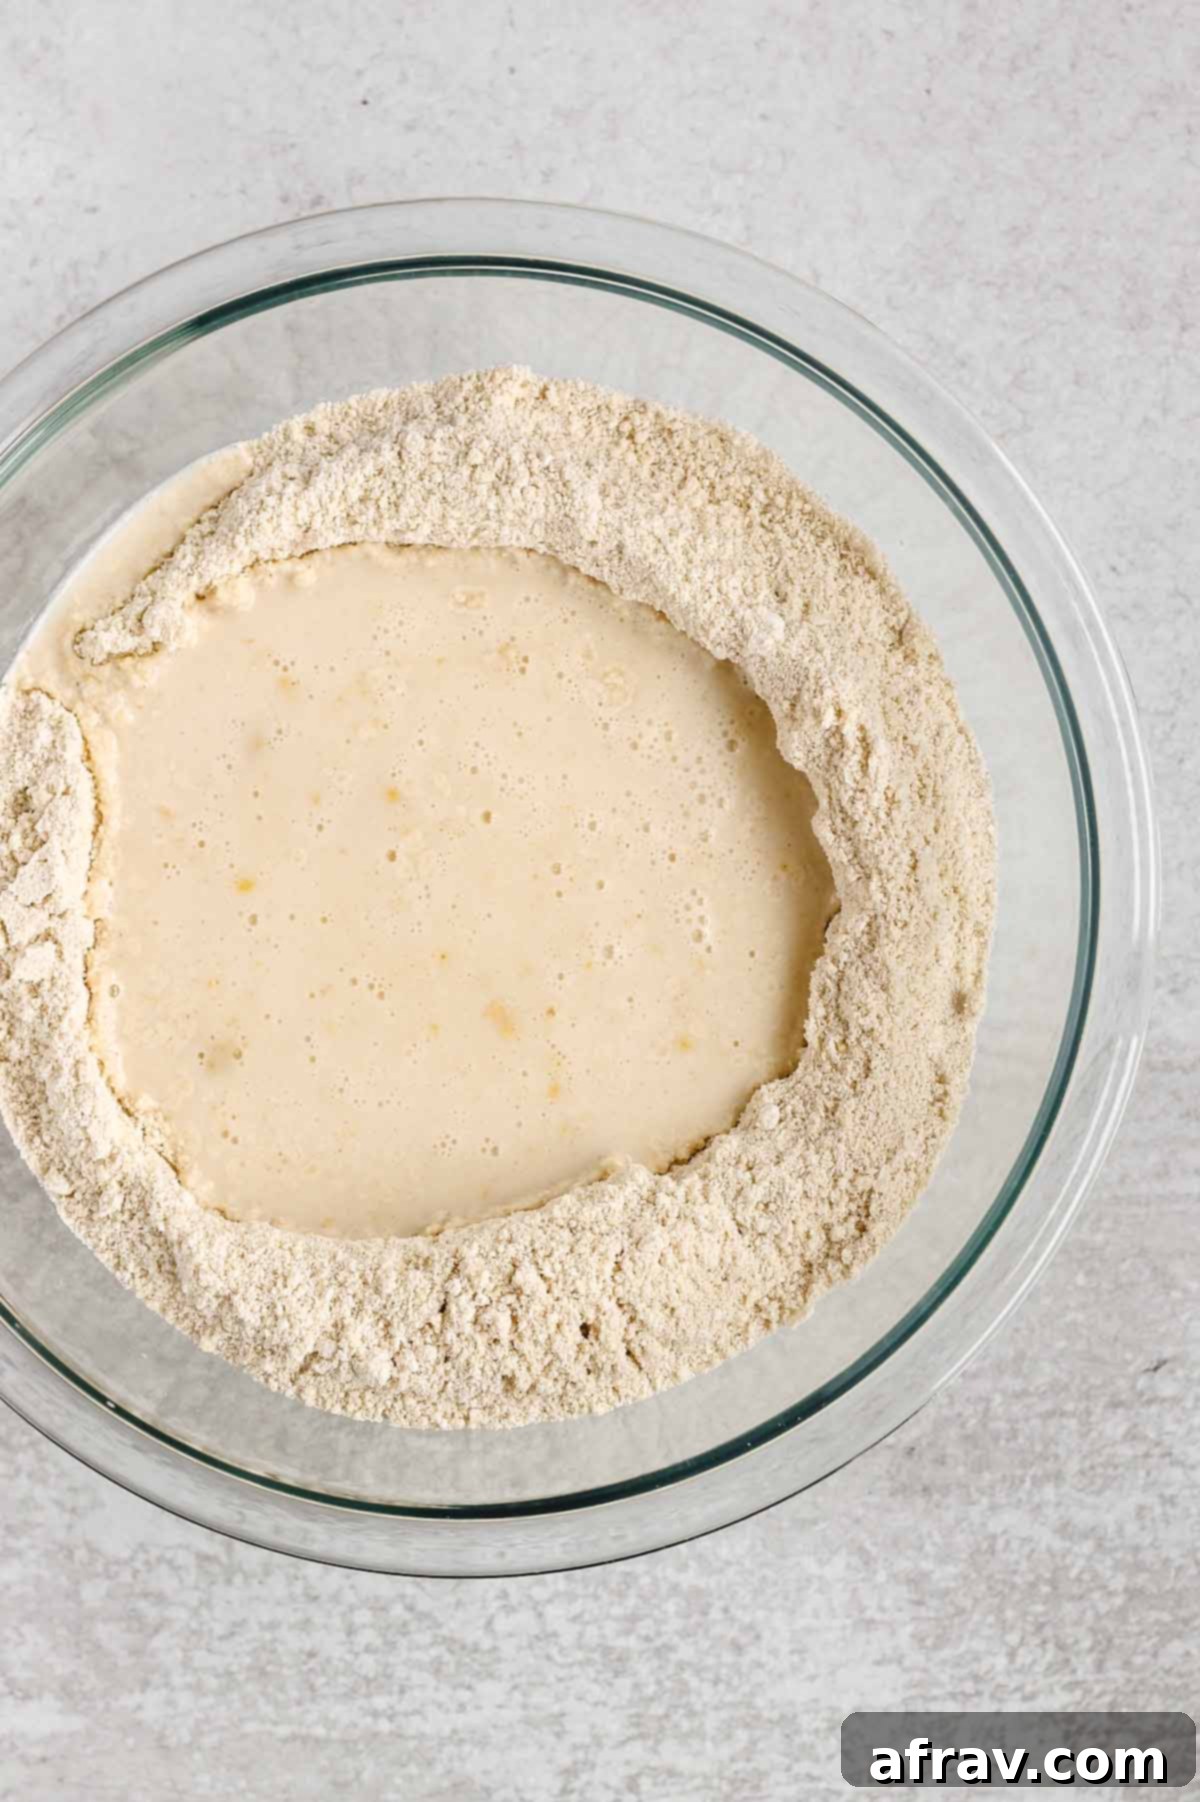
Step 1: Combine Dry and Wet Ingredients Separately. In a spacious mixing bowl, thoroughly whisk together all your dry ingredients: the almond flour, oat flour, tapioca starch, baking powder, and a pinch of salt. Ensure they are well combined. Then, create a small “well” in the center of the dry mixture. Into this well, pour all your wet ingredients: the mashed banana, melted coconut oil, egg, dairy-free milk, and vanilla extract.
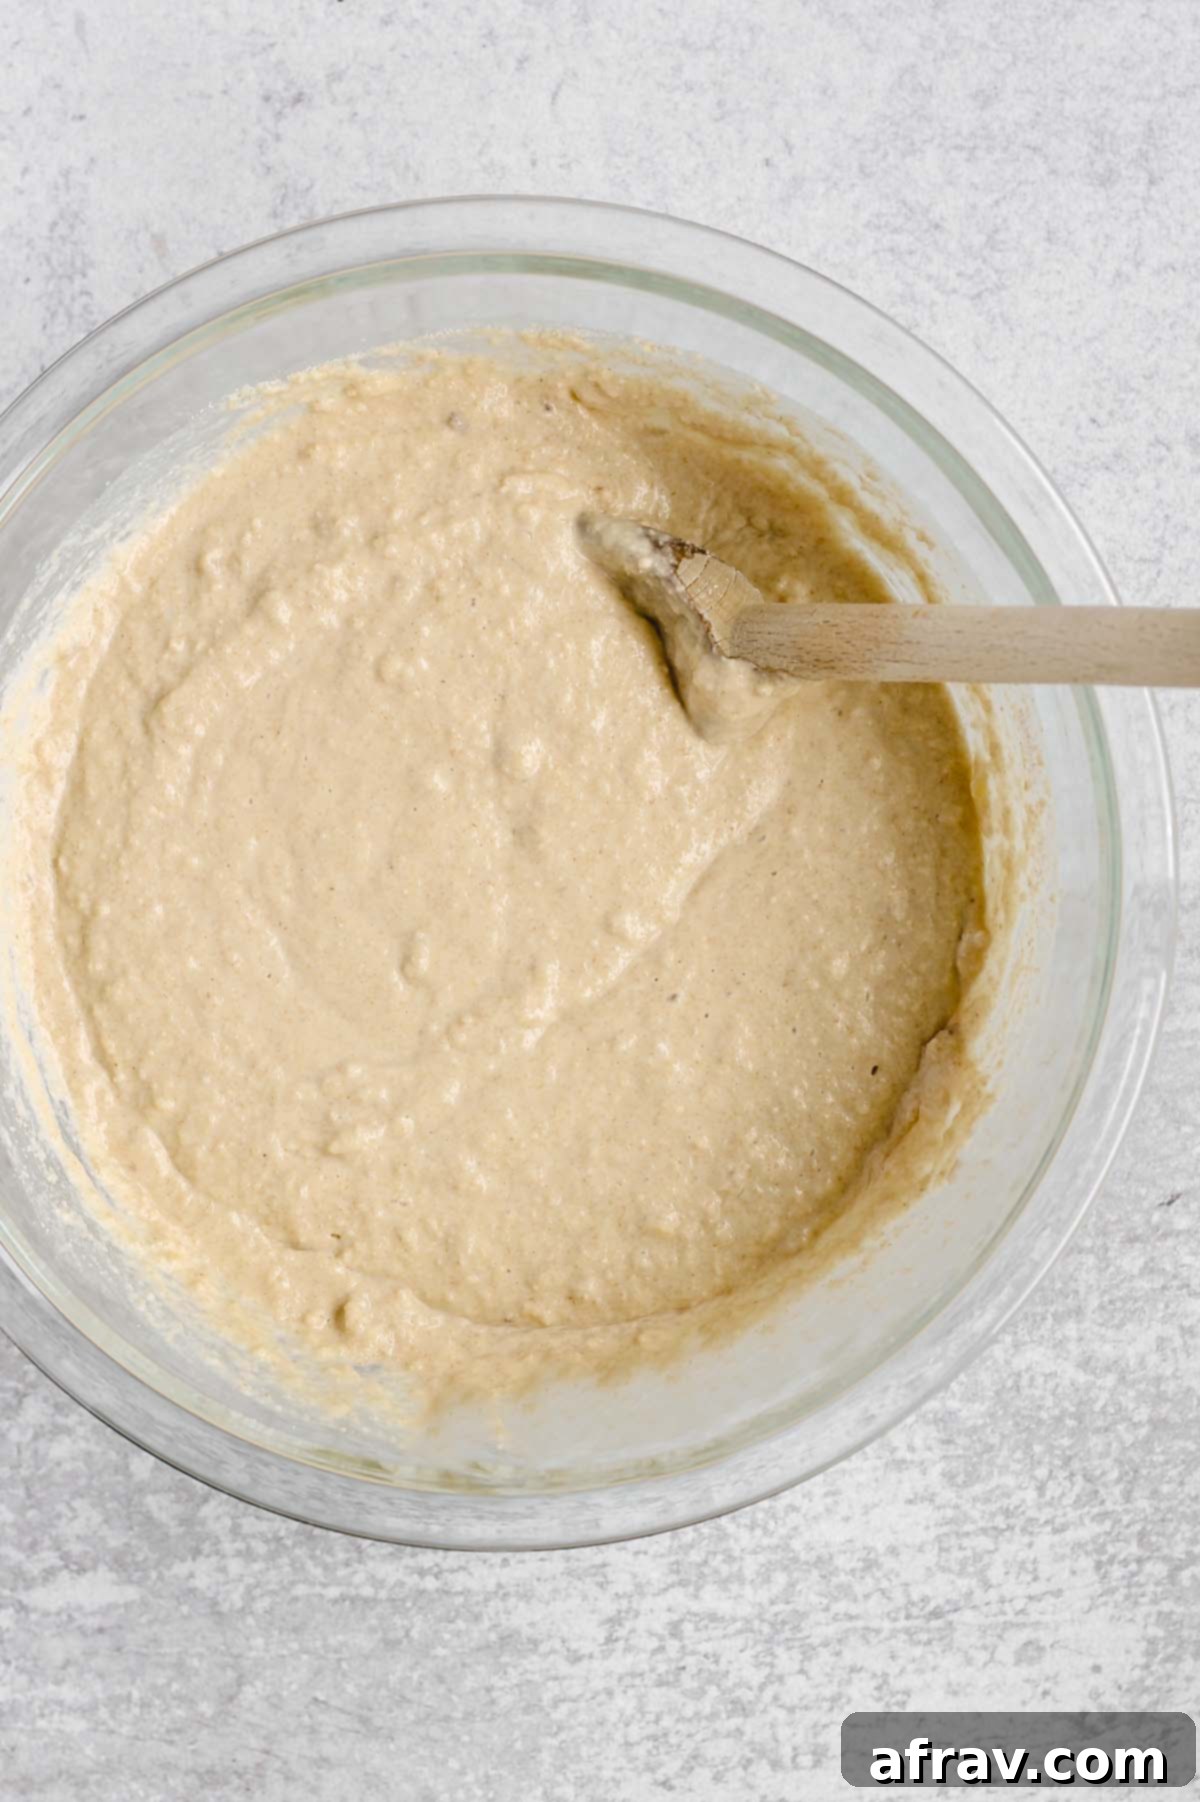
Step 2: Gently Mix Your Waffle Batter. Begin by whisking the wet ingredients within the well first, just until they are loosely combined. Once partially mixed, gently incorporate the dry ingredients into the wet, mixing everything together until you achieve a smooth, consistent waffle batter. Be careful not to overmix, as this can lead to tougher waffles. A few small clumps are perfectly fine!
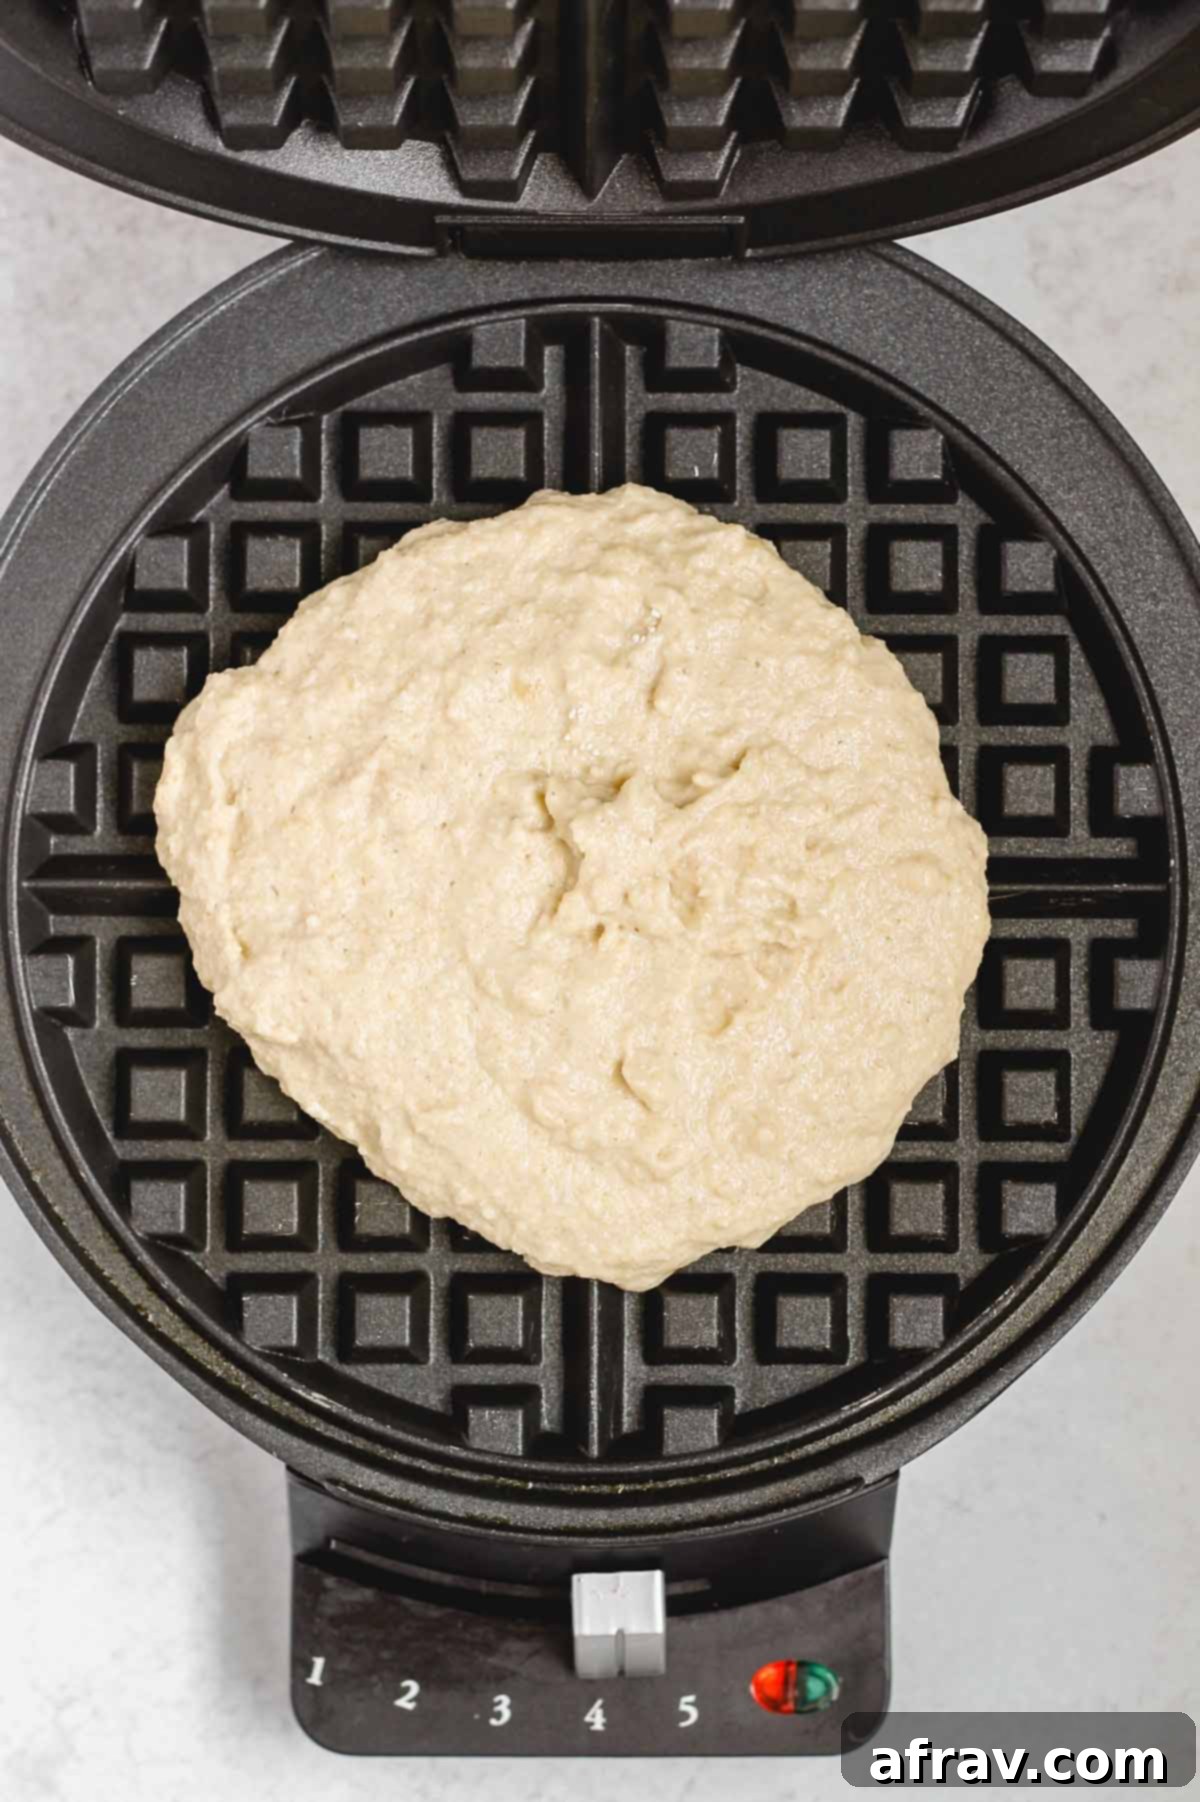
Step 3: Cook Your Waffles to Golden Perfection. Preheat your waffle iron to medium-high heat according to the manufacturer’s instructions. Once hot, use a ½ cup measuring cup (or adjust the amount based on your specific waffle iron’s size) to scoop and pour the batter directly into the center of the pre-heated iron. The amount of batter needed will vary by model, so observe how your first waffle cooks to get it just right.
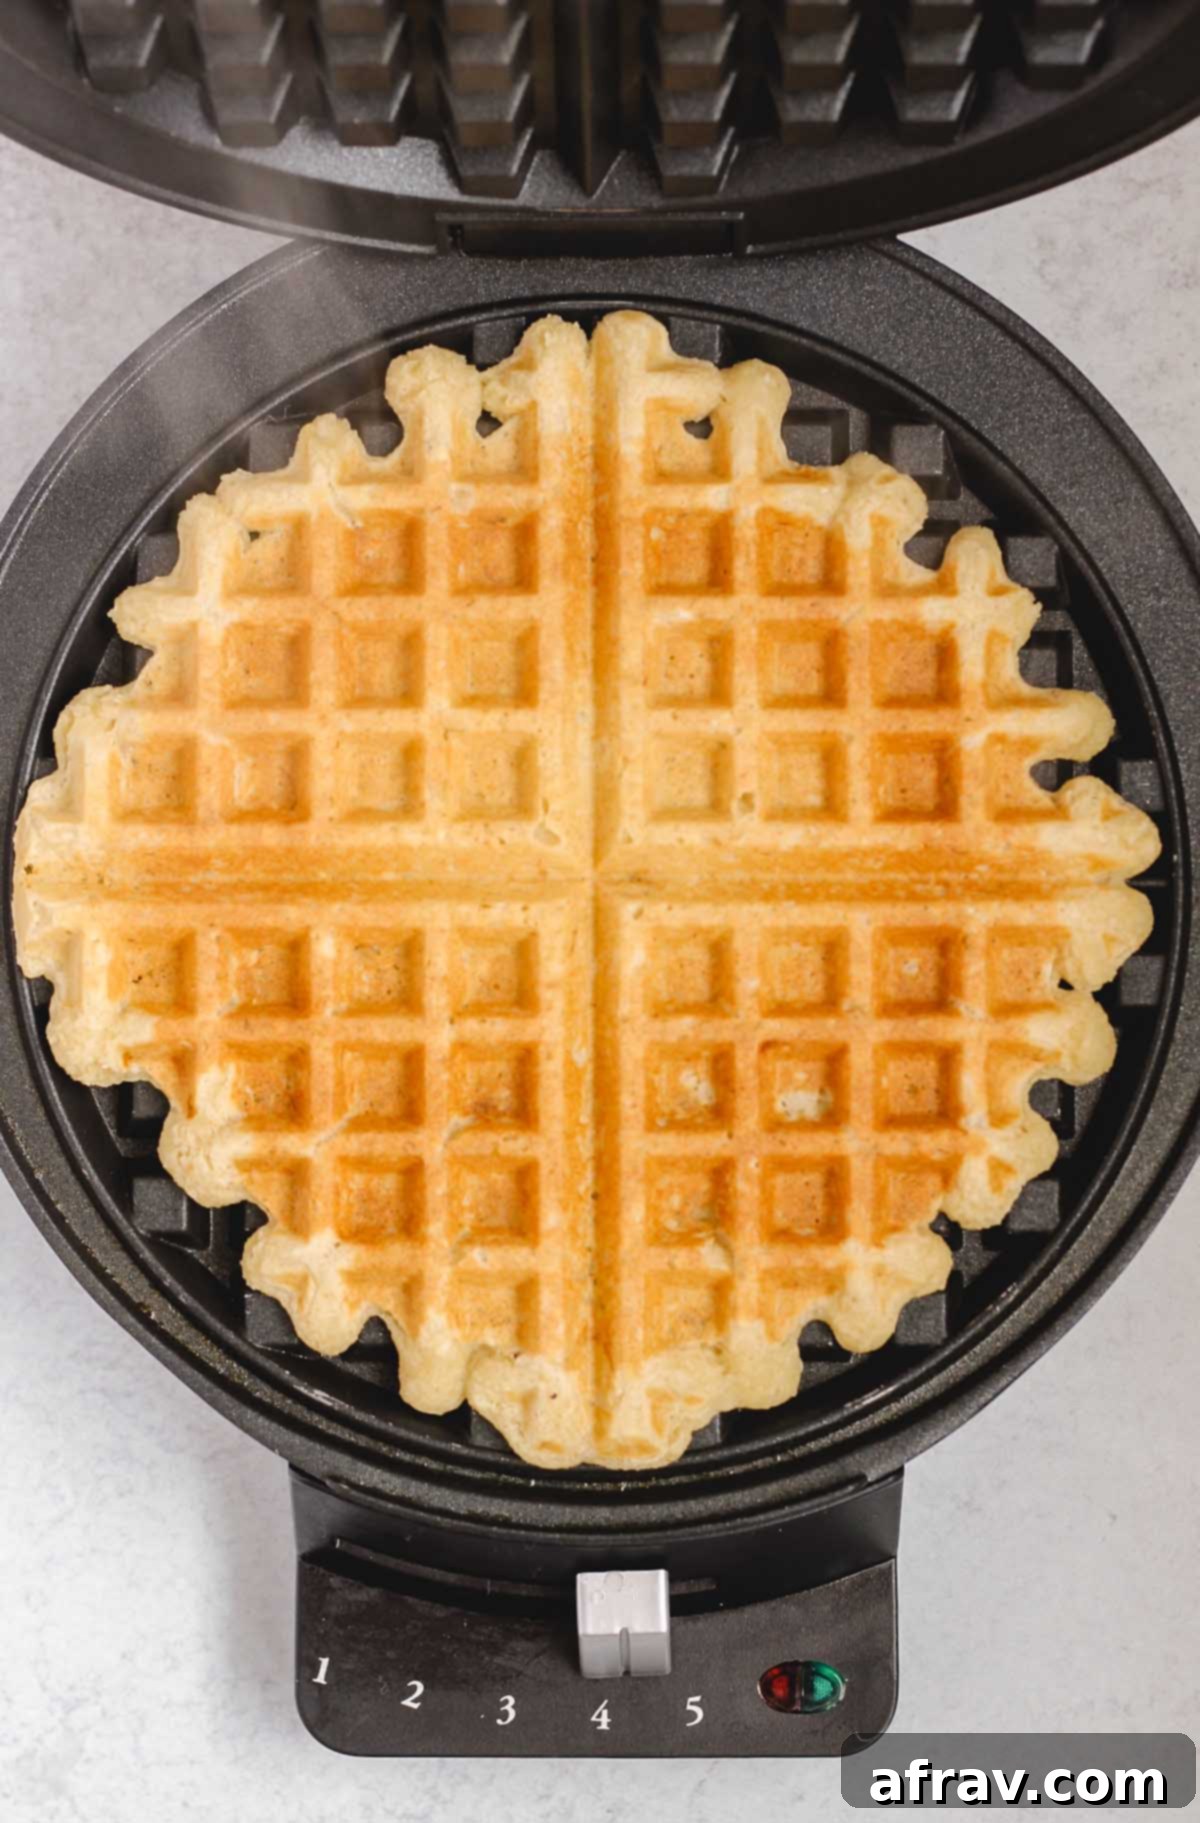
Step 4: Remove and Repeat. Close the lid and cook until your waffle is beautifully light brown and wonderfully crispy. Cooking times will vary depending on your waffle iron, but typically this takes 3-5 minutes. Using a fork or a non-scratch utensil, carefully remove the cooked waffle. Place it on a wire rack (see tips below for why this is important!) and repeat the process until all of your delicious batter has been used.
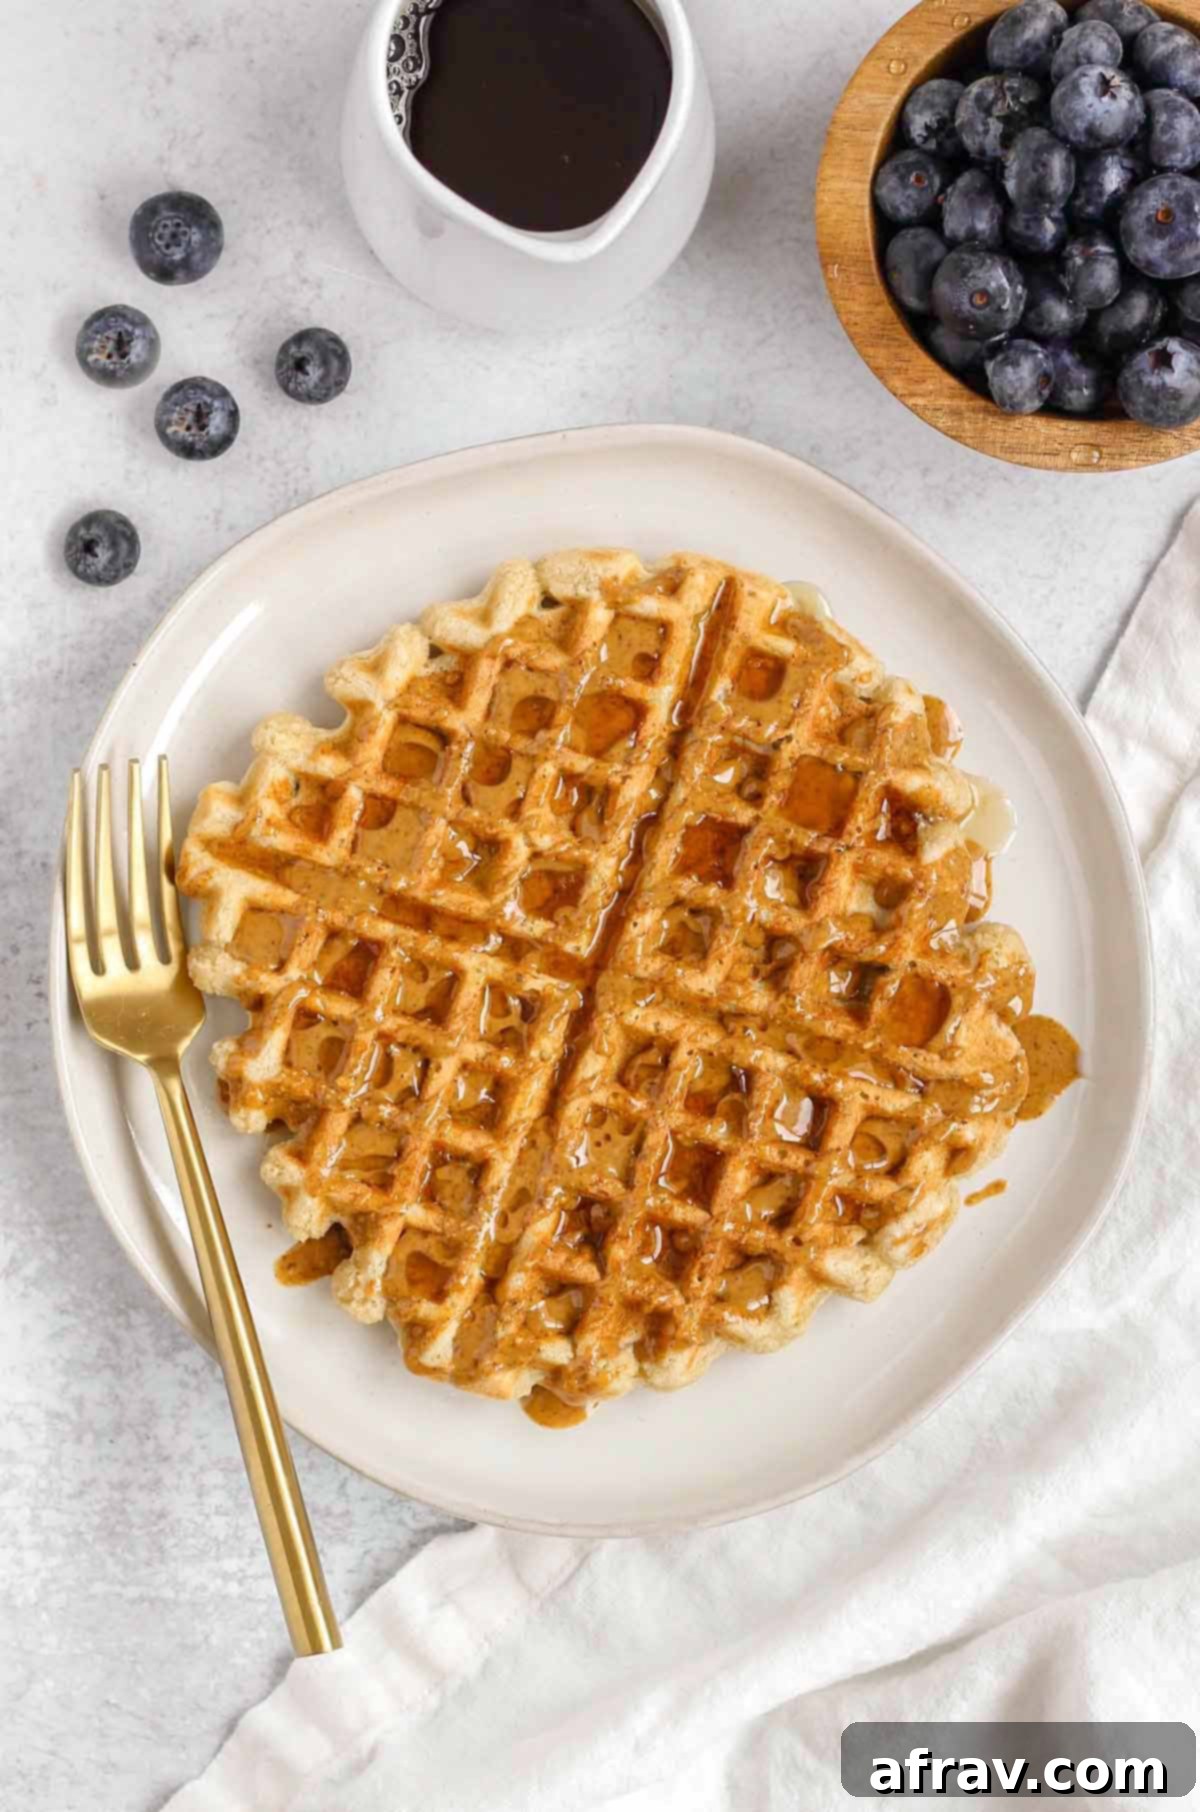
Finally, it’s time to personalize and enjoy your culinary creation! These gluten-free and dairy-free waffles are fantastic with your favorite toppings. I absolutely love spreading them with a generous dollop of my favorite nut butter and scattering fresh berries. And when I’m feeling a bit indulgent, a drizzle of pure maple syrup or a cloud of homemade coconut whipped cream takes them to an even higher level of deliciousness.
Expert Tips for Achieving Perfectly Crispy Waffles Every Time
The secret to truly outstanding waffles lies in their texture – a golden, crisp exterior giving way to a soft, fluffy interior. Follow these simple yet effective tips to ensure your gluten-free and dairy-free waffles achieve that coveted crispiness with every batch:
- Always Preheat Your Waffle Maker Thoroughly: Patience is a virtue here! Ensure your waffle iron is fully preheated to medium-high or high heat before you even think about adding batter. A hot iron immediately sets the exterior of the waffle, creating a seal that locks in moisture and promotes browning and crispiness. You should hear a satisfying sizzle when the batter makes contact with the hot plates – that’s your cue!
- Cool Waffles on a Wire Rack: This step is often overlooked but is crucial for maintaining crispiness. As waffles come off the iron, they release steam. If you stack them or place them on a flat surface, this steam will condense, making your beautiful crispy waffles soggy. Placing them on a wire rack allows air to circulate all around them, letting the steam escape and preserving their crisp texture.
- Allow the Waffle Maker to Reheat Between Waffles: After cooking one waffle, the temperature of your waffle iron will drop slightly. Give it a moment (usually 30-60 seconds) to heat back up to its optimal temperature before adding the next batch of batter. This ensures consistent cooking and crispiness for each and every waffle, rather than ending up with some undercooked or less crispy ones.
- Crisp Waffles in the Oven (Optional but Recommended): For an extra layer of crispness, especially if you’re making a large batch, utilize your oven. Preheat your oven to a low temperature of 225°F (107°C). Place a wire rack over a baking sheet, then arrange your cooked waffles in a single layer on the rack. Bake for 5-7 minutes. The low heat and air circulation on the rack will gently dry out the exterior, enhancing their crispiness without overcooking.
How to Reheat and Freeze These Delicious Waffles for Later
One of the best features of this gluten-free and dairy-free waffle recipe is how wonderfully they store and reheat, making them an absolute dream for meal prepping! You can enjoy homemade waffles any day of the week with minimal effort.
To Freeze: To ensure your waffles maintain their quality, allow them to cool completely to room temperature before freezing. This prevents ice crystals from forming. For best results, place a sheet of parchment paper between each waffle before stacking them. Then, transfer the stack into a freezer-safe bag or an airtight container. They will keep beautifully in the freezer for up to 3 months, ready for a quick breakfast whenever you need it.
To Reheat: The simplest way to reheat frozen waffles is to pop them directly into your toaster or toaster oven. Toast them until they are heated through and regain their characteristic crispiness – usually just a few minutes. Alternatively, you can reheat frozen waffles in a conventional oven. Preheat your oven to 350°F (175°C), place the waffles in a single layer on a baking sheet, and bake for 8-10 minutes, or until warm and crisp.
⭐PRO TIP: To maximize your breakfast prep, consider doubling or even tripling the batch when you make these! Having a freezer full of ready-to-eat healthy waffles will save you so much time on busy mornings. My chocolate protein banana bread is also an excellent choice for freezing!
Frequently Asked Questions About Gluten-Free & Dairy-Free Waffles
Here are answers to some of the most common questions about making these delicious and healthy waffles, ensuring you have all the information you need for a successful baking experience.
The good news is that virtually any waffle iron will work perfectly for this recipe! You’ll simply need to adjust the amount of batter you use per waffle, depending on the size and style of your specific iron. For those looking for a reliable and affordable option, Cuisinart offers a fantastic classic round waffle maker that is both inexpensive and performs exceptionally well; I’ve personally used mine for years without any issues. This recipe is also wonderful in a Belgian waffle iron, which will produce thicker, deeper-pocketed waffles perfect for holding lots of syrup and toppings!
Using a classic round waffle iron and approximately ½ cup of batter for each waffle, this recipe generally yields about 6 delicious waffles. However, please keep in mind that the exact number can vary slightly. Factors such as the specific size and depth of your waffle iron, as well as your personal preference for how thick or thin you like your waffles, might result in yielding a few more or one to two less.
Absolutely, making these waffles completely vegan is a breeze! The only animal product in the original recipe is the egg. You can effortlessly replace the egg with a “flax egg” (which is made by combining 1 tablespoon of ground flaxseed meal with 3 tablespoons of water and letting it sit for about 5 minutes until it thickens) or by using your preferred commercial egg substitute or egg replacer according to its package instructions.
While almond milk is a fantastic and popular choice due to its neutral flavor and creamy texture, any plain and unsweetened non-dairy milk will work beautifully in this recipe. Feel free to experiment with oat milk, soy milk, or cashew milk based on your preference. The most important factor is to ensure it is plain and unsweetened to allow the natural flavors of the other ingredients, especially the banana, to shine through without interference.
Explore More Delicious & Healthy Breakfast Options!
If you loved these gluten-free and dairy-free waffles, you’re in for a treat! Discover more clean eating breakfast recipes that are both nutritious and incredibly flavorful. These options are perfect for diversifying your morning routine.
- Breakfast Burrito Bowls
- Overnight Oats with Frozen Fruit
- Chia Bowl
- Chocolate Baked Oats (no banana)
If you embark on making this delightful gluten-free and dairy-free waffle recipe, please don’t hesitate to share your experience and thoughts! I would be incredibly grateful if you could leave a star rating and/or a comment below to let me know how it turned out for you. And for an extra sprinkle of joy, don’t forget to share a photo of your creations on Instagram or Facebook and tag or mention @CleanPlateMama! Your feedback and shares mean the world.
Eat Clean. Live Well!
-Sara

Delicious Gluten-free + Dairy-free Waffles
Print
Pin
Rate
Breakfast
American
Gluten Free, Dairy Free, No Added Sugar
10 minutes
15 minutes
25 minutes
6
waffles
Sara
Save This Recipe For Later!
We’ll email this post to you, so you can come back to it later. Plus, enjoy weekly clean eating recipes as a bonus.
Equipment
-
1 Waffle Iron
-
1 Large Mixing Bowl
Ingredients
-
1 ½ cups almond flour (fine-ground, not almond meal) -
1 ½ cups certified gluten-free oat flour (homemade is great!) -
¼ cup tapioca starch (also known as tapioca flour, or substitute with arrowroot starch) -
2 tsp. baking powder -
¼ tsp. salt -
1 very ripe, mashed banana (about ½ cup) -
¼ cup coconut oil, melted (or vegan butter, avocado oil, or extra-virgin olive oil) -
1 large egg (for vegan, use a flax egg or egg replacer) -
1 ¼ cups dairy-free milk (plain and unsweetened, such as almond, oat, or soy milk) -
1 tsp. pure vanilla extract
Instructions
-
In your large mixing bowl, combine the almond flour, oat flour, tapioca starch, baking powder, and salt. Whisk these dry ingredients thoroughly until they are evenly distributed.
-
Create a small indentation or “well” in the center of your dry ingredients. Add the mashed banana, melted coconut oil, egg, dairy-free milk, and pure vanilla extract into this well. First, gently whisk just the wet ingredients together within the well, then gradually incorporate the surrounding dry ingredients. Continue to mix until the batter is just combined and relatively smooth. Be careful not to overmix; a few small lumps are perfectly fine and often lead to a lighter waffle!
-
Preheat your waffle iron to a medium-high setting. Once it reaches the correct temperature (usually indicated by a light), carefully scoop approximately ½ cup of batter onto the center of the hot waffle iron. The exact amount may need to be adjusted based on the size and model of your specific waffle maker. Close the lid and cook according to your waffle maker’s instructions, typically until golden brown and crispy (about 3-5 minutes).
-
Once cooked to perfection, use a fork or a non-metal utensil to carefully remove the waffle from the iron. Immediately transfer the cooked waffle to a wire cooling rack. This is crucial for preventing them from becoming soggy as steam escapes. Allow your waffle iron to reheat briefly between batches, then repeat Step 3 until all your batter has been used.
-
Serve your freshly made gluten-free and dairy-free waffles immediately! Top them with your favorite pure maple syrup, an assortment of fresh fruit, nut butter, or even a dollop of coconut whipped cream. Enjoy your wholesome and delicious breakfast!
Notes
- I generally use unsweetened almond milk for this recipe, but any plain, unsweetened non-dairy milk will work beautifully. If you don’t adhere to a dairy-free diet, regular cow’s milk can also be used.
- If your waffle iron features a non-stick coating, avoid spraying it with cooking spray; doing so can sometimes paradoxically make the waffles stick more over time. However, if your waffle iron is *not* non-stick, a light coating of cooking spray or oil before each waffle is recommended to prevent sticking.
- As the waffle batter sits, it tends to thicken due to the flours absorbing moisture. If you find your batter becomes too thick, simply thin it out by whisking in 1-2 additional tablespoons of dairy-free milk until it reaches your desired consistency.
- These waffles are undeniably at their absolute best when enjoyed fresh, straight from the waffle iron, as they will naturally lose some of their crispiness as they cool. If you’re not planning to eat them all immediately, you can keep them warm and relatively crispy by placing them on a wire rack in an oven preheated to about 225°F (107°C). Alternatively, a quick reheat in the toaster right before serving works wonders to revive their crispness!
- This recipe is designed to make approximately 6 waffles, assuming you use about ½ cup of batter per waffle. The precise yield may vary slightly based on the size and type of your specific waffle iron.
Clean eating tips: For the highest quality and taste, I highly recommend opting for organic almond flour and organic oat flour whenever possible.
Tried this Recipe? Share your creation today!
Mention @CleanPlateMama or tag #CleanPlateMama on social media!
