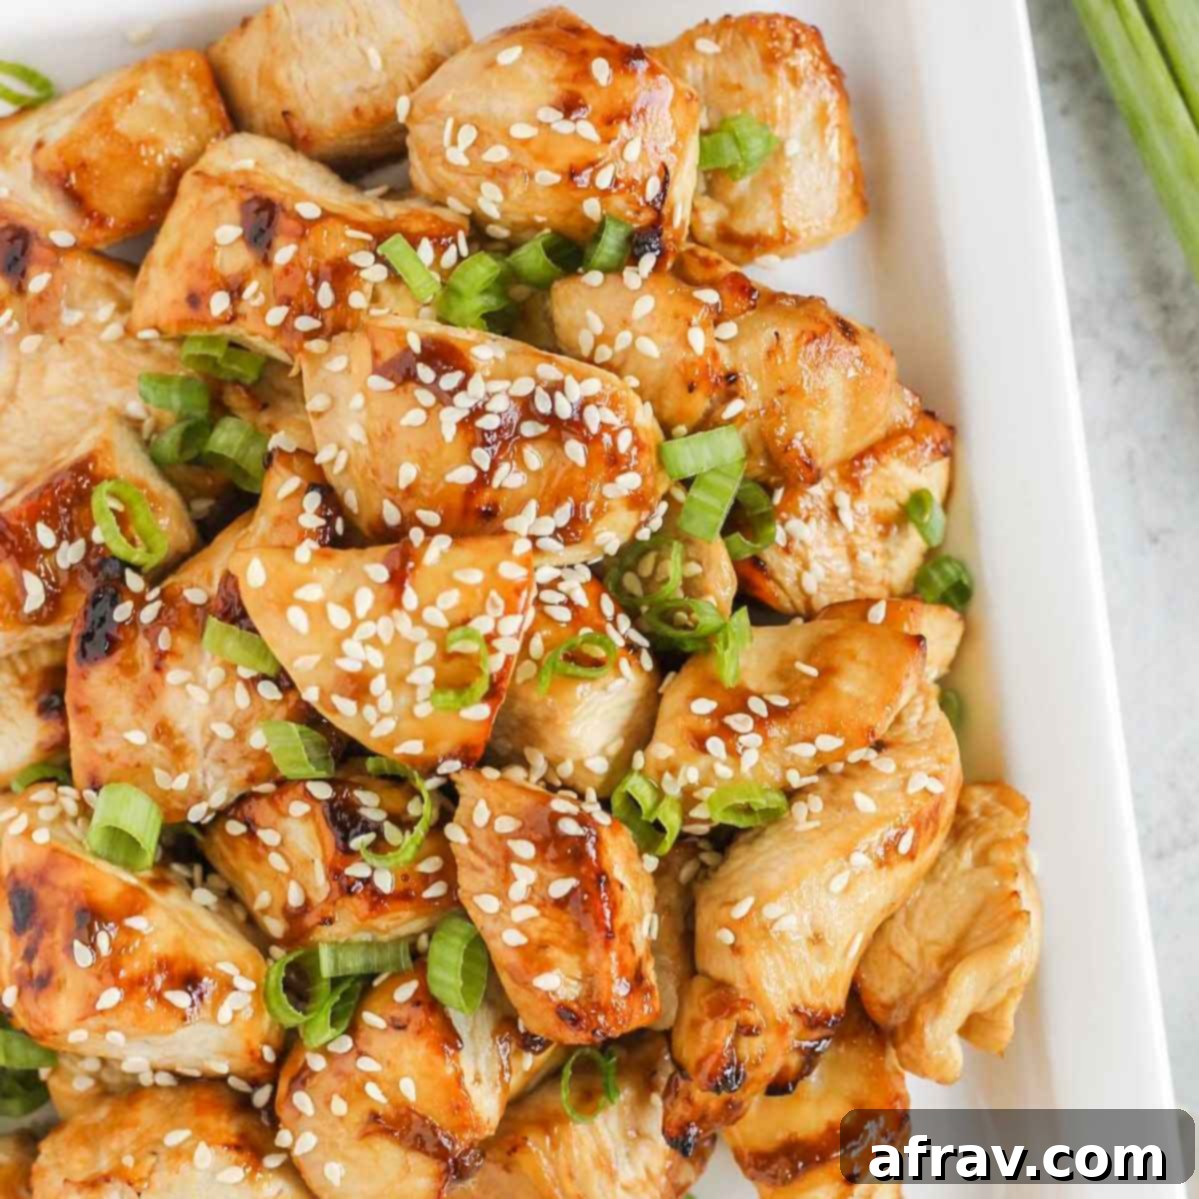
Perfect Air Fryer Teriyaki Chicken Bites: Easy, Healthy & Gluten-Free Recipe
These incredibly flavorful air fryer teriyaki chicken bites are generously coated in a luscious, homemade teriyaki sauce that’s both gluten-free and soy-free. This isn’t just another chicken recipe; it’s a testament to how delicious and healthy weeknight meals can be when prepared in your air fryer. Get ready for a simple dish that’s quick to prepare and ready to enjoy in under 30 minutes, making it an instant family favorite!
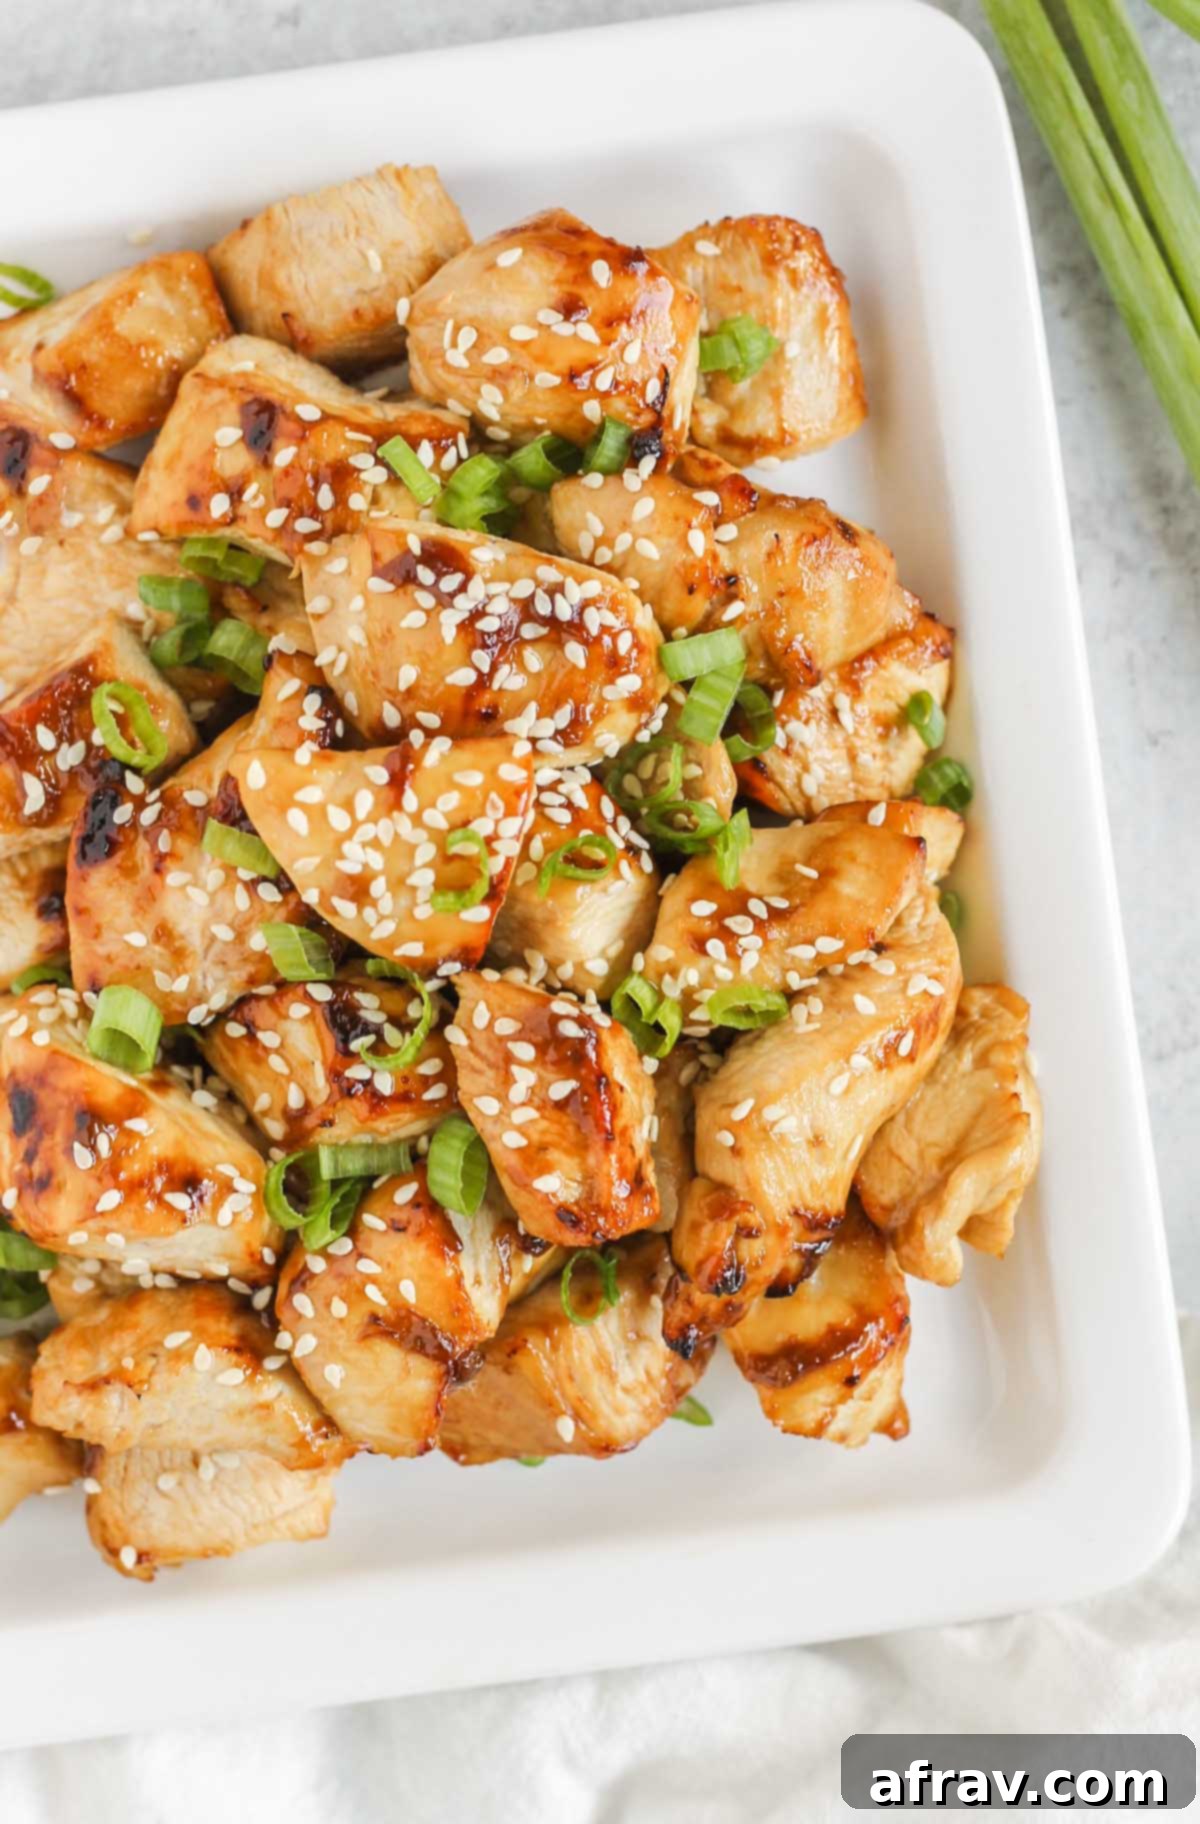
Forget the greasy takeout and store-bought versions filled with unknown additives. Our air fryer teriyaki chicken is significantly healthier and bursting with fresh, authentic flavors you can feel good about. It’s a game-changer for anyone looking to incorporate more wholesome meals into their routine without sacrificing taste or convenience. This recipe is designed to become one of your most requested chicken dishes!
The best part? No complicated breading or lengthy marinating is required. This is truly an easy air fryer recipe, demanding minimal prep time and cooking to perfection in less than 15 minutes. The simplicity allows you to whip up a nutritious meal even on your busiest days.
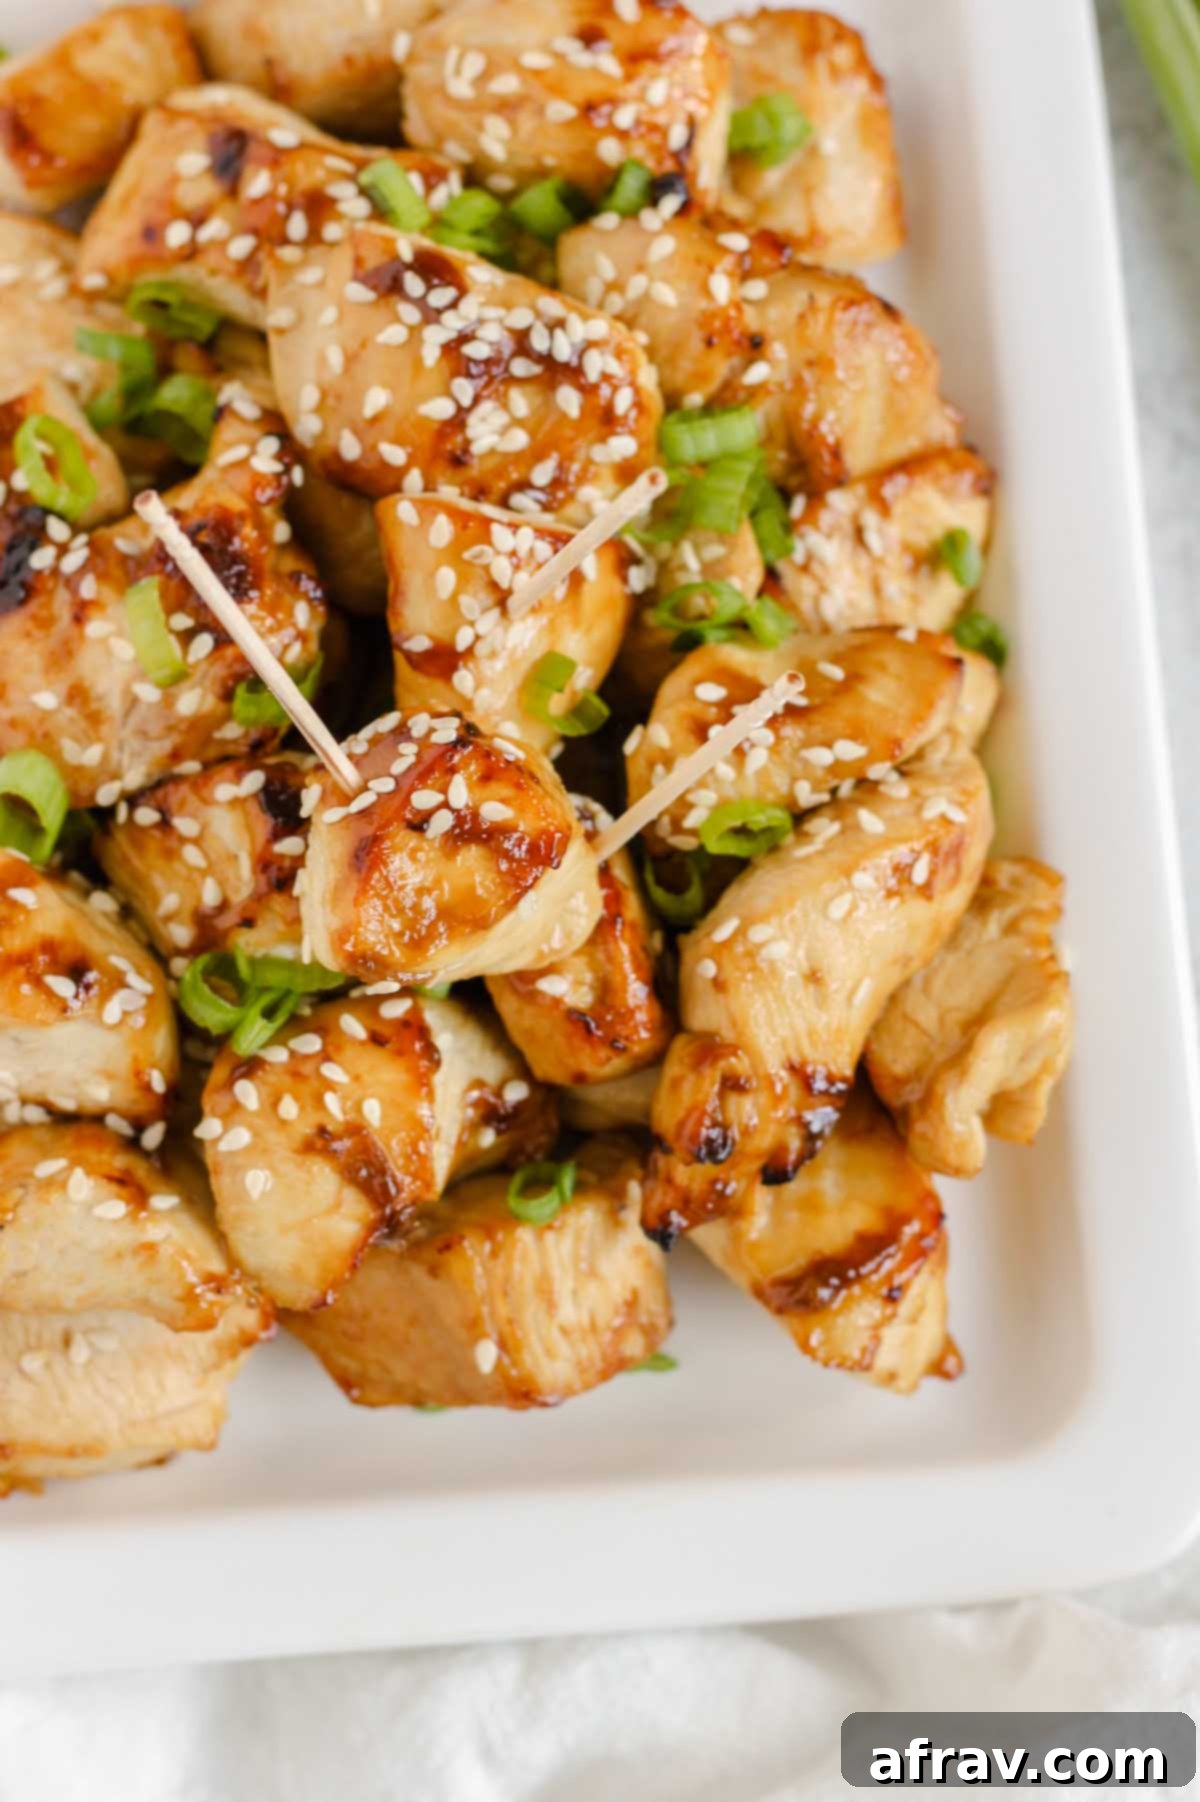
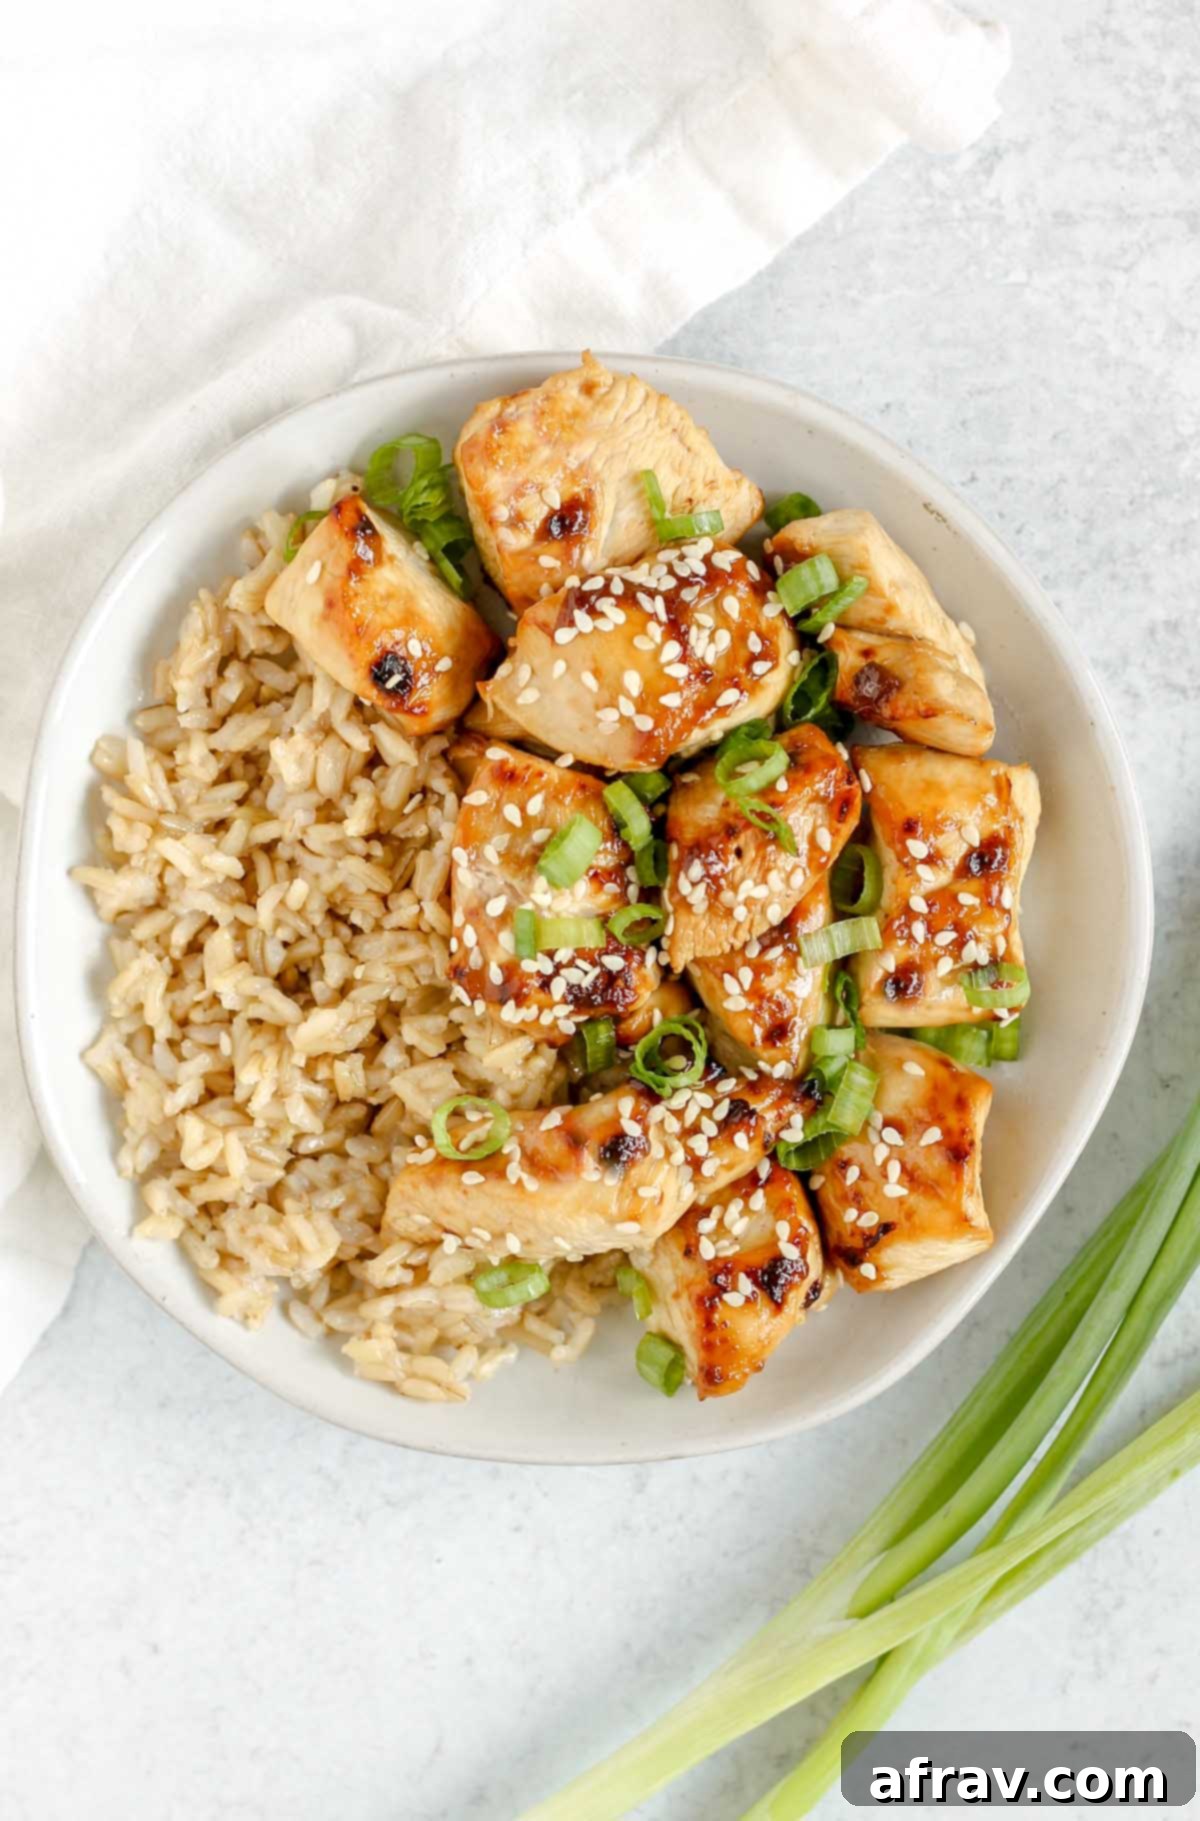
Serve these delectable bites alongside a steaming bowl of brown rice and a side of crisp, steamed broccoli for a complete and balanced meal. Feel free to choose any of your favorite vegetables to complement the dish. Or, for a fantastic party appetizer, simply add some toothpicks and let your guests enjoy these flavorful chicken morsels!
If you’re eager to explore more culinary adventures with your air fryer, be sure to check out these other fantastic recipes: Air Fryer Turkey Burgers, Air Fryer Sweet Potatoes, Air Fried Apples, Air Fryer Carrots, or Air Fryer Salmon. Your air fryer is capable of so much!
The Secret to Success: Homemade Teriyaki Sauce
The heart of this incredible dish lies in its homemade gluten-free teriyaki sauce. I can’t stress enough how much better this is than anything you’ll find pre-made. Crafting your own sauce gives you complete control over the ingredients, ensuring it’s free from undesirable additives, excessive sodium, and refined sugars often found in commercial brands. Our recipe prioritizes health without compromising on that rich, authentic teriyaki flavor. The sauce is purposefully made thick and glossy, ensuring it beautifully coats each piece of chicken, sealing in juices and creating that perfectly fried texture in the air fryer. For an extra boost of flavor and a beautiful glaze, I highly recommend brushing the cooked chicken with an additional layer of teriyaki sauce just before serving. It truly elevates the experience!
Our homemade teriyaki sauce leans towards the healthier side, utilizing coconut aminos as a soy-free alternative and honey for natural sweetness. This makes it a fantastic option for those with dietary restrictions or simply looking for a cleaner eating choice. However, if you don’t require gluten-free or soy-free options, you can easily substitute regular soy sauce and brown sugar. Below, you’ll find a full list of ingredients and easy substitutions to tailor this recipe to your needs.
Essential Ingredients for Your Air Fryer Teriyaki Chicken
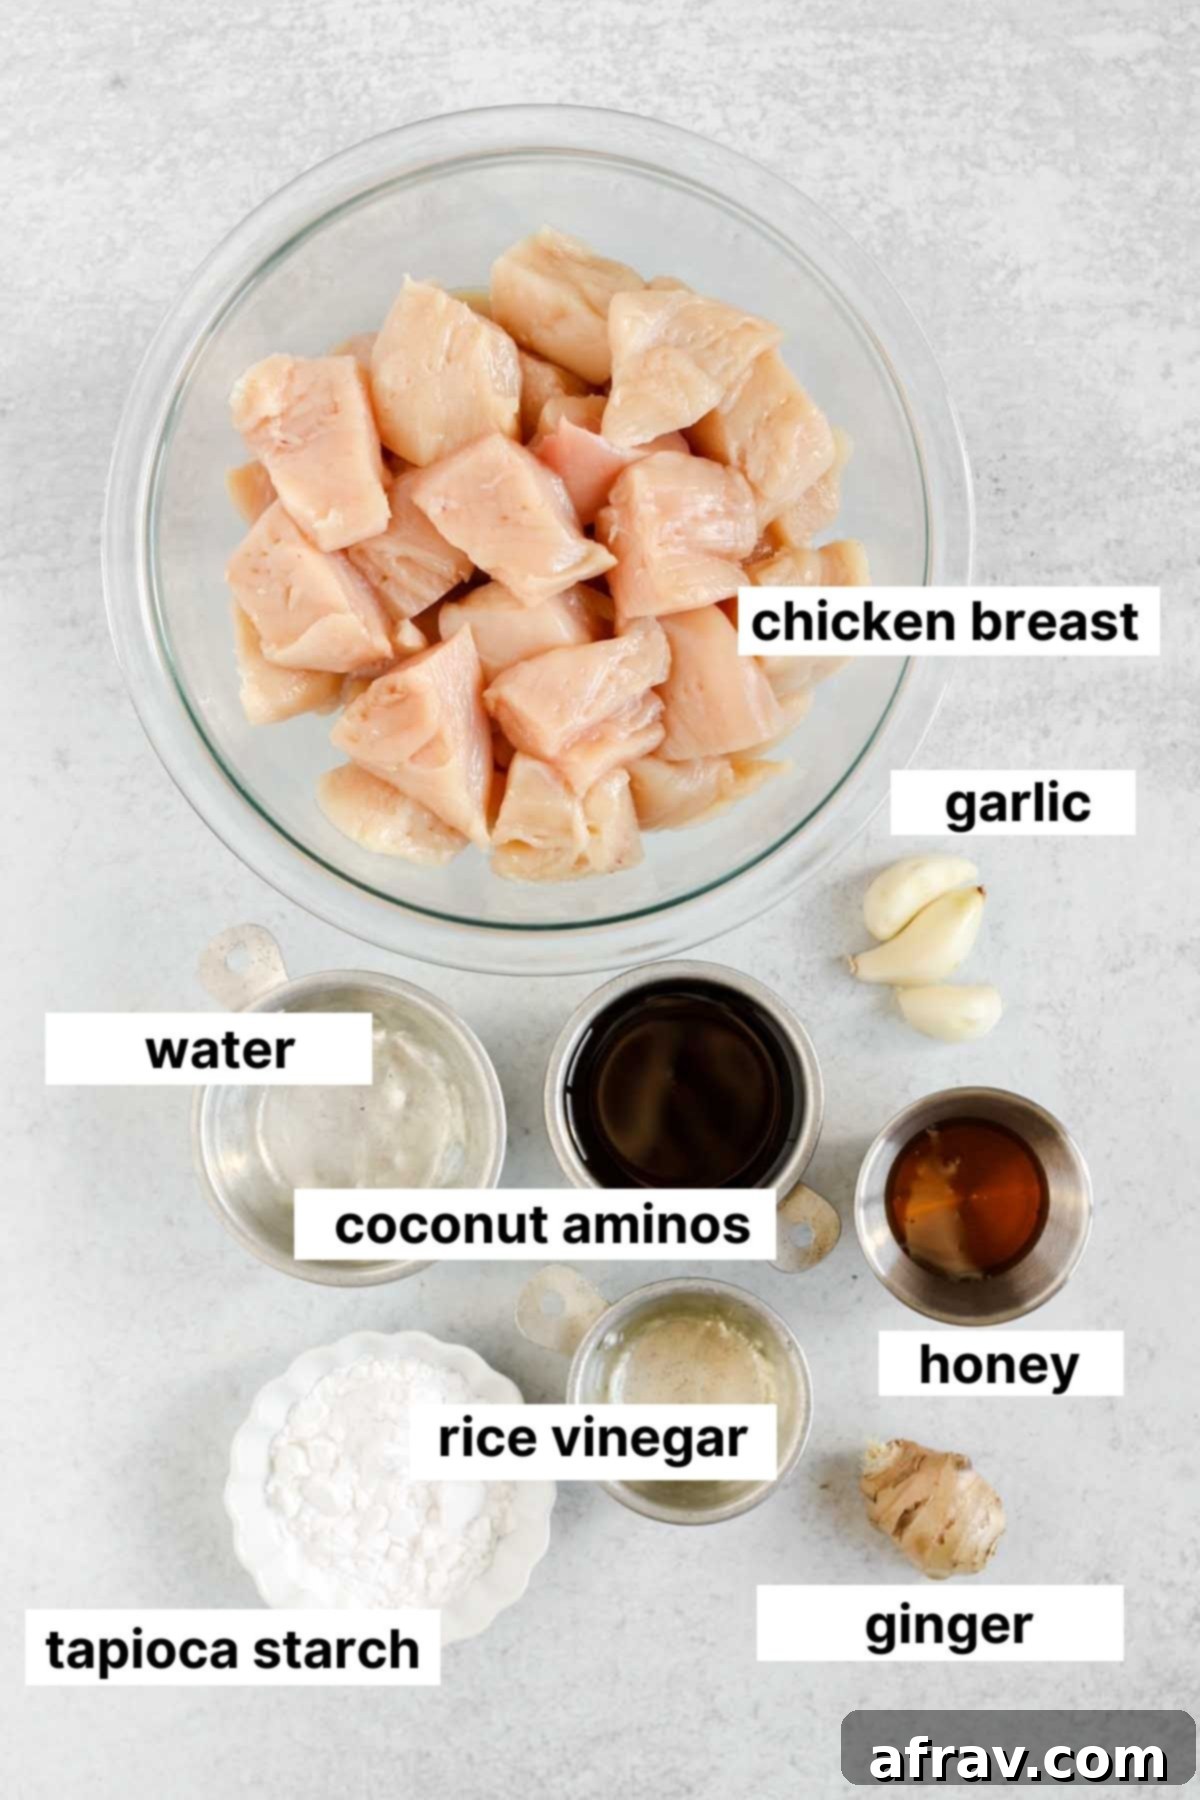
Creating these irresistible teriyaki chicken bites requires a few simple, wholesome ingredients. The magic happens when these components come together to form both the succulent chicken and the vibrant, flavorful sauce. Here’s what you’ll need for this delicious meal:
- Chicken Breasts: Boneless, skinless chicken breasts are cut into bite-sized pieces for quick and even cooking.
- Water: Used to create the base of the sauce and the starch slurry.
- Coconut Aminos: A fantastic soy-free and gluten-free alternative to soy sauce, offering a similar umami depth.
- Honey: Provides natural sweetness and helps create that desirable sticky glaze.
- Rice Vinegar: Adds a touch of tang and balances the sweetness of the sauce.
- Fresh Ginger and Garlic: These aromatics are crucial for the authentic teriyaki flavor.
- Tapioca Starch: Our preferred thickener for achieving the perfect sauce consistency.
Each ingredient plays a vital role in building the layers of flavor and texture that make this dish so special. And remember, we have plenty of substitution options if you need them!
Flexible Substitutions for Your Dietary Needs
One of the beauties of this recipe is its adaptability. We’ve designed it to be flexible, allowing you to easily adjust ingredients based on what you have on hand or specific dietary preferences. Don’t let a missing ingredient stop you from enjoying this fantastic meal!
- CHICKEN BREAST: While I typically use skinless chicken breasts for a leaner protein, boneless and skinless chicken thighs are an excellent alternative. Chicken thighs tend to be juicier and more forgiving if slightly overcooked, offering a richer flavor profile. Just ensure they are cut into roughly 1-inch cubes for consistent cooking.
- COCONUT AMINOS: To keep this recipe both gluten-free and soy-free, coconut aminos are my go-to. They provide a savory, slightly sweet flavor similar to soy sauce without the soy. If you don’t have dietary restrictions concerning gluten or soy, feel free to use regular soy sauce or tamari (which is usually gluten-free but still contains soy). For more innovative ways to use coconut aminos, check out my healthy chicken fried rice recipe.
- HONEY: Honey adds a lovely natural sweetness and contributes to the glaze. If you prefer to keep the recipe completely sugar-free, you can omit it. Other excellent natural sweeteners that work well include pure maple syrup or coconut sugar. For a truly vegan option (if not using chicken), coconut sugar is a great choice as it’s plant-based. Brown sugar is also a traditional alternative if honey isn’t available.
- GINGER AND GARLIC: Fresh ginger and fresh garlic provide the most vibrant and aromatic flavor to the teriyaki sauce. However, if you’re in a pinch or prefer the convenience, you can certainly use ground ginger and garlic powder. Remember that dried spices are more concentrated than fresh, so adjust the amounts accordingly. Refer to the recipe card below for specific measurements when using the powdered versions to ensure your sauce maintains its delicious balance.
- TAPIOCA STARCH: Tapioca starch is essential for giving the teriyaki sauce its signature thick, glossy consistency, allowing it to cling beautifully to the chicken. If you don’t have tapioca starch, arrowroot starch or corn starch are excellent substitutes, working in a similar fashion to create a smooth, thickened sauce.
Step-by-Step Guide: Crafting Your Air Fryer Teriyaki Chicken
Making these air fryer teriyaki chicken bites is incredibly straightforward. Follow these steps for a perfect meal every time. The key is in preparing the sauce just right and ensuring the chicken cooks evenly.
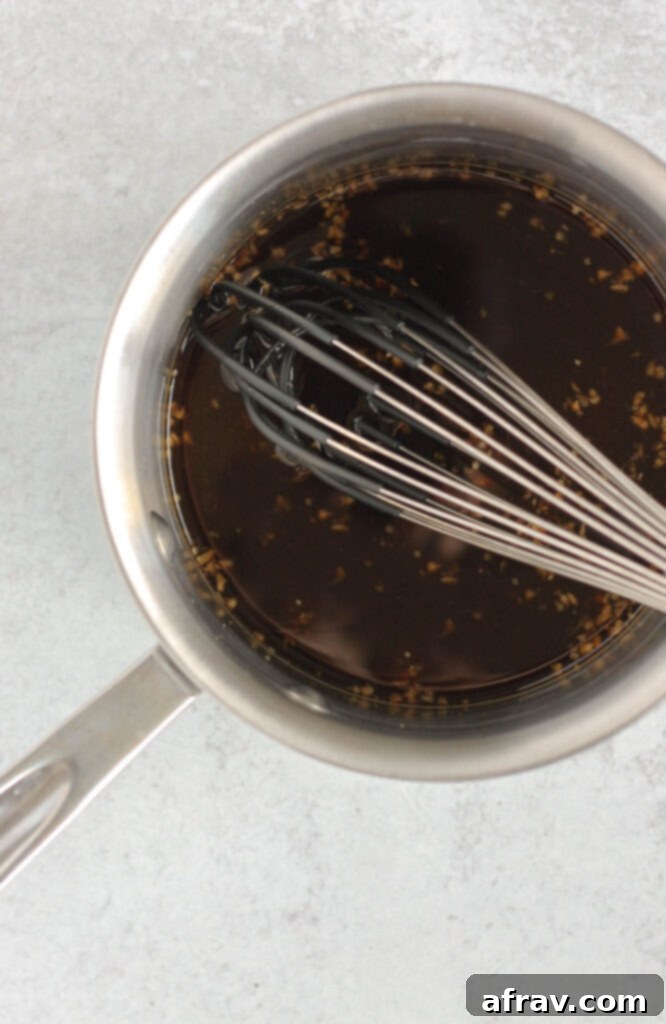
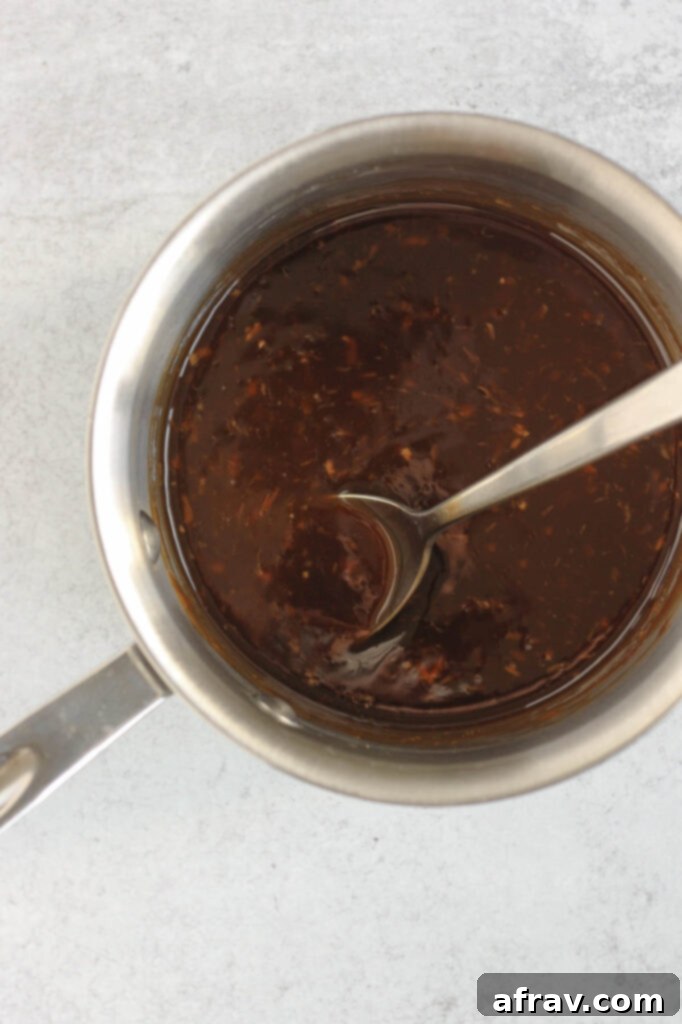
STEP 1: Master the Homemade Teriyaki Sauce. Begin by whisking together ½ cup of water, coconut aminos, honey, rice vinegar, minced garlic, and grated ginger in a small saucepan. Place the saucepan over medium heat and bring the mixture to a gentle simmer, stirring occasionally to ensure all ingredients are well combined and dissolved. While the sauce is heating, prepare your thickening agent. In a separate small dish, whisk together the remaining 2 tablespoons of cold water with the tapioca starch until completely smooth – this is your “slurry.” Once your sauce in the saucepan starts to simmer, reduce the heat to low. Slowly whisk in the tapioca starch slurry. You’ll notice the sauce will thicken almost immediately. Continue to stir and cook on low heat for about one minute more, allowing the starch to fully activate and eliminate any starchy taste. Remove the thickened sauce from the heat and set aside. Its rich, glossy texture is crucial for perfectly coated chicken.
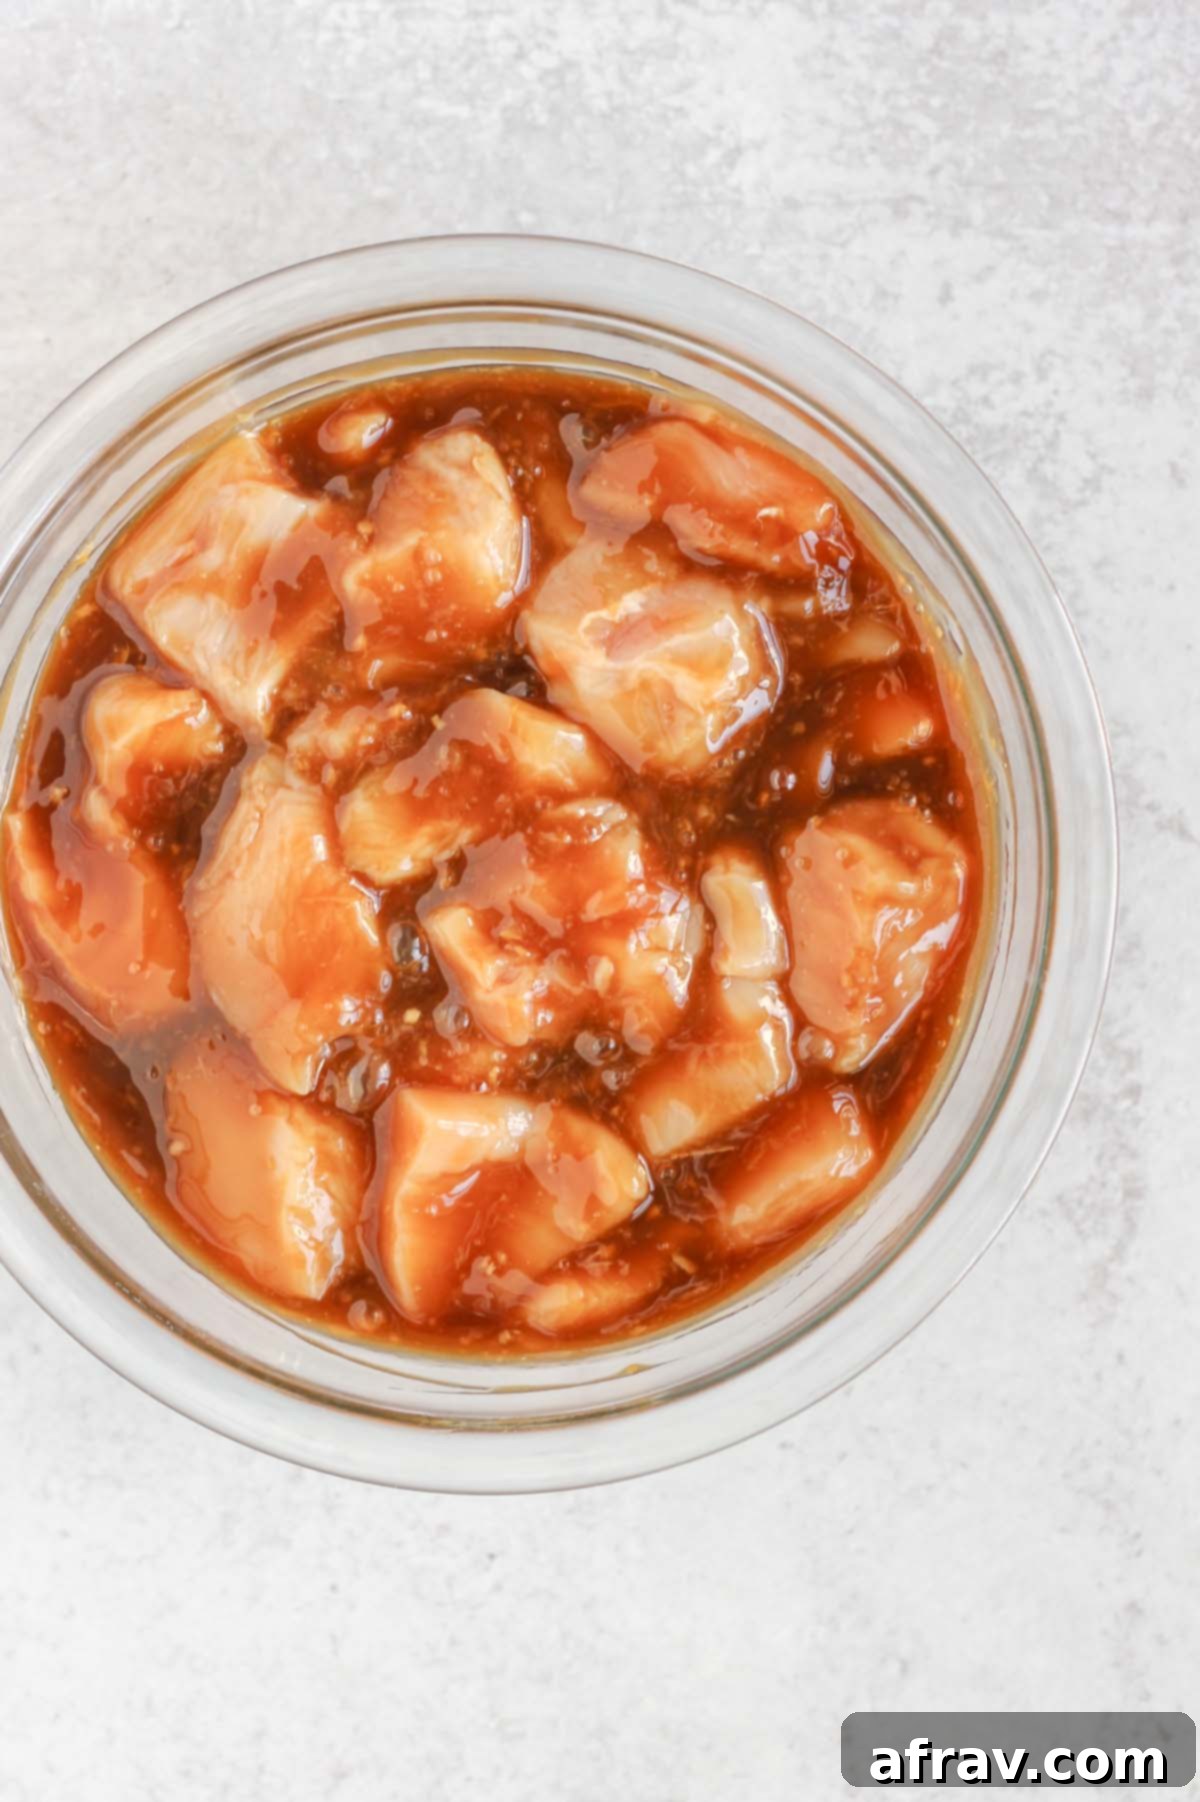
STEP 2: Coat the Chicken to Perfection. Take your chicken breasts, which should be cut into roughly 1-inch cubes, and place them in a medium-sized mixing bowl. At this point, if you wish to have extra sauce for glazing the cooked chicken, reserve about ¼ cup of the prepared teriyaki sauce in a separate small bowl. Then, pour the remaining homemade teriyaki sauce generously over the chicken pieces in the mixing bowl. Using a spoon or your hands, mix the chicken thoroughly with the teriyaki sauce, ensuring every single piece is evenly and completely coated. This step is crucial for infusing the chicken with maximum flavor during cooking.
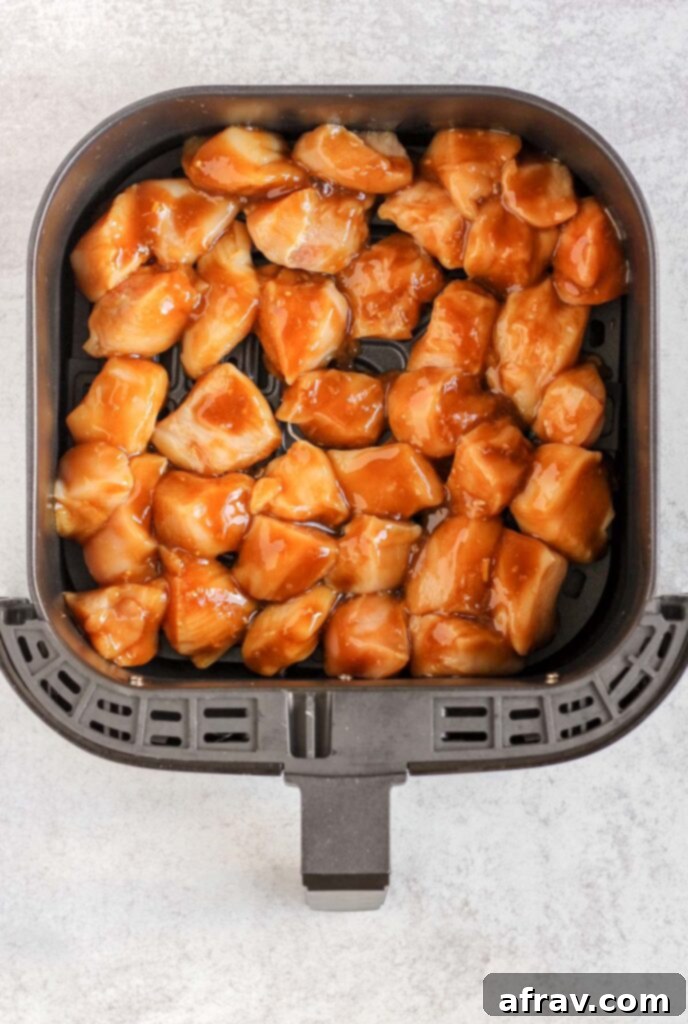
STEP 3: Air Fry to Crispy, Juicy Perfection. First, if your air fryer model requires pre-heating, ensure it has been pre-heated to 380°F (193°C). Once ready, use tongs to carefully arrange the coated chicken pieces in a single layer at the bottom of your air fryer basket. While it’s perfectly fine if the pieces are touching initially, try to avoid overlapping them as much as possible to ensure optimal air circulation and even cooking. Overlapping can lead to steaming rather than frying, which impacts crispiness. Air fry for 13-15 minutes. About halfway through the cooking time (around 7-8 minutes), pause the air fryer, open the basket, and give it a good shake or use tongs to flip the chicken pieces. This promotes even browning and crispiness on all sides.
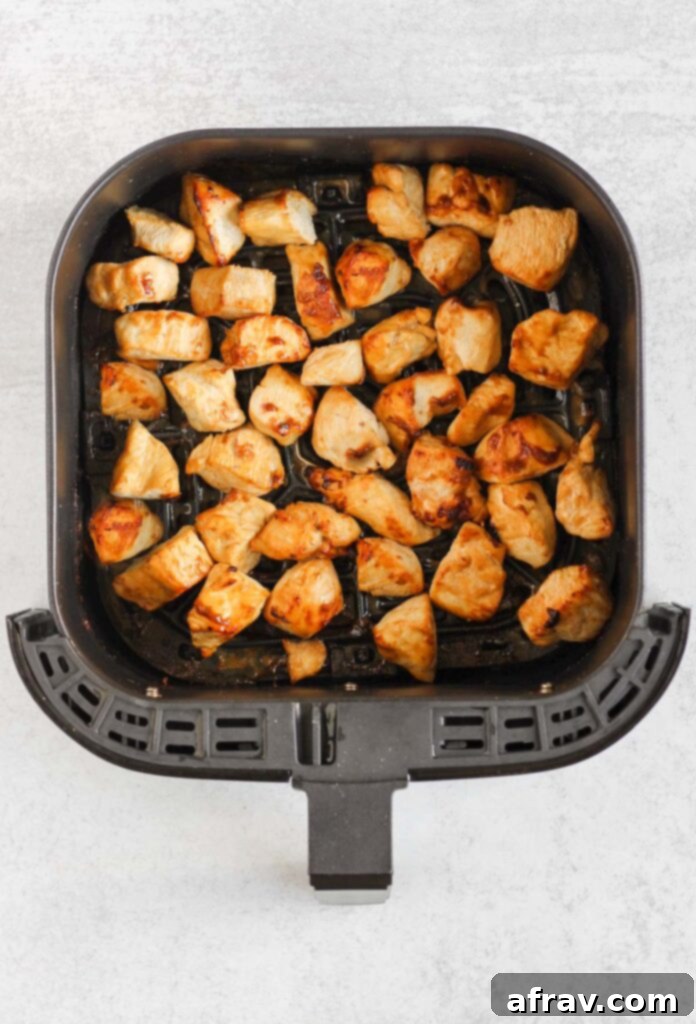
To confirm doneness, take out the largest piece of chicken and cut it in half. The interior should be opaque and white, with no pink remaining. The internal temperature should reach 165°F (74°C) using a meat thermometer. Even if you cook them for a minute or two longer, these chicken bites will remain wonderfully juicy and flavorful thanks to the protective sauce coating. For those who enjoy an extra crispy exterior, continue cooking for an additional 1-2 minutes after the chicken is fully cooked, keeping a close eye on it to prevent burning.
Once cooked, transfer the chicken to a serving platter. If you reserved some sauce, now is the time to brush the warm chicken with that extra teriyaki goodness for an intensified flavor and a beautiful sheen. Finish by sprinkling with sesame seeds and freshly chopped green onions for garnish. Now, your succulent air fryer teriyaki chicken is ready to be savored!
Frequently Asked Questions About Air Fryer Teriyaki Chicken
Yes, you absolutely can use store-bought teriyaki sauce for convenience. However, there’s a crucial tip: aim for a thicker sauce. The thicker the sauce, the better it will adhere to the chicken pieces, creating that desirable glossy coating and deep flavor. Many commercial sauces can be quite thin. If your store-bought sauce is too runny, you can thicken it slightly by simmering it in a saucepan with a cornstarch or tapioca starch slurry (1 tsp starch mixed with 1 tbsp cold water) until it reaches a caramel-like consistency. If you use a thinner store-bought sauce without thickening it, I recommend brushing the chicken with additional marinade halfway through the cooking time to build up the flavor and glaze.
Yes, any leftover air fryer teriyaki chicken can be stored safely in an airtight container in the refrigerator for up to 3-4 days. To reheat, the air fryer is your best friend! Reheat at 350°F (175°C) for 3-5 minutes, or until warmed through, to regain some of that delicious crispy texture. You can also microwave, but the chicken won’t be as crispy.
Absolutely! This recipe freezes wonderfully, making it perfect for meal prepping. Store the cooked and cooled teriyaki chicken in a freezer-safe container or freezer bag for up to 3 months. For best results, spread the chicken in a single layer on a baking sheet and freeze until solid before transferring to a bag – this prevents sticking. When you’re ready to enjoy, thaw the chicken in the refrigerator overnight. Reheat in the air fryer at 350°F (175°C) for 5-8 minutes, or until piping hot and slightly crisped, for a quick and easy meal.
I personally use a pretty inexpensive air fryer, the Instant Vortex, which I bought last year, and I think it works great! It’s reliable and gets the job done perfectly. I’ve also heard excellent reviews for Philips air fryers, which are known for their quality and consistent performance. Ultimately, most air fryers will work well for this recipe, but always check your specific model’s manual for any unique preheating instructions or temperature recommendations.
There are a few common reasons. The most frequent culprit is overcrowding the air fryer basket. When too many chicken pieces are packed in, air circulation is restricted, causing the chicken to steam instead of fry. Always cook in a single layer, even if it means doing multiple batches. Also, ensure your air fryer is preheated if recommended by the manufacturer. Shaking the basket halfway through cooking is also crucial for even crisping.
While this recipe is designed to be quick and doesn’t require extended marination, you absolutely can marinate the chicken for an extra flavor boost. After coating the chicken in the teriyaki sauce, you can cover the bowl and refrigerate it for 30 minutes to up to 2 hours. Avoid marinating for much longer than that, especially with citrus or vinegar in the sauce, as it can start to break down the chicken’s texture. Even a short 30-minute marinade will enhance the flavor depth.
Top Tips for Perfect Air Fryer Teriyaki Chicken Every Time
Achieving consistently delicious and perfectly cooked air fryer teriyaki chicken is easy with a few simple techniques. Keep these tips in mind to ensure your chicken bites are tender, juicy, and wonderfully glazed every single time:
- Utilize Tongs for Handling: Tongs are your best friend when working with the air fryer. They allow for easy and hygienic placement of chicken pieces into the hot basket and effortless removal once they’re cooked. This prevents uneven cooking that can occur from rummaging with a spatula and keeps your hands clean.
- Ensure Even Chicken Layout: For the best results, always arrange your chicken pieces in a single, even layer in your air fryer basket. This ensures that hot air can circulate freely around each piece, leading to uniform cooking and that desirable crispy exterior. While it’s okay if the pieces are slightly touching when they first go in (they will shrink as they cook), avoid overcrowding the basket. If necessary, cook in batches rather than piling the chicken high.
- Reserve Sauce for an Extra Glaze: For an ultimate flavor boost and a beautiful shiny finish, make it a habit to reserve about ¼ cup of your freshly made teriyaki sauce *before* coating the raw chicken. Once the chicken is fully cooked and still hot, brush this reserved sauce generously over the top. The residual heat will warm the sauce, creating an extra layer of glaze and intensifying the teriyaki flavor.
- Aim for Extra Crispy: If you love your chicken with a bit more crunch, you can easily achieve an extra crispy exterior. Once the chicken is cooked through to the safe internal temperature of 165°F (74°C), continue to cook it for an additional 1-3 minutes in the air fryer, keeping a close eye on it to prevent burning. This extra time allows the surface to crisp up beautifully without drying out the interior.
- Cut Chicken Evenly: To ensure all your chicken bites cook at the same rate, strive to cut them into uniform 1-inch cubes. This consistency prevents smaller pieces from overcooking and larger pieces from remaining undercooked.
- Preheat Your Air Fryer: While not all air fryers require preheating, many benefit from it, just like a conventional oven. Preheating helps to create an immediate crisping effect on the chicken’s exterior as soon as it enters the basket. Check your air fryer’s manual for specific recommendations.
More Delicious Chicken Recipes For You To Try
If you’re a fan of chicken and looking for more versatile recipes to add to your repertoire, you’ve come to the right place! Here are some other fantastic chicken dishes from Clean Plate Mama that are sure to delight:
- Southwest Chicken Chili
- Cilantro Lime Marinated Chicken
- Healthy Cashew Chicken Salad with Apples (Dairy-Free)
- One-Dish Oven Baked Fajitas
I Love Hearing From You!
If you make this fantastic Air Fryer Teriyaki Chicken recipe, please let me know what you think! Your feedback truly means a lot. I would so appreciate you leaving a star rating and/or a comment below to share your experience. And don’t forget to share a photo of your delicious creation on Instagram or Facebook and be sure to mention @CleanPlateMama! I love seeing your culinary successes!
Eat Clean. Be Well!
-Sara
Air Fryer Teriyaki Chicken
Print
Pin
Rate
Save This Recipe For Later!
We’ll email this post to you, so you can come back to it later. Plus, enjoy weekly clean eating recipes as a bonus.
Equipment
-
Air Fryer
Ingredients
- ½ cup + 2 tbsp. water, divided
- ½ cup coconut aminos
- 1 tbsp. honey (can omit if you want sugar free)
- 1 tbsp. rice vinegar
- 1 tsp. freshly grated ginger (or ¼ tsp. ground ginger)
- 3 garlic cloves, pressed or minced (or ½ tsp. garlic powder)
- 2 tbsp. tapioca starch
- 2 lbs. chicken breasts, cut into roughly 1″ cubes
Instructions
-
In a small saucepan, whisk together ½ cup water, coconut aminos, honey, rice vinegar, freshly minced garlic, and grated ginger. Bring this mixture to a gentle simmer over medium heat, stirring occasionally to ensure all ingredients are well combined and the honey has dissolved.
-
Meanwhile, in a separate small dish, whisk together the remaining 2 tablespoons of cold water with the tapioca starch until completely smooth and lump-free. This creates your “slurry,” which will be used to thicken the sauce. Set this aside.
-
Once the sauce in the saucepan begins to simmer, reduce the heat to low. Slowly whisk in the prepared starch slurry. Continue to cook, stirring constantly, until the sauce visibly thickens to a consistency that coats the back of a spoon. This thickening process should happen relatively quickly, typically within 30 seconds to a minute. Remove the thickened sauce from the heat.
-
If you desire an extra glaze for serving, reserve about ¼ cup of the finished teriyaki sauce in a separate small bowl. Then, place your chicken pieces (cut into roughly 1-inch cubes) in a large mixing bowl and pour the remaining teriyaki sauce over the chicken. Stir the chicken and sauce thoroughly until all pieces are fully and evenly coated.
-
Using tongs, carefully place the coated chicken pieces in the bottom of your air fryer basket. Arrange them in a single layer as much as possible to ensure optimal air circulation and even cooking. It’s okay if some pieces are lightly touching, but try to avoid significant overlapping.
-
Set your air fryer timer for 13 minutes and cook at 380 degrees F (193°C). If your air fryer requires pre-heating, ensure this was done before adding the chicken. About halfway through the cooking time (around the 6-7 minute mark), stir the chicken or vigorously shake the basket to redistribute the pieces and promote even browning and crispiness.
-
After 13 minutes, carefully remove the largest piece of chicken and cut it in half to check for doneness. The chicken should be opaque white throughout, with no pink remaining. The internal temperature should register 165°F (74°C). If needed, continue cooking in 1-2 minute intervals until fully cooked. For extra crispy chicken, cook for an additional 1-2 minutes.
-
If you saved some teriyaki sauce, brush the hot chicken pieces with this additional sauce before serving for an enhanced glaze and flavor. Garnish with sesame seeds and chopped green onions if desired. Serve immediately and enjoy your perfectly cooked air fryer teriyaki chicken!
Notes
- The thickness of the teriyaki sauce is paramount for this recipe. Do not remove the sauce from the heat until it is wonderfully thick, glossy, and capable of coating a spoon. It should resemble the consistency of a rich caramel sauce rather than a watery liquid. This ensures it clings to the chicken beautifully during air frying.
- For uniform cooking, it is highly recommended to cut all your chicken pieces into roughly the same size, ideally 1-inch cubes. This prevents some pieces from being overcooked and dry while others are still undercooked.
- If you prefer your chicken with an extra crispy exterior, you can continue to cook the pieces for a few additional minutes in the air fryer even after they have reached the safe internal temperature. Keep a close watch to prevent burning and achieve your desired level of crispiness.
- For ease and safety when placing and removing chicken from the hot air fryer basket, I find it best to use a good pair of kitchen tongs. They provide better grip and control.
Substitutions: For those without soy or gluten sensitivities, regular soy sauce can be used in place of coconut aminos. If honey is not preferred or available, brown sugar or coconut sugar are excellent alternatives for sweetness. And to thicken the sauce, corn starch or arrowroot powder can be used effectively instead of tapioca starch/flour, maintaining the desired consistency.
Nutrition
