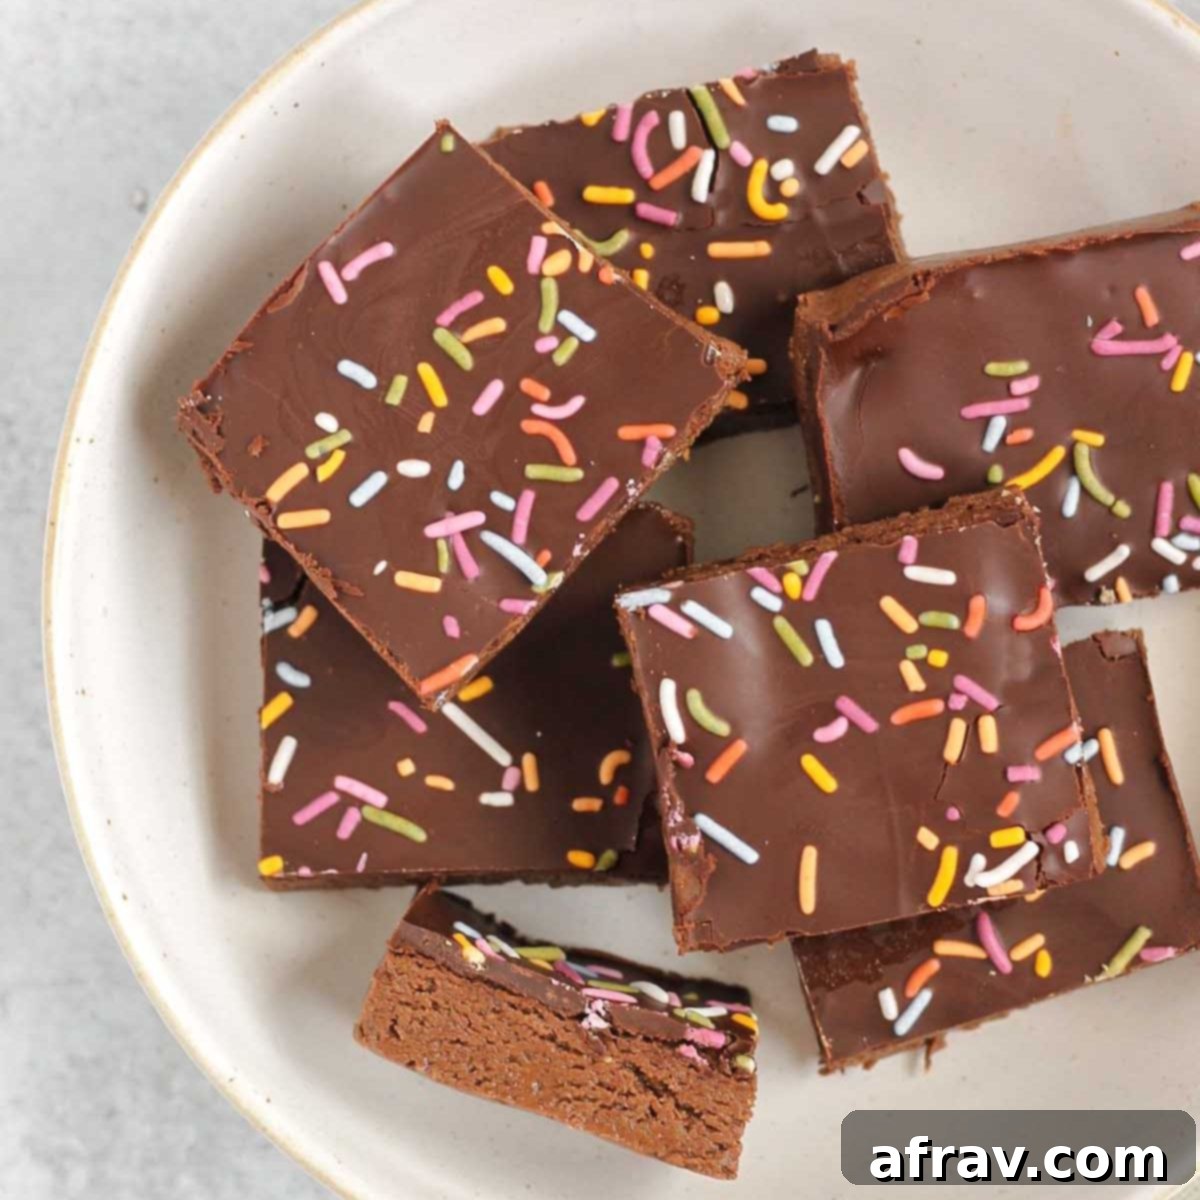
Homemade No-Bake Chocolate Protein Bars: Your Go-To Healthy & Easy Snack
These homemade chocolate protein bars are an absolute game-changer for anyone seeking a nutritious, delicious, and convenient snack. Perfect for bustling mornings, lunchbox additions, a satisfying post-workout refuel, or simply a healthier treat, they cater to both kids and adults alike. Lightly sweetened with natural honey and crafted from wholesome ingredients like nutrient-dense flaxseeds and rich cacao powder, these bars are a testament to clean eating. Best of all? They require only 15 minutes of active prep time, making healthy snacking effortlessly achievable.
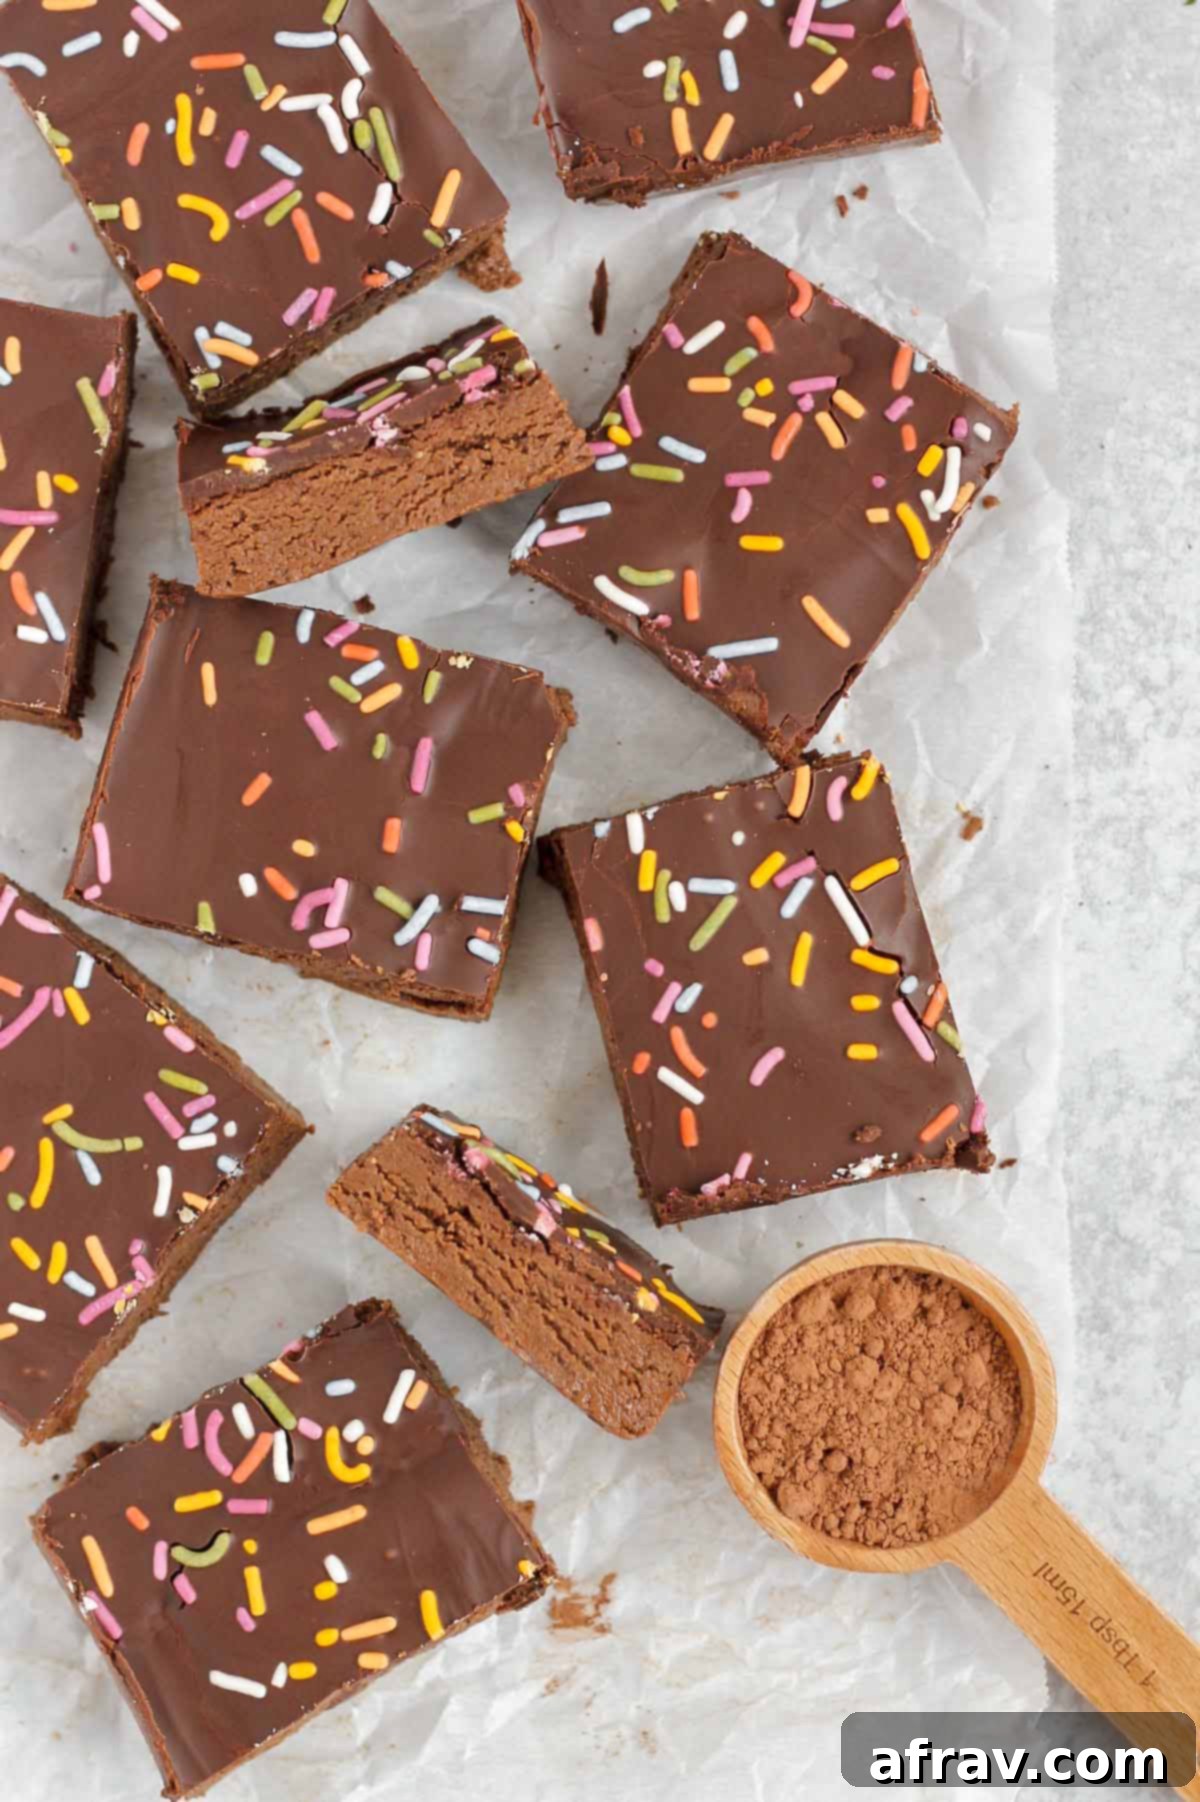
While the market is flooded with countless store-bought protein bar options, very few can truly compare to the freshness, flavor, and pure ingredient quality of a homemade version. This no-bake chocolate protein bar recipe stands out because it uses simple, real ingredients you can pronounce, without any hidden additives or excessive sugars. It’s a healthy, easy-to-make option that genuinely tastes incredible, earning rave reviews from both children and adults in my household!
Each perfectly portioned bar contains approximately 10 grams of protein, a fantastic boost to keep you energized and satisfied (though protein content can vary slightly depending on how you cut them and your choice of protein powder). I often include these in my daughters’ lunchboxes, confident they’re getting a nutritious and enjoyable snack. They’re also my personal favorite to have on hand for a quick, wholesome bite when life gets hectic.
Life can be incredibly busy, and having a stash of homemade snacks ready to grab as you head out the door is not just convenient – it’s essential for maintaining a balanced diet. While we do occasionally indulge in some “better-for-you” packaged snacks, nothing truly beats the goodness and peace of mind that comes from homemade creations made with real, unprocessed food.
Craving more wholesome, homemade snack ideas that are both delicious and easy to prepare? Be sure to explore some of our other family favorites: my nut-free energy balls, satisfying oatmeal breakfast cookies, delightful no-bake carrot cake balls, and classic no-bake peanut butter oat bars. Each offers a unique flavor and nutrient profile to keep your snack game strong!
Why You’ll Love These Homemade Protein Bars: Key Features & Benefits
These no-bake chocolate protein bars aren’t just easy to make; they’re packed with thoughtful ingredients that offer significant health advantages. Here’s a closer look at what makes them so special:
- Enriched with the Power of Flaxseeds: What truly sets this recipe apart from many store-bought snack bars is the inclusion of flaxseeds. These tiny seeds are nutritional powerhouses! They are an excellent source of alpha-linolenic acid (ALA), a plant-based omega-3 fatty acid crucial for heart health and reducing inflammation. Beyond that, flaxseeds are renowned for their high fiber content, which aids in healthy digestion and promotes a feeling of fullness. They also provide a beneficial array of essential vitamins and minerals, including vitamins A, B1 (thiamine), B12, calcium, magnesium, potassium, and iron. Incorporating flaxseeds into your diet is a simple yet effective way to boost overall wellness.
- Crafted with Wholesome Cacao: Whenever a recipe calls for a rich, chocolatey flavor, I consistently opt for cacao powder over conventional cocoa powder. The reason is simple: cacao undergoes significantly less processing than cocoa. This minimal processing helps cacao retain a much higher concentration of its natural minerals and potent antioxidants – the very compounds that give chocolate its celebrated health benefits. Choosing cacao means you’re not just getting flavor; you’re getting a powerful boost of goodness in every bite.
- Naturally Sweetened & Low in Sugar: Our healthy chocolate protein bars achieve their delicious sweetness from raw honey, keeping the overall sugar content refreshingly low compared to most commercial bars. This natural sweetener provides a gentler, more sustained energy release. For those looking to further reduce added sugars, you have the flexibility to completely omit the chocolate topping without compromising the bar’s core flavor and enjoyment.
- Dietary Friendly: Gluten-Free, Grain-Free, Dairy-Free: We understand the importance of catering to various dietary needs. This recipe is intentionally crafted to be completely free of oats, grains, and any dairy products. This makes it an ideal snack choice for individuals following gluten-free, grain-free, or dairy-free diets, ensuring that more people can enjoy a delicious and wholesome protein bar without dietary concerns.
Essential Ingredients for Your Homemade Protein Bars
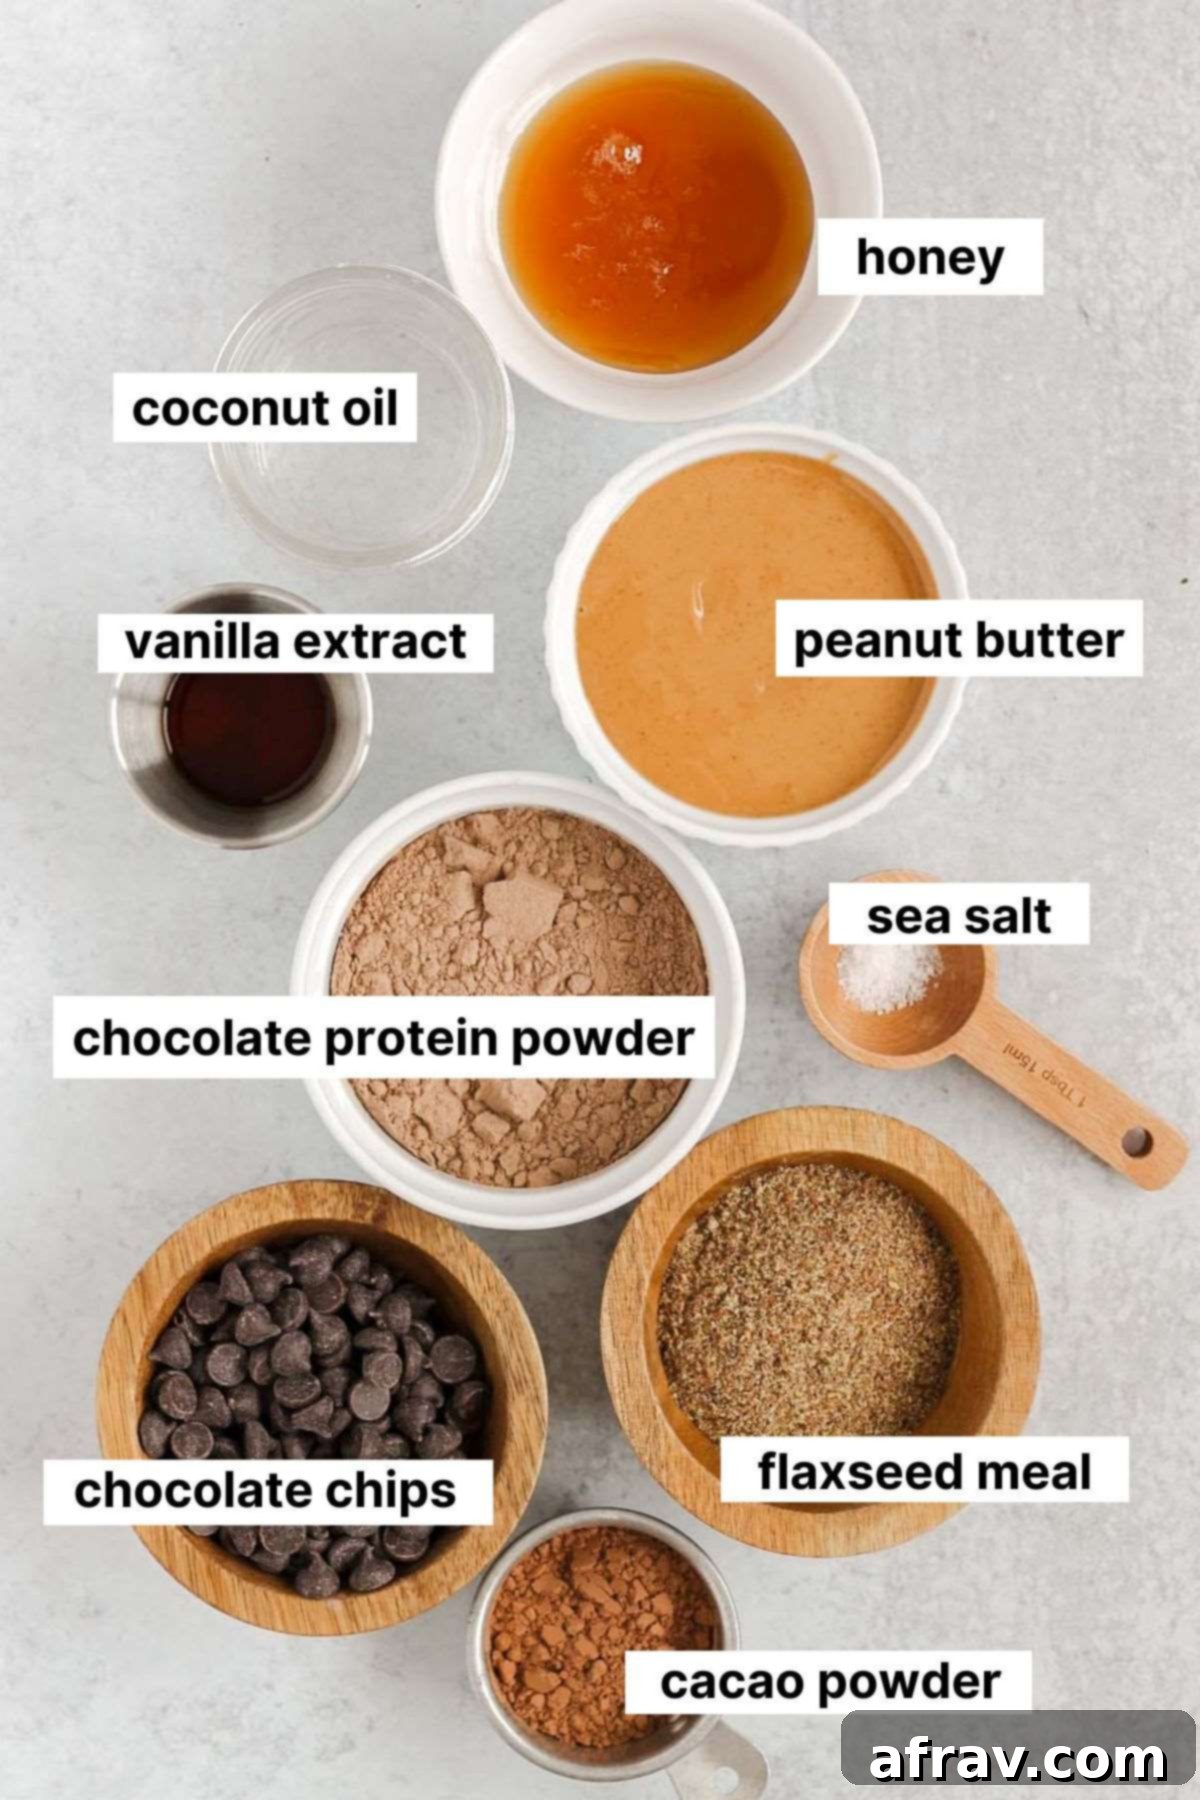
While a complete list of specific ingredients and precise amounts can be found in the detailed recipe card below, here are some important notes, helpful tips, and potential substitutions for key components:
NATURAL PEANUT BUTTER: The success of this recipe hinges on using natural peanut butter. Look for brands where the ingredient list is simply “peanuts” or “peanuts and salt.” It’s crucial to avoid varieties with added oils (like palm oil) or sugars, as these can drastically alter the texture and consistency, preventing the bars from setting properly. My personal favorite for both quality and taste is Kirkland Organic Creamy Peanut Butter.
PROTEIN POWDER: You have the freedom to use any chocolate-flavored protein powder you prefer and already enjoy. The most important factor is choosing one that you find palatable, as there’s a wide range of protein powders on the market, some with less-than-ideal textures or flavors. For detailed guidance on selecting the best protein powder for your needs, refer to the dedicated section below.
CACAO POWDER: You can confidently use either cacao powder or conventional cocoa powder in this recipe. Both will deliver a delicious chocolate flavor. However, I highly recommend cacao for its enhanced nutritional profile.
Clean Food Tip: Cacao is considered “cleaner” and more natural because it undergoes minimal processing. This means it retains a greater abundance of the beneficial minerals and powerful antioxidants that chocolate is celebrated for. Navitas Organics Cacao Powder is one of my top recommended brands for quality and purity.
HONEY: For optimal health benefits, I always suggest using raw honey. Raw honey is less processed than regular honey, meaning it preserves more of its natural enzymes, antioxidants, and nutrients. However, if raw honey isn’t readily available, standard honey will work perfectly fine in terms of taste and texture for this recipe.
Clean Food Tip: Raw honey is unpasteurized and unfiltered, allowing it to retain a rich array of beneficial compounds that are often lost during the extensive processing of regular honey. It’s a truly natural sweetener with added wellness perks.
CHOCOLATE CHIPS (for topping): To ensure these bars remain dairy-free, be sure to select dairy-free semi-sweet or dark chocolate chips for the optional topping. If you’re aiming to further minimize added sugars, you can simply skip the chocolate topping altogether; the bars are delicious on their own!
Clean Food Tip: When buying chocolate chips, scrutinize the ingredient label. Look for options with a short list of ingredients, ideally only cane sugar, chocolate liquor/chocolate/cocoa powder, and cocoa butter. Brands that are Fair Trade certified and/or organic are an even better choice, supporting both your health and ethical sourcing.
Expert Guide: Choosing the Best Protein Powder for Your Bars
Selecting the right protein powder is crucial not just for nutrition, but for the taste and texture of your bars. First and foremost, pick a protein powder you genuinely enjoy the taste of! There are many chalky, artificial-tasting options out there that can ruin a recipe. If you already have a favorite chocolate protein powder, absolutely use that. There’s no single “wrong” or “right” protein powder for this recipe; personal preference and dietary needs are key.
I’ve heard wonderful feedback about Sprout Living Chocolate Protein Powder (though I haven’t tried it personally) and have used Garden of Life Chocolate Protein with good results in the past. Currently, I’m absolutely loving Truvani Chocolate Protein – it’s truly a clean product, made without any added artificial flavors, fillers, or dubious sugar substitutes.
Clean Food Tip for Protein Powder: Regardless of the brand or type you choose, make sure to read the label carefully. Prioritize protein powders that are **organic** to avoid synthetic pesticides and GMO ingredients. Look for options that are **low in added sugars** and explicitly state “no artificial flavors.” If possible, try to avoid products with “natural flavors,” as these can sometimes be a catch-all for various processed ingredients. Also, steer clear of **soy protein concentrate or isolate**, as highly processed soy can be problematic for some. Many clean protein powders use alternative sweeteners like **stevia leaf** (ensure it’s actually “stevia leaf” and not a processed derivative) or **erythritol**. While erythritol isn’t always ideal, in minimal doses, especially if organic, it’s generally considered acceptable for those striving for a cleaner diet.
Effortless Preparation: How to Make These No-Bake Chocolate Protein Bars
As I’ve emphasized, these protein bars are remarkably simple to prepare! From start to finish, you’ll have them prepped and ready to chill in the refrigerator in a mere 15 minutes. Just follow these straightforward steps to create your delicious batch:
Step 1: Prepare Your Pan. Begin by lining a large loaf pan (typically 9×5 inches) or an 8×8-inch square baking dish with parchment paper. Make sure to leave an overhang on two sides; this clever trick will serve as “handles” later, making it incredibly easy to lift the entire batch of bars out of the pan once they’ve set. Set your prepared pan aside.
Step 2: Combine the Bar Ingredients. In a spacious mixing bowl, combine all the ingredients designated for the protein bars themselves: natural peanut butter, honey, flaxseed meal, chocolate protein powder, cacao powder, pure vanilla extract, and fine sea salt. These are all the components that will form the base of your delicious snack.
Step 3: Mix to a Dough-Like Consistency. Using a sturdy spatula or your hands, thoroughly mix all the ingredients until they are well combined and a thick, uniform “dough” has formed. The mixture should have a consistency similar to cookie dough – pliable enough to press, but not overly sticky or crumbly. If it seems too dry, refer to our troubleshooting tips below.
Step 4: Press into the Pan. Transfer the protein bar “dough” into your parchment-lined pan. Using the back of a spoon, your fingers, or another piece of parchment paper to prevent sticking, evenly press the mixture firmly into the pan, ensuring it’s compact and smooth across the surface.
Step 5: Add the Optional Chocolate Topping. If you’re opting for the decadent chocolate topping, place your dairy-free chocolate chips and coconut oil into a microwave-safe bowl. Microwave in 45-second intervals, stirring thoroughly after each interval. Continue this process until the chocolate is almost entirely melted, then remove it from the microwave and continue stirring until any remaining small chunks are fully melted and smooth. This prevents scorching the chocolate.
Step 6: Spread & Decorate. Pour the warm, melted chocolate evenly over the pressed protein bar mixture in the pan. Use an offset spatula or the back of a spoon to spread it smoothly to all edges. If you’re making these for kids (or just love a bit of fun!), this is the perfect moment to add some sprinkles! I find that dye-free sprinkles add a fantastic visual appeal and a touch of whimsy. There’s truly something magical about those little colorful additions that elevates these bars to a whole new level of enjoyment!
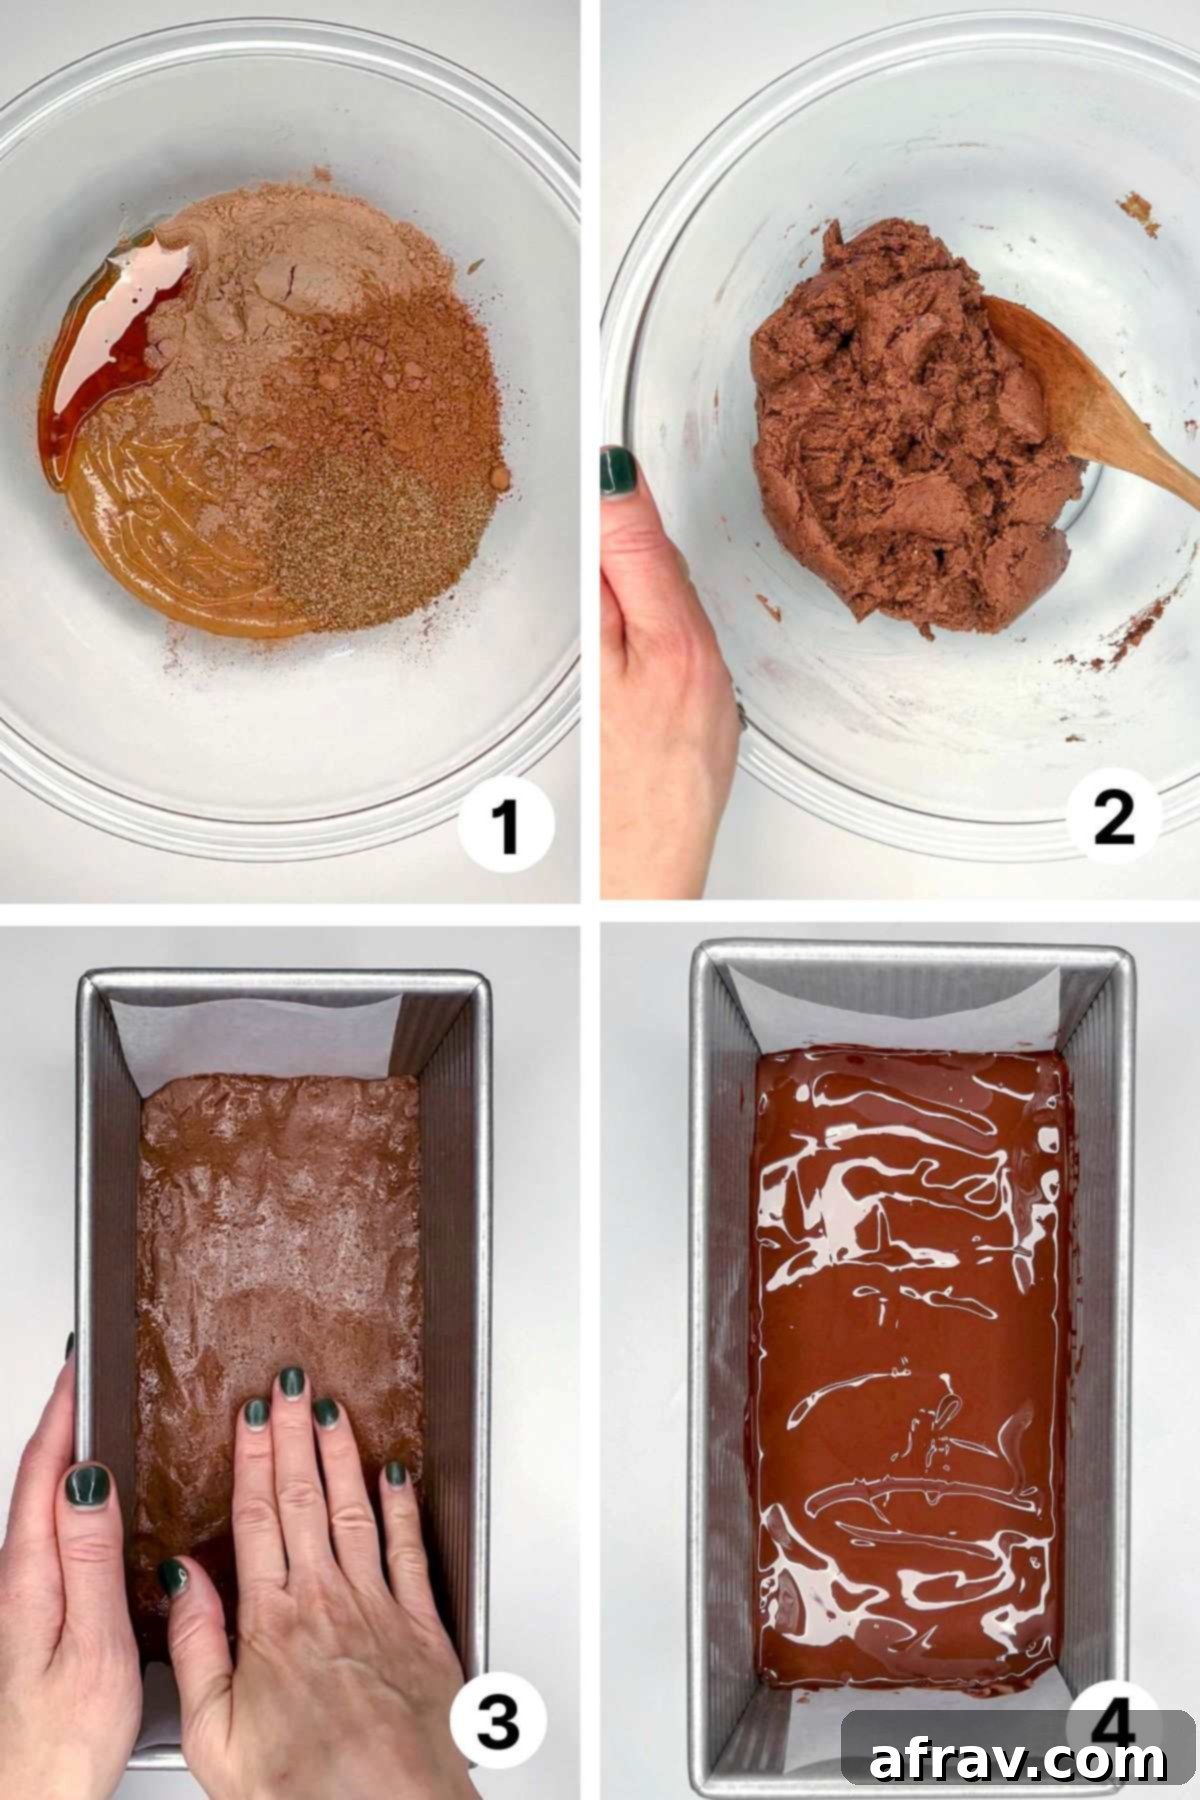
Step 7: Chill and Cut. Finally, place the pan into the refrigerator to allow both the protein bar base and the chocolate topping to firm up and set. This typically takes about 30 minutes. Once completely set, gently remove the entire block of bars from the pan by lifting the parchment paper overhangs. You might need to run a thin, sharp knife carefully around any edges not covered by paper to loosen it. Place the block on a cutting board and slice into your desired bar size. Store your freshly cut bars in an airtight container in the refrigerator.
Pro Tips for Perfect No-Bake Chocolate Protein Bars
Achieving the perfect texture and preventing common issues with no-bake bars is simple with these additional tips:
Avoid Cracking When Cutting: After the chocolate topping has fully set in the fridge, resist the urge to cut the bars immediately. Instead, let the entire slab sit at room temperature for about 10 to 15 minutes before you begin slicing. Allowing the chocolate topping to slightly soften and come to room temperature will significantly help prevent it from cracking and crumbling when you cut into the bars, resulting in clean, beautiful edges.
Refined Sugar-Free Option: For a completely refined sugar-free protein bar, simply skip the chocolate topping. The base of these bars is delicious and satisfying on its own, providing all the protein and healthy fats you need without the additional sweetness. Alternatively, if you still want a chocolate layer but prefer an alternative sweetener, you can use Hu Chocolate Gems, which are sweetened with coconut sugar.
Adjusting the “Dough” Consistency: After thoroughly mixing all the ingredients for the bar base, the mixture should resemble a thick cookie dough – easily moldable but not sticky to the touch, and definitely not dry or crumbly. If your “dough” appears too dry or stiff, simply add an additional tablespoon or two of natural peanut butter (or your chosen nut butter) until you achieve the desired consistency. Mix well after each addition to ensure proper incorporation.
Creative Add-Ins: Feel free to customize your protein bars by stirring in extra ingredients to the base mixture before pressing it into the pan. Consider additions like shredded unsweetened coconut, finely chopped nuts (if not making nut-free), chia seeds, or even a handful of dried cranberries or cherries for an extra burst of flavor and texture. Just be mindful that additions might alter the nutrition facts slightly.
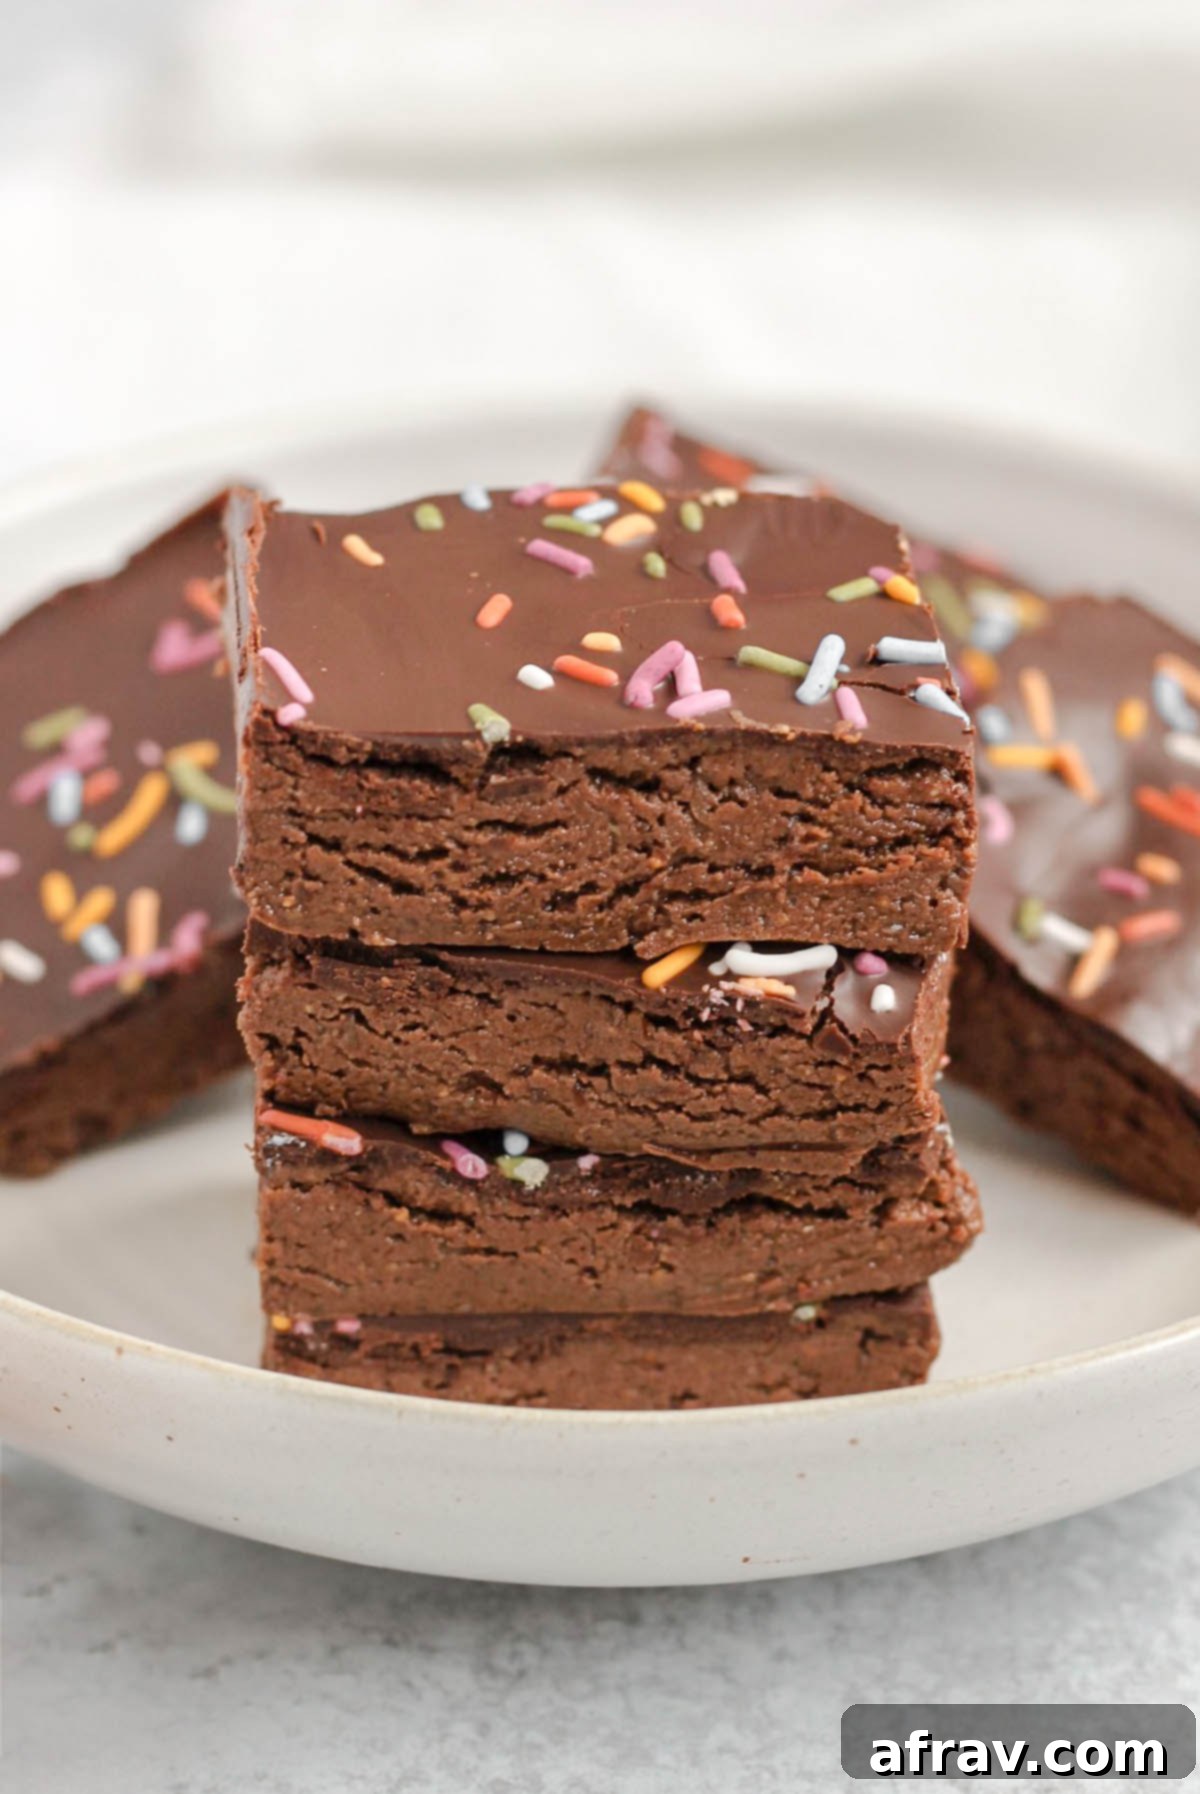
Are Homemade Chocolate Protein Bars Truly Healthy?
The term “healthy” can be quite subjective, but when it comes to *these* homemade chocolate protein bars, my answer is a resounding yes! Unlike many commercially produced protein bars that can be loaded with artificial ingredients, unhealthy fats, and excessive refined sugars, this recipe focuses on whole, unprocessed foods. Each ingredient is intentionally chosen to provide maximum nourishment for your body.
These bars are an excellent source of several vital nutrients:
- Healthy Fats: Thanks to natural peanut butter and flaxseed meal, you’re getting beneficial monounsaturated and polyunsaturated fats, including essential omega-3 fatty acids.
- Antioxidants: Flaxseed meal, cacao, and raw honey are all rich in antioxidants, which help combat free radicals and support cellular health.
- Protein: With protein powder and peanut butter, each bar delivers a substantial protein punch (around 10 grams per bar), crucial for muscle repair, satiety, and overall body function.
- Fiber: Flaxseed meal contributes significant dietary fiber, promoting digestive health and helping you feel full longer.
- Vitamins and Minerals: Beyond the macronutrients, these bars offer an array of essential vitamins (like B vitamins from flaxseeds) and minerals (calcium, magnesium, potassium, iron).
By making them yourself, you have complete control over every ingredient, ensuring you’re fueling your body with the best possible components without any unwelcome surprises.
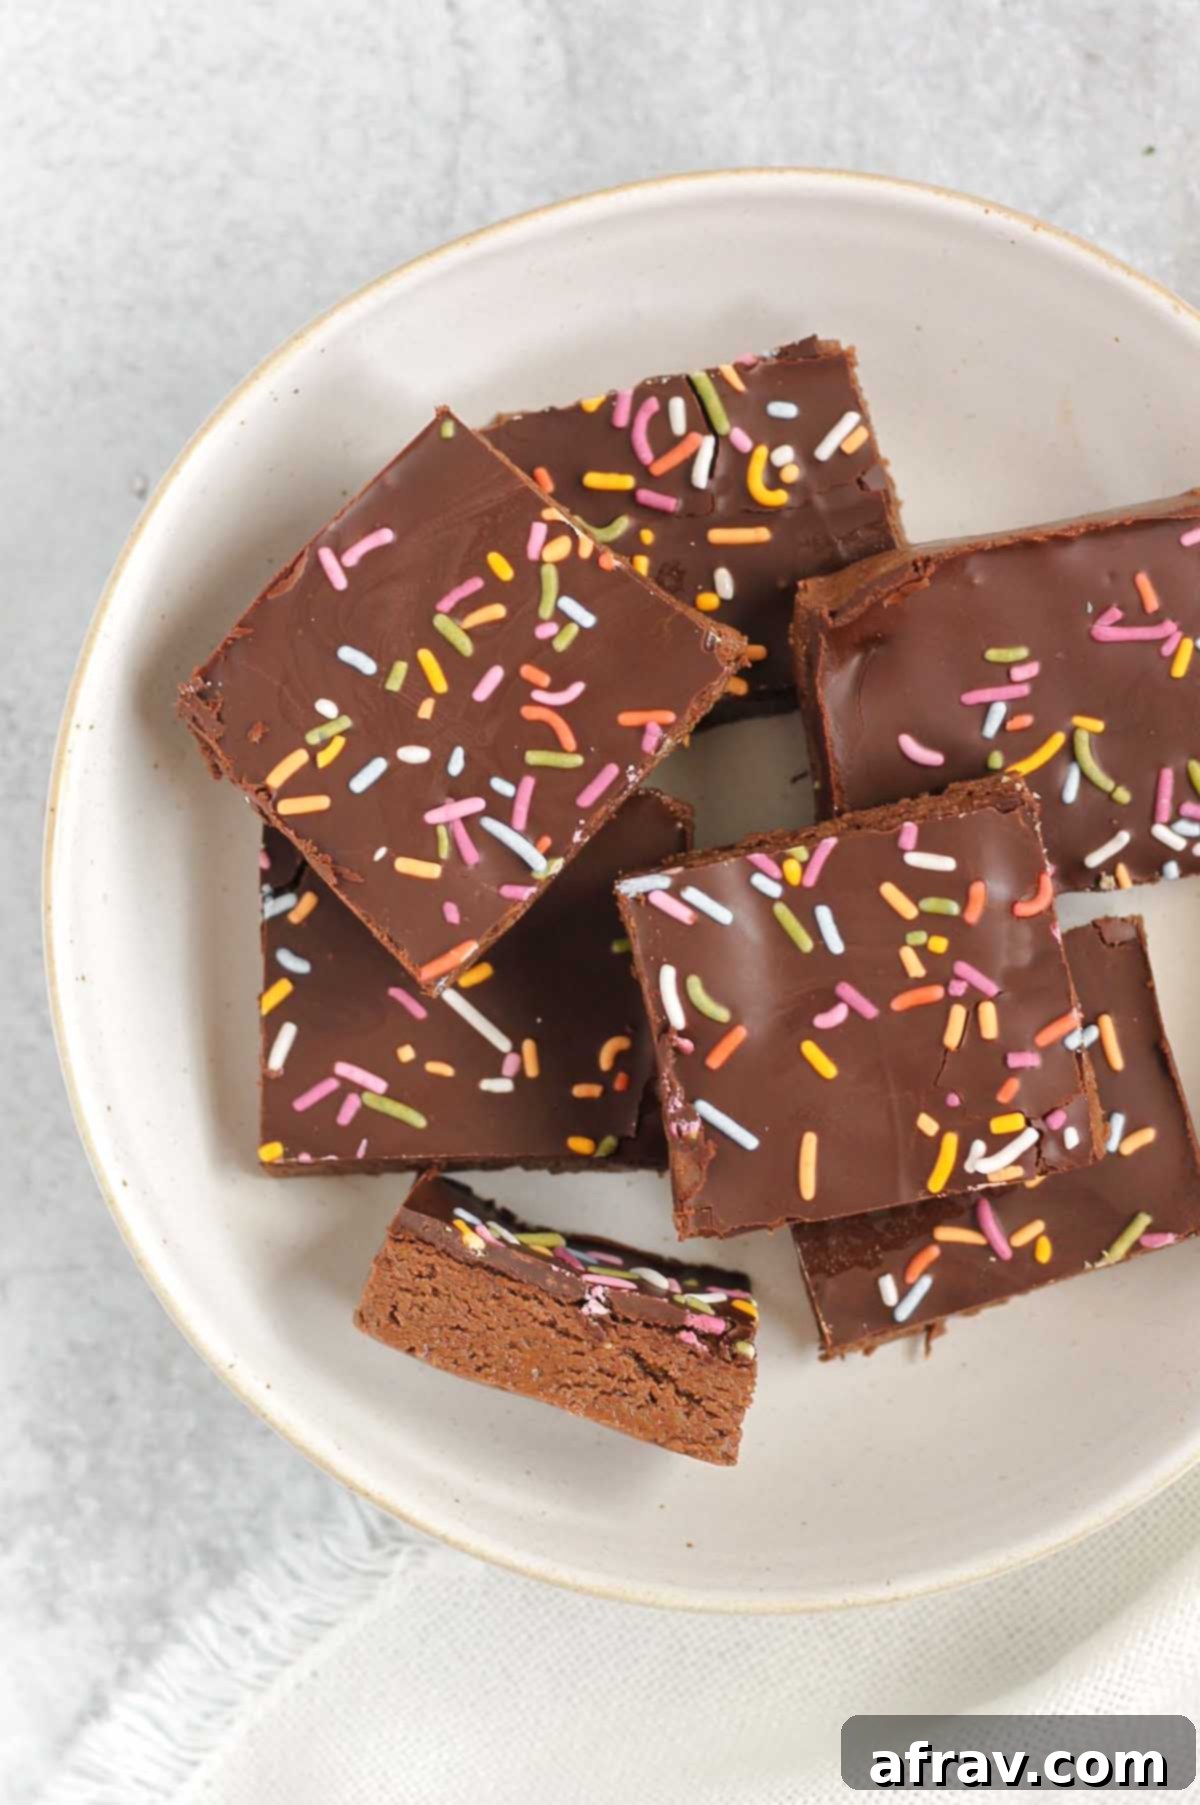
Storing Your Homemade Chocolate Protein Bars for Freshness
Proper storage is key to maintaining the freshness, texture, and deliciousness of your homemade protein bars. Here’s how to ensure they last as long as possible:
Refrigerator Storage: These chocolate protein bars should always be stored in an airtight container in the refrigerator. When properly stored, they will maintain their optimal freshness and quality for up to 2 weeks. However, in most households, they are so popular that they rarely last that long!
Freezer Storage: For longer-term storage, or if you love to meal prep in larger batches, these bars freeze beautifully. Place the cut bars in a single layer on a parchment-lined tray and freeze for about an hour until firm. Then, transfer them to a freezer-safe airtight container or a heavy-duty freezer bag, separating layers with parchment paper to prevent sticking. They will stay fresh in the freezer for up to 3 months. I often double the recipe specifically for this purpose, freezing half to have a convenient supply of healthy snacks ready whenever I need them.
Thawing and Serving Frozen Bars
When you’re ready to enjoy a frozen bar, simply take it out of the freezer and let it thaw at room temperature for about 10-15 minutes, or pop it in the fridge for a quick defrost. They’ll be just as delicious as when they were first made, providing a convenient and wholesome snack on demand.
Explore More High-Protein & Clean Eating Recipes
If you’re looking to boost your protein intake with delicious and wholesome recipes, you’ve come to the right place! Here are a few more high-protein favorites from our collection:
- Overnight Oats with Protein Powder {5 ingredients!}
- Easy Oven Roasted Chickpeas
- Berry Spinach Smoothie (dairy free)
- Chocolate Coconut Peanut Butter Balls
If you whip up this delicious recipe, please let me know what you think! Your feedback is incredibly valuable. I would truly appreciate you leaving a star rating and/or a comment below. And don’t forget to share a photo of your creations on Instagram or Facebook, and be sure to mention @CleanPlateMama so I can see your wonderful work!
Eat Clean. Be Well!
-Sara
Chocolate Protein Bars
Print
Pin
Rate
Save This Recipe For Later!
We’ll email this post to you, so you can come back to it later. Plus, enjoy weekly clean eating recipes as a bonus.
Equipment
-
1 large mixing bowl
-
1 large loaf pan or 8×8 square dish
Ingredients
Ingredients for Protein Bars
- 1 ¼ cups natural peanut butter (see notes)
- 3 tbsp. honey
- ¼ cup flaxseed meal
- ½ cup chocolate protein powder
- 2 tbsp. cacao powder (see notes)
- 1 tsp. pure vanilla extract
- ⅛ tsp. fine sea salt
Ingredients for Chocolate Topping (optional)
- ½ cup dairy-free chocolate chips (semi-sweet or dark chocolate)
- 2 tsp. coconut oil
Instructions
-
Line a large loaf pan (9×5) or 8×8 baking dish with parchment paper, leaving an overhang on two ends. This allow you to pull the bars out of the pan when done. Set aside.
-
In a large mixing bowl, add the ingredients for the bars (peanut butter, honey, flaxseed meal, protein powder, cacao, vanilla, salt). Mix until well combined and a “dough” has formed. The final mix should resemble cookie dough.
-
Add protein bar “dough” to the pan and evenly press mixture into pan.
-
Add chocolate and coconut oil to a microwave safe bowl. Microwave in 45-second intervals, stirring in between. Stop microwaving once chocolate is almost melted; continue stirring to melt the final pieces of chocolate.
-
Spread melted chocolate over bars. If desired, you can add some sprinkles (my kids like the sprinkles).
-
Place bars in fridge to allow bars and chocolate to set. This should take about 30 minutes.
-
Using parchment paper, remove bars from pan and cut into desired size.
-
Enjoy!
Notes
- Natural peanut butter should be used for these bars. Natural peanut butter is peanut butter that is just made from peanuts or peanuts and salt. The recipe won’t turn out the same if made with peanut butter with added oils and sugars.
- I use cacao powder because of the added health benefits and it’s less processed compared to cocoa, but either can be used.
- The chocolate topping is optional and omitting the chocolate cuts down on the total sugar in these bars. Don’t worry, the bars are still delicious even without the chocolate topping.
- Let bars sit at room temp for 10/15 minutes before cutting; allowing the chocolate topping to come to room temperature will help the chocolate from cracking when you cut the bars.
- Store leftovers in the fridge for up to 2 weeks. These can also be stored in the freezer for up to 3 months.
Nutrition
