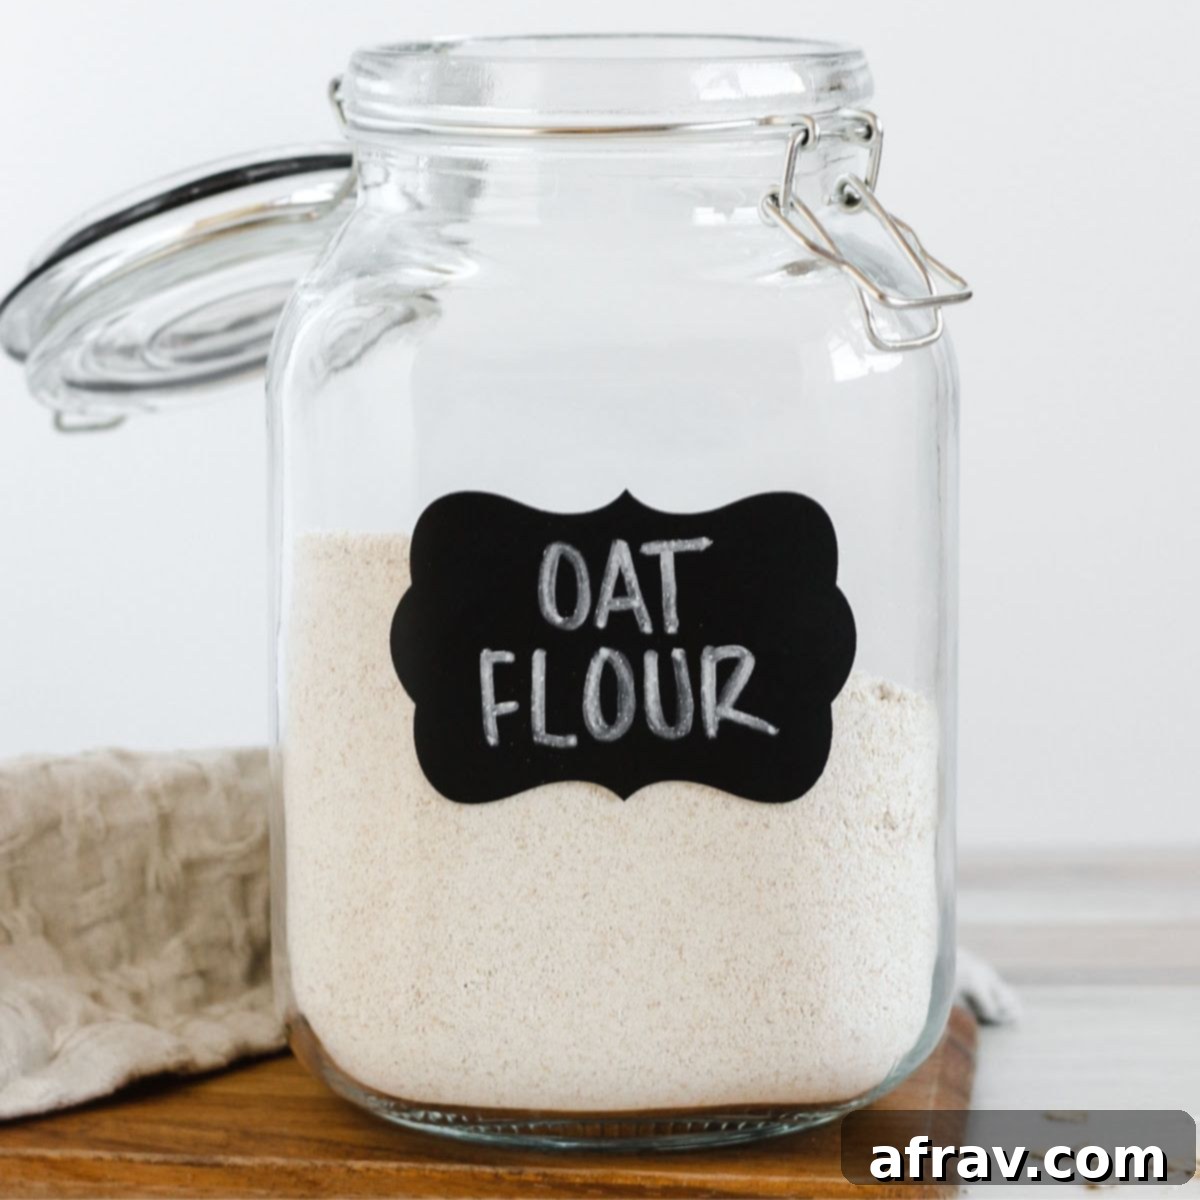
Homemade Oat Flour: Your Ultimate Guide to Making, Using, and Storing Gluten-Free Oat Flour
Unlock the secret to healthier, more delicious baking by learning how to make oat flour right in your own kitchen! This incredibly simple process takes less than 5 minutes, is far more cost-effective than store-bought options, and opens up a world of culinary possibilities. From tender pancakes to wholesome cookies, homemade oat flour is a versatile and nutritious alternative to traditional wheat flour.
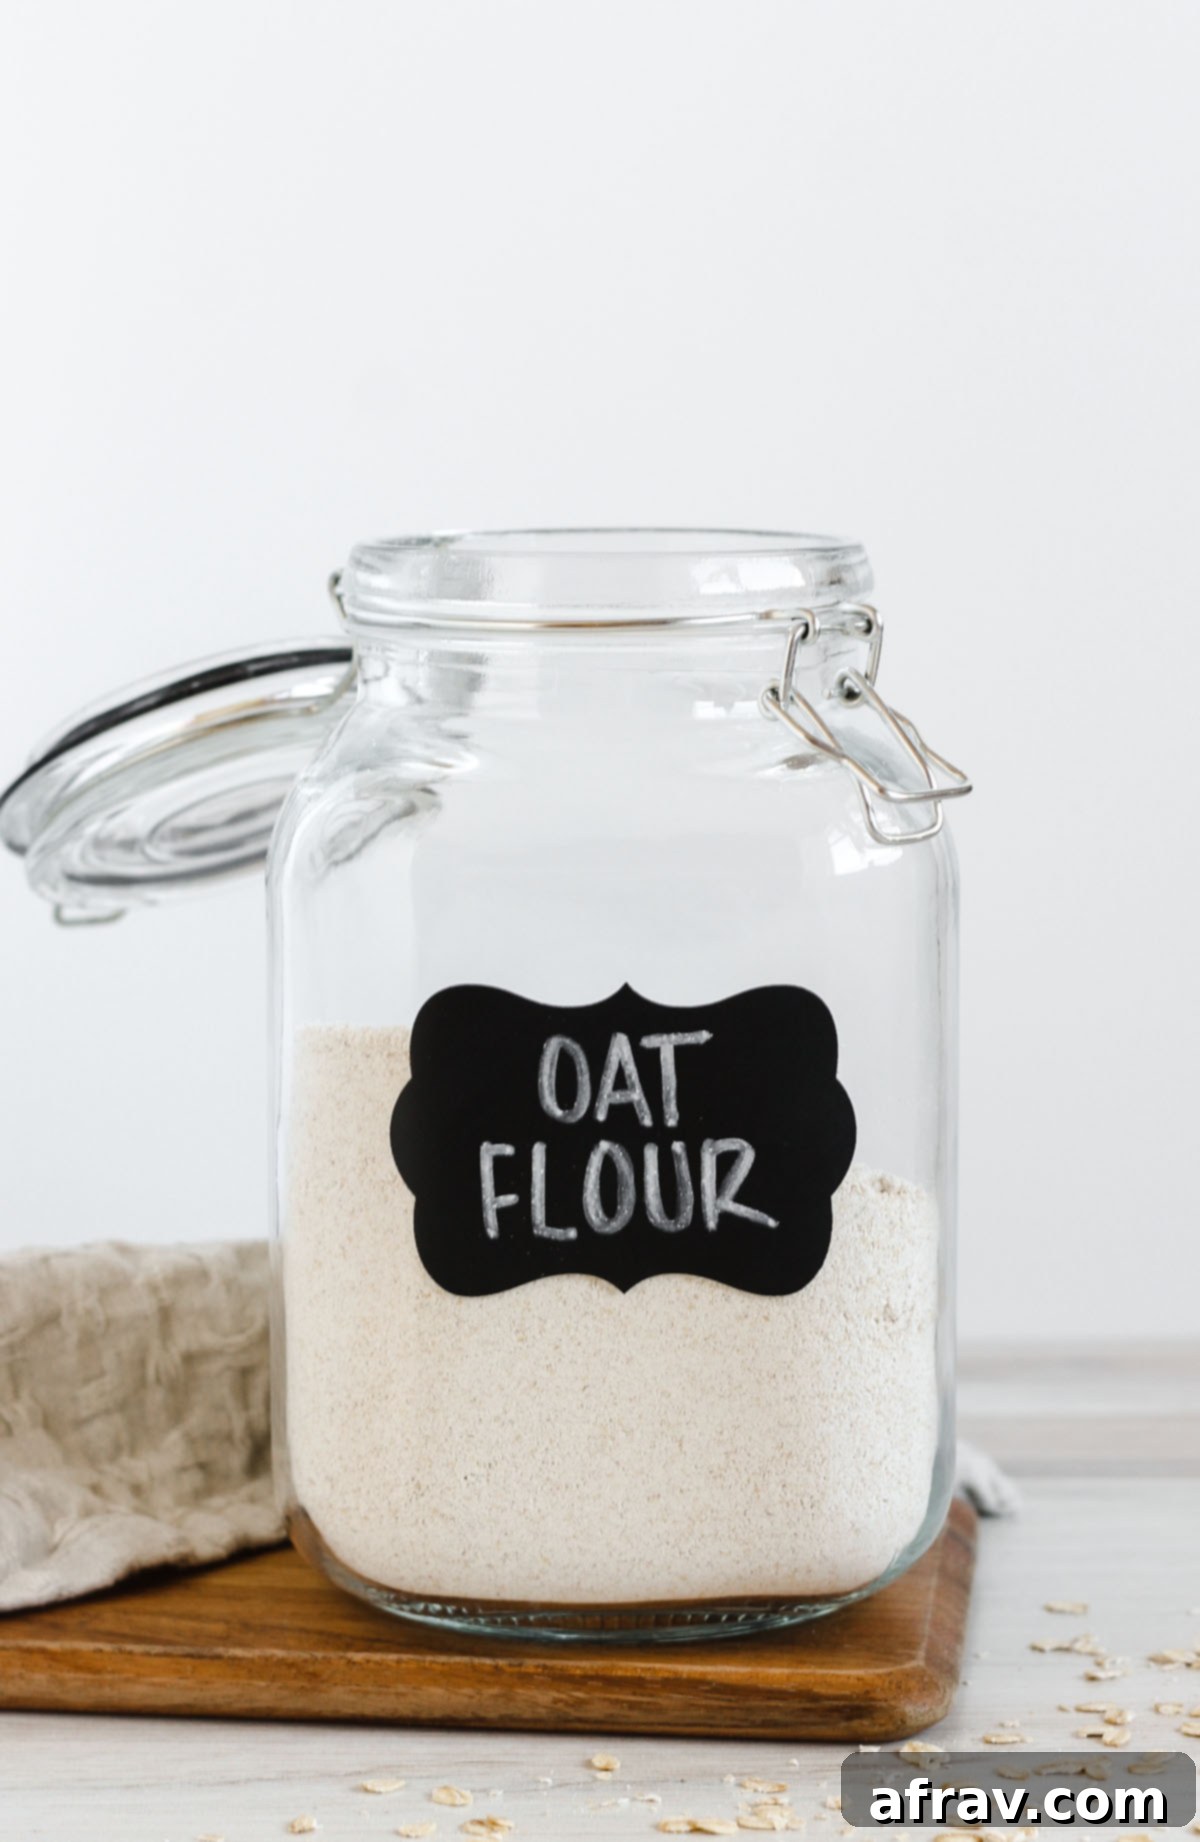
Table of Contents
- What is Oat Flour?
- Ingredients You’ll Need
- Is Oat Flour Gluten-Free? Understanding the Nuances
- How to Make Oat Flour: A Simple Guide
- Expert Tips and Notes for Using Oat Flour
- How to Store Homemade Oat Flour
- Oat Flour FAQs
- Delicious Oat Flour Recipes to Try
- More Homemade Ingredients to Try!
What is Oat Flour?
At its core, oat flour is nothing more than rolled oats that have been finely ground into a powder. While simple in its creation, its impact on baking is profound. When used in recipes, oat flour imparts a light, tender crumb to baked goods, accompanied by a subtly sweet and nutty flavor that truly elevates your creations. Unlike denser flours, it offers a delicate texture that’s often preferred for muffins, pancakes, and certain breads.
Beyond its delightful taste and texture, oat flour stands out as a healthy alternative to refined wheat flour. It’s derived from oats, which are recognized as a whole grain, meaning it retains all three parts of the grain kernel: the bran, germ, and endosperm. This composition makes it a powerhouse of nutrition, packed with dietary fiber, essential vitamins (like B vitamins), crucial minerals (such as manganese, phosphorus, magnesium, iron, and zinc), and beneficial antioxidants. These nutrients contribute to improved digestion, sustained energy levels, and overall well-being.
For those navigating a gluten-free diet, oat flour is an invaluable staple. As long as you choose certified gluten-free oats for your homemade flour, you can confidently incorporate this healthful ingredient into your meals. Making your own oat flour is not only incredibly easy and significantly cheaper than purchasing pre-made versions, but it also gives you complete control over the quality, ensuring it’s both gluten-free and, if you choose, organic.
In this comprehensive guide, we’ll walk you through the simple steps to make oat flour, provide expert tips for baking with it, address common questions, and share some of my favorite recipes that truly shine with homemade oat flour.
Ingredients You’ll Need
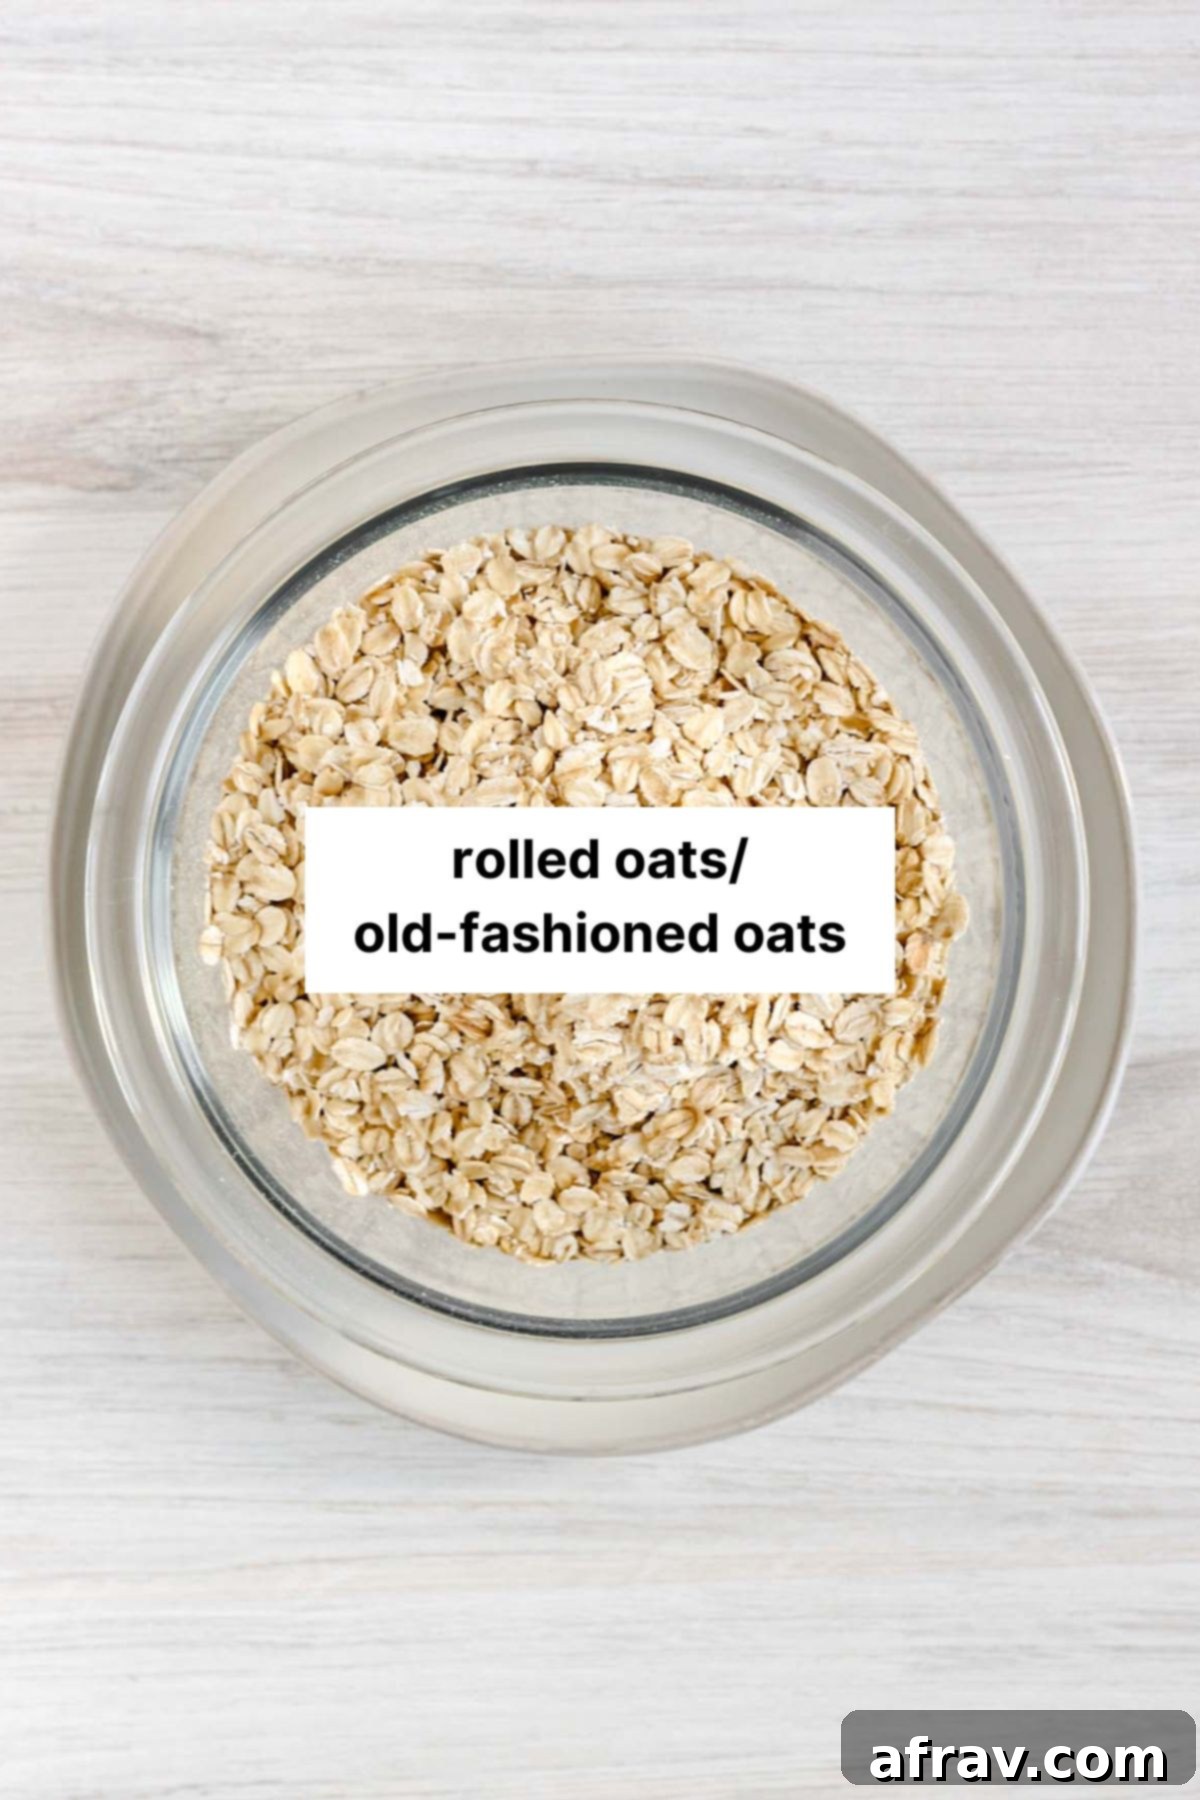
The beauty of making oat flour lies in its simplicity. You only need one key ingredient:
- Rolled oats / Old-fashioned oats: These are the ideal choice for making oat flour. Their flat, flake-like structure allows them to break down easily and consistently into a fine powder. I highly recommend sticking to rolled oats for the best results.
Why not other types of oats?
I do not recommend using quick-cooking oats or steel-cut oats for making flour. Quick oats are already partially processed and smaller, which might result in a finer, more powdery flour that absorbs liquid differently in recipes. Steel-cut oats, on the other hand, are whole oat groats cut into smaller pieces; they are much denser and will require significantly more blending time and effort to achieve a fine flour consistency, and might not yield the same smooth texture as flour made from rolled oats.
Choosing Your Oats:
I personally use either gluten-free sprouted rolled oats (sprouted grains are often easier to digest and have enhanced nutrient absorption) or standard gluten-free rolled oats. If you don’t follow a gluten-free diet, regular rolled oats will work just fine.
Clean Food Tip: It’s important to be aware that oats, like many other grains, can be sprayed with glyphosate (a common herbicide) prior to harvesting. Even organic oats can sometimes contain trace amounts of glyphosate due to cross-contamination, though typically at much safer levels as determined by organizations like the Environmental Working Group. For this reason, I always recommend choosing organic oats to minimize exposure to these chemicals and ensure the purest possible oat flour for your family.
Is Oat Flour Gluten-Free? Understanding the Nuances
This is a common and important question! Technically, yes, oats are a naturally gluten-free grain. However, the journey from farm to pantry isn’t always straightforward, and oats can be susceptible to cross-contamination with gluten-containing grains like wheat, barley, and rye during cultivation, harvesting, transportation, and processing in facilities that handle other grains.
Therefore, if you adhere to a strict gluten-free diet due to celiac disease, gluten sensitivity, or other health reasons, it is absolutely crucial to use certified gluten-free oats when making your own oat flour. These oats are specifically processed in dedicated gluten-free facilities or are rigorously tested to ensure they meet strict gluten-free standards (typically less than 20 parts per million of gluten).
It’s also important to note that a small percentage of individuals with celiac disease may still experience adverse reactions to oats. This is due to a protein found in oats called avenin, which has a similar amino acid structure to gluten. For those with celiac disease, I recommend introducing oats (even certified gluten-free ones) into your diet with caution and consulting with a healthcare professional or registered dietitian to monitor for any potential reactions. For most, however, certified gluten-free oats are a safe and healthy addition to a gluten-free lifestyle.
How to Make Oat Flour: A Simple Guide
Making your own oat flour is genuinely one of the simplest kitchen tasks you can undertake. It’s quicker than a trip to the store and gives you freshly ground flour every time!
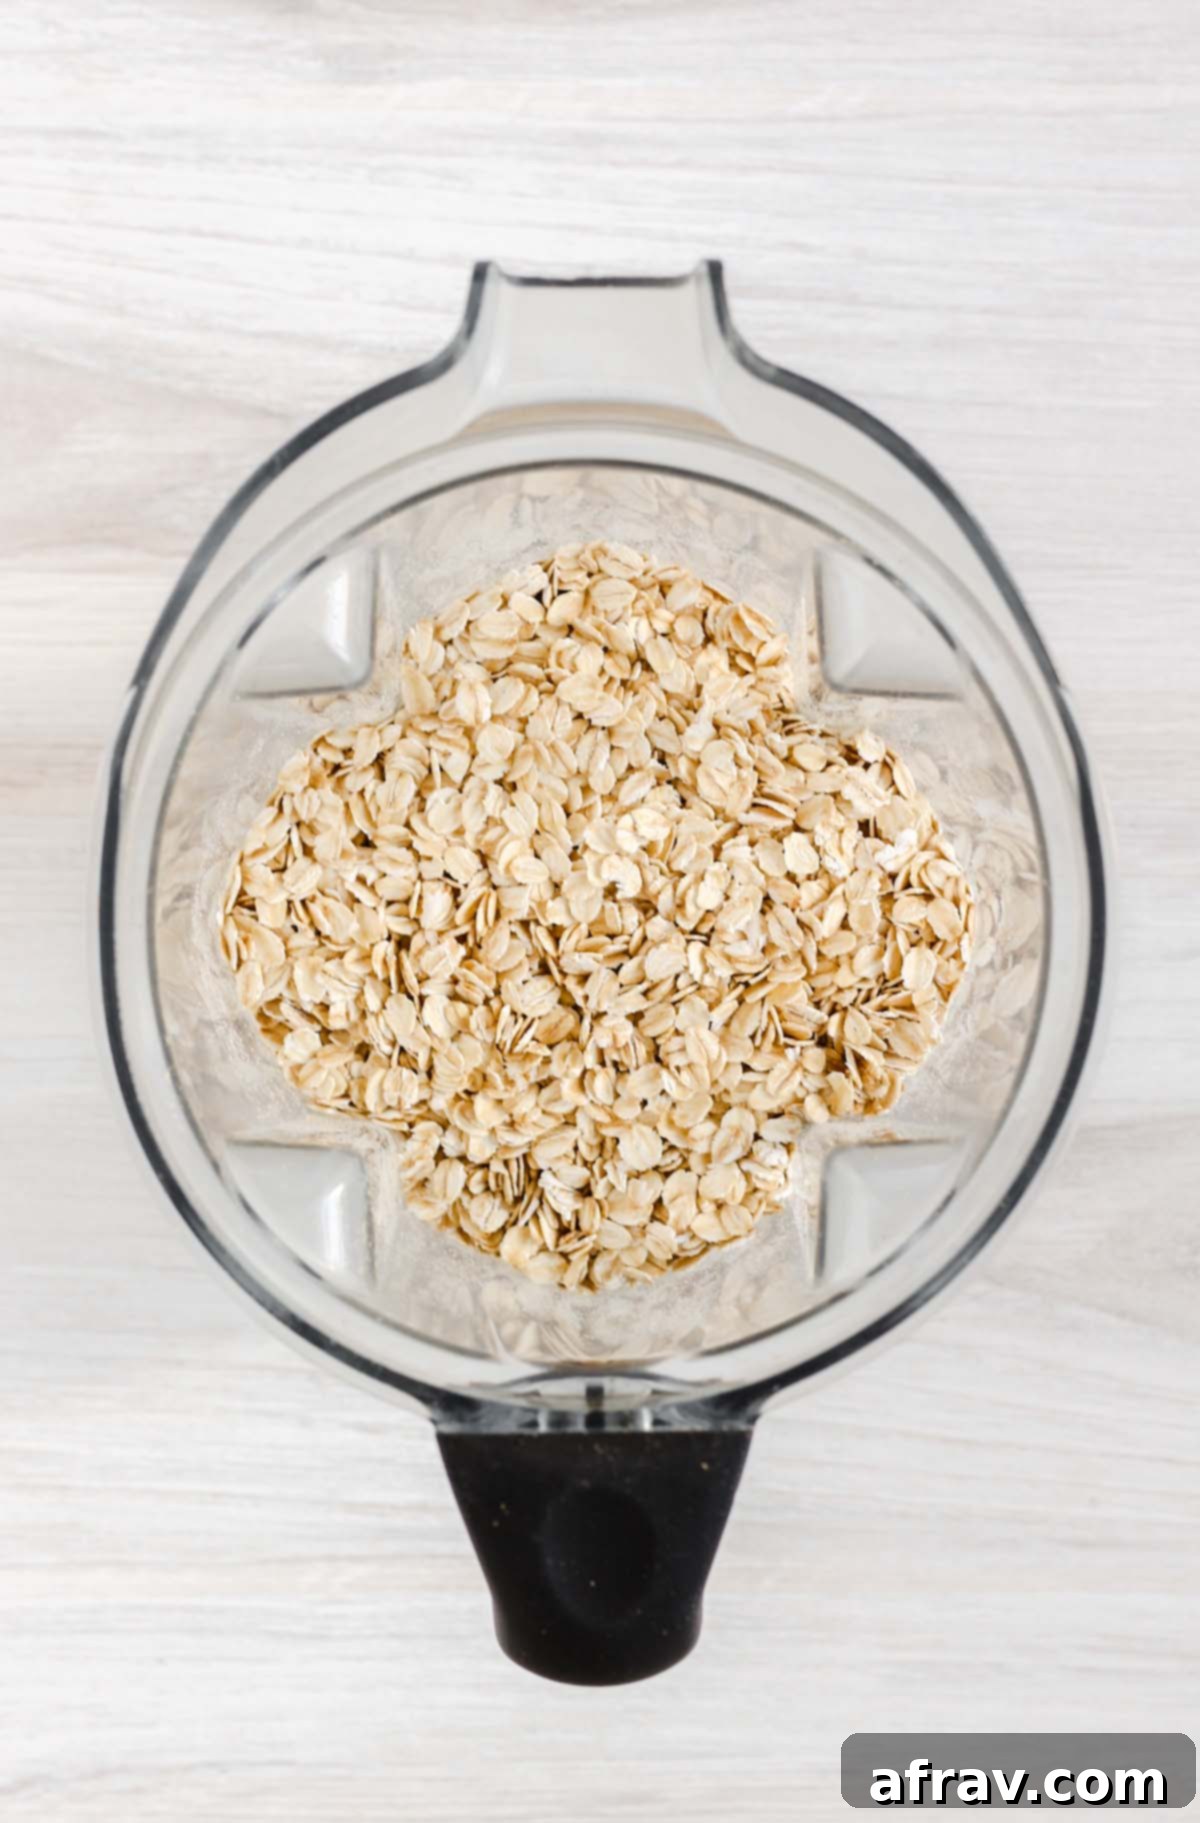
Step 1: Gather Your Equipment and Oats
Ensure you have a high-powered blender or a food processor. Add the desired amount of rolled oats to the blending container. For best results, avoid overfilling your blender; process in batches if you’re making a large quantity.
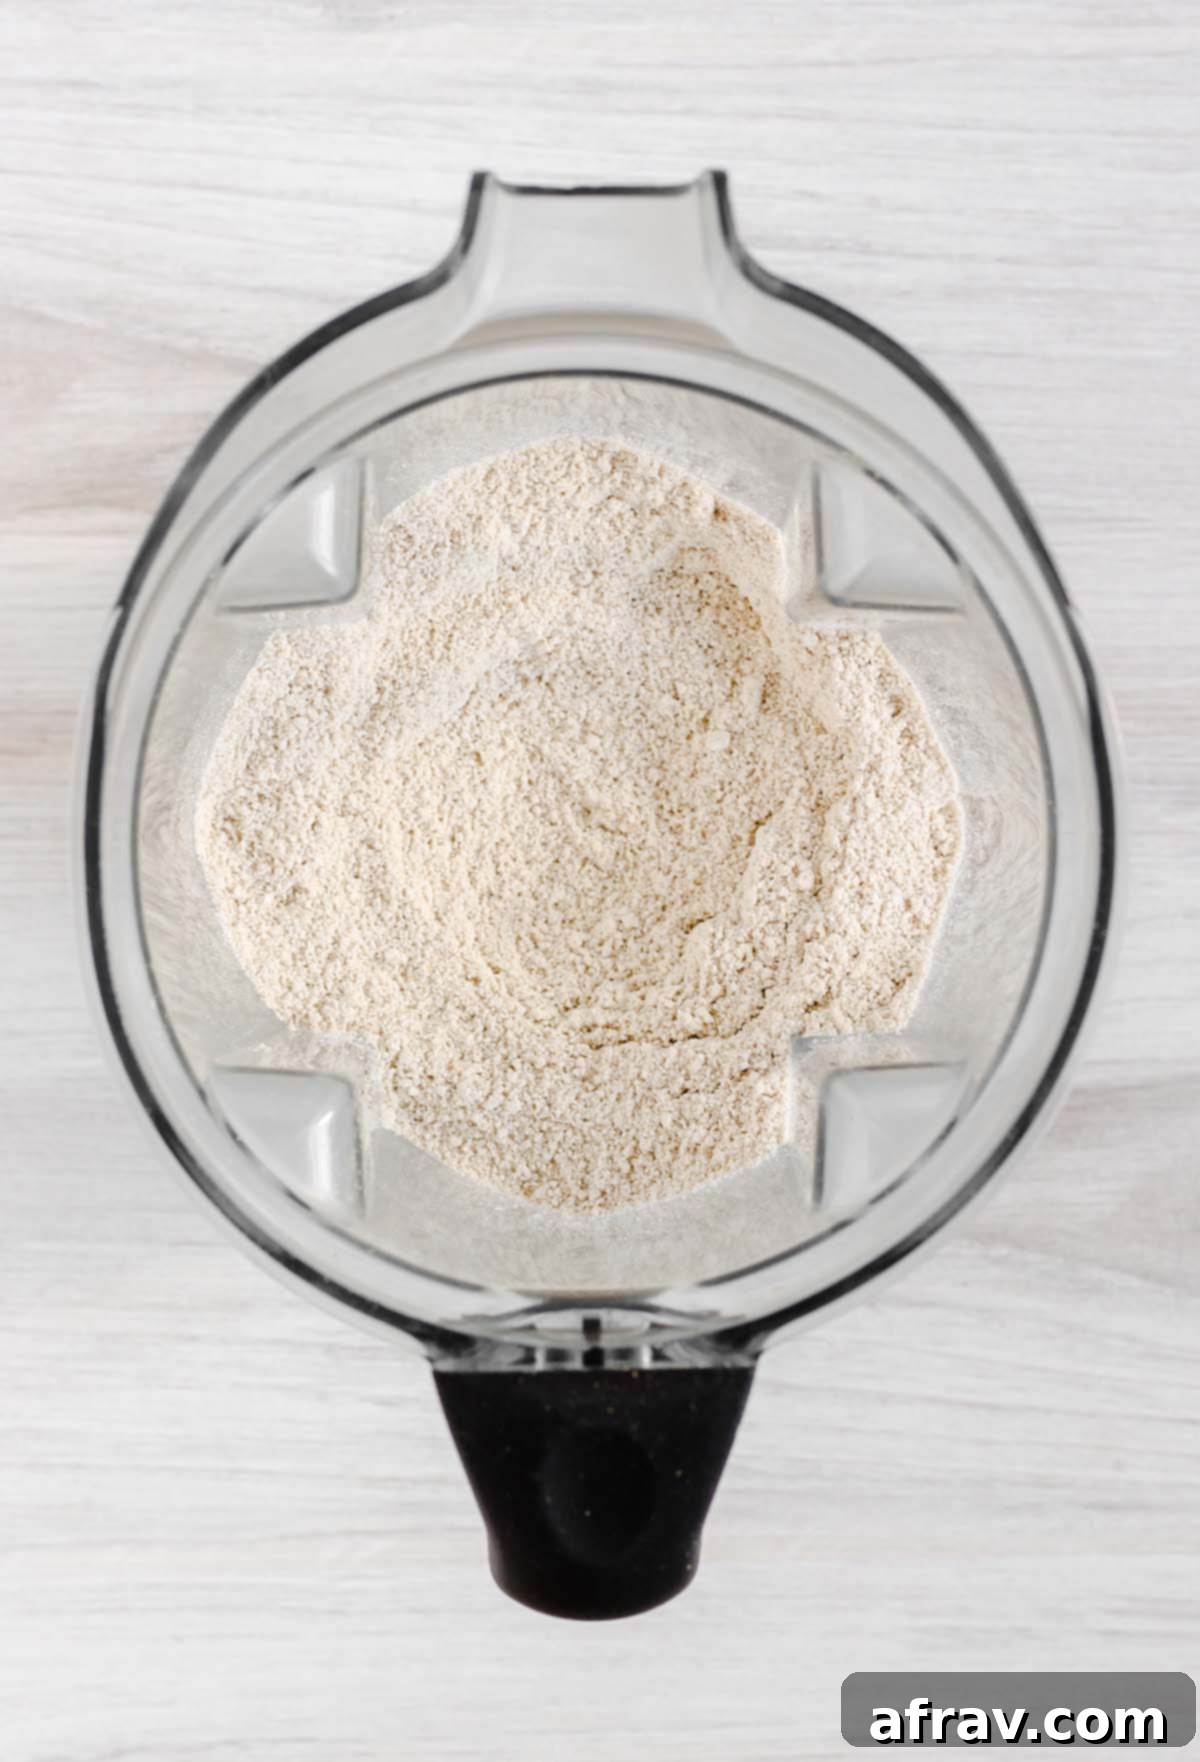
Step 2: Blend Until Fine
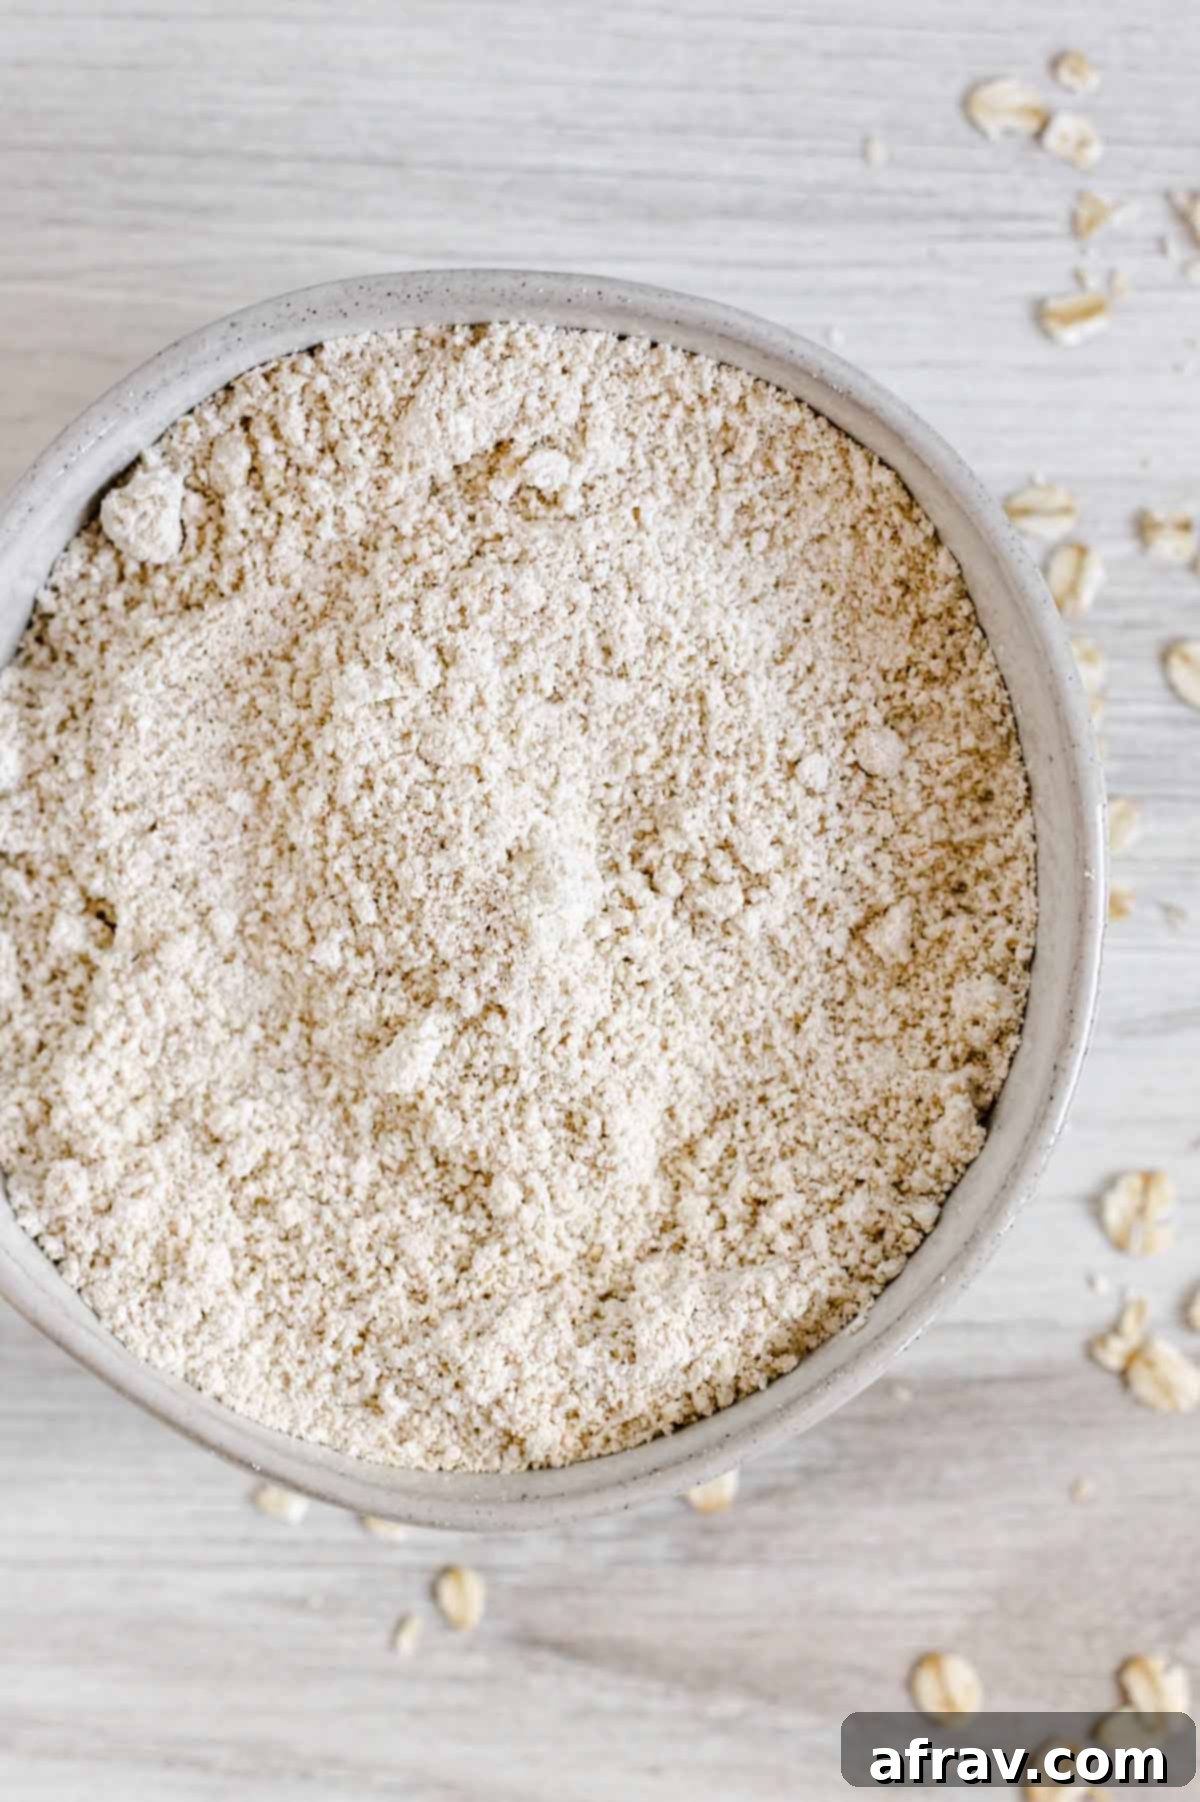
Secure the lid on your blender or food processor. Begin blending on a medium-high speed. The oats will quickly break down. Continue to blend for about 30 seconds to 1 minute, or until a very fine, consistent flour remains. The goal is to achieve a texture similar to traditional wheat flour. If you notice any larger pieces or if the oats are getting stuck, stop the machine, give the mixture a quick stir with a spoon or spatula, and then resume blending until smooth. Avoid blending for too long without stopping, as the friction can generate heat, which might slightly alter the flour’s properties.
And that’s truly all there is to it! I told you this homemade oat flour recipe was super easy!
Pro Tip for Batch Making: Since oat flour is a kitchen staple, I often blend several cups of oats at once. This ensures I always have a ready supply of fresh oat flour in my pantry, saving time on busy baking days.
Expert Tips and Notes for Using Oat Flour
While making oat flour is simple, baking with it can sometimes require a slight adjustment compared to traditional wheat flour. Here are some expert tips to ensure your oat flour creations turn out perfectly every time:
Oats to Oat Flour Measurement: Remember that 1 cup of whole rolled oats will yield approximately ¾ cup of oat flour. This is important to note for recipes that call for a specific amount of oat flour versus whole oats.
Sift Before Using: Oat flour can settle and form small clumps, especially if stored for a while. For the best, most consistent results in your baking, it’s a good practice to sift your oat flour before adding it to other ingredients. If you don’t have a sifter, simply mixing it thoroughly with a fork or whisk will help break up any clumps and aerate the flour.
Accurate Measuring is Key: When measuring oat flour, treat it gently. Use a spoon to lightly scoop the flour into your measuring cup, then level it off with the back of a knife. Do not pack the flour down into the measuring cup, as this will result in too much flour and can make your baked goods dry and dense. Its light texture means it compacts easily, which can throw off your recipe’s liquid-to-dry ratio.
Don’t Substitute Oat Flour 1:1 for Regular Wheat Flour: This is perhaps the most crucial tip. Because oat flour lacks gluten (the protein that provides structure and elasticity in wheat-based baked goods) and is generally lighter in texture, it cannot be directly substituted for wheat flour in a 1:1 ratio in most recipes. Recipes designed for wheat flour typically rely on gluten for structure. When replacing wheat flour with oat flour, you might need to adjust liquid amounts, add binders (like xanthan gum, chia seeds, or eggs), or combine it with other gluten-free flours to achieve the desired texture and structure. It’s always best to follow recipes specifically developed for oat flour or look for guides on gluten-free flour substitutions that provide tested ratios.
Consider its Flavor Profile: Oat flour has a distinct, subtly sweet, and nutty flavor. This complements many recipes, especially those with fruits, spices, or chocolate. Be mindful of this flavor when choosing recipes, as it can enhance or subtly alter the taste profile.
Oat Flour Absorbs More Moisture: Oat flour tends to absorb more liquid than wheat flour. You might find that recipes using oat flour require slightly more liquid or produce a thicker batter. This can be beneficial for creating moist baked goods, but be cautious not to make your batter too dry.
How to Store Homemade Oat Flour
Proper storage is essential to maintain the freshness and quality of your homemade oat flour.
- Room Temperature: Store oat flour in an airtight container (like a glass jar with a tight lid) in a cool, dark place, such as your pantry or a kitchen cupboard. Stored this way, it should keep well for up to 6 months. An airtight container prevents moisture and odors from being absorbed, which can impact the flour’s taste and texture.
- Refrigeration/Freezing for Extended Freshness: If you live in a warm, humid climate or want to extend its shelf life even further, you can store oat flour in the refrigerator for up to a year or in the freezer for even longer. Just ensure it’s in a well-sealed container to prevent freezer burn and absorption of freezer odors. When ready to use, allow it to come to room temperature before measuring and baking.
Oat Flour FAQs
Generally, no, not always. I strongly recommend following specific recipes that call for oat flour. Oat flour is lighter in texture and lacks the gluten found in regular wheat flour, which is crucial for structure and elasticity in many baked goods. This means a direct 1:1 substitution often won’t yield the same results in terms of texture, rise, and overall consistency. For best results, use recipes designed for oat flour or research appropriate substitution ratios that may include adding binders or adjusting liquids.
Absolutely! I consider oat flour to be a very healthy and wholesome alternative to refined white flour. Since it’s made from whole oats, it’s a whole grain flour. This means it retains all its natural fiber, vitamins, minerals, and antioxidants, which are often stripped away during the processing of white flour. It supports digestive health, can help regulate blood sugar, and provides sustained energy, making it an excellent choice for a nutritious diet.
While it’s possible, I have not personally tried using steel cut oats for flour, and I generally recommend rolled oats for optimal results. Steel cut oats are denser and coarser than rolled oats, meaning they will require significantly more blending time and effort to achieve a fine flour consistency. You’ll likely need a very powerful blender and may still end up with a slightly grittier texture than desired. If steel cut oats are all you have, you can certainly try, but be prepared for a longer grinding process and potentially a different final texture in your baked goods.
Oat flour truly shines in recipes where a tender, moist crumb is desired. It’s fantastic for pancakes, waffles, muffins, quick breads, cookies, and even some light cakes. Its nutty flavor pairs wonderfully with fruits, spices like cinnamon and nutmeg, and chocolate. It’s particularly popular in gluten-free baking for its ability to create a soft texture without the need for gluten.
Delicious Oat Flour Recipes to Try
Now that you’re an expert in making your own oat flour, it’s time to put it to good use! Here are some of my all-time favorite recipes that perfectly showcase the versatility and deliciousness of homemade oat flour:
- Oat Flour Brownies
- Oat Flour Chocolate Chip Cookies
- Oat Flour Pancakes
- Apple Cinnamon Oat Muffins
- Chocolate Protein Bread
- Pumpkin Chocolate Chip Bread
- Gluten-free Apple Crisp
- Gluten-free Waffles
More Homemade Ingredients to Try!
If you’ve enjoyed the simplicity and benefits of making your own oat flour, you’ll love these other easy homemade ingredient recipes. Taking control of your pantry staples means healthier, fresher ingredients for all your cooking and baking:
- Homemade Taco Seasoning
- Easy Soy-free Teriyaki Sauce (w/ coconut aminos)
- How to Make Powdered Coconut Sugar
- Berry Chia Jam
If you make this oat flour recipe, please let me know what you think! I would so appreciate you leaving a star rating and/or comment below. And don’t forget to share a photo on Instagram or Facebook and mention @CleanPlateMama!
Eat Clean. Be Well!
-Sara
How to Make Oat Flour
Learn how to make oat flour from scratch. Homemade oat flour takes less than 5 minutes to make, is incredibly easy, and can be used in a variety of recipes. Perfect for gluten-free baking!
Print Recipe |
Pin Recipe |
Rate Recipe
Course: Ingredients
Cuisine: American
Diet: Gluten Free
Prep Time: 5 minutes
Total Time: 5 minutes
Servings: 3 cups
Author: Sara
Save This Recipe For Later!
We’ll email this post to you, so you can come back to it later. Plus, enjoy weekly clean eating recipes as a bonus.
Equipment
- 1 high-speed blender or food processor
Ingredients
- 4 cups rolled oats/old-fashioned oats (use certified gluten-free if needed)
Instructions
- Place oats in a high-speed blender or food processor.
- Blend on med-high for about 30 seconds, or until all oats are ground down into a fine flour. If needed, you can stop the blender and mix the oats to ensure even grinding.
- Store in an airtight container, at room temperature, for up to 6 months. For longer storage, refrigerate or freeze.
Notes
- Periodically check for small pieces of oats to ensure all oats get ground down evenly. If necessary, stop the blender and stir the oats a few times.
- 1 cup of whole rolled oats will yield roughly ¾ cup of oat flour due to density changes.
- Because I frequently use oat flour in my kitchen, I always blend up multiple cups of oats and store a jar of oat flour in my pantry so it’s ready when I need it.
- The nutrition information shown is for roughly 1 cup of oat flour (this recipe yields 3 cups total).
Nutrition
Calories: 410kcal | Carbohydrates: 73g | Protein: 14g | Fat: 7g | Saturated Fat: 1g | Polyunsaturated Fat: 2g | Monounsaturated Fat: 2g | Sodium: 6mg | Potassium: 391mg | Fiber: 11g | Sugar: 1g | Calcium: 56mg | Iron: 5mg
Tried this Recipe? Tag me Today!
Mention @CleanPlateMama or tag #CleanPlateMama!
