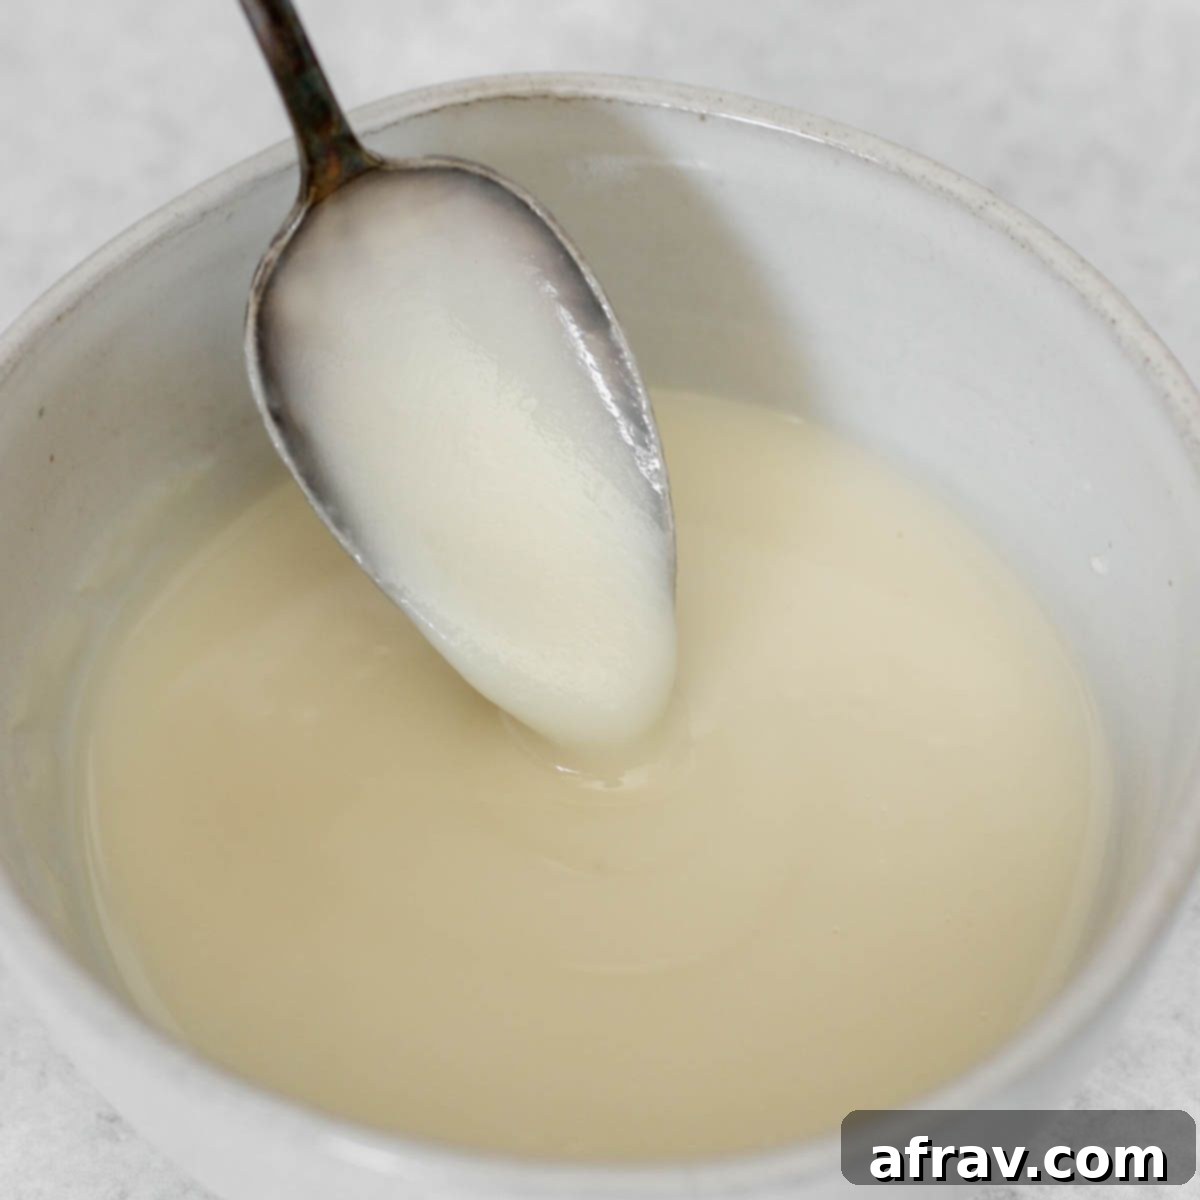
Easy 3-Ingredient Coconut Butter Glaze: Paleo, Dairy-Free & Refined Sugar-Free
Transform your favorite treats with this effortlessly simple and incredibly delicious coconut butter glaze! Crafted with just three wholesome ingredients, this healthy topping can be whipped together in a mere five minutes. Not only is it paleo-friendly, dairy-free, and completely free of refined sugars, but it also offers a creamy, naturally sweet alternative to traditional, sugar-laden glazes. Whether you’re topping freshly baked cookies, drizzling over warm quick breads, or adding a touch of elegance to your morning muffins, this versatile glaze is your new go-to for guilt-free indulgence.
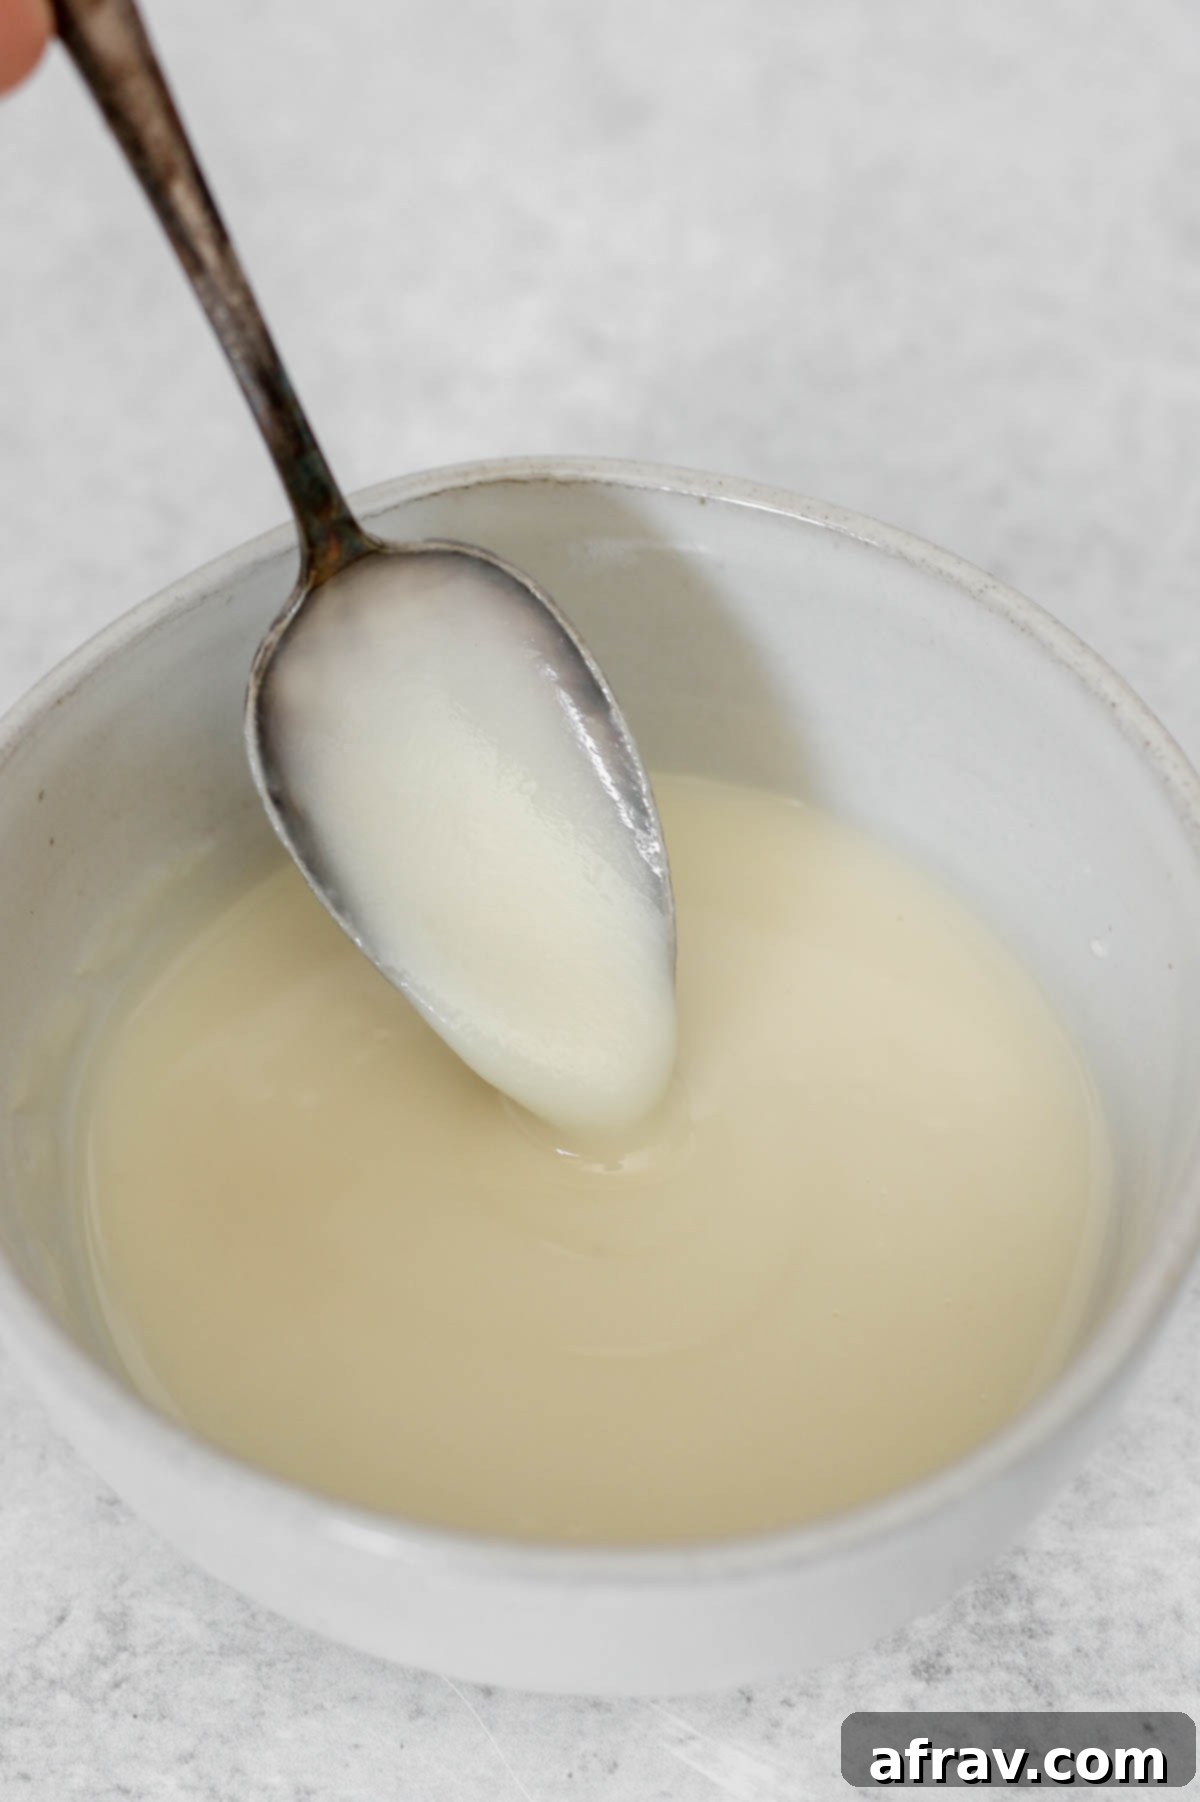
It’s time to bid farewell to store-bought icings loaded with refined sugars and embrace the wholesome goodness of this creamy, naturally sweetened coconut butter glaze. Unlike typical glazes that rely on powdered sugar for their texture and sweetness, this recipe harnesses the power of pure coconut butter and real maple syrup. This innovative approach provides a cleaner, less sugar-intensive way to elevate your favorite snacks and baked goods with a delightful, sweet finish.
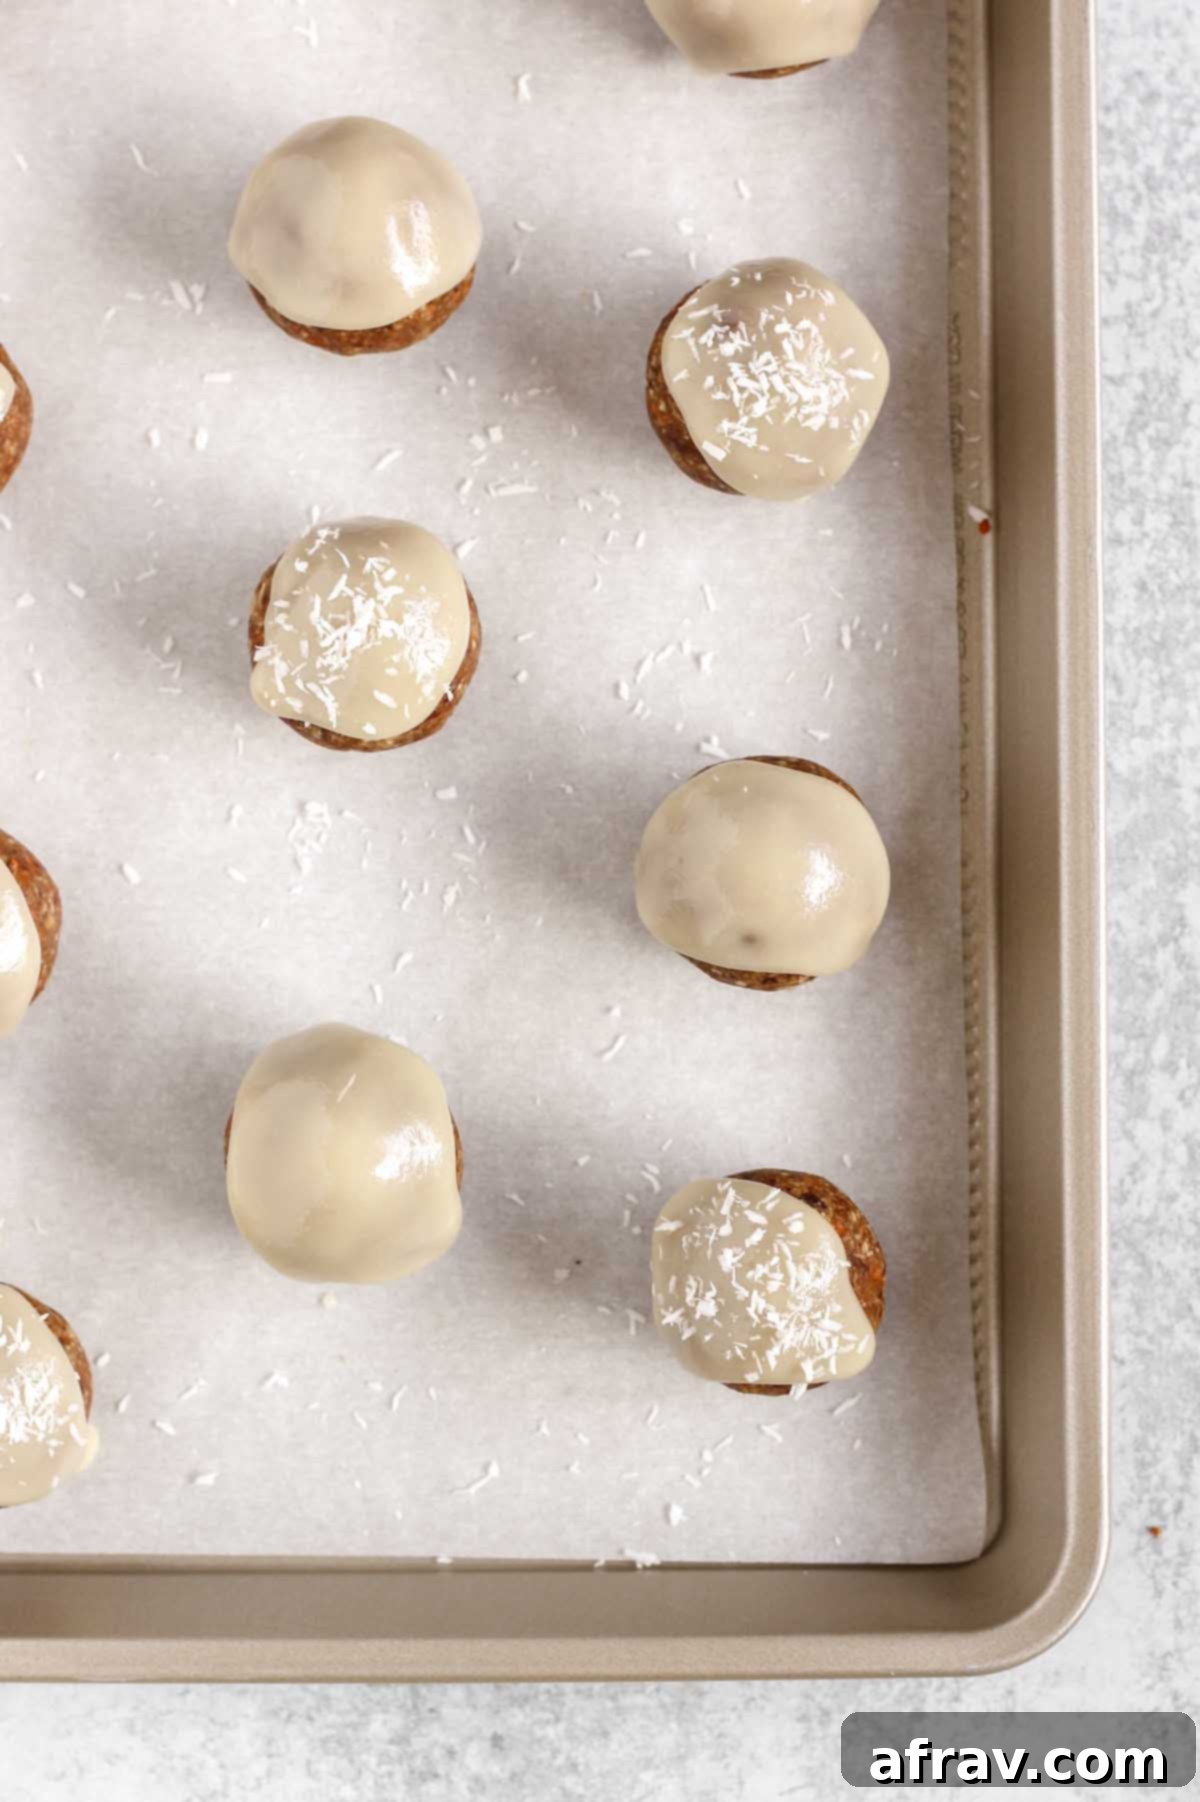
You’ll find this delightful glaze making regular appearances on my kitchen creations, from my popular carrot cake balls and these delicious carrot cake oatmeal cookies to my comforting gluten-freepumpkin scones. Its rich flavor and adaptable consistency make it a perfect match for a wide array of treats.
What Exactly is Coconut Butter?
Coconut butter, often referred to as coconut manna, is a remarkable ingredient derived from the whole flesh of the coconut. Unlike coconut oil, which is solely the extracted fat, coconut butter is made by blending the entire coconut meat until it reaches a thick, creamy, and spreadable consistency. This means it retains all the valuable fiber, protein, and natural sweetness inherent in the coconut itself. At room temperature, it typically holds a solid, almost fudge-like texture, but with a gentle warmth, it transforms into a wonderfully smooth, liquid state – making it absolutely perfect for creating an irresistible, pourable, or spreadable glaze.
The beauty of coconut butter lies in its ability to offer a rich, tropical flavor and a naturally sweet profile, without the need for added sugars. Its creamy texture and deep, authentic coconut taste provide a luxurious base for a healthy glaze. By simply combining it with a few other natural ingredients, you can easily create a wholesome alternative to conventional glazes and frostings that are often loaded with processed and refined sugars. It’s a truly versatile staple for any clean-eating pantry.
Why Choose This Healthy Glaze?
Opting for this coconut butter glaze isn’t just about taste; it’s about making a healthier choice without compromising on flavor or decadence. This recipe stands out because it caters to several dietary preferences and health-conscious lifestyles:
- Paleo-Friendly: Made with natural, unrefined ingredients, this glaze aligns perfectly with paleo dietary principles, avoiding grains, legumes, and refined sugars.
- Dairy-Free: Coconut butter and non-dairy milk make this glaze inherently dairy-free, suitable for those with lactose intolerance or a vegan diet.
- Refined Sugar-Free: Say goodbye to processed white sugar! Pure maple syrup provides a natural, unrefined sweetness that’s gentler on your system and offers a richer flavor profile.
- Quick & Easy: With only 3 ingredients and 5 minutes of prep time, this glaze is ideal for busy individuals who want homemade goodness without the fuss.
- Versatile: From breakfast to dessert, its uses are endless, making it a valuable addition to your recipe repertoire.
- Clean Eating Approved: Every ingredient is minimally processed and natural, supporting a clean eating lifestyle.
By choosing this coconut butter glaze, you’re not just topping a dessert; you’re enhancing it with a nutrient-rich, flavorful, and health-conscious option that everyone can enjoy.
Essential Ingredients for Your Glaze
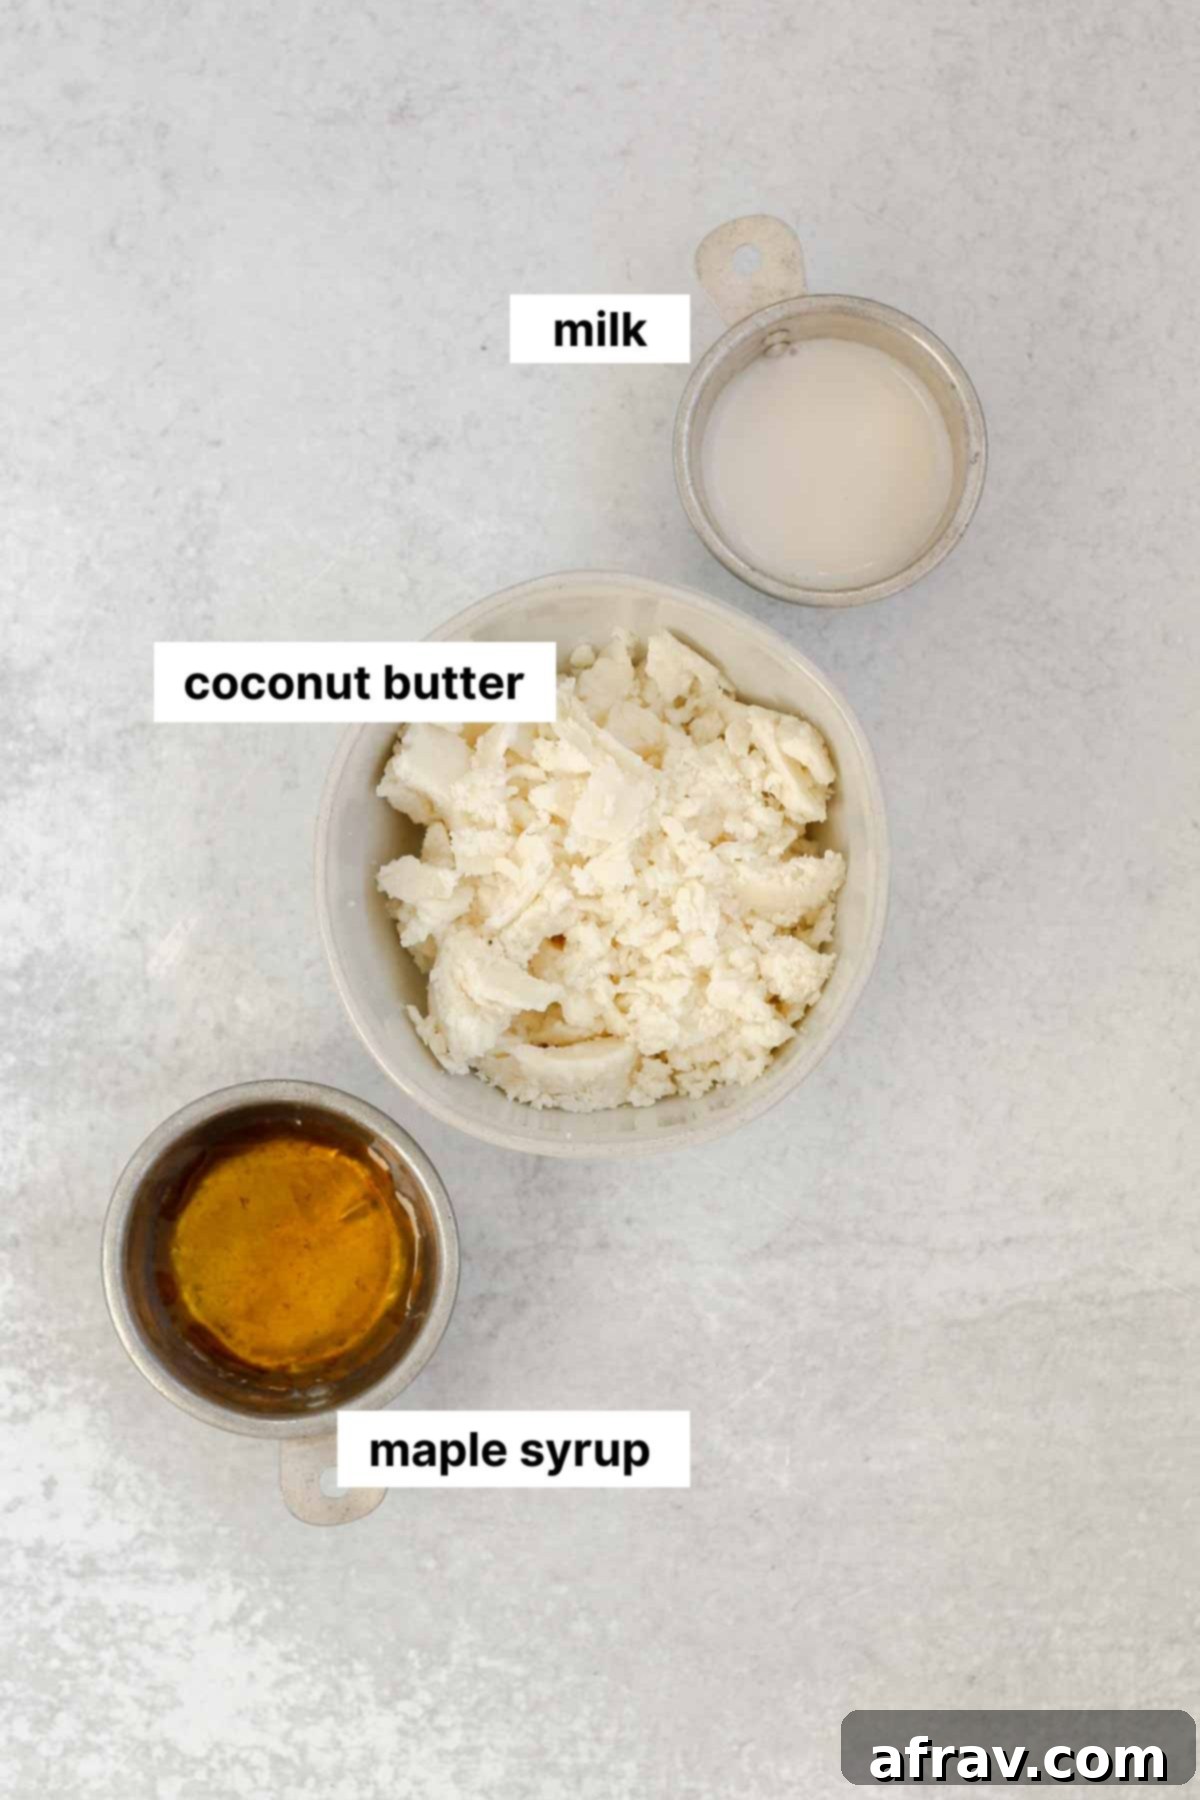
While specific measurements are detailed in the comprehensive recipe card below, here are some important notes and tips regarding the three star ingredients:
- Coconut Butter: This is the foundation of our glaze. I personally prefer and recommend Artisana coconut butter for its quality and consistent texture. You can usually find it online, at most health food stores, or even in larger grocery stores. It’s crucial to ensure you’re using coconut butter (also known as coconut manna) and not coconut oil. While both come from coconuts, their composition and behavior in recipes are vastly different. Coconut butter includes the fiber and solids, giving it a creamy texture when melted and solidifying firmly when cooled, which is essential for our glaze.
- Pure Maple Syrup: For sweetness and a touch of liquid, only pure maple syrup will do. Look for 100% pure maple syrup, ideally Grade A Amber or Dark, for the best flavor. Avoid “pancake syrup” or “table syrup,” as these are often high in corn syrup and artificial ingredients. The richness of pure maple syrup complements the coconut flavor beautifully and keeps the glaze free from refined sugars.
- Milk: To achieve that perfect drizzle-able consistency, a splash of milk is needed. For a truly Paleo and dairy-free glaze, an unsweetened and plain almond milk is the ideal choice. Make sure it’s unsweetened to control the overall sweetness of your glaze. If you don’t adhere to a dairy-free diet, regular cow’s milk can also be used. Other unsweetened non-dairy options like cashew milk or oat milk would also work well.
Crafting Your Coconut Butter Glaze: A Step-by-Step Guide
Making this delightful glaze is incredibly straightforward. Just follow these simple steps:
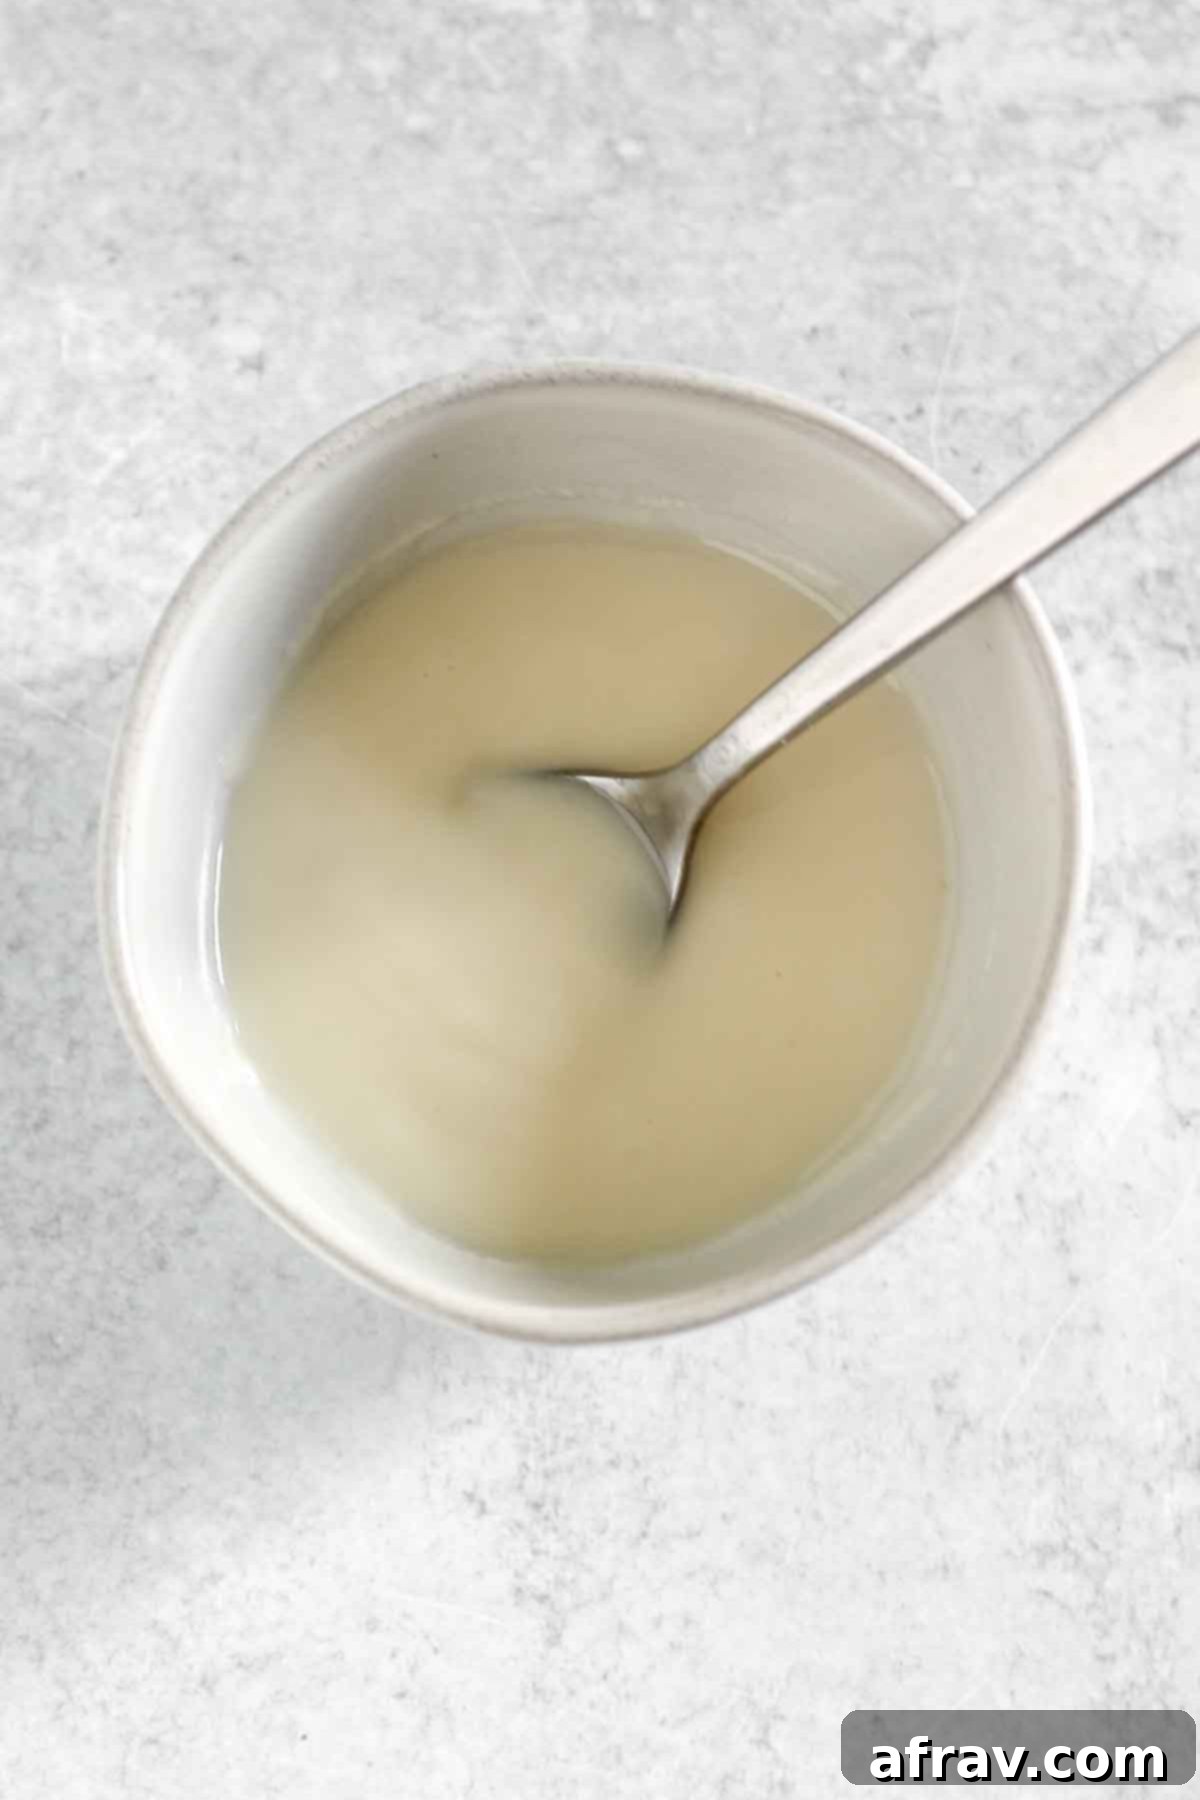
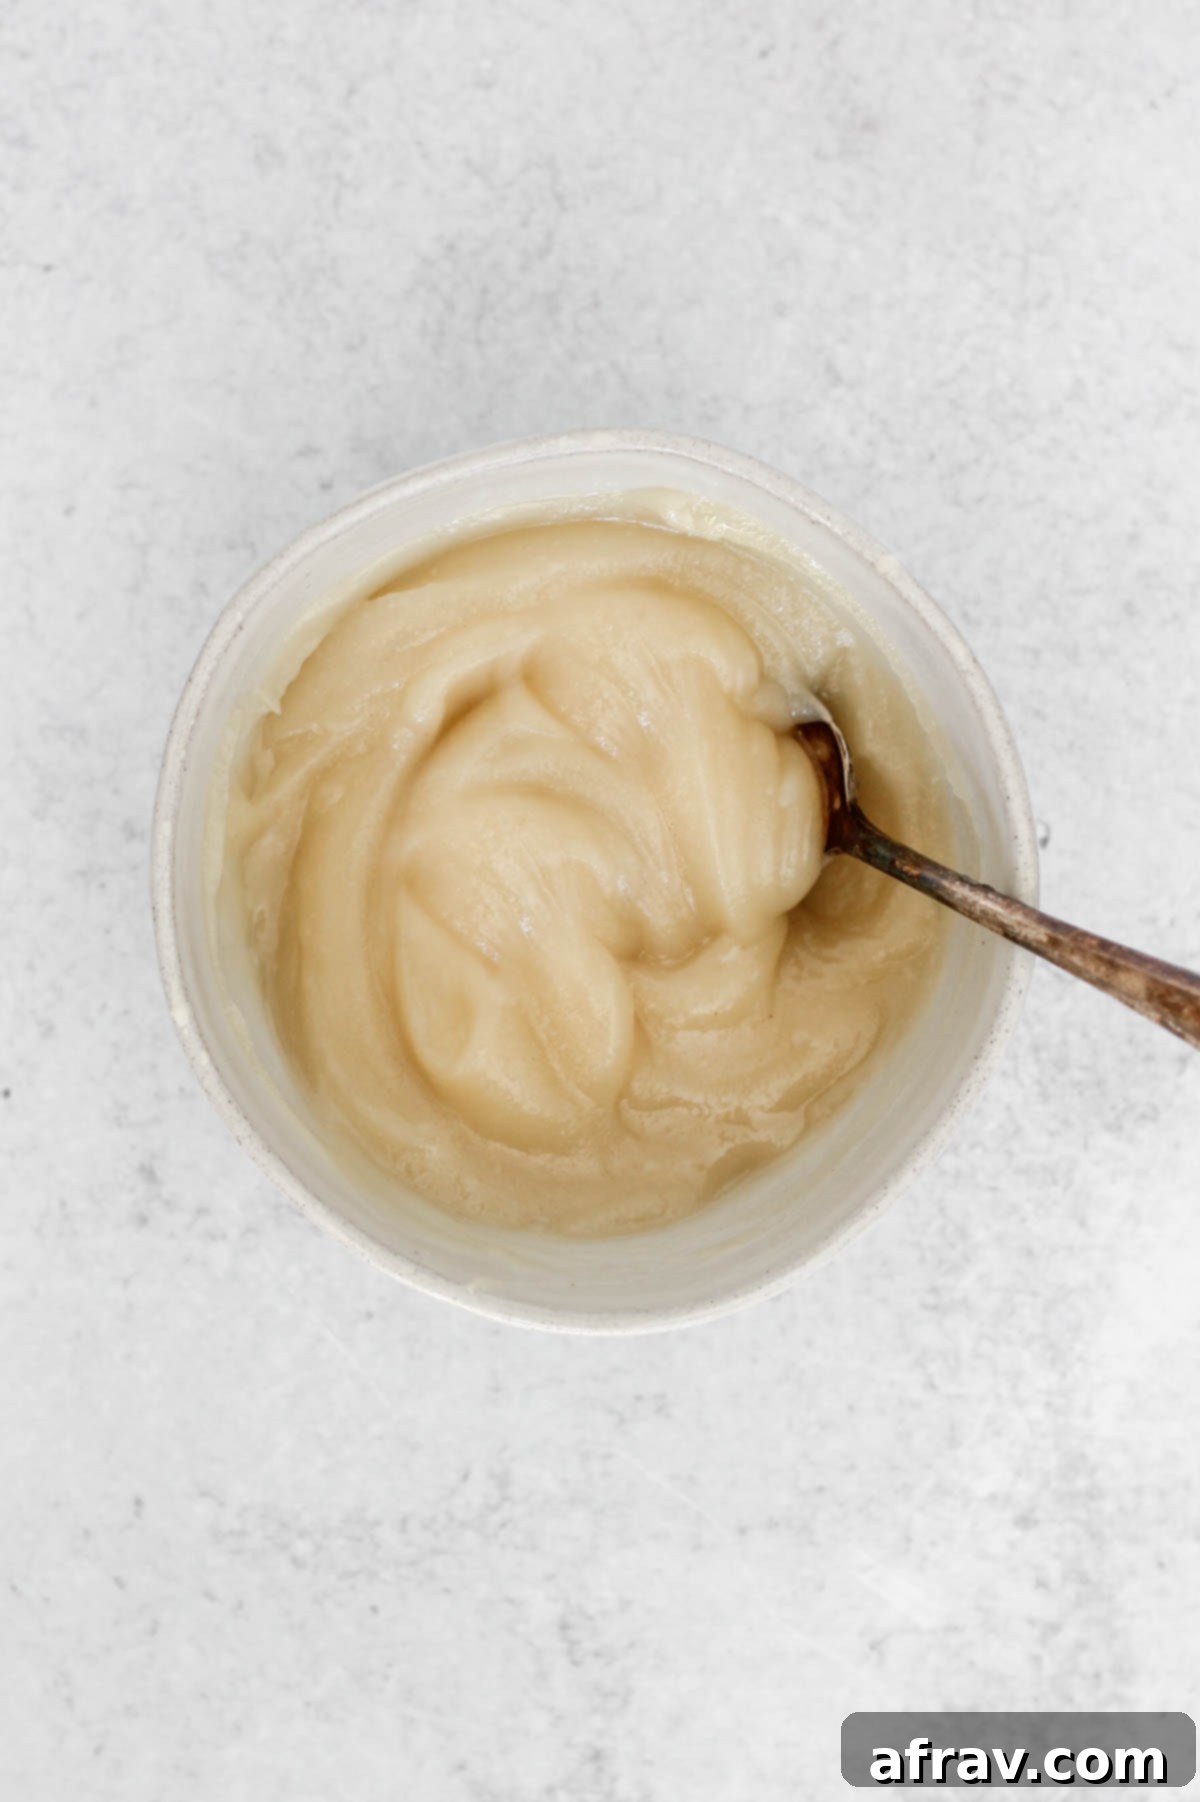
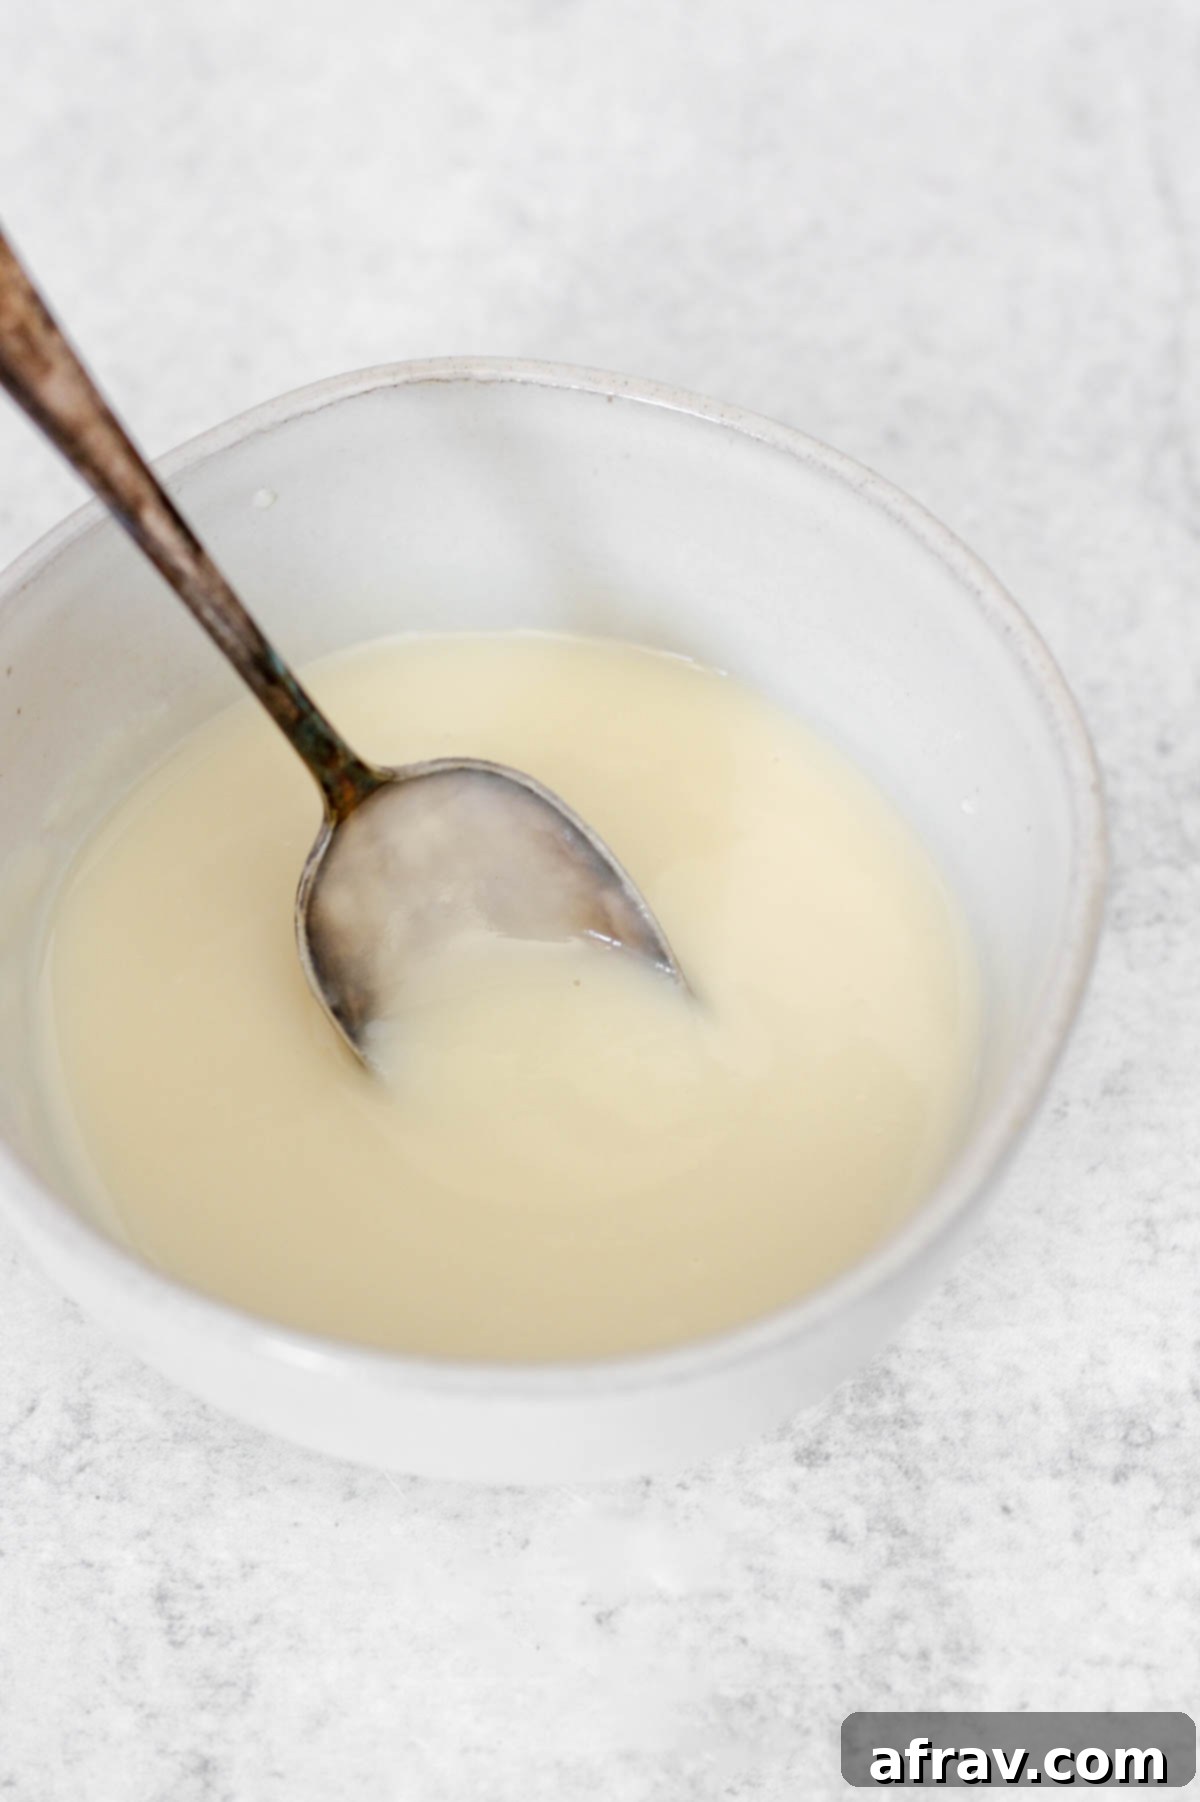
Step 5: Your delicious coconut butter glaze is ready to use! It’s best to apply it immediately, as coconut butter will naturally thicken and harden as it cools. Drizzle, spread, or pipe it onto your recipe of choice. For inspiration, you can see it beautifully adorning my carrot cake balls in the image below.
⭐ Top Tips for Perfect Glaze Consistency!
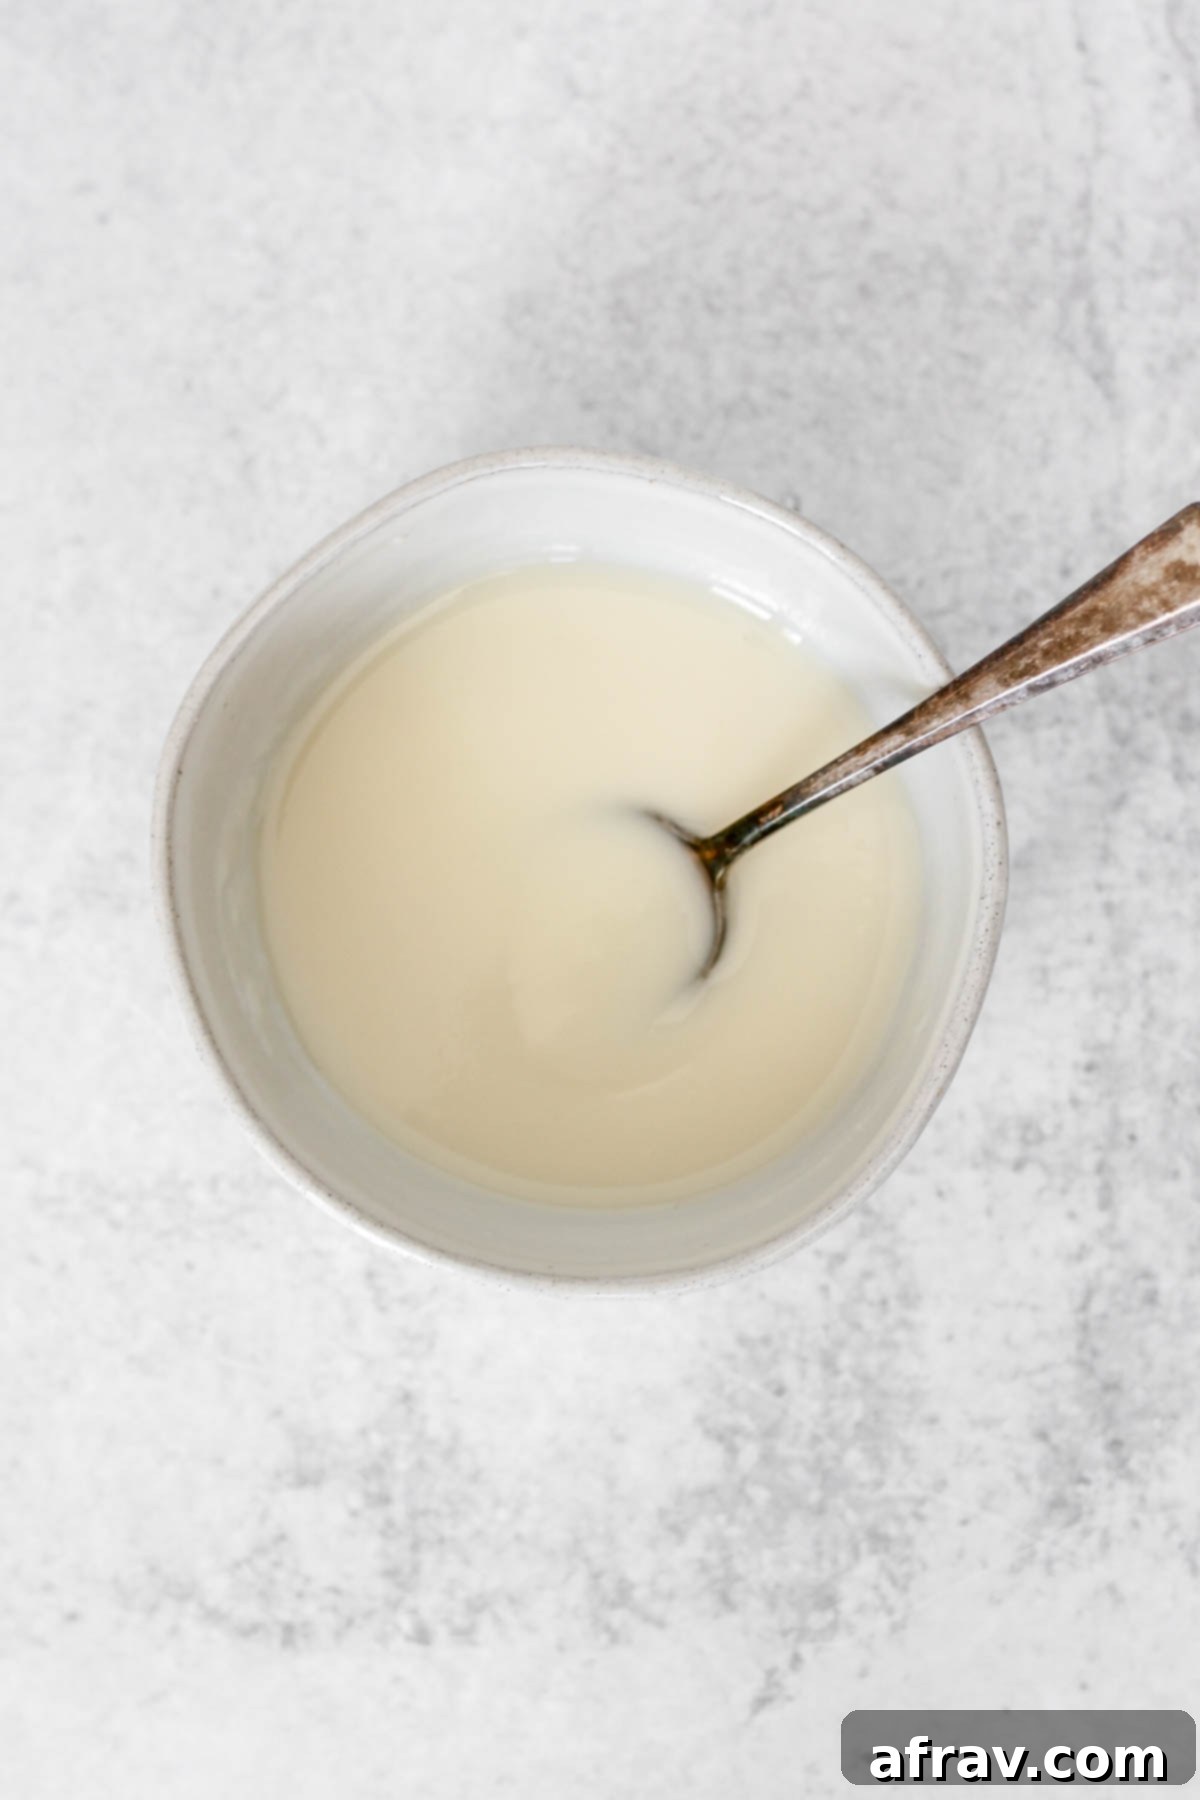
Achieving the ideal consistency is key to a perfect glaze. For a thinner, more drizzle-able glaze that works wonderfully over quick breads, muffins, or pancakes, don’t hesitate to use a little more milk to thin it out to your preference. If you’re aiming for a thicker, more spreadable frosting – perfect for cookies or even a light layer on brownies – use less milk to maintain a richer, more substantial consistency. Remember, it’s easier to add more liquid than to remove it, so add your milk gradually!
Troubleshooting Your Glaze
Even though this glaze is simple, sometimes things don’t go exactly as planned. Here are some quick fixes for common issues:
- Glaze is Too Thick: If your glaze solidifies too quickly or is too thick to drizzle, simply pop it back into the microwave for 5-10 seconds. Stir well, and add another tiny splash (¼ to ½ teaspoon) of milk if needed to reach your desired consistency.
- Glaze is Too Thin: If you’ve added a bit too much milk, don’t panic! You can try chilling the glaze in the refrigerator for 5-10 minutes, stirring occasionally, to help it thicken. If it’s still too thin, you can very gently re-melt a tiny extra bit of coconut butter (about 1-2 teaspoons), let it cool slightly, then slowly whisk it into your glaze.
- Measuring Coconut Butter: Since coconut butter is solid at room temperature, it can be tricky to measure accurately. The best way is to scoop out chunks with a spoon and lightly pack them into your measuring cup until you reach the desired amount (e.g., ½ cup).
- Separation: While rare with coconut butter, if you notice any separation, ensure the mixture is properly warmed through and whisk vigorously until emulsified again.
Exciting Flavor Variations
One of the best things about this simple coconut butter glaze is how easily it can be customized to complement any recipe you’re creating. Don’t be afraid to get creative with these recommended add-ins to boost and personalize its flavor profile:
Fresh Lemon Juice: For a bright, sweet-tart citrus flavor that pairs beautifully with many baked goods, stir in the juice of ½ a fresh lemon. For an even more vibrant aroma and taste, consider adding some finely grated lemon zest as well. This is particularly delightful on blueberry muffins or lemon loafs.
Warm Spices, like Cinnamon or Nutmeg: A pinch or two of your favorite warm spices, such as ground cinnamon, nutmeg, or even a pumpkin spice blend, will transform this glaze into a cozy, aromatic topping. It’s perfect for fall-inspired treats like apple tarts, pumpkin bread, or sweet potato muffins.
Vanilla Extract or Almond Extract: To add an extra layer of depth and enhance the overall flavor, vanilla extract is always a classic choice. Start with ½ teaspoon of pure vanilla extract. If you’re looking for something a little different, almond extract offers a unique, sophisticated note. Be cautious with almond extract, as it’s much stronger than vanilla; begin with just ¼ teaspoon and taste before adding more.
Cocoa Powder: For a decadent chocolate version, whisk in 1-2 tablespoons of unsweetened cocoa powder along with the maple syrup. This creates a rich, chocolatey glaze that’s fantastic on anything from brownies to chocolate cookies. A touch of espresso powder can further deepen the chocolate flavor.
Pinch of Sea Salt: A tiny pinch of flaky sea salt can actually enhance the sweetness and balance the flavors in your glaze, adding a gourmet touch.
Endless Ways to Enjoy This Healthy Glaze
This versatile coconut butter glaze isn’t just a healthy alternative; it’s a delicious one! It can be used in virtually any scenario where a traditional glaze or light frosting would be applied. Its natural sweetness and creamy texture make it suitable for a wide variety of applications, from simple breakfast items to elaborate desserts. The most common and beloved uses include drizzling over muffins, pastries, and cookies, but don’t limit your imagination!
Beyond the basics, here are some of my absolute favorite and creative ways to incorporate this healthy glaze into my daily clean eating routine:
- Breakfast Delights: Drizzle generously over warm oat flour pancakes, fluffy gluten-free dairy-free waffles, or even crepes, often alongside a generous serving of fresh berries or sliced bananas. It adds a touch of sweetness and richness without being overly heavy.
- Baked Goods Perfection: Elevate your homemade baked goods! It’s incredible on healthy gluten-freebanana muffins, sweet blackberry muffins, or a slice of comforting almond flour blueberry bread. It adds a professional finish and an extra layer of flavor.
- Fruit & Dessert Topping: Drizzle over a bowl of fresh fruit, use as a dip for apple slices, or top a simple fruit tart for an elegant touch. It also makes a fantastic addition to energy balls, raw dessert bars, or even as a swirl in homemade yogurt parfaits.
- Beyond the Drizzle: While great for drizzling, a thicker consistency (less milk) can be lightly spread over gluten-free sugar cookies or even used for simple piping on special occasion treats.
Its delicate coconut flavor beautifully complements a wide range of ingredients, making it a truly versatile and indispensable healthy topping in your kitchen.
Storage and Reheating Tips
Because coconut butter solidifies at cooler temperatures, understanding how to store and reheat your glaze is essential for enjoying it beyond immediate use.
- Storing Leftovers: Any leftover coconut butter glaze can be stored in an airtight container at room temperature for up to 2-3 days, or in the refrigerator for up to a week. Keep in mind that it will harden considerably when chilled.
- Reheating for Use: When you’re ready to use your stored glaze again, simply reheat it gently. If stored at room temperature, a quick 5-10 second burst in the microwave should soften it. If refrigerated, it might need 15-30 seconds, stirring halfway through, or you can place the container in a bowl of warm water for a few minutes until it becomes liquid and smooth again. Always stir well before using to ensure a consistent texture.
- Freezing: While not typically necessary for a quick glaze, you could technically freeze coconut butter glaze for longer storage (up to 1-2 months). Thaw in the refrigerator overnight and then reheat gently as described above.
Frequently Asked Questions (FAQs)
Absolutely! This glaze is a wonderful blank canvas for adding color. As always, I highly recommend opting for natural food dyes derived from fruits and vegetables to keep your glaze as clean and healthy as possible.
No, despite both coming from coconuts, they are distinctly different ingredients with unique properties and uses. Coconut oil is the pure fat extracted from the coconut meat, primarily used for cooking and baking where a neutral oil is desired. Coconut butter, on the other hand, is made by blending the entire coconut flesh (including fiber and solids) into a thick, creamy paste. This difference in composition is why coconut butter solidifies into a creamy texture, perfect for glazes, while coconut oil becomes clear and liquid when heated and solidifies into a harder, waxy substance when cooled.
While honey can technically be used, pure maple syrup is generally preferred for this glaze. Maple syrup has a thinner consistency and a more neutral sweetness that blends seamlessly with the coconut butter. Honey is thicker and has a more distinct flavor, which might alter the texture and taste slightly. If using honey, you might need a touch more milk to achieve the desired drizzle consistency.
This glaze works well for simple piping designs or outlining cookies if kept slightly thicker (use less milk). However, due to its tendency to solidify as it cools, it’s generally not recommended for intricate piping work or frosting entire cakes or cupcakes where a stable, softer frosting is needed for longer periods. It excels as a delicious, quick drizzle or spread.
More Clean Eating Dessert Recipes You’ll Love!
If you’re passionate about wholesome, delicious desserts, you’re in for a treat! This coconut butter glaze is just one example of how simple ingredients can create incredible flavors. Explore more of my favorite clean eating dessert recipes that nourish your body without sacrificing taste:
- Healthy Samoa Cookies
- Easy Vegan Chocolate Mousse
- Vegan Fruit Tarts (No-Bake)
- Coconut Macaroons without Condensed Milk
If you give this amazing coconut butter glaze recipe a try, please let me know what you think! Your feedback is invaluable, and I would be incredibly grateful if you could leave a star rating and/or a comment below. Don’t forget to share a photo of your creations on Instagram or Facebook and be sure to mention @CleanPlateMama! I love seeing your delicious results.
Eat Clean. Be Well!
– Sara
Coconut Butter Glaze (Paleo)
Print
Pin
Rate
Save This Recipe For Later!
We’ll email this post to you, so you can come back to it later. Plus, enjoy weekly clean eating recipes as a bonus.
Equipment
-
1 small microwave safe bowl
Ingredients
- ½ cup coconut butter
- 3 tbsp. pure maple syrup
- 1-3 tsp. plain almond milk (to thin) (or other non-dairy milk)
Instructions
-
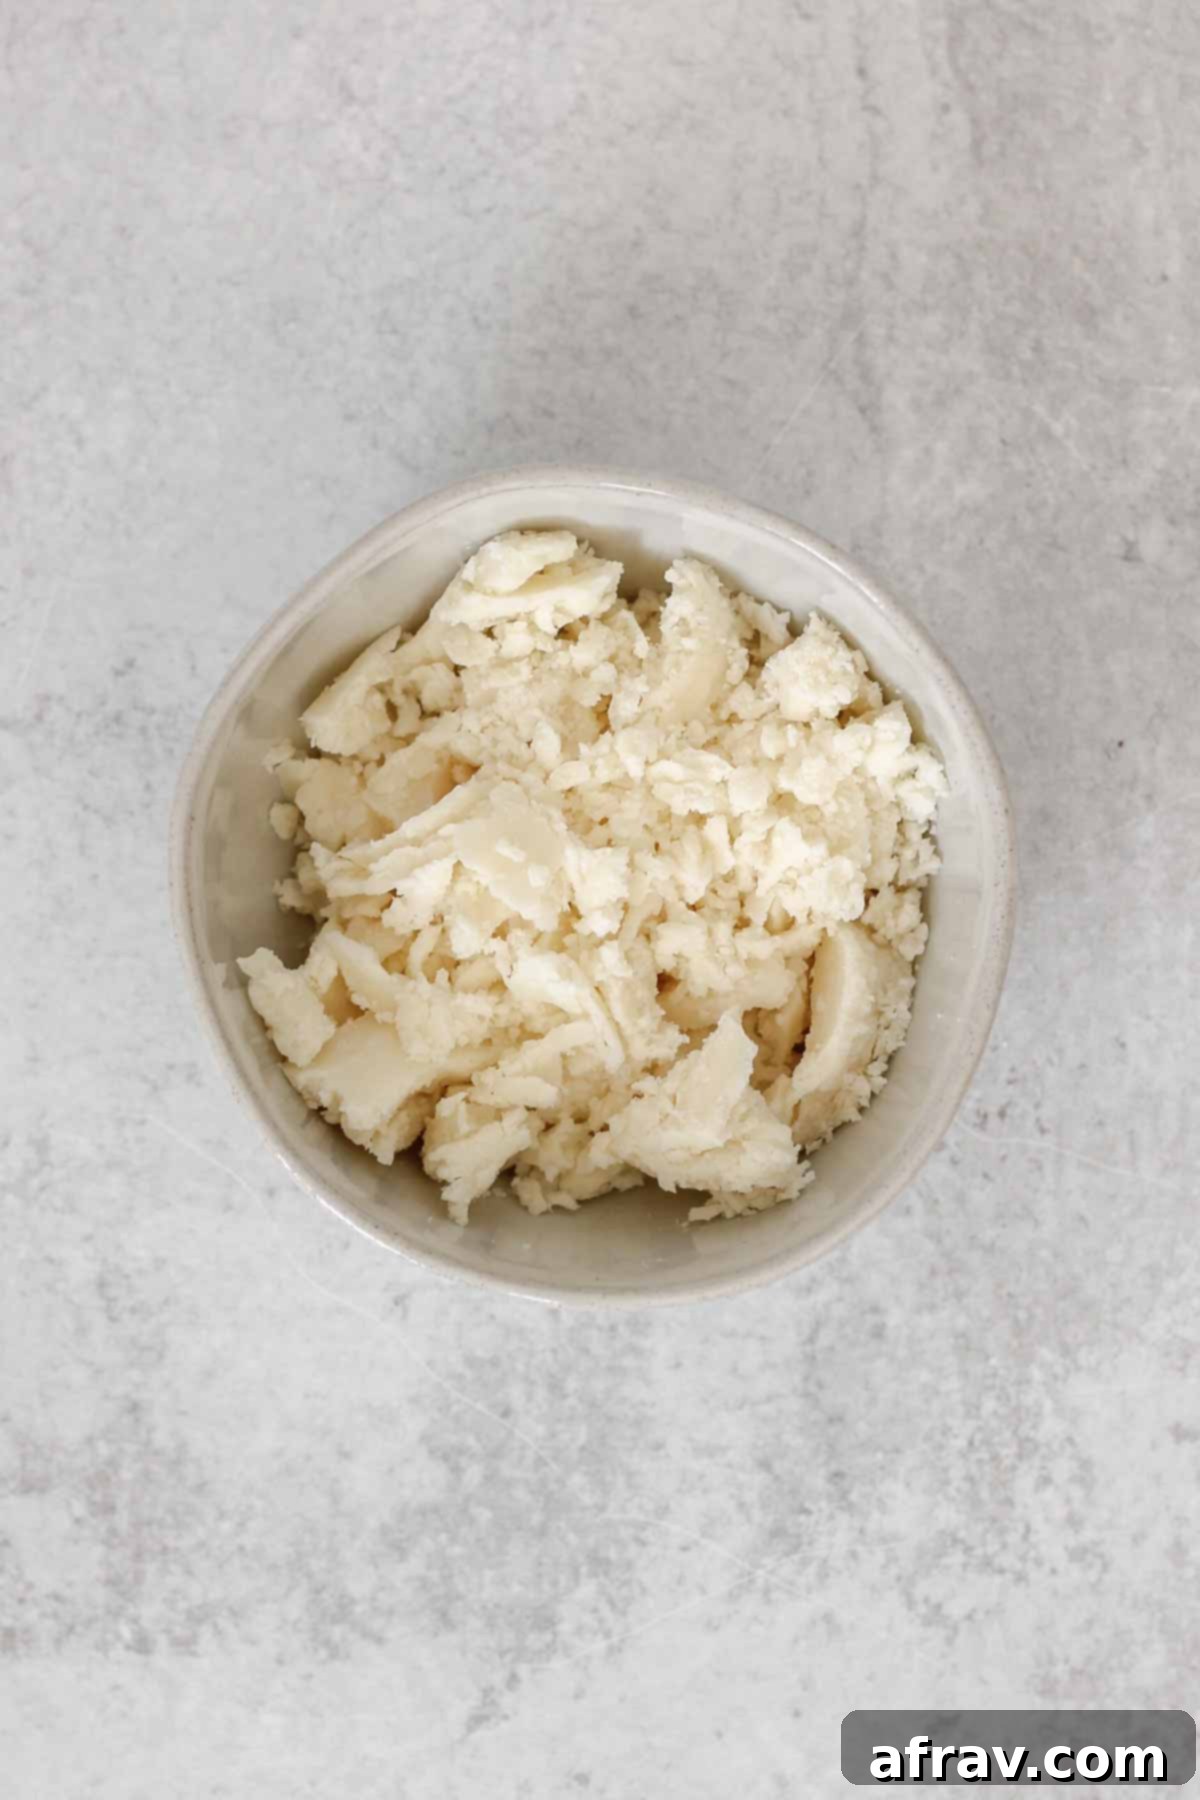
In a microwave safe dish, microwave the coconut butter for 15-30 seconds, or until slightly melted and creamy.
-
Stir the softened coconut butter until smooth and then mix in the maple syrup (this will thicken the glaze). Add almond milk, 1 tsp at a time, until you reach a drizzle-able glaze consistency.
-
Use immediately, as it will thicken as it cools.
Notes
- Measuring coconut butter can be tricky since it’s solid at room temperature. To measure, scoop out chunks of butter and place in measuring cup. Lightly pack to reach ½ cup.
- For a more drizzle-able consistency, add more milk. Use less milk for a more spreadable consistency.
- Any plain/unsweetened non-dairy milk works. If not needing this to be Paleo, you can use cow’s milk.
- I have used this to pipe over cookies, but I don’t recommend using this to frost an entire cake or cupcakes.
- This recipe makes enough to drizzle over roughly 18 cookies.
- I use Artisana coconut butter in this recipe.
