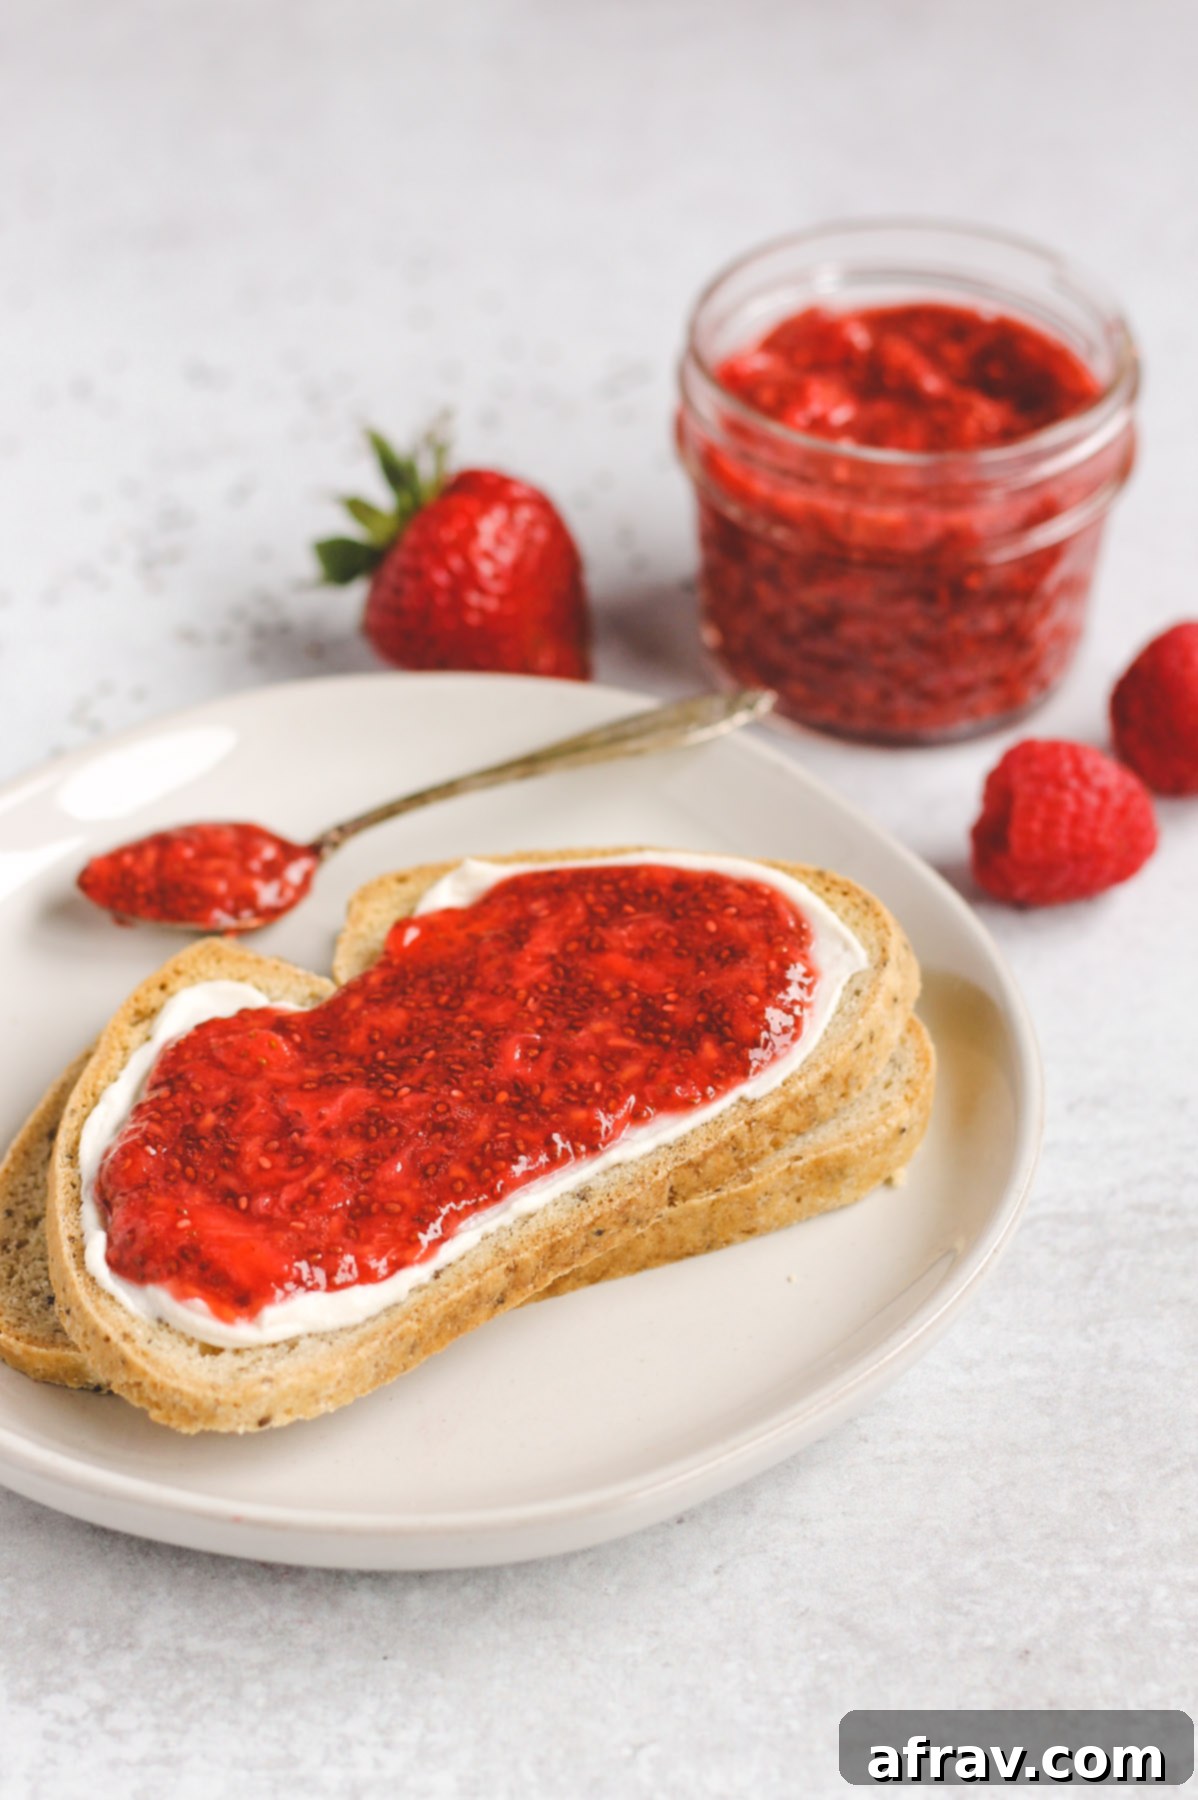
Homemade Berry Chia Jam: Your Go-To Recipe for a Healthy, Sugar-Free Spread
This simple berry chia jam requires just four essential ingredients and serves as the perfect, healthier alternative to sugary, store-bought jams and jellies. Say goodbye to artificial flavors and excessive sugar, and hello to a fresh, vibrant, homemade spread!
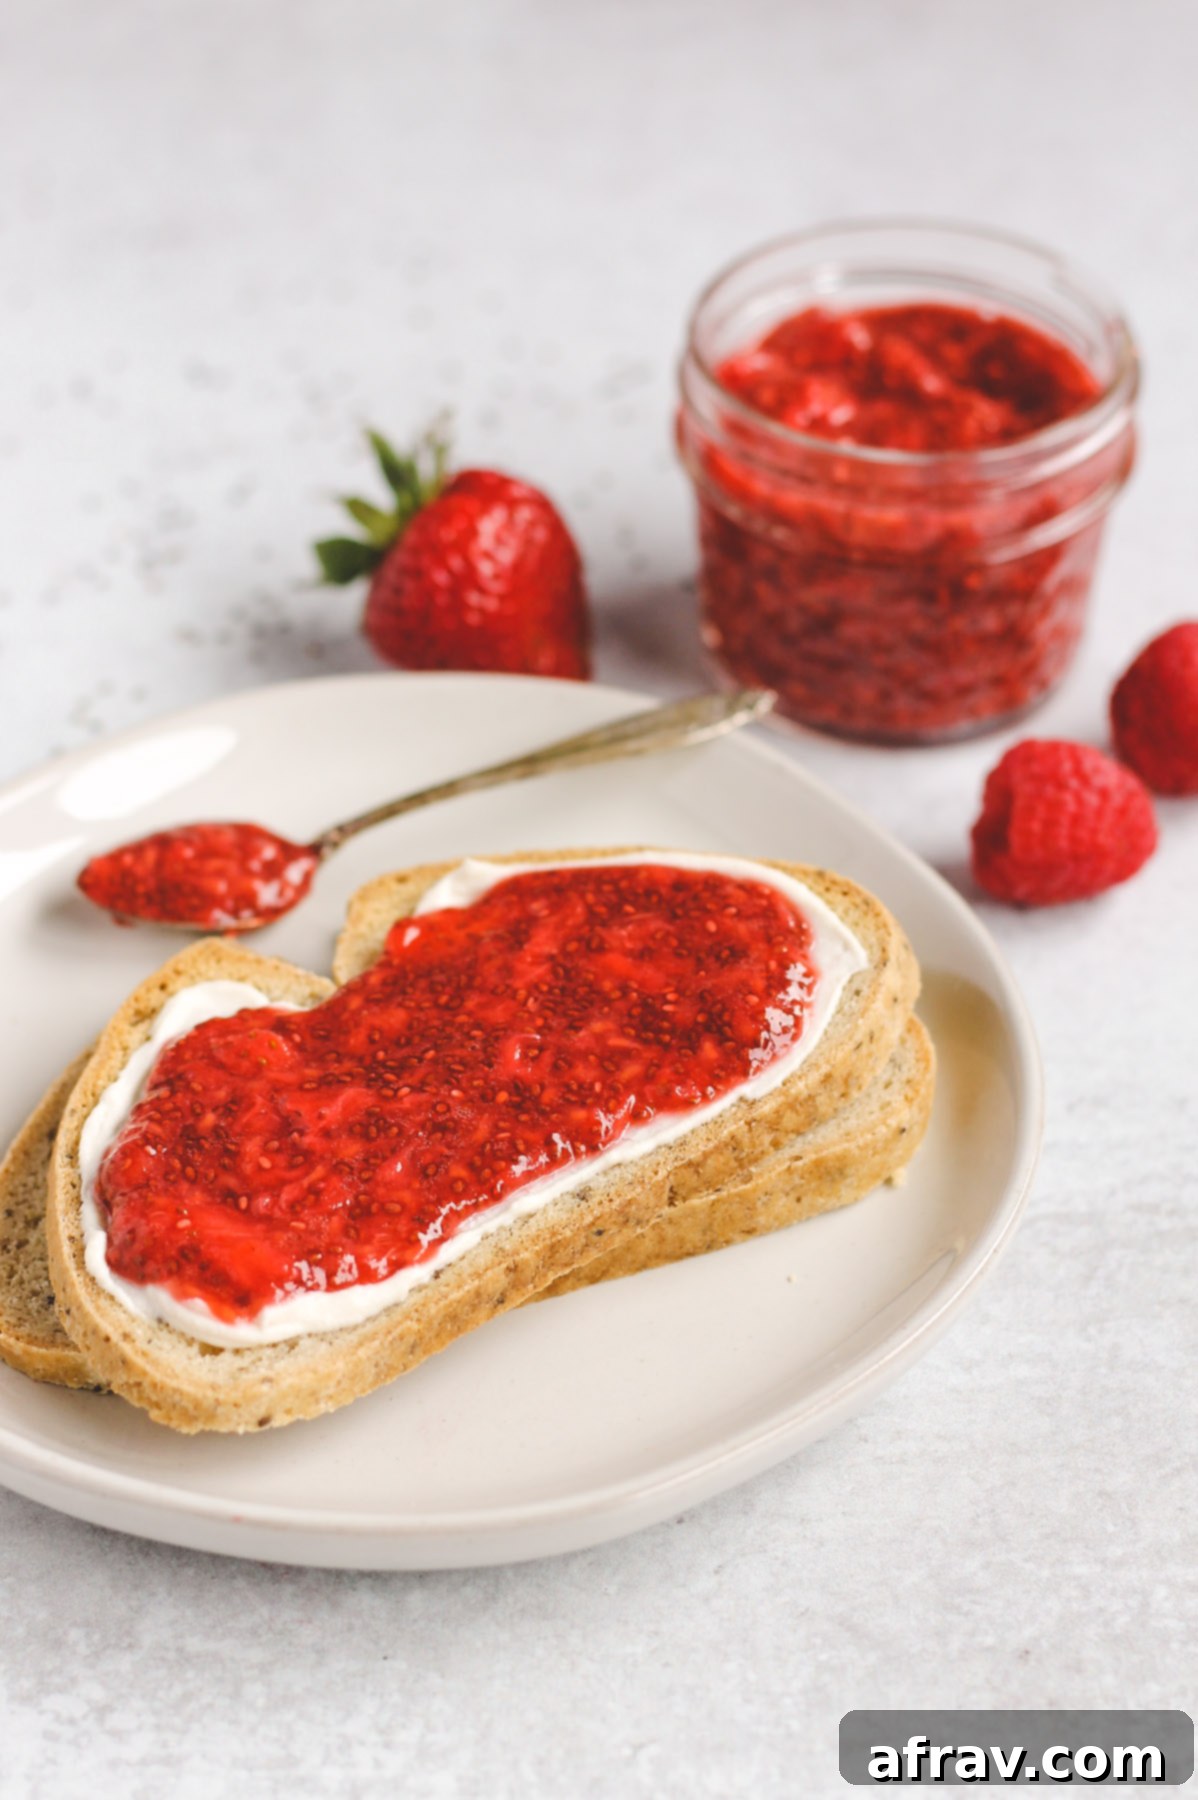
There’s nothing quite like a comforting slice of toast topped with your favorite spread. Whether it’s creamy peanut butter, a wholesome nut butter, or even some dairy-free cream cheese, a dollop of jam often completes the picture. However, like many of you, I’ve grown increasingly concerned about the high sugar content lurking in conventional store-bought jams and jellies.
Have you ever taken a moment to truly examine the nutrition label on a typical jar of supermarket jam? It can be quite startling! Many popular brands can contain upwards of 10 grams of sugar in a single tablespoon. Even more concerning, sugar is often listed as the very first ingredient, indicating that there’s more sugar by weight than actual fruit. This means that instead of a delightful fruit spread, you’re essentially adding a slab of sugar to your breakfast. That’s a definite “no thank you” from me! This is precisely why I embarked on a journey to create a delicious, wholesome alternative, and that’s where this incredible berry chia seed jam comes into play.
Why Choose Homemade Berry Chia Jam Over Store-Bought?
The decision to make your own jam isn’t just about avoiding sugar; it’s about embracing freshness, nutritional value, and control over what you consume. Commercial jams often rely on pectin for thickening and a substantial amount of refined sugar for preservation and flavor. While pectin is natural, the sheer volume of sugar can overshadow the fruit’s natural goodness. Homemade chia jam, on the other hand, utilizes the incredible gelling power of chia seeds, eliminating the need for pectin and drastically reducing or even removing added sweeteners.
Beyond the sugar aspect, many store-bought options can contain artificial colors, flavors, and preservatives designed to extend shelf life and enhance appeal. When you make your own berry chia jam, you’re working with minimal, real food ingredients. This means a cleaner label, a fresher taste, and peace of mind knowing exactly what you and your family are eating. It’s a simple change that makes a huge difference to your daily diet, turning an everyday staple into a superfood-packed treat.
How To Make This Chia Jam Recipe: A Step-by-Step Guide
Creating this healthy berry chia jam is incredibly straightforward and requires very little cooking experience. It’s truly a 10-minute wonder that will revolutionize your breakfast routine. Follow these simple steps to whip up your own batch of vibrant, delicious, and nutritious jam.
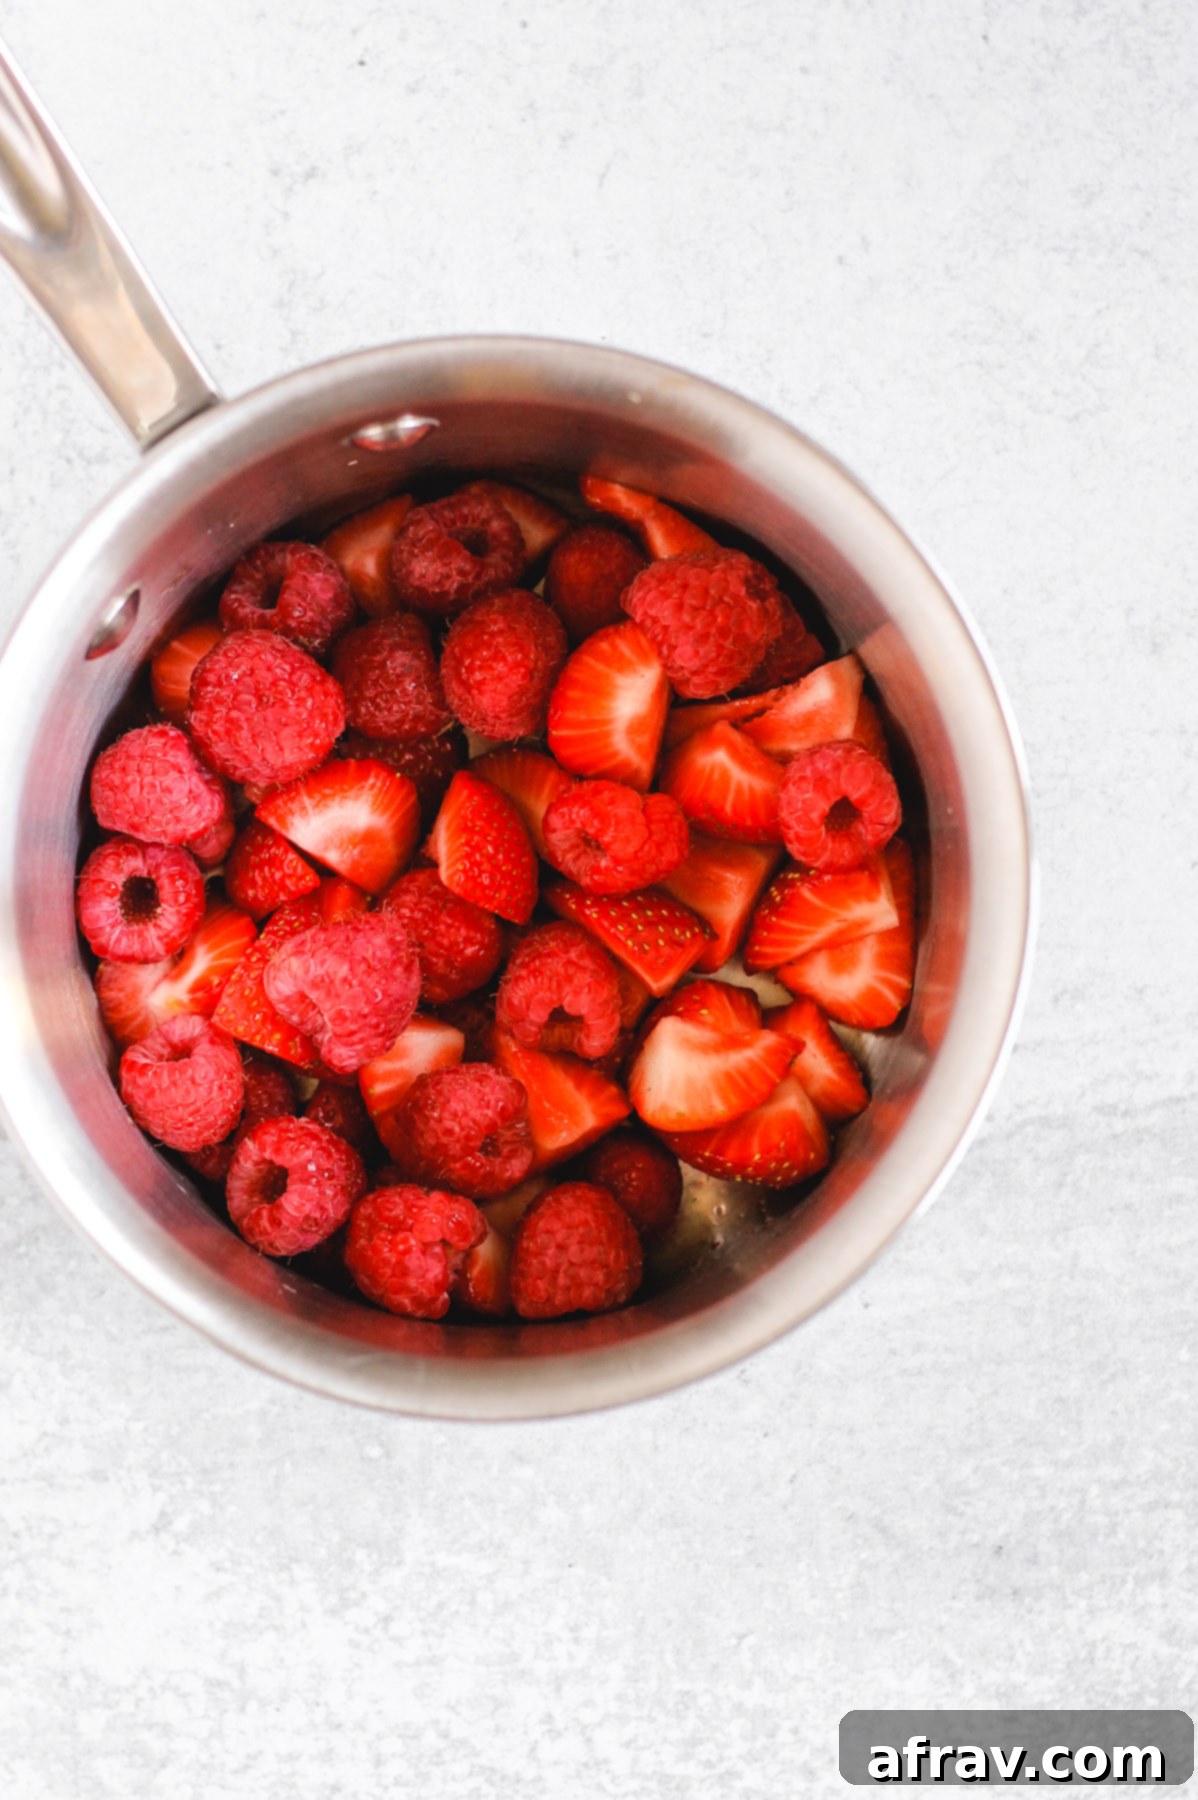
- COMBINE BERRIES, LEMON JUICE, AND MAPLE SYRUP: Begin by adding your chosen fresh or frozen berries, a splash of fresh lemon juice, and the optional maple syrup to a small saucepan. The maple syrup provides a touch of natural sweetness, but you can adjust or omit it entirely based on your preference and the sweetness of your berries.
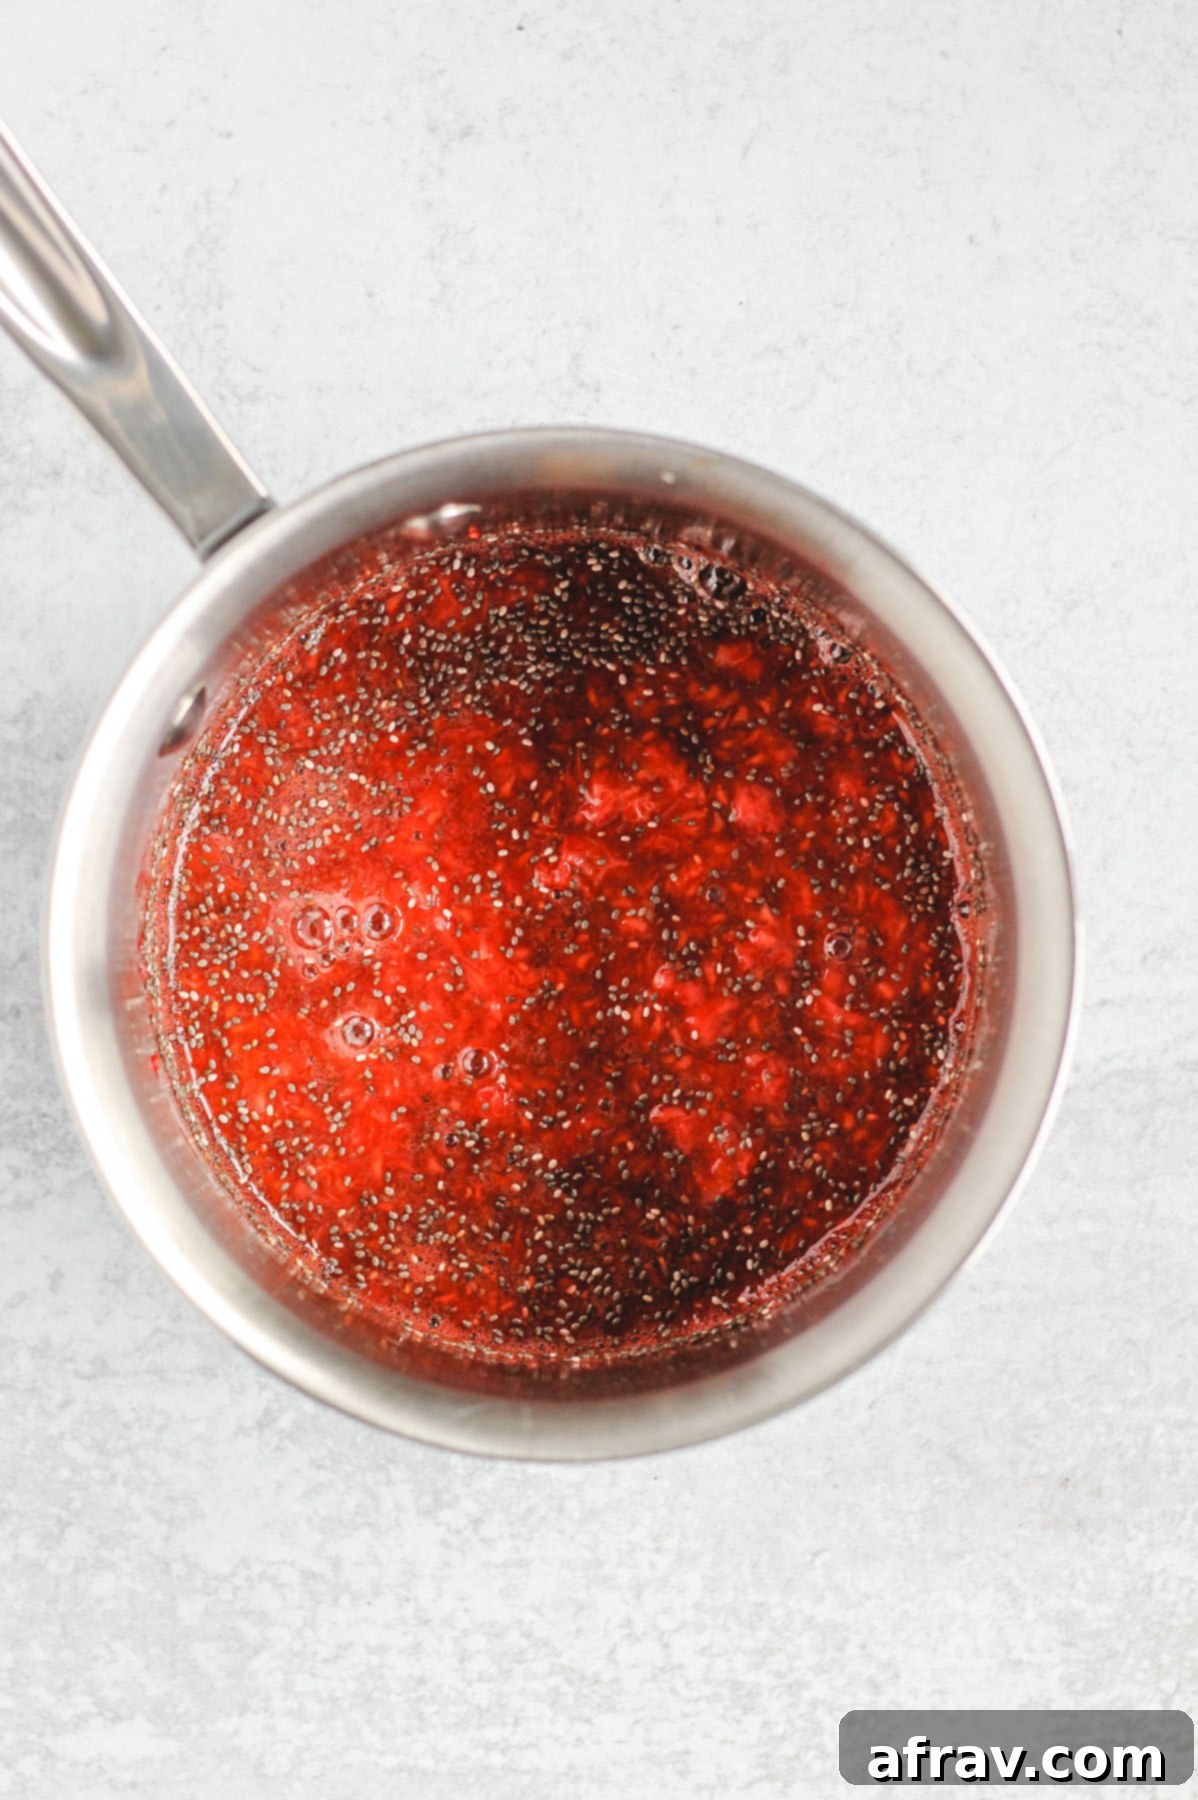
- HEAT BERRY MIXTURE: Place the saucepan over medium-low heat. Stir the mixture frequently as it gently heats. You’ll notice the berries starting to soften and break down. Continue heating until they’re tender enough to mash easily – this usually takes about 5-7 minutes.
- MASH HEATED FRUIT: Once the berries are soft, remove the saucepan from the heat. Now comes the fun part: mashing! Use a pastry cutter, potato masher, or even the back of a fork to gently mash the fruit. You have full control over the consistency here; you can leave some delightful small chunks of fruit for a more rustic jam, or mash it thoroughly for a smoother puree. For an extra-smooth jam, an immersion blender can be used, though it’s often not necessary.
- ADD CHIA SEEDS: Stir in the chia seeds vigorously. These tiny powerhouses are what will naturally thicken your jam as it cools, giving it that perfect jam-like texture without any added pectin. Ensure they are well incorporated into the warm berry mixture.
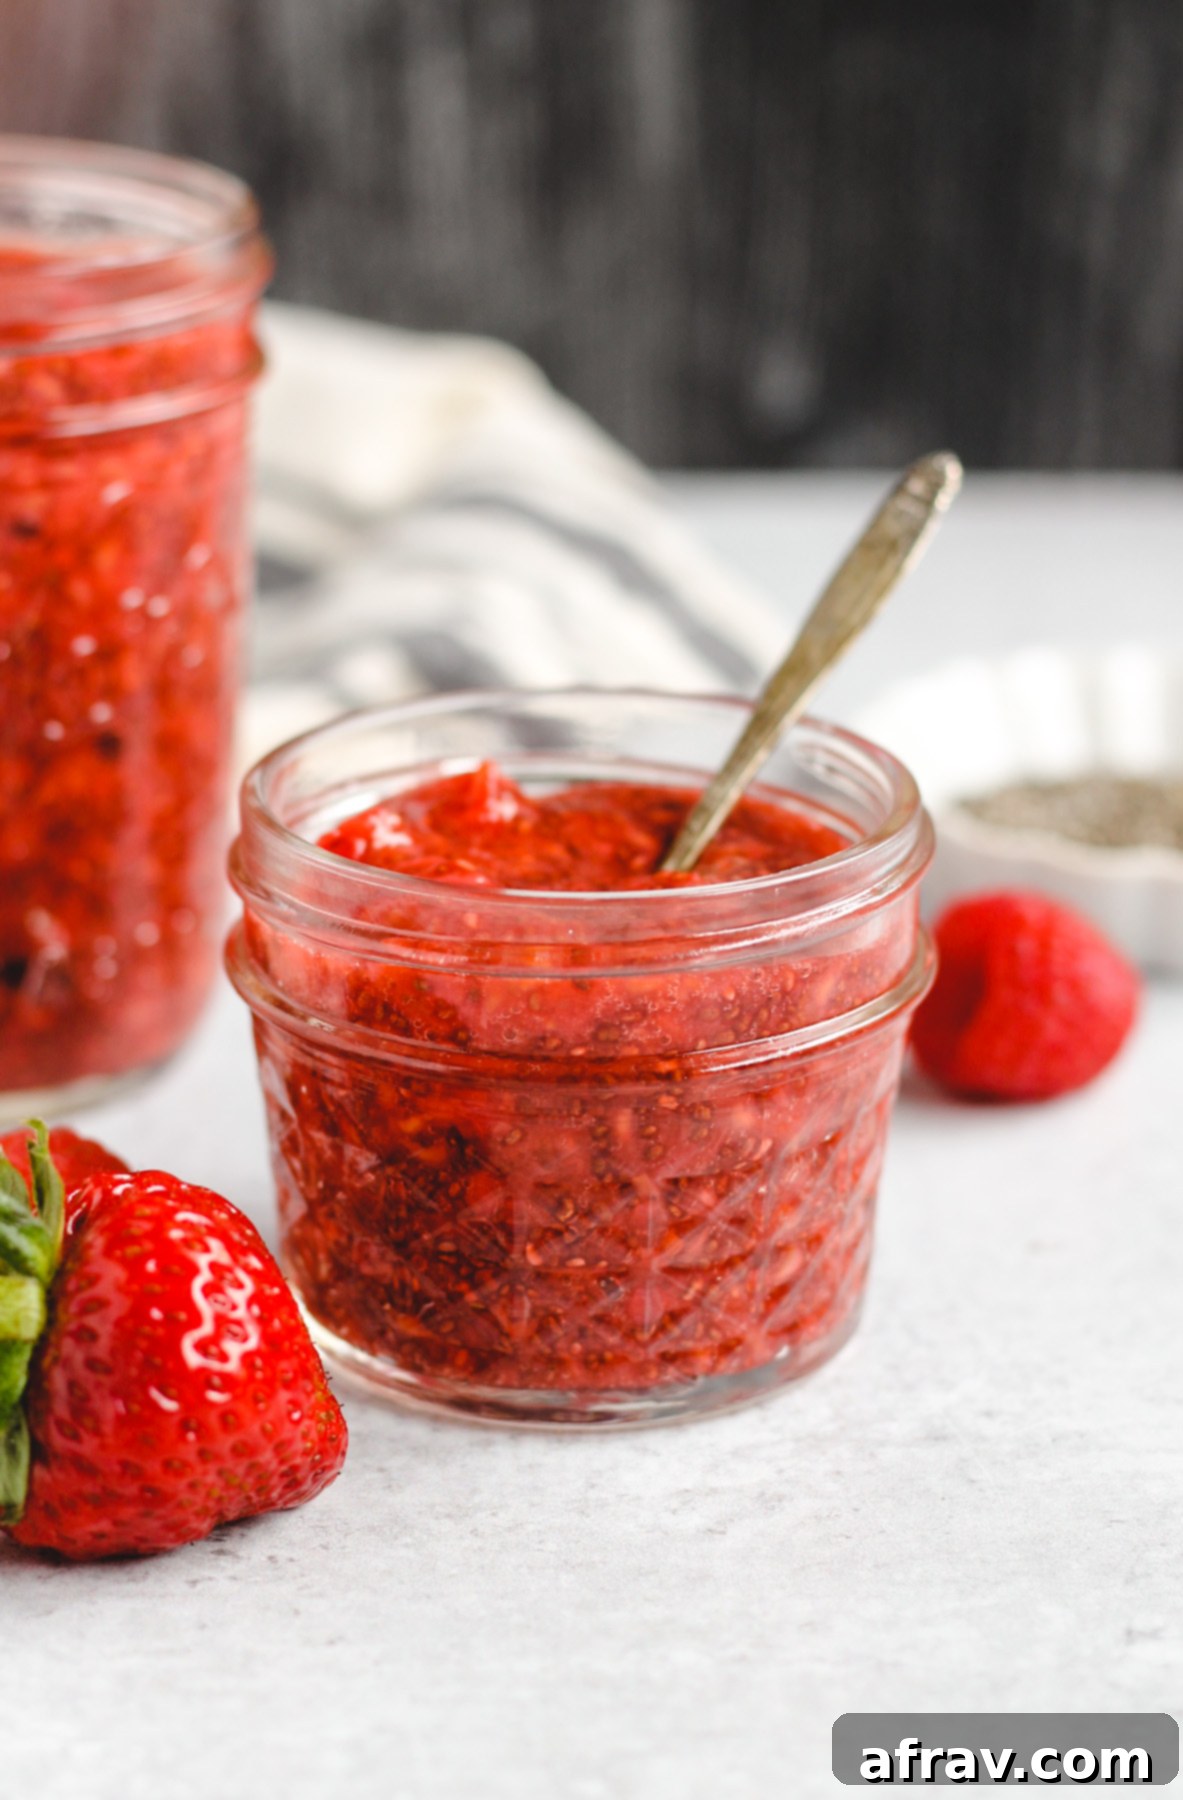
- POUR JAM INTO A JAR: Allow the jam to cool slightly in the saucepan. Then, carefully pour the warm chia jam into a clean glass jar or any other airtight container you plan to store it in.
- LET JAM SIT/COOL: This step is crucial for achieving the desired consistency. Place the jar of jam in the refrigerator and allow it to cool completely and thicken. The chia seeds will work their magic as the jam chills, transforming it into a lovely, spreadable consistency.
- ENJOY! Once fully chilled and thickened, your homemade berry chia jam is ready to be enjoyed!
Ingredient Deep Dive: The Power of Berries & Chia Seeds
This recipe shines because of its star ingredients, each offering a wealth of nutritional benefits:
- Berries (Strawberries, Raspberries, Blueberries, Blackberries): These vibrant fruits are packed with antioxidants, vitamins (especially Vitamin C), and fiber. They’re naturally sweet and contribute a beautiful color and flavor to the jam. Strawberries, for instance, are excellent for heart health and can help manage blood sugar. Raspberries are rich in manganese and vitamin K, supporting bone health, while blueberries are famous for their brain-boosting properties. Using a mix ensures a diverse nutrient profile and complex flavor.
- Chia Seeds: The true heroes of this jam, chia seeds are tiny powerhouses of nutrition. They are an excellent source of omega-3 fatty acids, fiber (which aids digestion and promotes fullness), and plant-based protein. When soaked in liquid, they absorb up to 10-12 times their weight, forming a gel-like consistency that naturally thickens the jam without any added pectin. This makes your jam not only delicious but also incredibly gut-healthy and satisfying.
- Fresh Lemon Juice: Beyond adding a bright, zesty flavor that balances the sweetness of the berries, lemon juice acts as a natural preservative and enhances the overall fruitiness of the jam.
- Pure Maple Syrup (Optional): If you prefer a slightly sweeter jam, pure maple syrup is a fantastic natural sweetener. Unlike refined sugar, maple syrup contains antioxidants and essential minerals like manganese, zinc, and calcium. It’s a far healthier choice if you decide to sweeten your jam.
Keeping This Jam Clean: Why Organic Berries Matter
This recipe is inherently clean, relying on simple, real food ingredients. However, to maximize its health benefits and minimize unwanted chemicals, I highly recommend opting for organic berries whenever possible. Strawberries, in particular, consistently land on the Environmental Working Group’s Dirty Dozen list. This means they are among the fruits and vegetables found to contain the highest levels of pesticide residues. While other berries like raspberries and blueberries might not always be on the Dirty Dozen, they don’t typically appear on the Clean Fifteen list either, suggesting they can still carry a fair amount of pesticides and chemicals. Choosing organic ensures you’re getting the purest form of these nutrient-rich fruits, free from harmful residues and supporting a healthier ecosystem.
Can I Use Any Kind of Berries? Absolutely!
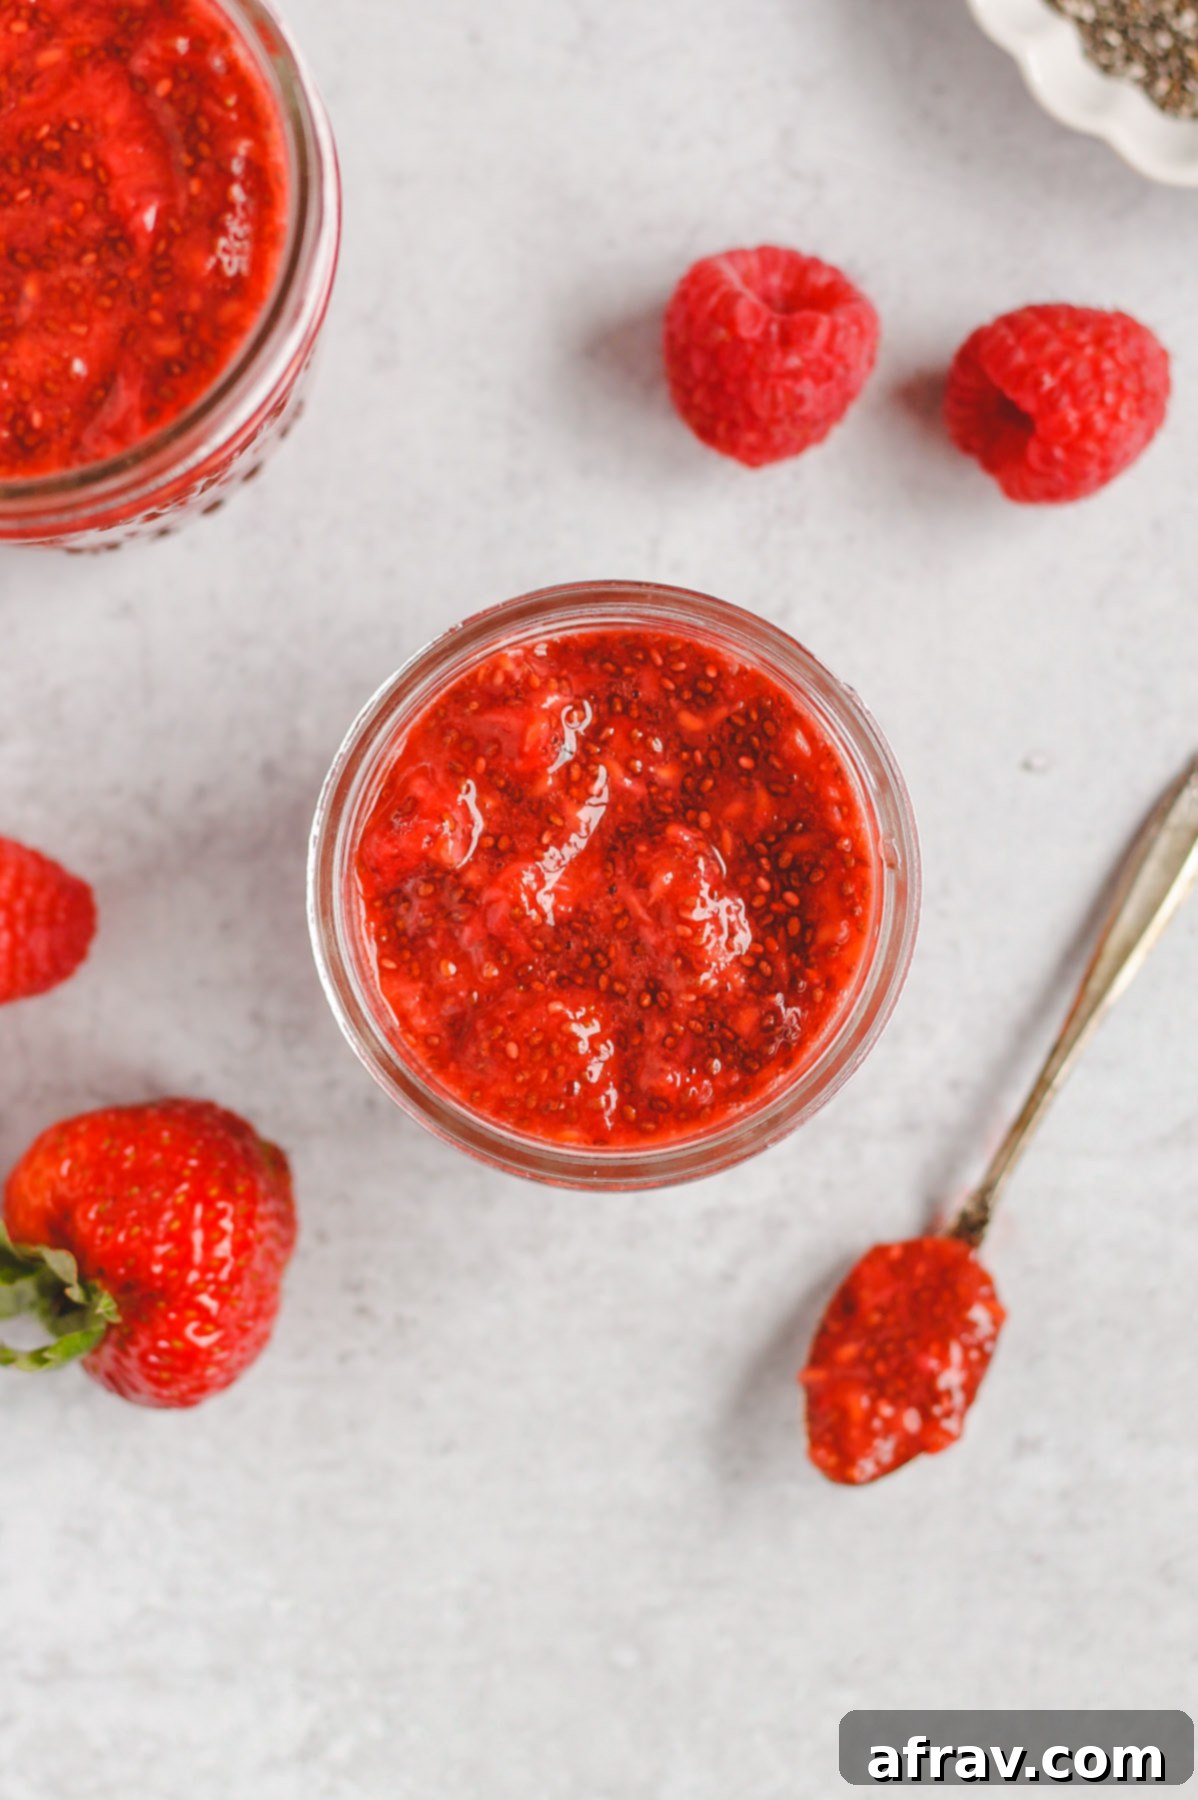
One of the beautiful aspects of this chia jam recipe is its versatility. While I personally love the classic combination of fresh strawberries and raspberries for their vibrant flavor and color, you are absolutely encouraged to experiment with any kind of berry or a mix that delights your palate! Feel free to use blueberries, blackberries, or even a mixed berry blend (fresh or frozen work equally well). Each berry type will lend its unique taste and nutritional profile to the jam. However, I generally recommend sticking with berries for this particular recipe, as their natural sweetness and moisture content work perfectly with the chia seeds for the ideal jam consistency. Other fruits might require adjustments to the liquid or chia seed ratio.
Frequently Asked Questions About Berry Chia Jam
How Long Does This Last?
Since this homemade berry chia jam doesn’t contain the same high sugar content or preservatives as traditional jams, its shelf life is shorter. Stored in an airtight container in the refrigerator, it will stay fresh and delicious for about one week. Always check for any signs of spoilage before consuming. If you’re unsure, it’s best to discard it.
Can I Freeze This?
Absolutely! This is one of the fantastic benefits of chia jam. I’ve successfully frozen batches in the past, and it thaws beautifully, retaining its texture and flavor. To freeze, simply pour the cooled jam into freezer-safe containers, leaving a little headspace for expansion. It will last perfectly for up to 3 months in the freezer. When you’re ready to enjoy it, simply transfer it to the refrigerator to thaw overnight.
Can I Use Other Sweeteners?
While pure maple syrup is my preferred natural sweetener for its subtle flavor and nutritional benefits, you certainly have other options. You could use a touch of honey, agave nectar, or even a sugar-free sweetener like stevia or erythritol if you’re looking to minimize carbohydrates further. Always taste the jam after mashing the berries and add sweetener gradually until it reaches your desired level of sweetness. The natural sweetness of the ripe berries might even be enough for some palates!
What Goes Best With This Chia Jam? Endless Possibilities!
The beauty of this wholesome berry chia jam is its incredible versatility. It’s not just for toast! Here are some of my absolute favorite ways to enjoy this delicious spread:
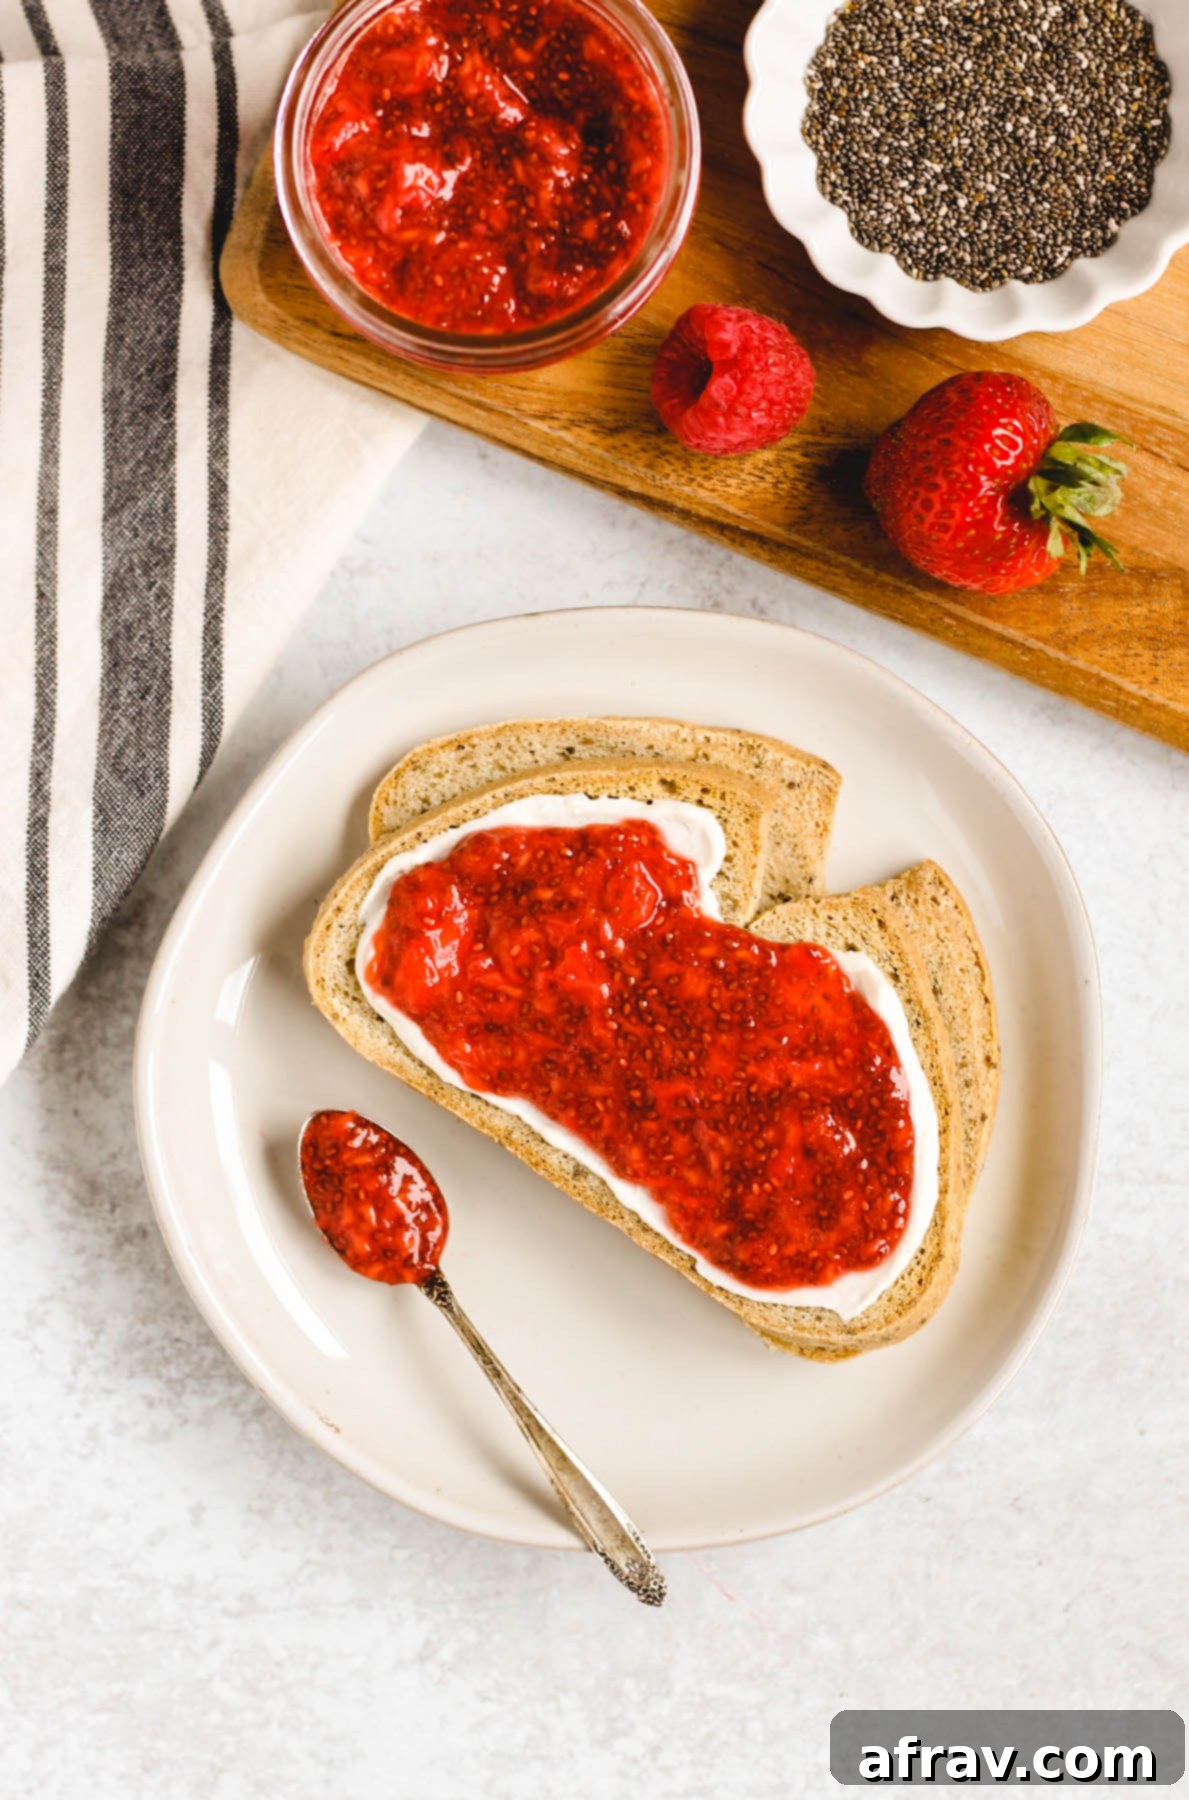
- Classic Toast Companion: My top pick remains spreading it generously on a warm slice of toast. Elevate it further with a layer of any nut butter (peanut, almond, cashew!) for a protein-packed start to your day, or a dollop of dairy-free cream cheese (or regular, if you’re not dairy-free) for a creamy, tangy twist.
- Breakfast Power-Up: Swirl it into your morning bowl of homemade oatmeal or yogurt (dairy-free or regular) for an instant flavor and nutrient boost. It’s also fantastic spooned over pancakes, waffles, or French toast.
- Baking & Dessert Delight: Use it as a filling for gluten-free thumbprint cookies (like the ones linked below!) or small tarts. A spoonful on top of vanilla ice cream, a dairy-free nice cream, or even a simple panna cotta makes for an effortlessly elegant dessert.
- Savory Pairings: Don’t limit yourself to sweet applications! This jam can be a surprising and delightful addition to a cheese board, paired with goat cheese or brie, offering a sweet counterpoint to savory notes.
- On the Go: Mix a spoonful into your chia pudding or overnight oats for an easy, pre-prepped breakfast or snack.
And speaking of baking, it’s absolutely perfect for making gluten-free thumbprint cookies, especially when the holidays roll around!
For those seeking a truly exceptional, clean eating experience, if you’re looking for a good, clean gluten-free and dairy-free bread, I highly recommend checking out AWG Bakery (please note, this is not an affiliate link, just a genuine recommendation!). I absolutely adore their bread. It’s crafted from real, wholesome, and clean ingredients and the taste is simply amazing! I often order four loaves at a time and store them in my freezer, ensuring I always have a healthy option on hand.
Why This Berry Chia Jam is a Game-Changer!
There are so many reasons to fall in love with this simple yet powerful recipe:
- SUGAR FREE OR REFINED SUGAR FREE: You have complete control over the sweetness. You can entirely omit the pure maple syrup for a truly sugar-free jam, relying solely on the natural sweetness of the berries. Even if you choose to add maple syrup, your jam remains free from refined sugars, making it a far superior and healthier choice compared to anything you’d find on store shelves.
- EASY AND NO CANNING REQUIRED: Forget complicated, time-consuming canning processes. This recipe is designed for simplicity. It seriously takes less than 10 minutes of active preparation from start to finish. Just a few simple steps, a quick simmer, and a little chilling time, and you’ll have perfect homemade jam.
- GREAT FOR FREEZING: Planning ahead is easy with this recipe! Go ahead and double or even triple the batch. This jam freezes beautifully, allowing you to stock up and enjoy fresh, homemade goodness anytime you desire. Just portion it into freezer-safe containers, and you’ll have a healthy spread ready for weeks or even months to come.
- PACKED WITH NUTRIENTS: With antioxidant-rich berries and fiber/omega-3 rich chia seeds, this jam is a nutritional powerhouse, contributing to your overall well-being with every spoonful.
I Think You’ll Love These Other Clean Eating Recipes Too!
If you’re embracing a cleaner, healthier eating lifestyle, be sure to check out some of my other favorite recipes:
Homemade Gluten-free Teriyaki Sauce (soy free + gluten free)
Easy, Homemade Taco Seasoning (gluten free)
Coconut Whipped Cream (dairy free)
Kale Pesto (dairy free)
If you make this berry chia jam recipe, please let me know what you think! I absolutely love hearing from you. Leave a comment below and/or share a photo of your delicious creation on Instagram and don’t forget to mention @CleanPlateMama! Your feedback and shares truly brighten my day!
Berry Chia Jam
Print
Pin
Rate
Save This Recipe For Later!
We’ll email this post to you, so you can come back to it later. Plus, enjoy weekly clean eating recipes as a bonus.
Ingredients
- 1 cup sliced strawberries
- 1 cup raspberries
- 1 tbsp. fresh lemon juice
- 1-2 tbsp. pure maple syrup (optional)
- 2 tbsp. chia seeds
Instructions
-
Add berries, lemon juice, and maple syrup to a small sauce pan and simmer over medium low heat until berries break down/fall apart.
-
Remove berries from heat. Using a potato masher (or pastry cutter), mash down fruit until only small pieces remain (you could also use an immersion blender if you want it fully pureed). Mix chia seeds with mashed fruit.
-
Allow to cool slightly and then pour into a mason jar, or another air tight container. Place in fridge to allow jam to fully cool. Jam will thicken as it cools.
-
Keep jam stored in the refrigerator. Enjoy!
Notes
- Adding pure maple syrup is completely optional. You can also add additional maple syrup to taste. Taste the jam once you’ve mashed down the berries and if you want it sweeter, add syrup 1 tbsp. at a time.
- I recommend organic ingredients when possible.
- Jam will stay good in the fridge for up to one week. It can also be frozen for up to 3 months.
- Nutrition information is based off of entire recipe.
Nutrition
